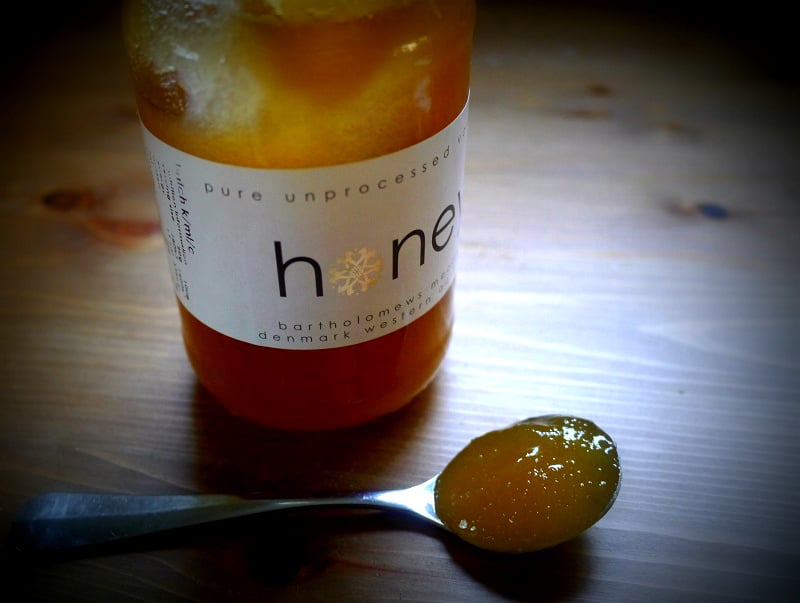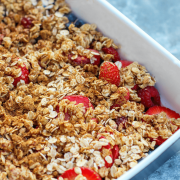
Reducing food waste: store cupboard crumble (+ ideas to use up old fruit)
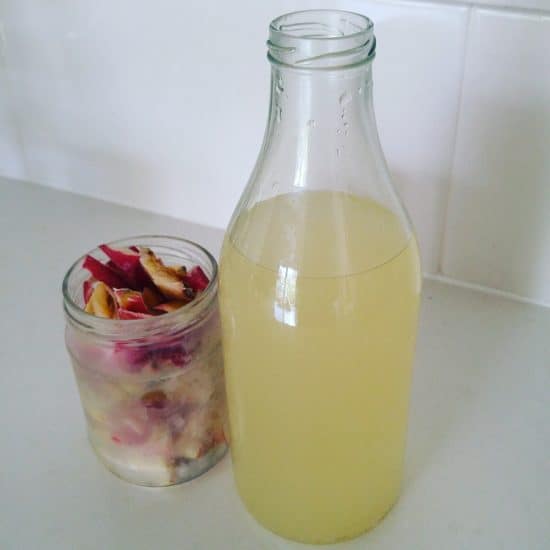
With the current lockdowns and restrictions on movements, I’ve been rethinking how I use my (rather small) freezer. Now that I really need to optimise the space, I’m removing and using up some of the less useful items that take up space (a few random sticks of rhubarb, and a jar of stock) and filling it up with more useful items – ideally meals, or parts of meals.
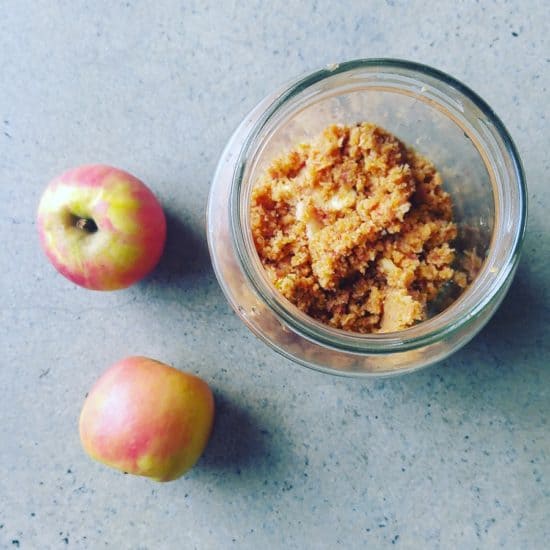
One of the things I find really handy to keep in the freezer is crumble topping. Whenever I make crumble I always double the topping, and freeze half. (After all, making double – or triple – the quantity creates exactly the same amount of mess and washing up, but twice the food, and I’m all for that.)
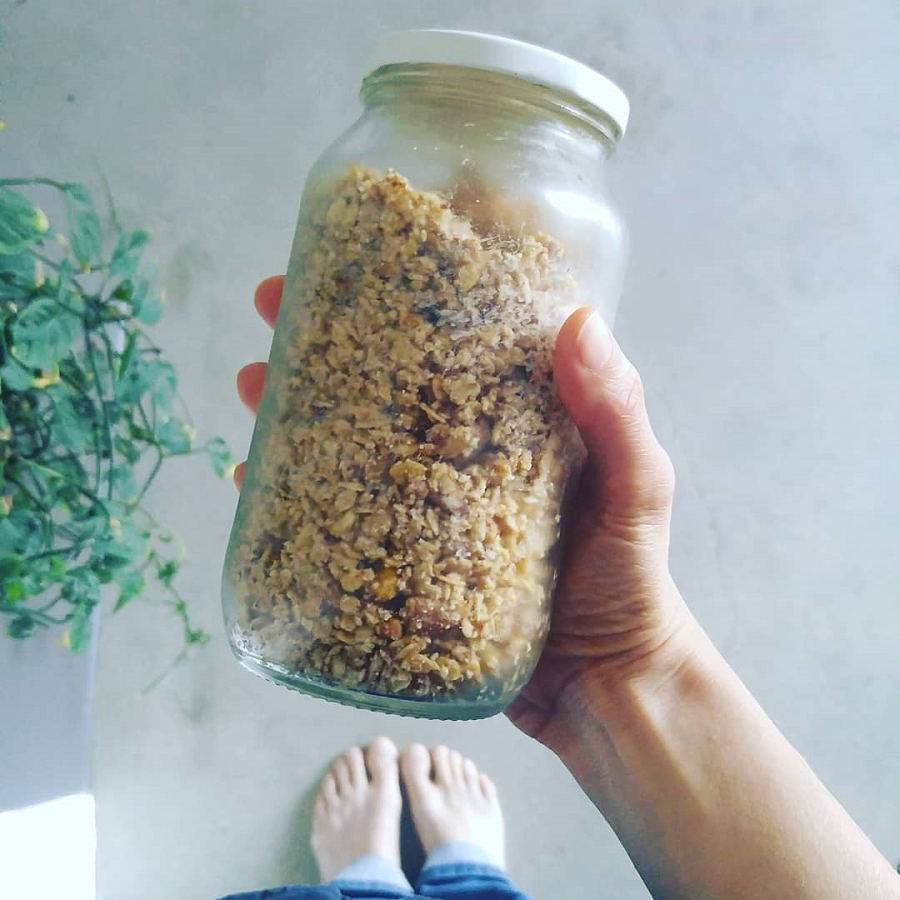
It means down the track, when I discover some sad fruit in the fruit bowl, or a glut of something that I want to use up, I can grab the topping outta the freezer, and voila – almost instant crumble.
Growing up, the crumble I ate was made of refined white flour, refined white sugar, and butter. These days I prefer to make my crumble a little bit healthier.
And as long as you follow the rule of some sweetness, some crunch and some fat, it’s a pretty great idea for using up random ingredients from the pantry.
Making crumble topping
Ingredients:
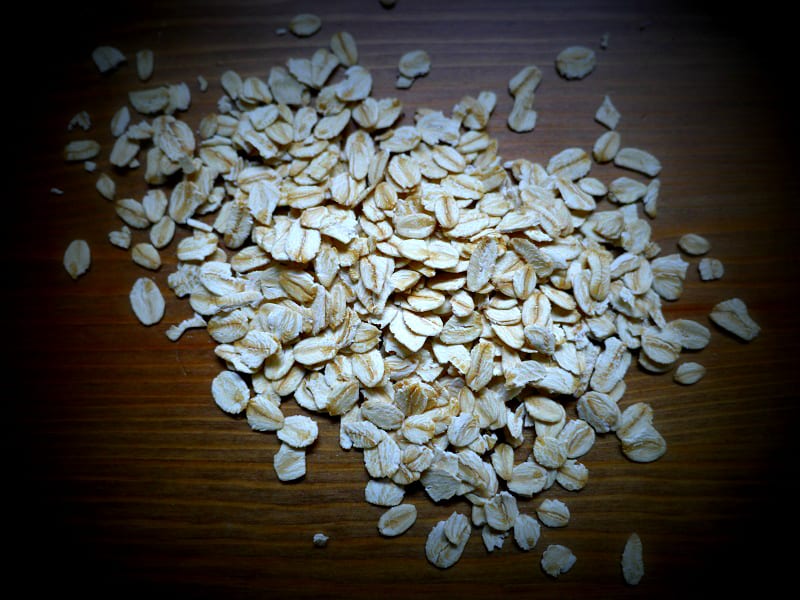
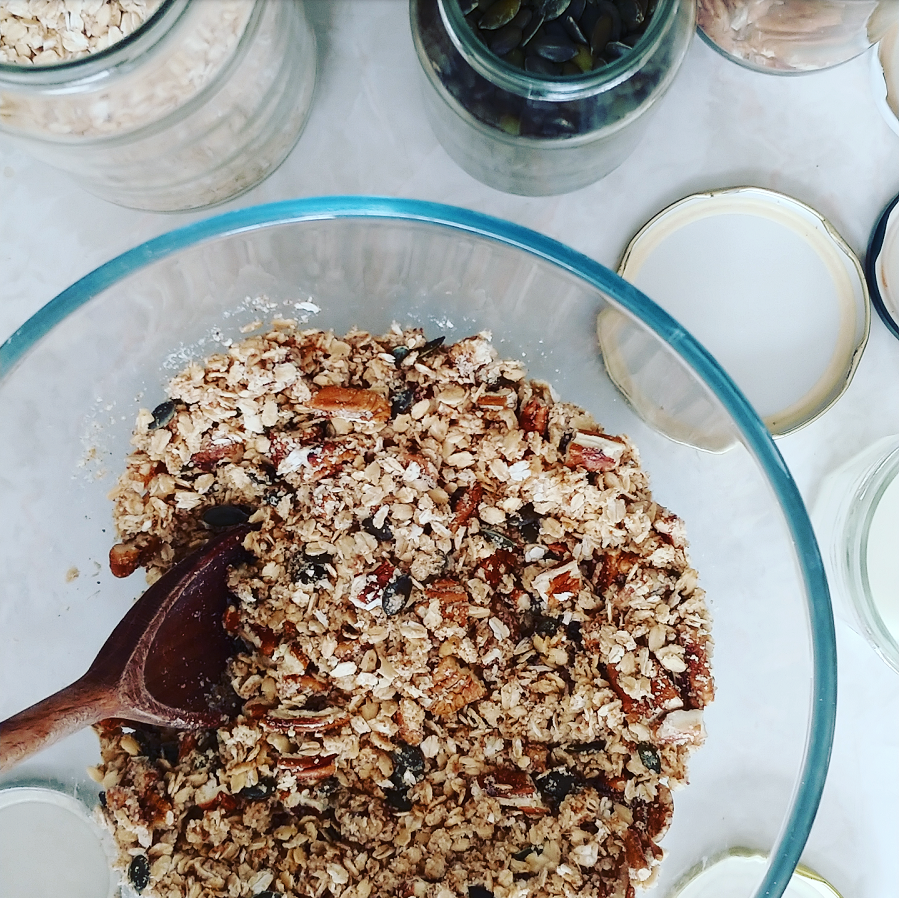
- 2 cups rolled oats
- 1 cup ground almonds (you could replace this with plain flour – wouldn’t be as tasty but kinder on your wallet. Other options are oat flour, rice flour, buckwheat flour)
- 1/3 cup solid sugar (I like rapadura sugar, but any white or brown sugar that you have is fine)
- 1/4 cup melted coconut oil
- 1 cup nuts/seeds (use what you have: chopped almonds, mixed nuts, hazelnuts or pecans, shredded coconut or coconut flakes, pumpkin or sunflower seeds, even buckwheat kernels will all work great)
- Pinch of salt
(A note if you’d prefer to use butter instead of coconut oil: the traditional way of making crumble is using cubes of cold butter, and rubbing into the flour to make ‘crumbs’. But my guess is, if you’re using chunky ingredients like oats rather than just plain flour, you can just pour melted butter in – it’s the same consistency as melted coconut oil.)
Method:
Mix all the dry ingredients into a bowl, pour melted coconut oil on top, and mix well.
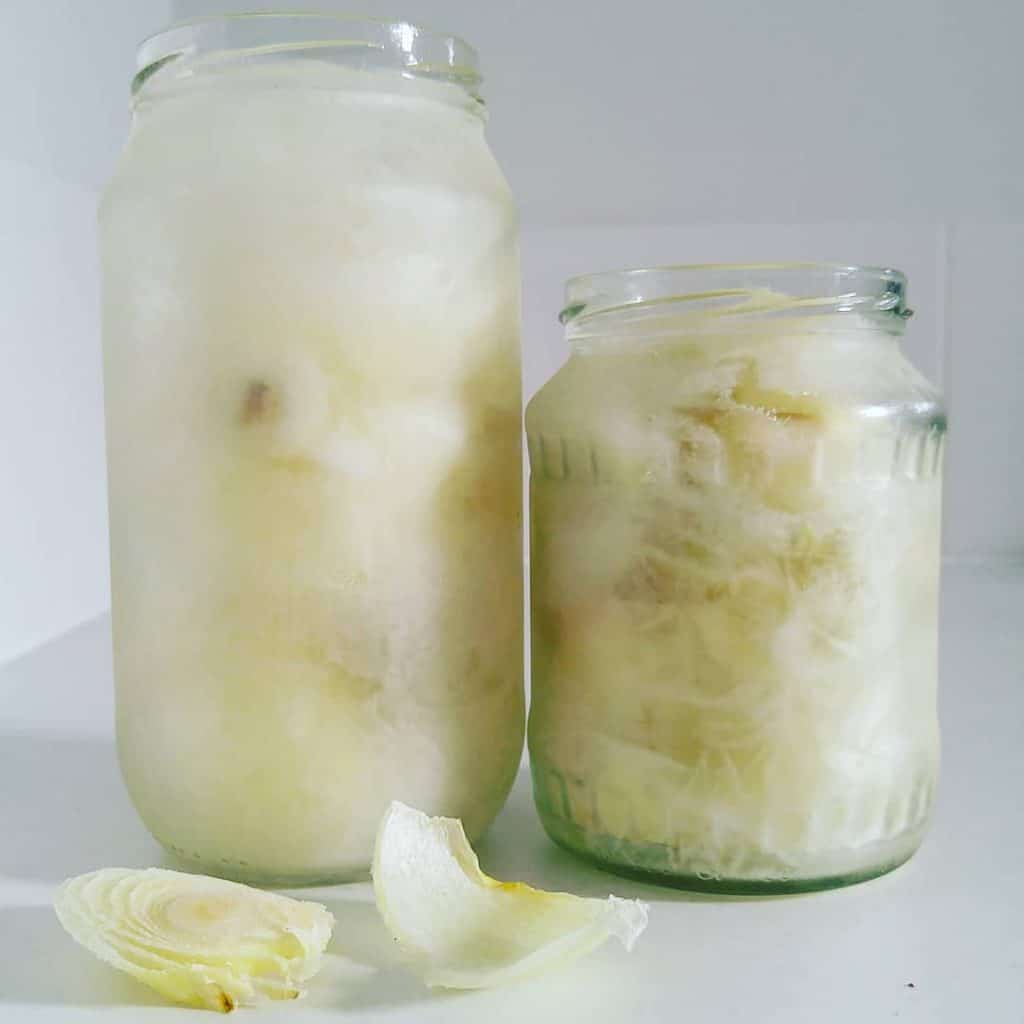
Whatever you’re not using straightaway, pop in a container (I use a glass jar) and store in the freezer. If you don’t have space the fridge is fine. I’d keep in the fridge for a month or two, and the freezer for three to six months.
Reducing food waste: using old fruit for crumble
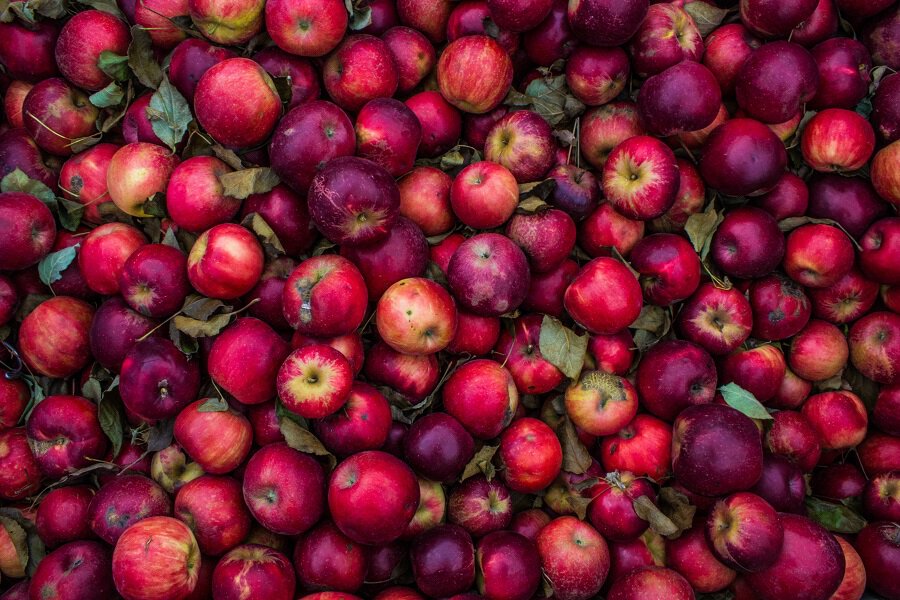
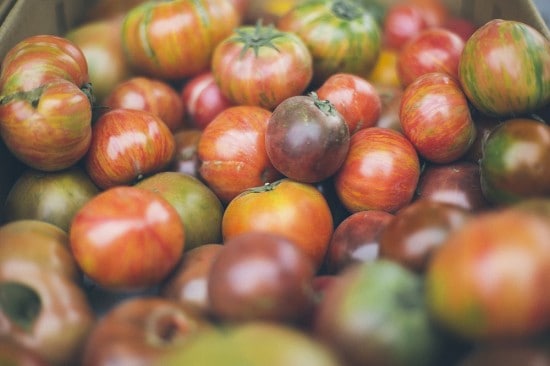
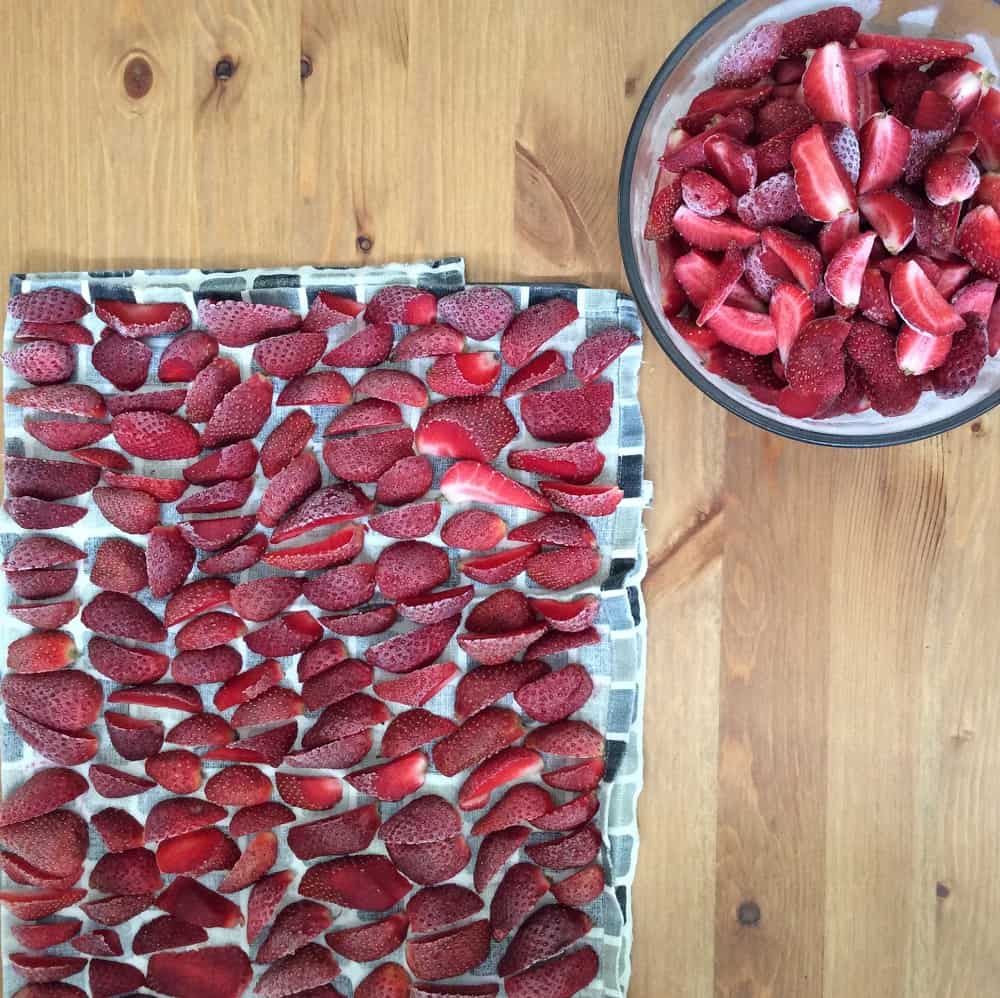
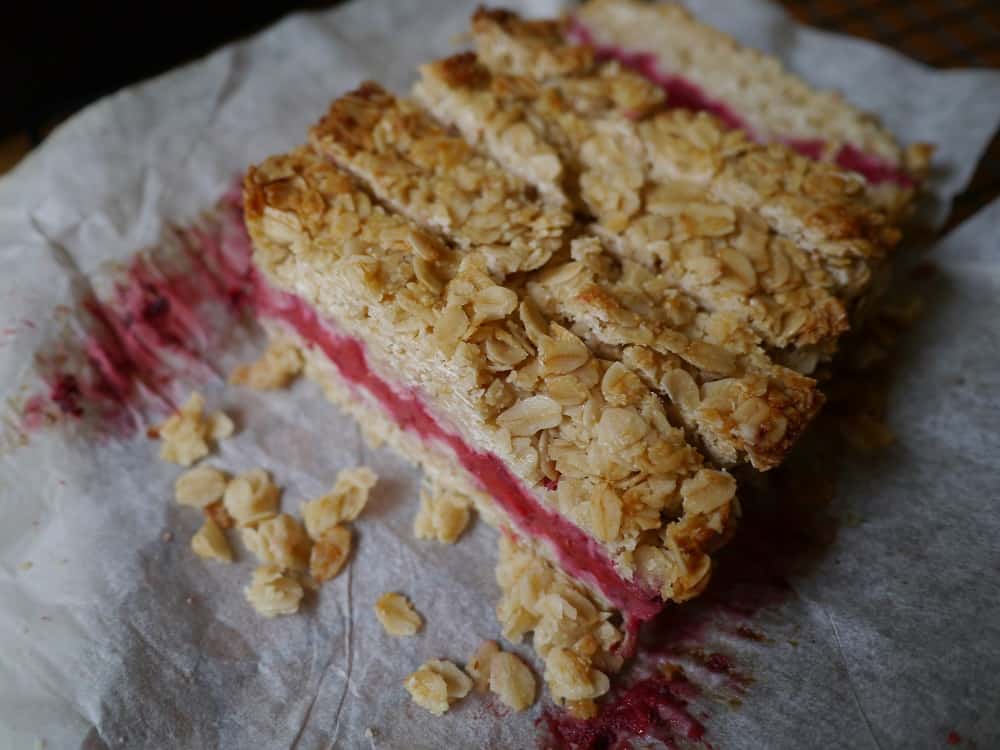
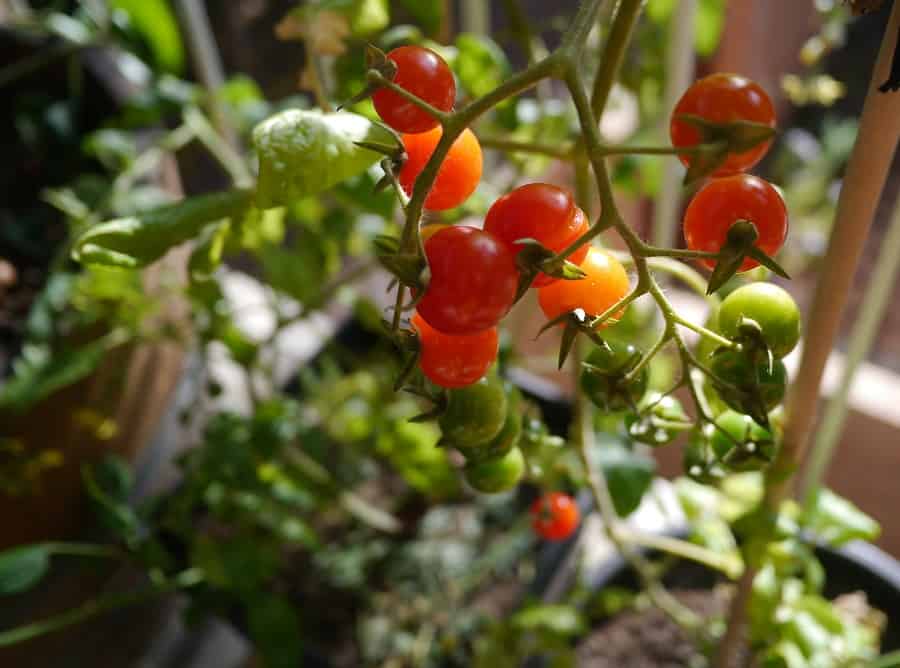
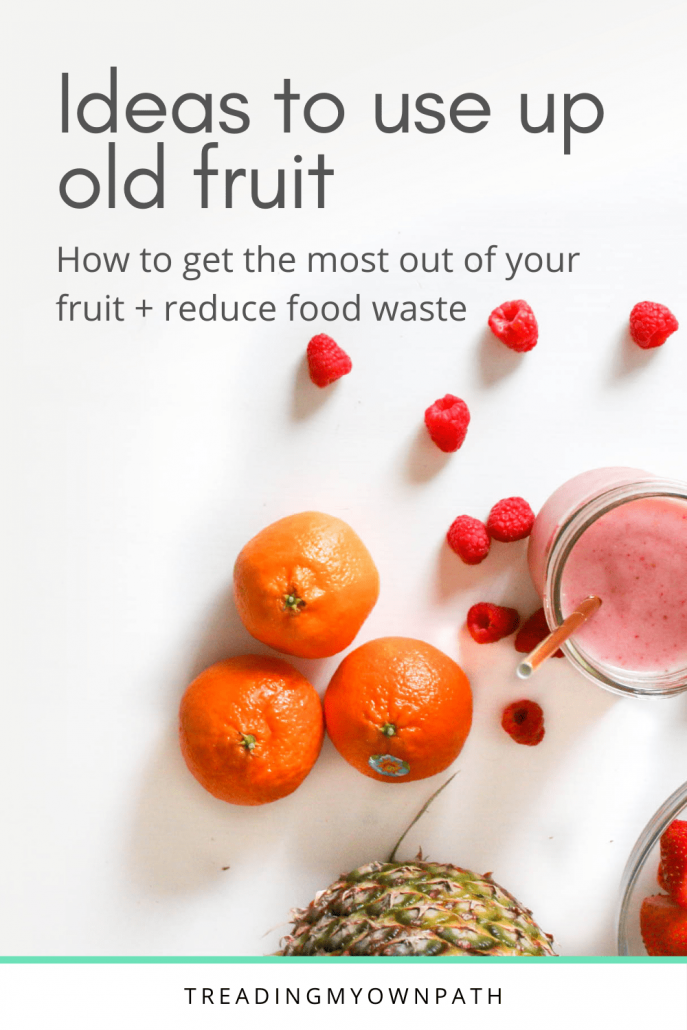
Crumble is the perfect way to use up old fruit. Apples that have gone floury, pears that have started to go squishy, stone fruit that’s gone wrinkly, blackberries or mulberries that have been sitting in the freezer for months – they are all perfect for crumble.

If you don’t have enough fruit to make a crumble, you can simply chop and freeze what you have until you’ve got enough. Or, you could just make a one person version.
Tropical fruit like bananas and mango will work too. I’ve never seen a crumble for citrus, but I’d love to try 50/50 with orange and rhubarb, for sure.
It can be helpful to stew the fruit before you make crumble. You don’t have to, but it will ensure the fruit isn’t hard in the crumble, and also reduce the cooking time considerably. All ‘stewing’ means is roughly chopping the fruit and chucking in a saucepan with a small amount of water (or orange juice), and cooking for a few minutes until the fruit starts to break down.
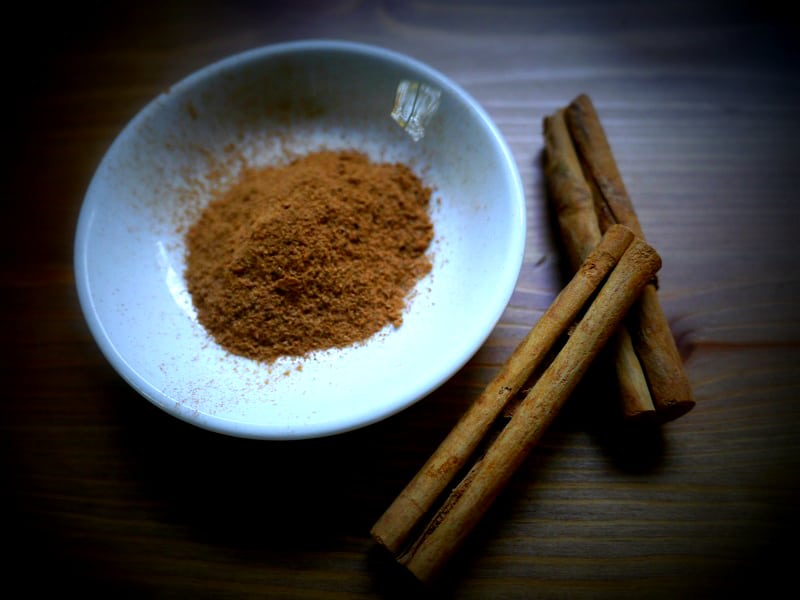
I don’t add sugar, because I find the fruit sweet enough, and there is sugar already in the topping. I usually add a sprinkle of cinnamon – and sometimes ginger – to the stewed fruit. Zested orange would be great, too.
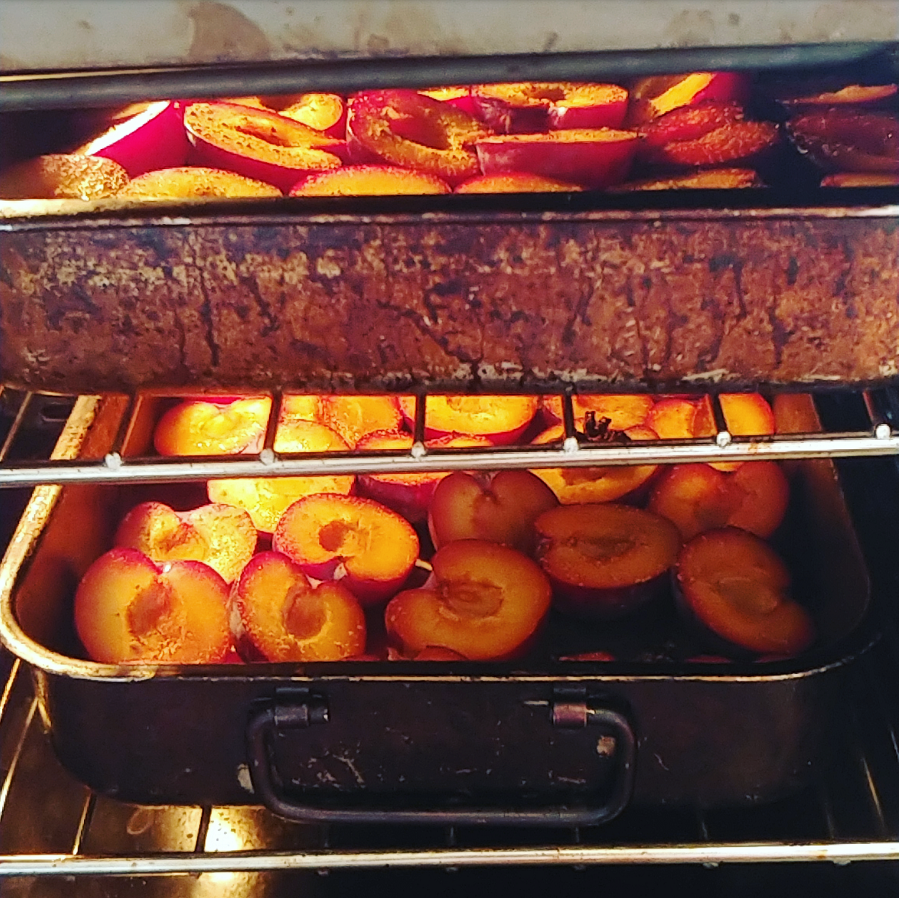
Another option is to roast the fruit. Stone fruit are great roasted. Slice, place on a tray, brush with a little oil, sprinkle with a little cinnamon and bake in a medium-hot oven for 15-20 minutes. Takes longer, but tasty.
I like my fruit still a bit chunky, but you can cook it until mushy if you prefer.
How to cook store cupboard crumble
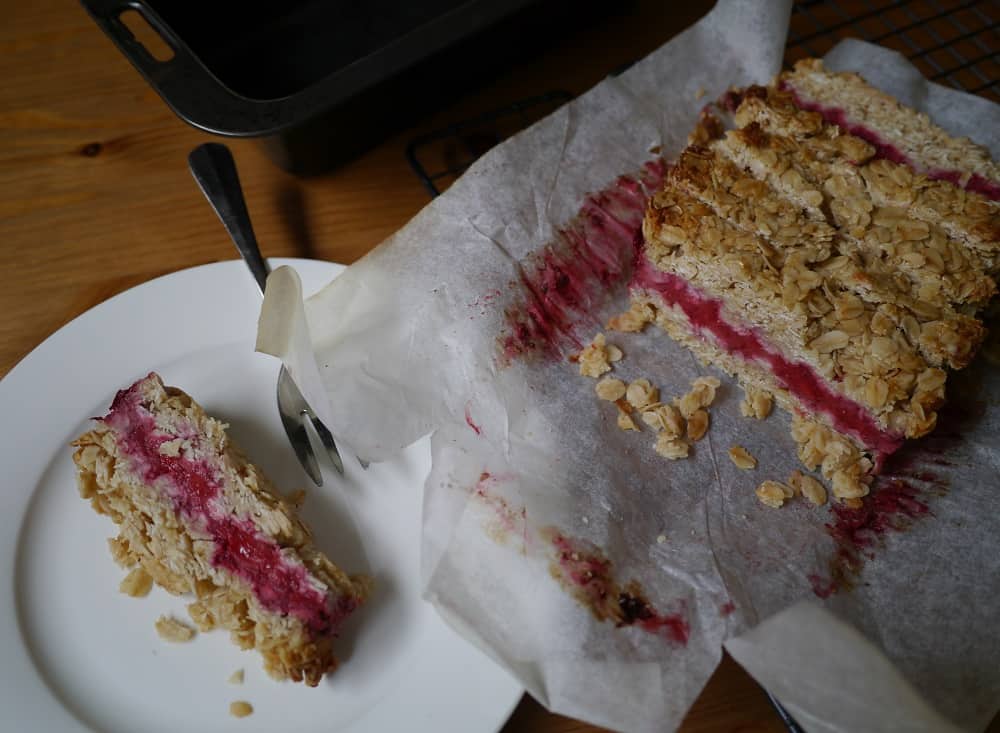
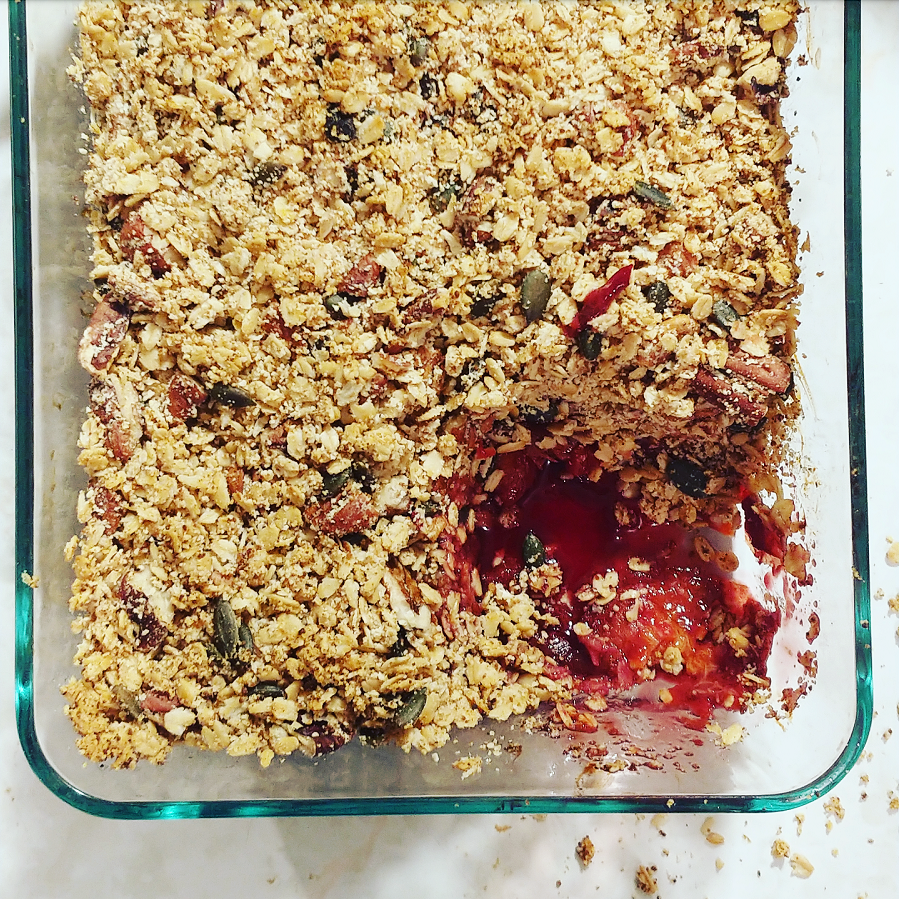
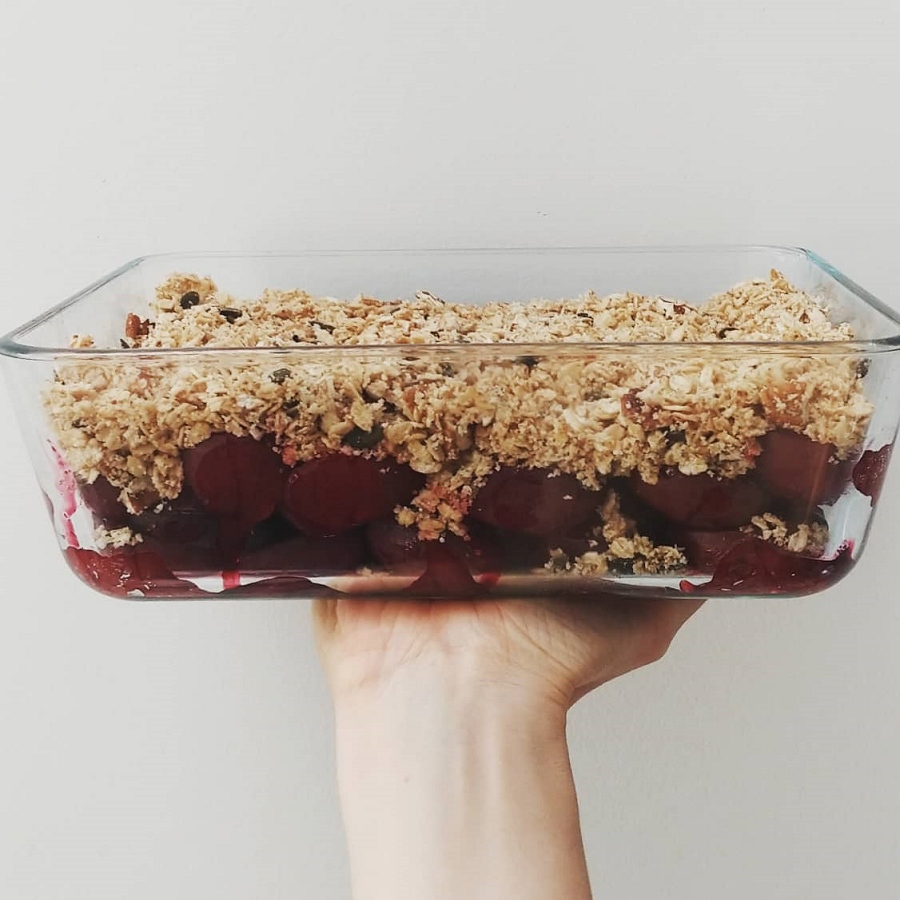
I don’t tend to weigh out fruit, or even the crumble topping. I prefer to measure it visually. Spoon the fruit into an ovenproof dish (I use glass Pyrex) so that it’s a few centimetres (a couple of inches) deep. Then, sprinkle on the crumble topping until it’s the thickness you like. No need to press it down.
Any excess crumble topping can be placed in a glass jar or other container, and frozen until you want to make crumble next.
Bake in the oven on a medium heat (I’d go for 150 – 180°C / 300 – 360°F) for about 15 – 20 minutes. If you’ve stewed the fruit beforehand you don’t actually need to ‘cook’ the crumble so much as warm it through. If you’ve used pecan nuts, opt for the lower temperature as they are prone to burning at higher temperatures.
(Better to cook for slightly longer at a lower temperature than end up with a blackened top.)
It’s ready when the top is browned and the fruit is bubbling.

Although crumble is traditionally a dessert, I often make it for breakfast (cooking the night before and either eating cold, or warming through in the morning). It’s got less sugar in it than a lot of cereals. I think if it as inverted muesli with fruit at the bottom rather than on top.
To store, allow to cool and then refrigerate and then eat within a week, or freeze and use within 3 months.
Now I’d love to hear from you! What ingredients are sitting in your pantry right now, and how are you planning to use them up? Any pantry ingredients you’re wondering how to use right now? What staples are you keeping in your freezer? Any other thoughts? Please share in the comments below!