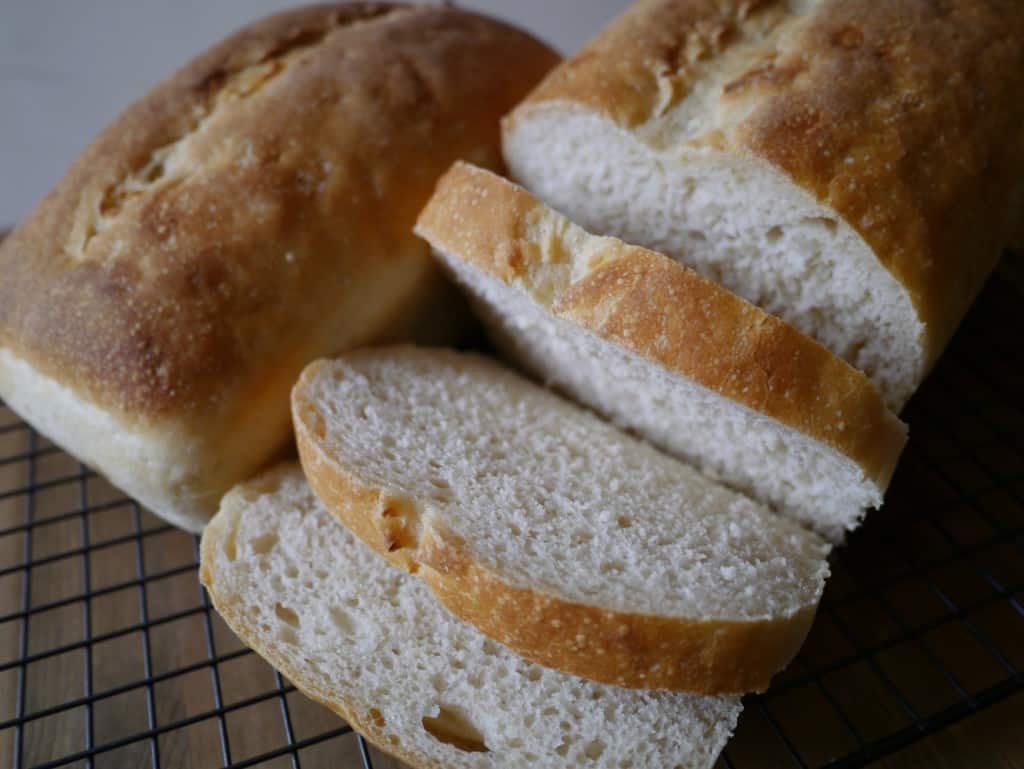
Baking Sourdough Bread.
I love real food, and I especially love fresh real bread. Not the ‘bake-from-frozen’ or ‘filled with additives’ bread that the supermarkets sell as fresh bread, but proper, slow-risin’, crusty, still-warm-from-the-oven bread that is sold in bakeries where the bakers have been up since 4am. The kind of bread with just four basic ingredients: flour, water, salt and yeast.
I particularly love sourdough bread. Sourdough is slightly different to other bread because it requires a sourdough starter which, in addition to yeast, contains lactobacilli bacteria. These ferment the dough giving a distinctive and slightly sour taste. Compared to bread made with commercial yeast only, sourdough is easier to digest because fermentation helps break down gluten, and has a lower glycemic index (GI). Additionally, because sourdough is acidic it discourages mould from growing, and so the sourdough will keep for much longer.
The downside is that buying this kind of bread isn’t cheap. We used to spend over $11 a week buying two loaves from the bakery at the weekend markets. We also had to make sure we made time every weekend to go to the market in order to buy the bread, which was annoying if we wanted to make other plans. The dilemma: have fun…or have bread? Tricky.
So these factors (cost and freedom), combined with the appeal of learning a new skill, led me to decide I was going to teach myself how to make my own bread. That was six months ago, and we haven’t been back to the bread shop since.
There is a shedload of information about sourdough on the internet, and it can get a little overwhelming. I don’t claim to be an expert, but the sourdough I make consistently works, tastes amazing and keeps extremely well. If you think that bread from the shops that is still warm is delicious, wait until you make your own and eat it straight out of the oven!
How to bake a Sourdough loaf
Making sourdough can be thought of in four stages: looking after the starter culture, making the sponge (fermentation), making/proving the dough, and baking the loaf. The whole process takes about 36 hours from start to finish, although the physical time actually doing anything is far less. However it’s quite difficult to pause the stages because you’ve suddenly found something better to do, so it takes a bit of forward planning. That said, the fridge is your friend, and can give you a bit of extra time if something unexpected comes up.
The quantities described below are for making one large and small loaf. If you want to make one medium loaf, simply halve everything.
Total ingredients required: 175-200g sourdough starter culture, 1.010kg bread flour, 600ml water, 22g salt.
Sourdough Starter
To make sourdough you will need a starter culture, which contains yeast and lactobacilli bacteria. I got mine from a friend but if you don’t know anyone who makes their own bread, you could try eBay, Gumtree or Freecycle, or a local bakery.
This culture needs feeding and watering to keep it alive. I keep my culture in the fridge in a glass jar and feed it every time I make bread, which is usually every 10 days or so. It will keep fine in the fridge in-between bakes.
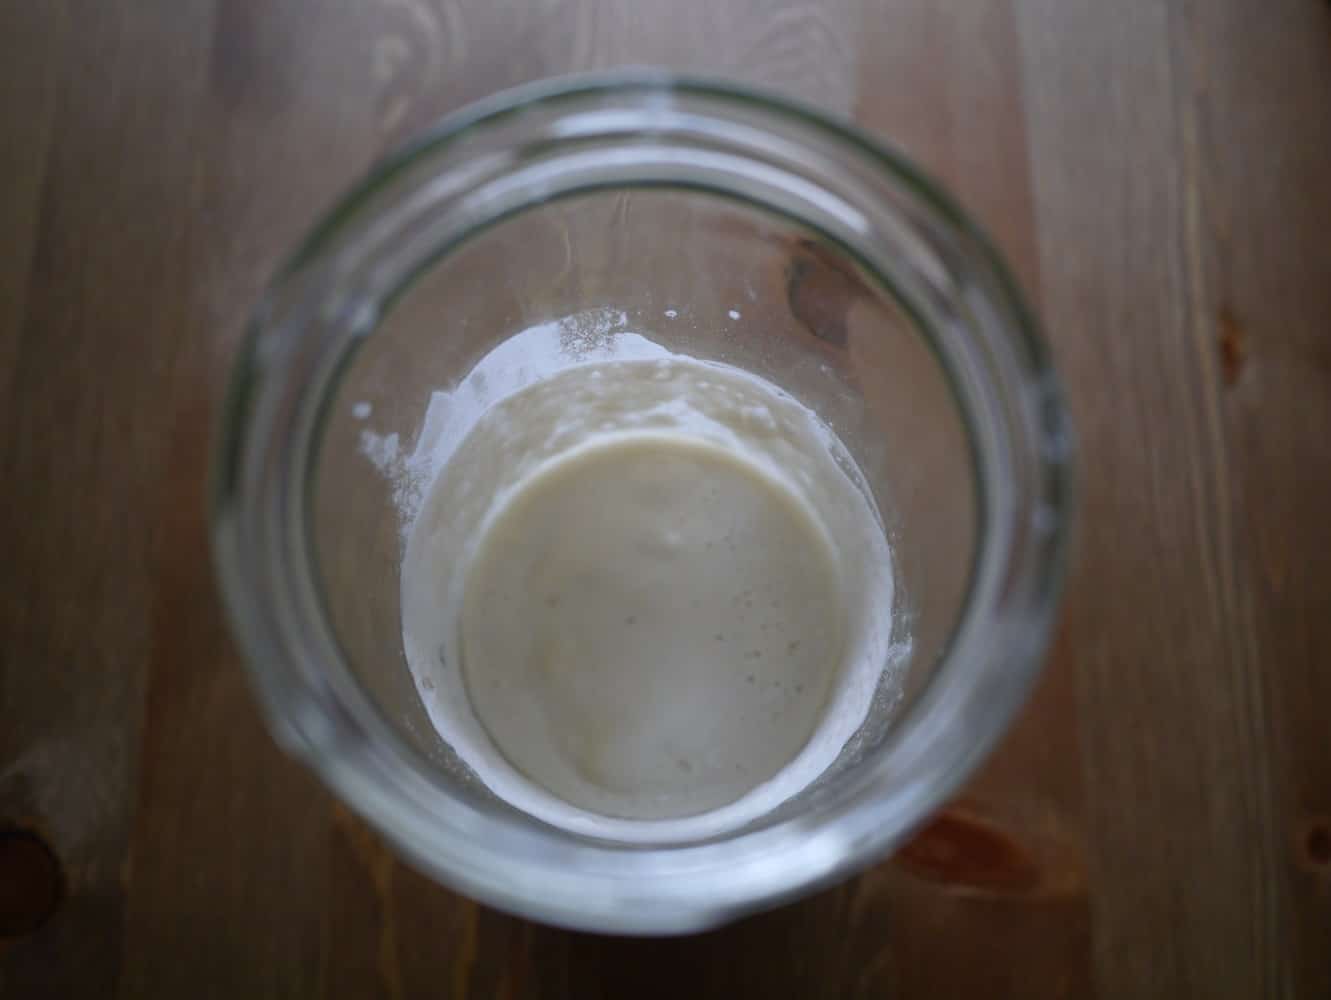
When you’re ready to bake, take the starter culture out of the fridge. It may have gone hard on top and not look very pleasant. Don’t worry! Stir in any lumps and they will be broken down. Leave the culture at room temperature for several hours to allow it to become active and ferment (or ripen). Leaving overnight is fine. What should happen is the culture should bubble and become frothy, and appear to double in size, before deflating back to its original size. This is when it’s ripe and ready to use. If you’re not sure whether it’s risen and deflated (if you left it overnight for example) look at the sides of the jar; if it has risen it will probably have left a residue.
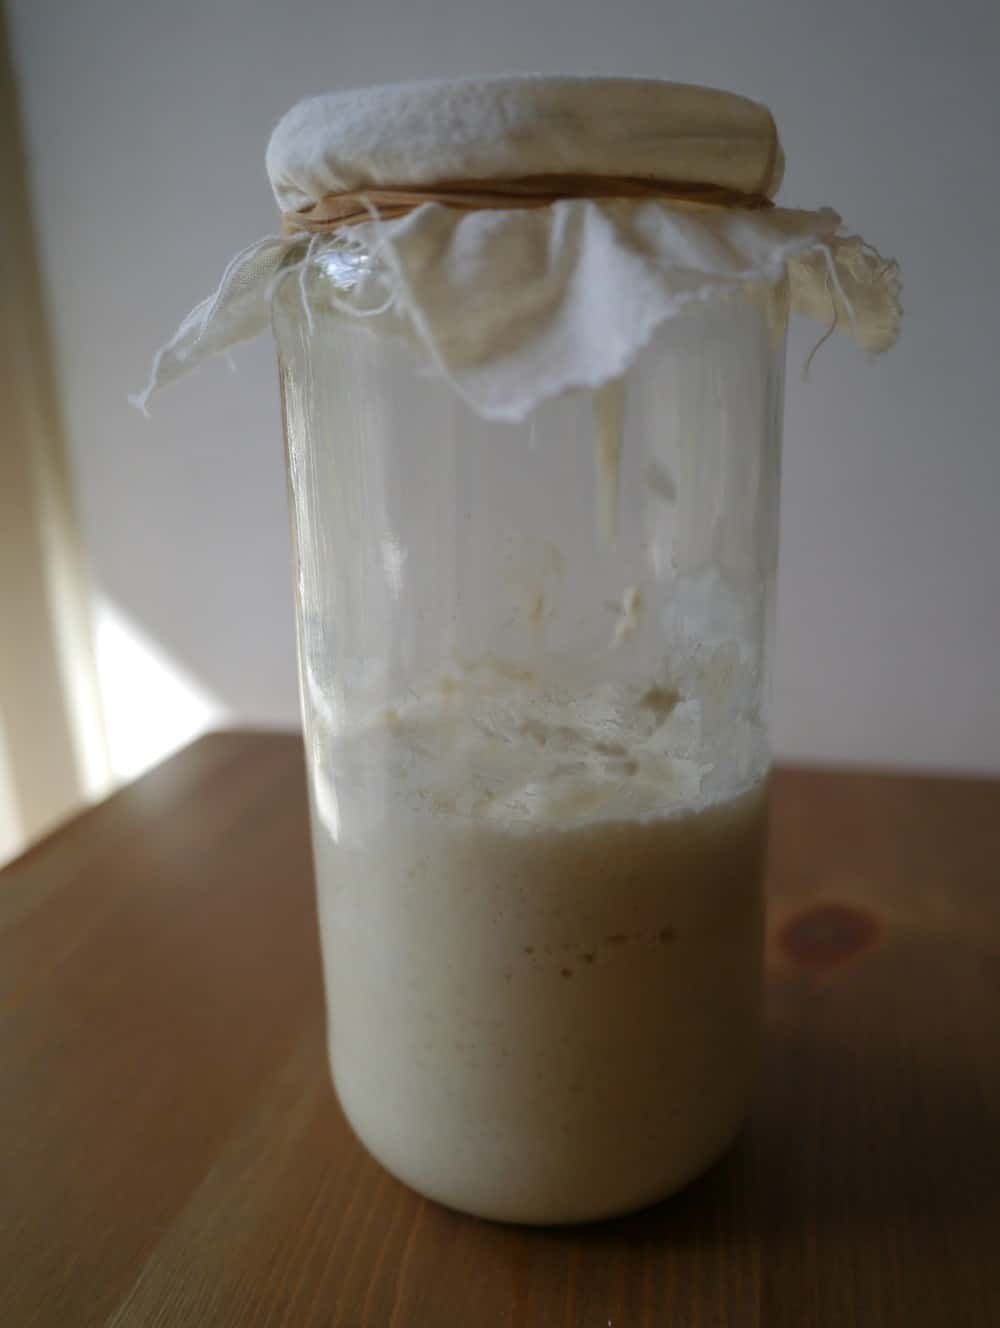
Starter taken from the fridge. It will have started to ferment in the fridge but will not be fully developed.
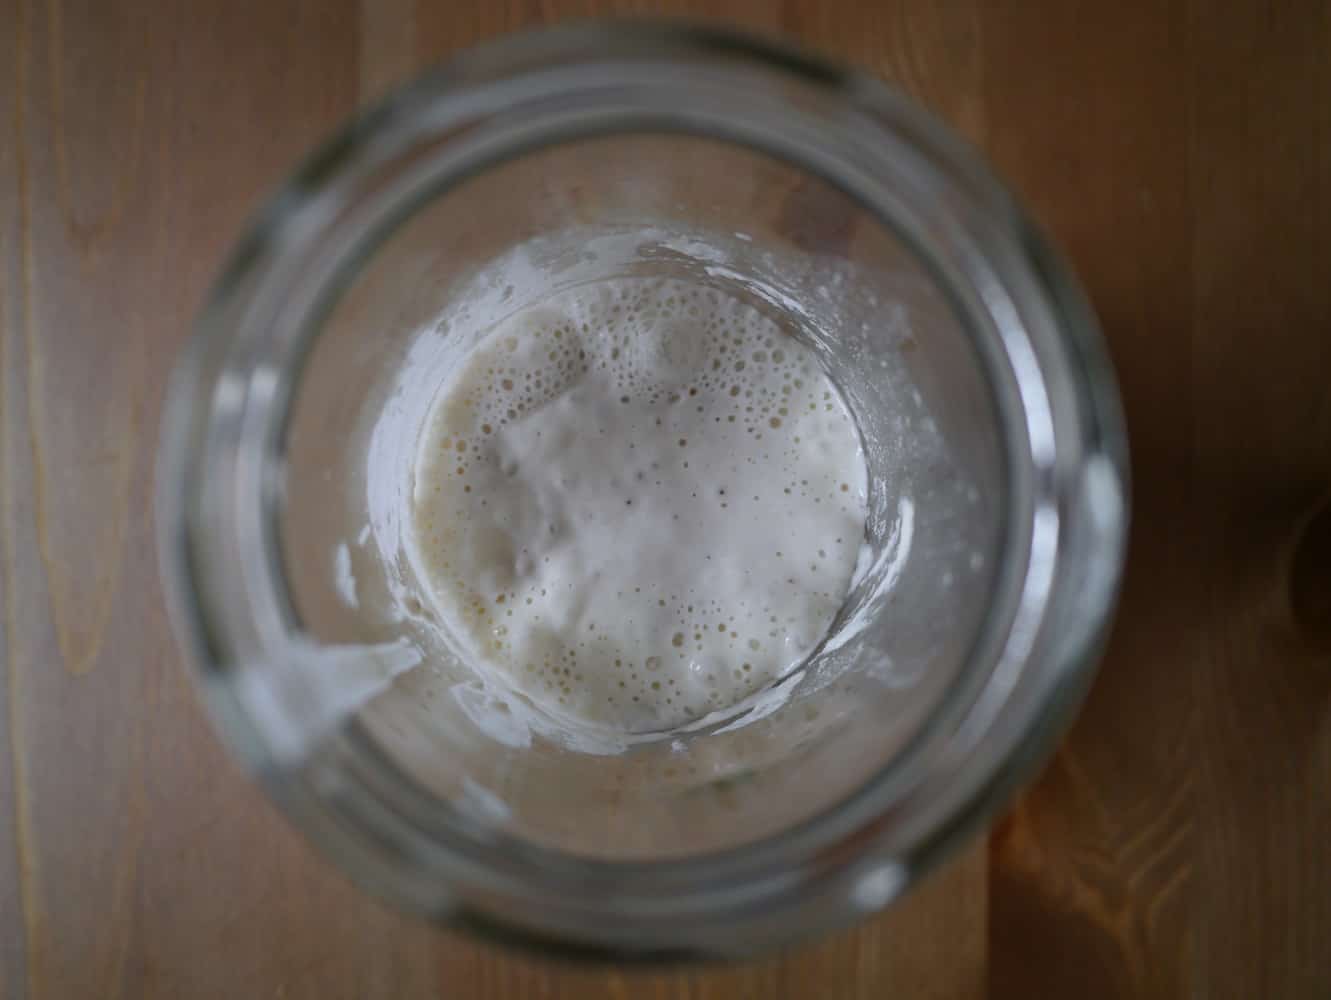
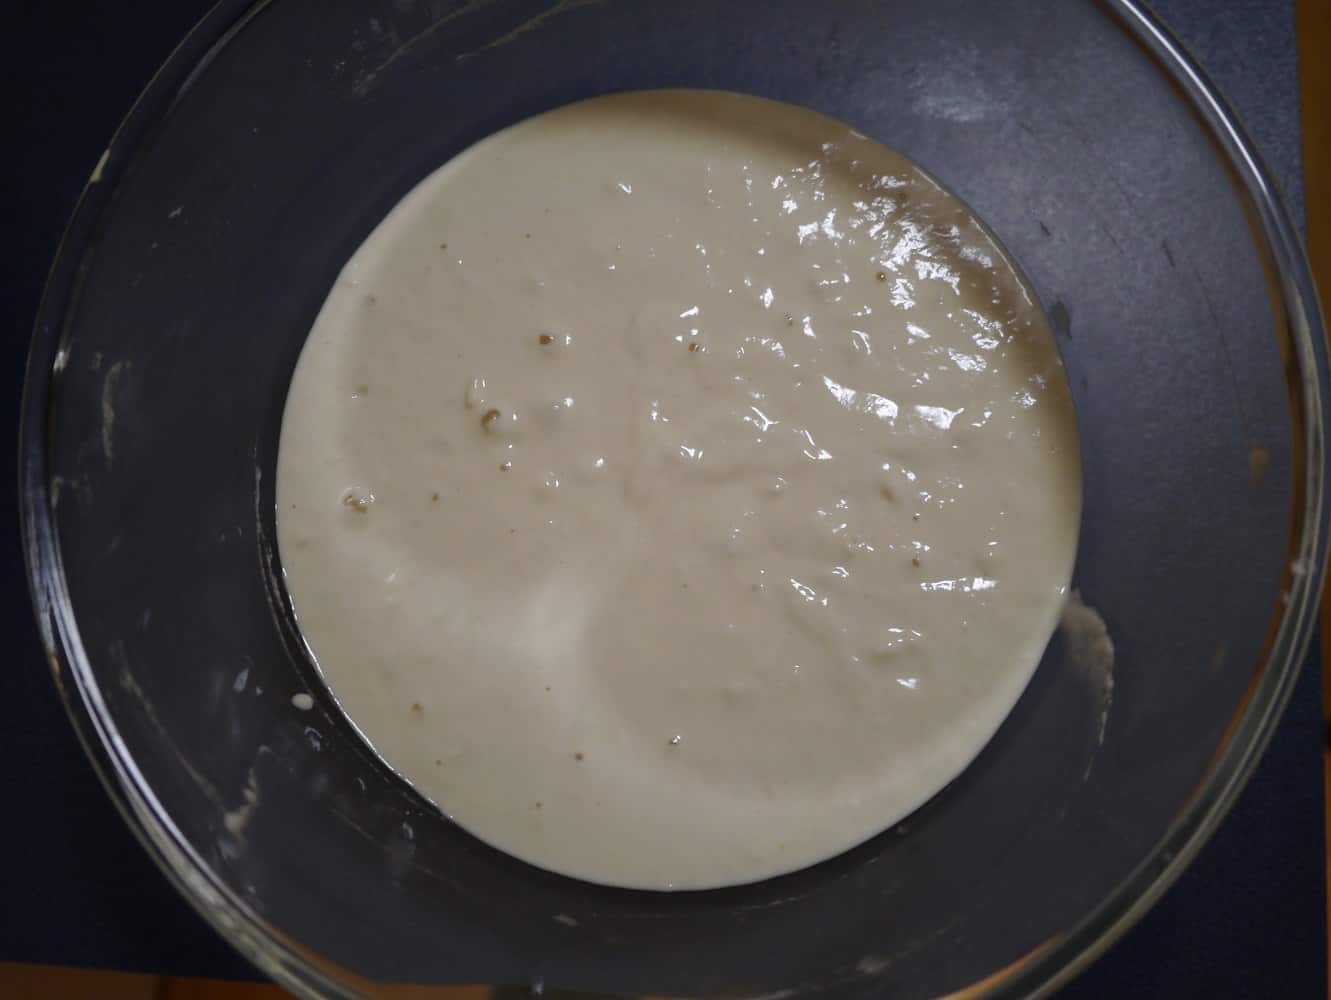
The starter after a couple of hours. The bubbles show that fermentation is taking place.
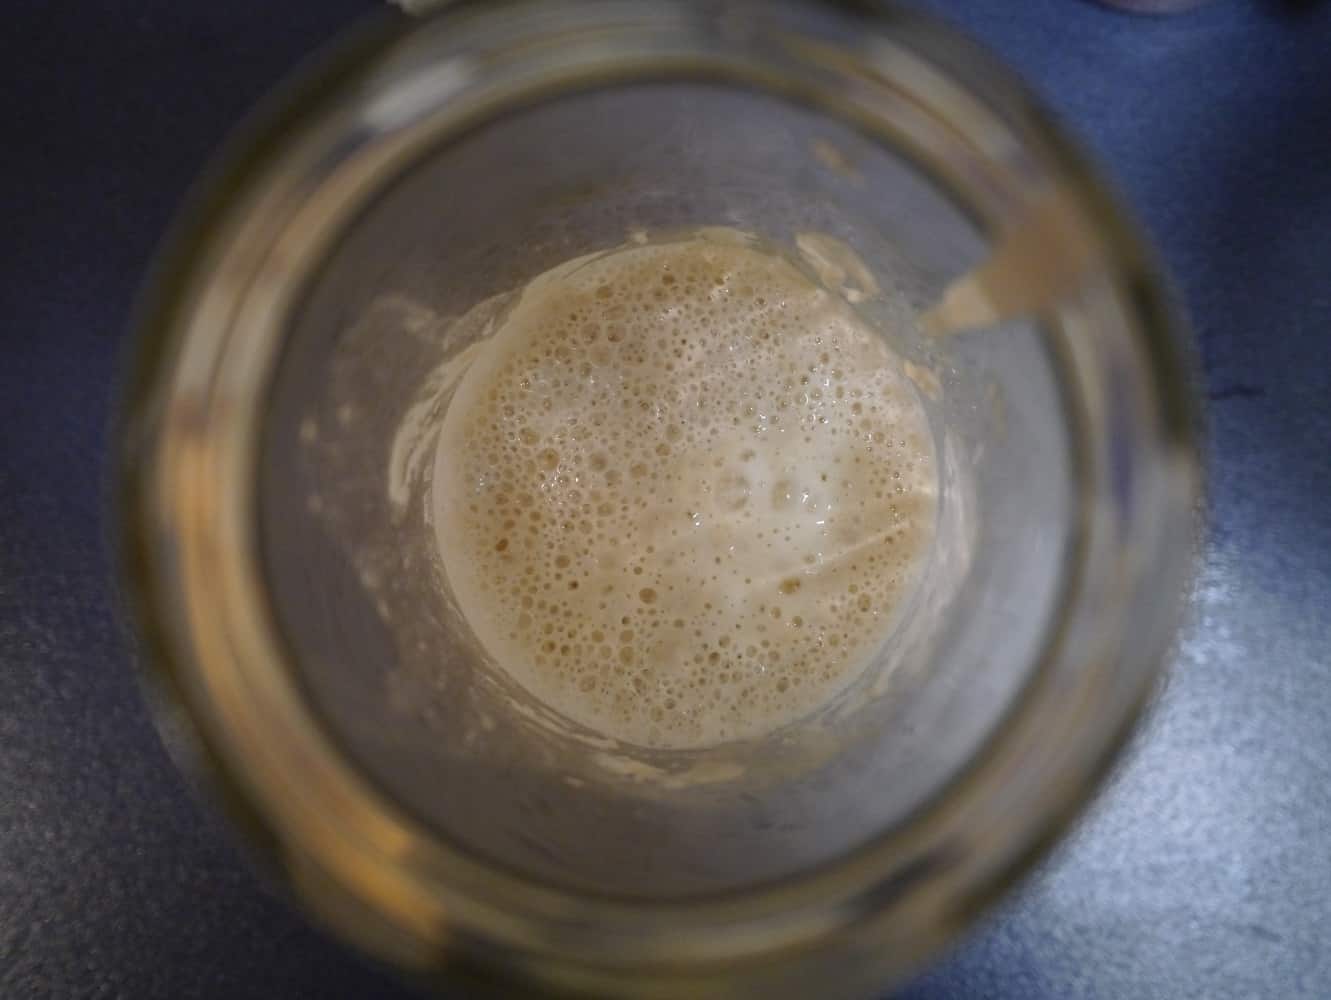
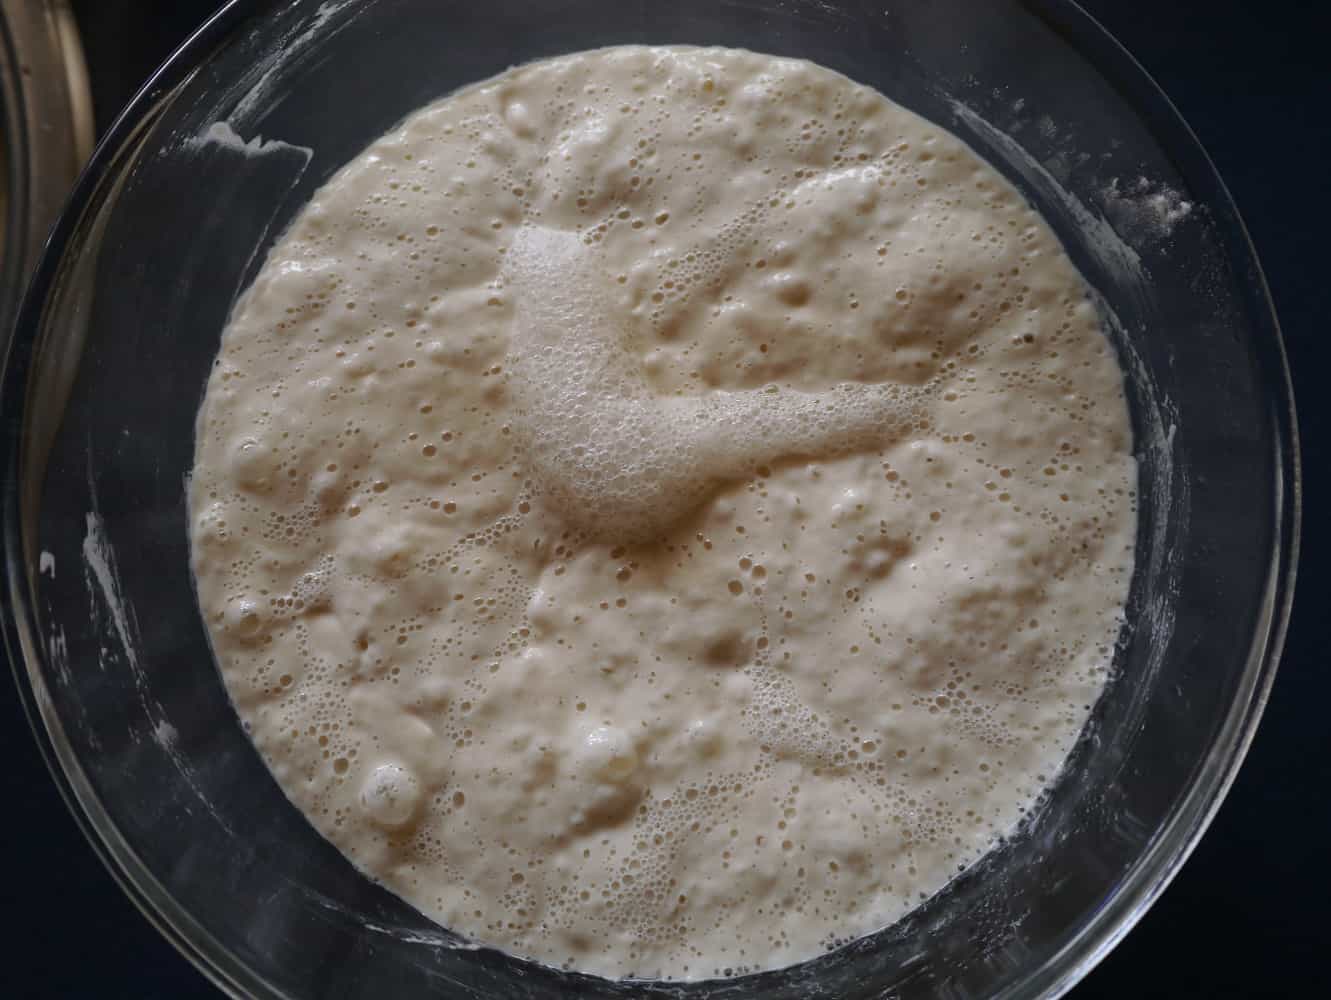
Fermentation in full swing. The starter will appear to have doubled in volume.
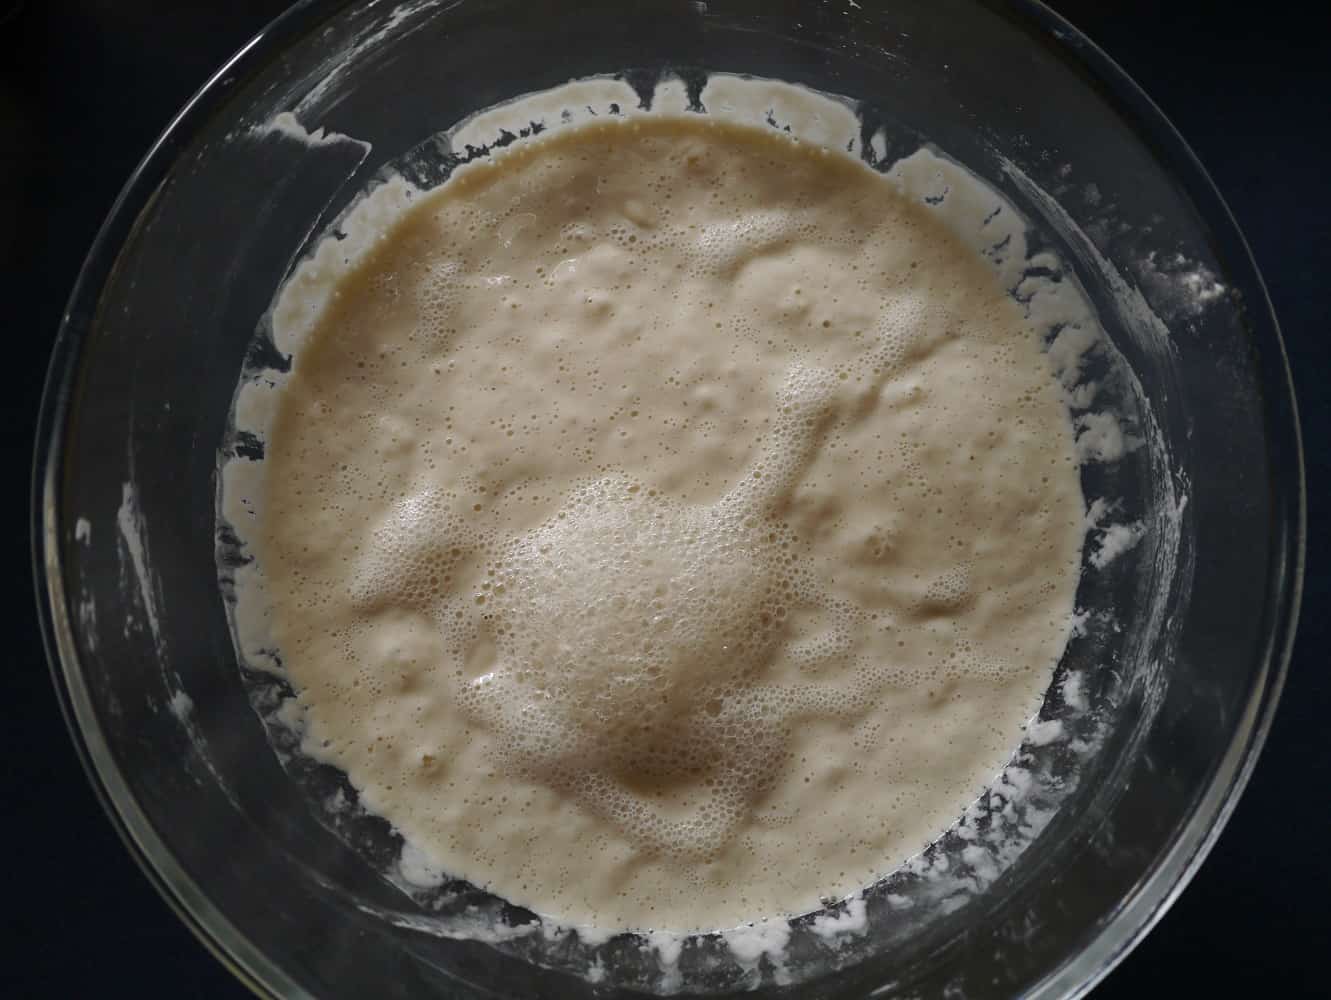
Fermentation is complete and the starter is ready to use. You can see on the sides of the jar where the culture rose and then sank. Looking for this helps know when your starter is ready.
Before using the starter in your loaf you will need to retain some for the next time you bake. You will need to feed this with flour and water; the ratio starter:flour:water needs to be 1:5:5. So, for 20g of starter you need to add 100g flour and 100g water. This is called a ‘100% hydration starter’. Mix together in a bowl, pour into a clean glass jar, cover with a piece of cloth or a loosened jar lid and return to the fridge.


Making a Sourdough ‘Sponge’
Now you’ve fed your starter you’re ready to start making the loaf. The first part is making what is called the ‘sponge’. The sponge is made of flour, water and starter culture which is allowed to ferment for several hours.
Ingredients:
160-175g starter culture (remember to save 20g for the new starter culture)
460g strong white unbleached bread flour
580-600g filtered water
Method:
Weigh the ingredients into a large bowl (remember that whilst fermenting the mixture will rise). Cover with a tea towel and leave at room temperature for at least 8 hours (or overnight) until the mixture has risen and then deflated.
The sponge mixture starts with a glossy appearance.
As it ferments bubbles appear on the surface and the sponge rises.
When the sponge is ready (ripe) there will be bubbles on the surface but it will have reduced in volume. You can see marks on the side of the bowl where the sponge rose and then sank. Look for this to know when your sponge is ready to use.
Preparing the Sourdough ‘Dough’
This is the stage where timing is more critical. If you don’t have enough time to make the dough, leave it to rise and then bake into bread, the sponge can be left longer until you are ready. I have left the sponge for a day in the fridge when something unexpected came up – just remember to bring it back to room temperature before using to make the dough.
Ingredients:
Fermented sponge (see previous step)
550g strong white unbleached bread flour
22g salt
(Don’t be tempted to leave the salt out. In addition to adding flavour it slows the fermentation rate of yeast, and also strengthens the gluten, which is what allows the dough to rise.)
Method:
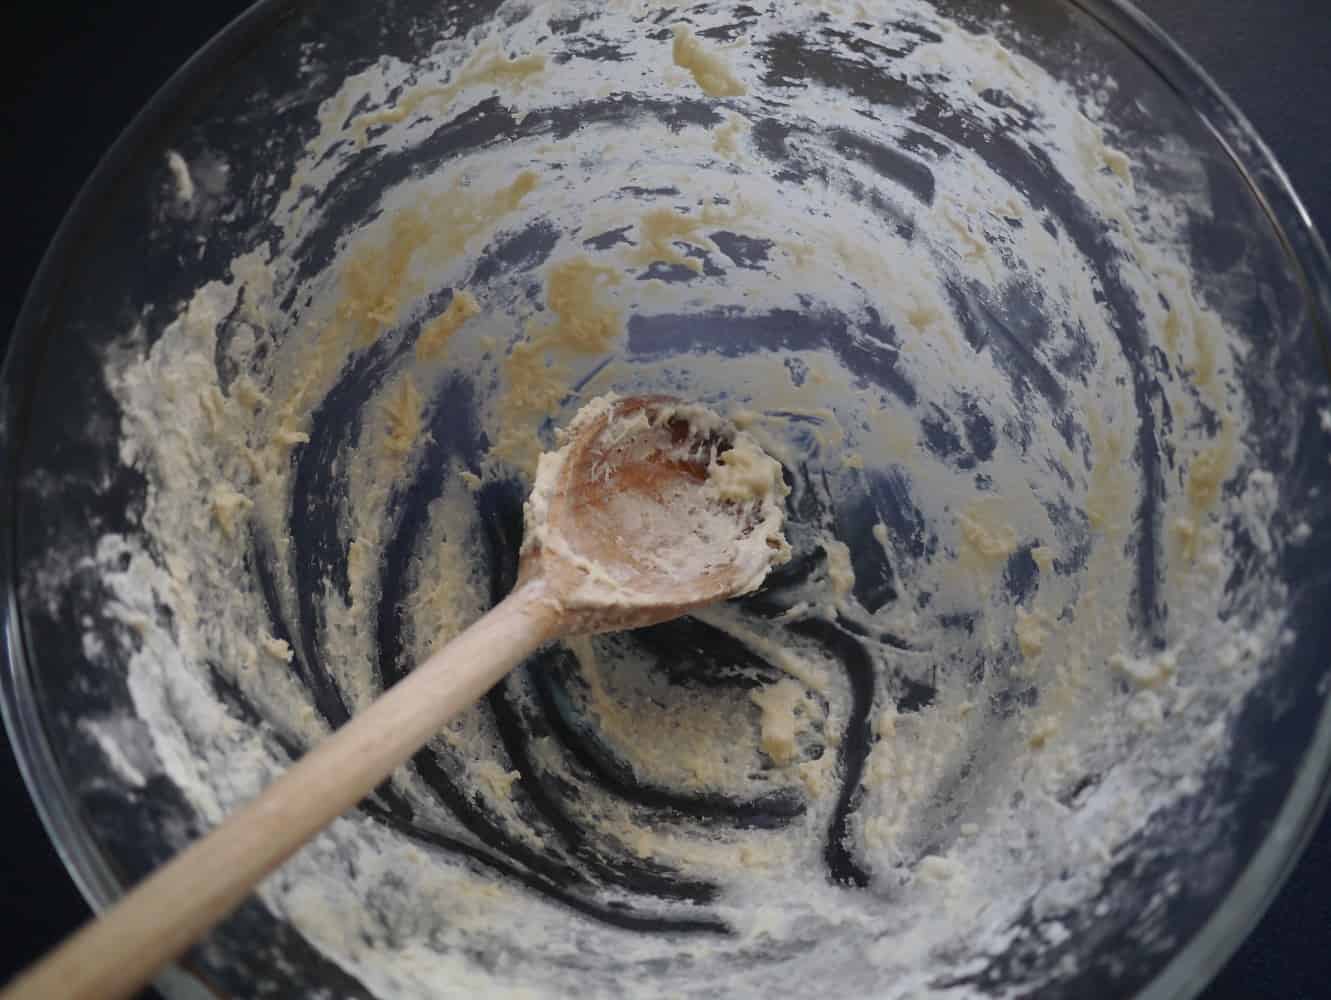
Grease a loaf tin (or two) with butter or oil. Add the flour and salt to the bowl containing the fermented sponge mixture. Mix together with a wooden spoon until the mixture becomes stiff.


Turn the mixture out onto an un-floured surface. It will look impossibly sticky and nothing like bread dough, but don’t be disheartened. Once you start working it, it will start to look like dough very quickly.
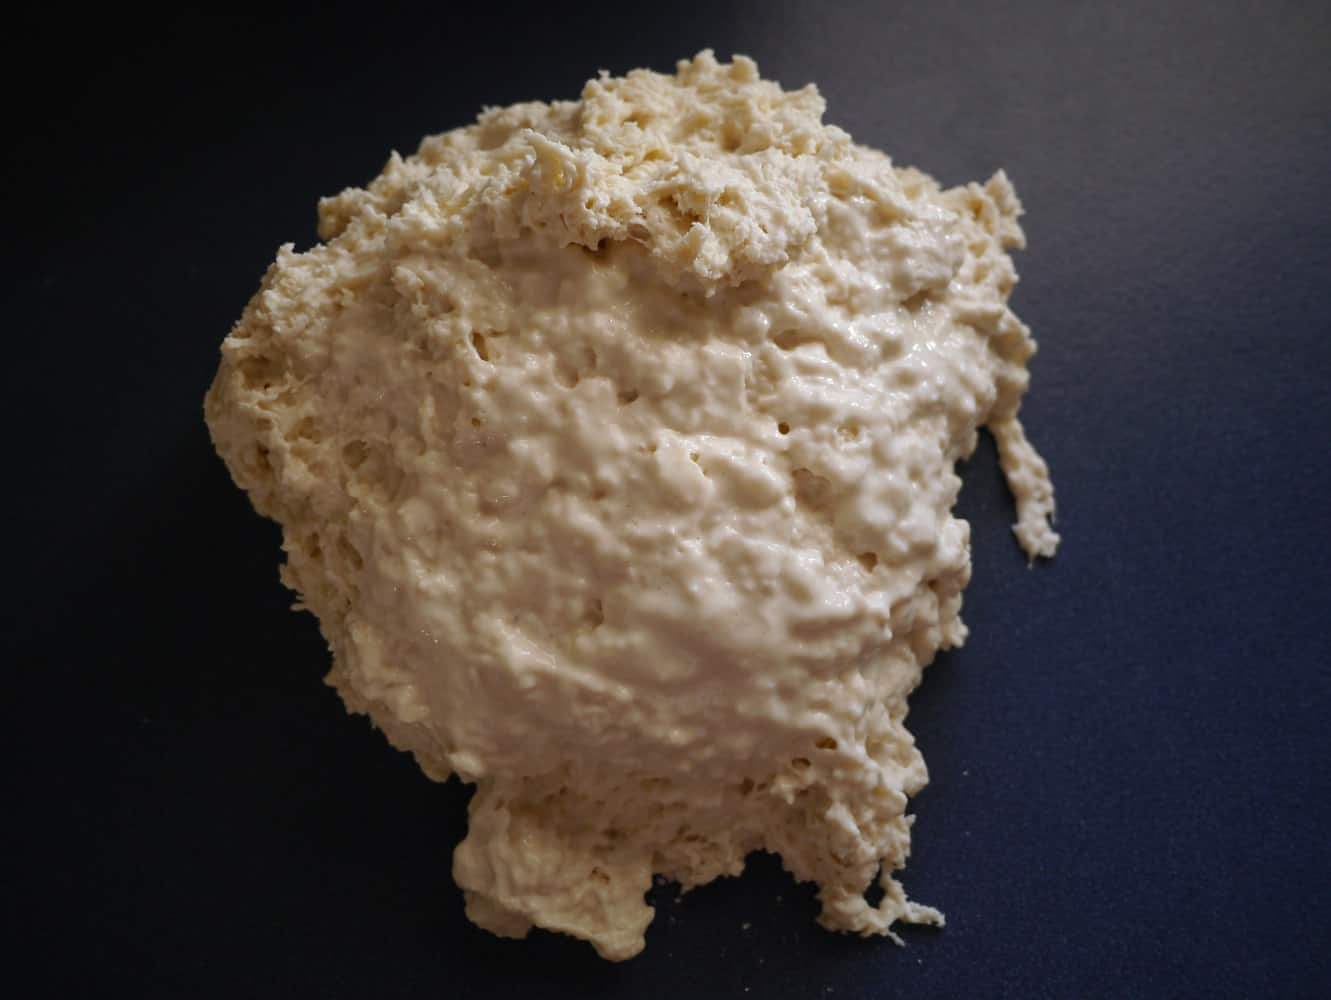
Don’t panic if your mix looks like this! With ten minutes kneading, it will look like a proper ball of dough.
Stretch and fold the dough for at least 10 minutes using your hands. (If it is really sticky a large silicon spatula is helpful to begin with.) Working it like this allows the gluten to develop which is needed for the bread to rise.


After 10 minutes the dough should be smooth and elastic (if it isn’t, keep on working it and you’ll get there). Shape into an oblong that will fit into the loaf tin. Cover with a tea towel and leave in a warm place until doubled in size. The time this takes will vary according to the temperature of your kitchen – in Australia I find that in summer it takes around 4 hours, and in winter nearer 6 hours.


You will know your loaf is ready when it has doubled in size. If you leave it too long it will start to sink.
Baking the Sourdough Loaf
Total time required: 30 minutes
Preheat your oven to 250°C.
Pour an inch of water into a roasting tin and place in the oven once it reaches the correct temperature. Once the water in the tray is bubbling, the oven is ready for your loaf. (You can speed this up by using boiling water to pour into the roasting tin.) The steam created will give your loaf a better crust.
Using a sharp knife, score the top of the loaf just before you put into the oven. This will stop the loaf bursting open as it cooks.
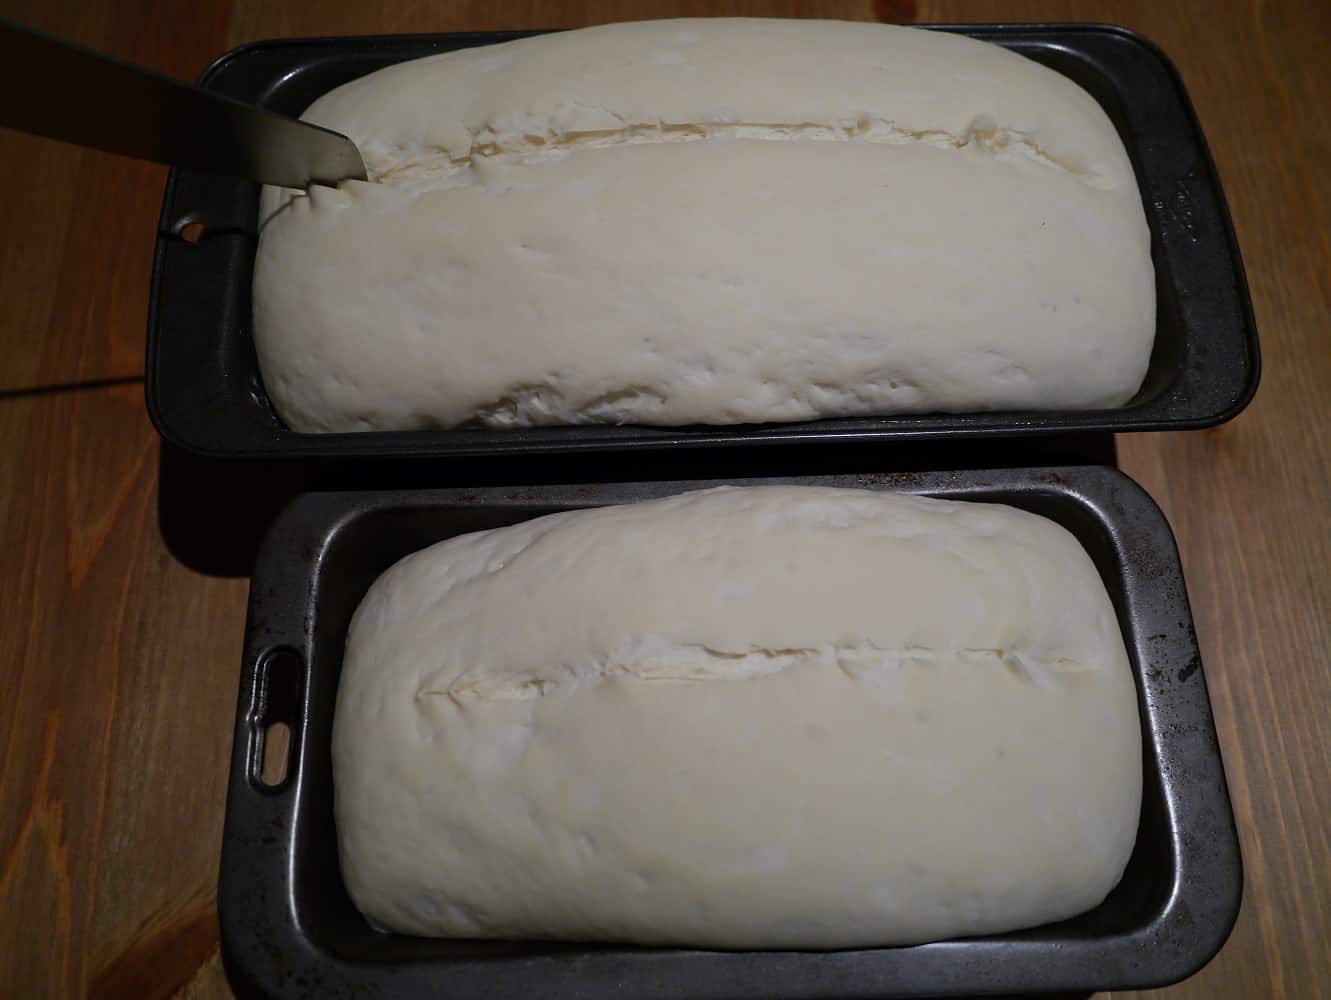
Use the sharpest knife you have and try to cut the bread quickly to avoid dragging the skin.
Place the loaf in the oven. After 10 minutes reduce the heat to 200°C, and bake for another 5 minutes. If one end appears to have cooked more than the other, it is fine to turn the loaf around at this point.
Now turn the oven off and leave for 5 minutes, then open the oven door slightly and leave for another 10 minutes.
Take out of the oven and remove the loaf from the tin and onto a cooling rack as soon as possible – use a clean tea-towel to handle the loaf if it is too hot. If you leave the loaf in the tin the steam will make the crust soggy.
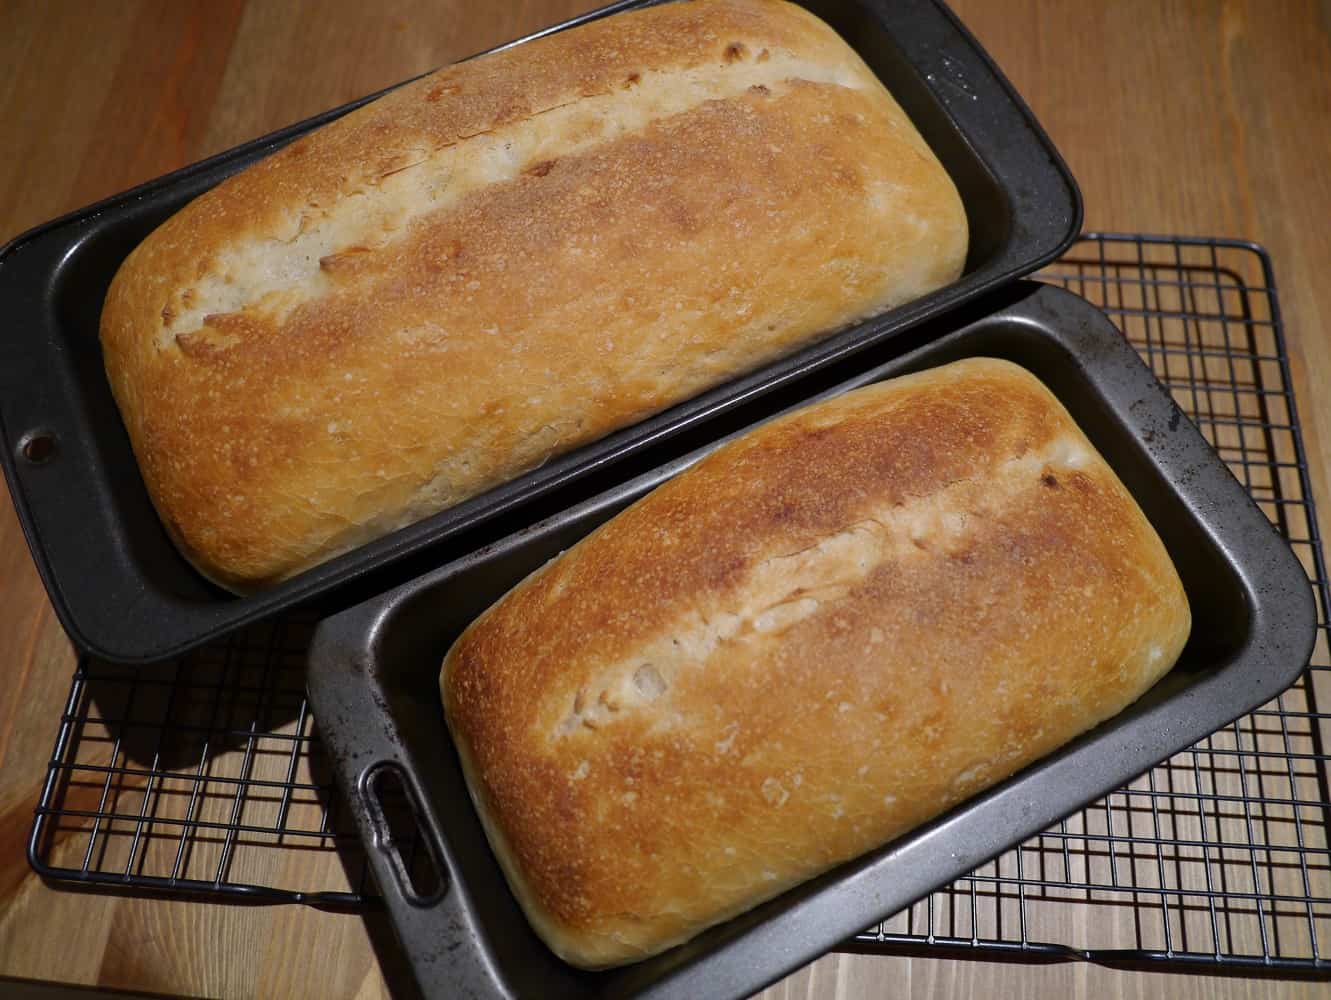
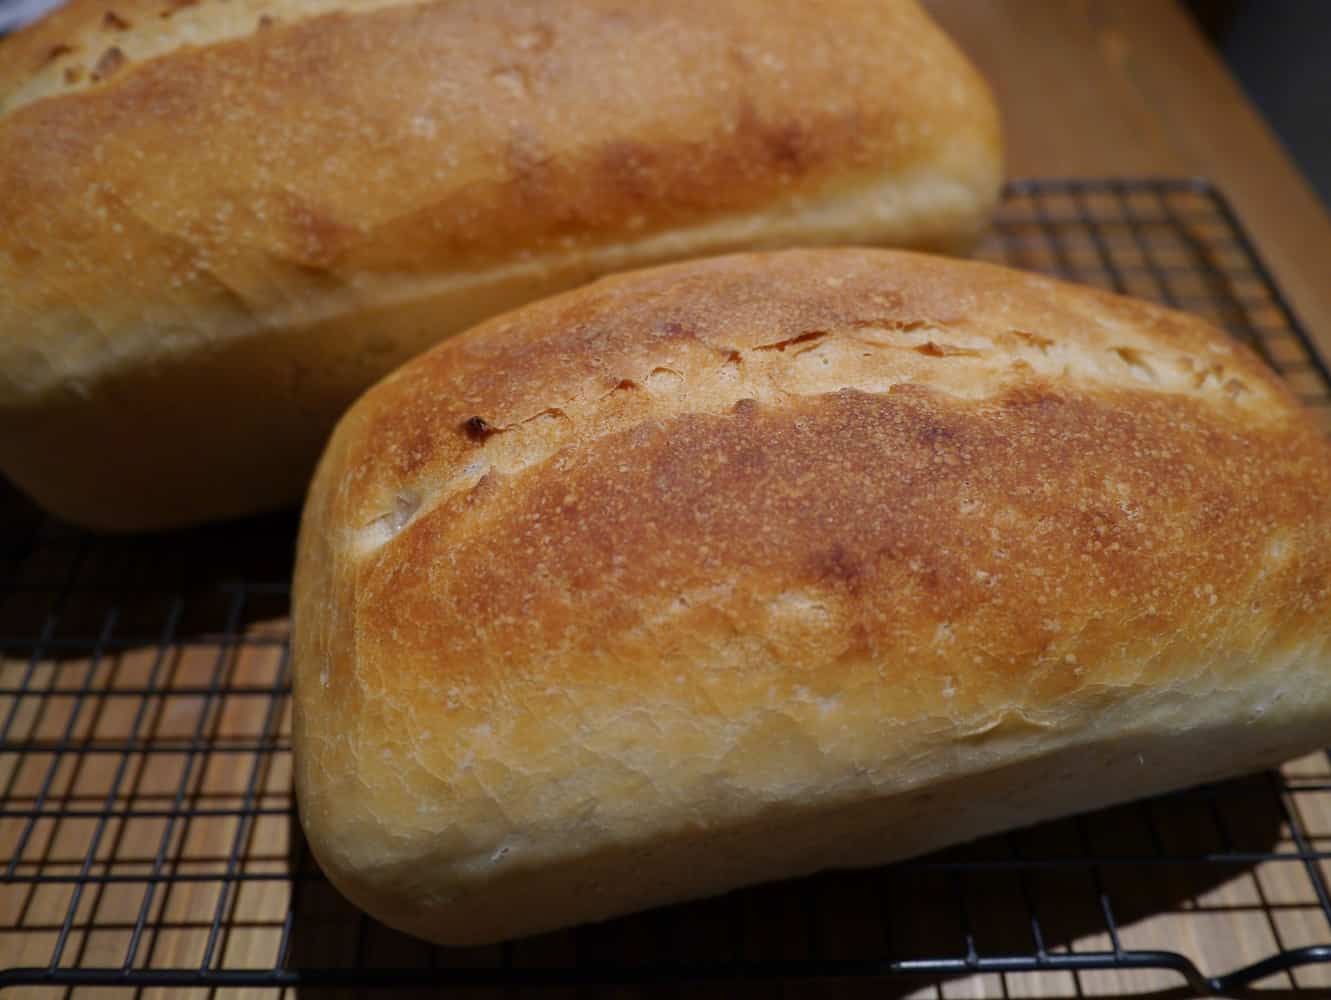
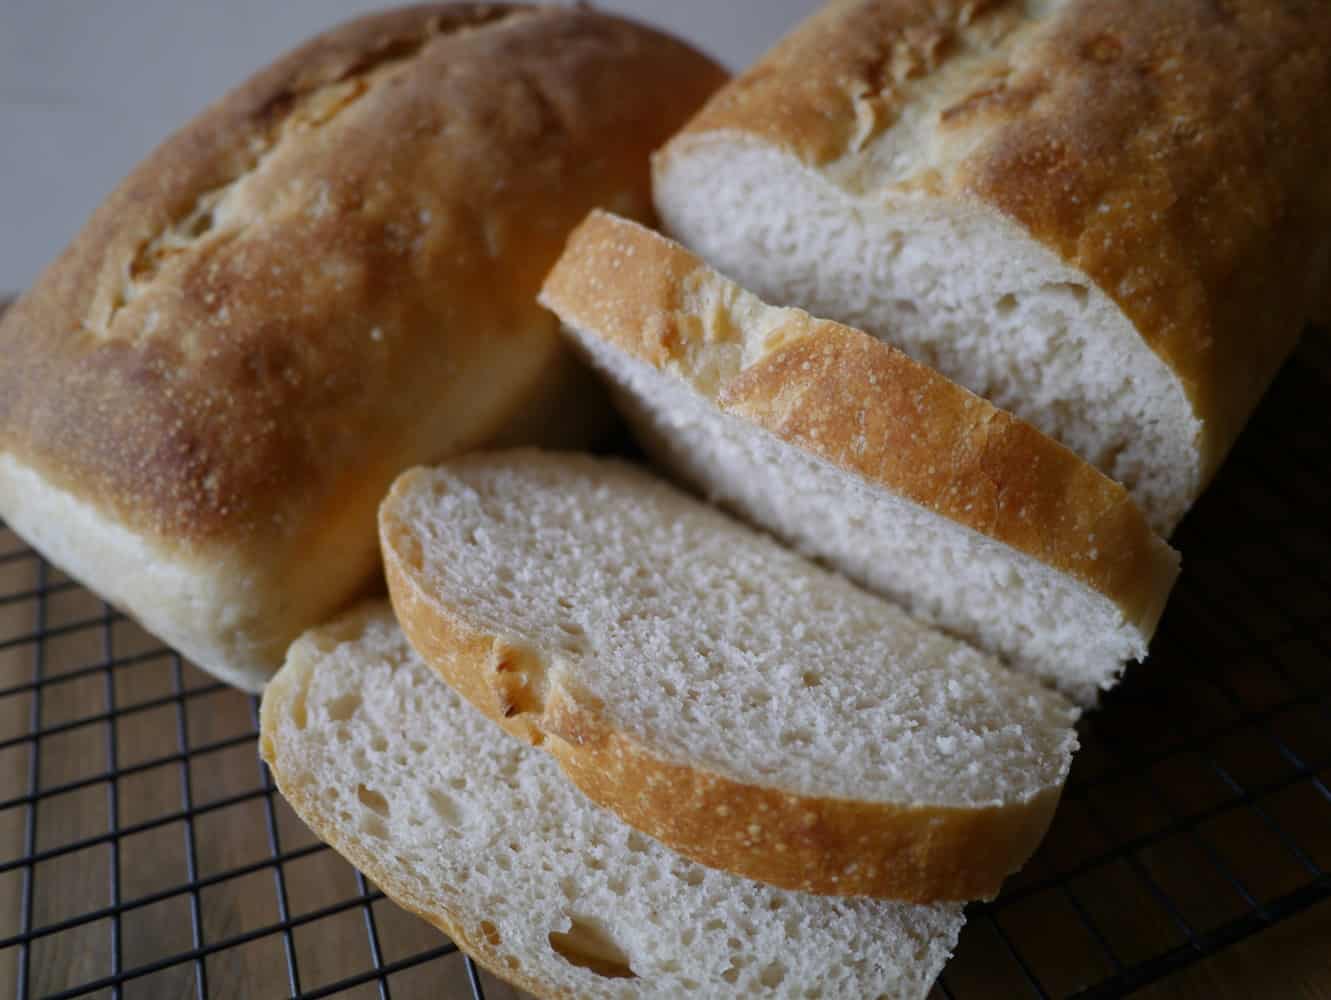
Your loaf should keep for several days (and up to two weeks), and the flavours will continue to develop.
Baking Sourdough: Timings
It’s worth giving a bit of thought to when it will be convenient for you to actually put the loaf in the oven, and work back from that so that all the other steps happen at the right time. I have misjudged how long the loaf would take to rise and had to stay up past midnight in order to actually bake it so it wasn’t flat by morning!
This is what generally works for me:
Day 1: 6pm Remove starter culture from fridge and (leave at room temperature for 12 hours)
Day 2: 6pm Make new starter culture (10 minutes)
Day 2: 6.10pm Make sourdough sponge (leave at room temperature for 12-18 hours)
Day 3: 8am Make dough (10 mins)
Day 3: 8.10am Work dough (10-15 mins)
Day 3: 8.25am Grease loaf tin and put loaf into tin (leave at room temperature for 4-8 hours)
Day 3: 2pm Bake loaf (30 mins)
If you want to bake bread on a Saturday it’s quite easy to do the other stages on Thursday and Friday evening, and once the bread is rising in the tin you can leave it for several hours. I find it all starts to go wrong when I try to make the sponge and the dough on the same day, because the fermenting of the sponge can’t be rushed or speeded up, and it means I am still baking bread after midnight. If you start out with good intentions but come Saturday morning you can’t face getting up, let alone baking, the sponge can be left on the side for a few hours or put in the fridge for 24 hours without any adverse effects, and you can make the dough and bake the loaf the following day.
[leadpages_leadbox leadbox_id=1429a0746639c5] [/leadpages_leadbox]


Sounds good to me, I have failed 5 times. But will give your method a try. Cheers
Hi Lindsay I love this recipe and have had lots of success with it Thankyou the instructions are great. I was wondering whether you have experimented with adding seeds nuts etc to the bread?
Hi Lucy, thank you so much! I’m trying to remember, if I did it was a long time ago. If I did, I would add them once the dough was formed and ready to go in the tin. Sprinkle on top, knead in, then proceed as normal. Hope that helps!
After trying umpteen sourdough recipe blogs I came across yours. I’ve been using your recipe and timings since February and it’s now the end of June, I get good loaves every time. I’m in the uk and I’ve found I’m able to speed up the timings for the sponge and proving by placing the bowl or tins in the oven with just the oven light switched on. The only thing I can’t quite get right are the baking times. I think our ovens must be quite different. Thanks a lot, I was getting really frustrated that I couldn’t bake a successful sourdough.
Just reading through this carefully but need clarification re feeding the starter. Do you feed the starter you are saving for next time, or the starter you are using to make your loaf?
The one you are saving.
“Before using the starter in your loaf you will need to retain some for the next time you bake. You will need to feed this with flour and water; the ratio starter:flour:water needs to be 1:5:5. So, for 20g of starter you need to add 100g flour and 100g water. This is called a ‘100% hydration starter’. Mix together in a bowl, pour into a clean glass jar, cover with a piece of cloth or a loosened jar lid and return to the fridge”
You take what you need for making the sponge from the starter that you have…the remaining starter (which should beabout 20% of the original presponge amount) is what you feed and keep in the fridge for subsequent loafs of bread…
Hi! I made your re pie and it turned out great…but the next time I went to make it my bread didn’t rise!! Not sure if I should have fed my starter before I used it, or over kneaded it, the top of the dough in the tin was quite dry and I wonder if that stoped it rising? Opinions ;-)
Hi, you need to explain exactly what you did with your starter, how did your store it, if not in the fridge did you feed daily?If in the fridge, what did it look like when you took it out of the fridge, did it have a layer of water on top? If it did then it probably would have needed feeding before using. I always feed mine with equal amounts of flour and water before I put it back in the fridge.
Hello i want to make sure something,
“Day 1: 6pm Remove starter culture from fridge and (leave at room temperature for 12 hours)”
shouldn’t it be 6am and 12 hours later will be 6pm?
“Bakeroo’s exploration of ‘Baking Sourdough Bread’ is a wholesome journey into the heart of the age-old art of crafting this beloved loaf! Each blog post is a delightful guide that demystifies the sourdough process, turning it into an accessible and rewarding baking adventure.