I wanted to write this post because I’m passionate about real food. In the last year I’ve been on a mission to cut processed food out of my diet. When I think about what processed food is, images of sugary, salty and nutritionally-devoid ‘junk’ that is overpackaged in bright plastic spring to my mind. But it’s not just the sugary snacks that are over-processed. When you visit the milk aisle in the shop, there’s dozens of different products with a variety of claims, and it’s difficult to know what they all mean and whether they’re actually good for us.
Modern Milk
The majority of dairy milk comes from cows. Records show people in central Europe started dairy farming and developed lactose tolerance 7,500 years ago (see here), so humans have been drinking cow’s milk for a pretty long time. You’d be forgiven for thinking that the milk probably hasn’t changed much since then. I mean, it still looks the same. But actually, modern farming practices have changed the nature of milk significantly, and not for the better.
So what’s changed?
Pasteurization vs Raw
Pasteurization of milk was first demonstrated in 1886 as a way of extending the shelf-life of milk. Milk is an excellent medium for pathogens, meaning they can multiply quickly, and cause spoilage. Pasteurization is a heat treatment: milk is forced through pipes warmed on the outside by hot water so the milk is heated to 72ºC for 15 seconds. This process reduces pathogenic (disease-causing) bacteria and moulds that may be present in the raw milk.
Before pasteurization, milk was consumed raw. If raw milk is consumed when fresh from healthy cows the health risks are much smaller. Raw milk became a big health issue after industrialisation. Intensive farming conditions mean cows are more likely to contract and harbour disease and also spread it amongst other cattle. Lengthy supply chains mean milk is not consumed soon after milking, giving pathogens a chance to multiply and cause illness when the milk is finally consumed. Pasteurization doesn’t create clean milk, it cleans dirty milk.
The pasteurization of milk means that as well as killing any pathogenic bacteria, the heat treatment also kills beneficial bacteria. Heat also damages vitamins, nutrients and denatures proteins. For example, raw milk contains vitamin C but this is destroyed by pasteurization. Because of its enhanced nutrition raw milk is becoming more popular (although it is illegal to drink it in certain countries including Australia) but there are still risks.
UHT (Long-Life)
UHT means ultra-heat treated, and this means the milk has been heated to 138ºC for at least 2 seconds. This extra treatment means the milk can be stored at room temperature in a sealed container, and will have a shelf-life of 6-9 months. However the higher temperatures mean some of the sugars are burned and UHT milk has a different flavour to regular pasteurized milk. It also means more of the nutrients and vitamins have been destroyed.
Homogenised vs Non-Homogenised
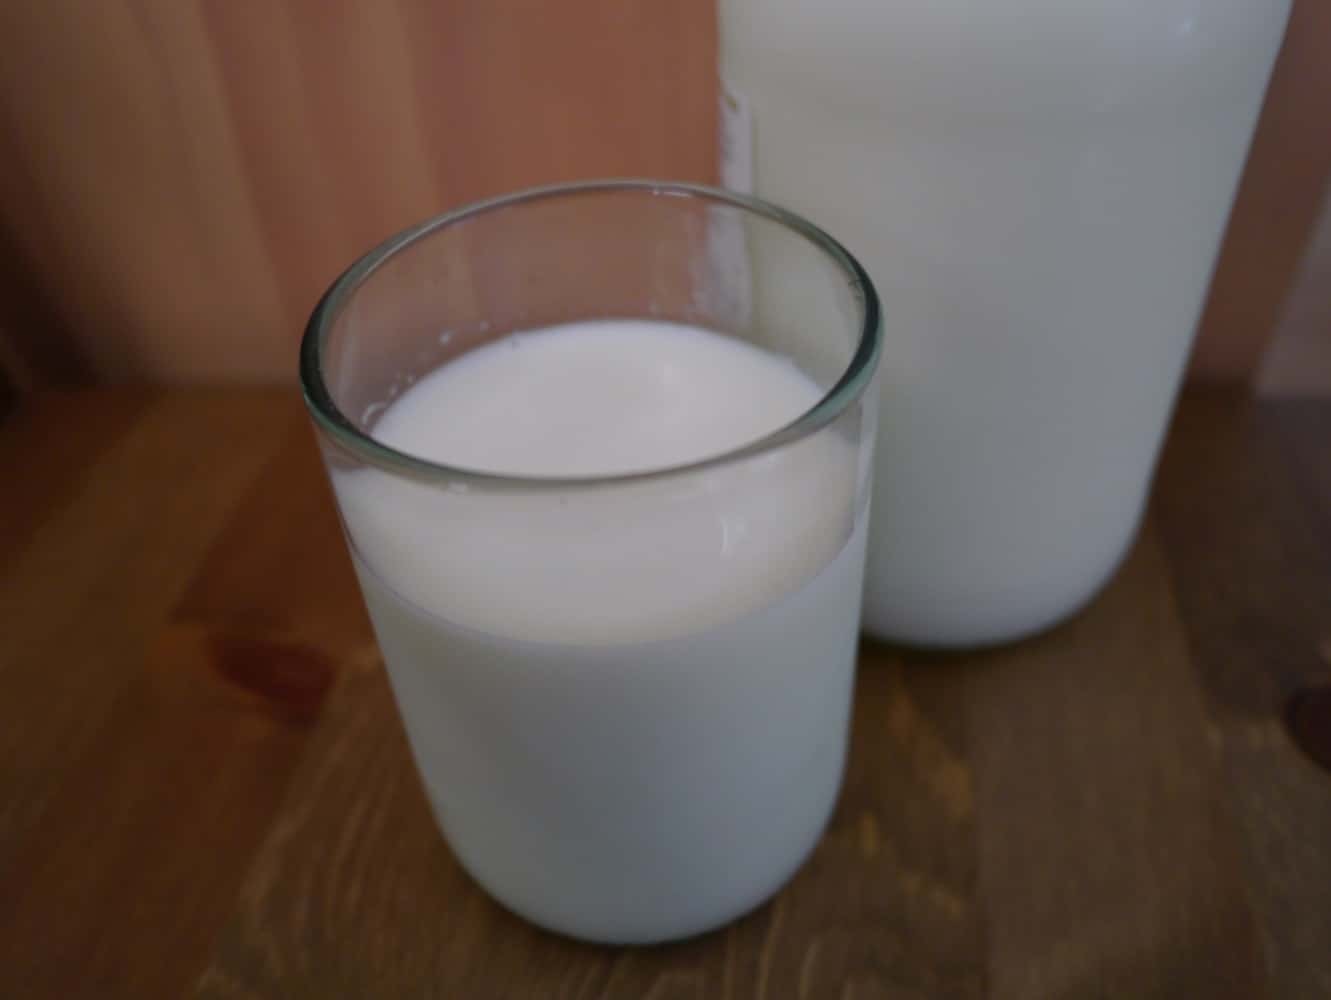
If left to stand, cows’ milk naturally separates. The high-fat cream rises to the top, and the low-fat milk is left underneath, leaving two distinct layers. (If you shake the container, they will mix together again.)
Homogenised milk doesn’t do this; instead the fat molecules are distributed evenly throughout the milk. In order to achieve this, the milk is mechanically forced through a fine filter at high pressure (4000 psi) which destoys the flat globule cell wall and forces the fat into tiny molecules that remain suspended.
Milk is homogenised so that it creates a uniform product, because supermarkets like to stock identical standardised products. It also makes milk look whiter. It saves us the “hassle” of giving it a shake when we take it out the fridge. Oh, and it increases shelf life slightly, so shops can keep it on their shelves for longer – up to 11 days.
So it’s good for the retailers – but what about our health? Well, homogenisation of milk has been linked to atherosclerosis and heart disease. Milk contains an enzyme called xanthine oxidase (XO) that can generate free radicals. In non-homogenised milk, XO is mostly free-floating which means it can be digested by gastric acids and enzymes. However, when milk is homogenised the new artificially-created micro fat molecules encapsulate the XO, meaning when it passes through the digestive system it has a protective ‘coating’ and is not broken down.
The health implications and safety of homogenised milk has been a research topic since the 1960s, particularly in relation to XO. Research suggests that the XO in homogenised milk is absorbed into the bloodstream where it causes damage to arterial cell walls. The body’s response is to ‘repair’ the damage by depositing plaque – which causes heart disease. Whilst it has been demonstrated that XO is present in diseased arterial tissue, and that XO causes tissue damage, critics argue the evidence that this source of XO is homogenised milk is inconclusive.
A1 and A2 proteins
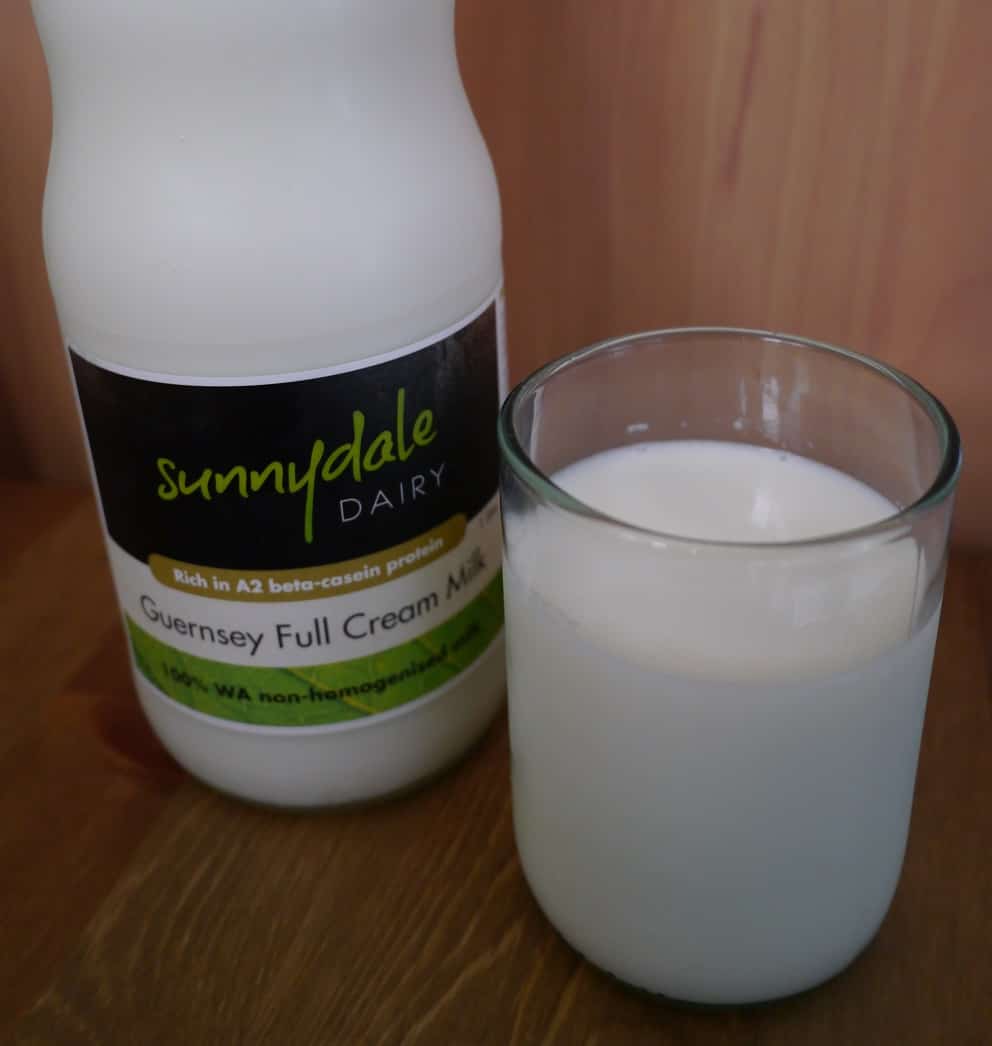
The protein in milk is made up of casein proteins and whey proteins. One of the major proteins, beta-casein (or β-casein), has two variants which are called A1 and A2. A2 beta-casein is recognised as the original variant, whereas A1 is a mutation that happened later. In dairy milking cows, Guernsey cows have the highest A2 levels with over 90%, Jersey cows also have a higher proportion of A2, and Holstein (the white cows with black spots that are the most common milking variety in Australia, USA and UK) and Friesian have around half A1 and half A2.
There is scientific research that suggests that consumption of beta-casein A1 milk may be a risk factor for a number of diseases including type-1 diabetes, coronary heart disease and arteriosclerosis (here and here).
When milk is digested, a peptide called BCM7 is created. A1 milk generates 4 times the levels of BCM7 than A2 milk. BCM7 affects receptors in the nervous, endocrine and immune systems, and is believed to be an important factor in the build-up of plaque in the arteries (summary here).
Full-fat, semi-skimmed, 1% and skimmed (fat-free)
Milk naturally contains about 4% fat. You can by this natural full fat or ‘whole’ milk in the shops; you can also buy other types with reduced fat content or skimmed/fat free milk which contains less than 0.5% fat.
The fat in milk is called butterfat. The viamins A, D, E and K are all fat-soluble and are found in the buttermilk. To make reduced-fat milk, you need to remove the fat, and this also removes the vitamins. Some companies add synthetic vitamins back in, particularly A and D. Vitamin D2 is a synthetic vitamin added to milk, but it is not as effective as natural vitamin D (this American Journal of Clinical Nutrition paper claims it should not be used as a supplement). And as it’s fat-soluble, it is questionable whether the body can absorb it from fat-free milk.
Full-fat milk moves through the body more slowly, and people with lactose-intolerance are less sensitive to full fat milk than to skimmed milk (here).
To keep the texture of skimmed milk, which does not contain fat, skimmed milk powder is usually added back in. It will not necessarily tell you so on the label either! Skimmed milk powder has its own health concerns – see below.
It’s worth remembering that whole fat milk is not actually that high in fat. It has a 4% fat content, so is 96% fat free.
Powdered Milk
Powdered milk is made by evaporating the water from milk using heat, after homogenisation. The most common method is spray drying, where the milk is sprayed into a chamber with circulating hot air. The water evaporates and the powdered milk is collected.
This heat in this process can cause the cholesterol in milk to oxidise. Oxidised cholesterol triggers the formation of plaque in the arteries and can lead to heart disease.
Grass-fed vs Corn-fed
Cows are designed to eat grass and hay. They have four stomachs to help them digest it! They’re not designed to eat corn and soy-based feeds. Cows have trouble digesting corn, which leads to health problems including bloating, acidosis, diarrhea, ulcers, liver disease, and weakens their immune system.
Grazing cows on grass requires a lot more space and produces less milk than confining them to small spaces and feeding them corn and soy, which is why farmers who put profits above animal welfare choose the latter. But to combat the health problems this creates, cows fed corn are also routinely fed antibiotics.
More milk equals more profits, but the quality is reduced. Grass-fed cows produce milk with higher vitamin, omega-3 and omega-6 content, and don’t need routine antibiotics to stay healthy.
Organic
Organically produced milk means the farmers must adhere to strict guidelines and standards that encourage sustainable practices. There are number of different certification schemes and different schemes will have different standards. Whilst they vary the principles include a focus on good animal husbandry, cattle being allowed to graze on grass for at least some of their diet and the routine use of antibiotics is not permitted. Any feed that is given to the cattle must also be organic. Organic milk is more expensive because of the extra costs involved, and average milk yields are often a third less than in intensive production. However,the mineral and vitamin content is higher, animal welfare is much higher and the quality is considered better.
So what can I do?
 The closer that the milk you buy is to its natural state, the better it is for you, and the better it tastes. All of these processes aren’t designed to improve things for us as consumers; they’re designed to make things easier for the supermarkets and to increase their profits.
However it’s really hard to find a product that ticks ALL the boxes! The milk I buy is pasteurised, non-homogenised and full cream. I would prefer to buy organic, but as I can’t buy organic milk locally, I buy from a small local dairy that uses Guernsey cows that are grass-fed. Being classified as organic literally means you’ve got the certificate, but there are plenty of small dairies that farm with the same principles and ideals, but haven’t been certified for reasons of cost (it can be expensive) or time (it is often neccessary to wait several years before land can officially be classed as organic).
As a bonus, the milk I buy comes in glass bottles that can be returned for re-use. Plastic-free!
Choosing to buy from small-scale (and organic) dairy farmers means you can support a sustainable industry and not line the pockets of a massive supermarket chain. These farmers can charge a premium for their milk, and you get a far better product too. I promise you that if you make the switch you will be able to taste the difference!
[leadpages_leadbox leadbox_id=1429a0746639c5] [/leadpages_leadbox]
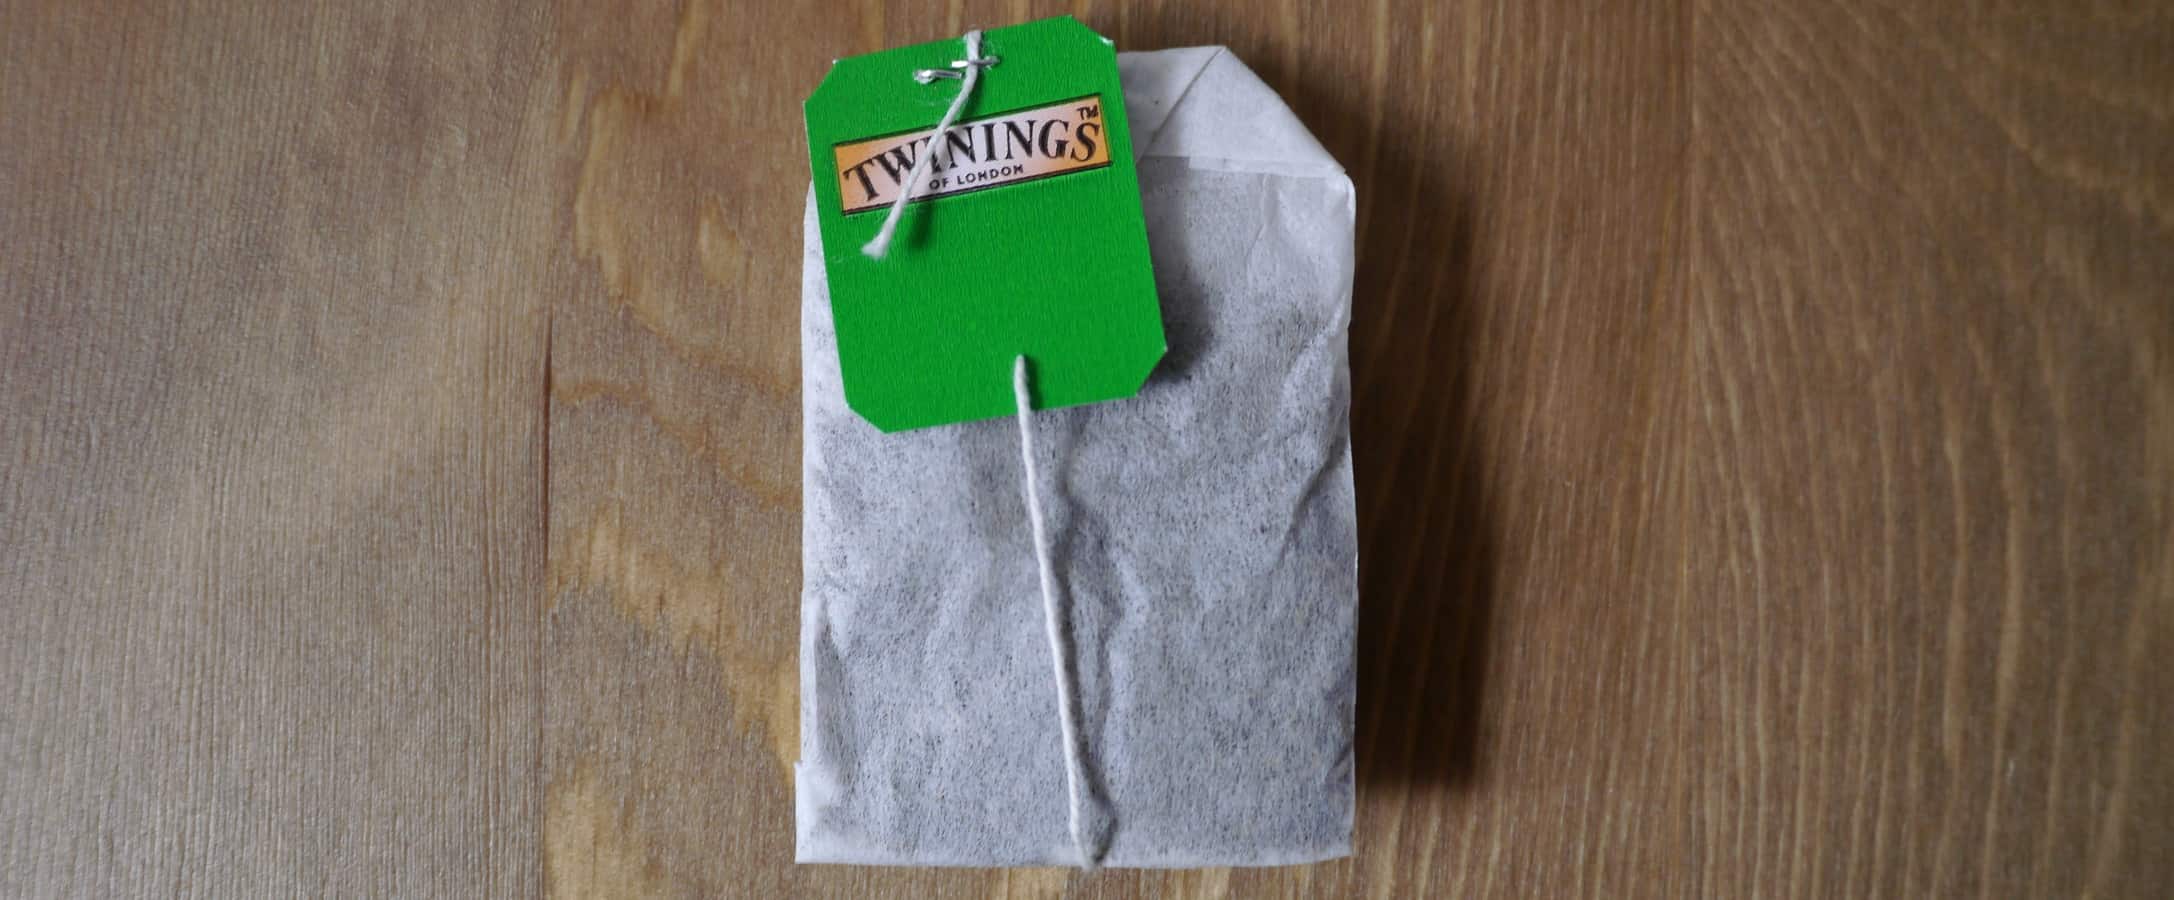
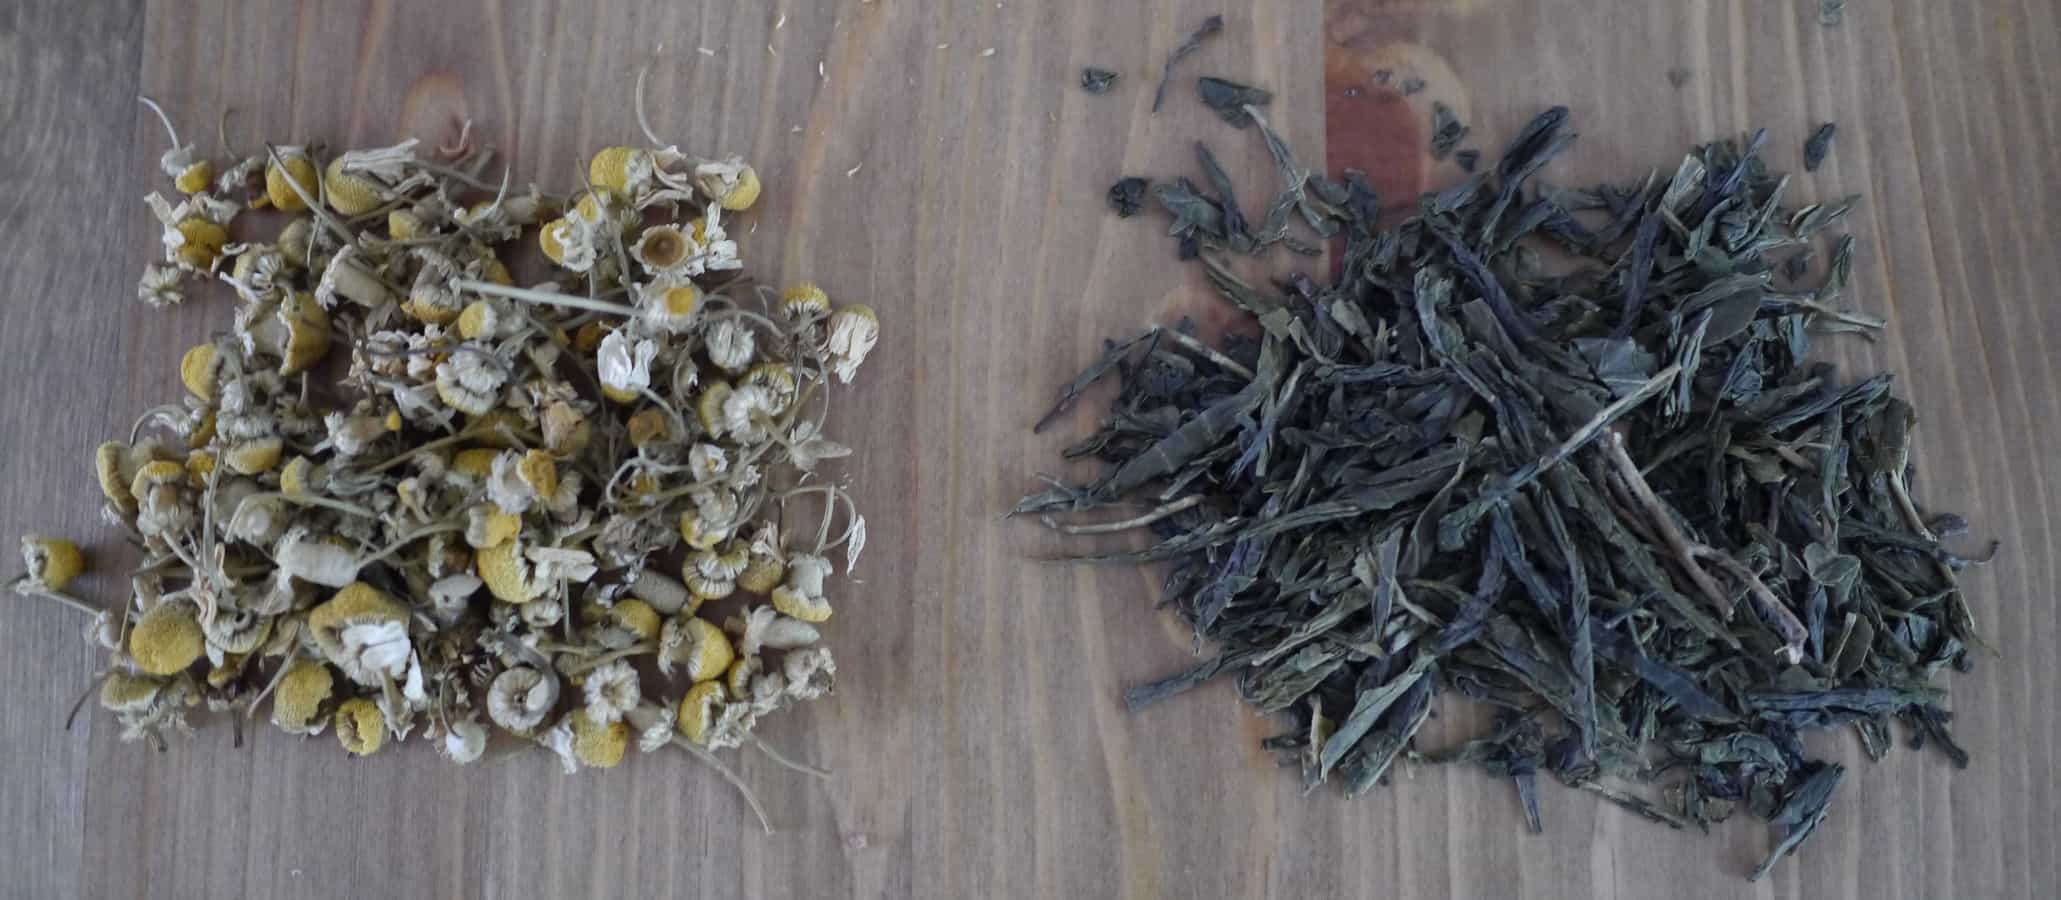 Over the last few months I’ve slowly been using up my teabag stash, and replacing them with loose leaf tea. The other great thing about this is that loose leaf tea tastes far better. There are a number of grades of tea and the lowest is called dust (or fannings) – it’s this stuff that usually ends up in teabags. If you buy loose leaf tea you’re buying a better quality product.