5 steps to a productive food garden (progress in pictures)

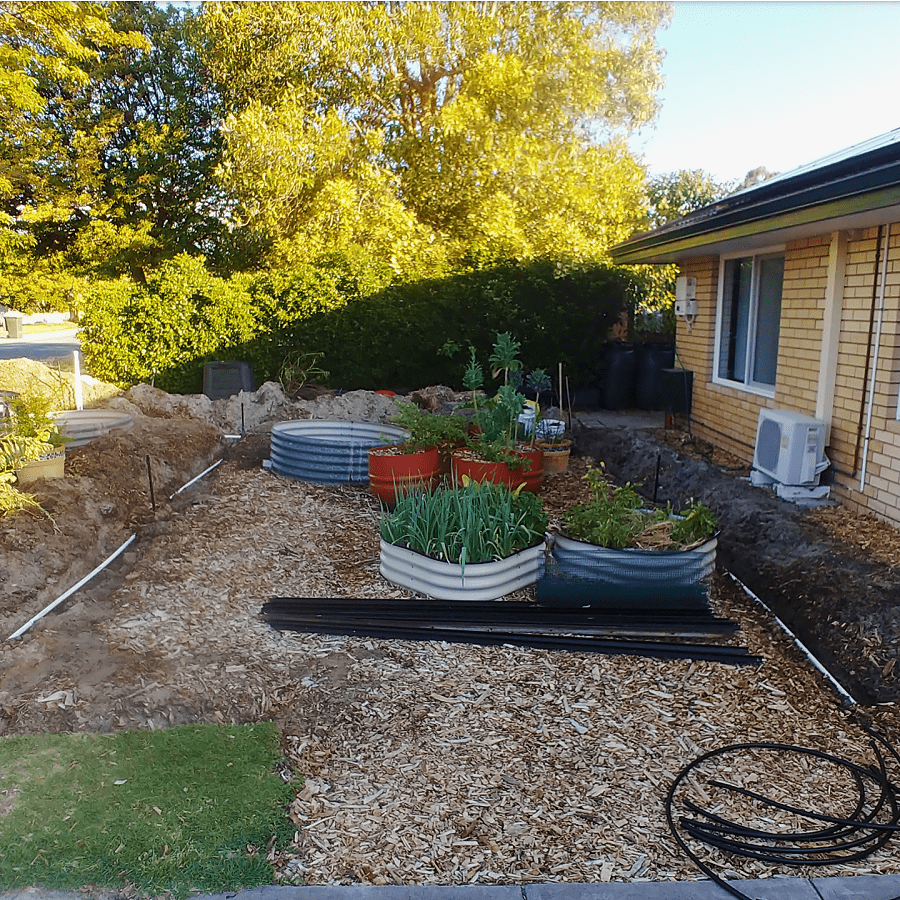
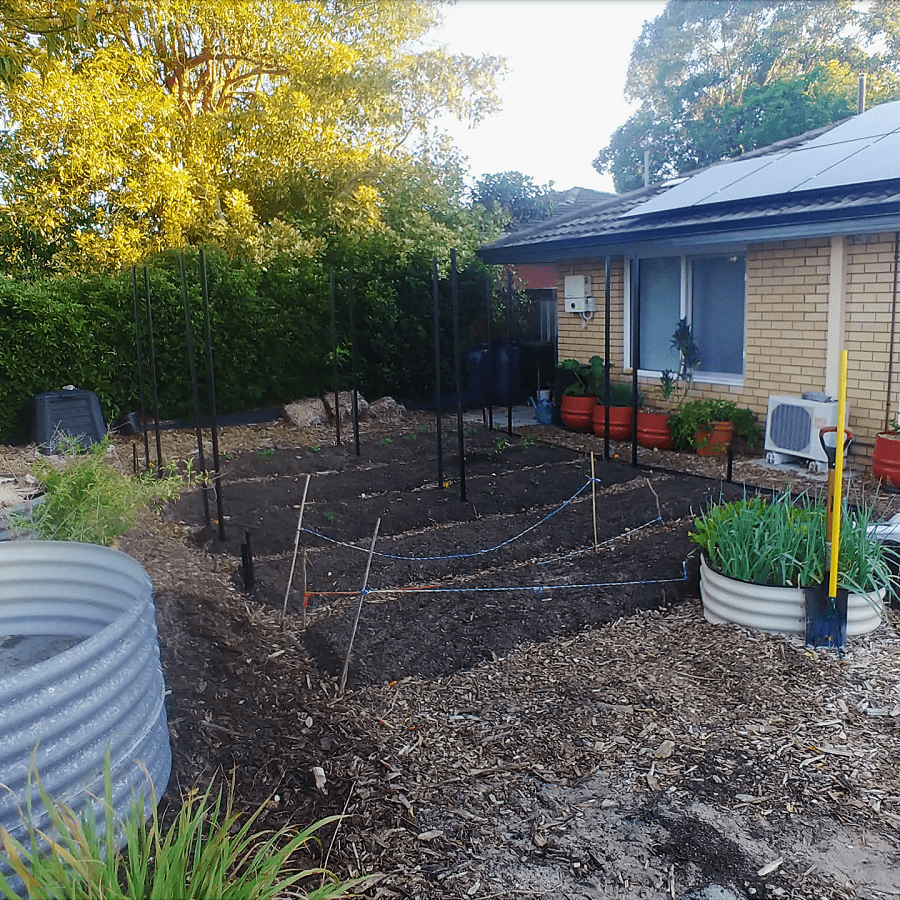
It’s been just over a year since I moved into my “new” (1970s) house, and just under a year since my garden transformation began. (The transformation from lawn to productive food garden, that is.) And this last month, things have really (finally) taken a big leap forward.

There is still so much to do, but a lot of things have come together, and it’s starting to resemble in real life what until now has only existed in my head.

The main change, which was holding everything else up, was installing reticulation. I already had a bore installed, which is a pump that pulls up groundwater (the groundwater level where I live is pretty close to the surface). Using groundwater means I don’t have to use mains drinking water for the garden.

Having reticulation means I don’t have to water everything by hand every day.

(The alternative to not watering at all would be living on a sandpit.)

Having reticulation means I can now plant out my garden beds, and believe me, I wasted no time. The front garden is well on its way to becoming a productive food space.

If you’ve been following along since the project began, it is virtually unrecognizable these days.

I wanted to talk you through the five stages of getting this up and running. Depending on the scale you want to grow, stages might take less (or much more) time – but the principles are the same.

Step 1: Planning the growing space

Before I could install reticulation, I needed to figure out (more or less) what I was going to do with the space, as different plants have different water requirements. Some things have no water requirements. Also, different types of reticulation are more practical in certain spaces.

Not to mention, installing reticulation means digging trenches everywhere and laying PVC pipe, so I needed to know where the paths would be and the edges of zones. (This is why I haven’t planted out heaps of plants so far… I didn’t want to kill them all when all the roots are messed with.)
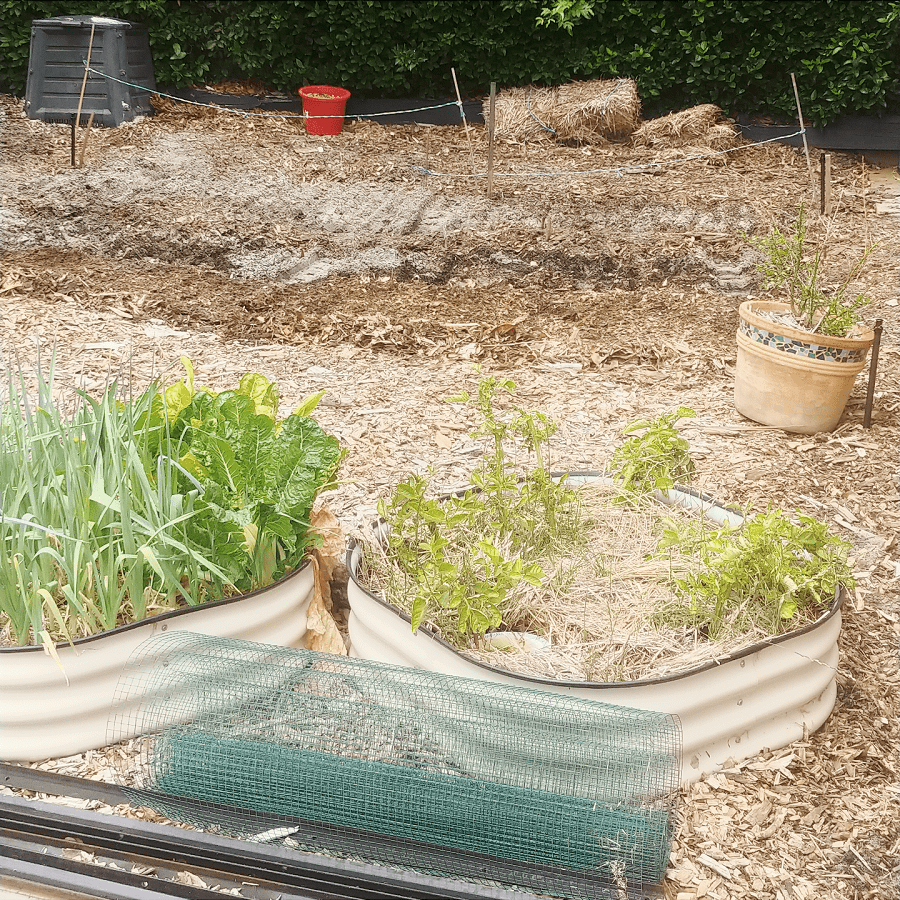
The previous reticulation was pop up sprayers everywhere, which meant my laundry got soaked as one fired directly onto the clothes line, my chickens got soaked as one fired directly onto them, Hans the greyhound got soaked as one fired directly onto his wallowing hole…

Plus delivery drivers parking on my verge (when there is a perfectly good driveway or road) had trashed the PVC pipe so when it was turned on, a man-made geyser channelled litres of water down the street.

Not every corner of the garden needs water (such as the places we sit). So thinking about where plants will grow and where they won’t is an important first step.

Figuring out what I will plant now and how the garden will evolve in future was pretty important so water goes to the right places. It’s not that I can’t change the reticulation later, but it is more expensive and very inefficient to do so! I can add on to what I have, of course.

Step 2: Deciding on plant zones

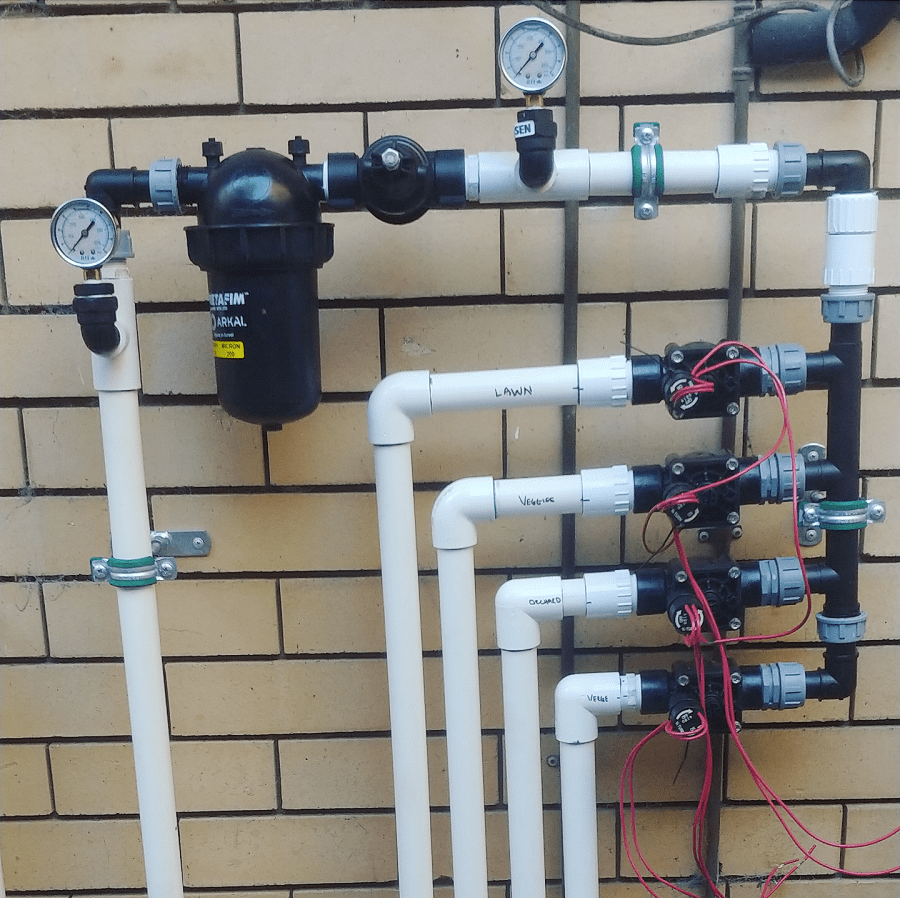
I have four main growing zones in the garden: vegetable beds, fruit trees, lawn and the verge. Each of these is now set up with its own watering schedule and different type of reticulation.

For the vegetable beds, I wanted overhead sprayers. They allow an even distribution of water across an area, and work for both raised beds and in-ground beds. They are the most flexible option: I can interchange the types of beds (installing raised beds, or removing them) without having to alter the reticulation, as well as switching things like orientation.

Drip lines (which I had at the old place) are fiddly with vegetables because different crops have different spacing requirements, so what works one season might not work the next. There is also heaps of pipe to move every time you want to add stuff to the soil. And because the drip lines sit on the soil, raised beds need raised pipe, and if you remove the beds you also need to lower the pipe.

For the trees, I’ve used drip lines. The trees are round the edge of the property, next to the fence and down the side of the house, so sprayers wouldn’t work as well – plus they’d spray the chickens, the dog and my laundry. Plus trees tend to stay in the same place for a long time, so its unlikely I’ll need to change anything here.

For the lawn, I’ve used overhead sprayers. I find pop-ups really annoying – they break all the time, get stuck in the lawn and are generally frustrating. The overhead sprayers are located around the edge of the lawn – it is small enough not to need anything in the centre.

The verge will be drip lines (so delivery drivers have nothing to snap). But it’s currently still weedy lawn, so I’ve left that until autumn when I’m ready to plant out.

Step 3: Figuring out a watering schedule / installing the reticulation

If you live somewhere with plentiful rainfall, you can probably skip this step – or at least on this scale. For me, this was a big (and expensive) job… but it had to be done.

The bore pump and original control box were still usable (although the control box needed moving) but everything else needed updating. Trenches were dug everywhere (the whole place was chaos) and pipes laid, and then more pipes laid.
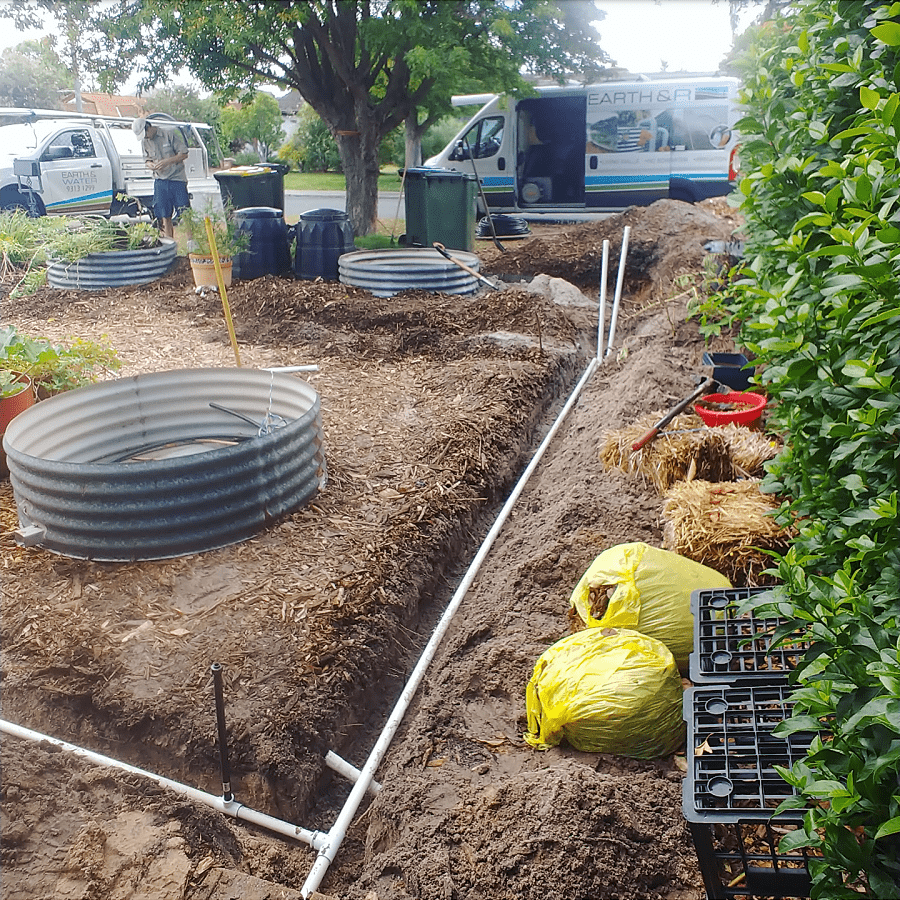
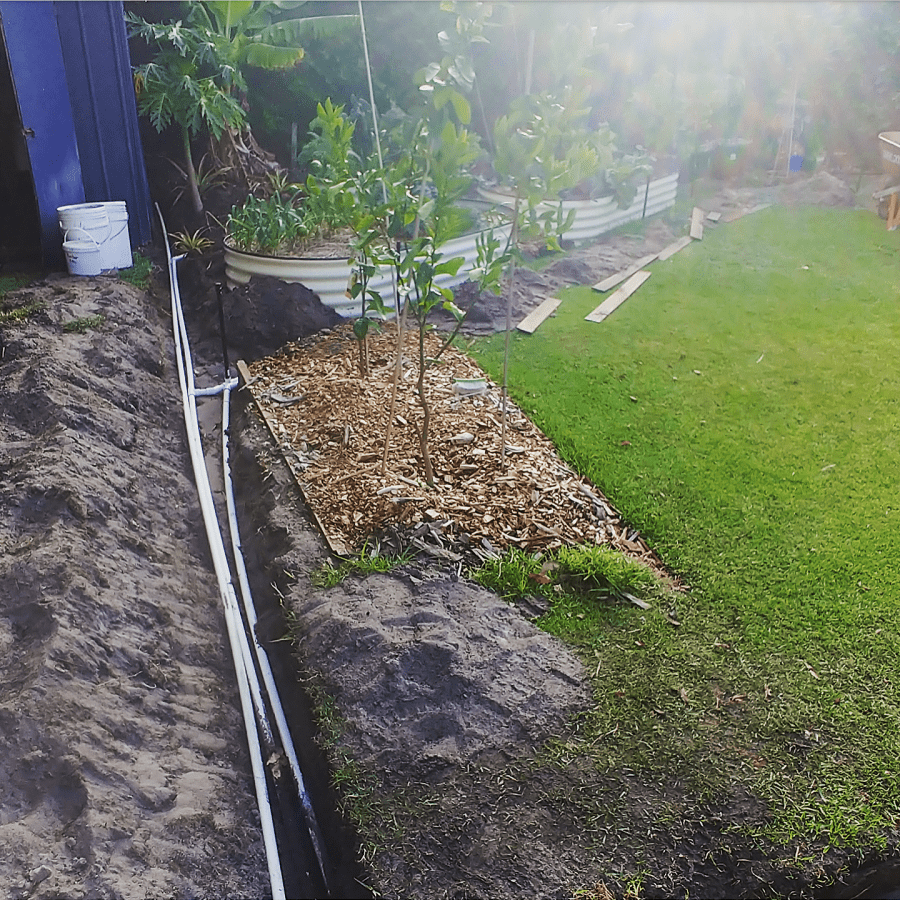
But when it was finally turned on, and there was water! – oh, it was worth it.

(The previous reticulation pipes are decades old, and the control box is something out of the 1980s, so it had a good innings. The new pipework should all last a (my) lifetime. Expensive upfront, but over 20 – 30 years, not so much.)

Step 4: Preparing the soil for the vegetable garden

My plan has always been to have in-ground beds at the front of the house, and as soon as the reticulation was installed, I got creating them. I wasn’t sure I’d have enough time to even get things growing this year – my rule is, if it isn’t in the ground before Christmas day, it doesn’t get planted until April. Perth summers are too hot to be trying to get seeds and young seedlings going in January/February.

To get started quickly, I cheated – and ordered in a veggie concentrate mix. My soil, being basically hydrophobic sand, has nothing of worth for vegetable growing. To make the amount of compost I’d need for all these beds (prepping them all at once) would take years.

Not to mention all of the different soil amendments I’d need, too.

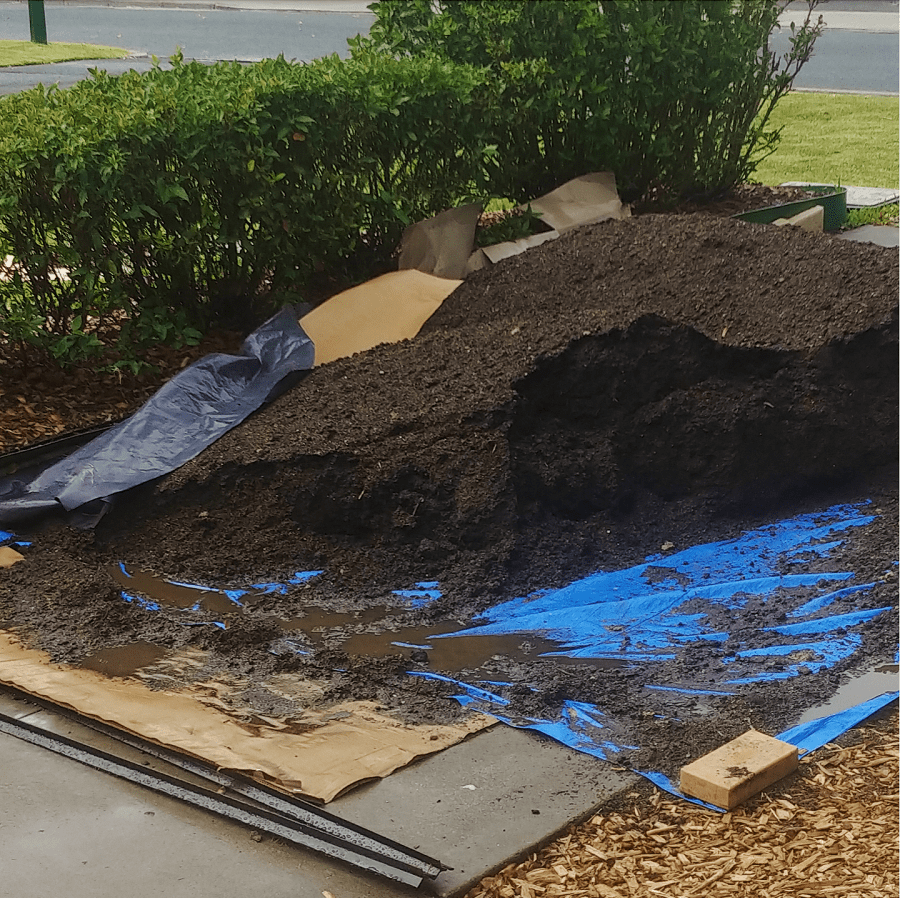
I ordered 2 cubic meters of veggie concentrate from the Green Life Soil Co for the beds. It’s a mix that can be mixed 50:50 with existing sandy soil to grow vegetables. It meant I could shovel, and plant the next day.
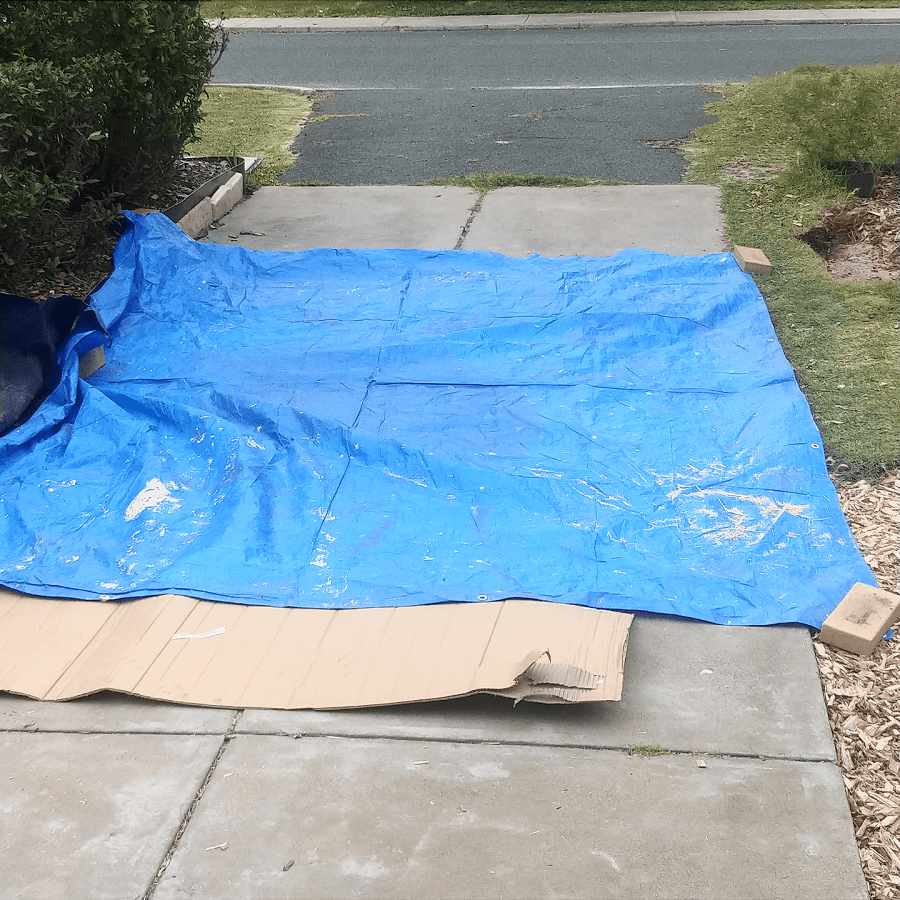
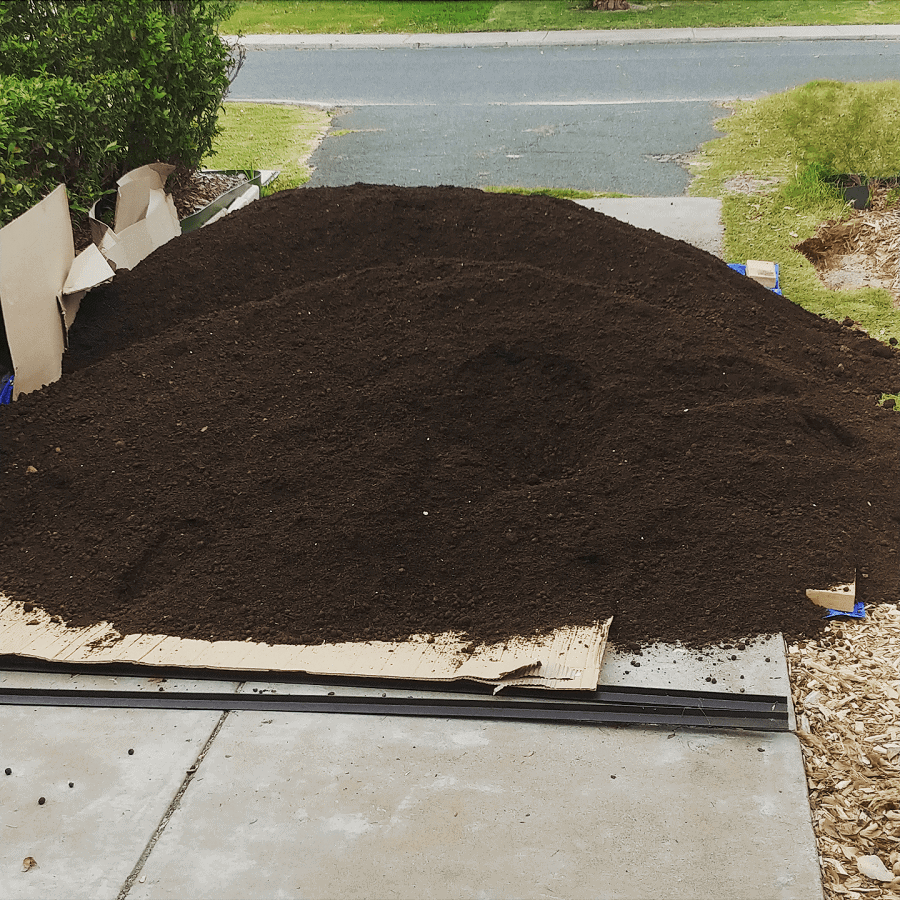
(As opposed to something like lasagne beds, which need a few weeks after creating before planting out – time that I don’t have, I need to use the cooler days whilst they still exist – and would also mean driving around getting all the components, and on a huge scale.)

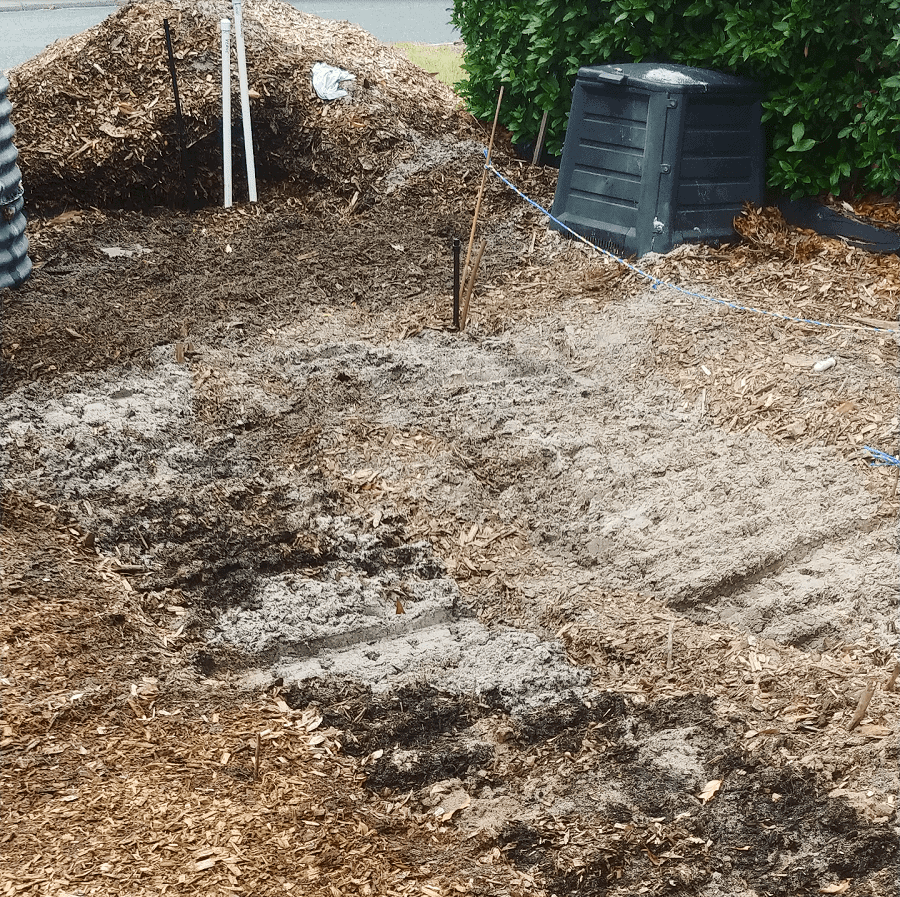
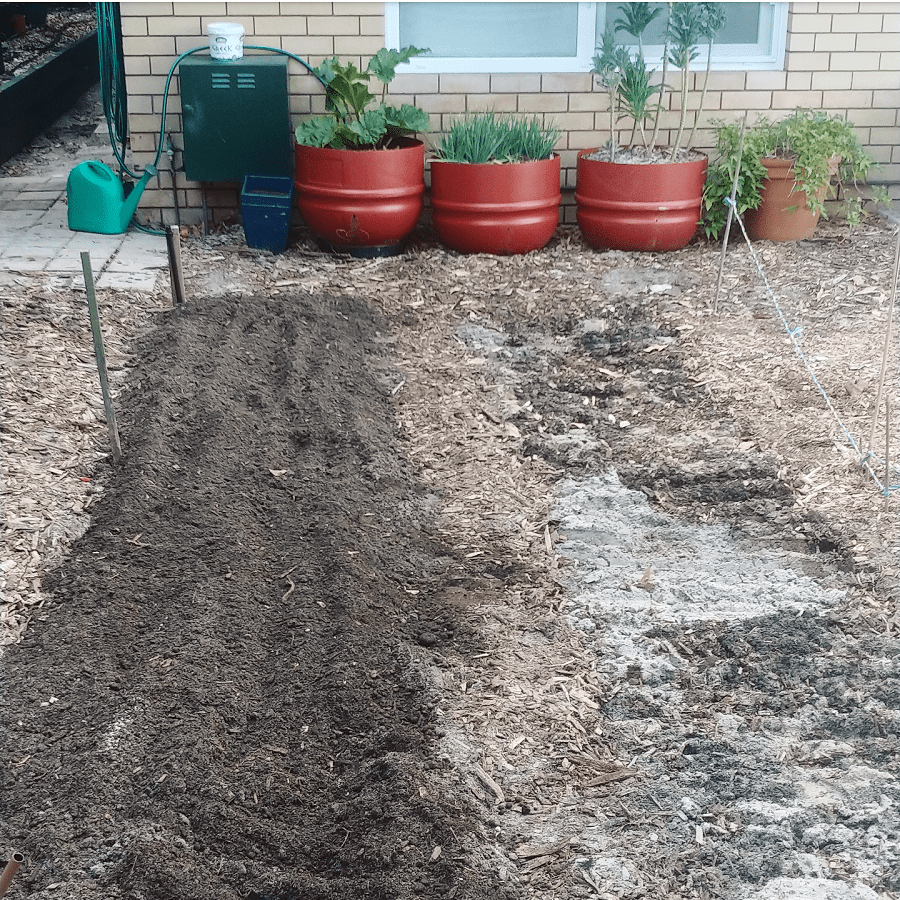
I prepped the soil using a broadfork to loosen the sandy soil, and then shoveled the concentrate on top, and raked and forked it in.
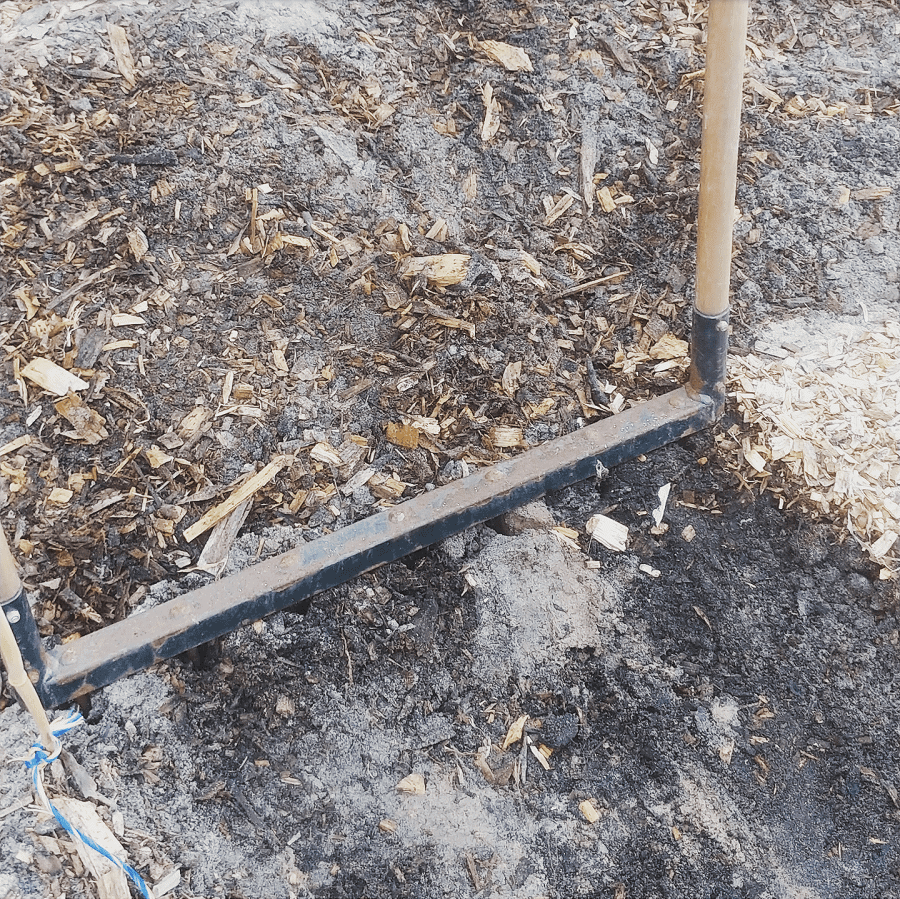
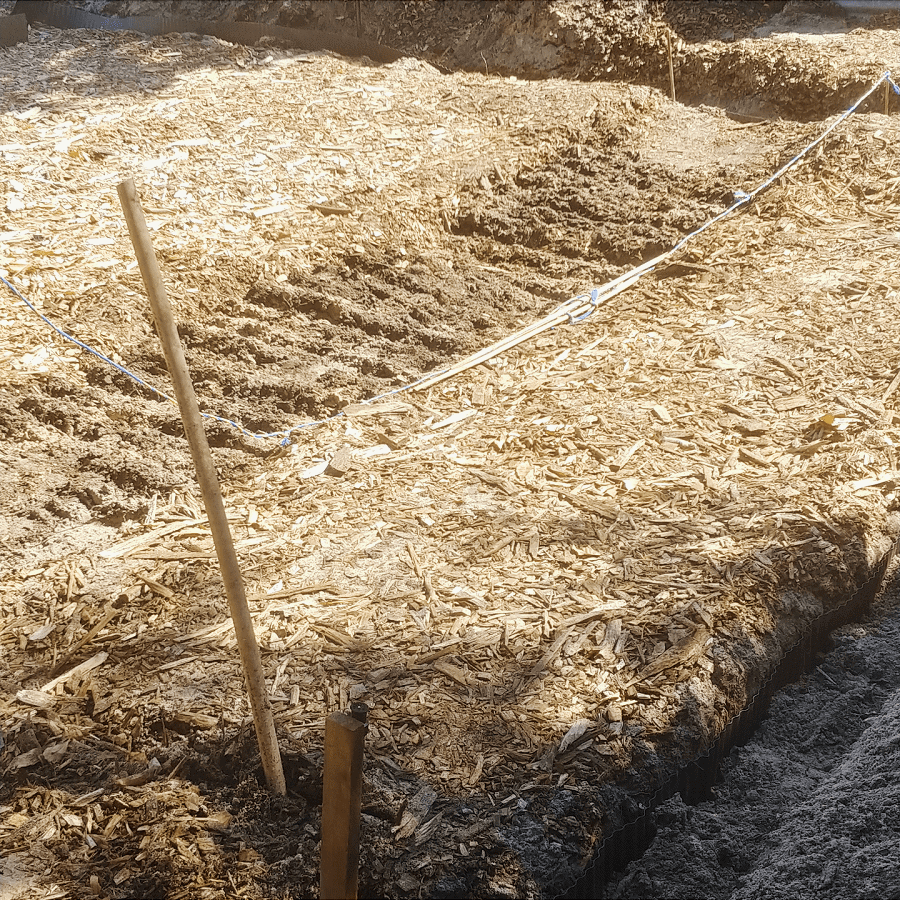
Once the beds are established I can add compost and other elements as I need them, but starting from scratch – and in summer – I wanted to give my plants the best chance of success.

I ordered enough soil mix for what should have been 4.5 – 5 beds, but I seem to have enough for 5.5, so I’m keeping going until it’s all dug in. I have space for 7 beds in total, all 4 m long. I’d like to tell you it is enough space (along with my two and a half raised beds at the back) but I really don’t think it is!

(I was going to order enough soil for 7 beds, but the guy at Green Life talked me out of it. I think he was worried I was biting off more than I could chew!)
Step 5: Planting out my vegetable garden

As I prepped the beds, I started planting. Not a moment to waste!

I’ve used a mix of seedlings grown from seed and bought seedlings (capsicums, marigolds for companion plating with the tomatoes, basil because my seeds were duds, and cherry tomatoes because I was struggling to even find seeds – I always said to myself I would never buy tomato seedlings as they are so easy to grow but I panicked! I’ve since found seeds.)

Because I wasn’t sure if the reticulation would be finished I didn’t plant seeds early, and I also have a lot of expired seeds, so I decided to have a clearout and see what germinated. It’s resulted in a bit of a motley crew but it means next year I will be much more organised.

{Coughs.
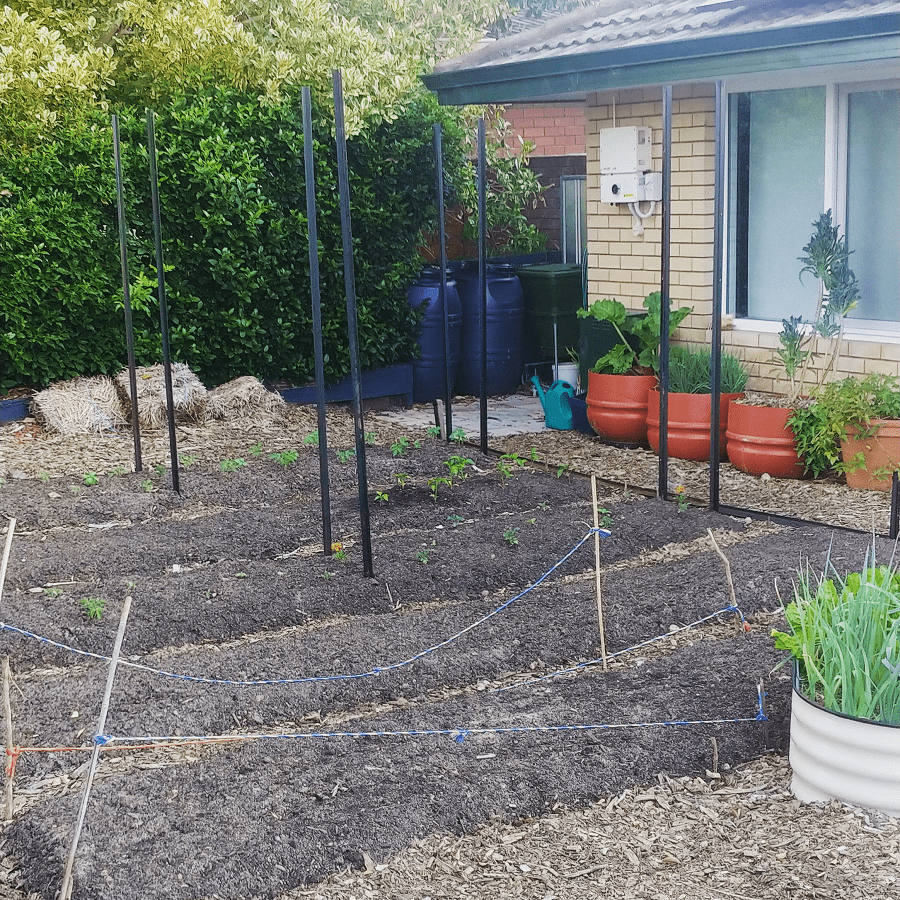
At the front I’ve planted:

Bed 1 – Roma tomatoes and basil.

Bed 2 – capsicums and eggplants/aubergine.

Bed 3 – cherry tomatoes and basil.

Bed 4 – cucumbers (Lebanese and Armenian) and I’ll be planting zucchini/squash.

Bed 5 – corn (Chinese mini corn, that’s started to germinate, and regular corn from an old seed pack, so we will see what happens there.) Once the corn is done, I’m going to plant climbing beans in between.

Bed 6 – this bed is currently sandwiching the raised bed I already had full of leeks, that I’m keeping for now. Until I can harvest the leeks, at least. I’ve planted pumpkins on one half, and I still need to add soil to the other part. I might plant spaghetti squash here.

Bed 7 – I don’t have soil for this yet, but I’m thinking about planting okra here. This bed is the most exposed, and okra can handle the heat pretty well.
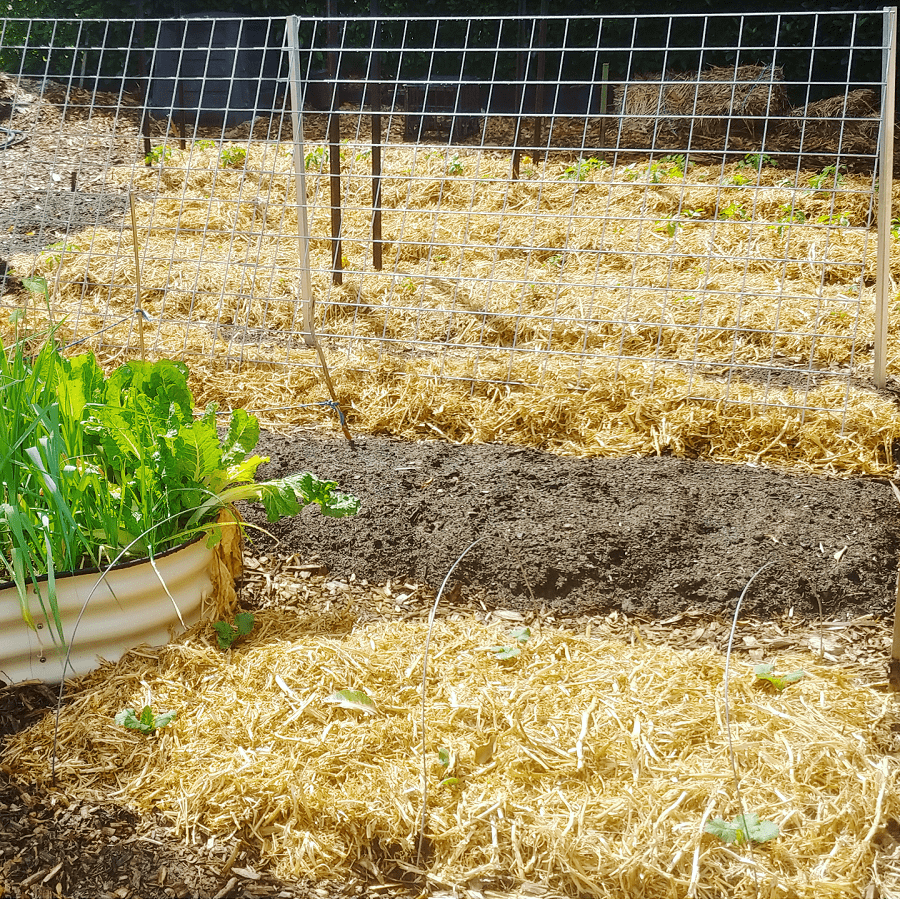
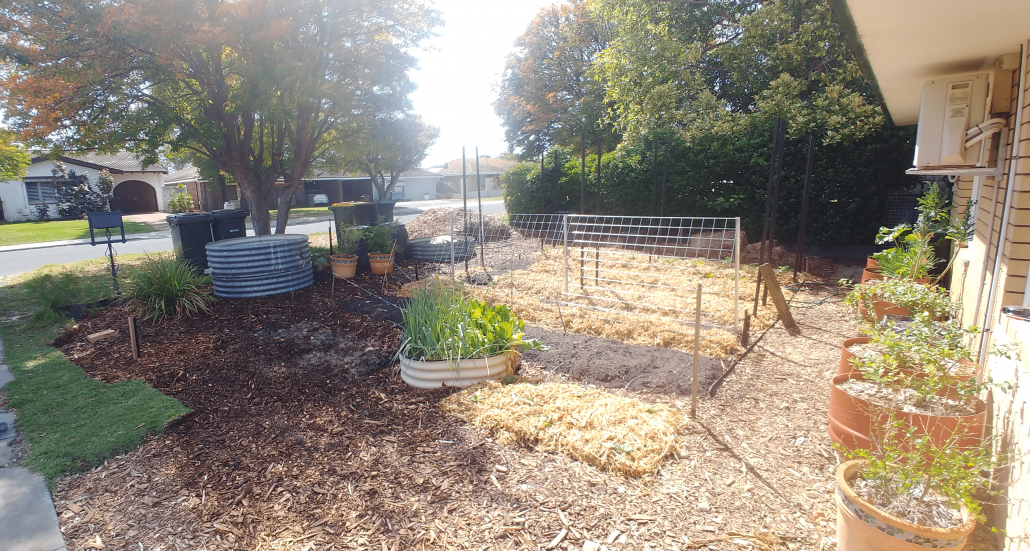
I have excess tomato seedlings, and I also want to grow gherkins, so I’m planning on planting these in some of the empty wicking bed pots.

At the back I’ve planted:

Raised bed 1: blackjack zucchini and bush/dwarf beans (Cherokee yellow, and purple).

Raised bed 2: Virginia bunch peanuts (my kale in there is still looking good so it’s staying, and there are carrots still from winter).

Raised bed 3: the smaller bed is still filled with leeks, and ruby chard.
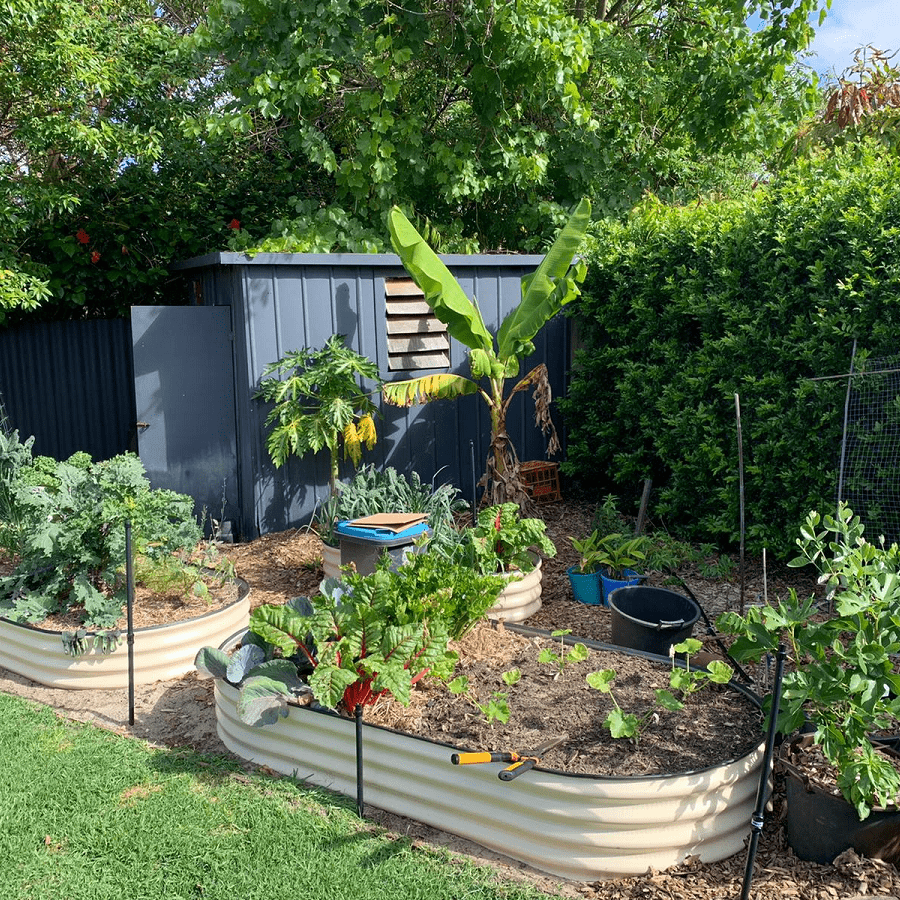
I also have some overwintered chillies – jalapenos, cayenne and birdseye – in large pots, so I’ve refreshed the soil and these will be good for another summer. I’ve already pickled my first jar of jalapenos.

Creating a productive food garden – what’s next?

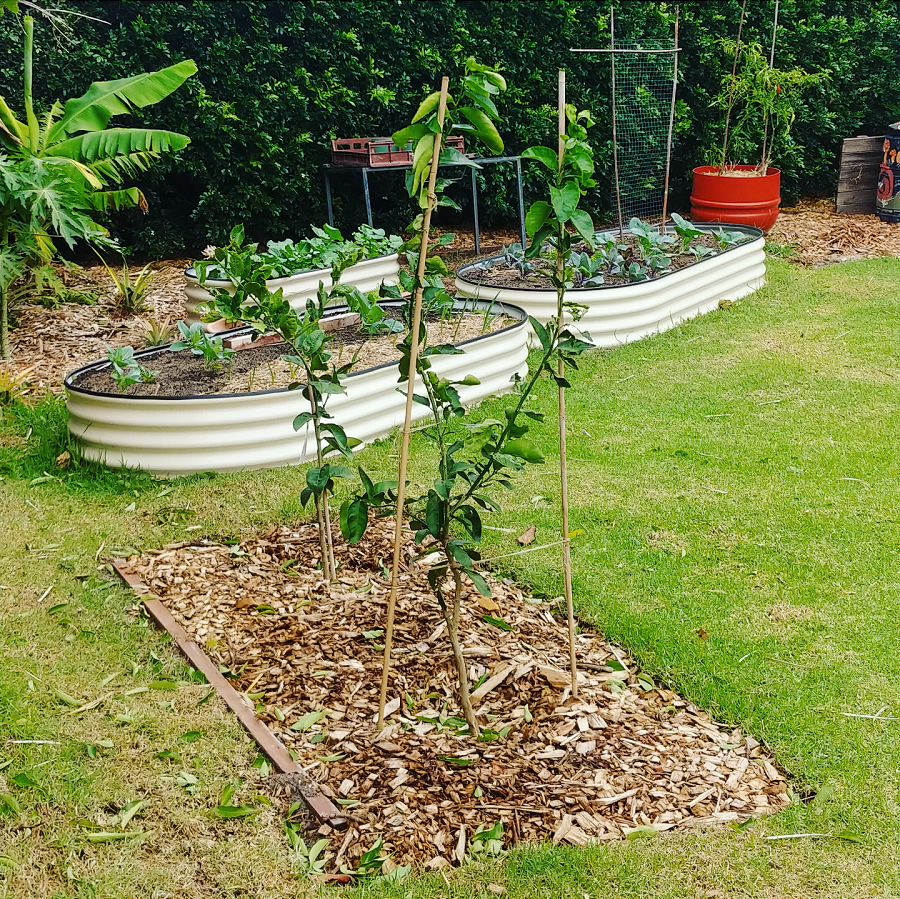
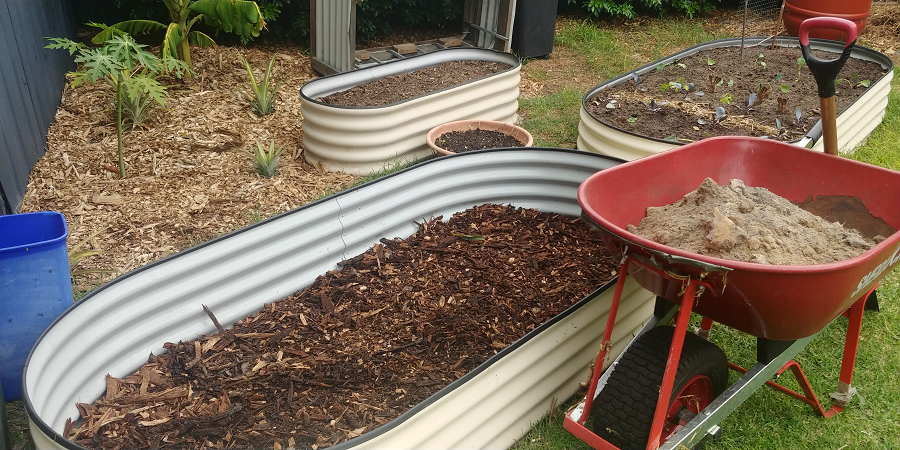
At the front, the three raised beds made out of a chopped up rainwater tank need filling with soil and planting out. I’ve started a lasagne bed in one with things I had on hand (leaves, grass clippings, straw and compost) but I need to finish it off, fill the second one and put the third one into place (which involves relocating my two compost bins, one of which is still mid-brew).

The hedge area next the vegetable beds is going to be removed and planted with fruit trees – something else that probably won’t happen until winter.

And then there’s the digging out of the lawn on the verge.

At the back, I’m adding a second passion fruit near the first because the plan is to add an outdoor shower (why let the water go down the drain when you can add it directly to the soil?!) and the new passionfruit will screen one side.

(Haven’t figured out the screening of the other side, or the front yet!)

I was hoping to plant a couple more trees but all of the nurseries have sold out of what I want (a panache fig and a persimmon – they blame Covid). I’m also keen to get my fruit tree espalier area set up, but I might need to change the fencing (which is currently asbestos) so that might be a bigger, slower and more expensive job than I’d like.
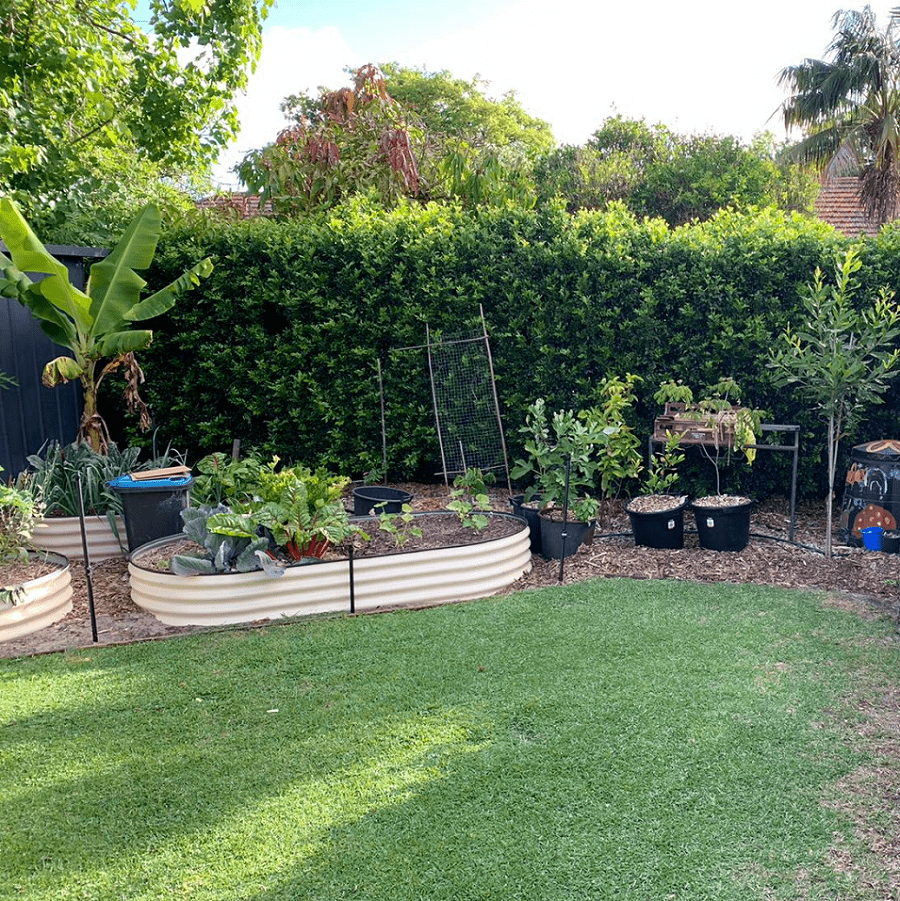
So there is still a lot to do, but it is starting to come together. The more pressing challenge will be keeping all the plants I’ve planted alive (I’ve mulched with pea straw, and I’ll be setting up shadecloth), and then eating and preserving the harvest so it doesn’t go to waste. I’m not sure a gardener’s job is ever done.

Now Id love to hear from you! Are you growing food right now? What have you planted? Or if you’re in winter, what are you planning for Spring? Want to set up a new veggie patch and have questions for getting started? Anything else to add? Please share your thoughts in the space below!

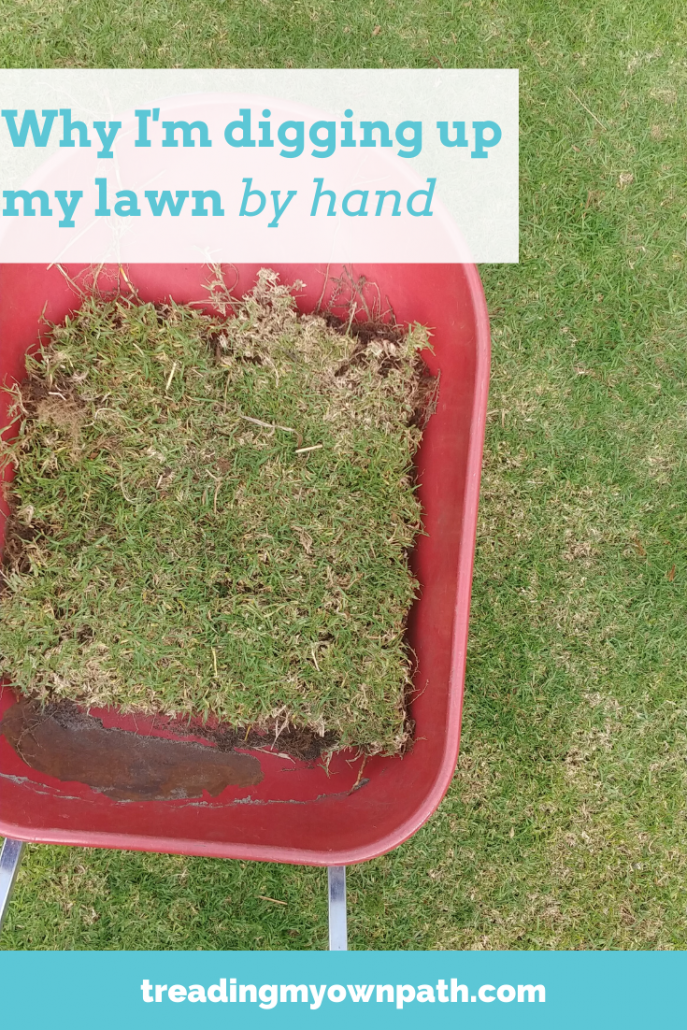
My garden transformation project: why I’m digging out my lawn by hand

When it comes to transforming my garden into an edible and productive food space, there’s one task that’s taking up most of my time currently: digging out the lawn. And if there’s one question I’m answering most often from the garden updates I post it is this: why are you digging out your lawn?

Which actually has two meanings: why aren’t you keeping the lawn? and why have you chosen digging out the lawn as your method of removal?

It’s not a short answer, so I thought I’d explain it here.

Why I’m digging out my lawn (why I’m not keeping the lawn)

I would like to grow edible food in my garden. I would like fruit trees and vegetables. I’d like native plants too. To grow these, I need to remove the lawn.

Lawn in Western Australia is not like lawn in Europe. If I leave it, it won’t grow into a beautiful field of wildflowers. In summer it will be dead without a lot of inputs. What does grow will be non-native grass species and weeds like castor oil (which is toxic to dogs – it’s the source of ricin).

My climate doesn’t naturally support meadows.

Growing lawn in Perth is hard work and takes a surprising amount of resources. It needs a lot of water to keep it green. I have a bore (which is a pump that draws water from the ground, as opposed to using drinking water from the tap) but even so, our groundwater levels are dropping and in my opinion, it is a waste of water to keep so much grass alive.

Anyways, I’m only allowed to use my bore reticulation three times a week. Any other watering needs to be drinking water.

The reticulation that’s in place to keep the lawn green is plastic and the parts break all the time. It breaks, and the trickle is replaced with a jet stream that gushes gallons of water down the road at the front (or floods the garden at the back). After replacing a few broken bits (luckily with second-hand freebies I was given, not new plastic) only to end up with more broken bits, I decided to just switch it off.

Then, it needs fertilising to keep it green. Lawn fertilisers cause a lot of problems in our rivers, because they are soluble fertilisers than run-off into the water and contribute to algal blooms (which kill the fish).

My non-fertilised lawn is yellow and patchy. Which is fine, because I’m digging it out.

Yes, lawn feels nice underneath the feet (well, when it’s not dead). Although our Australian grasses are not as soft as the European grasses, so it isn’t quite the same. But there are parks close by with lots of grass that are properly maintained and accessible to lots of people.

I know that a lot of non-Western Australians will look at a garden full of coarse wood chip mulch and think it looks ugly and weird. It took me a bit of getting used to when I first saw it, too. But if meadows are what happens to grasses in Europe, this layer of dead tree matter is what nature does in our natural bush areas.

It acts to protect the soil from the harsh sun, retains moisture underneath – and eventually breaks down to add carbon to the soil.

Although it looks extreme now, eventually I’ll cover most of my mulch with plants so it won’t be so obvious.

Why I’ve chosen digging out the lawn as my method of removal

There are lots of ways that people choose to get rid of their lawn. Digging mine out by hand (well, I did contemplate a turf cutter, but I’ve stuck with the spade) was the only option I really considered. I know there are plenty of ways, but I have my reasons for choosing this. Let me explain them.

Perth grass is TOUGH.

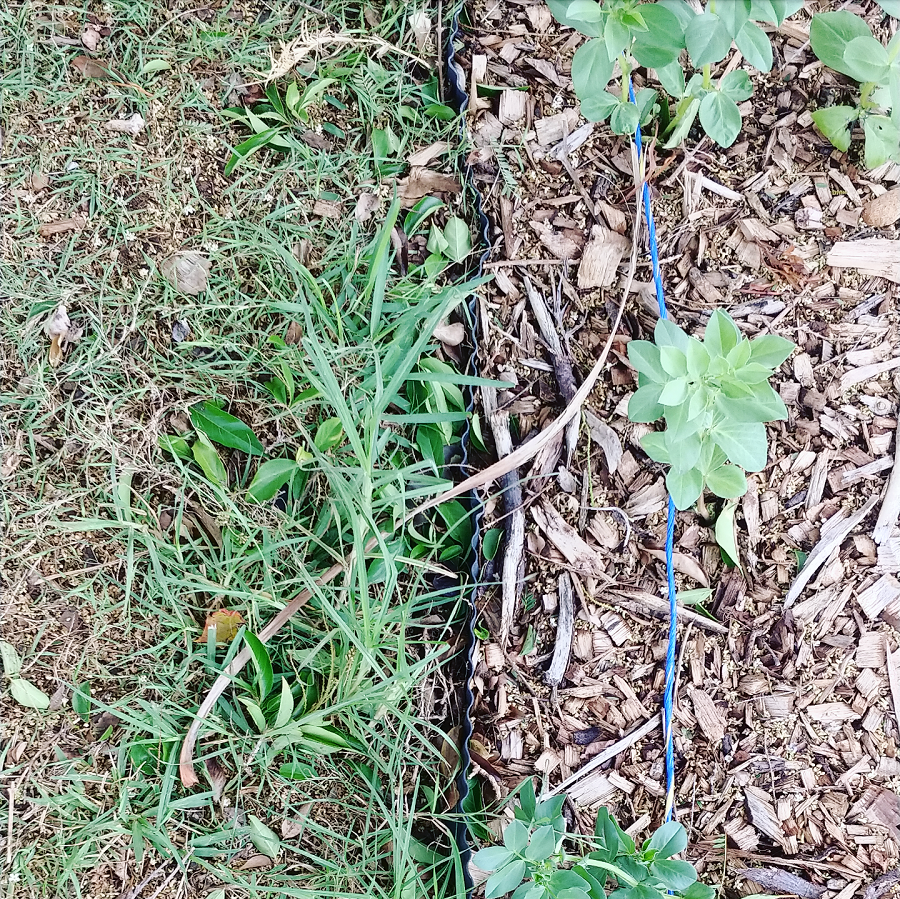
Even though I told you grass dies here in summer, it doesn’t actually die. Every autumn when the rain returns the dead patch of yellow grass resurrects itself. It dies, and yet it is almost impossible to truly kill.

There are a few species of grass used for lawns in Perth, and I have a few, definitely included these two.

Kikuyu grass: a tropical grass speces Pennisetum clandestinum, native to the highland regions of East Africa. Grows rapidly and aggressively. Categorized as a noxious weed in some regions. Has underground runners and its root system can grow to 3 metres deep.

Couch grass: a drought-tolerant grass described as ‘high maintenance and invasive’. It has an extensive root system with fine roots that is difficult to remove. Can grow through concrete. Also called Wintergreen couch – I wonder if this is because it dies back in summer and returns with vengeance in winter?

I don’t want to use chemicals (which is often recommended)

Because our grasses are so hard to kill, many gardeners and organizations recommend using glyphosate (you might know it as Roundup) to kill lawn. It’s a controversial chemical that’s been banned in many European countries due to safety concerns.

Whilst verge gardens tend to be non-edibles (well, for humans only) I’m not interested in using chemicals to kill any of my lawn that will remain in the soil and enter the food chain.

Smothering/solarising doesn’t work well in Perth

Lots of readers have suggested I just cover the grass with cardboard and mulch, or use black plastic to solarise the grass and kill it. I know that these methods work well in other places with other types of grasses, but they aren’t great in Perth.

If it has worked for you, brilliant (and I’m sure it can be done). But when it doesn’t work, all that happens is you create a cosy, warm, wet environment for the grass which means it expands its root networks, and eventually busts through the mulch/plastic.

An earlier guide to verge gardens by the Water Corporation specifically advised against these methods, recognising that they rarely work.

I’ve seen many, many examples of mulching/solarising grass failing in Perth, and I can’t say I’ve ever seen an example of it working successfully on the types of grass that I have.

Putting the work in up-front

Even if I thought that mulching/solarising was a great idea, and wanted to give it a go, I’d need to wait several months for the grass to die before I could plant anything in the ground. And I don’t want to wait.

The sooner I can plant trees the better, and the sooner I can plant vegetables the better.

Also, I think putting in the work up-front means not playing catch-up later. I don’t want to spend the next six months digging out regrowing grass – especially not grass that has grown through raised garden beds and now has 1+ metre deep roots.

I expect there will still be some regrowth, but it should be a lot less than if I’d just tried to plant on top.

The level of the land

One other reason why sheet mulching with cardboard and then heaping on the mulch wouldn’t work for me – at the front at least – is that the ground level is already a little high. It’s higher than the driveway, which means when it rains all the water (and mulch) will run off onto the concrete and down the drain.

In a place that’s short of water, this is a huge waste. I need to ensure any water that falls stays in my soil.

Adding an extra 10-15 cm of mulch on top would create a mini mountain, and just exacerbate the problem.

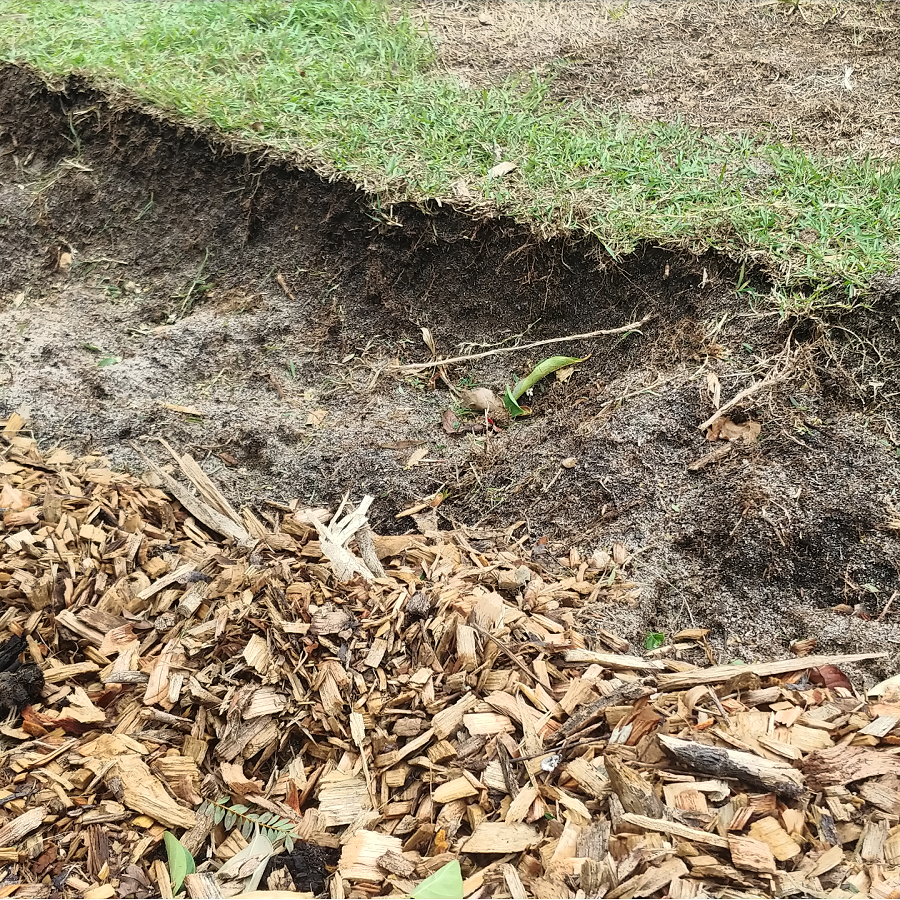
By removing the lawn I’m reducing the height of the land slightly, so the new surface is flush with the kerb/driveway.

Knowing my land

I did contemplate getting a turf cutter, and a few friends suggested just getting a bobcat in to blitz it in a couple of hours. But I decided to do it by hand.

Out the back, I don’t need it all done at once, so I’m chipping away as I’m ready to plant trees or put in beds.

At the front I am removing the whole lot, but I’ve found the by-hand approach useful.

There is a huge tree on my verge, and I don’t want to trash all of its roots with heavy machinery.

There are gas pipes, water pipes (and PVC reticulation pipes!) under the lawn, and I don’t want to damage anything.

It’s been useful to go slowly and see exactly where the roots from the big tree, my neighbours’ trees and my hedge extend, remove random bricks I find, and also see the condition of the soil (which varies from extremely bad to pretty bad. But I did find a worm. Just the one. Yeah, Perth soil is really not great).

Because I want to put in-ground beds at the front, its useful to know if there are networks of roots or blocks of concrete under the soil before I plant anything out.

Removing the lawn – progress to date

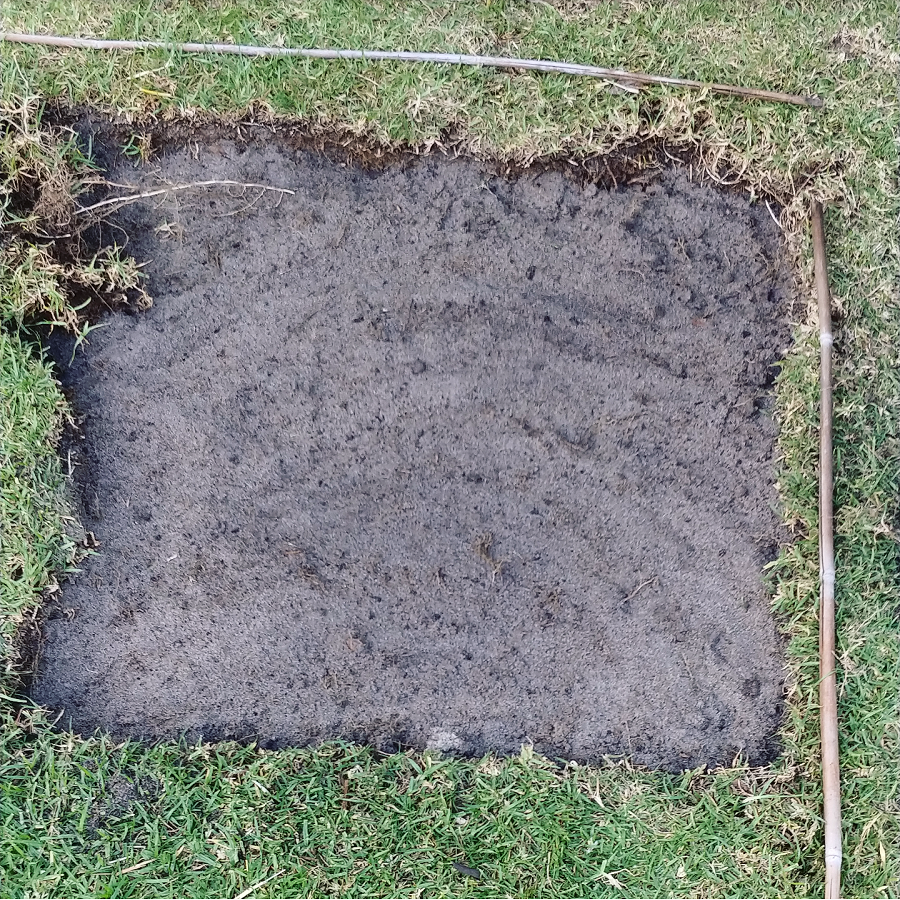
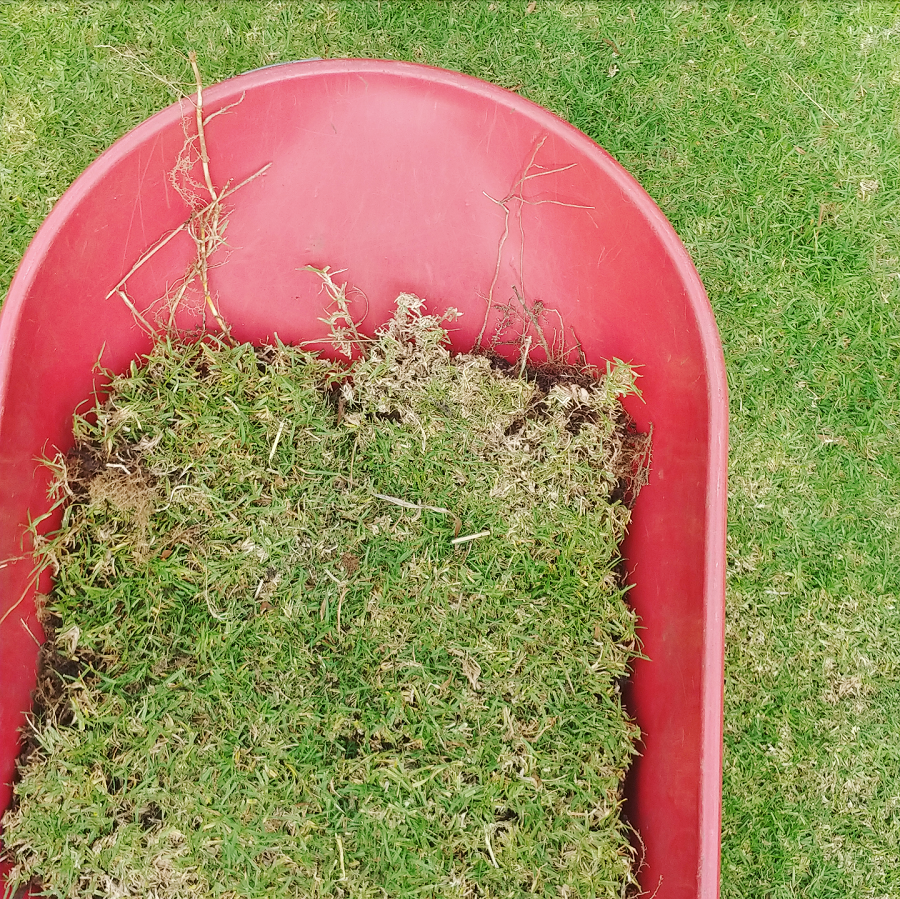
The one advantage of living on a sandpit rather than heavy clay soils is that it is fairly easy to dig out grass. It isn’t back-breaking work… but there is a lot of it.

My superstar neighbour has given me a hand out the front (I think she is impatient for it to look good!) and it is quite amazing how much can be removed in a day.

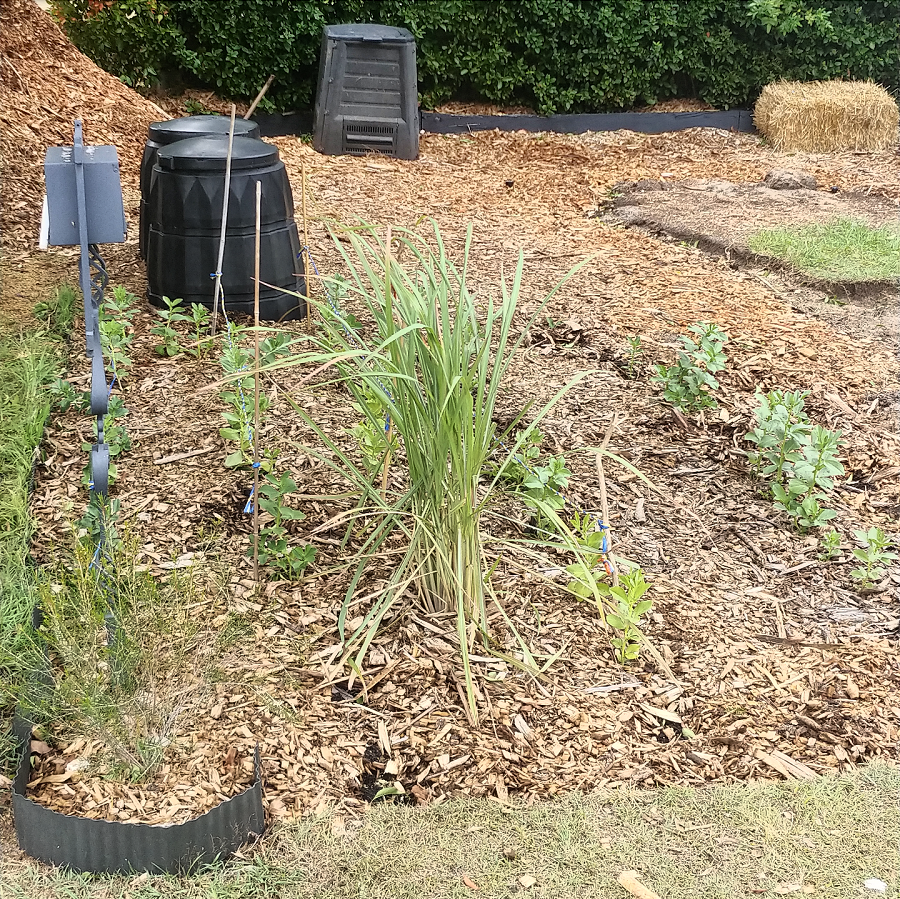
Currently, the front looks like this:

(The plants are a native Geraldton wax I transplanted from the back garden, a lemongrass bush and the beginnings of my broad bean patch).

I’m going to have another blitz at the weekend, and I’m hoping it will almost all be gone when I’m done.

Here’s the back, with the new beginnings of my citrus ‘grove’ and my raised garden beds beginning to fill up:

So that, my friends, is the extremely long answer to the question: why am I digging out my lawn. It’s fairly boring work up front, but the long-term rewards will be worth it.

Now I’d love to hear from you! Any more questions about lawn or lawn removal? Any experiences of removing lawn yourself – both successful and unsuccessful? Any other thoughts at all? Please share in the comments below!

My garden transformation project (Progress update: month one to three)

I’m three months into my year-long project to transform my garden from lawn {sobs… so much lawn!} into the beginnings of an urban food forest – veggie beds and fruit trees. And I thought it was time for an update – and some progress shots.

Let me tell you, I hate in-progress shots! That time when it’s obvious you’ve done ‘something’, but it all looks patchy and half-baked and nothing the vision that’s in your head.

That’s the stage I’m at right now.

But it’s good to document progress nonetheless, and hopefully there will be a time when there are ‘after’ shots that look at least vaguely like my vision!

The garden transformation project: from lawn to food forest

The first thing I did was make a rough plan of the different ‘zones’ in the garden. I’ll talk more about how to do this in a separate post, but in simple terms, it means thinking about a few things.

First, the different uses. There are the uses/functions that I want: do I want lawn? Patio? Veggie beds? A chicken run? Fruit trees? A pond? A space for the dog? etc etc.

Then there are the different microclimates within my boundary – which affect which things will work successfully in those spaces, and which won’t work.

Even though my block is pretty small, there is still a spot that gets beaten by the afternoon sun, several spaces that won’t get any sun in winter because of the shade patterns, a cooler side area with little light that is more suitable for trees (because they can grow up to the light).

There’s also what’s going on outside my block to consider. The neighbours’ buildings and trees (which provide shade – which may or may not be a good thing, depending on where they are); trees also have roots that do not understand boundaries and like to get into unsuspecting garden beds.

And then there are the limiting factors of the climate. In Perth, the sun (and heat) is a limiting factor; water is another. And water alone isn’t enough to keep plants alive on blistering 40°C+ days in full sun. Shade is important, too. Then there is the fact that certain plants just won’t grow (and others will do fantastically well) where I live.

I can want a coconut palm tree with all my heart, but I just don’t have the right climate (not wet enough and winters are much too cold) to grow one to fruit.

So with all these things in mind, I have a few different zones:

  • The front verge – natives/edible natives (the verge is connected to my front garden but the land is owned by the council, not me. They encourage the planting of native gardens (which are waterwise) on verges.
  • The front garden (north facing) – I’d like to put in-ground veggie beds here, but there is a huge tree at the front and I need to figure out if there will be enough sun in winter.
  • The side strip (east of house) – deciduous fruit trees. There is a raised bed along the side so they have a bit of extra height to get to the sun, which they will need to set fruit. In winter when the sun is lower, deciduous fruit trees are dormant, so that works.
  • The back garden (southern end, at the back) – this is where I’m putting the hardiest and tropical plants. They will get sun all year, and will be battered by the summer afternoon sun, so it makes sense to choose the hardiest trees for here. The plan is that as they grow bigger they will provide shade from the afternoon sun for the smaller and more sensitive trees and other plants.
  • The back garden (in the middle, eastern side) – I’m planning to put citrus trees here. They will still get sun in winter.
  • The back garden (in the middle – western side) – I’m keeping some lawn. For now. They say relationships are about compromise, and here is how I compromise…
  • The back garden (furthest north, nearest the house) – deciduous trees. This spot won’t get a lot of sun in winter, which makes it perfect for deciduous trees.

(I’ll write a post sometime about planning for fruit trees, because there are a few things to know if you’re going to grow them successfully.)

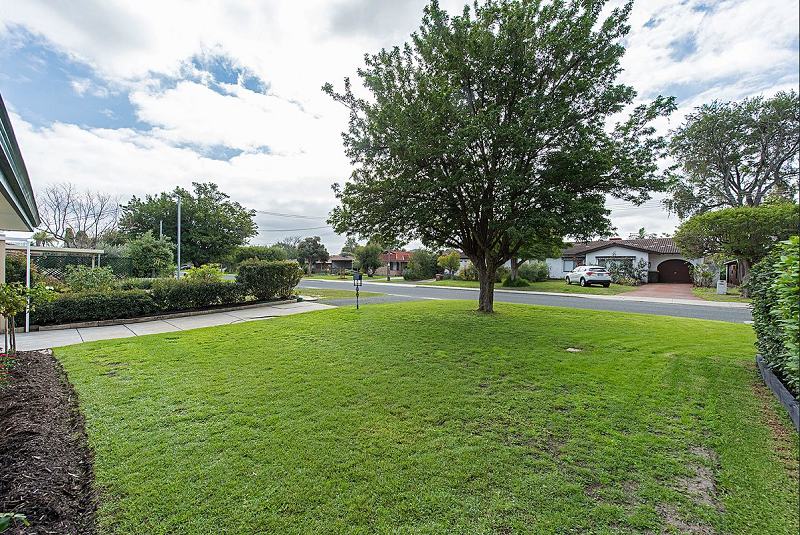
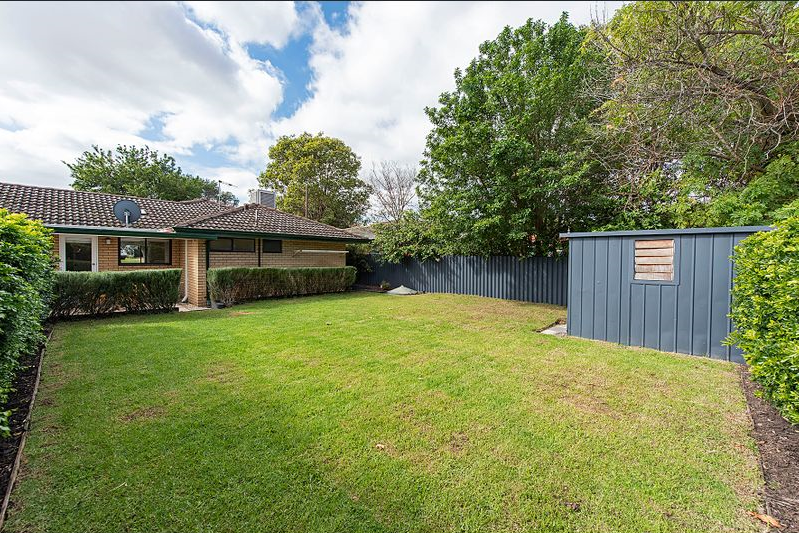
These are the before photos from when I moved in (well technically from the real estate agent, hence the wide angle lens and bright colours, and taken in August when the rain is plentiful).

I’ve already written about my first steps: getting the compost cranking, and getting chickens. I also had a change of plans when I decided in March to put in some vegetable beds (something I was going to wait until later in the year – possibly September – to do).

My other priorities over the past three months have been:

  • Digging up the lawn and mulching to bring some life back into the soil;
  • Mulching the dead area down the side of the house, to get the soil semi-ready for fruit trees;
  • Starting to plant trees in other spots around the garden;
  • Getting quotes to sort out the reticulation;
  • Beginning a verge plan to submit to the council (they offer a rebate).

Digging out the lawn (front garden)

In Perth, it’s too hot to have exposed soil. The sun just kills all life. The answer is mulch. Coarse street tree prunings are ideal – they are also affordable, and sometimes even free.

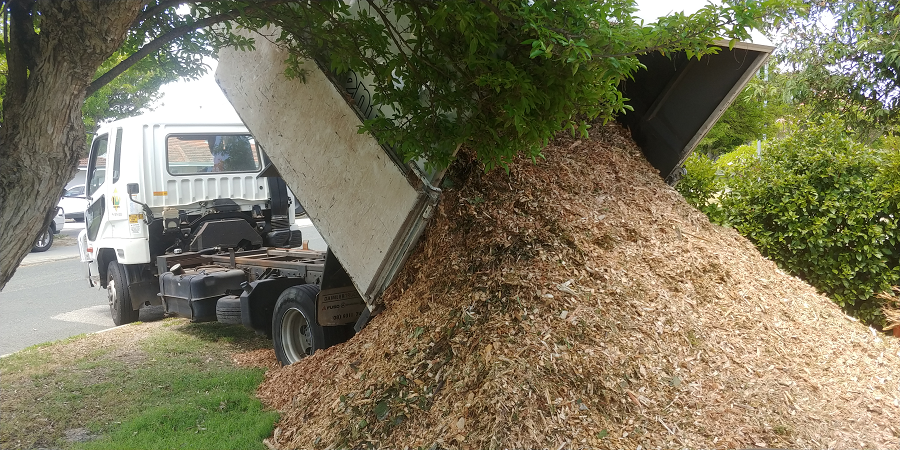
After being on the waiting list at mulchnet since the October weekend I moved in, I got lucky in January. A free truckload of mulch.

Some might say, perhaps too lucky…?

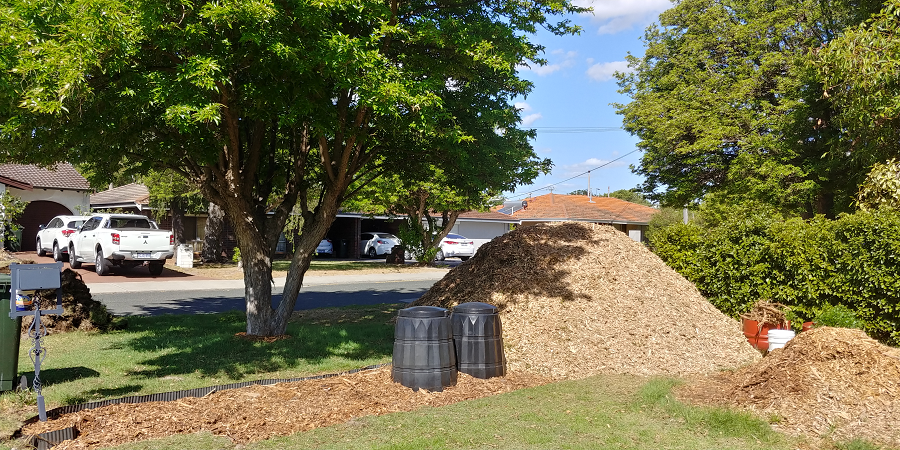
I’d already started digging up the lawn at the front before this arrived – I’d shovelled four trailerloads of mulch from a friend’s place (which involved borrowing a trailer from Buy Nothing and utilising her trailer towing skills).

But now I have enough mulch for a lifetime.

In the photo below, the pile on the right is the four trailerloads, and the pile on the left is my lifetime supply. You can see the turf I’ve dug out waiting for the green waste collection on the verge (they happen four times a year).

Eventually you won’t be able to see most of the mulch covering the ground for plants, but they need to be planted in late autumn / winter / early spring when they have more chance of establishing roots and surviving.

It will also take a few years to get the plants properly established.

Digging out the lawn (back garden)

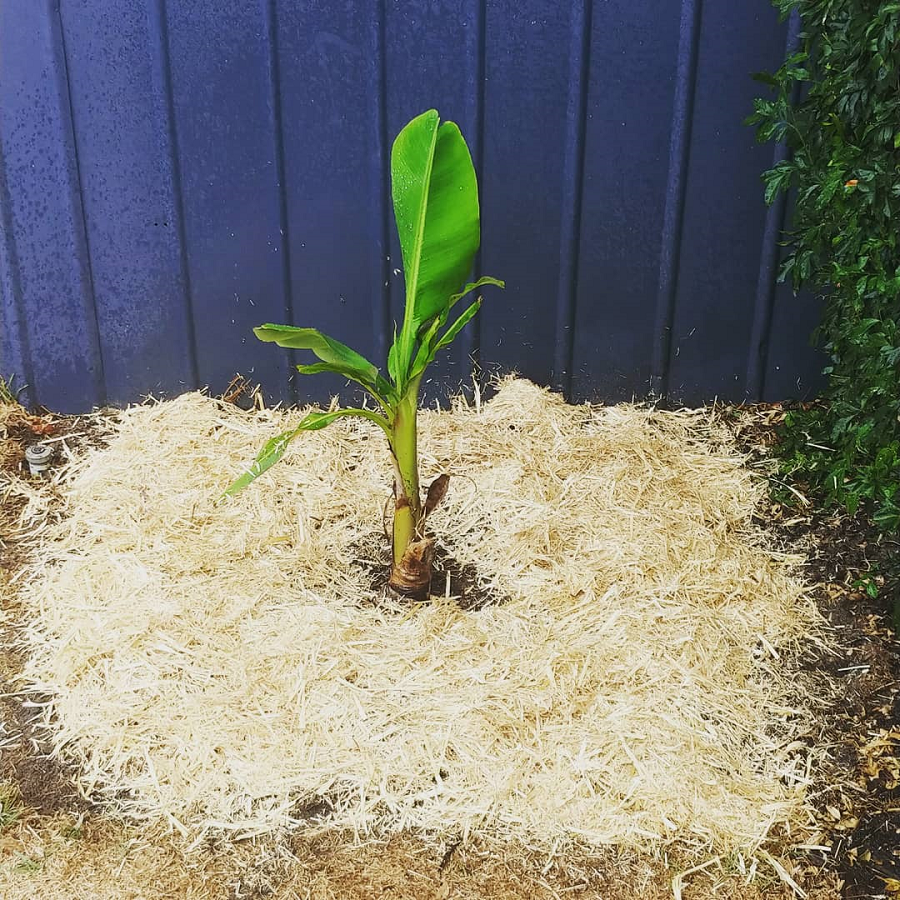
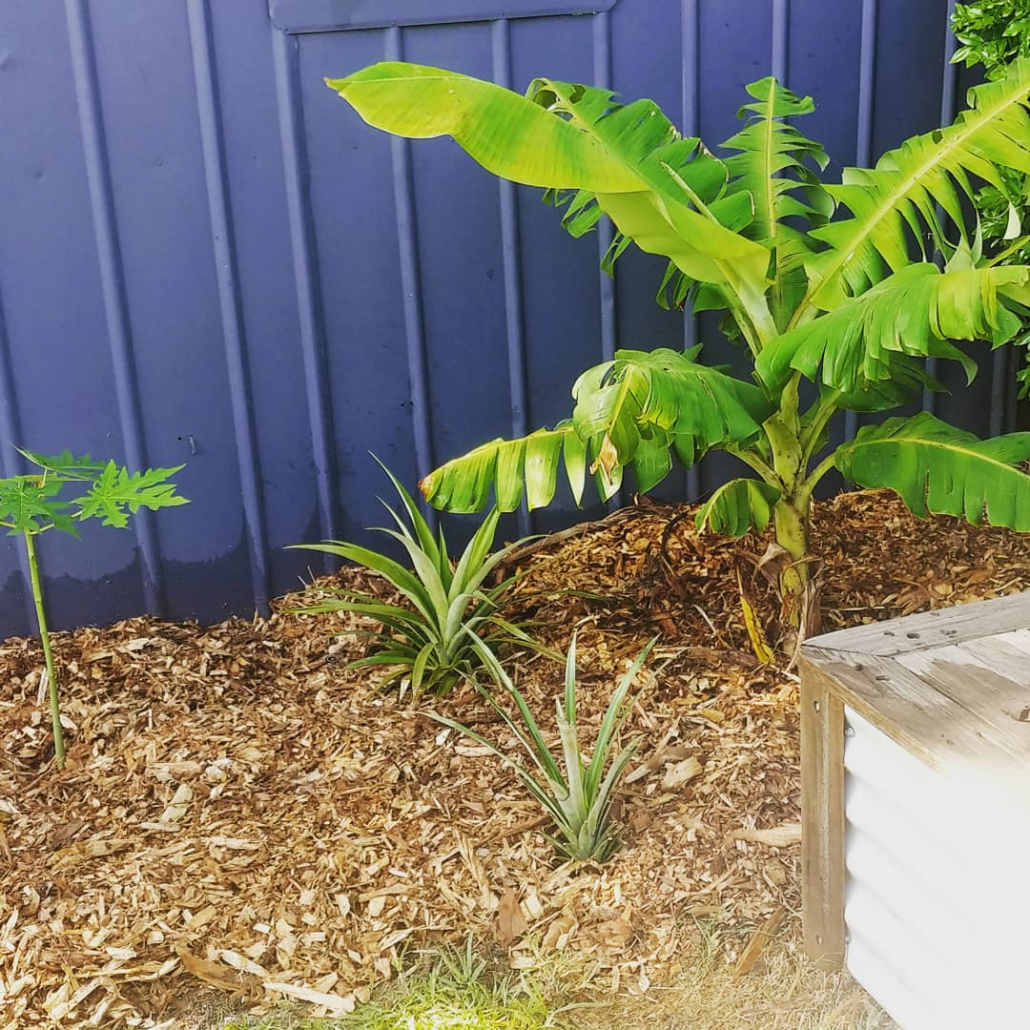
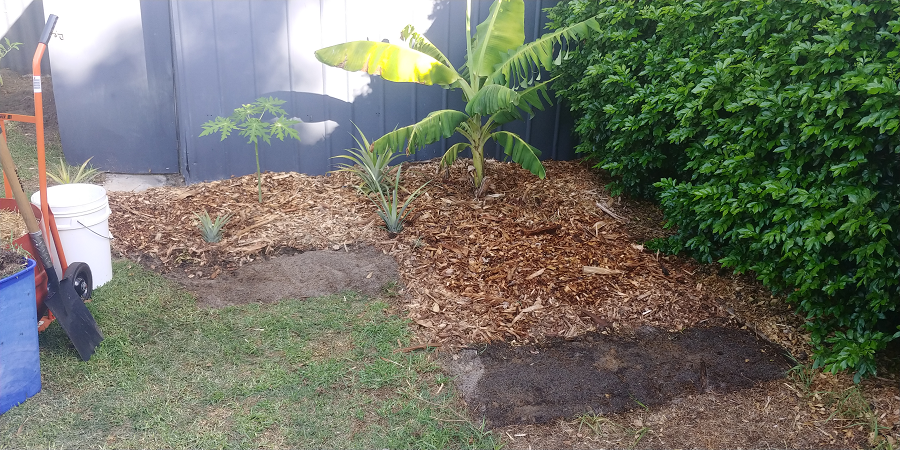
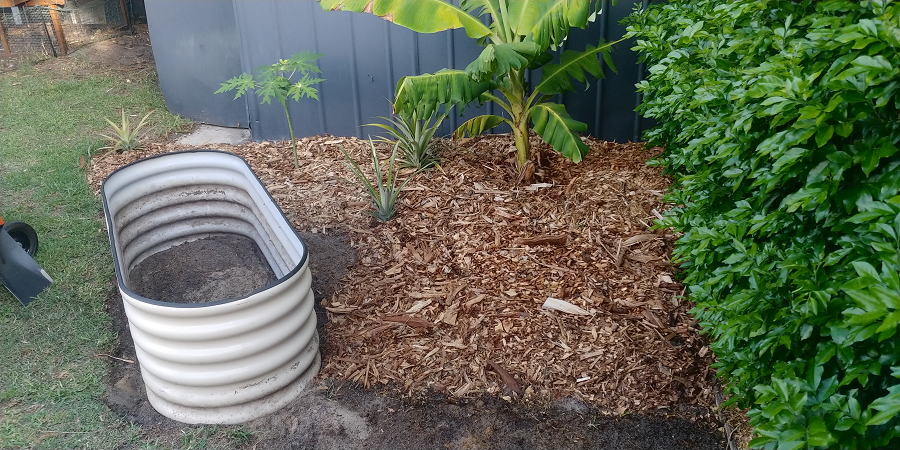
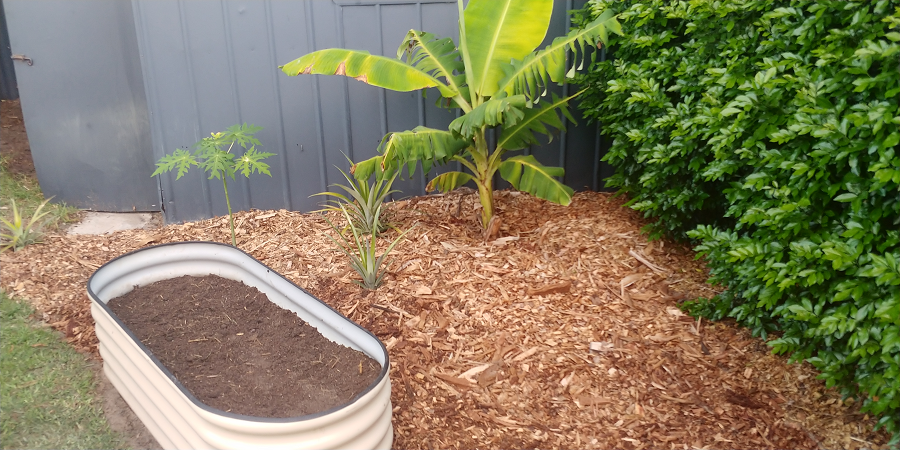
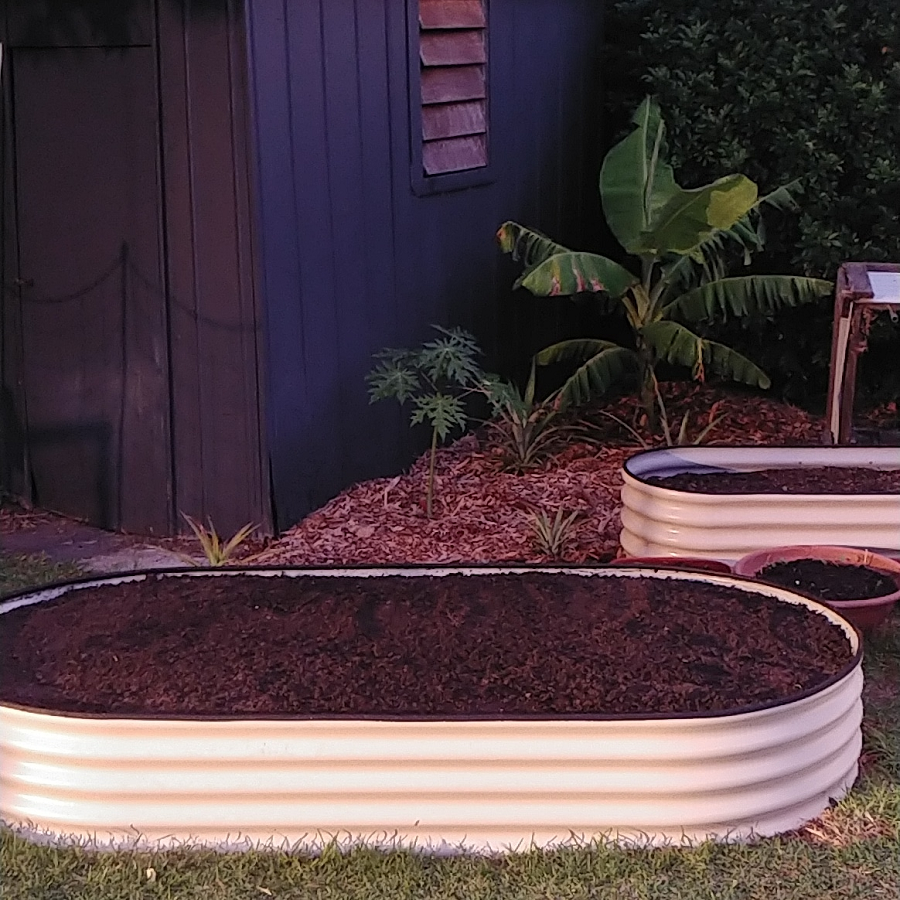
I planted a banana tree in my ‘tropical’ zone at the end of December – my first tree. It’s next to the (metal) shed to provide shelter and reflect some warmth (radiated heat) in winter.

From this spot I began to dig out more lawn. (It was a particularly straggly and patchy spot.) I’ve added a papaya and four pineapples.

Elsewhere, I also planted two more trees – a dwarf mulberry (grafted) and a fig, closer to the house. These go dormant in winter and I wanted to get them in the ground now to establish some roots first.

I’ll never forget being told this at a fruit tree workshop several years ago: never plant a one hundred dollar tree in a five dollar hole. The point being, invest in the soil more than the tree. Now my mulberry wasn’t $100 (it was $25) and the fig was a freebie grown from a cutting, but I still heed to that rule.

With the soil I have, it needs all the help I can give it.

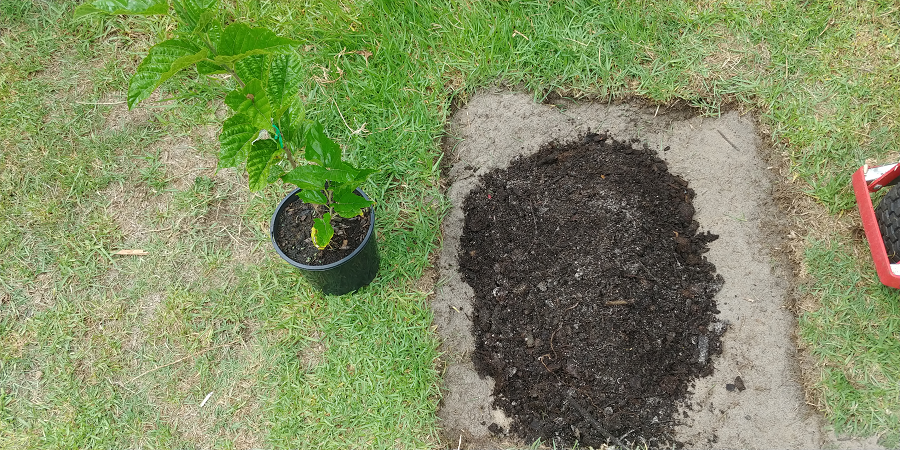
That sand next to my mulberry tree is my base soil. Digging out a heap of that ‘soil’ to replace with compost, aged manure, seaweed, clay and a bit of biochar (scored from the side of the road) took a few hours.

But the effort, and investment in amendments like these, is worth it in the long run.

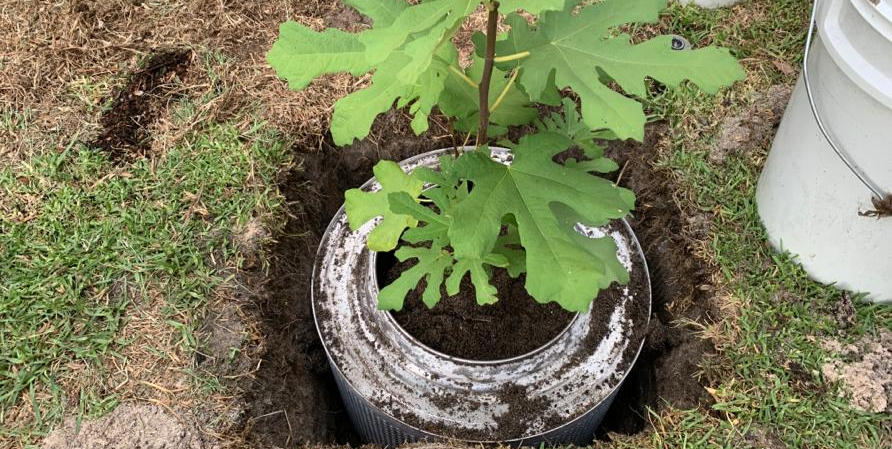
Figs are notorious for having spreading roots, but they actually grow very well with restricted roots. Pots are good but here, they dry out quickly. So I tried something I saw on the interwebs – planing in a washing machine drum.

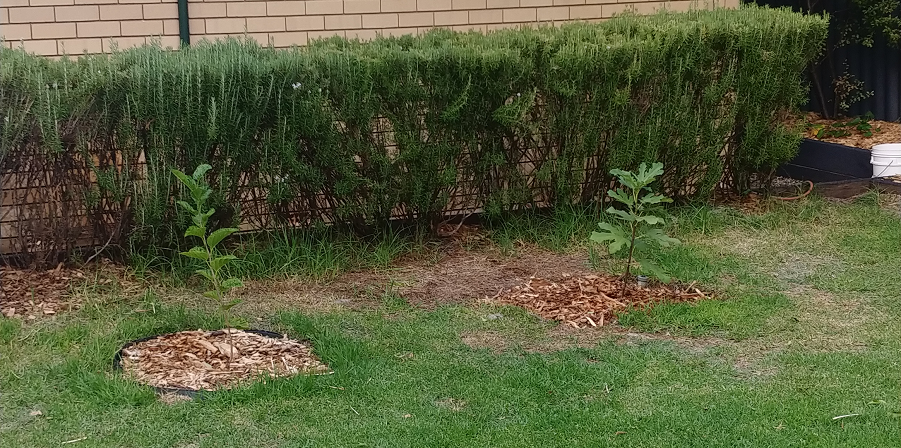
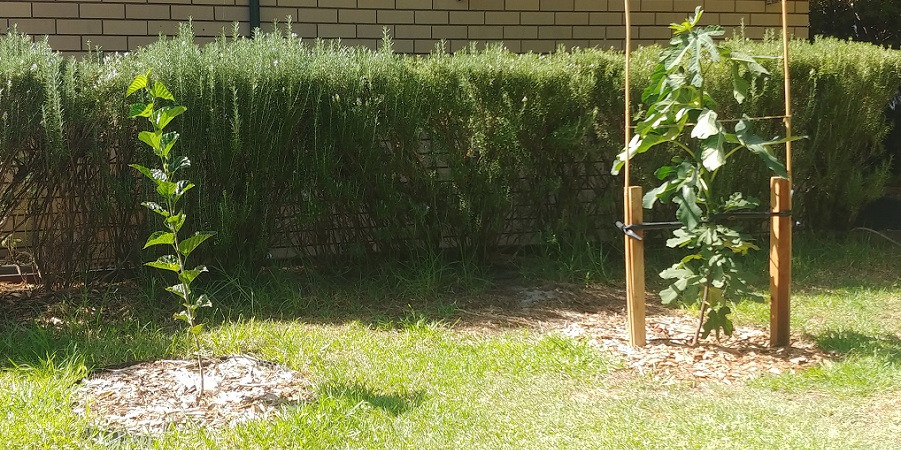
This is one of those in-progress shots that I hate, where the trees look so small and weedy. The grass between and behind them will eventually be removed – there’s just only so much grass that can be dug out per week!

They are both fast growing trees, however, and they’ve already started to look a little less pathetic, and have reached the height of the hedge.

Growing vegetables

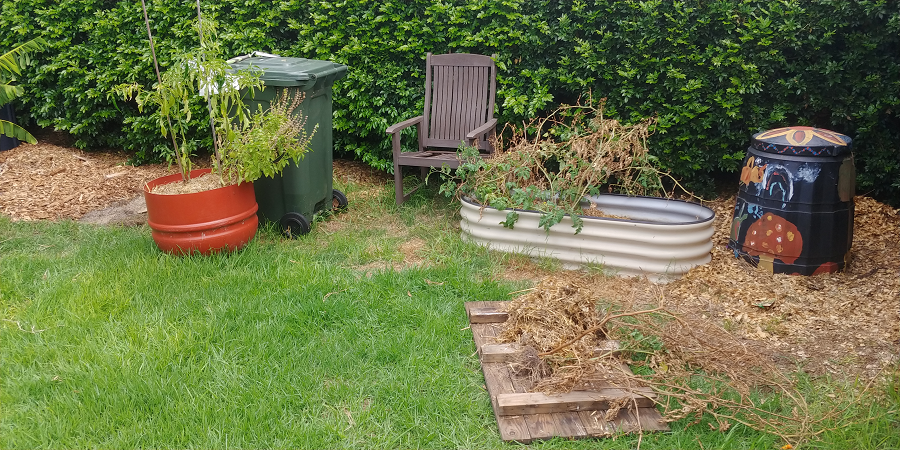
During summer, I’d planted out a small garden bed with tomato plants. It was positioned in its original spot to get the morning sun and afternoon shade (but no winter sun). Sadly, rats got almost all of the tomatoes (and the cayenne chillies I planted in the adjacent orange tub, disappointingly).

The whole area looks weedy and bedraggled. I decided to move the bed to a better spot for winter, and away from the hedge. (I also have a medium term plan of planting a macadamia tree where the bed is – to provide afternoon shade in summer to the rest of the garden.)

This is where the plan deviated slightly. I’d just finished digging in this bed (22nd March, my photos are date stamped so I can be sure!) when all of the coronavirus changes were starting to happen – food shortages, store restrictions, vegetable seedlings and seeds selling out, and potential lockdown.

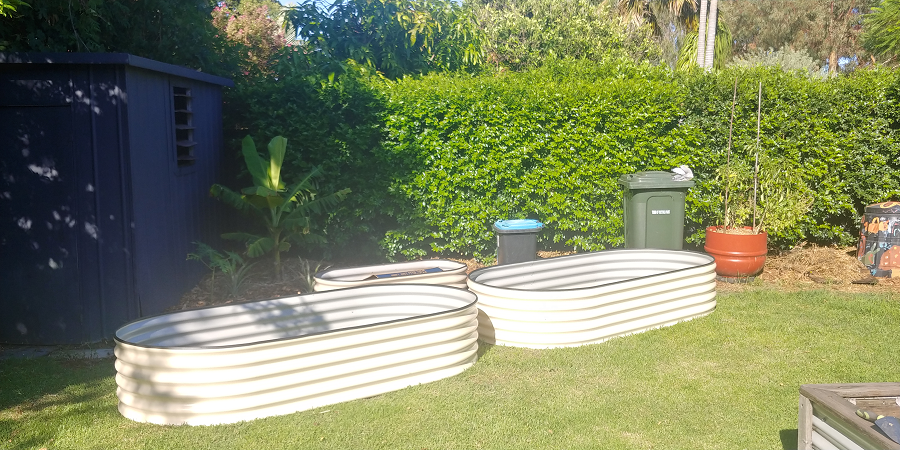
And so I panic purchased two big garden beds to get started growing vegetables now. I went with raised beds because a) I have a dog that doesn’t like heights so won’t climb in them b) they were the quickest thing to get going c) if I want to move them later on, they are actually very lightweight d) there is a good second-hand market for them, so I can sell later if I change my mind. Oh and e) they match the one I already have.

I ordered them on the Monday, expected them to be delivered by the weekend, and they came the next day.

I spend that weekend digging out the lawn, had a soil delivery the following Monday and got the first bed ready that day. It took me until the end of the second weekend to finish the second one.

I’ve planted the beds out with seedlings, garlic and seeds from my stash that are mostly expired – so we will see if any germinate. So far I’ve had luck with radish and not much else, but it is early days.

Garden plans: what’s next?

It’s still very much on my to-do list to get the reticulation sorted, particularly as I’m beginning to plant more things out and don’t to damage any roots putting it in later.

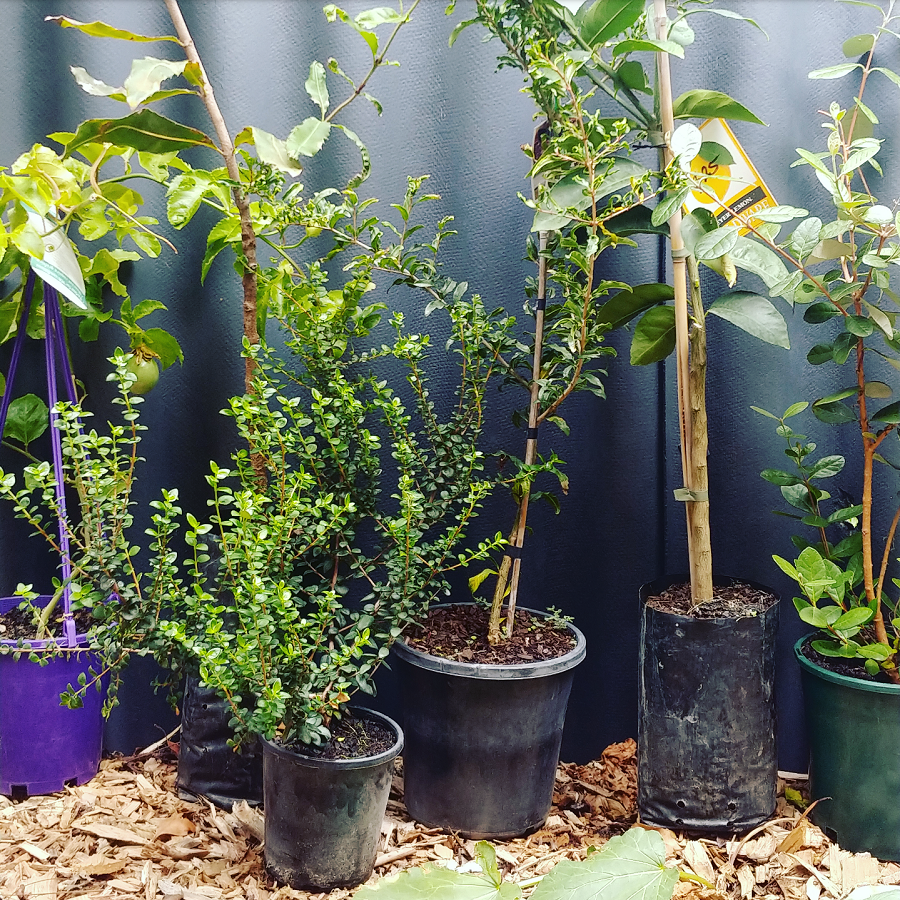
The next priority is planting trees. I’ve purchased a few (including the macadamia I mentioned earlier) and I have a few grown from seed.

I’d normally have waited a couple more months before purchasing, when the weather is cooler, but I was worried they might lock down the tree place, so I made my move early. Now it’s important to get them in the ground.

Oh, and the other priority – digging out more lawn. Sigh.

Now I’d love to hear from you! Any garden questions, send them my way! Any comments, send them my way too! And any other thoughts you have, about growing vegetables or fruit trees, planning a garden, or anything else – share them all. Just leave a note below :)