Whilst everyone was embracing sourdough baking at the start of lockdown, I was doing my own experiments – with sourdough crumpets.
(I’m pretty happy with my sourdough bread game, although the oven at my current house isn’t really up to the task – you need a hot oven for a good crust, and mine isn’t so great at getting hot. Shame, considering that’s its only real goal in life.)
And so I thought I’d give sourdough crumpets a crack.
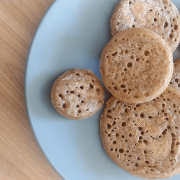
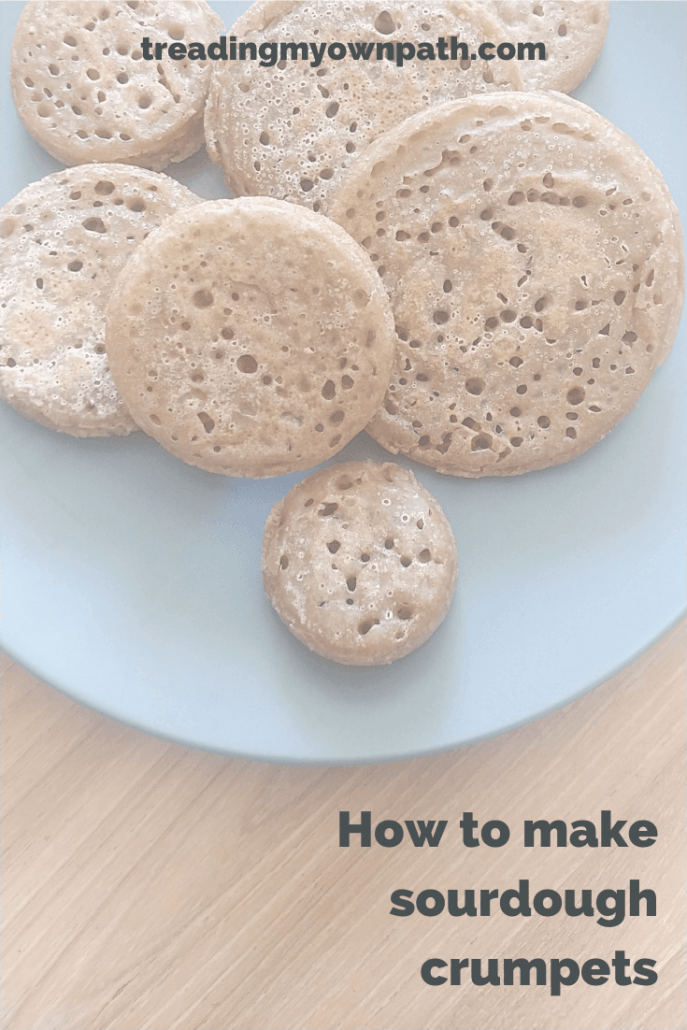
Crumpets, if you don’t know what they are, are a bread product that’s a little like a pancake except it’s full of holes. Which means whatever you smother on your crumpet drips through the holes. Crumpets are common in the UK as a breakfast item, traditionally smothered in butter.
I thought about making regular crumpets, using instant yeast, but that involved a trip to the store to buy instant yeast (which was sold out in most places). Not to mention, I find it’s one of those things that is purchased, two teaspoons are used, and then it expires and goes to waste.
(Oh, quick food waste tip. If you do buy instant yeast, store it in the freezer and not the pantry. This will extend the shelf life. Freezing doesn’t kill the yeast, just slows it down.)
I actually find sourdough easier. Plus sourdough always tastes better.
And so my Covid-19 baking was to perfect sourdough crumpets, and here is the recipe.
Sourdough starter
To make sourdough anything, you will need a sourdough starter. The good news is, you can make your own using flour, water and a bit of time. (I’d recommend using unbleached flour, and ideally organic, as you use the yeasts and bacteria naturally present on the flour to make the starter.) It’s very easy.
I’ve written about how to make your own sourdough starter before. You’ll need about a week to get it going (the time will depend on how warm your kitchen is).
If you’d like to cheat, track down a sourdough starter from someone local. I didn’t want to wait, and so I got a ready-made starter from a neighbour via the Buy Nothing group. (Other Facebook groups or online classifieds such as Gumtree would be ideal places to look.) You don’t need much.
Sourdough crumpets recipe
With sourdough recipes, there are three parts – the first is making the leaven or sponge (as it’s often called), which requires several hours of waiting time, and the next is making the batter or dough, and the final stage is cooking the crumpets.
It’s not a quick process, but the actually ‘doing’ part doesn’t take long. You just have to do a fair bit of waiting.
It will take about 24 hours from the start until the batter is ready to cook. If you want crumpets for breakfast, you’ll need to start the morning before.
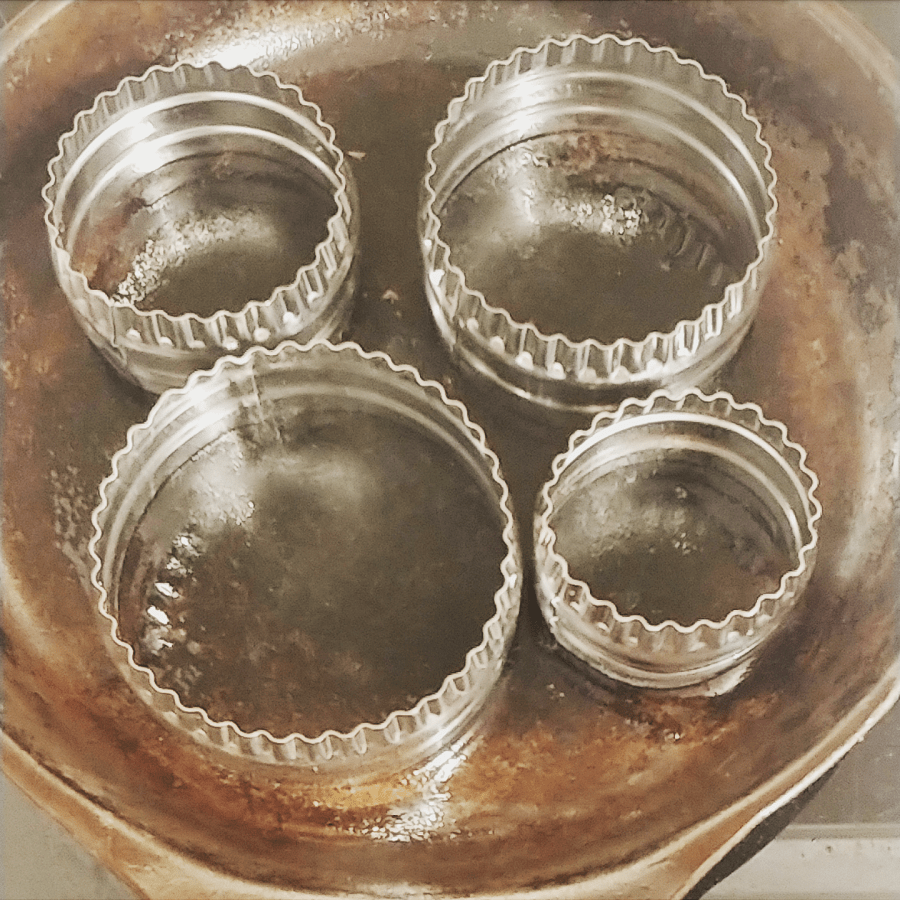
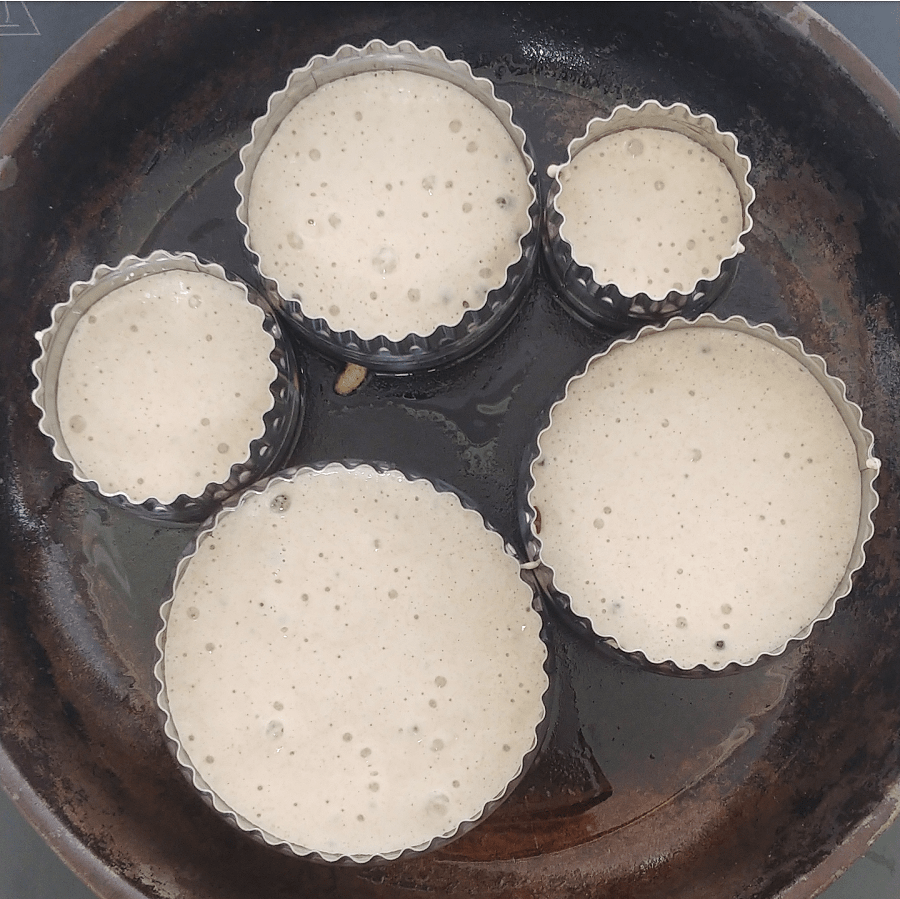
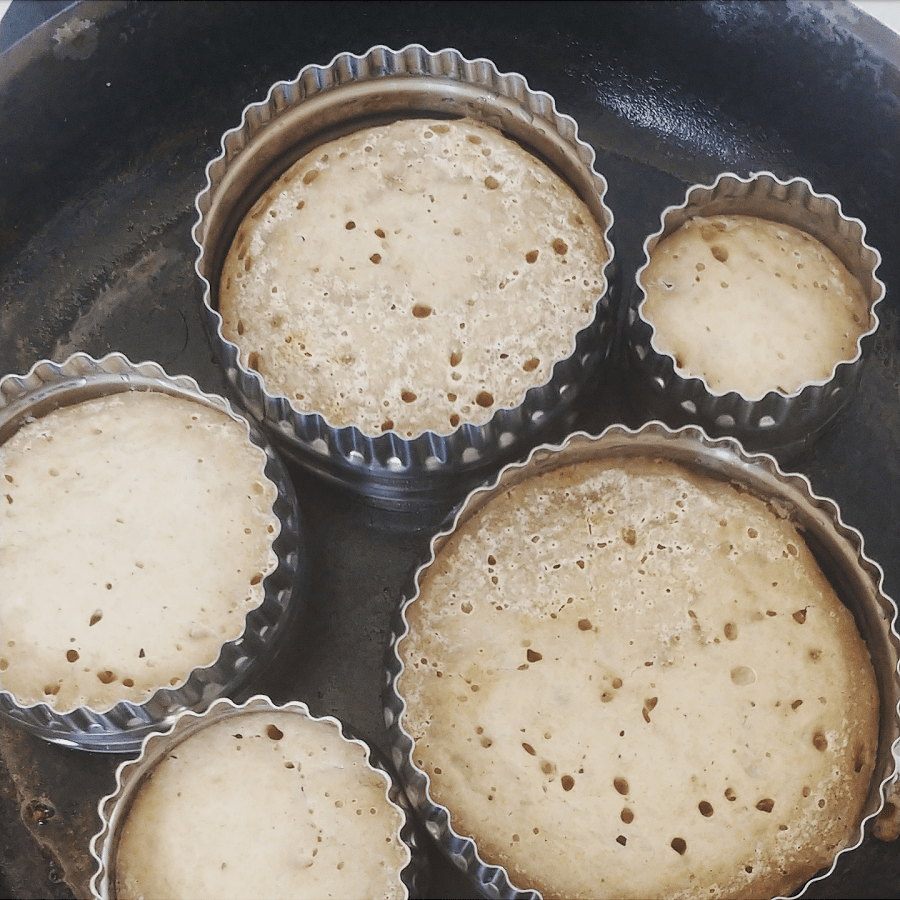
You’ll also need some metal circles. (I wouldn’t recommend silicone, as the metal heats up and cooks the sides.) You can buy purpose-made crumpet rings, or you can use cookie cutters (this is what I did), or you can DIY them buy cutting the top and bottom off of a tuna can (be careful and don’t cut yourself).
Stage one: making the sourdough leaven
For 6 crumpets, you will need to make 200g sourdough leaven. (If you already have 200g of sourdough starter, you can skip this step.)
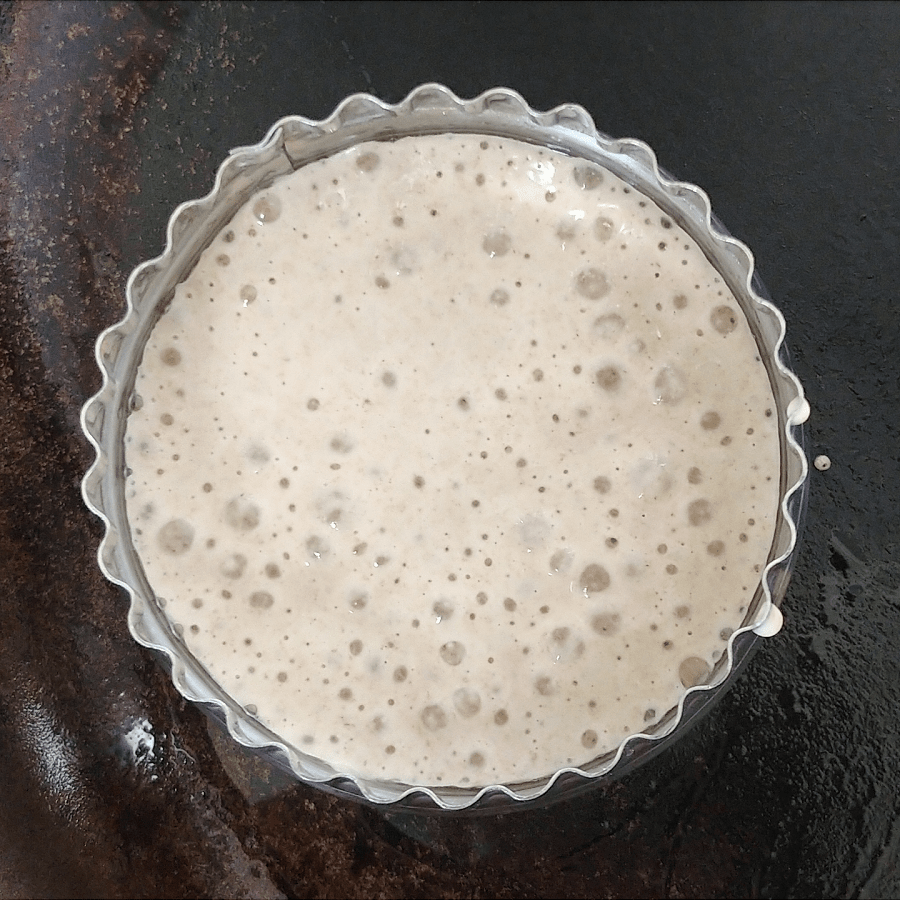
I always use the ratio 1:5:5 of sourdough starter:water:flour. Add 20g of sourdough starter to a bowl and mix with 100g water (filtered or boiled and cooled down is ideal) and 100g flour. Cover with a tea towel, and leave for at least 8 hours. During this time the mixture will bubble, expand in size and then drop again. It will be runnier than at the start.
If, after 8 hours, it’s still puffed up and bubbling, leave it a little longer. It will be fine to be left for up to 24 hours on a kitchen bench. Or, if it’s ready but you are not, you can pop in the fridge (covered) for later.
Stage two: making the crumpet batter
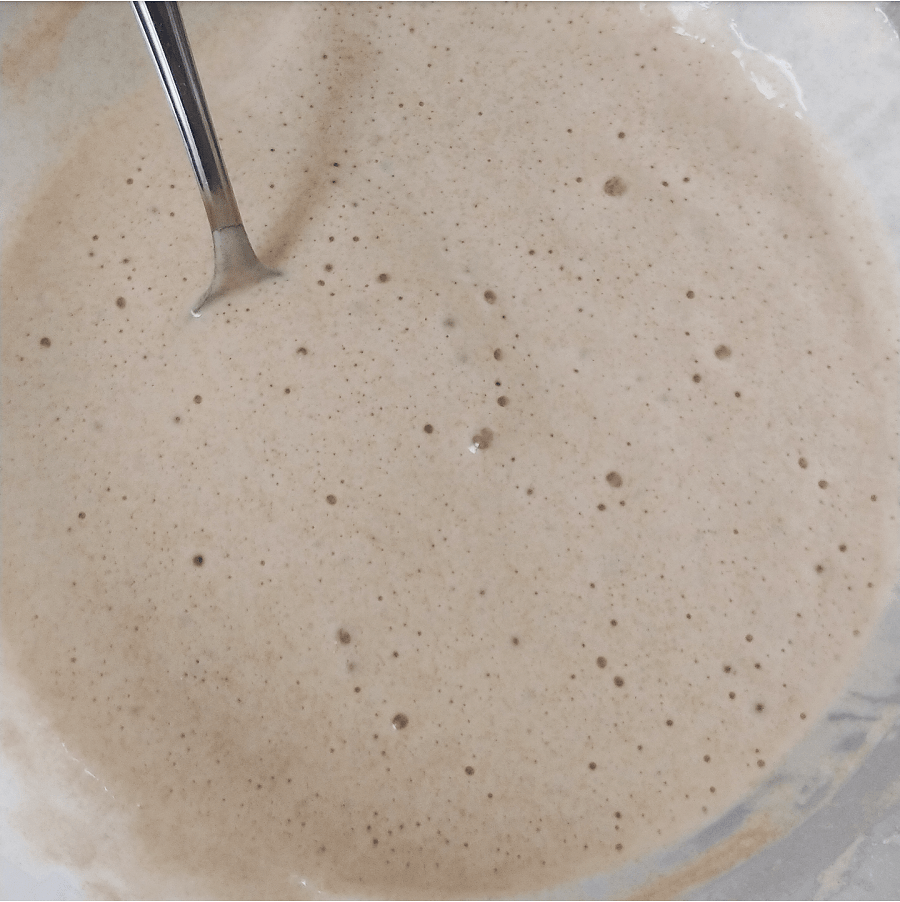
Take your 200g sourdough leaven/sponge, and add 100g water and 100g flour to this, and stir to combine. I found spelt flour gave me the best results – it tastes better, and is less sticky than white flour which makes it easier to use, and easier to wash up afterwards. But white flour is cheaper and more readily available.
Avoid using bread flour if you can – the batter will be like glue.
Cover with a tea towel, and wait another eight hours. (It’s good to do this bit right before bed, so the sourdough is doing its thing whilst you sleep, and it’s ready to go in the morning.
Stage three: making crumpets
Heat a pan (I use cast iron) on a low heat, and add oil/butter to the bottom of the pan. Add 1 tsp bicarb and 1/2 teaspoon salt to the mix (and 1 tsp of sweetener, if using) and stir to combine. You’ll notice the bicarb makes the batter puff up and appear lighter and fluffier. You can add a little water if the batter seems thick and sticky.
Grease the inside of the crumpet rings well (I use coconut oil for this). Pop the crumpet rings in the pan and ensure they are flat so that the batter doesn’t ooze out the bottom. Once the rings are heated, spoon the mix into the rings so that they are about 1cm (1/2 inch) thick.
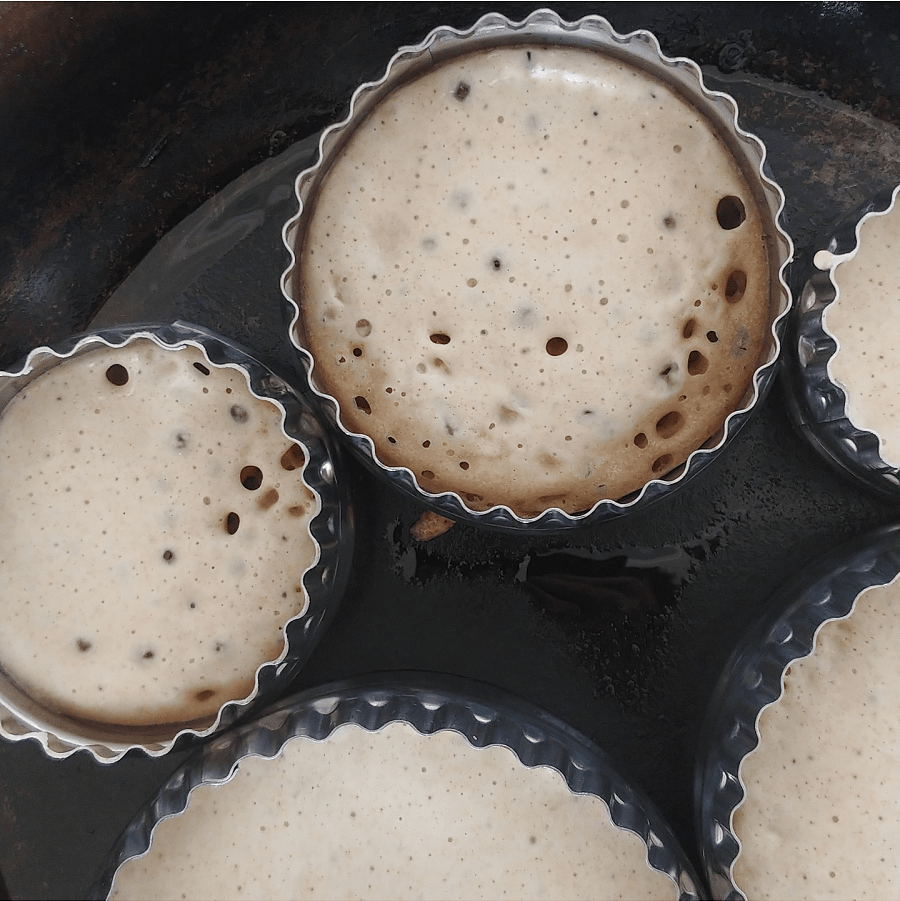
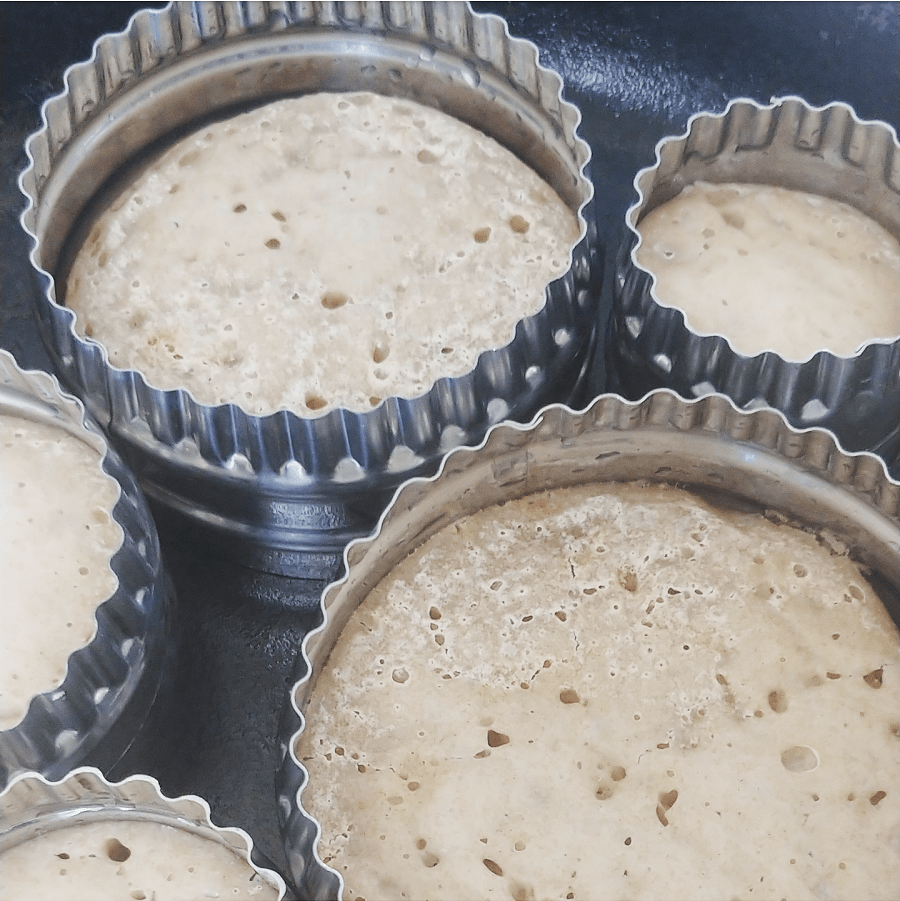
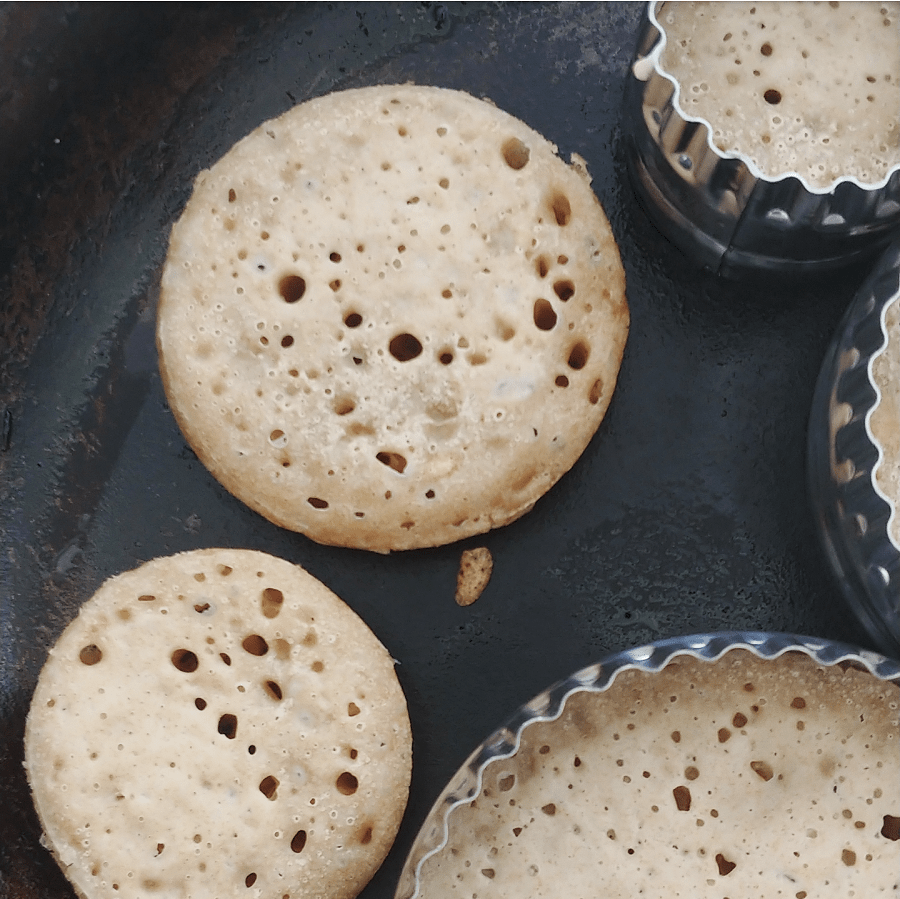
Continue to cook on a low heat. Crumpets cook very slowly. (It’s a bit like watching paint dry, watching crumpet batter cook.) You’ll start to see bubbles appear as they cook. After 15 minutes or so, they edges and base will be cooked and the top will look dry, and they are ready to remove from the ring and flip over.
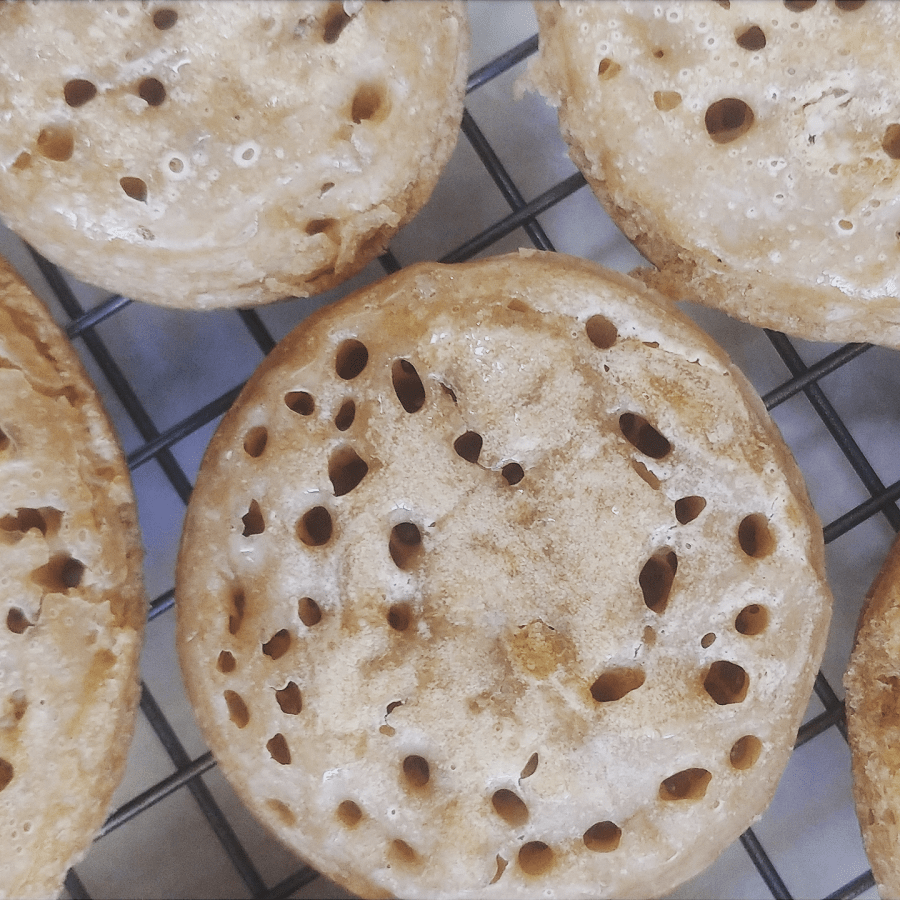
(Cheat tip – your crumpets will be full of holes, but they don’t always make it to the surface. If you want your crumpets to look more holey, you can ‘pop’ the holes visible just under the surface with a cocktail stick. It won’t affect taste but they’ll look better.)
Once removed from the ring, pop them back in the pan upside down and cook for a few more minutes.
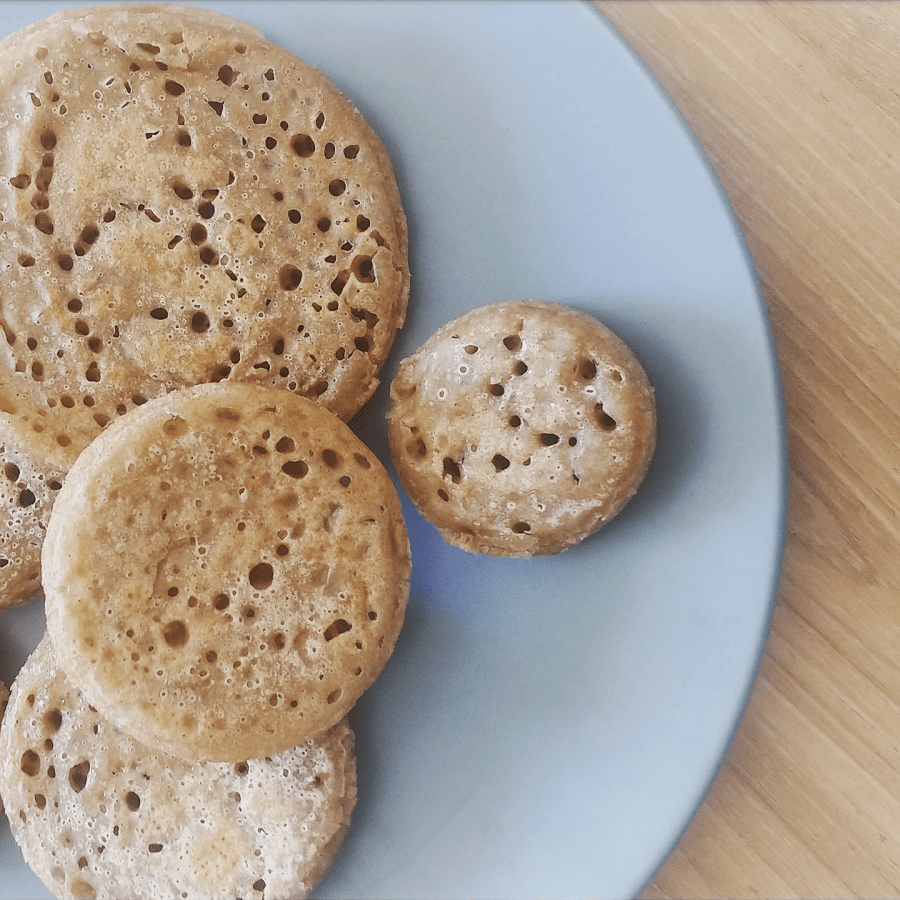
Eat straightaway. (You can keep them to warm the next day, but they really do taste best fresh.) I like to smother mine in macadamia nut butter and a little honey.
Which might not sound super healthy, but with the amount of work they take they are definitely a sometimes food, so why not?!
Now I’d love to hear from you! Did you get into baking during March lockdown? Did you try out some new recipes or revisit old ones – and which were your favourites? Any crumpet related questions or tips? Any other thoughts? Please share your ideas below!
https://treadingmyownpath.com/wp-content/uploads/2020/07/How-to-make-sourdough-crumpets-zero-waste-kitchen-low-waste-plastic-free-min.png17602640Lindsay (Treading My Own Path)https://treadingmyownpath.com/wp-content/uploads/2019/06/logo.pngLindsay (Treading My Own Path)2020-07-23 12:00:002020-07-30 21:55:42How to make sourdough crumpets (a recipe)
I’m six months into my year long project to transform the garden from lawn (front and back) to the beginnings of a food forest. And because I promised I’d share my progress (or lack of) with you, it’s time for an update.
My goal is to produce more of my own food, have surplus to share with the neighbours, make the garden a more diverse ecosystem, use plants to help reduce the harsh summer heat, and have a place to spend time away from screens and the news.
In some ways it doesn’t feel like I’ve got much to report, but looking through the photos, things have certainly changed a little.
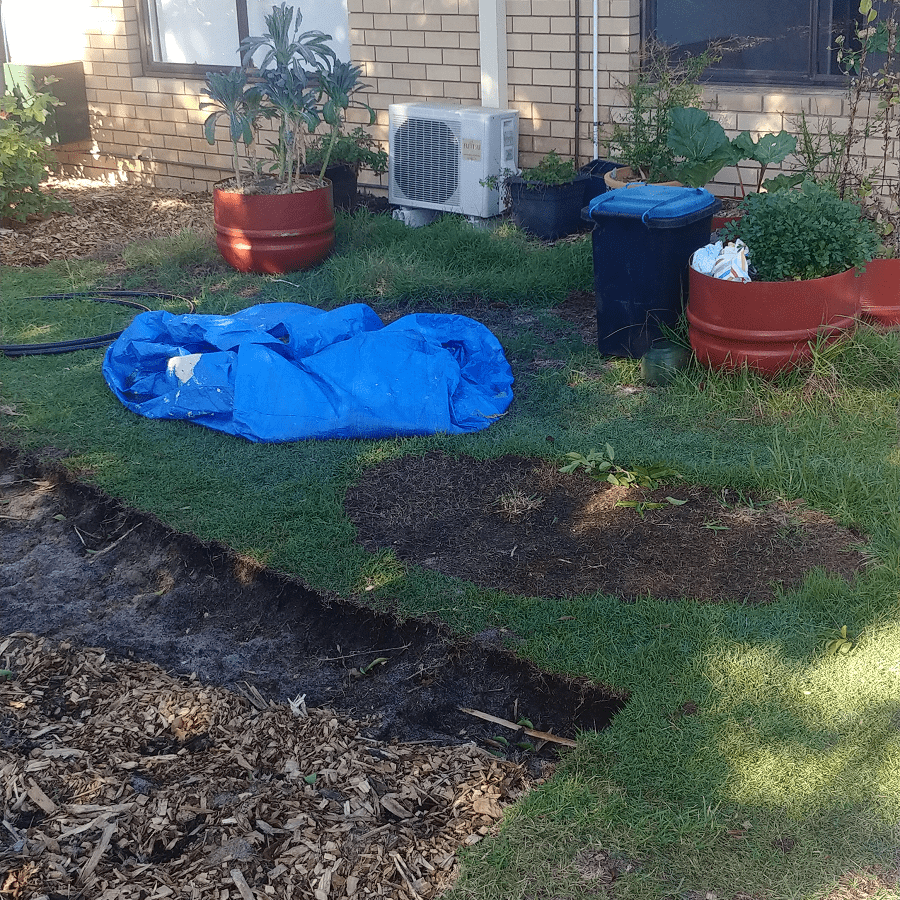
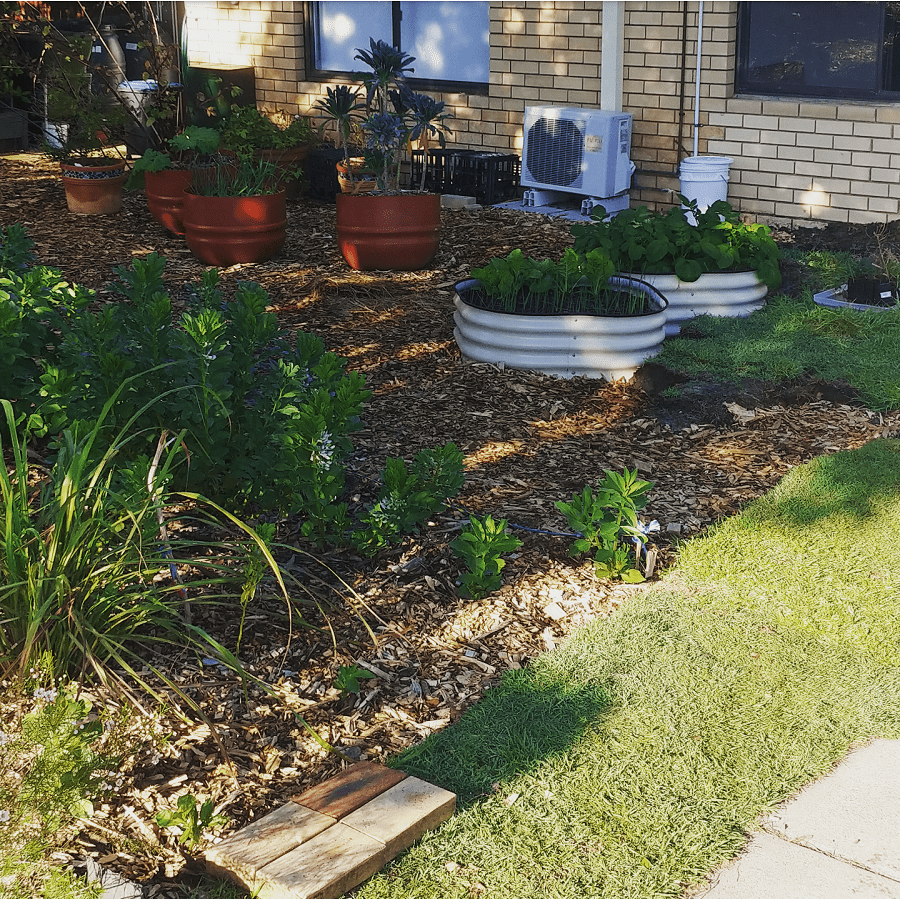
Digging out the lawn (front garden)
After a mammoth effort and bit of help from the neighbours, the lawn at the front is 90 per cent dug out. There is still a strip next the the driveway, and the last of the garden bed mounded against the house.
My long-term goal is to put in-ground vegetable beds here. I also want to put up a frame and grow a grape vine (or two) across the front of the house to help keep out the harsh summer sun. Grapes are great because they are deciduous – they will shade the house in summer but lose their leaves in winter, and let the winter sun in.
Once I’ve got the last of the grass out I’ll make a bit more of a plan.
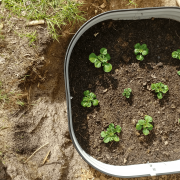
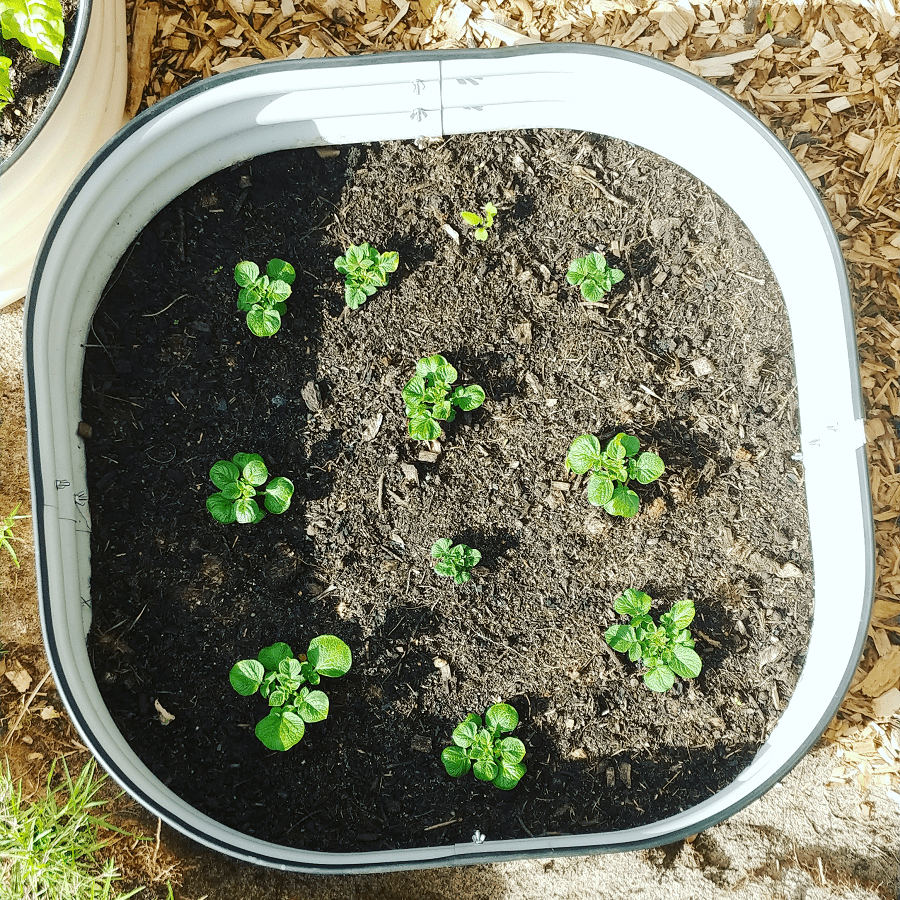
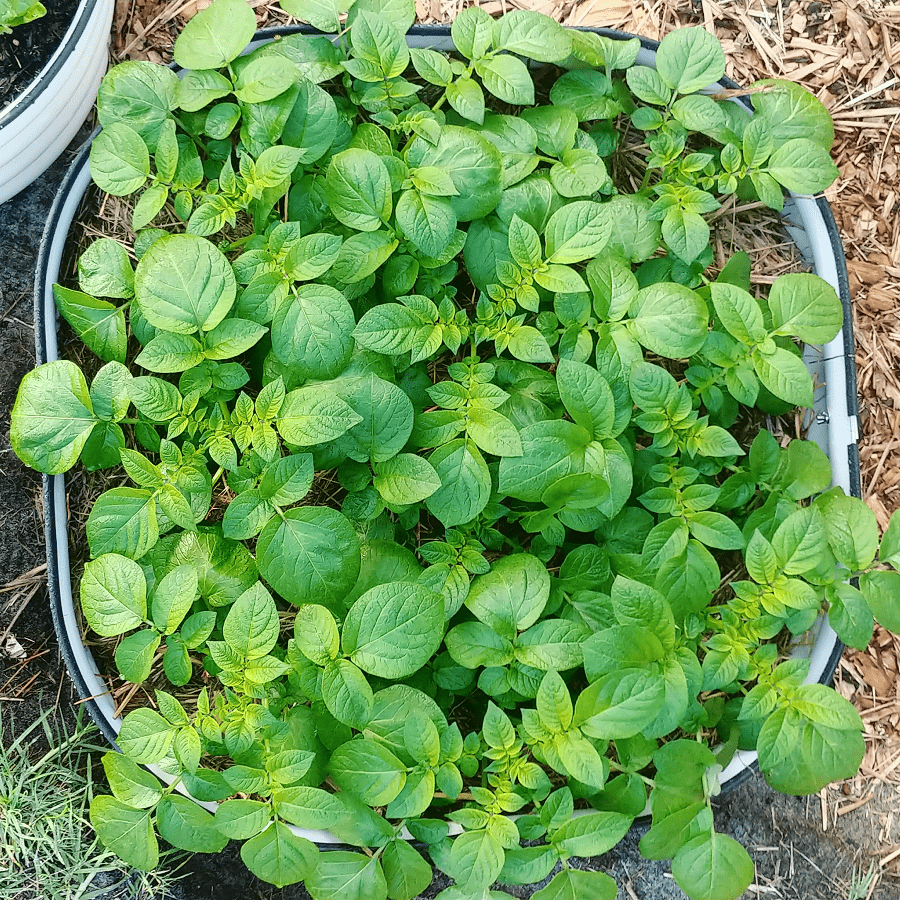
In the meantime I was gifted some seed potatoes and had some leftover leek seedlings (and a few silverbeet swapped with a neighbour for some surplus kale plants), and I still had soil left from my bulk delivery for the back yard garden beds.
So I bought a couple of second-hand raised beds on Gumtree as a quick and easy way to plant these out.
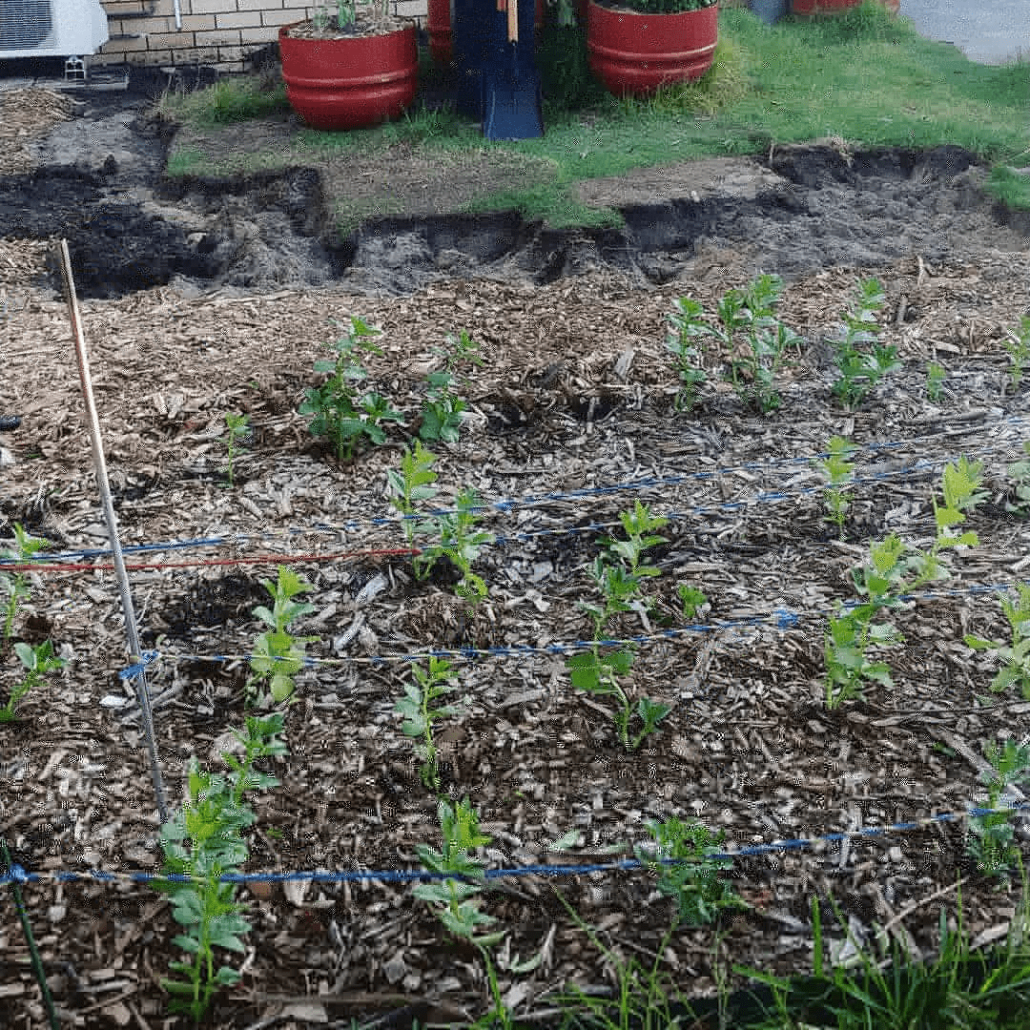
The front garden looks a little weird currently, but the plan is starting to form (even if only in my head).
Digging out the lawn (back garden)
I haven’t made a huge amount of progress here, but I have expanded the grass free area between the fig and the mulberry, and cleared the grass behind the big raised vegetable beds.
I also removed a bit more grass to plant the lemon and lime trees.
(If you’re thinking they are planted close together, that is deliberate. I don’t want them to get too big in this spot, and so being close the roots will restrict one another. I just need to prune them as they grow to ensure the branches don’t get tangled together – which is easy to do.)
Growing trees:
At the end of March I purchased a few trees to plant (including the lemon I just mentioned – the lime was a housewarming gift).
I’ve planted the macadamia in the south-west corner of the garden. As it grows, it will shade the rest of the garden from the harsh afternoon summer sun and protect the other plants. Macadamias are native to Queensland and can handle a bit of brutal summer sun.
I’ve planted the pomegranate in a spot that doesn’t get much sun in winter, which is fine as they are deciduous. As it grows taller it will have more access to the sun year round (it just needs to get as tall as the gutters, really) which will help with fruiting.
I planted the Chilean guava, a lemon verbena and an ice-cream bean tree (grown from seed, this one) along the back between the banana and the macadamia. The ice-cream bean has not appreciated being transplanted and I’m waiting to see if it survives. I did grow a few more successfully from seed, so if this one fails I have a back-up.
Ice-cream beans are nitrogen-fixing trees, meaning they have nodules on their roots which add nitrogen to the soil from the air. Magic. I want to have a few nitrogren-fixing plants to help with the soil biology. (All Acacia species are nitrogen-fixing too, and we have some great native ones so I’m hoping to add some smaller ones in too at some stage.)
Growing vegetables:
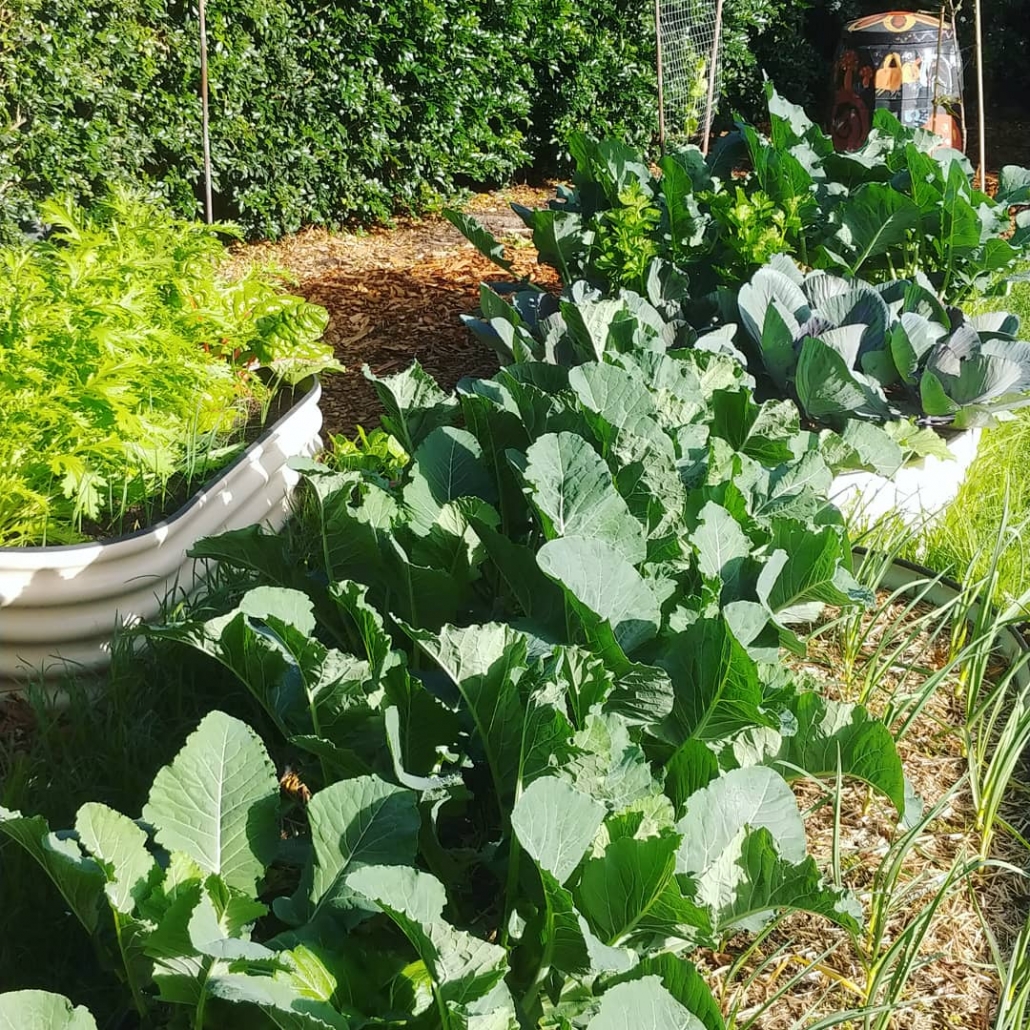
The three garden beds at the back are looking great, and I’ve started to pick the broccoli and cauliflower. One they go I’ll sow more carrots and plant some beetroot seeds.
I’ve also got plenty of kale (three different types), possibly too many leeks, garlic (which will be harvested in spring), silverbeet and a sole ruby chard, some peas that aren’t very happy with life, and mixed Asian greens (pak choi/bok choy, an interesting green one that I have no idea what it is, and possibly a third variety). There are also a few carrots germinating in between.
Garden plans: what’s next?
The passion fruit I purchased in March is still in its pot (and yes I’m feeling guilty about that) and my next plan is to rip out some of the rosemary hedge and get that in the ground. I have a few other potted plants that need to be planted out (like the bay tree).
The rest of the front lawn needs to come out, and I need to submit my verge plan to council so I can get that started. (More grass digging. Yay.)
I also want to chip away at the lawn out the back, so the various mulched sections start to join.
Then there is the reticulation to be sorted (I got a quote, but did nothing with it – but I’ll need this sorted before September) and hopefully the final front garden vegetable beds will be prepped.
Lots to do!
Now I’d love to hear from you! Do you have a garden, or garden plans? What are you planting? What are you reading up on and learning about? Anything else to add? Share your thoughts in the comments below!
https://treadingmyownpath.com/wp-content/uploads/2020/07/Garden-tranformation-months-three-to-six-min.png17582759Lindsay (Treading My Own Path)https://treadingmyownpath.com/wp-content/uploads/2019/06/logo.pngLindsay (Treading My Own Path)2020-07-09 14:35:012020-07-09 15:14:53My garden transformation project (progress update: month three to six)
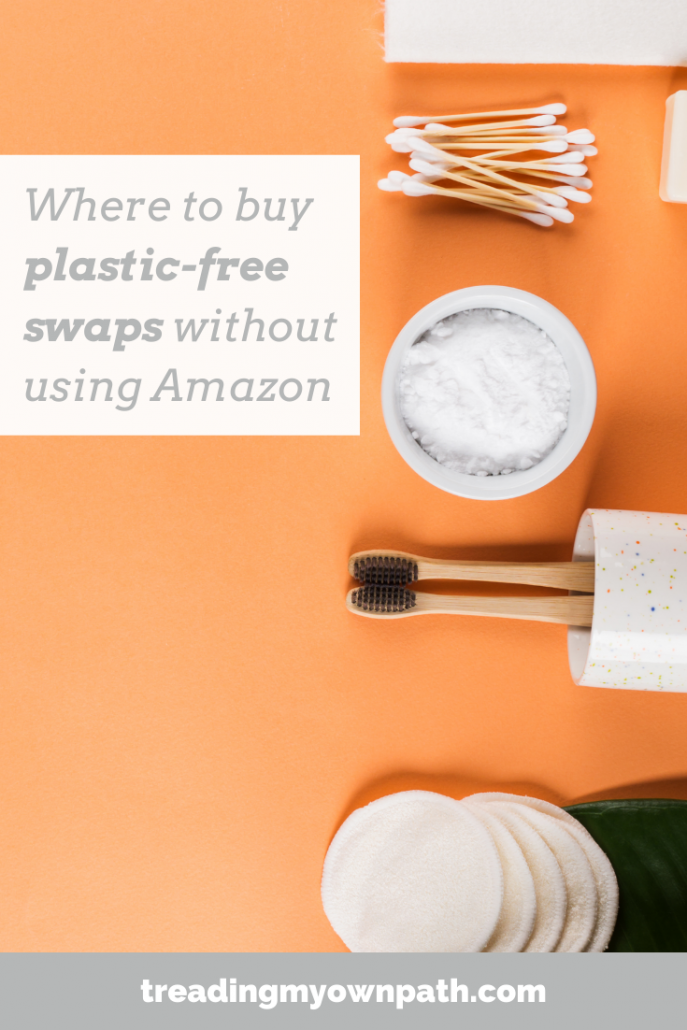
If your looking for ways to ditch the single-use plastic, and look for ideas to lower your plastic footprint, this list is for you.
Good news – there are swaps and substitutions to be made everywhere!
Before we begin – something important to know. We can’t shop our way to a more sustainable lifestyle. None of us need all of the reusables and plastic-free alternatives that exist in the world.
Please don’t feel like this is a list of things you ‘should’ have, that you need to go out and buy. Not everything on this list is going to suit your needs, and buying stuff you never use is the biggest waste of all. Wherever you can make do with what you have, or repurpose something, it’s the best outcome.
An item purchased thoughtfully and used often can replace a lifetime of single-use plastic, and might be worth the investment.
An item that sits in the back of the cupboard before heading off to landfill is not.
Be honest with yourself about you truly need. Rather than a shopping list, see it as a list of ideas. And don’t forget to check for second-hand options first!
This post contains some affiliate links. I do not post links to Amazon when making recommendations, ever.
Food shopping
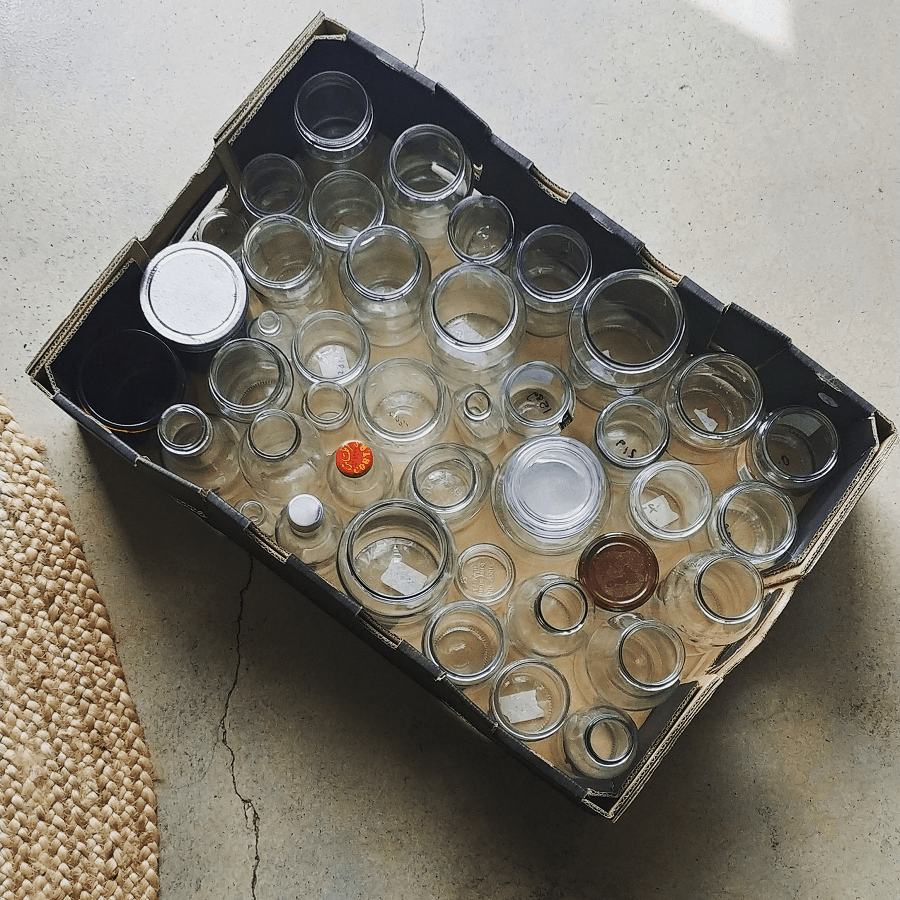
Glass jars: my favourite are the ones I fish out of the recycling bin, or rescue from my local Buy Nothing group. They are great for both buying and storing groceries, transporting snacks and keeping leftovers.
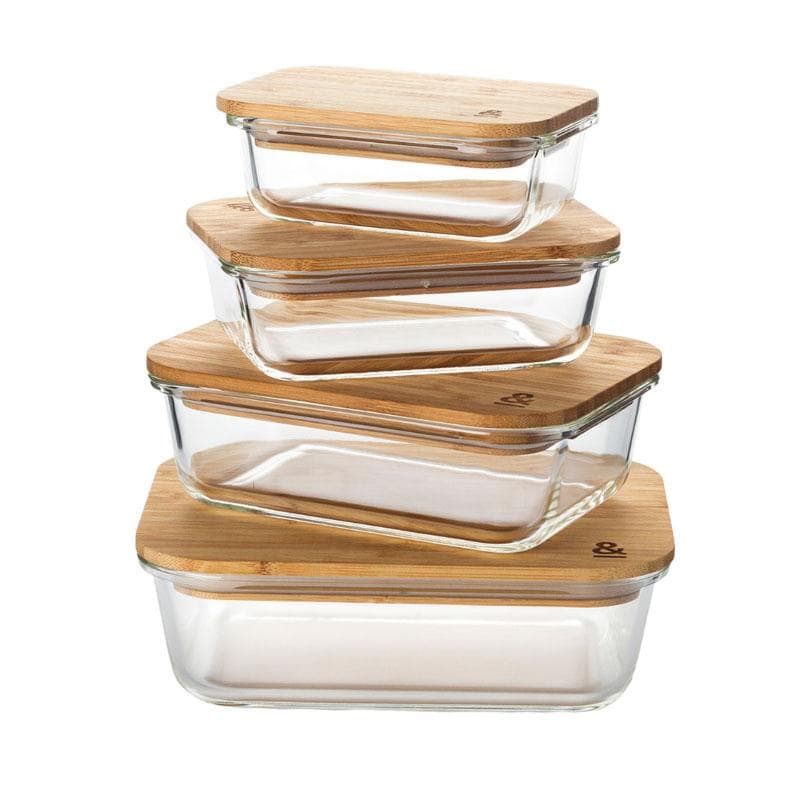
Storage containers: there are so many options for these, and you need to consider what you’ll use them for. Many ‘bamboo’ containers use melamine as a binder, and are not recyclable, so I don’t recommend these. I find transparent (glass) containers are useful for storing leftovers, and prefer glass that is oven-safe – like Pyrex – so my containers are multi-purpose.
I find stainless steel more useful for transporting food. Some don’t have silicone seals meaning they aren’t leakproof, so consider if this is important to you before making a purchase.
A few options:
Seed & Sprout – make glass containers with bamboo lids that look beautiful (too bad I already have all the containers I need). Australian brand.
Cheeki – stainless steel lunchboxes with no plastic parts. Australian brand.
Lunchbots – make a range of stainless steel lunchboxes (some with plastic lids) including bento boxes and a kid-friendly range. US brand (website is for US orders only); they are stocked at Biome (AU) and Eqo Living (UK)
U-Konserve – large range of stainless steel lunchboxes with plastic lids (they also sell replaceable lids). US brand. Stocked at Biome (AU)
A Slice of Green – UK brand with a good range of own-brand reusable stainless steel containers. They supply other online zero waste stores: &Keep has a bigger range than you’ll find on the Slice of Green website.
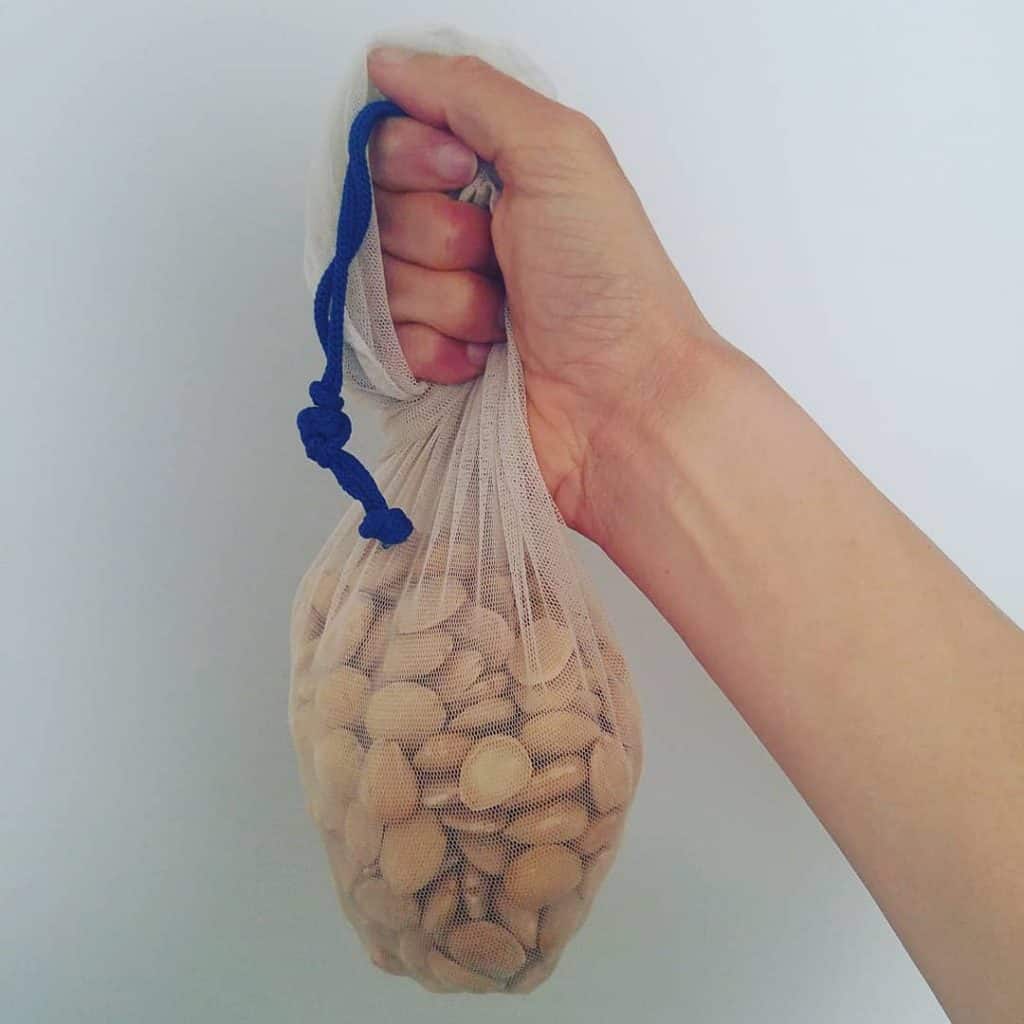
Reusable produce bags: from cloth to netting to mesh, there are lots of different options. There are plenty made from upcycled fabric – check Etsy for an upcycler making them near you.
If you’d like the mesh versions, I have and recommend Onya produce bags – they will last a lifetime (mine are 8 years old and still going strong).
I’ve also seen people use laundry bags, so if you already have a few of these, they could be an option!
Bread bags: a cloth bag works fine, as does an old (clean) pillowcase. If you want a purpose-made one, the reusable bread bags by Onya get great reviews.
Food storage
All of the items listed above are good for food storage as well as food shopping. Here are some other ideas for making sure the things that you buy keep fresh for as long as possible once you get them home.
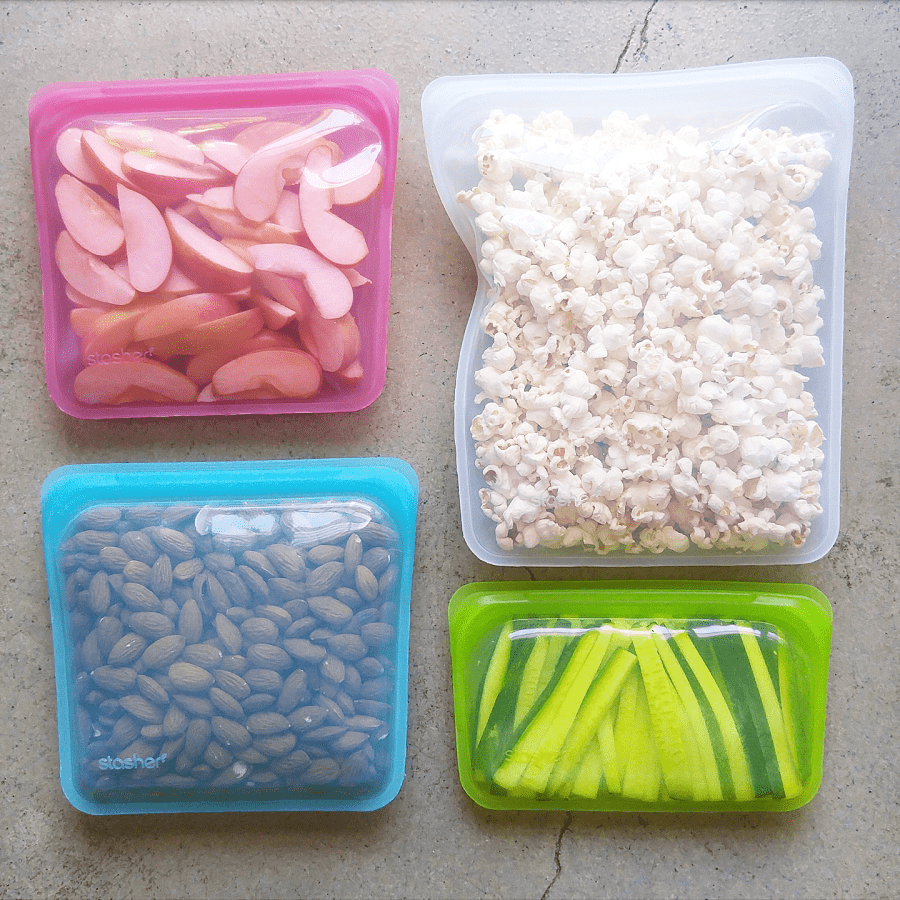
Silicone storage bags: take up much less space than rigid containers, and the best ones are dishwasher-, oven-, microwave- and leakproof. There are lots of options with lots of price points, but this is definitely a case of getting what you pay for. If you can afford it, I’d recommend the Stasher bags.
If you’re looking at a budget option, read the reviews before purchasing.
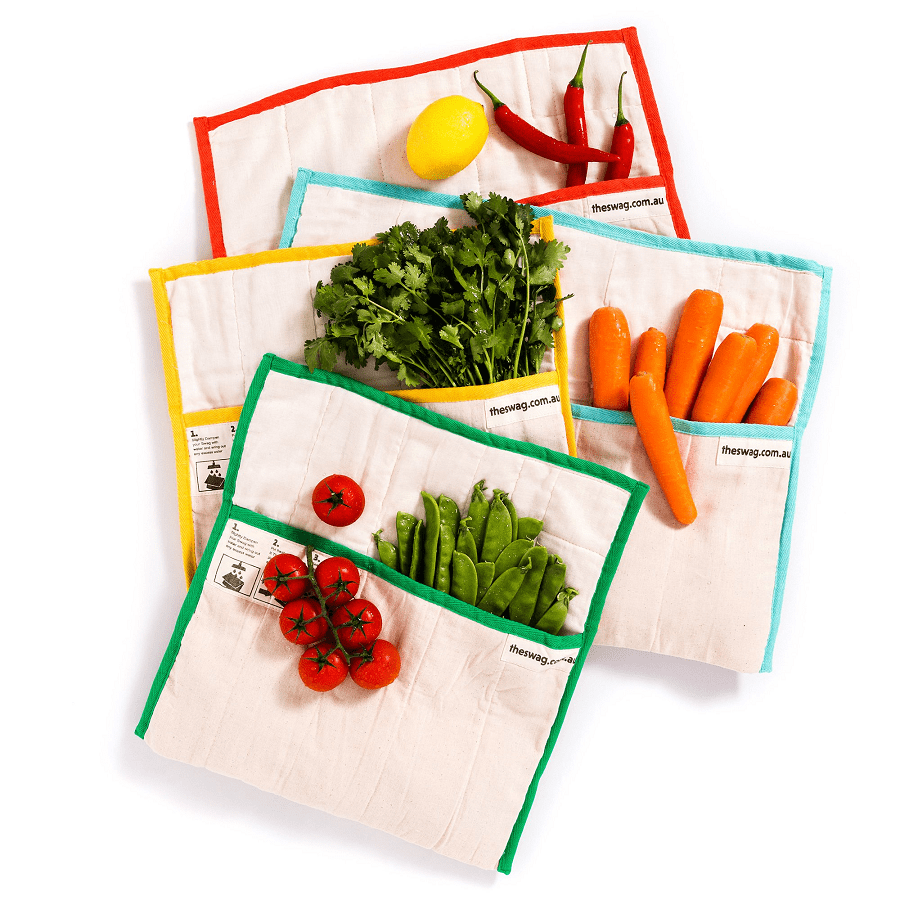
Fabric (cotton) storage: Fruits and vegetables stored loose (without plastic and not in containers) lose moisture quickly and wild/shrivel. The Swag are bags made of layers of unbleached cotton that are for storing fruit and vegetables. The bags are dampened down and keep produce fresh for up to two weeks.
A low budget option is to wrap our produce in a damp tea towel.
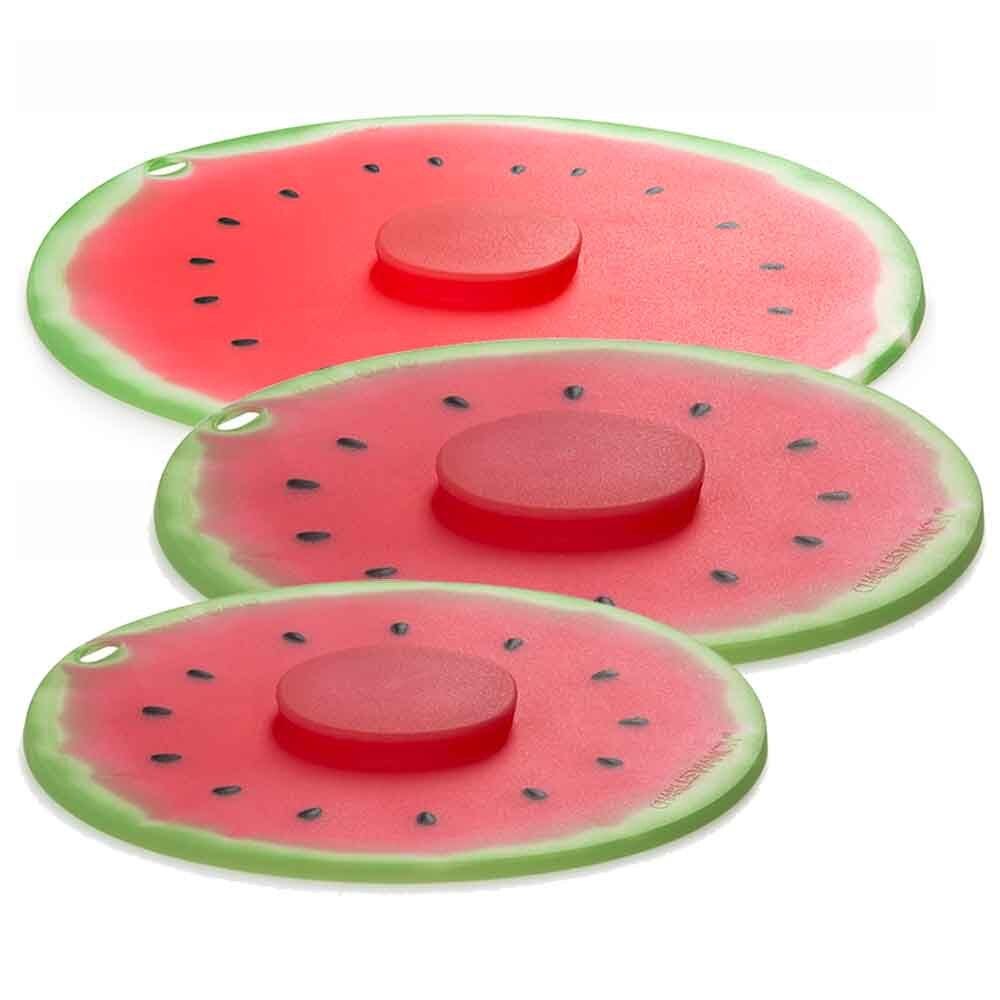
Silicone lids: two options are rigid silicone lids (the Charles Viancin range are available in many kitchen stores, often with flower or fruit shapes).
There are also flexible stretchy silicone lids (like these EcoFlexiLids).
Alternatively, put your leftovers in containers (or glass jars). Or (my favourite) you could just pop a plate on top of a bowl.
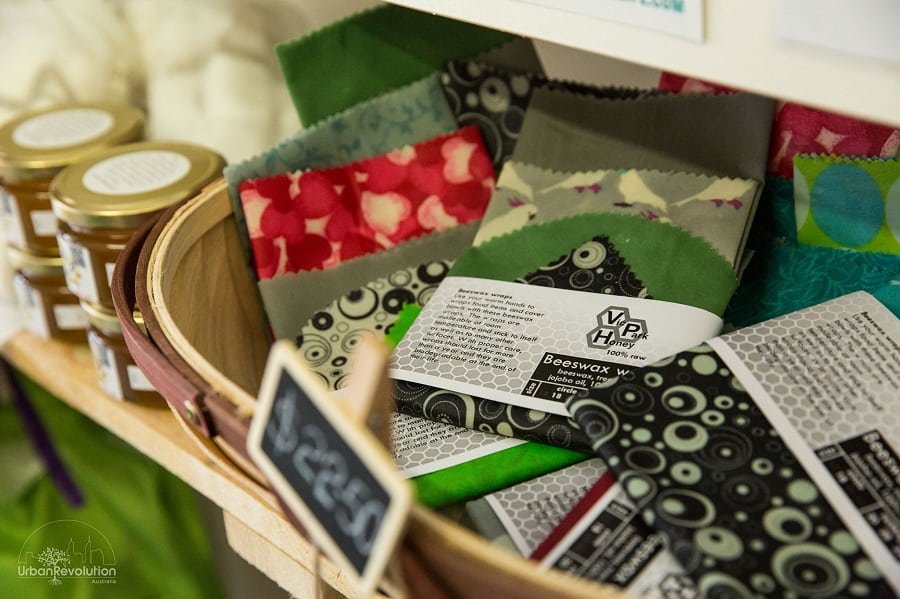
Wax wraps: If you’re trying to ditch the plastic wrap (gladwrap/clingwrap/clingfilm), there are a few alternatives. Beeswax wraps (AU, UK or USA options) or vegan wax wraps (AU, UK or USA options) are popular – don’t forget to look at Etsy to support local (to you) makers too. Or you can make your own.
Food preparation
There’s no need to replace things that you already have, but if you didn’t already know that there are plastic-free versions of products, you might find this interesting.
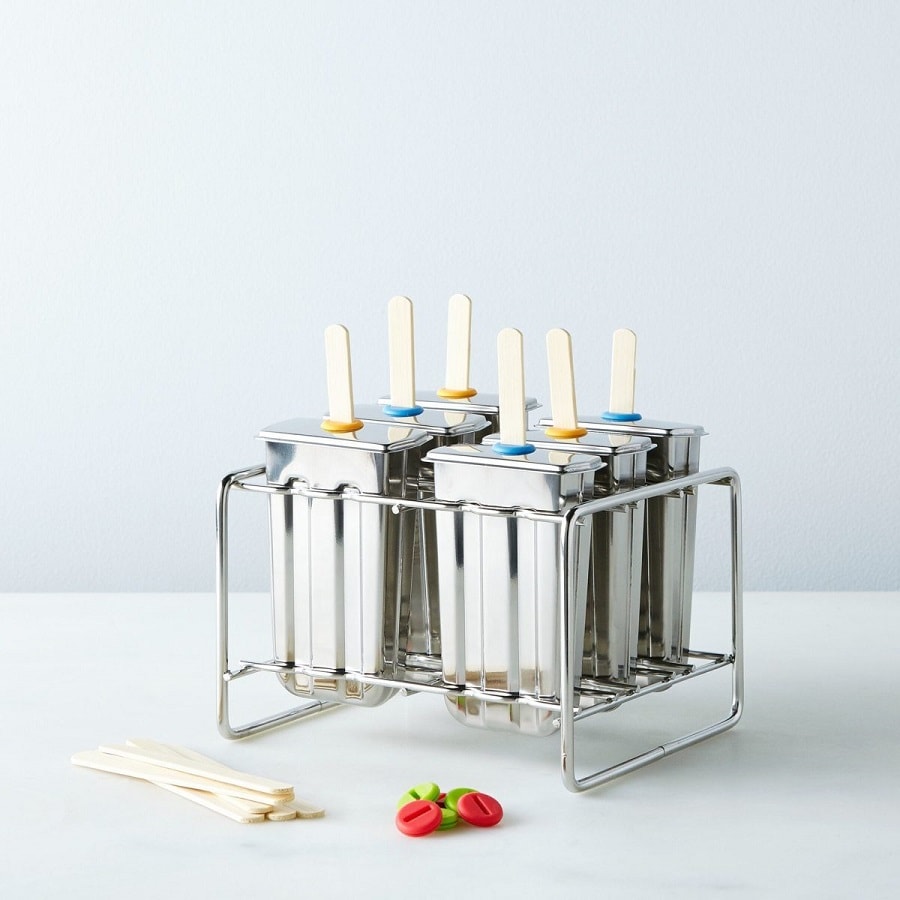
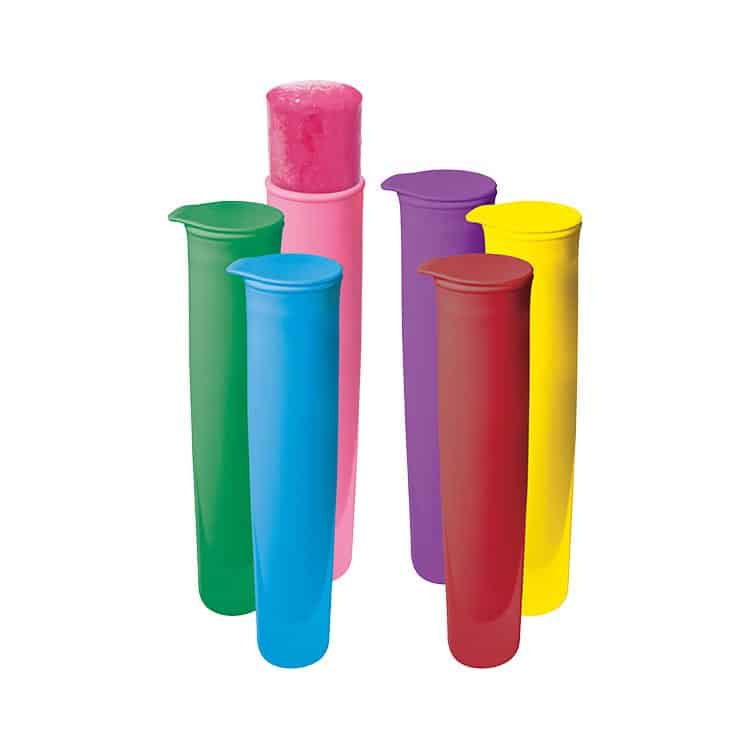
Ice lolly molds:Onyx containers make a great range of plastic-free stainless steel products, including lolly / icy pole molds in various shapes including rockets, paddle pops and popsicles.
(If stainless steel is out of your budget, there are silicone versions available (such as these ice block push-up moulds by Avanti.)
Bathroom
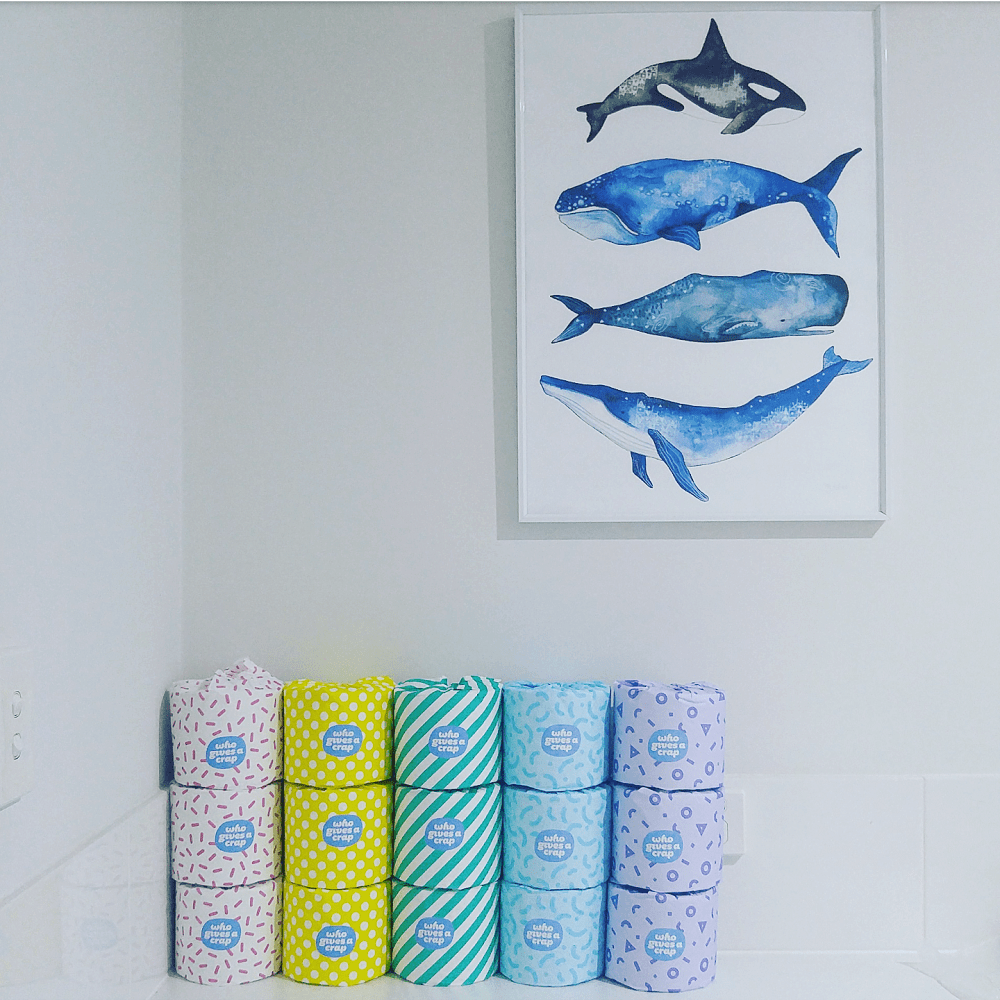
Toilet paper: I switched to a plastic-free brand of toilet paper called Who Gives A Crap (it’s a social enterprise that donates 50% of profits to charity). They are an Australian company that now also sell their products in the USA and UK.
(They also make kitchen towel and tissues – not things I buy, but things you might.)
Bidet: Others switch to using a bidet to reduce toilet paper use. Haven’t tried it and can’t really comment, except to say I know there are kits you can install without a plumber.
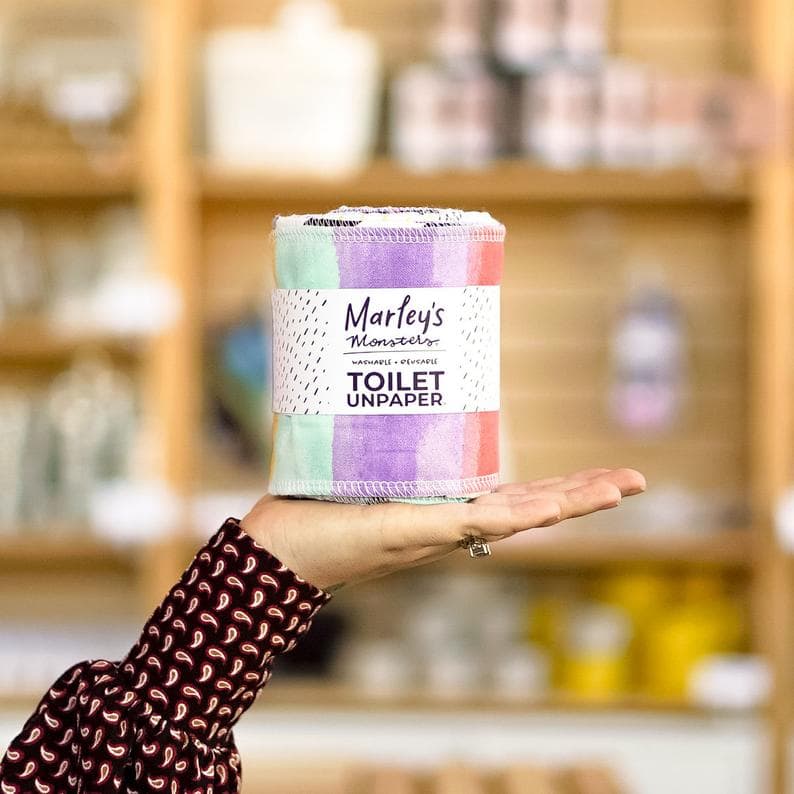
Toilet unpaper: Some people switch to reusable cloth toilet paper (often referred to as ‘family cloth’) – not something I’ve tried either, but it’s an option.
If I did this, I’d probably use old cut up towels or sheets, but there are businesses out there selling purpose-made products like this, with cute designs (a well known brand is Marley’s Monsters, who are based in Oregon, USA, but you’ll find heaps of makers on Etsy – search for ‘toilet unpaper‘. If that’s your thing!)
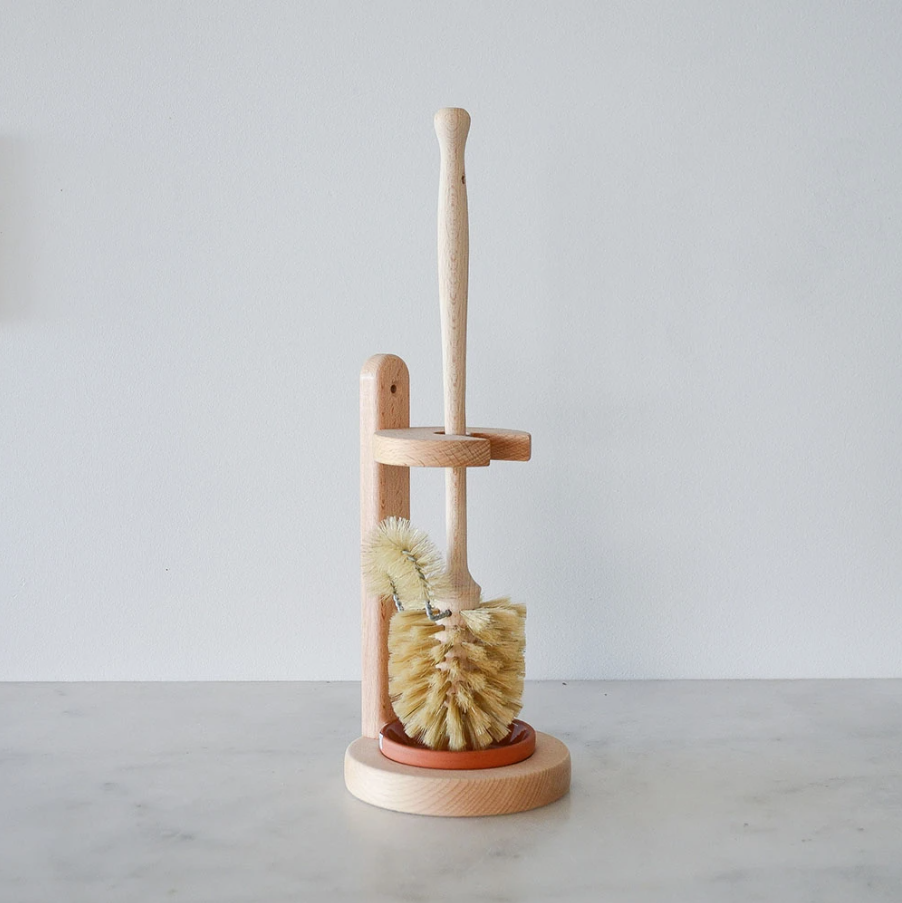
Toilet brush: I’ve wanted (wanted, not needed) a wooden toilet brush since forever, but I have a plastic one that does the job. Should it ever break, I’m getting this. Probably.
Dental
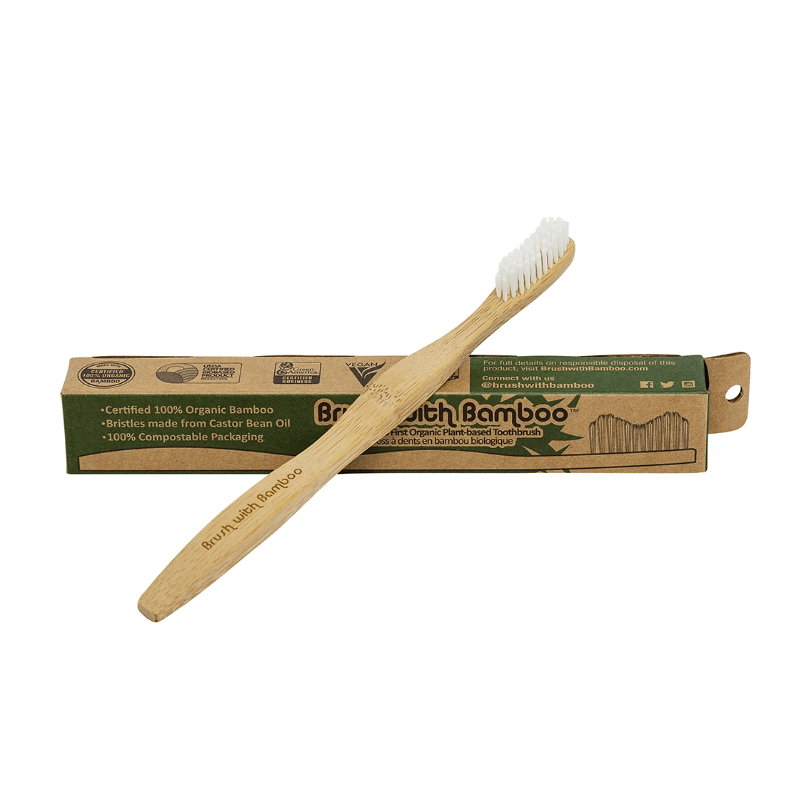
Bamboo toothbrush: One of the first swaps anyone who starts a less-plastic life goes to is the bamboo toothbrush. I’d suggest Brush with Bamboo, because they were one of the first companies and I find them very transparent about their ethics and choices. Their bristles are predominantly plant-based, being 62% castor bean oil and 38% nylon.
Replaceable head toothbrush: Personally, I didn’t get on with bamboo toothbrushes, and I use a toothbrush which has a replaceable head. I’ve had the same handle since 2014, and I just replace the head every few months.
The brand I use is Silvercare, which was what was available in my local store (the brand is actually Italian).
If you’re in Europe look up Lamazuna, who make similar brushes with a bioplastic handle, and also use cardboard (plastic-free) packaging.
Floss: it’s possible to buy floss in a refillable glass jar. Quite a lot of brands offer this product. If you’d like a truly compostable version, the floss is made of silk; if you’d like a vegan version the floss is usually bioplastic (not recycable or compostable). There’s also the option of peace silk (Ahimsa silk) which is considered a cruelty-free option: Geoorganics spearmint floss (UK brand) is made with this.
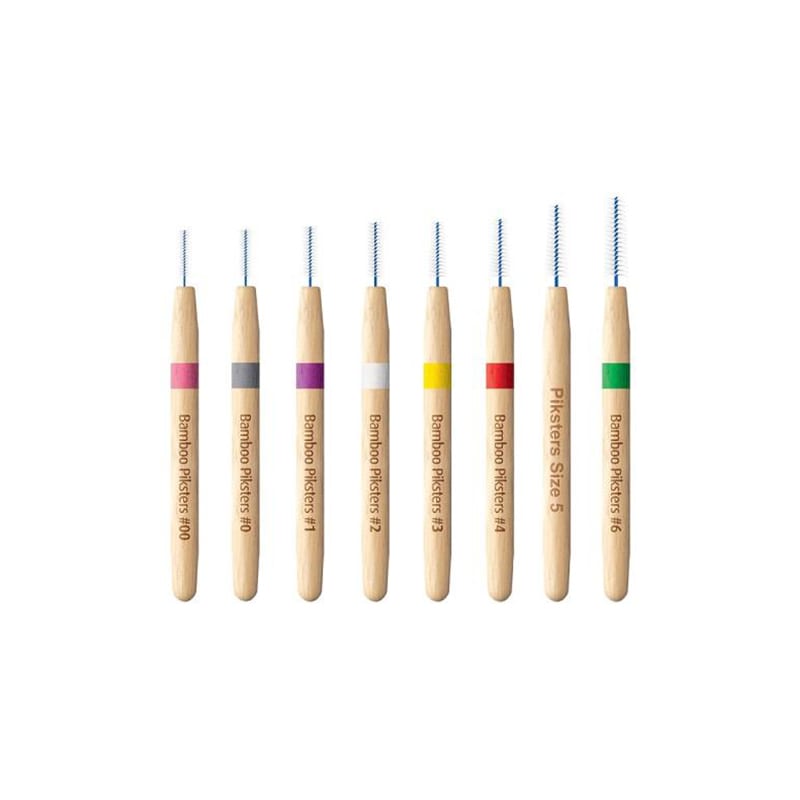
Interdental brushes:Piksters now sell interdental brushes in sizes 00 – 6 in bamboo (packaged in cardboard). They seem to be readily available, including at high street chemists.
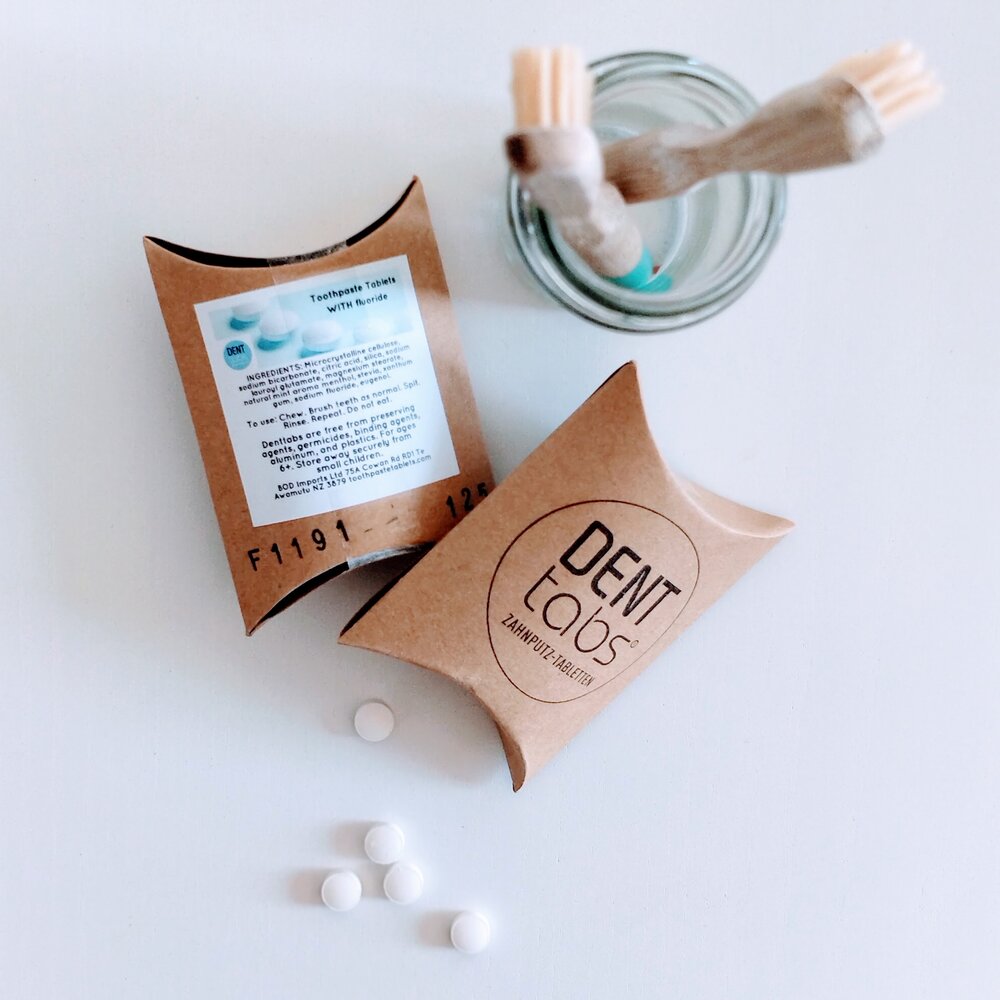
Toothpaste: I’ve made my own for years (here’s my toothpaste recipe) but if DIY is not your thing, it’s possible to buy toothpaste in powder or tablet form, which means it doesn’t need the plastic tube. Again, there are now heaps of brands making these products: my suggestions would be Geoorganics (UK brand, sold in Australia by Nourished Life), or Denttabs (German brand, sold in Australia by toothtablets.com).
Denttabs also sell a fluoride version as well as a fluoride-free version. If you’re in the UK, &Keep has an excellent range.
Mouthwash: not something I use. There are plenty of zero waste mouthwash recipes on the internet (perhaps try this DIY mouthwash recipe by the Zero Waste Chef), but it’s also possible to buy tablet mouthwash.
Personal care
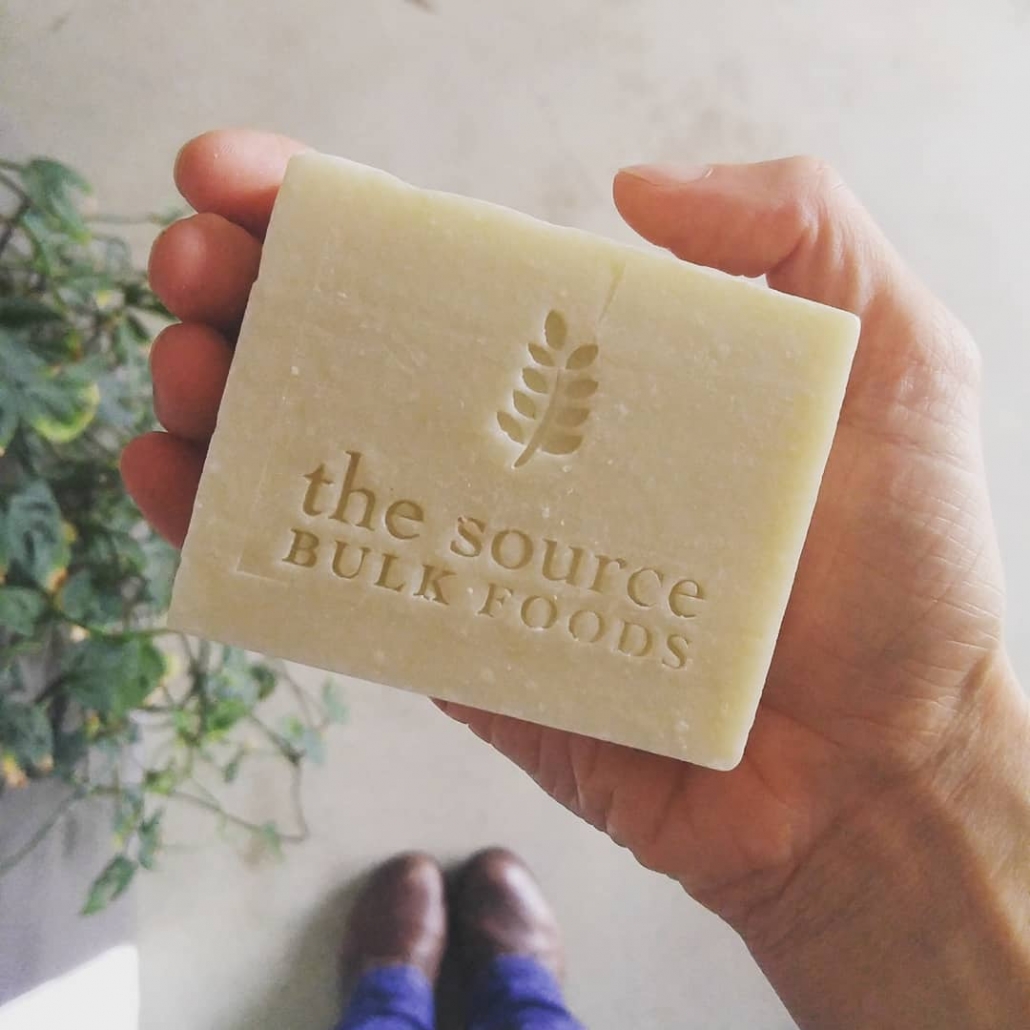
Shampoo: Solid shampoo bars do away with plastic bottles and there are now lots of options on the market. Whilst they can seem expensive, most are long lasting, so overall don’t end up costing more. It’s worth trying a few, as different hair responds differently to different products.
Having tried a few with less-than-ideal results, I settled with (and love) the Source Bulk Foods shampoo bar for my curly hair. Beauty Kubes (A UK brand, but stocked worldwide) are often recommended.
(Or, you could try the ‘no poo’ method and use bicarb or rye flour instead: here’s how it works.)
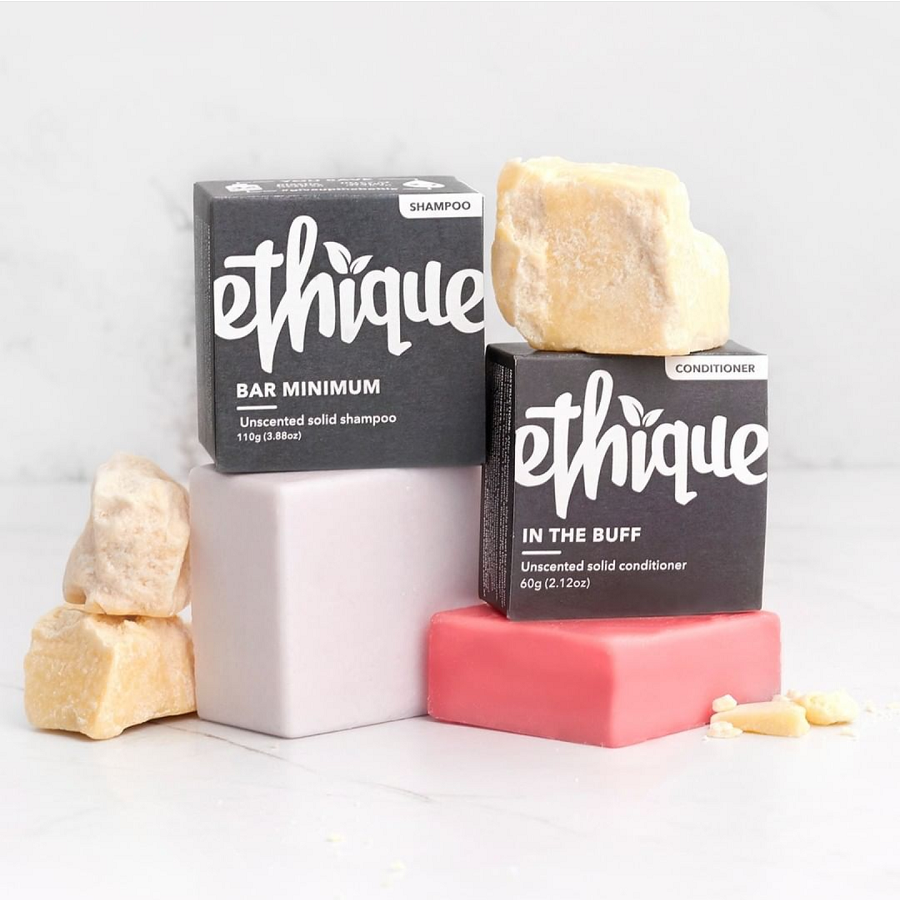
Conditioner: Solid conditioner bars are the solution to plastic bottles. Ethique bars are a popular choice and come highly recommended (they are a New Zealand company that ship worldwide).
Personally, I use a white vinegar rinse instead of conditioner, and it works as well as any conditioner that I’ve ever used.
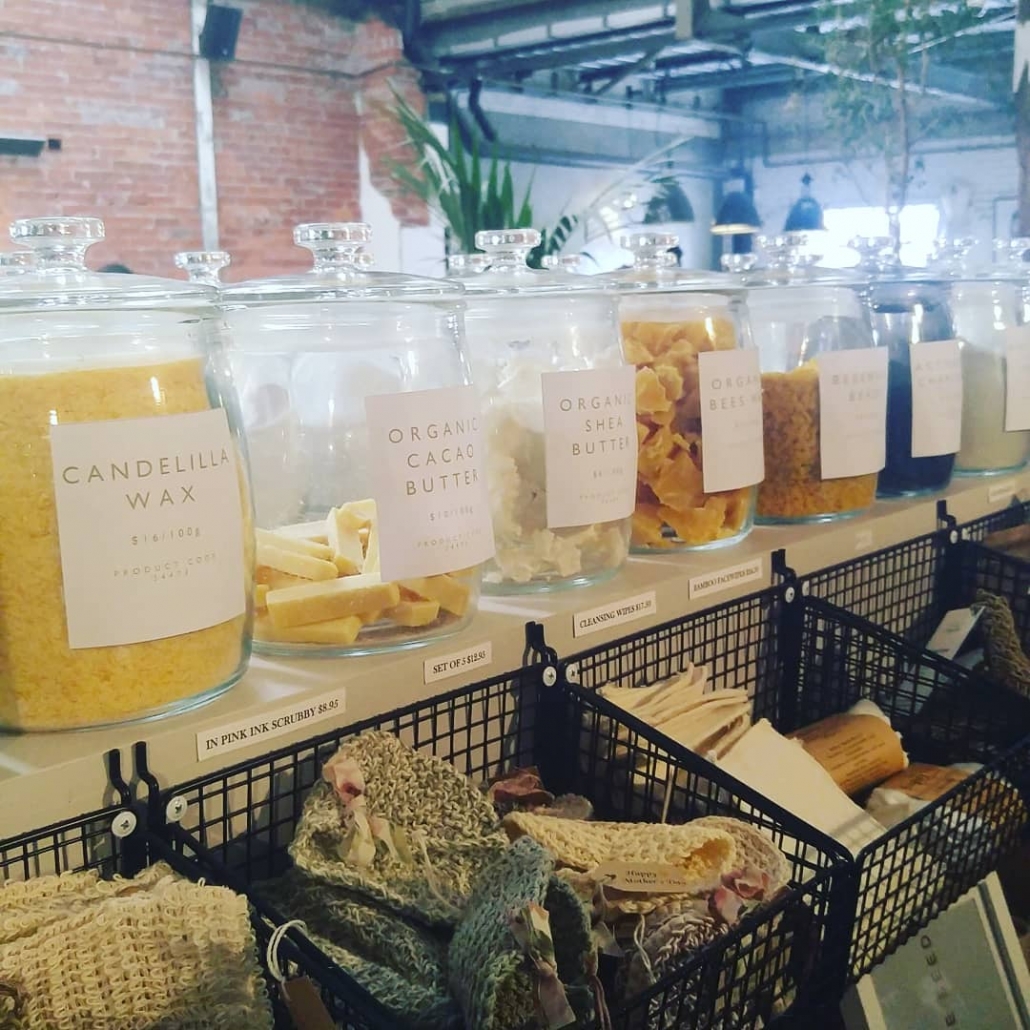
Moisturiser: I make my own cold cream moisturiser, and lots of bulk stores sell the ingredients to make DIY products.
(Biome has an online range of ingredients that they pack without plastic.)
If DIY is not your thing, there are lots of products packaged in glass. Or you can buy solid moisturisers too (Ethique make a Saving Face serum bar that I often hear recommended).
I particularly like the Lush moisturiser bars (they are listed on the Lush website as facial oils), which can be purchased in-store with absolutely no packaging at all.
(When it comes to skincare and haircare products, a few stores sell a selection of these brands, and are also have occasional sales which make the products more affordable. Nourished Life have some Ethique bars at half price, Biome and Flora & Fauna also stock a good range.)
Safety razor: a metal razor with replaceable metal blades. There are lots of brands now selling these – I hear reports that cheap ones rust. One of the original and most-trusted brands is Parker; their products are sold in lots of stores.
Period products
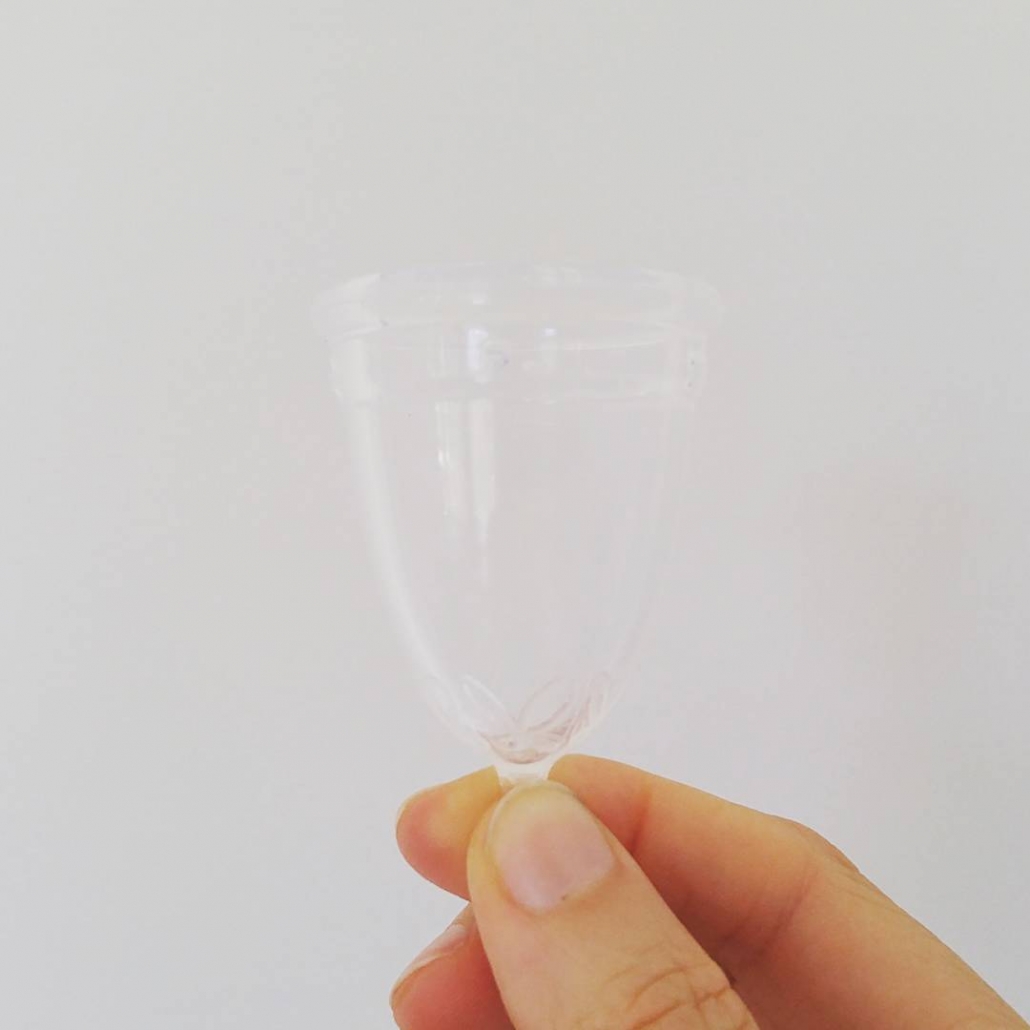
Menstrual cups: the first zero waste swap I ever made (way before zero waste became a movement) back in 2003. Back then, there were two medical grade silicone options: the Mooncup (UK brand) and the Diva Cup (Canadian brand – and the one I bought). There was also the Keeper (US brand) ,which is made of natural rubber. These days there are plenty of options, but I prefer to support the brands that led the way.
In the USA and Australia, menstrual cups are regulated by government. These have approval in Australia (country of manufacture listed in brackets):
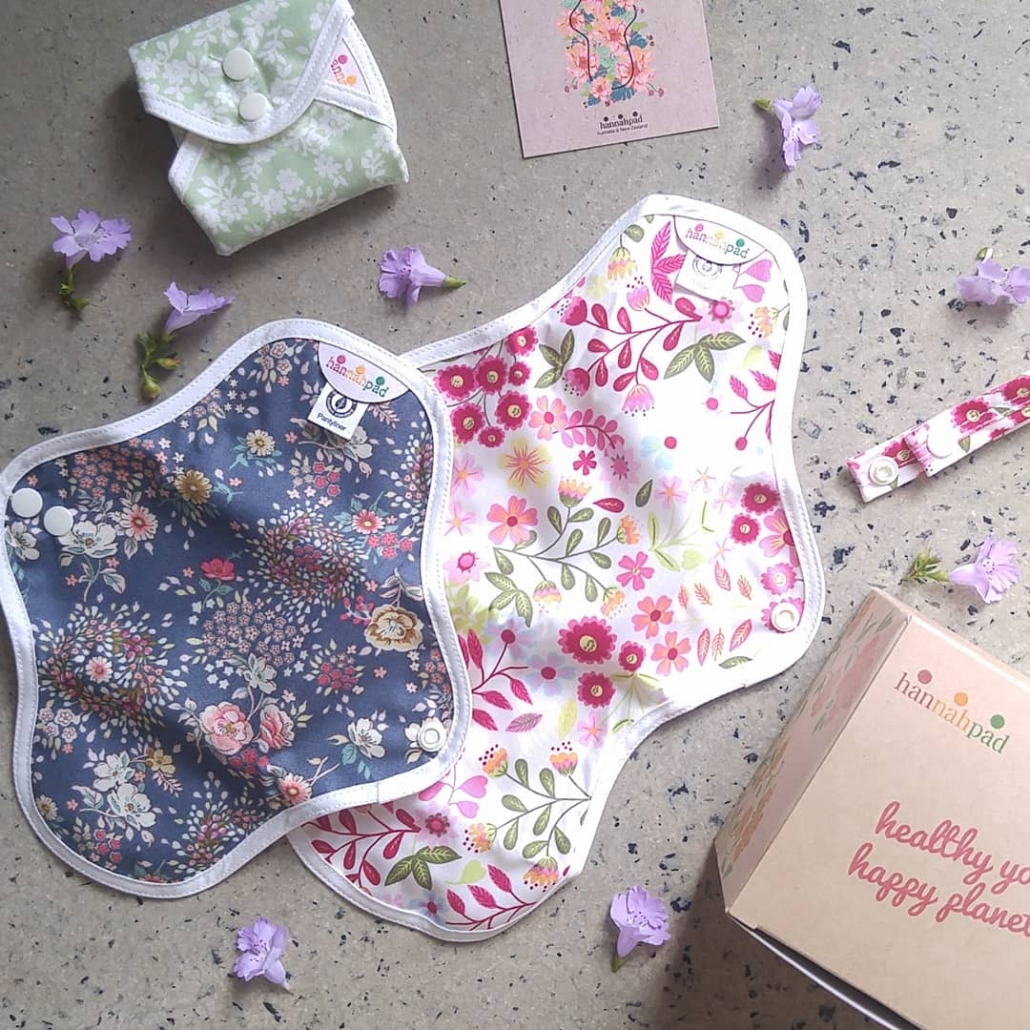
Hannahpad USA – certified organic cotton pads with PUL liner.
*The only brand I’ve come across that are completely plastic-free are Gladrags (US brand). I have their night pad, and it’s never leaked.
Menstrual underwear: this is underwear that has a built-in liner. I have the Modibodi brand, and I use in combination with my cup on heavier days. They are incredibly comfortable. Some more established brands:
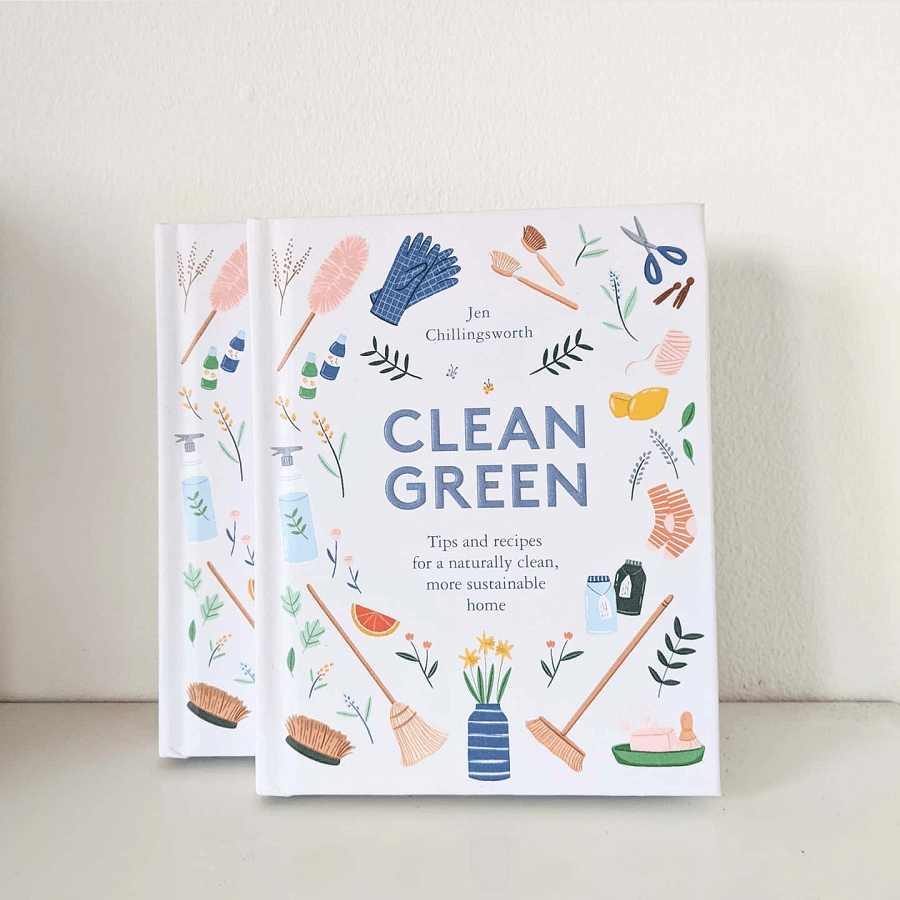
Cleaning products: I’m a fan of green cleaning, which uses mostly edible products like bicarb/baking soda, white vinegar, soap and a bit of elbow grease to get things clean. I’d recommend Clean Green by Jen Chillingsworth as a handy guide to recipes that work (there are lots of the internet that don’t).
Cleaning brushes: there are heaps of wood, metal and/or coconut fibre options. I use a Safix scourer (it lasts for ages and doesn’t smell, ever) and the Import.Ants range of brushes which are sold at my local zero waste store.
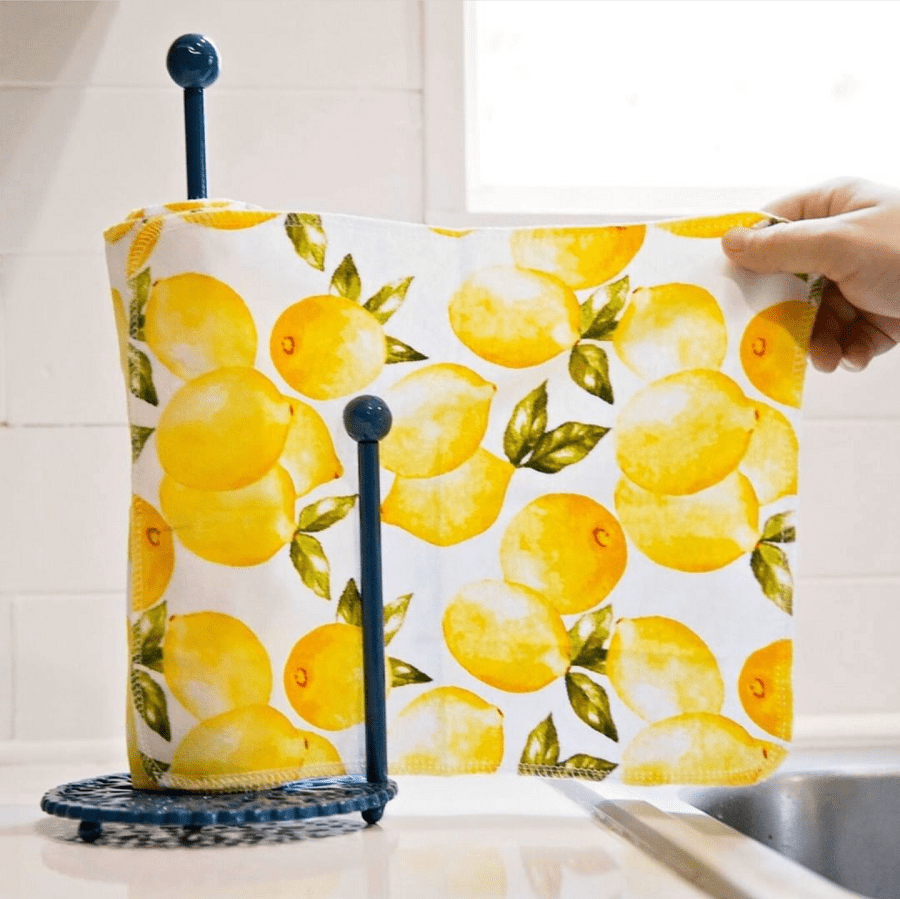
Unpaper towel: I don’t bother with kitchen towel or the reusable version made of cloth, but it’s a popular option. Look on Etsy to find local sellers to support (some also use upcycled fabric, which is a bonus).
Laundry
Laundry powder: I buy this from the bulk store. Another alternative is to use soap nuts/soap berries – slightly sticky berries that have a natural saponin content. (You pop a few in a small bag in your washing machine with your clothes, and they will last a few washes.)
Pegs: If you’ve been using plastic pegs, at some stage they’ll likely need replacing (plastic pegs break down in sunlight – bit of a design flaw). Wooden pegs are pretty widely available, but if you’re looking for an unbreakable, buy-it-once-and-it-lasts-forever option, metal pegs are now an option.
There’s different grades of stainless steel include marine grade if you live near the ocean. Pincinox are a French brand and the original stainless steel option, but lots of brands sell wire pegs that are more affordable.
Sock hangers: If you’re restricted to a balcony and don’t have a clothes line, it’s possible to buy stainless steel sock hangers (like this one from Biome).
Microfibres: Something else you light like to consider is a Guppyfriend laundry bag. It’s less of a ‘swap’ and more of an investment – it’s purpose is to stop microfibre plastic pollution in waterways.
You pop your synthetic fibre clothing (things like polyester and nylon) inside, then put the whole thing in the washing machine, and wash as normal. It traps the fibres and stops them getting into the ocean.
(If you’re in Australia, the cheapest place to buy one of these is – randomly – Kathmandu.)
One-stop shops
I’m a big fan of independent stores that sell zero waste and plastic-free products because they believe in the cause, rather than because they see it as a marketing tactic. I can only list the stores I’ve heard of – no doubt there are many more fantastic options:
This is by no means an exhaustive list of all the products that exist, but hopefully it gives you some options not only for useful swaps, but also for independent businesses to support. Just remember, when it comes to reducing waste, less is always more!
Now I’d love to hear from you! Are there any obvious swaps that I’ve missed, or any products that you’d say you couldn’t live without? Any swaps you’ve made that you regret, and want to warn us about?! Any questions? Anything else to add? Please share your thoughts in the comments below!
https://treadingmyownpath.com/wp-content/uploads/2020/07/Ultimate-list-of-swaps-for-Plastic-Free-July-min.png17602640Lindsay (Treading My Own Path)https://treadingmyownpath.com/wp-content/uploads/2019/06/logo.pngLindsay (Treading My Own Path)2020-07-02 15:58:112022-02-21 09:06:53The ultimate list of plastic free swaps
We may request cookies to be set on your device. We use cookies to let us know when you visit our websites, how you interact with us, to enrich your user experience, and to customize your relationship with our website.
Click on the different category headings to find out more. You can also change some of your preferences. Note that blocking some types of cookies may impact your experience on our websites and the services we are able to offer.
Essential Website Cookies
These cookies are strictly necessary to provide you with services available through our website and to use some of its features.
Because these cookies are strictly necessary to deliver the website, refusing them will have impact how our site functions. You always can block or delete cookies by changing your browser settings and force blocking all cookies on this website. But this will always prompt you to accept/refuse cookies when revisiting our site.
We fully respect if you want to refuse cookies but to avoid asking you again and again kindly allow us to store a cookie for that. You are free to opt out any time or opt in for other cookies to get a better experience. If you refuse cookies we will remove all set cookies in our domain.
We provide you with a list of stored cookies on your computer in our domain so you can check what we stored. Due to security reasons we are not able to show or modify cookies from other domains. You can check these in your browser security settings.
Other external services
We also use different external services like Google Webfonts, Google Maps, and external Video providers. Since these providers may collect personal data like your IP address we allow you to block them here. Please be aware that this might heavily reduce the functionality and appearance of our site. Changes will take effect once you reload the page.
Google Webfont Settings:
Google Map Settings:
Google reCaptcha Settings:
Vimeo and Youtube video embeds:
Privacy Policy
You can read about our cookies and privacy settings in detail on our Privacy Policy Page.
Join our community and you’ll receive free new content every week and a downloadable eBook “Enough is Enough” to help you take the next steps!
Enough is Enough eBook
Please send me the eBook!
Send my eBook link to:
By downloading the eBook you agree to my Privacy Policy.
I hate spam as much as you do, and I promise to keep your email address safe. I will not share or sell your personal information, ever. You can unsubscribe at any time.
This form collects information I will use to send out the free eBook, new content once a week and an occasional newsletter (with other stuff I think you’ll find useful such as events).