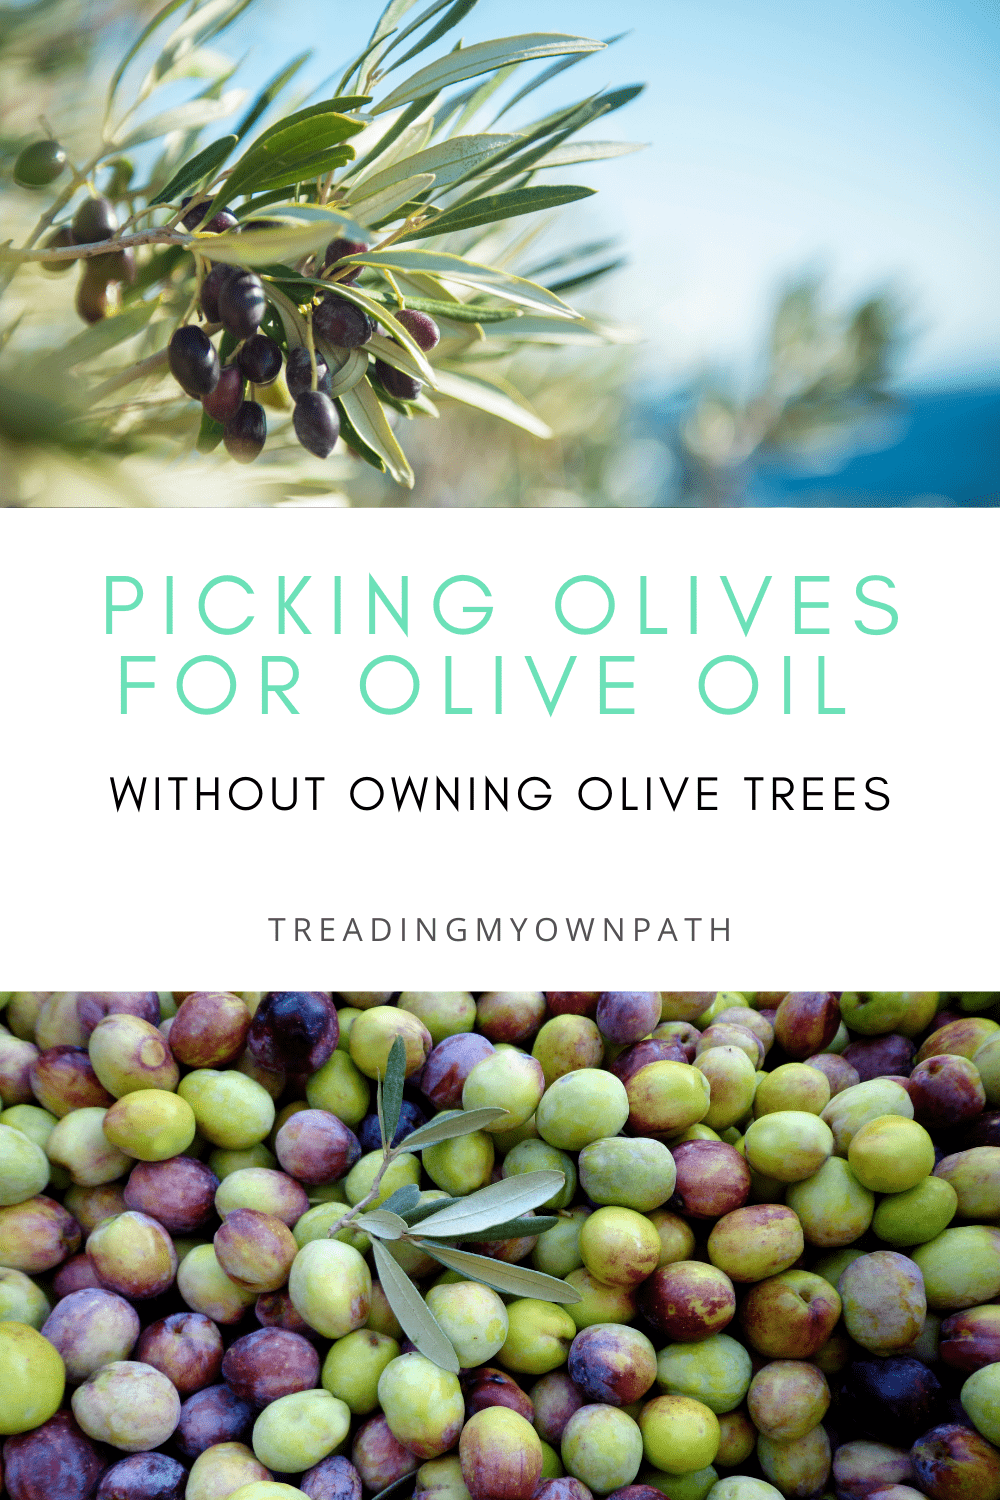
Picking olives for oil – how to produce enough oil for a year when you don’t own any olive trees
Ah, the annual olive oil harvest. For the last several years, I’ve dedicated a weekend to picking olives and sending them to an olive press to extract the oil. This gives me enough olive oil to last me for a year.
And I don’t own any olive tress.
Every year I’ll post about it on social media, and there are always lots of questions. Questions like:
Where do I find all the olives?
Are there particular types?
How much oil do you get from a kilo of olives?
Where is there an olive press?
And how do I join in?!
After all, there are abundant olive tress in the area where I live, most people use olive oil to some extent in cooking, and everybody likes the idea of getting fresh, local food for free.
(Except it’s not quite free, and I’ll come to that later.)
I just love the olive oil harvest – it ticks all my boxes. Reducing food waste and making use of a “waste” product, local produce with almost no food miles, community (I’ll come to that later too), and the fun and resourcefulness that comes from tracking down all the olives.
Here’s how I go about it.
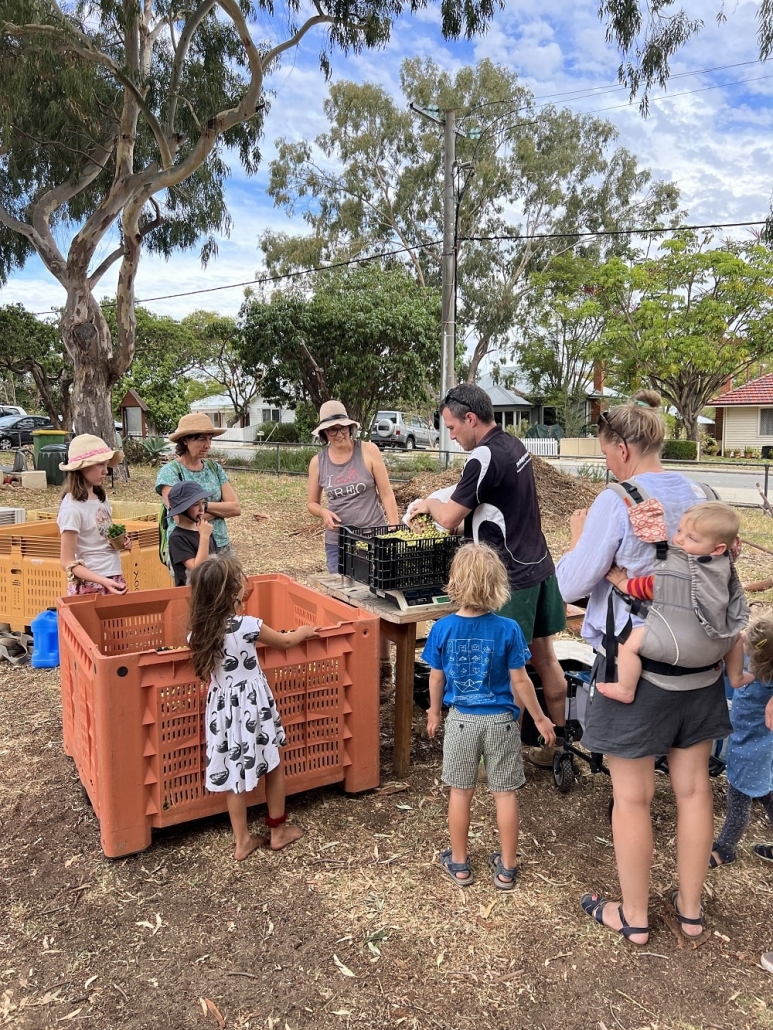
Step 1: Find your people
Olive harvesting (for oil) is something that’s much better to do as a group or community activity than as an individual activity. There are many reasons (including, because doing things as a community is fun!) but the most expensive part is the pressing, and combining olives makes for cheaper olive oil.
The more olives you have, the cheaper it is to press them per kilo.
There might not be a minimum quantity to press your olives, but there will probably be a minimum charge.
At the Jumanga olive press (one of the local Perth presses I’ve used), the processing costs are $26 plus 0.58/kg for quantities up to 55kg and a fixed rate of $58 for 55kg – 100kg. There is a per kilo price above 100kg, their rate drops above 200kg, and drops again above 400kg.
At the York olive oil press (another press local to Perth that the community garden use) there is no minimum quantity of olives, but there is a minimum charge of $190. The York press is better for medium to large batches (their rates drop after 1 tonne, after 2 tonnes, and after 4 tonnes).
Bring anything under 350kg, and you’ll pay $190 (even if you just have 35kg).
And if you need to find 350kg or more of olives, you’ll probably need to find some friends.
Finding friends: there are two options here, either get together with some friends and do it yourself, or find an existing group to join.
I’ve done both, and there are pros and cons to each.
Doing it yourself with a group of friends is the cheapest option, and if you all go picking together can be super fun. But there will be a few logistics you’ll have to sort out.
You’ll need suitable containers to transport the olives, as well as actual transport (and 350kg isn’t light or a car boot job). Is there someone who can deliver the oil to the press on a weekday, and then drive back on another day to collect it? You’ll need a vessel for the pressed oil, and a way to share it with everyone.
Joining an existing group is the easier, but more expensive option. Often participation is limited to members, and so you’ll probably need to pay a membership fee to join. Some community groups will also take a portion of your oil to use for fundraising or other purposes.
So you’ll pay more and get less oil, although you’ll probably benefit from a lower press rate, and someone else will sort all the logistics and transport out for you.
Step 2: figure out how many olives you need
You need a lot of olives to make oil. Typically the yield of oil from olives is 9 – 15%. That means 10kg olives might give you one litre of oil.
There are lots of factors that determine yield. These include:
- variety – there are 50 -100 types of olives in Australia alone (and several thousand worldwide), with some being better for oil and some being better for eating (these are called table olives);
- Rainfall/water – large ‘swollen’ olives saturated with water don’t have more oil than small ones, and shrivelled olives might be better for oil;
- Time of year, or how far into the season it is, which varies according to the weather each year (a late spring means a later harvest);
- The press used – a commercial press will do a better job than trying to make olive oil at home with a blender.
So when you’re thinking about picking olives, ask yourself how much oil you’d like, and work backwards. 2 litres of oil is 20kg olives (roughly). If you want one litre a month for the year, that’s 12 litres, or 120kg of olives.
Step 3: Book the press
The thing you need last is the thing you need to do first. You can’t just rock up to an olive press with 350kg olives and hope they’ve got space for you! Picked raw olives don’t store for long. You need to know before you head to the press that your spot is booked.
And in olive season, everyone wants their olives pressed at the same time, so it’s busy. (In Perth that’s mid-March to early June.)
We’ve even booked a press a year in advance to guarantee a spot. I’d recommend booking as early as you can.
When you book, you’ll also have to commit to the amount. Whilst there’s a bit of flexibility there, it’s unhelpful for the press operators when people commit to 2 tonnes and then deliver 300kg. Some presses will charge you if you bring more than you pledge.
Once you know the date, you can start planning the harvest. In all the years I’ve been doing it, we’ve always booked the press on a Monday so that all the picking can happen at the weekend.
Step 4: find olives!
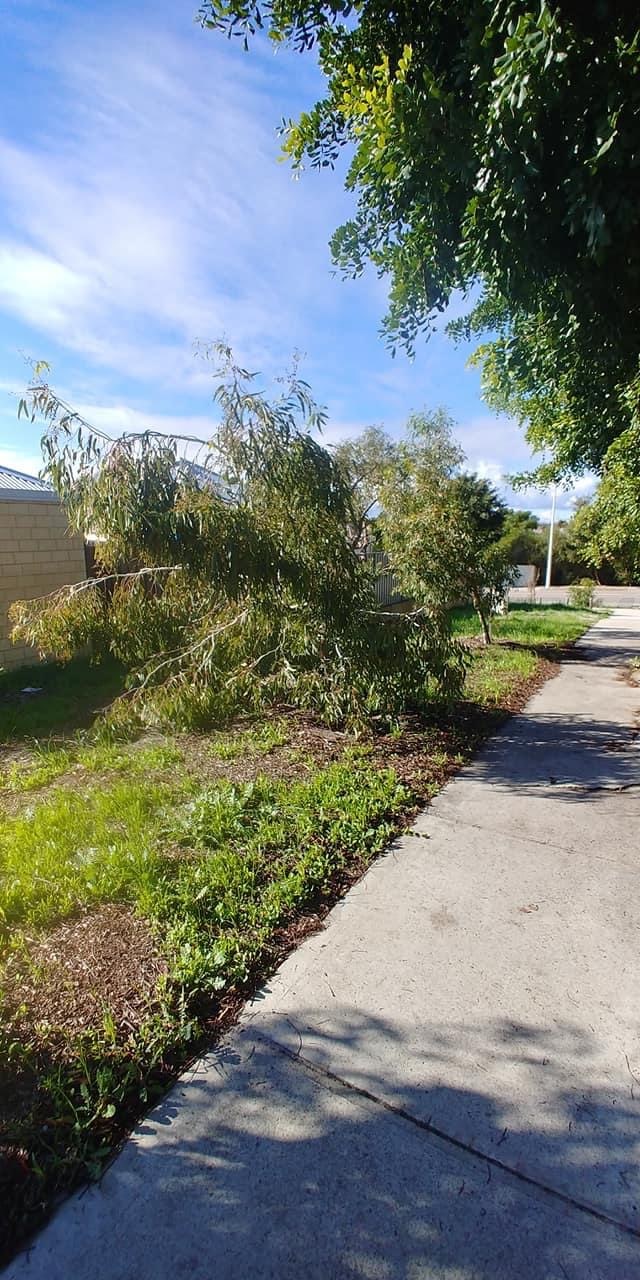
Prior to the picking weekend, it’s a good idea to suss out the options. This means finding olive trees on public land, or finding olive trees in people’s yards.
(I count verge trees as people’s yards, even though they are technically public land, as often the residents look after the trees with the intention of picking the olives. Always ask the resident before picking olives from the verge.)
Because olives are a lot of work to process, many people don’t have time to use them. Lots of people hate the mess and staining that black olives make, and you taking them away is also doing them a favour.
Finding olives could mean cycling or driving around the neighbourhood looking for laden olive trees, and then knocking on the door or posting a note in the letterbox.
Or it could mean asking on social media – on community pages, for example – whether anyone has an olives they won’t be using.
(This is what I do, although there’s a bit more risk here as one person’s “heaps” might only be a yoghurt tub full. Or there might be heaps… five metres up from the ground.)
Then again, you might get lucky and they’ll prune the tree for you!
Try to avoid trees on busy roads as they will have bonus exhaust fumes included.
Olive trees tend to fruit well every two years, so one year’s bumper tree might be slim pickings the following year. Meaning, you can’t rely on last year’s winners.
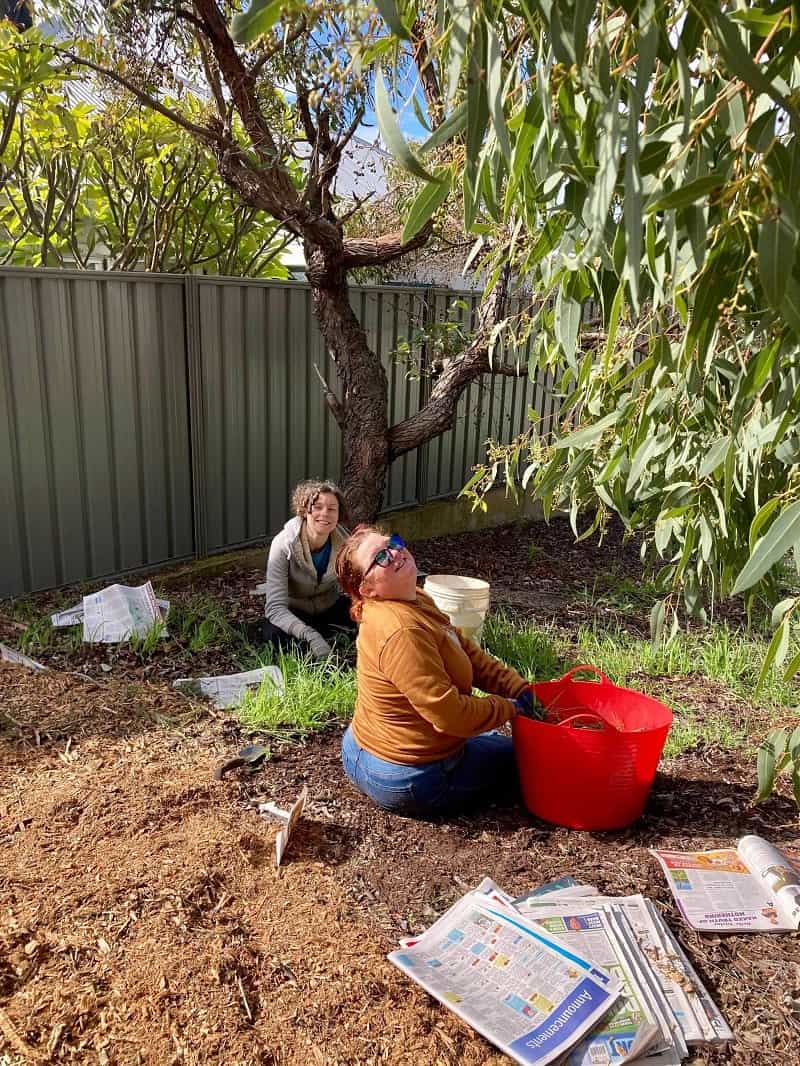
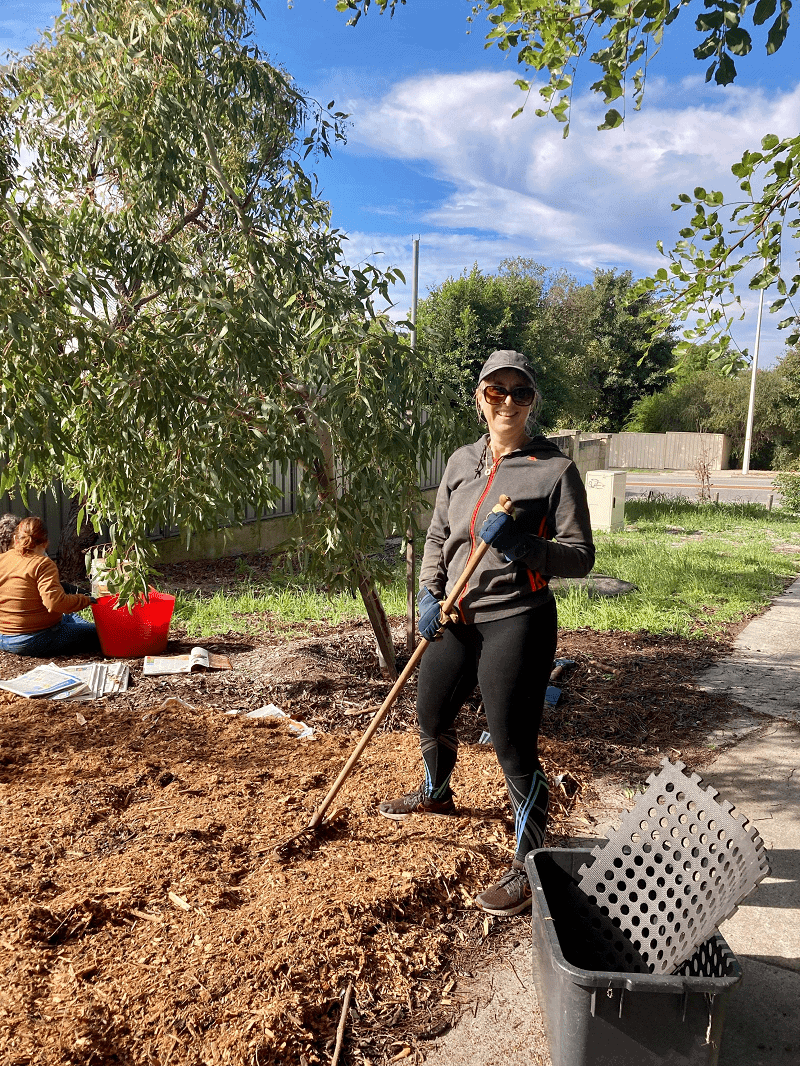
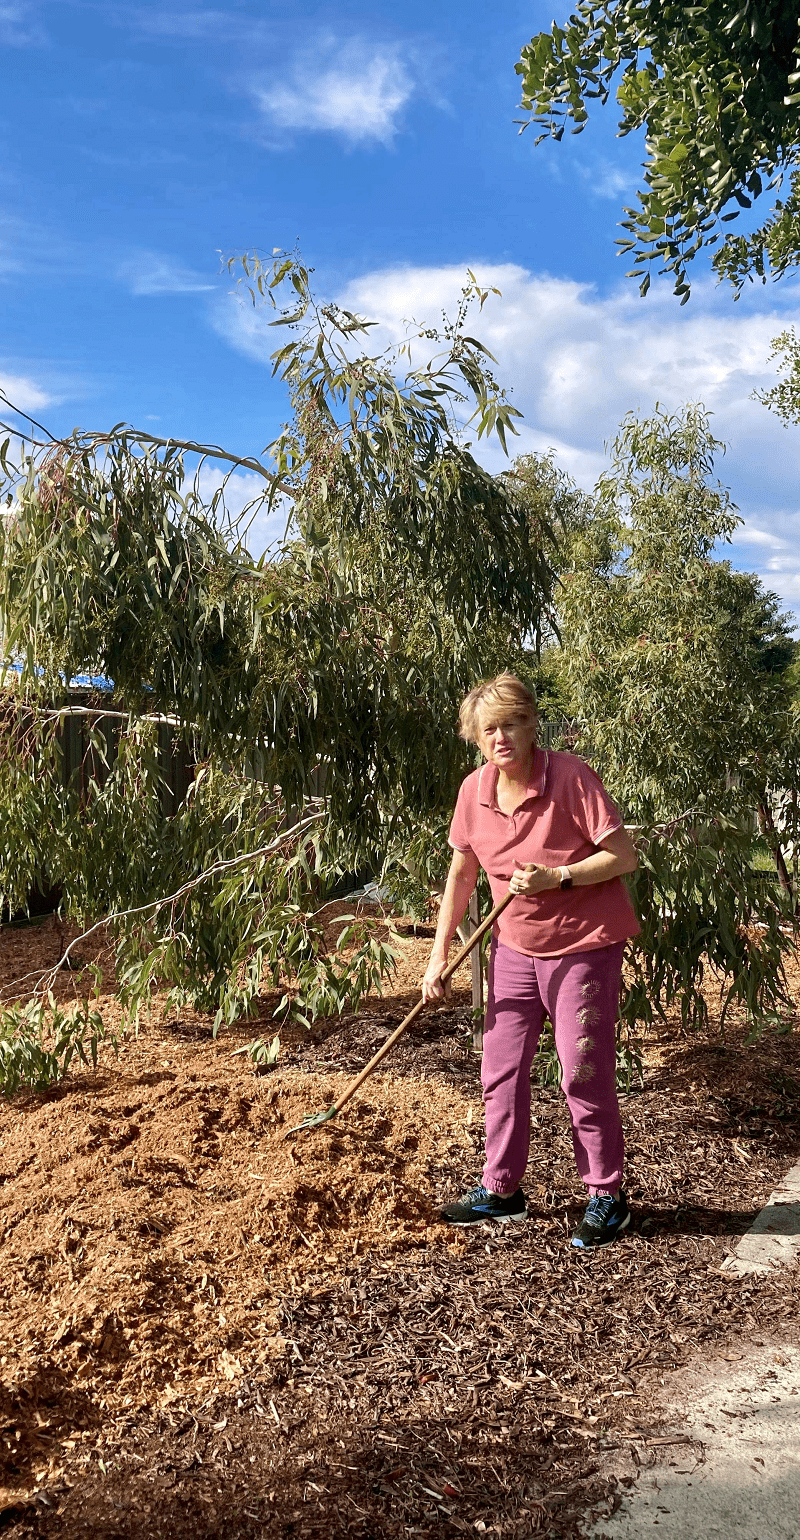
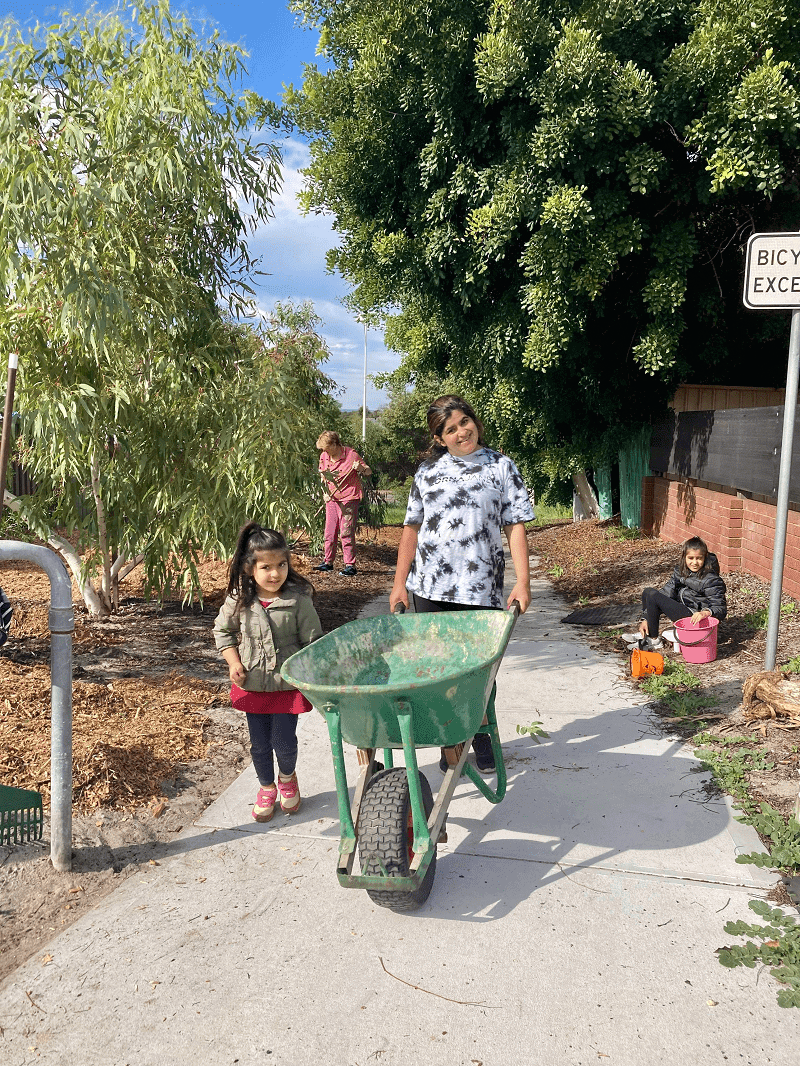
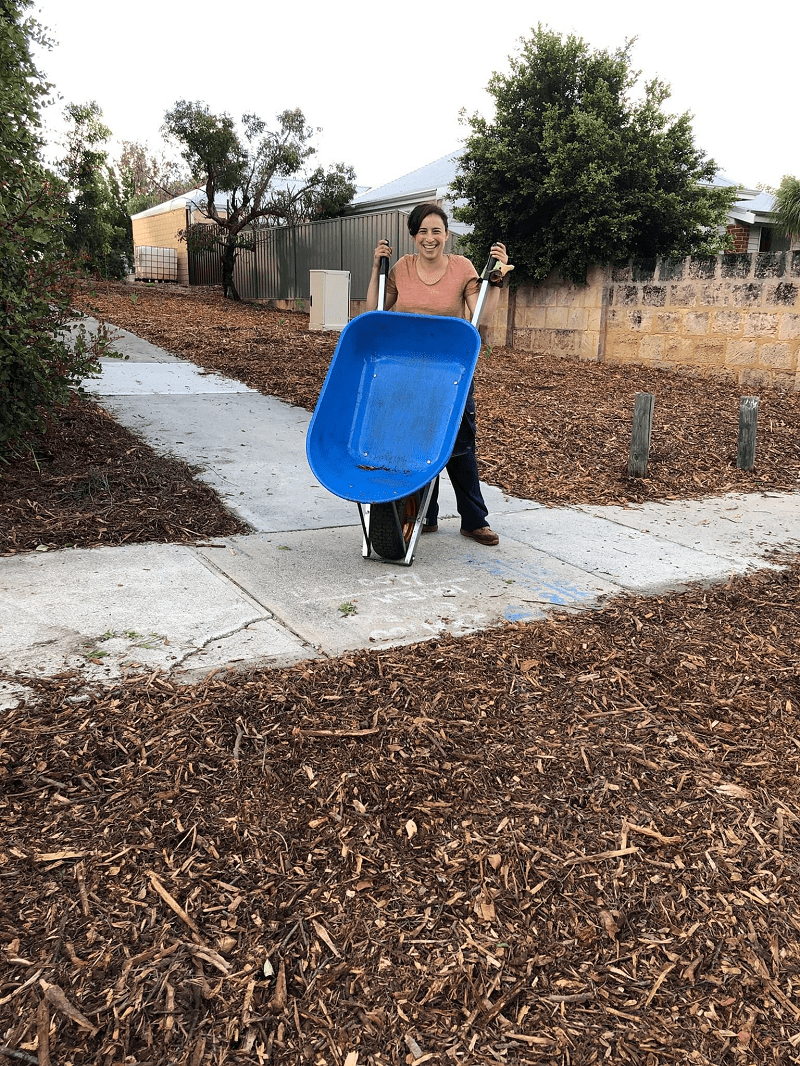
Step 5: picking olives
Once picked, olives have a short shelf life (no more than three days). So the couple of days before the press is when ALL the picking needs to happen.
If you’ve committed to a reasonable amount of olives, it’s best to clear your calendar.
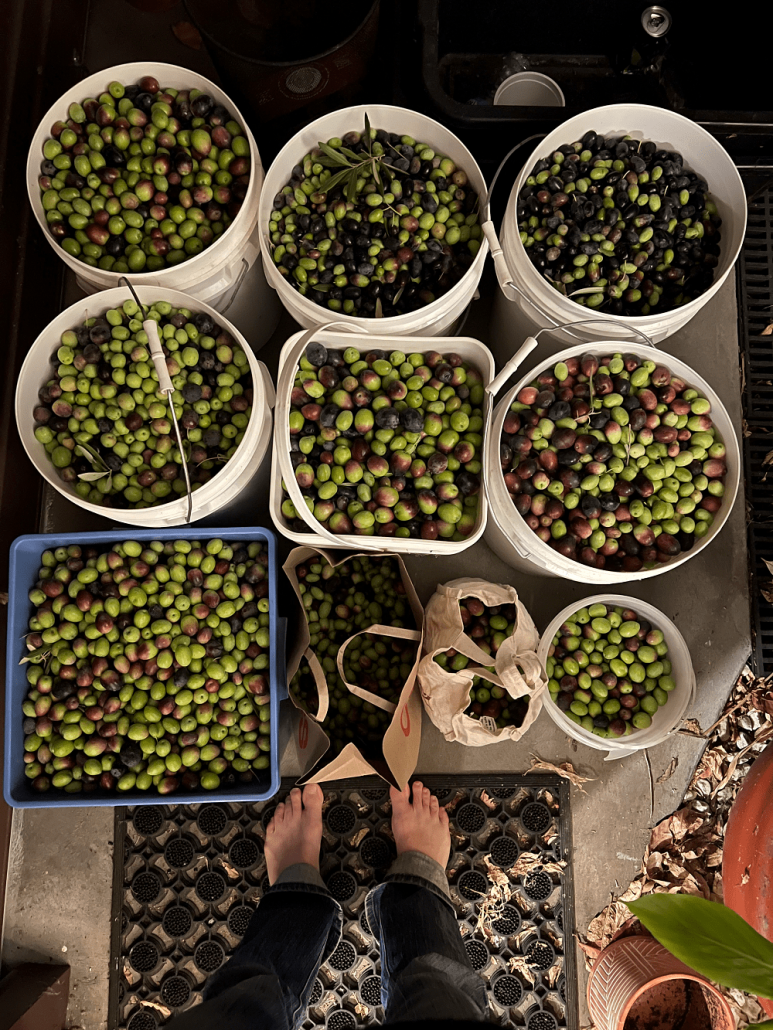
I usually commit to 84 – 96kg. The buckets I use hold roughly 12kg each, so I always commit to a multiple of 12 so I can think of it in buckets. 96kg, which is what I committed to this year = 8 buckets. Although the weight will vary slightly.
This year I’m picking with a community garden, and I need to give 15% of my olives to them as part of the agreement.
I ended up picking 107kg of olives, so 91kg will be pressed into olive oil for me. I should get 9 litres of oil to last for the year. From all of these olives:
Which olives to pick:
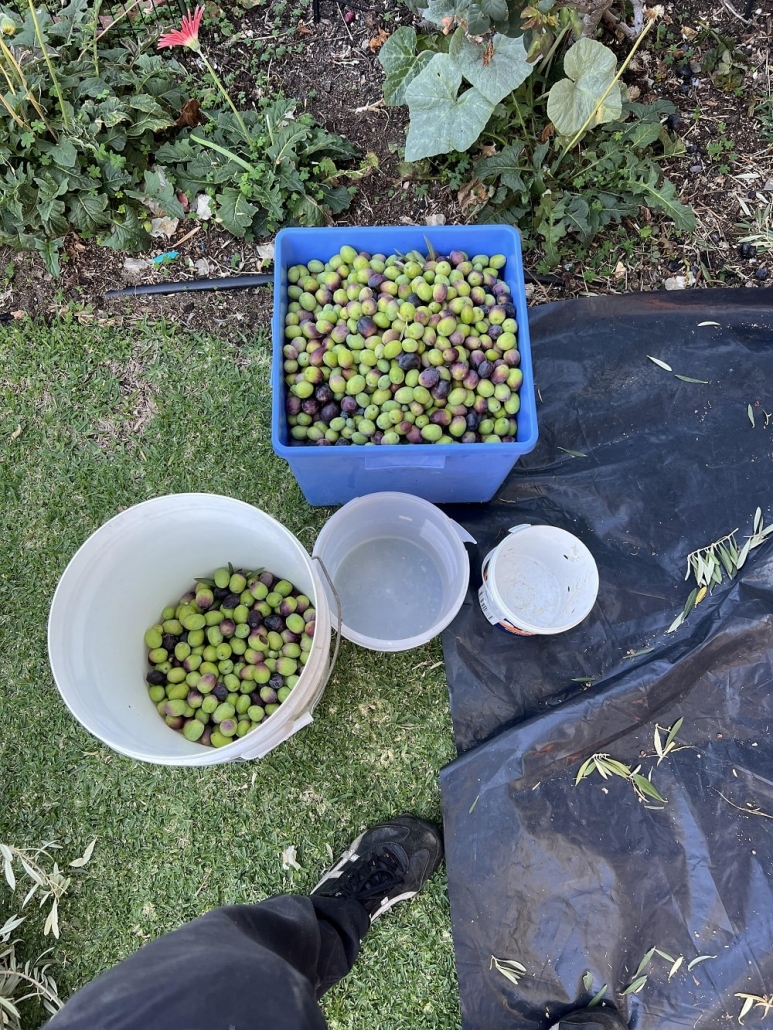
Olives change from green to black as they ripen.
Ideally, you’d pick olives that are green and purple (either 50/50 or 33/66) as they taste best and have a better yield.
Fully green olives can still be picked. They are stronger flavoured and peppery, and have a lower yield. They are also the hardest to pick (they won’t dislodge by shaking the tree)/
Fully purple/black olives are very mild, but often lower in oil than the mixed colour olives. They are very easy to pick, and fine when mixed with green olives.
Wrinkly olives are also fine if the wrinkles are from lack of water and not from being overripe, and aren’t completely shrivelled.
When it comes to picking olives, especially in a community setting, quantity is EVERYTHING. Everyone picks everything they can get their hands on. Except bad, mushy, mouldy olives, of course.
(Commercial olive oil producers would be a lot more discerning.)
Picking everything results for a lower yield than if only oil olives were picked at the perfect time, but the oil tends to have a good flavour as the green, black and mixed colour olives, and all the different varieties, blend together to even one another out.
How to pick:
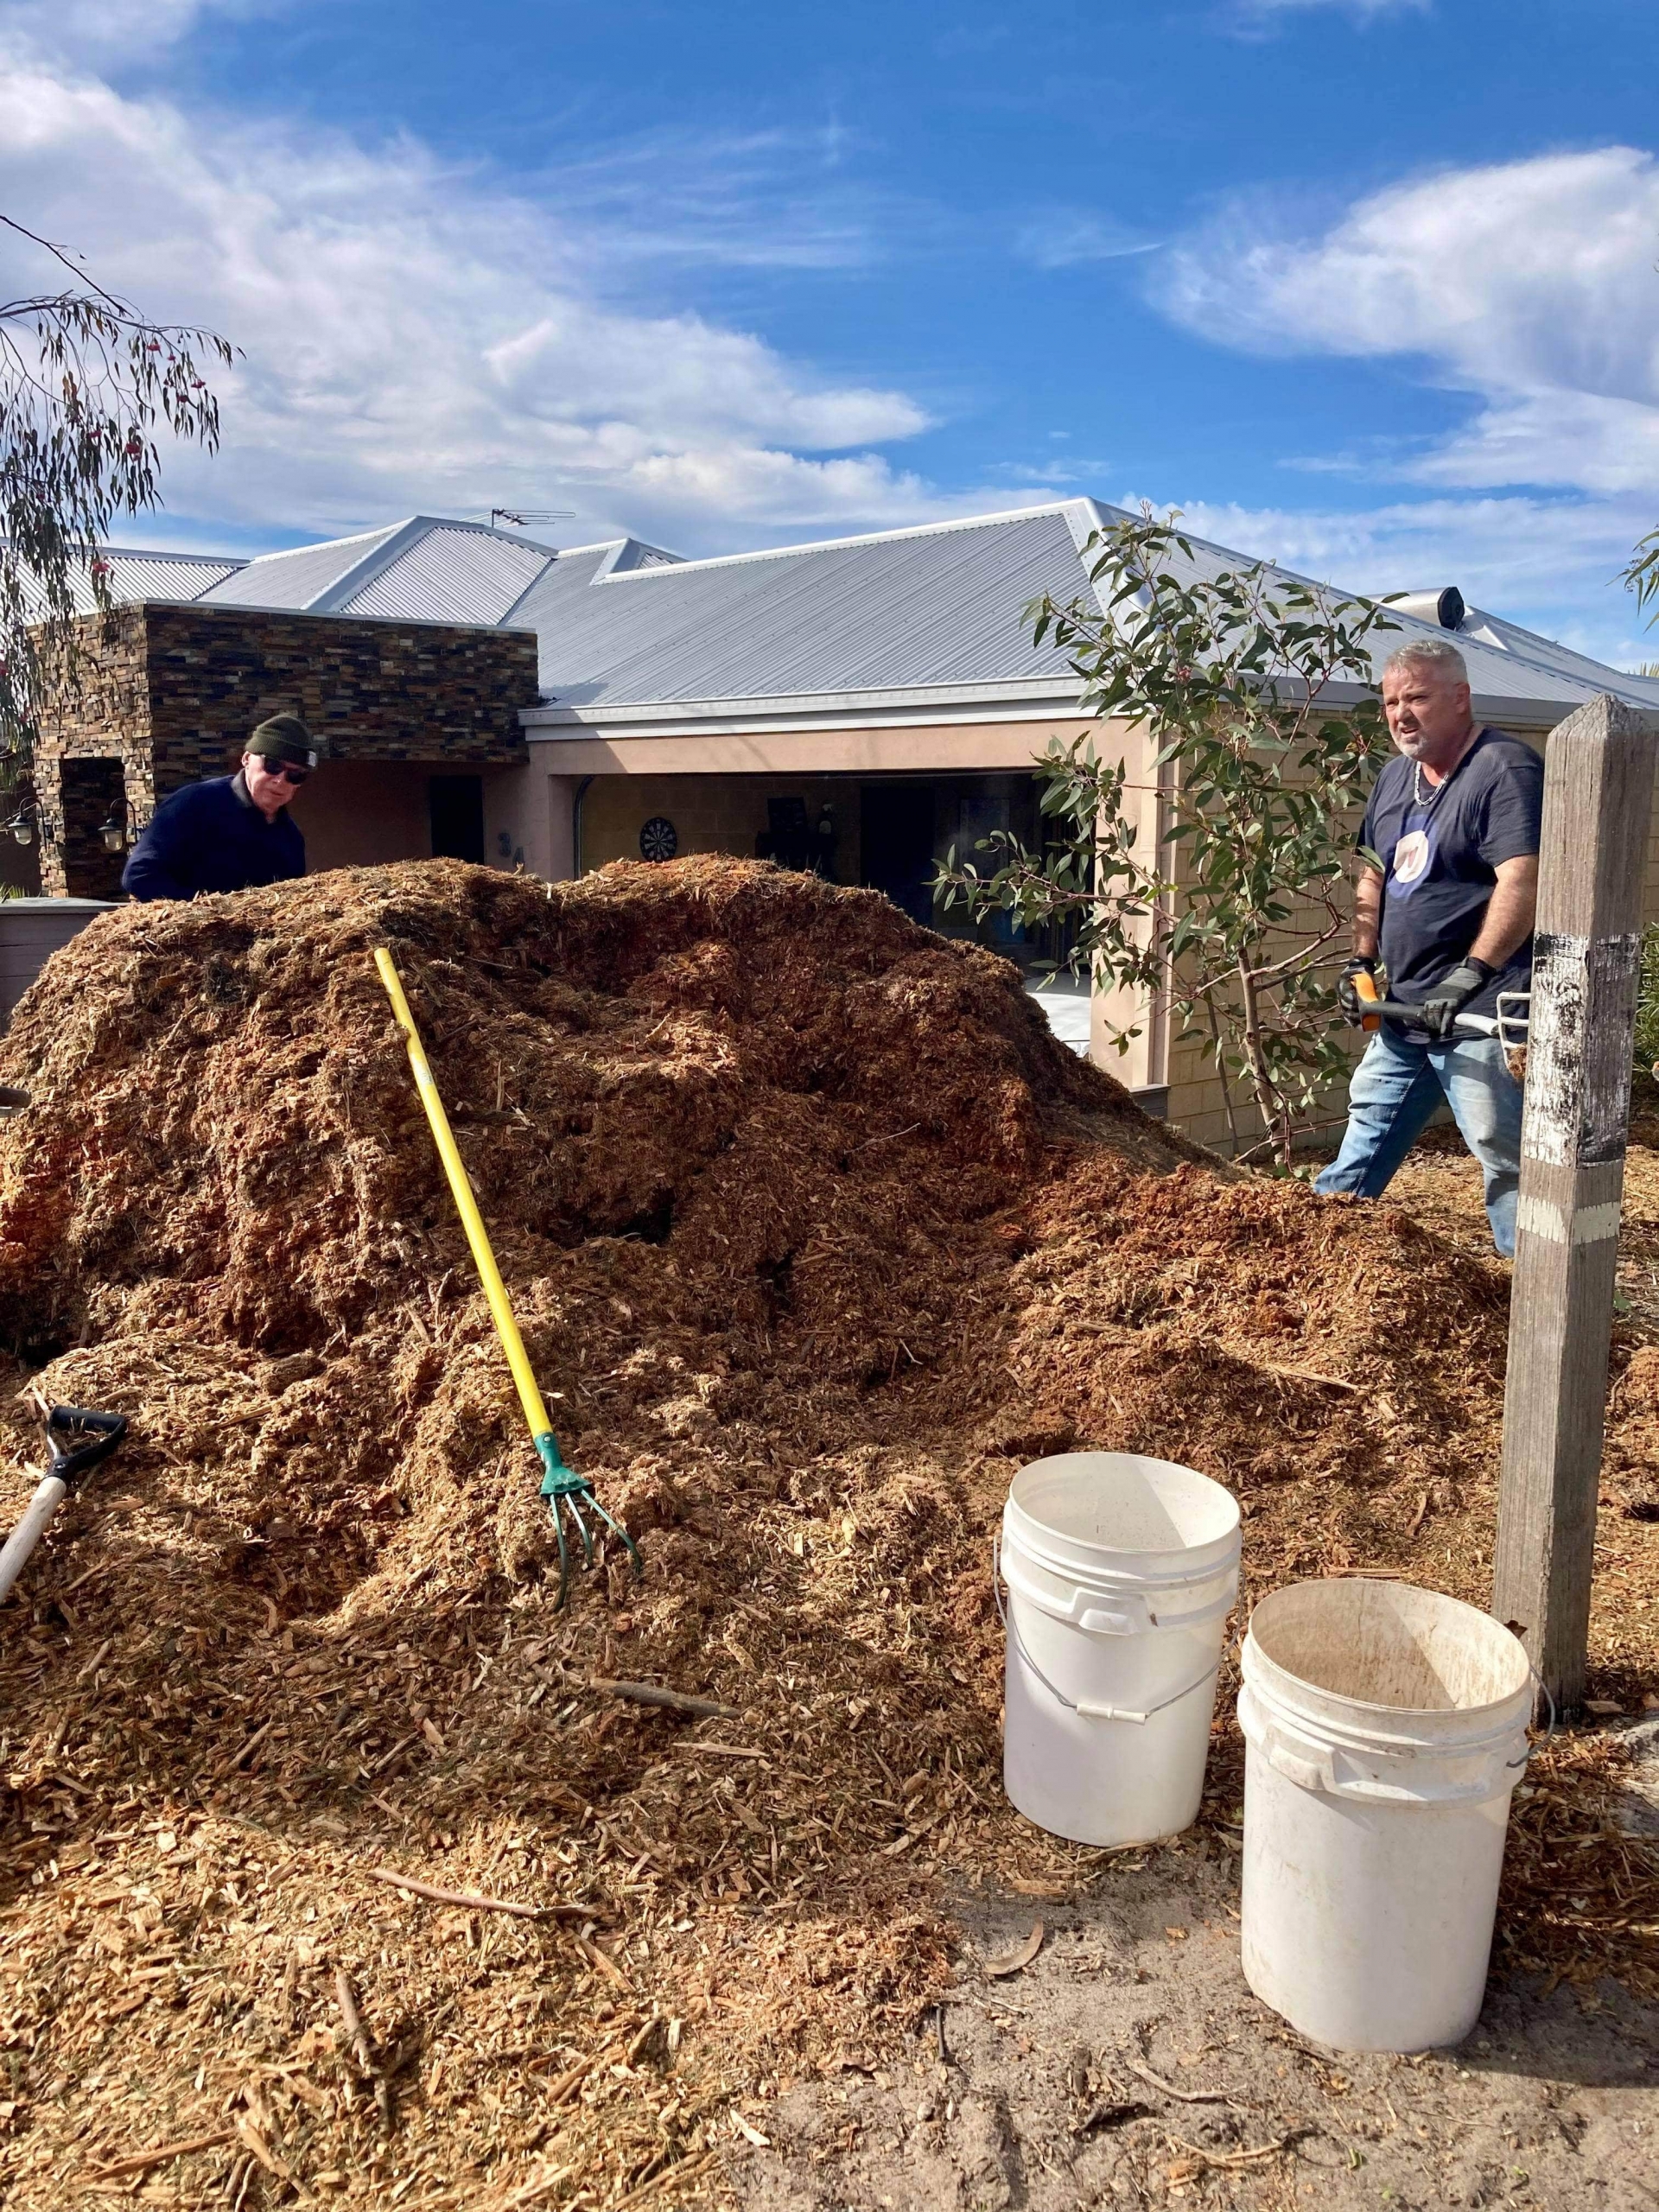
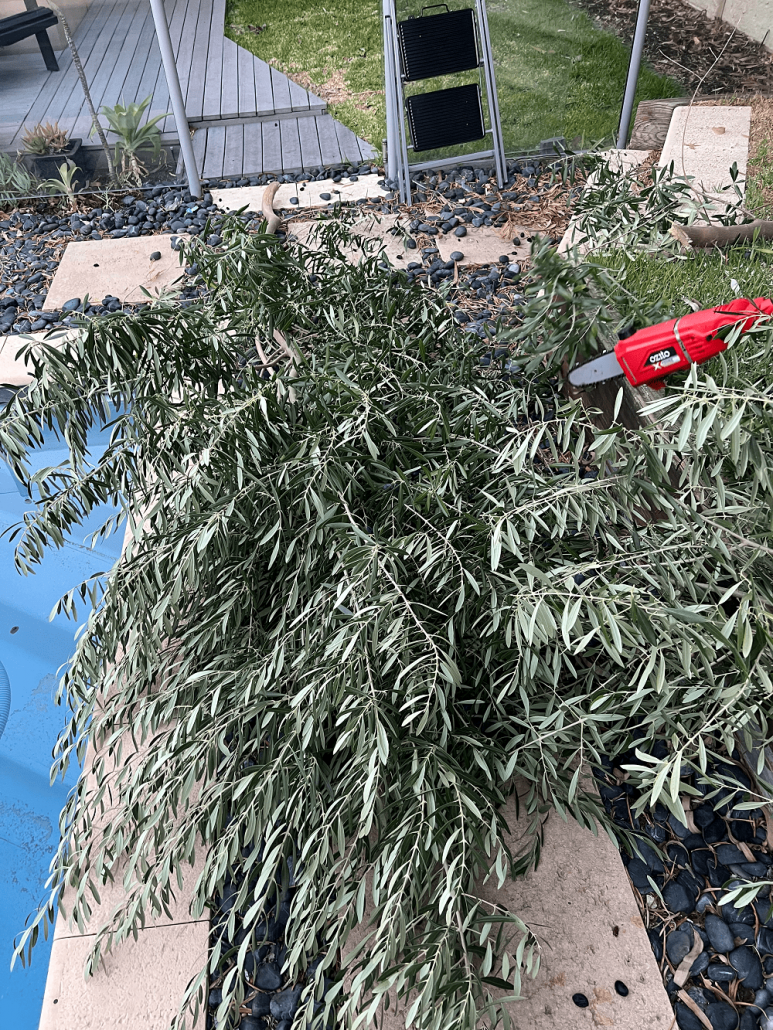
I’m not going to tell you how to pick as everybody has their system. My friend uses rakes and thinks it”s the only option, and wouldn’t do it any other way. (She picked 180kg this last harvest, so it’s clearly working for her.) You rake the oolives literally and they fall onto a tarp, and you gather them up.
I don’t like the rake option, and I’ve tried it more than once.
I attach a large yoghurt tub with a handle over my wrist, and strip the branches of olives with one hand so they fall into the tub on the other, then decant them into the big bucket. It works for me, and it’s faster than anything else I’ve tried.
A tarp is useful to collect fallen olives.
A ladder tends to be helpful.
Step 6: take to press
I have to confess, in the 7+ years of doing this I’ve never actually been to the press myself. I do know that in some years the driver has been able to wait and then bring back the oil the same day, and in other years they’d have to return later in the week to collect. I think it just depends how busy they are.
You do need to provide large containers for the press to put the olive oil into.
Step 7: bottling
The oil from the press is unfiltered, which means it contains sediment – just natural fruit waxes and nothing unsafe. Ideally, let the oil sit for 4 – 6 weeks in a cool, dark place to settle before decanting.
Most people use wine bottles to store the olive oil. They are a good size, easy to come by and to clean, and a useful size to use in the kitchen. Dark glass is preferable to clear glass.
Other common questions
I’ve tried to answer some of the other questions I’m asked about olive picking and oil pressing below.
How much does it cost per litre?
The cost of the press is the biggest cost, but isn’t the only cost. There many be vehicle hire and fuel costs (both the presses I mentioned are quite far from the centre of Perth), and the cost of bottles or containers required by the press.
If you need to pay a membership fee to be able to participate, that’s a cost to factor.
The yield obviously makes a difference too – am 18% yield will mean more oil and a lower per litre cost than a 9% yield.
When I used to pick with friends, I’d pay $3.50 – $4 per litre.
Now I pick with a community garden I need to pay membership for, my costs are higher. Last year the cost of oil was $4.92 per litre, but combined with the membership fee worked out more like $7.26 per litre.
Do I give any oil to the people who gave their olives?
Generally, no, although if someone has a particularly fruitful tree, and helps me pick the olives, then I try to drop a small bottle of olive oil round to say thank you. But the whole process is a lot of work (and time), and then there’s a cost, and if I pick a bucket from a tree that only equals 500ml of oil, so there’s not really an excess.
I guess in that way olive oil is quite different to picking other fruits, where your yield is literally what you pick (minus some peels or core, perhaps).
How do I join in?
There are a few community groups in Perth that I know of that do an olive pick/press and are open to new members (if you know any others, please let me know and I’ll add them to the list).
Hilton Harvest Community Garden
Is it worth the effort?
It can be a little stressful when it gets to the weekend of picking and you realise you’re going to be way under your quota if you don’t find more trees, fast. Sometimes the weather can suck, but it’s not possible to postpone. By the end of the day, your whole body aches.
But the satisfaction, to me, of seeing all those buckets of olives that would probably have been wasted – it’s priceless. Most definitely worth it.
Maybe you’ll give it a go yourself next year?!
Now I’d love to hear from you! Any other questions I didn’t answer? Any tips for good public olive trees, or community picking groups to join? Any other presses you recommend (or not)? Anything else to add? Please leave your thoughts in the comments below!