Keeping chickens: Omlet walk-in run and PoleTree review
I dreamed of keeping chickens for a good fifteen years before I finally had the space and time to accommodate them. And it’s the best decision I ever made – they are such fluffy bundles of sass and personality and charm. They make me laugh every day.
Two-and-a-half years ago, my first little flock (consisting of three geriatric chickens and a teenager) moved in.
In the time since then, my setup has changed considerably. Two of those original old ladies have passed away (both of natural causes/old age), but my flock has expanded a little as new girls moved in. I’ve increased the space, changed the run to a walk-in run, and tweaked a lot of things to improve how things work, how things look and how protected the chickens are.
I’ve been asked a lot of questions about my current setup, so I’ve finally made time to share some pictures and write a proper review.
This post contains affiliate links.
My original chicken coop and run setup
I started out with a second-hand coop and run that was gifted to me by one of my lovely readers, when I first mentioned I was thinking of getting chickens. (The company that sold it has apparently since gone bust, so I won’t name them or provide a link.)
It was a big wooden coop with an attached run measuring about 9.84 ft long by 3.28 ft wide / 3m long by 1m wide (plus another 10 square feet / 1 square meter of space under the coop).
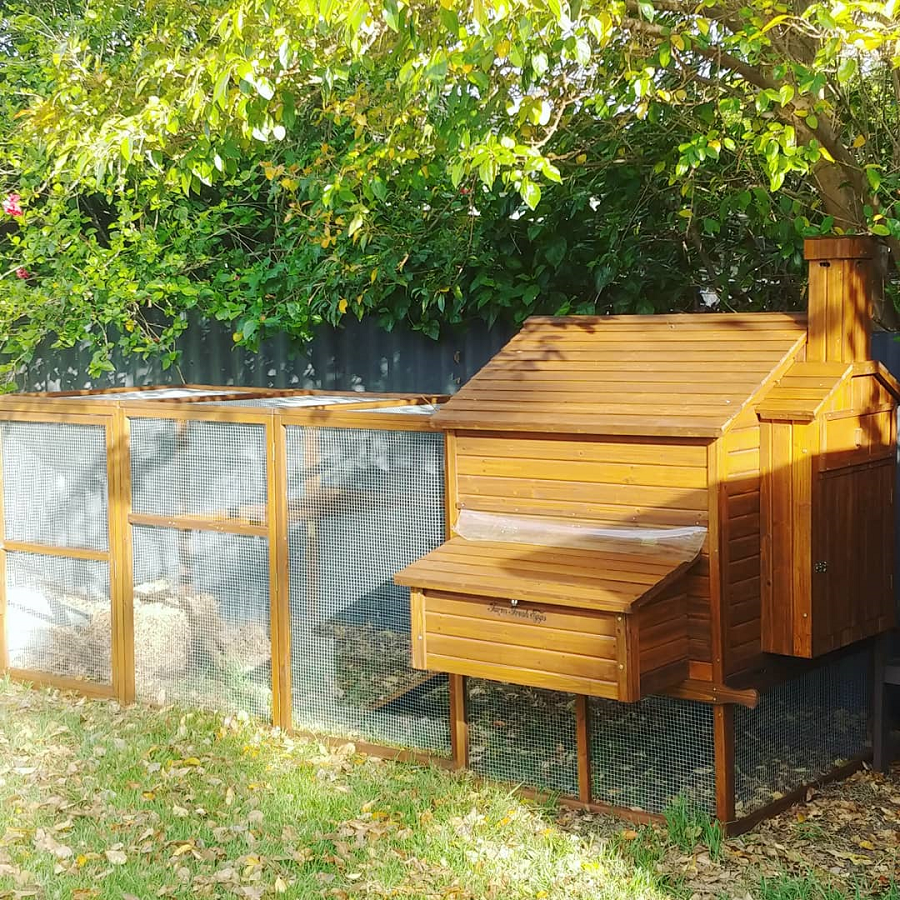
The coop itself is big enough to house 12 chickens in a warm climate like here, as the weather is mild enough for them to be outside all year during the day, so they only use the house for sleeping and the attached nest boxes for laying.
But the run was pretty small. It was the absolute minimum recommended outdoor/run space for a chicken (which is 8 – 10 square feet/1 square metre per bird). I rigged up a fenced area outside the run so they had more space to roam which more than doubled the space.
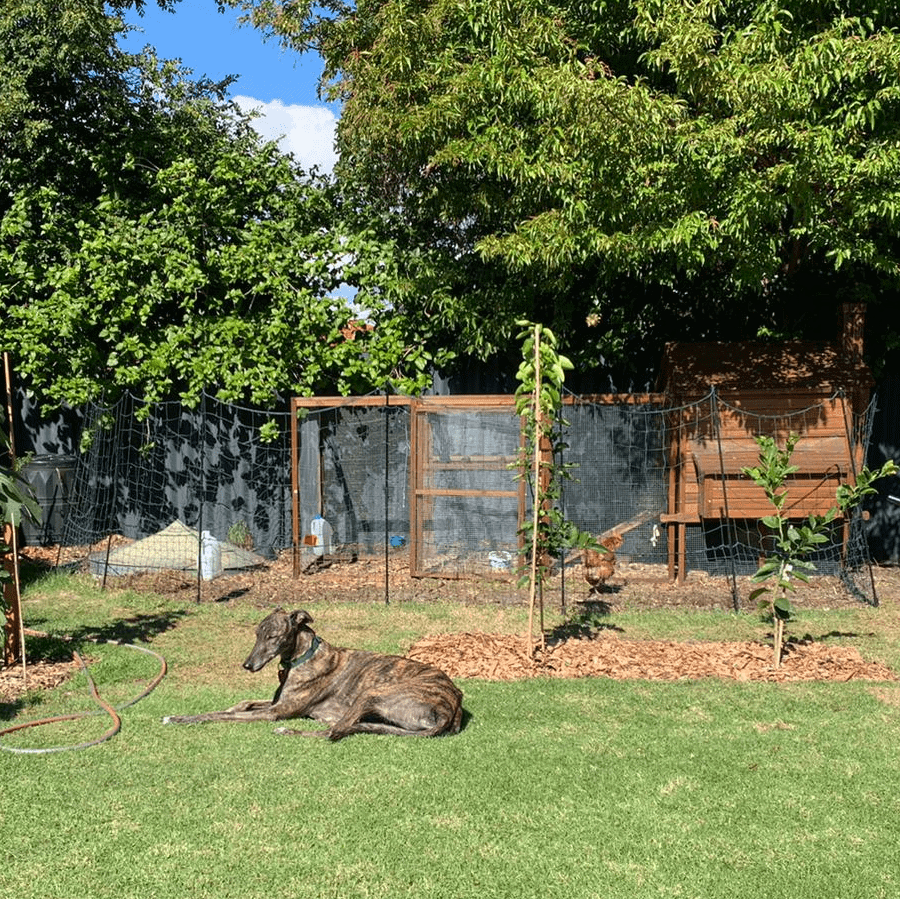
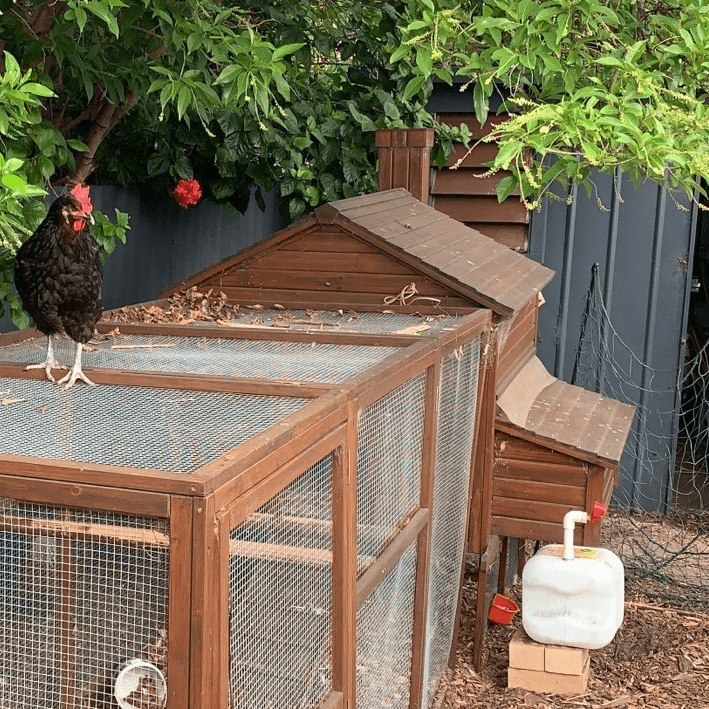
The fence wasn’t particularly high, and for the ladies to be able to access it I had to open the door to the run, so it wasn’t secure from predators, which meant if I was away I’d need to keep them cooped up.
It worked for a while with my original girls, but then Dorothy and Betty moved in.
And I hadn’t counted on Betty.
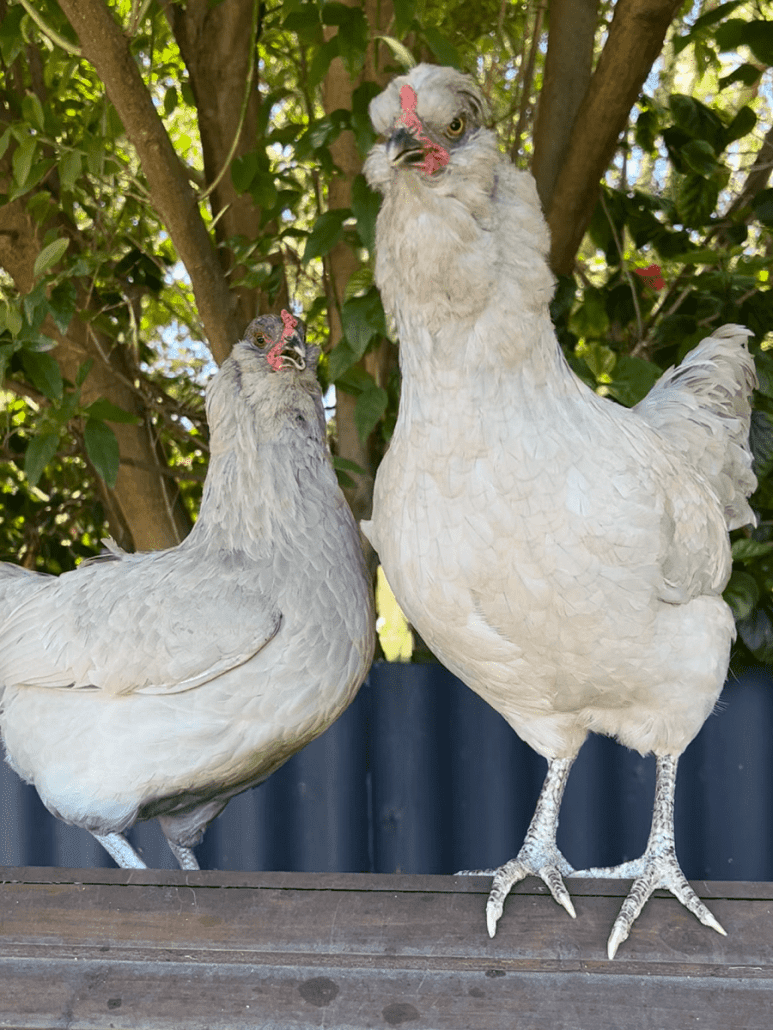
Betty the chicken is possibly the most contrary chicken on the planet. She is the smallest, lowest-ranked but most adventurous of the flock, and has made it her life’s work to break free of wherever she might be confined. She likes to be wherever I do not wish her to be.
She can fly over the fence, wriggle under the fence and squeeze through gaps in the fence. She also seems to be able to teleport.
The only time she’s ever willingly hanging out in the enclosed run is when I’ve decided everyone can free range on the lawn.
The problem with the constant escaping is that once she’s out she can’t get back in, and ‘in’ is where all the food and water is. Plus it’s where the house is. She has slept 10 feet / 3 metres up a tree overnight several times, and she’s lucky no-one has tried to eat her.
Wanting something bigger and more secure to protect the ladies better was my first reason for deciding to upgrade the run.
The second was that the low run was really, really tricky to clean. It was hard enough to squeeze through the door to rake it out; but the fixed perch in the middle was a particular pain as I had to crawl under it to clean out under the house.
There’s plenty of guides that will tell you that you don’t need a tall run for chickens as they are only 50cm high, but if you want to be able to get in there yourself, it needs to be human size.
Looking at walk-in run options
Finding a bigger run with a roof proved more difficult than expected, because of the constraints I had with the available space. My coop (which I didn’t need/want to replace) was in a fixed position, and the door to the run had to go in a particular spot on the side, because the bore cover stopped it going on the end. Plus I now had to navigate around the various trees I’d planted!
Many of the metal runs had a door on the end, often because the roof pitched in the middle (so the sides were too low for a door). The pre-made wooden ones were all too small, too flimsy and expensive for what you bought. Plus I’d need to assemble them, oil them, and maintain them every spring.
I’d pretty much relented to hiring someone to build a solid timber framed run for me, but finding someone willing to do the job proved challenging. Some tradespeople wouldn’t even come to look, a couple of people turned it down as it was more than a day’s work, and when I eventually found someone their wait time was 6 – 9 months. And the quote wasn’t cheap.
And then I found the Omlet walk-in chicken run, which is a modular mesh panel system with the option to design to fit your space, and put the door where you actually want it to go. It ticked all my boxes, and although it’s not cheap, I could cover a bigger area whilst paying much less than if I’d hired someone.
And I could build it pretty much straightaway.
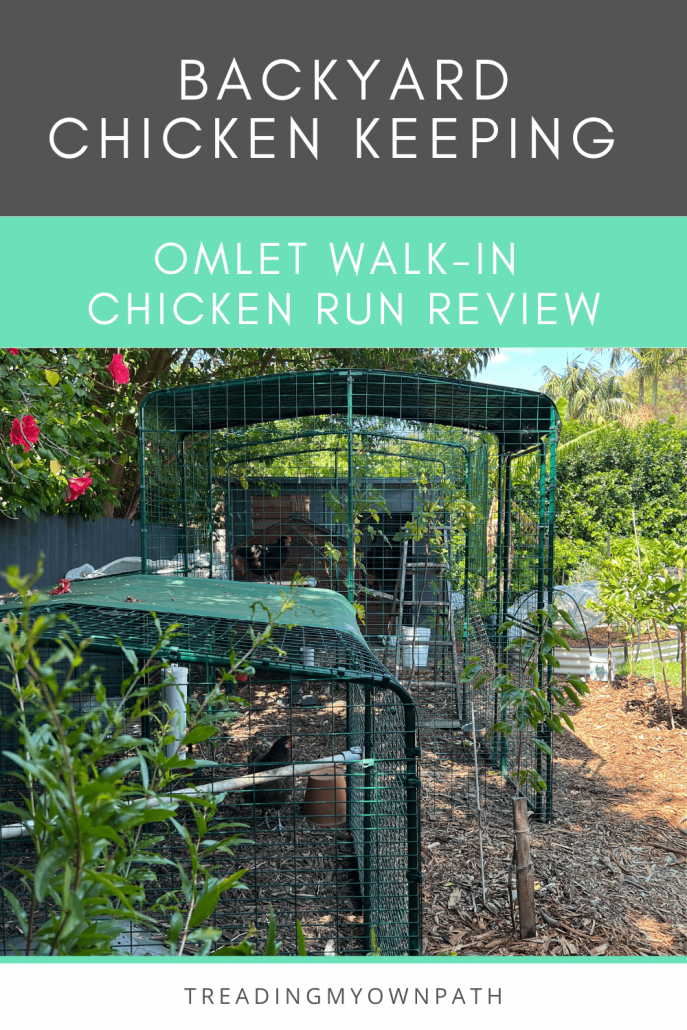
Omlet walk-in chicken run review
When I bought the Omlet walk-in chicken run it felt like a lot of money (well, it was a lot of money!) but as soon as I’d put it together I knew I’d made the right choice, and my only regret is not getting it sooner.
I’ve had it for a year now, and it’s been great.
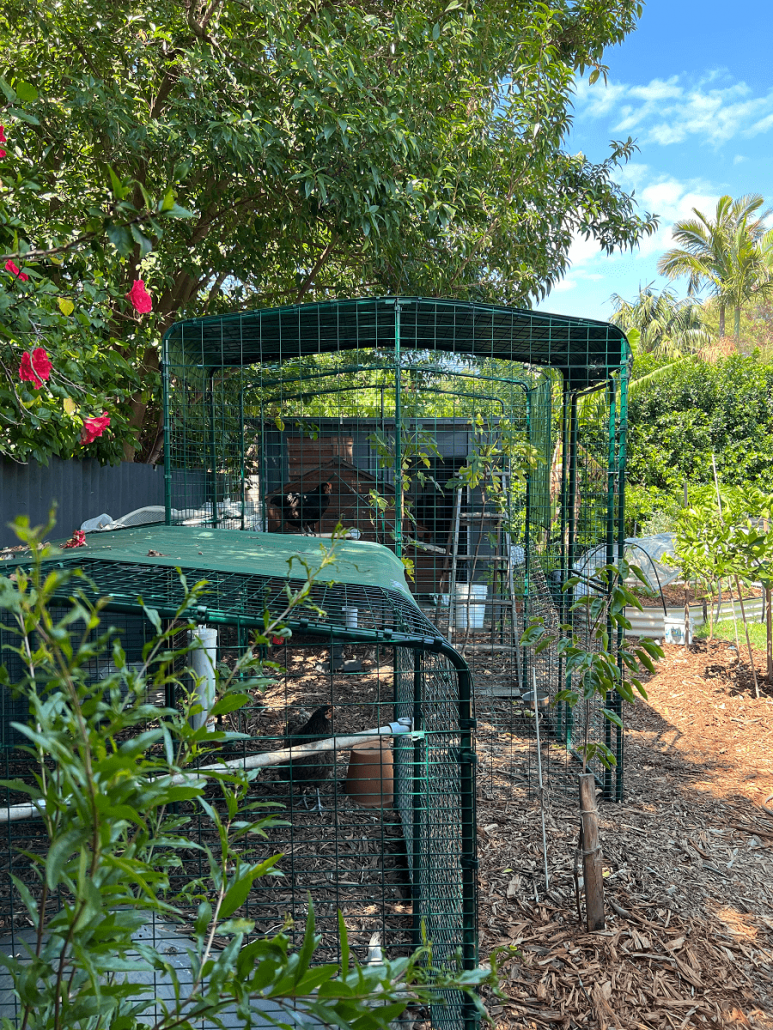
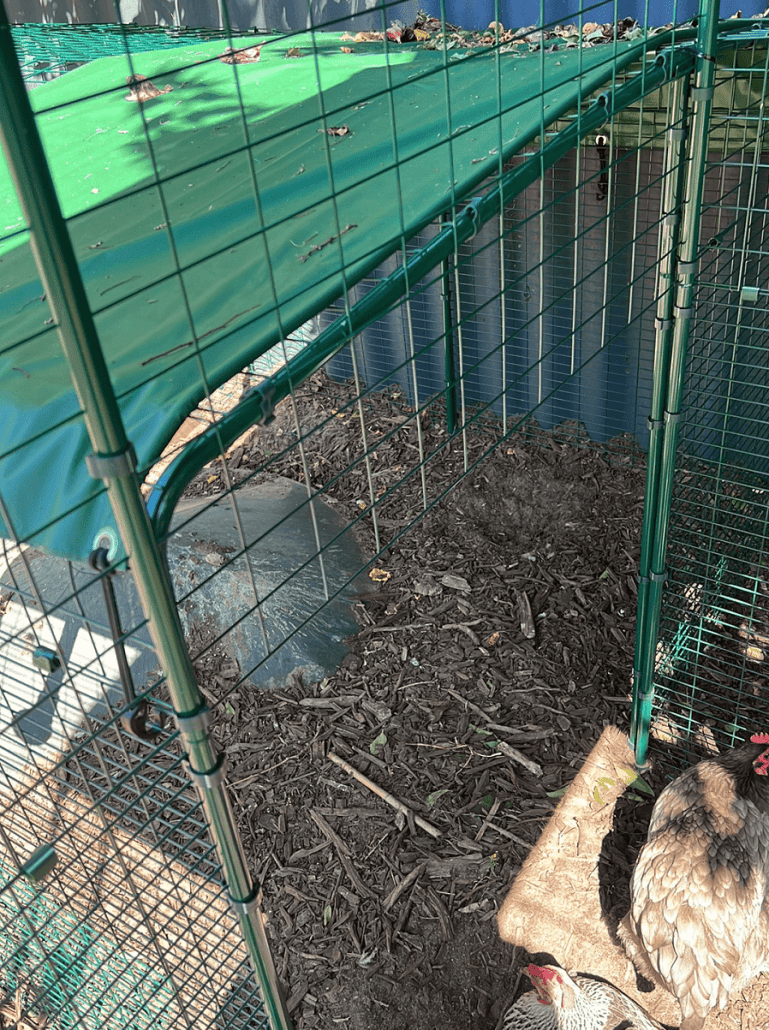
The secured area outside the coop is now 118 square feet / 11 square metres (so almost triple the original secure space), and completely Betty proof.

The run comes as painted steel poles and mesh panels that hold together with plastic clips. You don’t need any power tools or DIY skills to assemble. It sounds flimsy but once it’s all together it’s pretty sturdy – much more so than the wooden one I previously owned, which was quite ricketty. The Omlet run has also got a mesh roof, so it’s completely enclosed.
There’s also a mesh skirt around the base which the bottom panels attach to and helps provide some stability as well as stopping foxes or dogs digging under. (Well this is supposed to be the case, but I do not live in an area with foxes so luckily I’ve never had to put this to the test.)
The Omlet website has a useful design tool to help you decide what size and height you need. The run can be two or three panels wide, and as long as you want. Although it isn’t clear on the website, the door simply replaces two vertical panels and so can be positioned anywhere on the run.
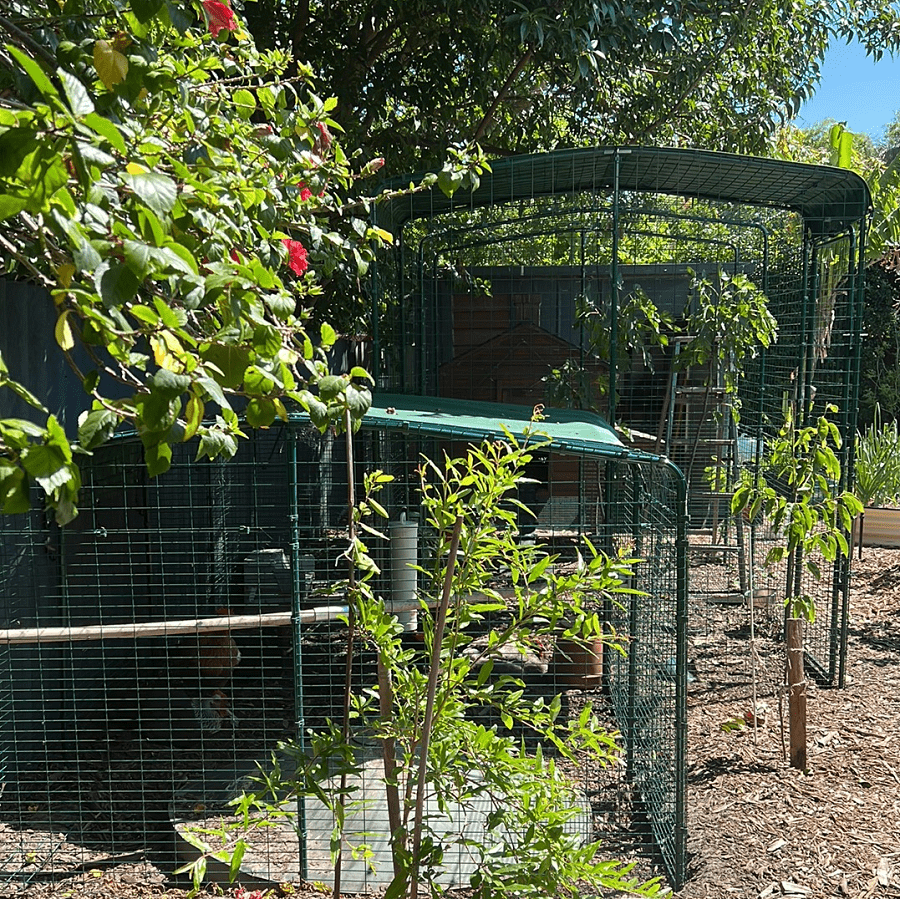
Omlet also sell a half-height run, and I chose to use both the full height and half height to maximize the area for the girls but without having such an imposing structure in the yard. (It’s also cheaper to buy the half-height run, as it uses less materials.)
I purchased a 2 panel x 3 panel walk-in run, and a 2 panel x 3 panel half-height run. Rather than attaching them together as two rectangles, I attached four panels from the low run (in a square arrangement) and offset it to the walk in-run. I used the remaining two ‘blocks’ and ran them parallel to one another to create a half height side area closer to the neighbours fence. It meant being a little creative with the skirting (which you need to attach the lower panels), and took a bit of planning, but it meant I could build the coop around the bore cover without blocking the footpath.
I also removed a few panels to create “rooms”.


I had to flip a few of the skirt pieces the other way to accommodate some buried wooden garden bed edges and the “rooms”, but this doesn’t affect stability. I don’t think it would be possible to remove them completely unless you build a foundation for the panels to sit on, but flipping a couple to the inside is fine.
Because my soil is very sandy I’ve placed bricks under the poles so they don’t sink.
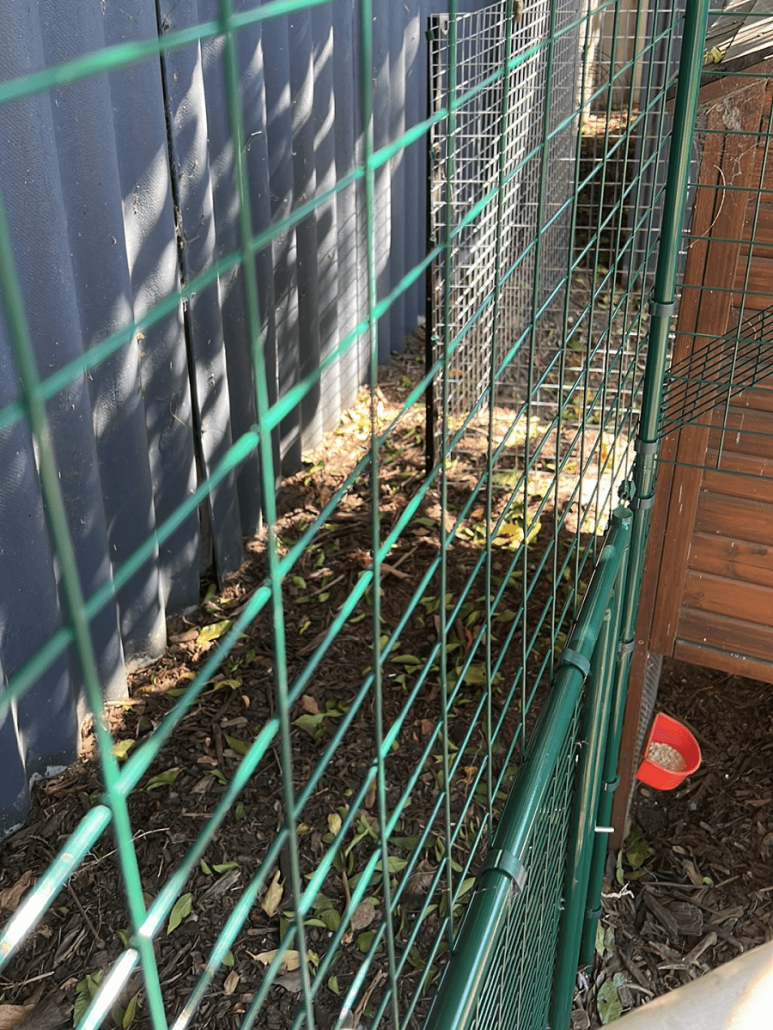
The half height run also came with it’s own half-height door, and I have installed this at the back of the full height run, which can be opened so the ladies can access a larger free range area via a passageway behind the shed. It’s netted over the top, and fenced, but unfortunately it’s not Betty-proof (yet), as much as I’ve tried.

The other great thing about the Omlet walk-in run – and this is true about any/all modular systems – is that it can be added to at a later date, or changed around. In theory it can be dismantled completely and would practically flat-pack, but it was not a fast job to put it together and I have no desire to dismantle it any time soon.
But unlike a solid wooden run, if I needed to relocate it, I could.
You can attach the walk-in run to the Omlet Eglu and Cube coops with customised mesh that fits exactly. I wanted to keep the original wooden coop, so I simply removed one of the panels so that the ladies could access the wooden coop. I used two pieces of skirt I hadn’t needed because of the rooms to make the sides.
There was a gap at the top and within about 10 seconds Betty had figured how to get out from this point (of course she had) so I’ve since enclosed that part too.
There’s no maintenance with Omlet products, unlike wood – although it’s possible in future I’ll need to replace the plastic clips if they deteriorate. In fact, this is the only thing I wish they did differently – provide metal clips instead of plastic ones. But when it comes to replacements, wire or cable ties may be able to do the job, if necessary.
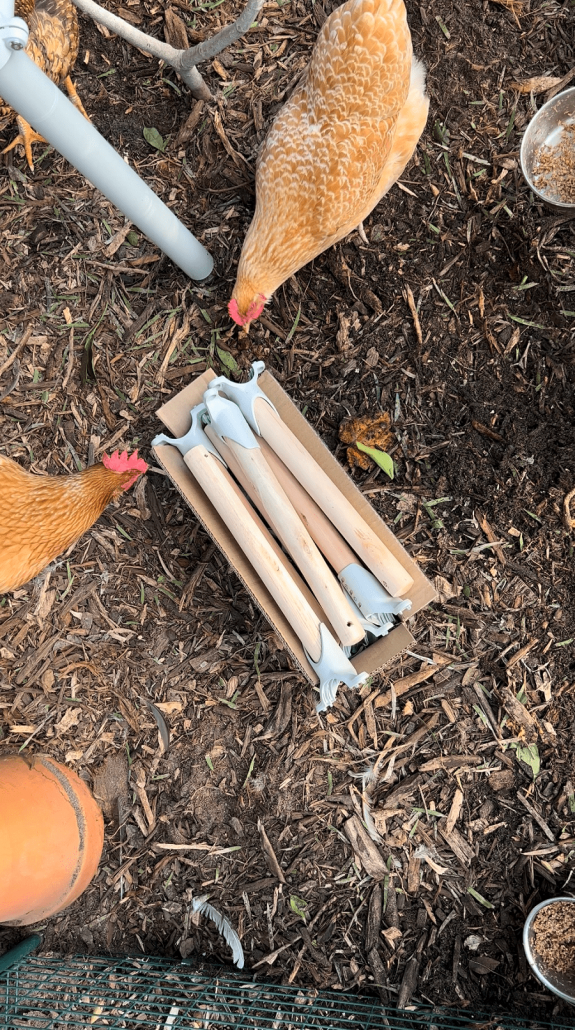
Since buying it last year, I’ve also bought a couple of perches and a couple of heavy duty rain covers (which also help create shade in summer).
Chicken entertainment: the Pole Tree chicken perch review
When you’re 2 feet / 50cm tall (because you’re a chicken) and your coop is 7 feet / 2m+ tall, that’s a lot of wasted space, and I wanted to add something to provide some amenity and entertainment for the ladies.

I’ve planted a fig tree in the coop to provide shade and hopefully (eventually) branches the chickens can climb on, but it’s growing very, very slowly. I used upturned hanging baskets tied together and laid at the base to protect the roots for the first year, so the ladies haven’t been able to dig it up, which is a start. I’m hopeful it will eventually provide for them.
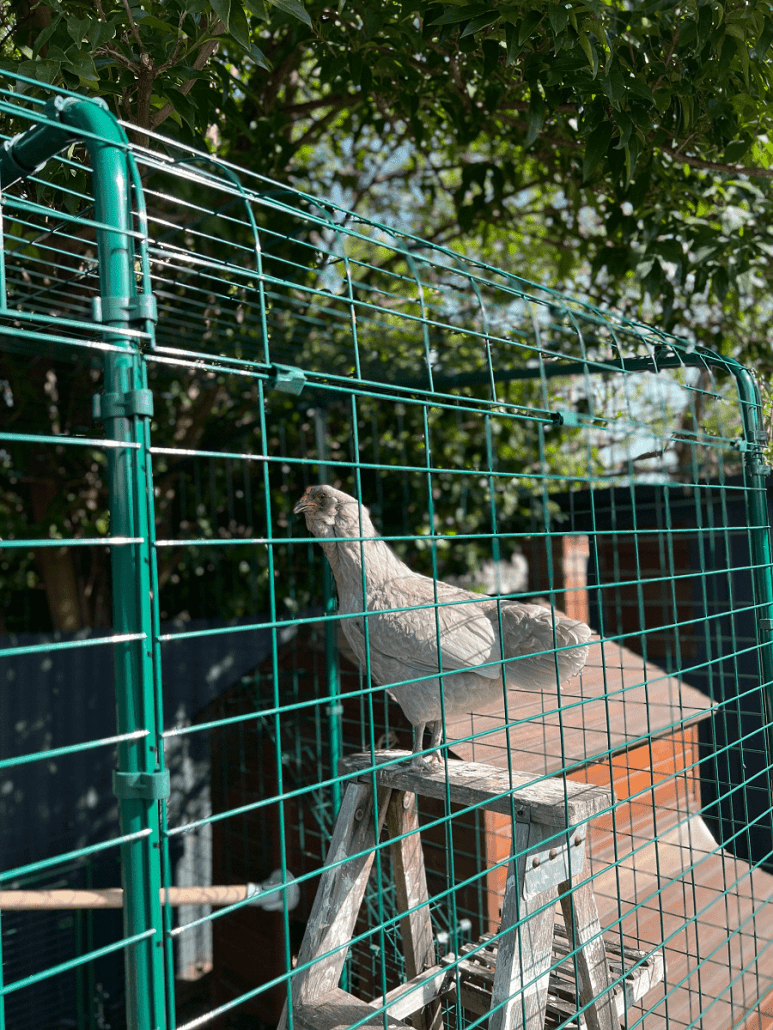
I purchased a second-hand wooden ladder for them to perch and even roost on (I saw some very cool pictures on Pinterest), but it was snubbed by pretty much all of them. Clearly they haven’t been looking at Pinterest.
I could lure my greediest chicken up to the top with kale, and Betty would occasionally survey her kingdom from the top, but none of the others went near it.

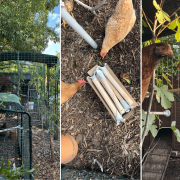
And then Omlet launched a new product called the Pole Tree, and I was given the opportunity to review it on social media. So unlike the walk-in run, which I purchased myself, the Pole Tree was gifted to me.
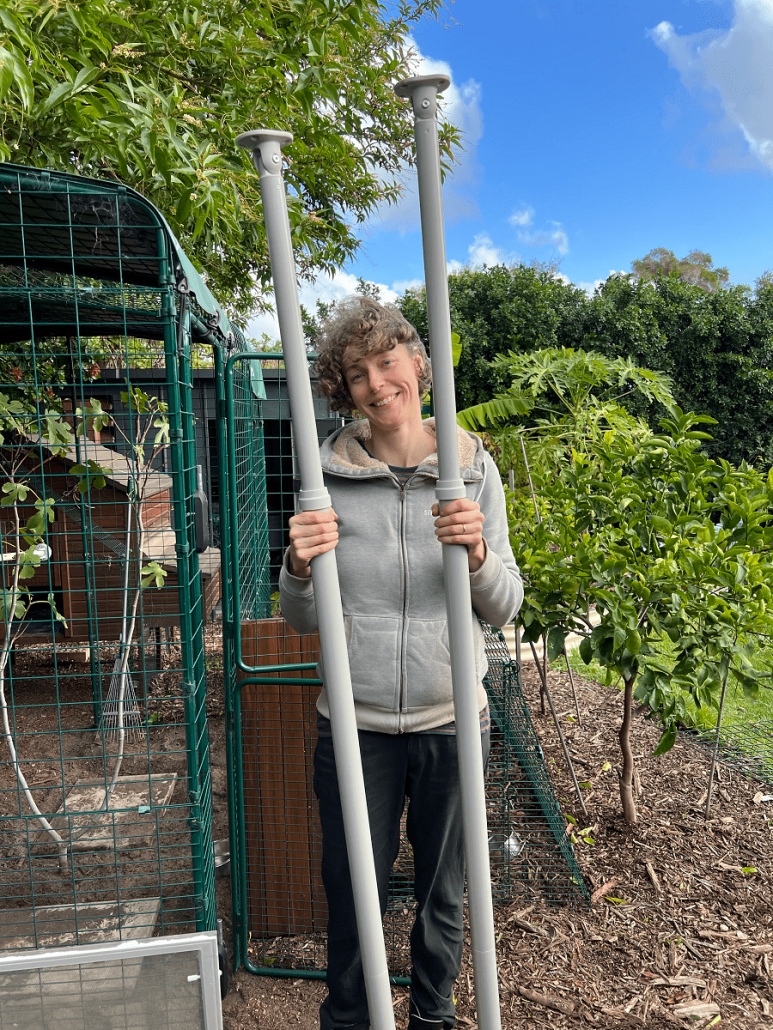
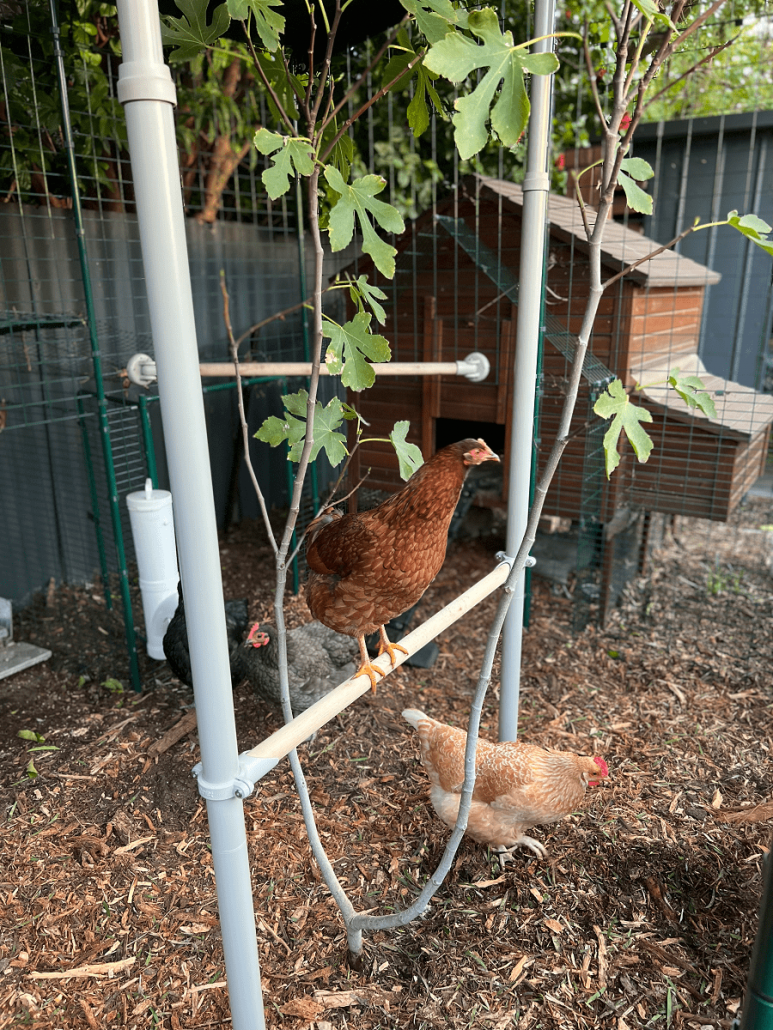
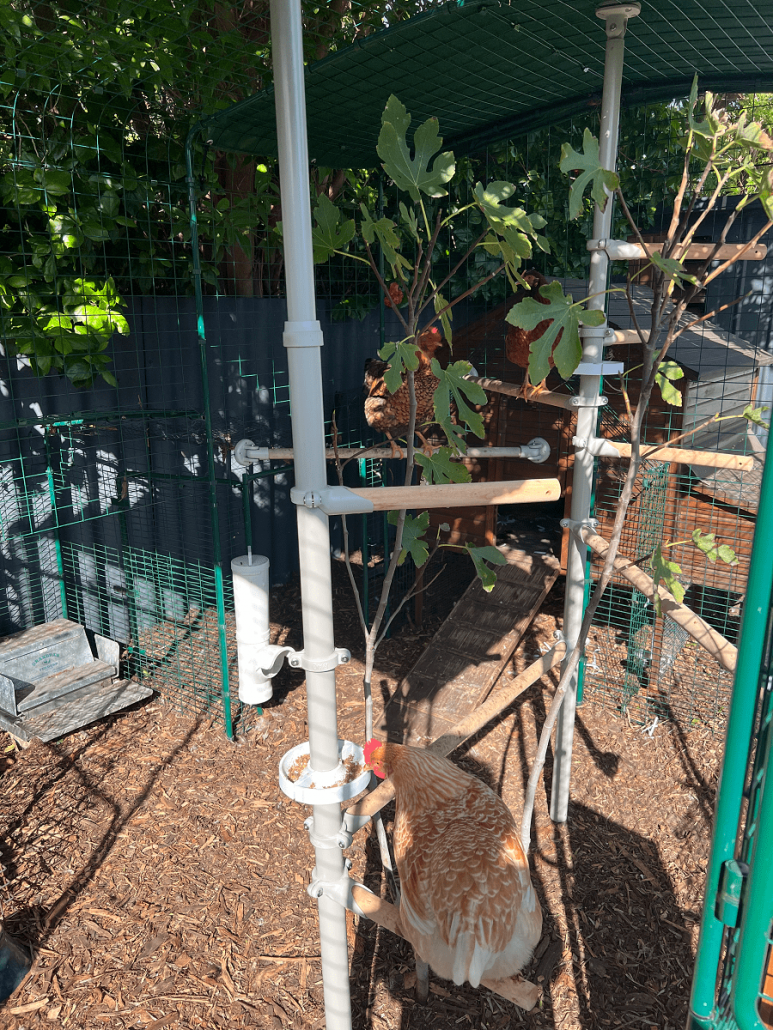
The Pole Tree an uber-customizable chicken perching system to go inside a coop or run. It works perfectly with the Omlet walk-in run, as you’d expect, but it can be used with any run (including non-mesh runs).
You buy one or more vertical poles which can be fitted to a mesh coop like mine (or a wooden coop, brick, or plaster- there’s different fittings depending). The poles range from 8.6 ft – 14.5 ft / 1.7 – 2.6m, and there are wall brackets for the taller ones.
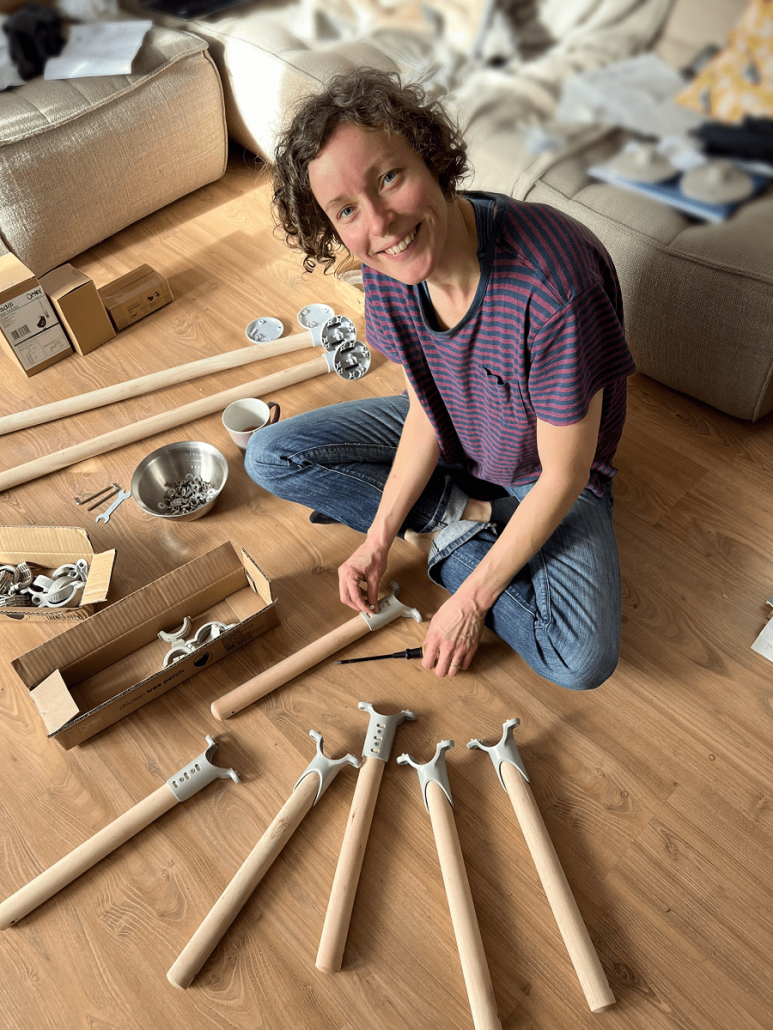
Once you’ve got the pole or poles in place, you can add perches.
There are three types of perch: short ones that only attach to the upright pole, and longer ones that either attach between two poles, or from the pole to the side of the run (or coop/wall).
And the Pole Tree is completely modular, so you can start small and add new perches (or additional poles) later, or move perches/poles that you’ve already positioned if you decide they’d be suited to a better spot.
The only thing you need to assemble it is a screwdriver.
The Omlet website has a few ready-made sets as examples, but also a tool that lets you customise the design to suit your space. Which is what I did.
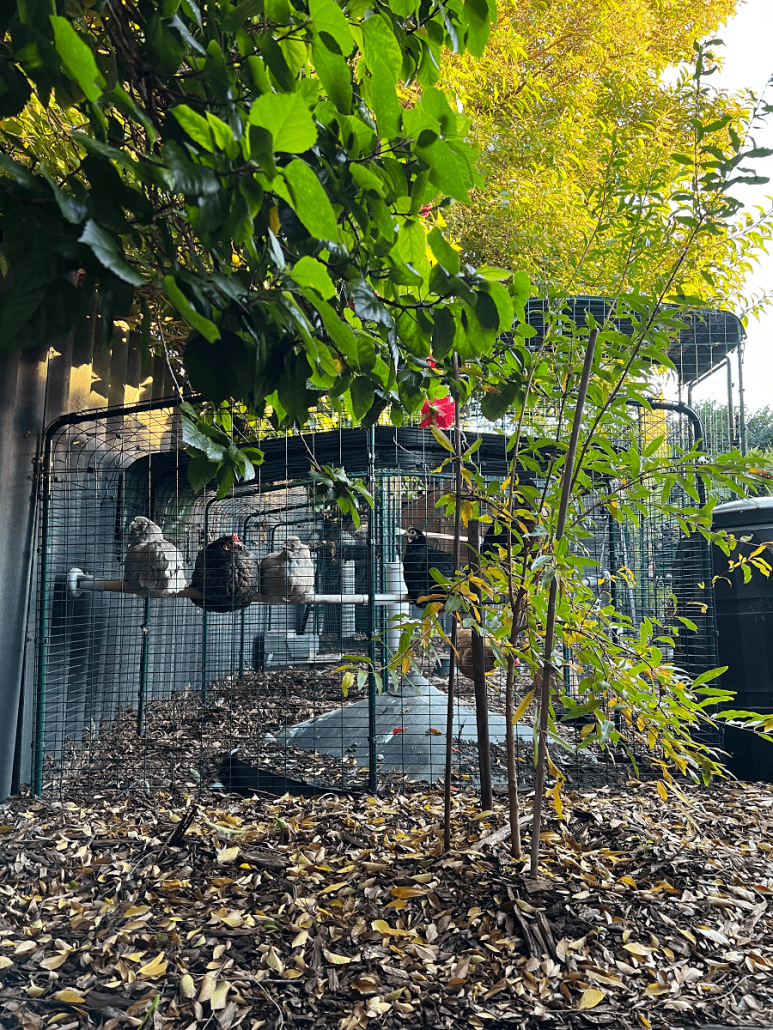
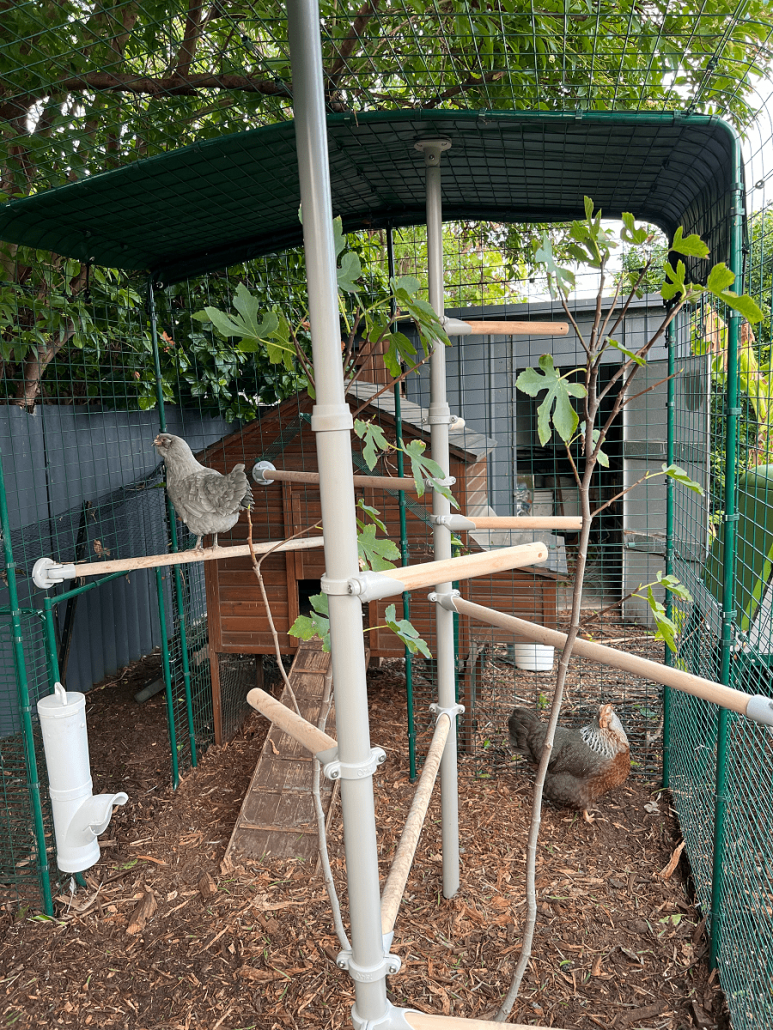
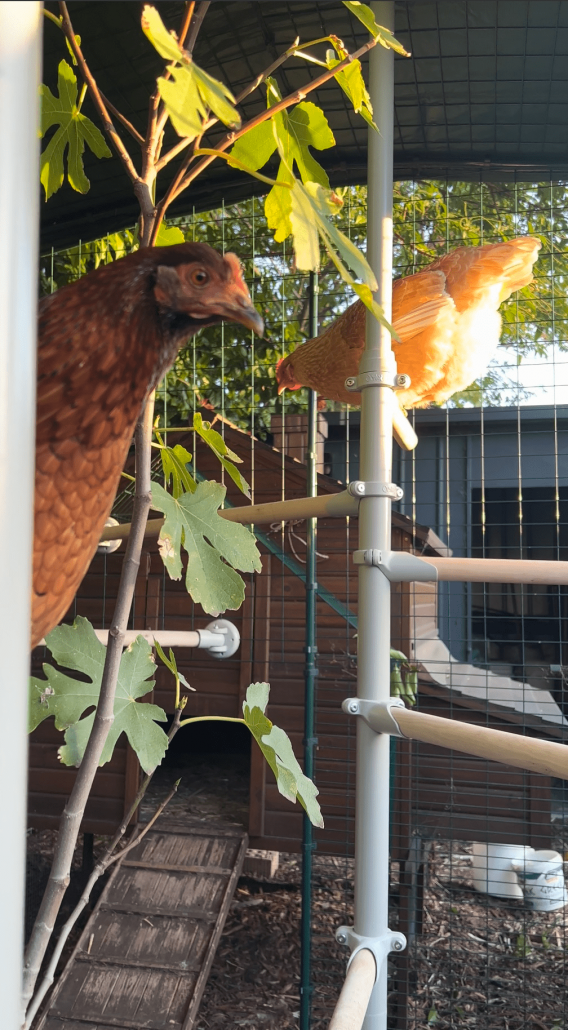
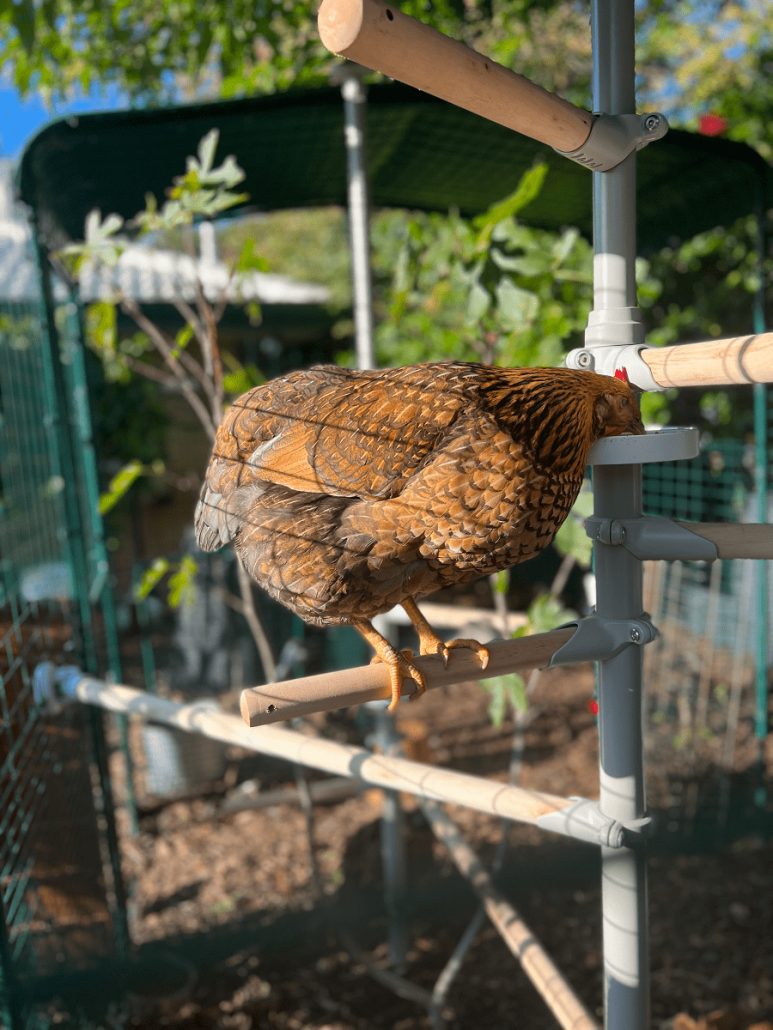
I have two vertical poles, which I’ve placed on large concrete slabs so the chickens can’t tunnel underneath or dislodge them (I’m on very sandy soil). The horizontal poles are at varying heights to accommodate my 8-year old geriatric ladies who aren’t adventuring to dizzy heights any more, and the younger girls who like to sit high up.
I have one pole-to-pole perch, and two pole-to-run perches. And I also have six short perches.
I’ve positioned these shorter ones in a staggered position so the chickens can climb up like a ladder, and I’ve tried to be mindful that any chicken sitting on a perch won’t be able to poop on another chicken sitting underneath.
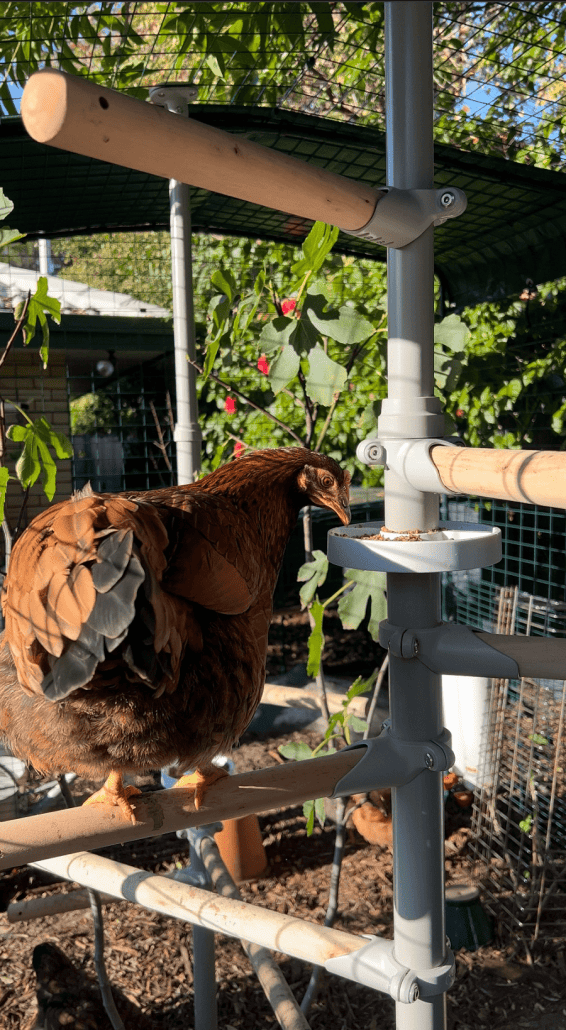
I also added treat dishes to encourage them to use it, but I needn’t have worried – my ladies were clambering all over it before I’d even finished putting it together!
They absolutely love it. It’s currently too cold for them to sleep outdoors, but I am sure that in summer it will become a popular sleeping spot too.
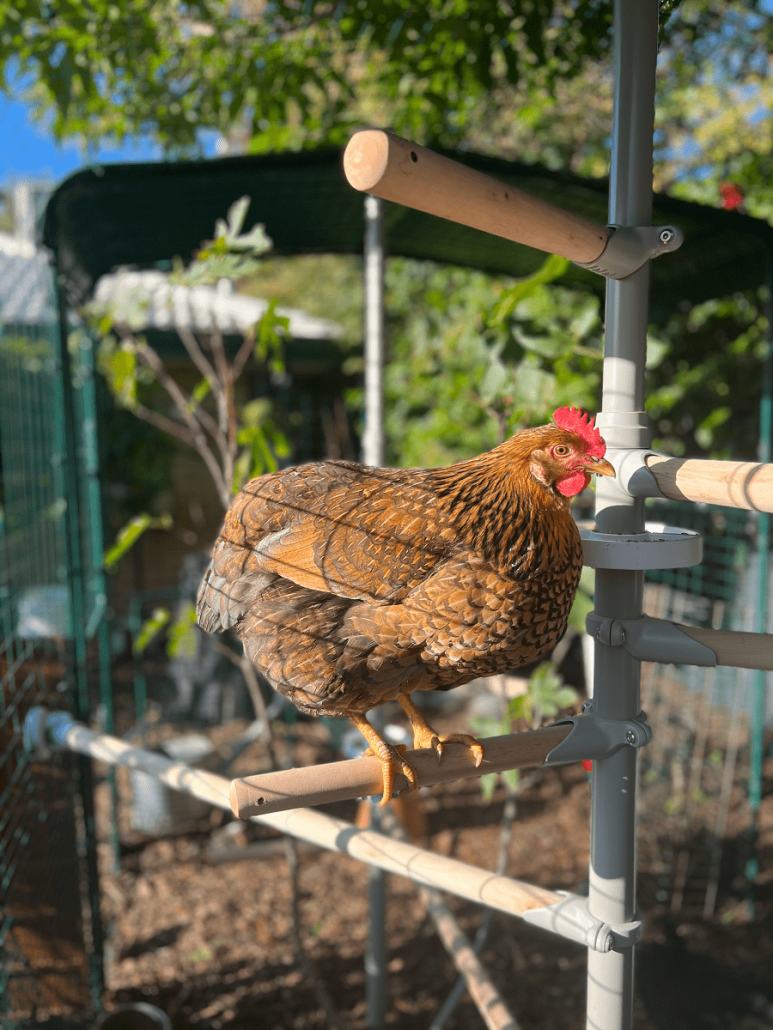
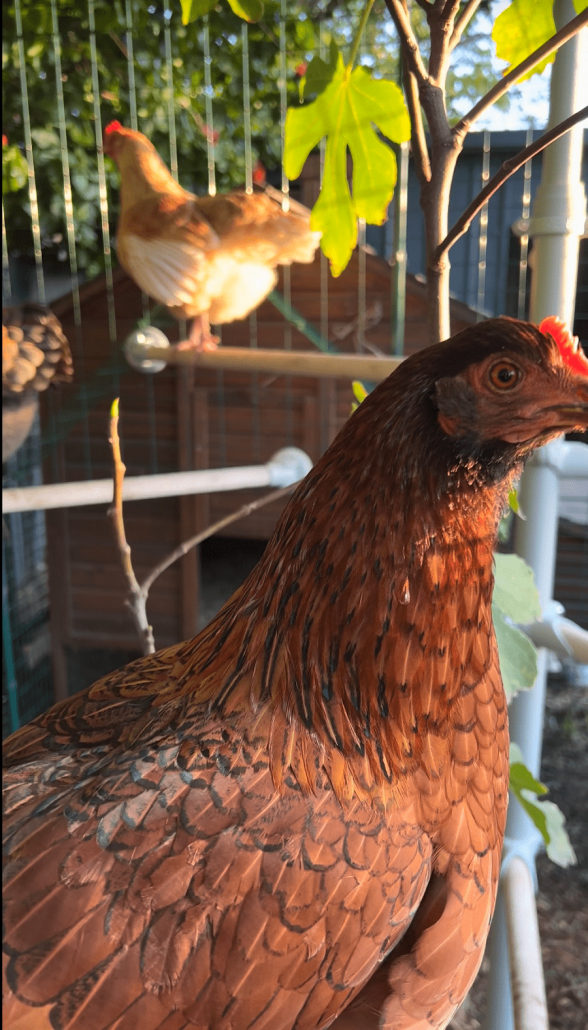
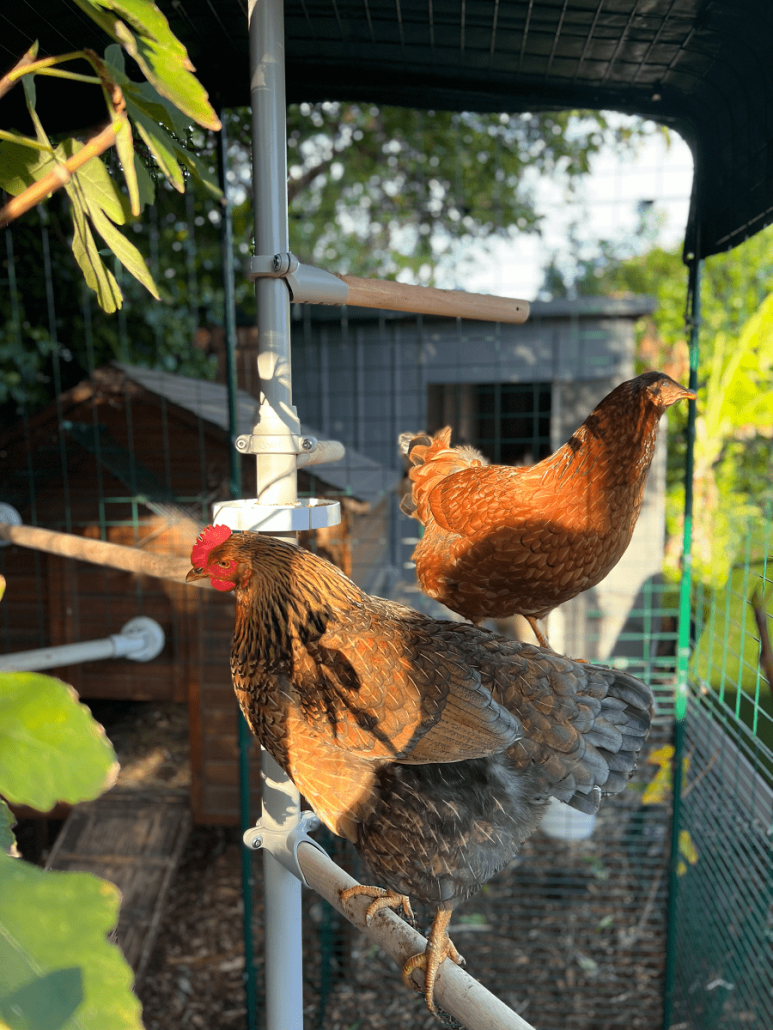
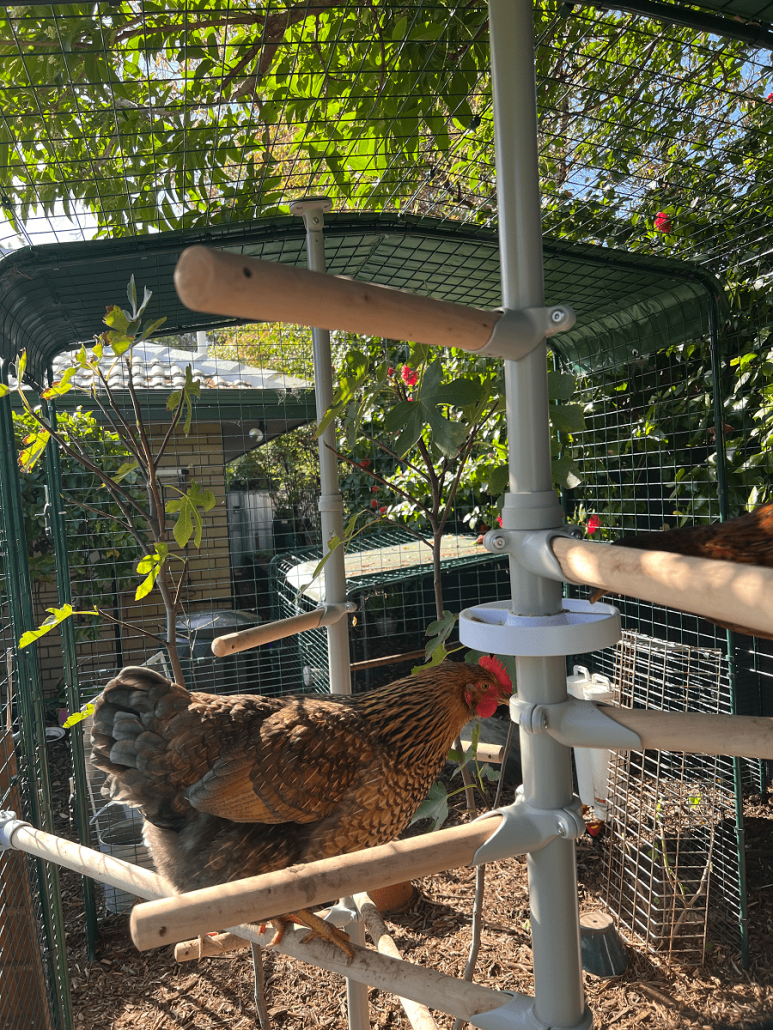


The Pole Tree has created so much more space in the run for the chickens. There’s now an extensive climbing frame for entertainment, and a place for the lower ranked chickens (like Betty) to hide from the bossy chickens.
The short poles have pre-drilled holes at the end for hanging items such as feeders or snacks, but things that swing are currently too alarming for my girls so that’s fun that will be saved for later.
If, like me, you consider your chickens to be pets and part of the family, want to give them space, comfort and enrichment, and don’t have the tools and DIY skills to build something from scratch, I think the Omlet products are a great option.
*As part of the launch of the Pole Tree, Omlet have kindly provided a 10% discount code for my readers that can be used on all products on the Omlet website. Expires 31st July 2022. Visit their website: Omlet USA / Omlet UK / Omlet Australia and use the code TMOP10. *