How to Make DIY Coconut Milk from Scratch (A Recipe)
DIY coconut milk is one of the things I tried very early on in my plastic-free journey. I started making it in 2013, got tired of making it a few months after that and decided not to bother cooking coconut milk dishes.
Then my local bulk store started selling coconut milk powder, and that was my go-to.
Hence the recipe never made it onto my blog. But I decided I wanted to retry making coconut yoghurt (the recipe for coconut yoghurt did make it onto the blog, although it’s been tweaked since then) without using the tins. My zero waste journey has rather progressed since 2013, after all!
Plus whilst the coconut milk powder is pretty good, it’s not the same as coconut cream. And it is something we can DIY.
The coconut milk we buy in cans is made from the flesh and juice of young coconuts. Most of us don’t have access to young coconuts to make our own, but we can make something almost as good using dried (mature) coconut and water. I prefer to use shredded coconut (I look for the untoasted, unsweetened version). Desiccated coconut will work too.
You’ll need a blender. (Only attempt to use coconut flakes if you have a top-of-the-range blender.)
In Australia, canned coconut milk is coconut and water. Canned coconut cream is just coconut with less water. Literally. Check the back of the cans next time you’re in the store. Coconut cream is 80% coconut, 20% water; coconut milk is 60% coconut, 40% water. If you do buy cans, choose the coconut cream (it’s usually the same price) and add your own water from the tap. No need to import extra water from overseas.
In the UK, coconut milk is around 50% water. Coconut cream in the UK is often really thick – it’s not that high in coconut either (less than 70%), it’s just full of gums and stabilizers to thicken it.
Did I mention those cans are usually lined with plastic, too?
Get yourself some shredded or desiccated coconut, and try making your own.
Ingredients:
- 300g shredded coconut
- 1 litre boiling water (and then another litre)
The amounts don’t really matter, more coconut will give you more cream. If you don’t have access to a bulk store and the bagged coconut is 200g, use that – it will be fine.
First Press: Coconut Cream
Boil the water in a kettle, pour over the coconut, and leave to stand for 30 minutes. (If your blender has a glass or metal jug, you can do this step in your blender; if not you may prefer to use a glass bowl or saucepan instead.)
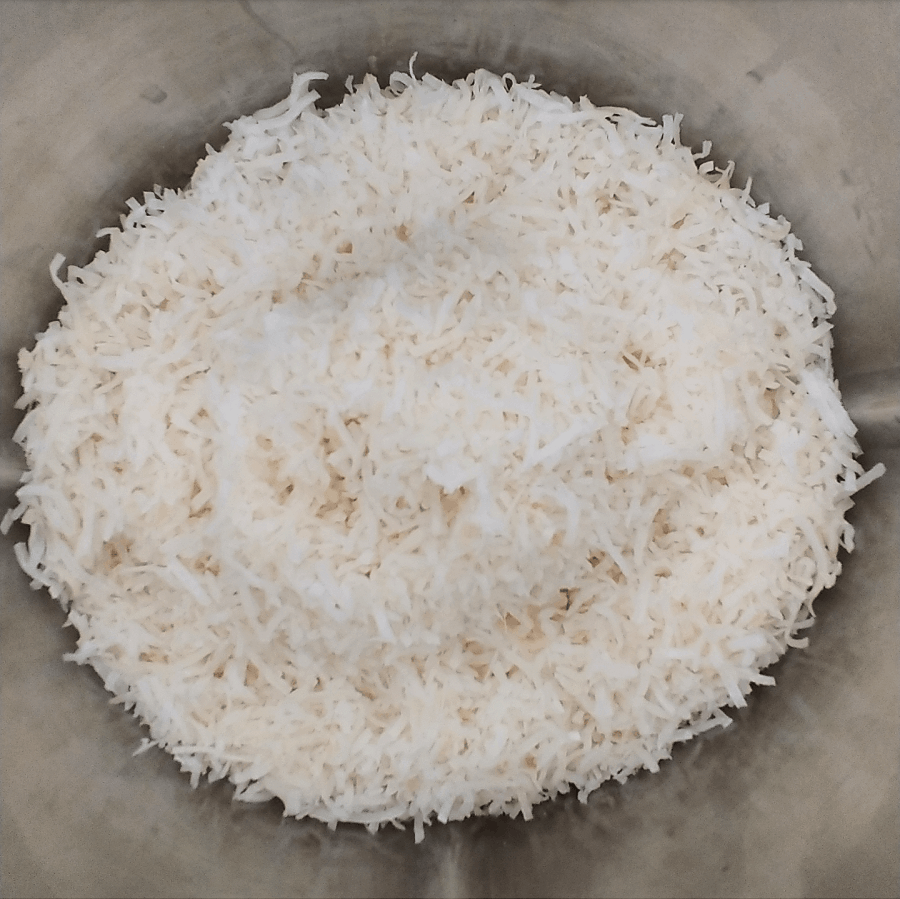
Blend the coconut and hot water until combined.
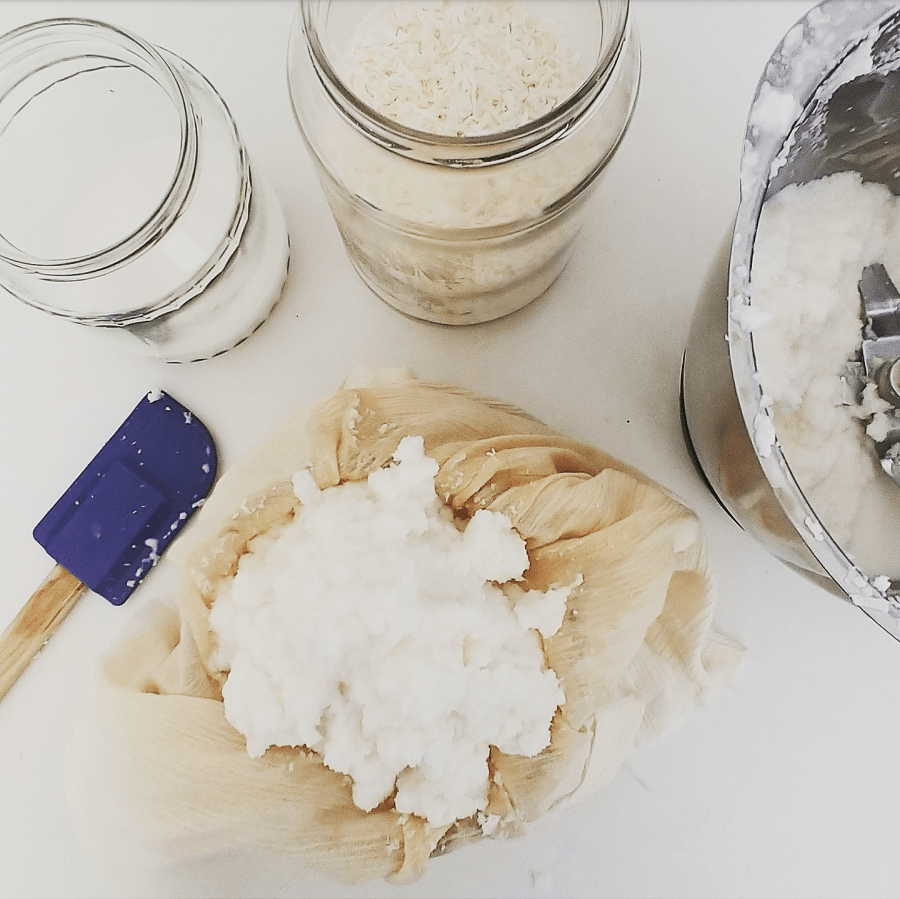
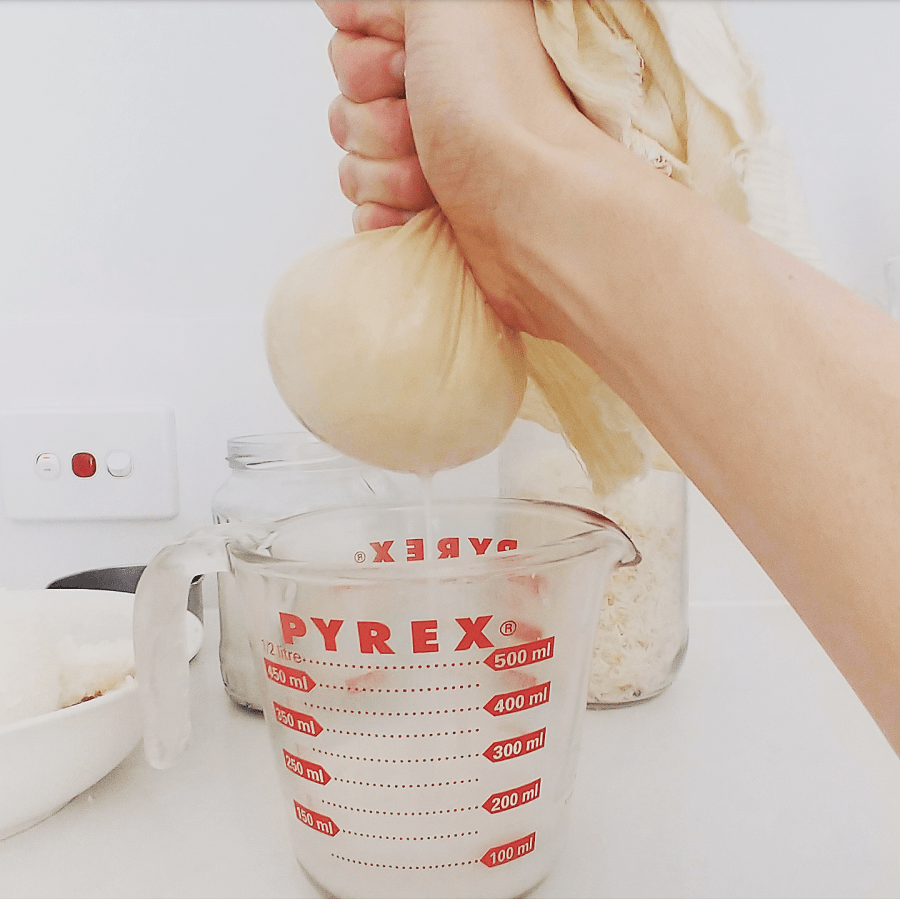
Strain the mix into a glass jug using cheesecloth or a clean tea towel to separate the pulp. Squeeze the cloth to ensure all the moisture is removed – you will want to allow the mix to cool slightly before you do this (or wear gloves!). Once you’ve strained every drop out of the pulp, pour the coconut milk into a glass jar, screw on the lid, and set aside.
Second Press: Coconut Milk
Now place the coconut pulp back into the blender, and add another litre of boiling water. Leave to sit for 5 minutes, and repeat the process. The second batch will be thinner.
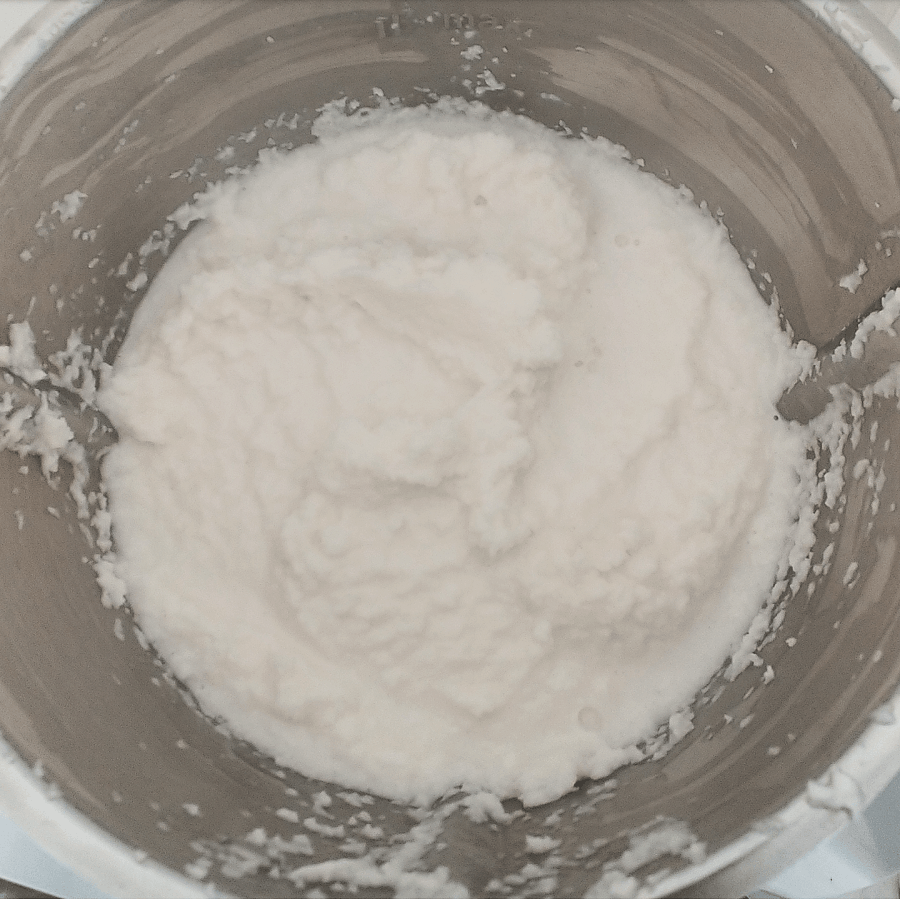
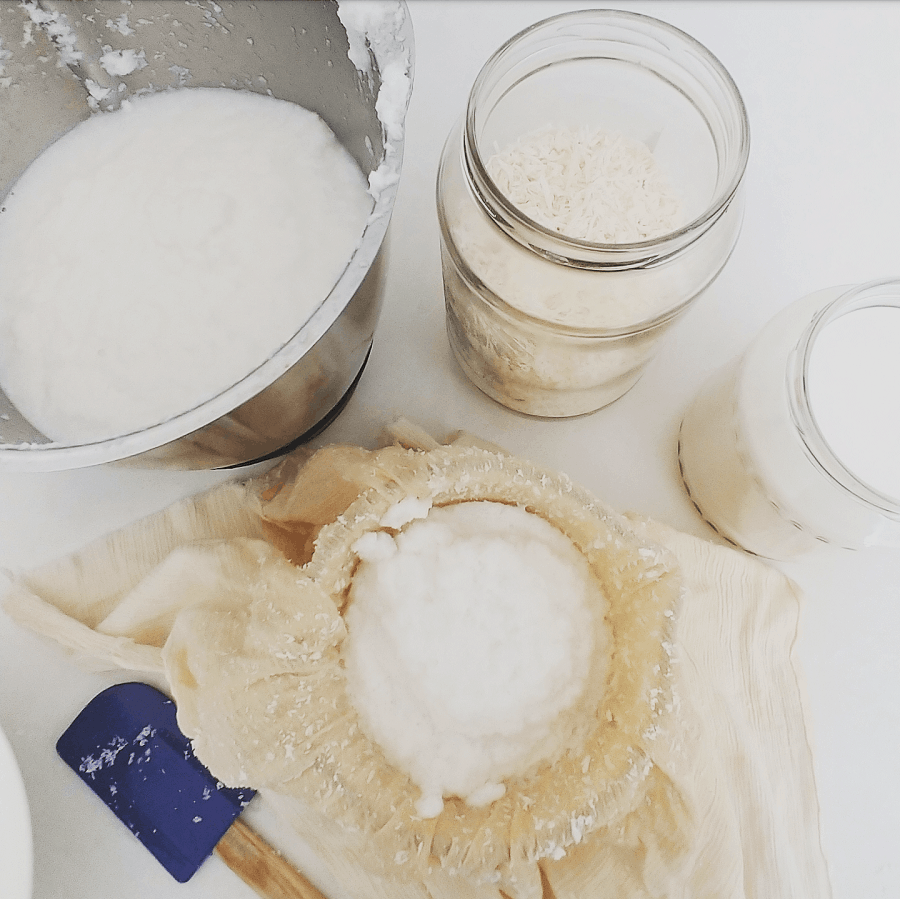
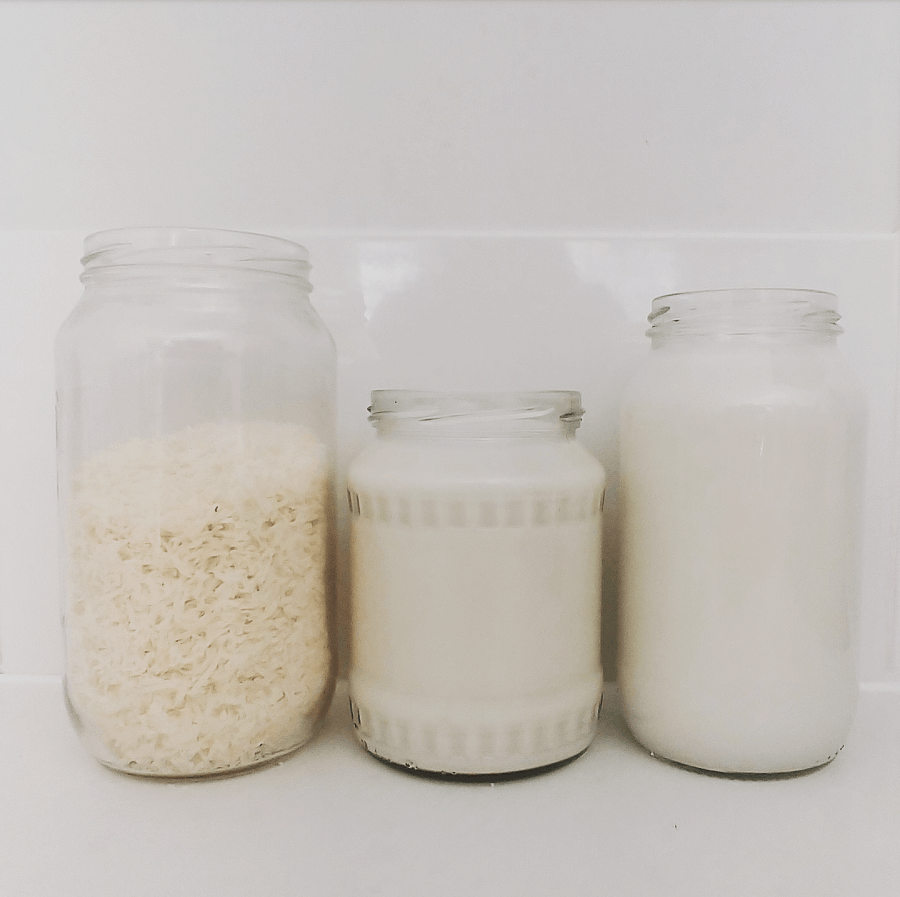
(If you want to squeeze every drop of goodness out of your shredded or desiccated coconut, you can repeat with a third litre of water.)
Place the jars in the fridge.
Once in the fridge, the solids will separate from the liquid. The first jar will have a thick, solid coconut cream layer. The second jar will have a much thinner coconut cream layer. (The third jar, if you did a third press, probably won’t have any coconut cream).
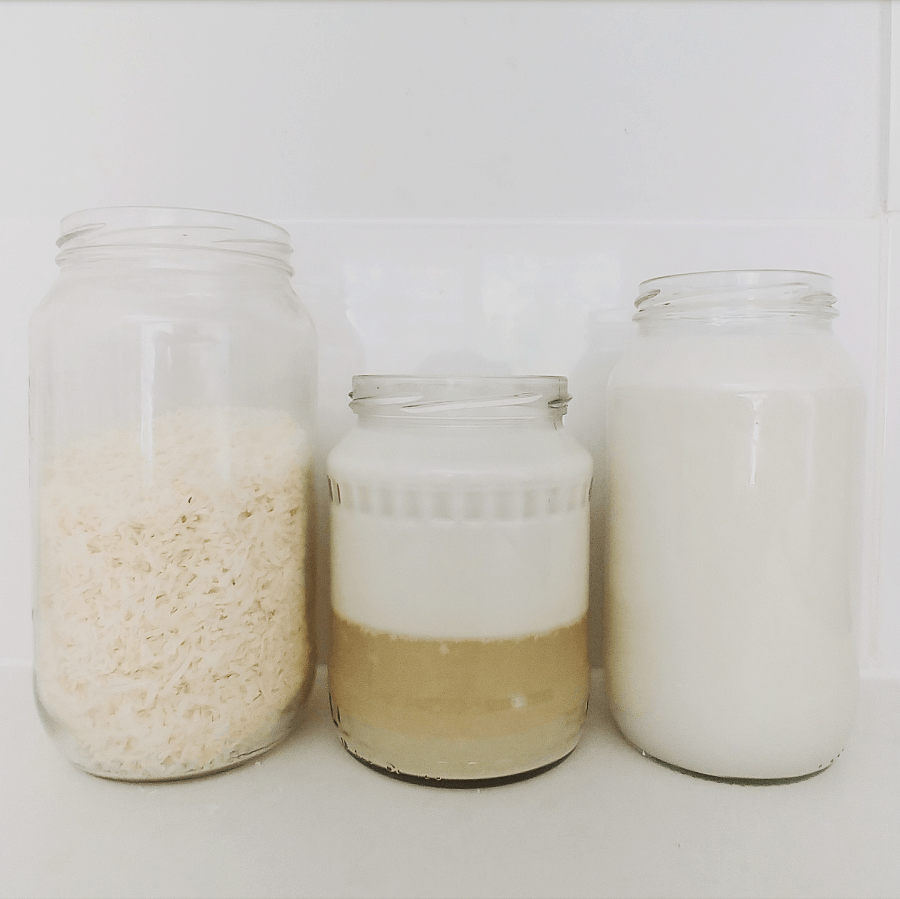
If you’d like to use the coconut cream, you can scoop off using a spoon. Alternatively, if you prefer coconut milk, you can warm the jar and shake to recombine, or empty the entire jar contents into a pan and gently warm the cream with the liquid to recombine when you’re ready to use.
The second batch is great for adding to smoothies instead of water, for cooking grains (quinoa, white rice or millet will absorb the coconut flavour), or adding to soups or dahl. It’s not as rich as coconut milk, but there is definitely some coconut flavour.
Coconut cream and coconut milk keep for up to a week in the fridge, an can be frozen.
You’ll also be left with a bowlful of pulp. This tastes a little like desiccated coconut, but with less flavour (you squeezed that out)! You can freeze this, or dry it out in the oven on a low heat for an hour or so. (Don’t put it in the pantry as is, because it contains moisture and will go mouldy.) Alternatively it will keep in the fridge in a container for a few days.
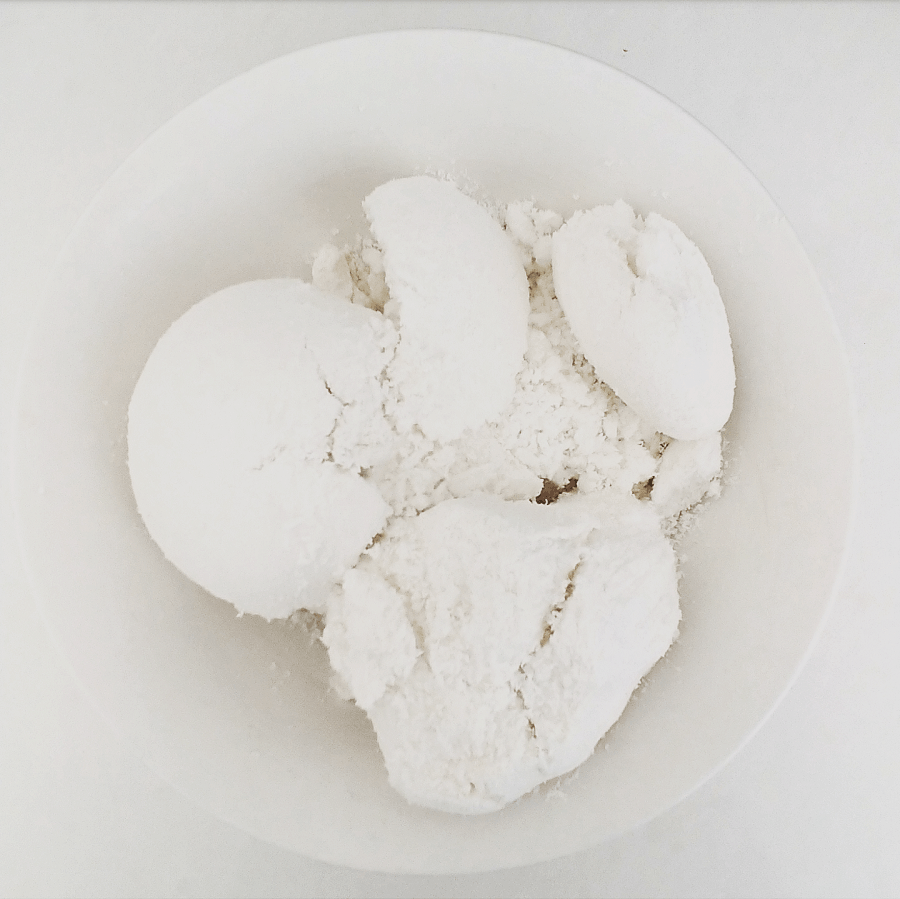
Add the pulp to porridge, smoothies or even curries to add some flavour and fibre. You can also bake with it: you can sub a small amount of desiccated coconut (up to half) for leftover pulp in baking recipes, or use in veggie burgers/patties. There are plenty of options!
Now I’d love to hear from you! Do you DIY coconut milk? Do you DIY any other milk, and if so how do you like to use up the leftover pulp? I’ll share my leftover pulp recipes another day, but if you have any great ones you’d like to share, I’d love to hear in the comments! Anything else to add? Let me know in the space below!


