
How to Make DIY Crackers, Zero Baking Skills Required
This recipe feels like such a non-recipe, I wondered about making it into a post at all. But then again, the reason it feels like a non-recipe is because it is so simple and easy – and who wouldn’t want to know about something simple and easy? I know I would.
Plus when I consider all of the crackers completely overpackaged in plastic being purchased every day, I think – we need to be talking about zero waste crackers every chance we get!
For the purists amongst us, these technically aren’t a cracker. The Italian name is crostino/crostini and in Australia we like to call them “crustini”. These names sound so much more exotic and exciting than calling them pieces-of-stale-bread-baked-in-the-oven, which is what, in fact, they are.
I told you they were simple.
Correct nomenclature considered, I still refer to them as a cracker. They pretty much serve the purpose of a cracker, whose entire function is to be able to carry as much topping from the dip bowl into the mouth without causing spillage.
If toppings can be piled on the vessel and the vessel can be eaten, it is a cracker.

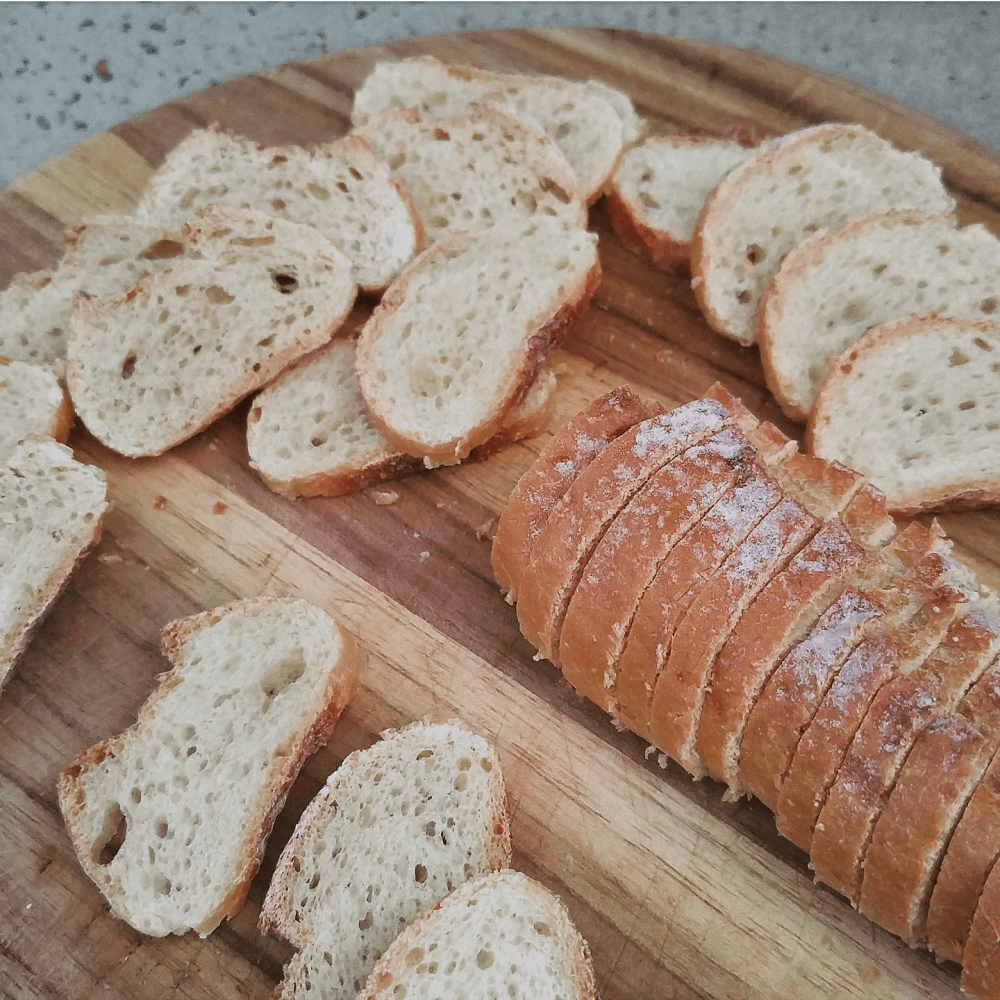
To make these crostini/crustini/crackers, you will need a French stick/ baguette. Of course you can make your own from scratch, but that is a whole other post.
Often baguettes can be purchased plastic-free from bakeries (a pillow case makes an excellent bread bag because these guys are loooong). If your local bakery still packages them up in plastic, consider if making crackers this way will reduce the amount of plastic you use overall. Crackers use a lot of packaging.
How to Make Crackers from a Baguette/French Stick
What You’ll Need
- A baguette, ideally 1-2 days old so that it is slightly dried out
- Olive oil
- Salt and pepper
Method:
Slice the bread into thins 1/2 cm thick using a bread knife. If the bread is fresh (you’ll know because it will squish easily as you cut it), it will benefit from being placed in the oven for a few minutes on a low temperature to help it dry out a little.
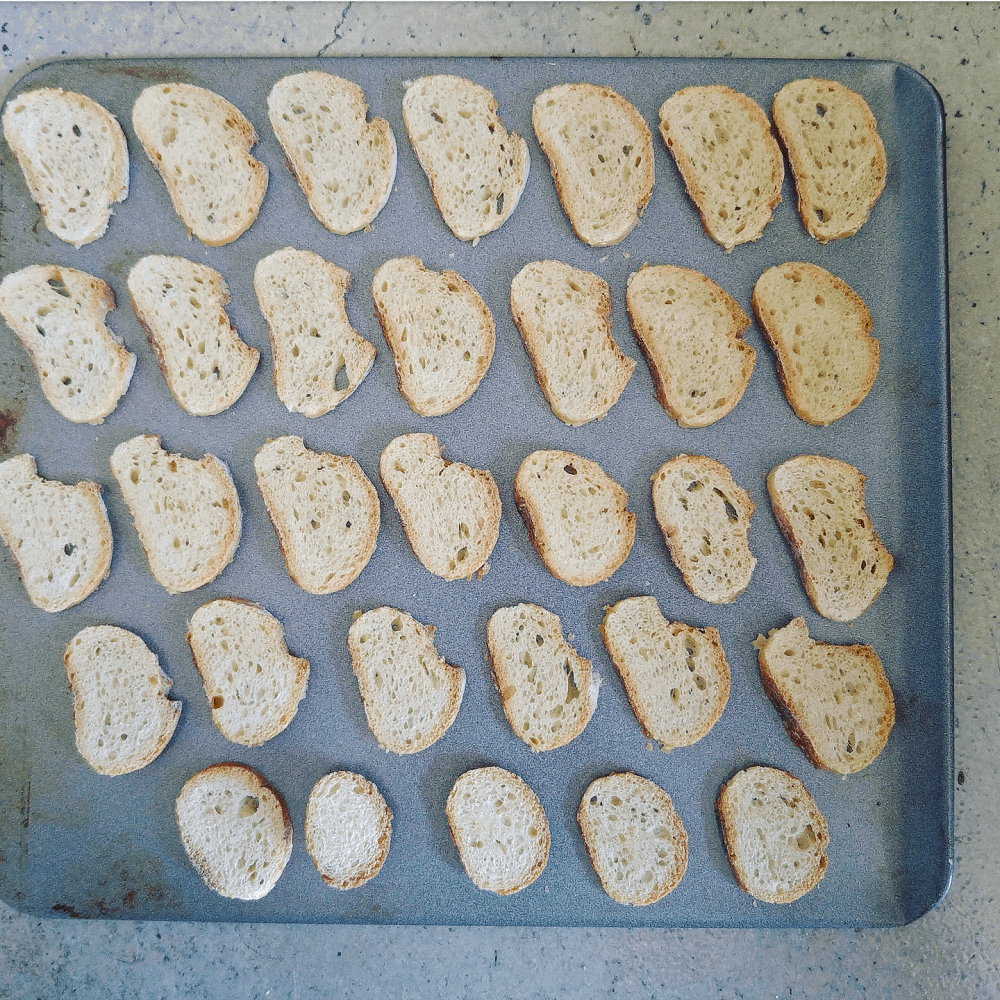
Lay the sliced thins out on a baking tray, drizzle with olive oil and grind a little salt and pepper over the top. The oil doesn’t need to be spread evenly, so don’t panic about being neat.

Bake in the oven at 160-180°C (350°F) for 15 minutes, then remove from the oven, flip over and bake on the other side for a further 10 minutes.
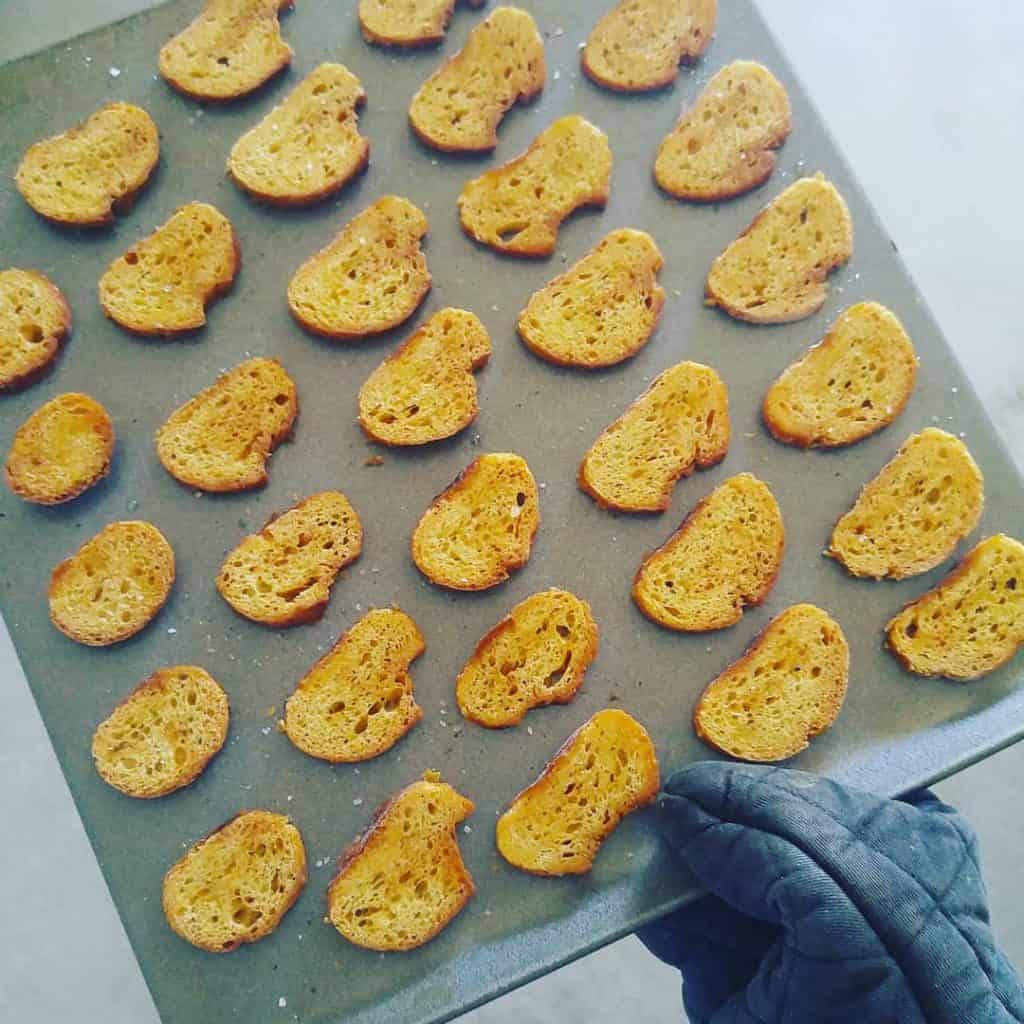
Cool on a cooling rack, then store in an airtight container (I use a tin).
They should last for a few weeks, but I’ve never been able to test this as they get eaten long before that.


No, they don’t last a few weeks. Not in our family either. More like five minutes. And it is just as easy to make them with any kind of bread. In our family we have four stages of bread, fresh, toasting, crackers, hen food. Because sometimes life doesn’t go as predicted. Just cut to whatever size you like to put toppings on before drying because if you try and do it afterwards you’ll have breadcrumbs. On which topic, horribly expensive panko crumbs are another words for stale bread dried in the oven and either run through the food processor or pounded in a mortar – I like to use the latter method because it’s actually nearly as quick, doesn’t make washing up, and gives a more even texture.
Well we are agreed about the timeframe then, Kathryn! I have a similar 4-stage system for bread, with breadcrumbs rather than hen food being the final one. Yes and I am always puzzled by panko breadcrumbs. They always seem to have a million preservatives in them, are packaged in plastic, very expensive and I still haven’t really figured out what makes them so different to regular breadcrumbs.
Thank you, Lindsay. So interesting, and I do enjoy your posts – look forward to them!
Thank you Margaret! :)
Thank you I am certainly going to try these. Finding it hard to find crackers with no palm oil as well as trying to cut plastic from my life.
Eve
Crackers are so problematic, Eve! If it isn’t one thing it is something else. Sigh. Well these are really simple and definitely plastic-free, just check with the bakery about palm oil. Good bakers shouldn’t use it. Supermarkets might.
Great idea, thanks. It worries me every time I buy a box of crackers how much plastic they use but am too busy to male crackers from scratch. These look perfect.
Such a simple but oh so great idea! My kids will love these plus less packaging yay! Definitely adding this to my Sunday food prep list thank you :)
Beth xx
Great post – this recipe looks super easy and awesome! I started on a journey towards zero waste in May of 2018 (still super new to this whole thing), so I love to find blogs that aim for the same thing. I will definitely be giving this recipe a try – thanks for sharing!
-Jenna ♥
Stay in touch? The Chic Cupcake