How I started a community street planting project

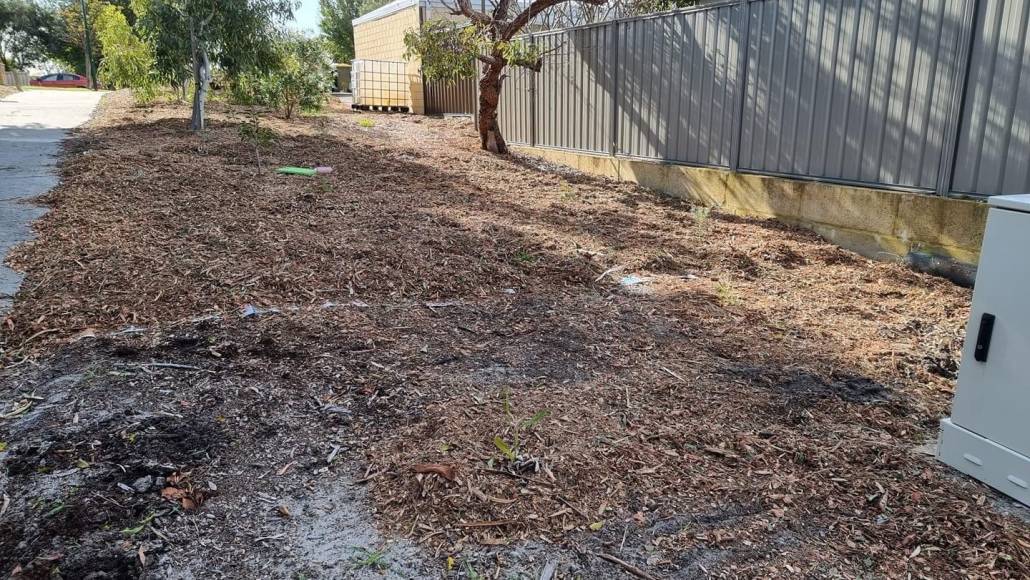
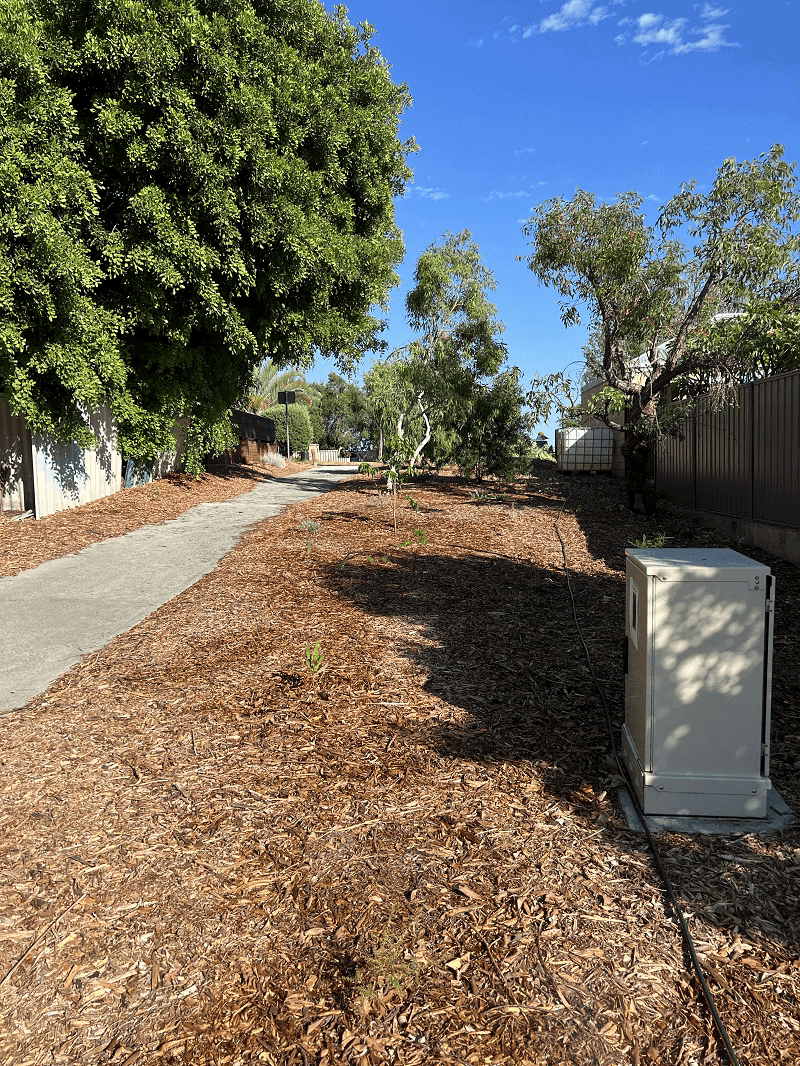
When I moved to the street where I now live two-and-a-half years ago, I immediately noticed the weedy strip of land at the end of it. My street is a cul-de-sac, but at some stage in the past it must have been a through-road to the street behind, because there is still a road-width strip. Now it features a couple of straggly trees, along with a footpath/bicycle path.

The length is about 20m, so it’s not an insignificant size.
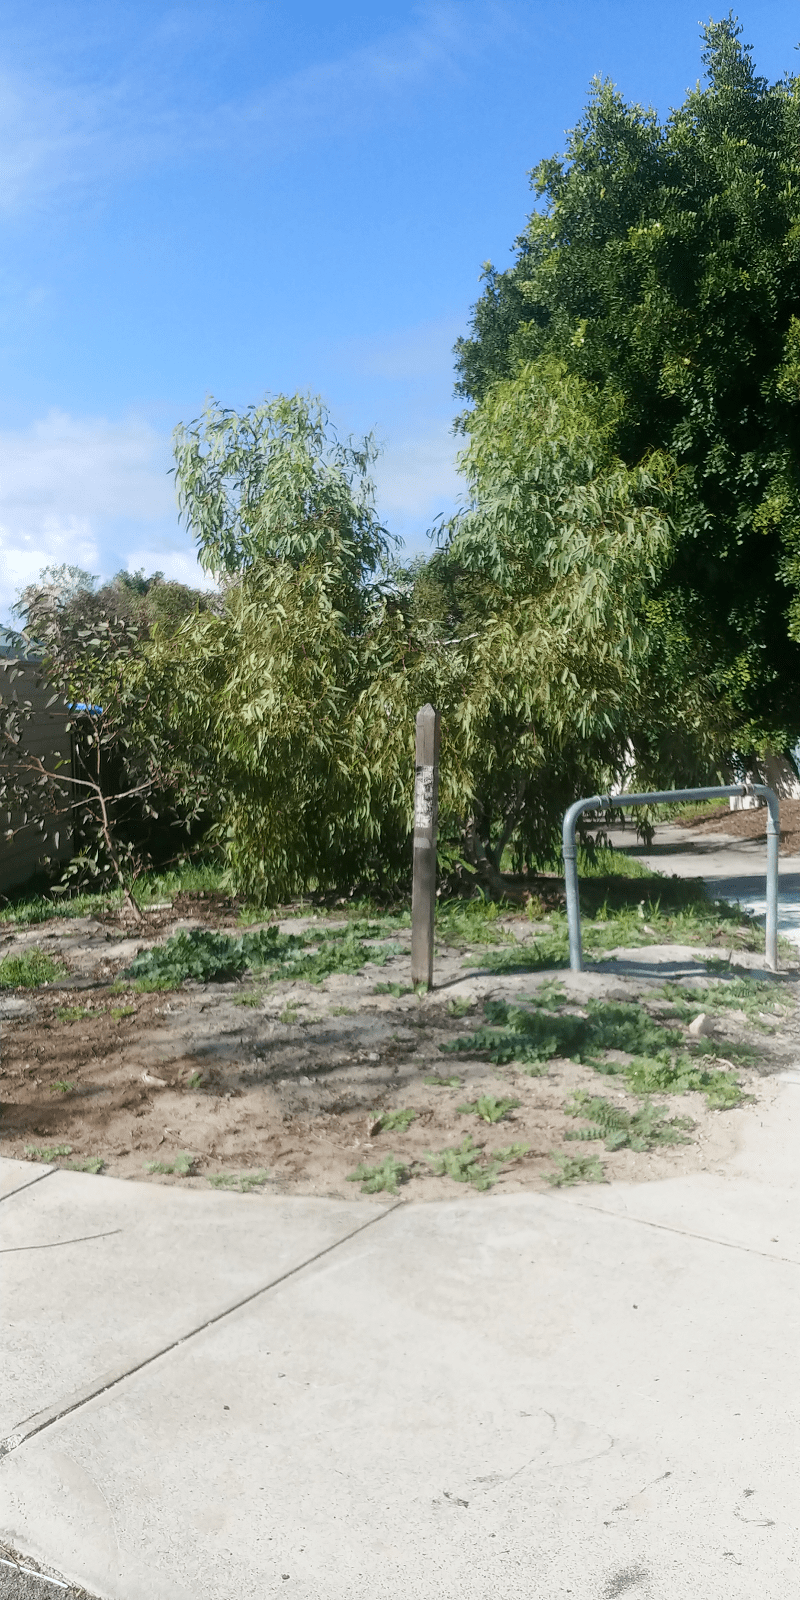
Pretty soon after moving in, I hatched a plan to clean it up and plant it out.

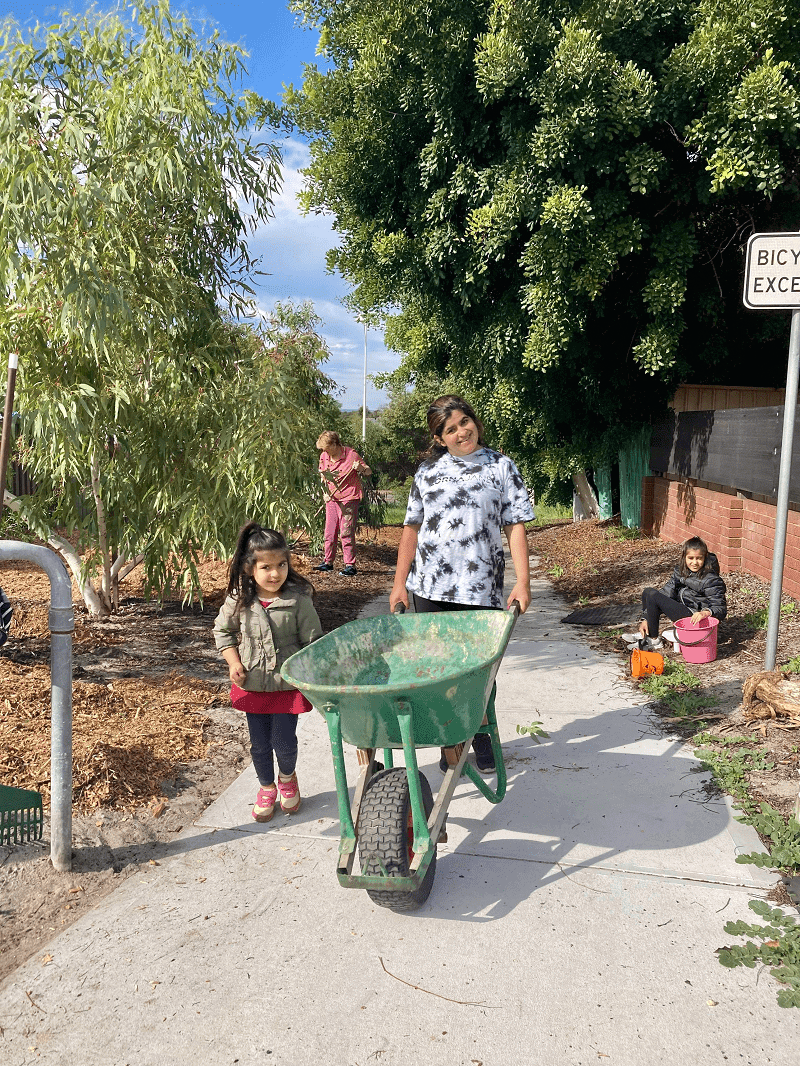
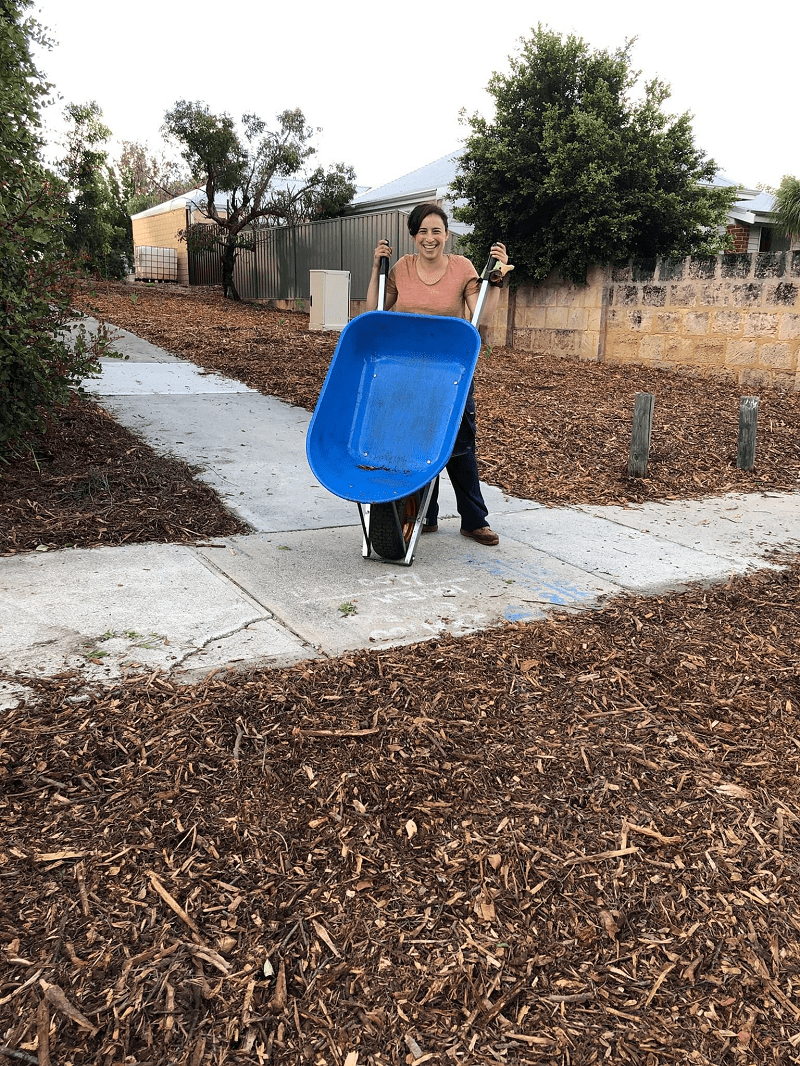
And now, with the plan in full swing, half the residents of the street involved, the land weeded, mulched, planted out and two-thirds of the tubestock we planted having survived the hottest and driest summer on record, I thought it was time to share.

As well as sharing some progress shots (it will still be a year or so for the truly glorious “after” pics!), I want to do is tell you about the project and the progress and the reasons behind some of the decisions that we made. Hopefully I can tell you about it in a way that will give you some ideas and direction if you’re wanting to tackle a project like this of your own.

Because the more guerilla planting, and making use of neglected urban spaces, the better!
Step 1, create a plan (even if it’s only in your head)

The first step was to figure out what would be the best and most practical way to transform the space.

I’m no stranger to projects like this, and I started a community fruit tree project at my old place, planting out 34 fruit trees on vacant land, which is still thriving even though I’ve moved away and don’t take an active role there any more.

But the two locations are a little different, and so there were different considerations.

One of the biggest limitations in Perth is the climate, in particular the harsh sun and the lack of rainfall all summer.

The reason the fruit trees worked at the other site was that they had access to water via the bore at the strata property next door (with agreement from the strata). So we installed reticulation at that site.

This site doesn’t have this option. There’s one adjacent neighbour and no bore. The current cluster of residents at the this end of the street have been generous with their loan of taps and hoses, but there is no guarantee they won’t move and the new residents won’t be keen.

Established fruit trees need some water, vegetable crops need heaps, but native plants can get by with minimal water, once established.

Water is one of the biggest limitations for garden design in Perth. But it isn’t the only limitation.

  • I had no idea how enthused people in the street would be about doing the work, so I wanted something that I knew we could do with a just a couple of people – or even myself.
  • I wanted a project that once it was planted out, was low-maintenance. No need to worry about pruning, or pests, or constantly replenishing the soil, or complex watering schedules (all things that need to be considered with fruit tree plantings or veggie gardens).
  • I wanted a project that was low cost and with low ongoing fees – maybe replacing a few plants here or there, but nothing more.

So that’s how the plan formed into this: native Australian plants with a few interesting bushtucker plants incorporated.

I toyed with the idea of a couple of olive trees because they are one of the few trees that will survive without to much water once established, but then I thought it would be more fun to keep it native.

And no olives means room for macadamias.

As for funding it, I came up with a brilliant (even if I do say so myself) idea – collect and cash in all the street’s beverage containers eligible for a 10c refund via Cash for Containers.

It also means that people who aren’t interested or physically able to do the gardening part can still contribute.

Step 2, tell everyone about your plan. More than once.

For the first year, whilst I was still forming the plan in my head, all I did was tell everyone in the street about the plan. At every opportunity.

Of course, no-one thought it was a bad idea. Even if they weren’t keen to do the actual work themselves, who is going to complain that you want to transform the weedy patch that gets sprayed twice a year with chemicals into something that is less of an eyesore?
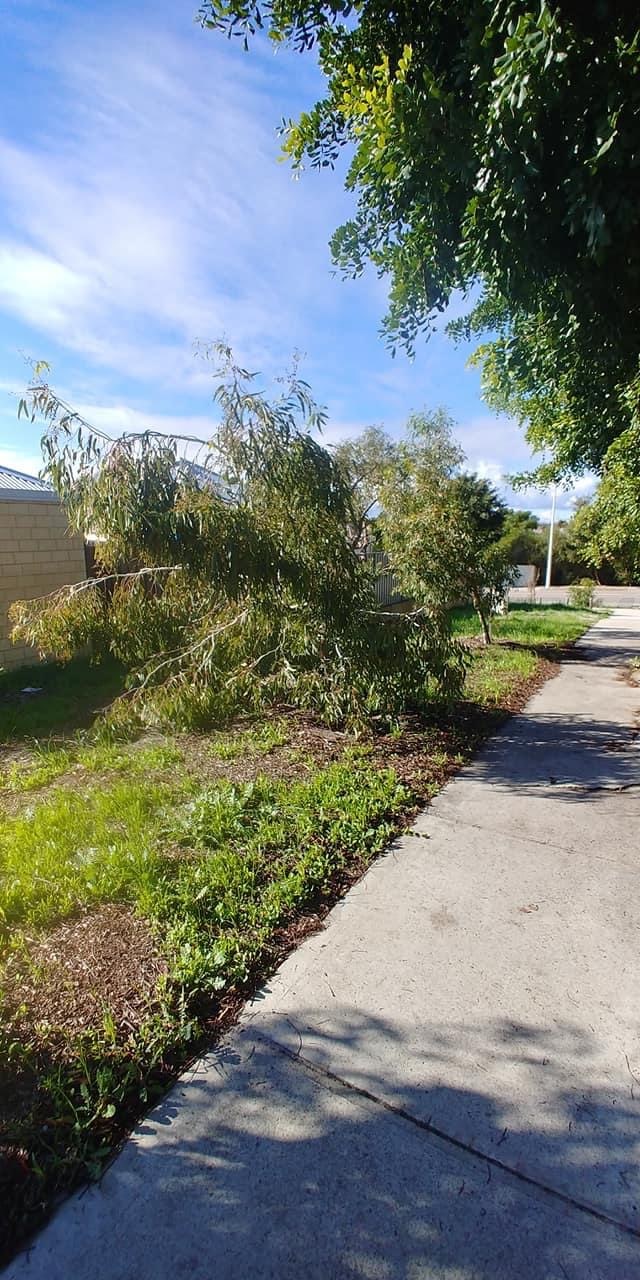
But chewing people’s ears off about the project was a good way to get the idea cemented that it was going to happen, and give people time to warm to the idea of helping.

There were two main questions I was asked.

The first was, “are you going to ask the council?” to which the answer was “no”.

There were a few reasons.

I subscribe to the idea of “ask forgiveness not permission” when it comes to projects like this. Plus I knew the council had a formal Urban Forest Strategy in place. This was exactly the kind of project they were wanting more of.

Having worked with them on the fruit tree project and understanding the steps we needed to take with that, I was fairly confident they’d be happy with this one.

Worst case they could demand we pull the plants we planted out and let the weeds regrow so they could continue to spray them with glyphosate twice a year. This seemed unlikely.

The other sticking point is that it seems that it is not actually council land. Because it was once a road, it’s likely it is road reserve (land kept aside for potential future roads) and owned by the state government, not the council.

(Our last project was also on road reserve.)

Plus, I didn’t really need to ask the council, because I didn’t need anything from them. We had a plan, we had funds for plants, we had labour.

The next question I was asked was, “why don’t we ask the council and see if they will contribute anything?”

I didn’t really see why we needed to do this as we already had everything we needed (and I hate “free” stuff for the sake if it). And I soon realised “why don’t we” meant, “why don’t you” – as in me, Lindsay. And I could not be bothered with more emails.

So I said to a couple of people who raised it, that if they’d like to they were more than welcome to.

No-one ever did.

Step 3, choose an action, set a date, tell everyone about it… and stick to it.

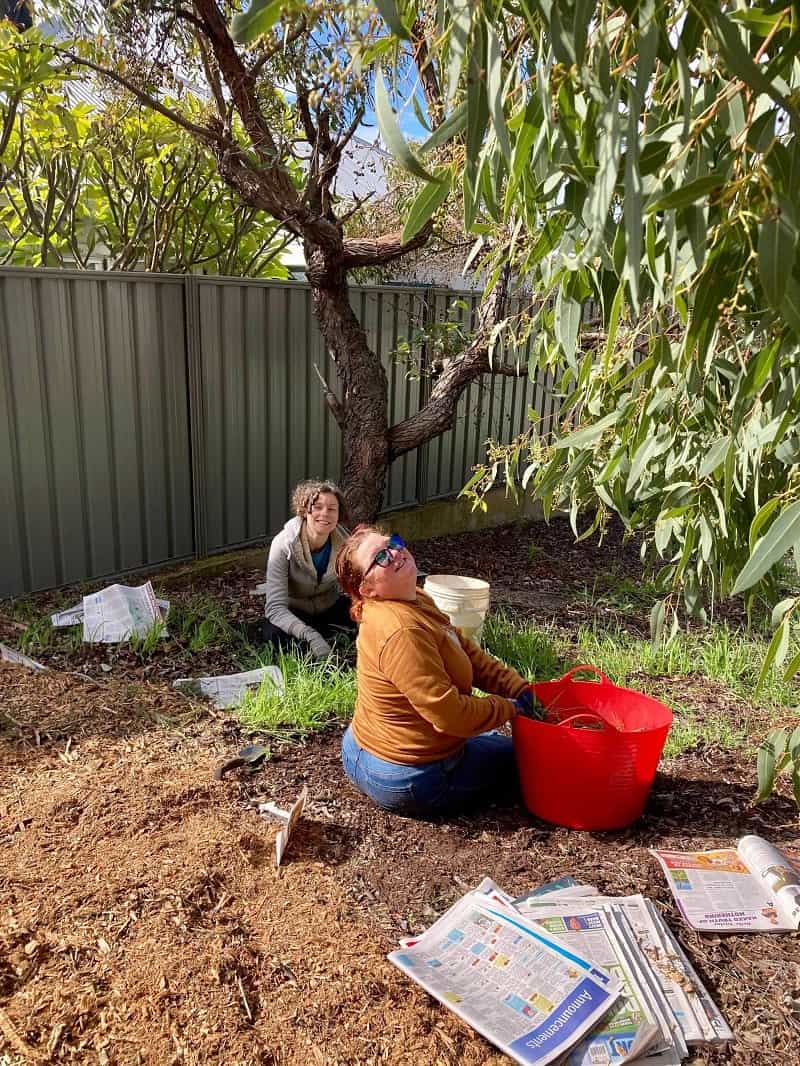
The first action we really needed to do was weed. It’s not everyone’s favourite job, but I quite enjoy it. So I chose a date, told everyone, and then showed up on the day. I was fully prepared to be the only one, but a good handful of neighbours turned out.
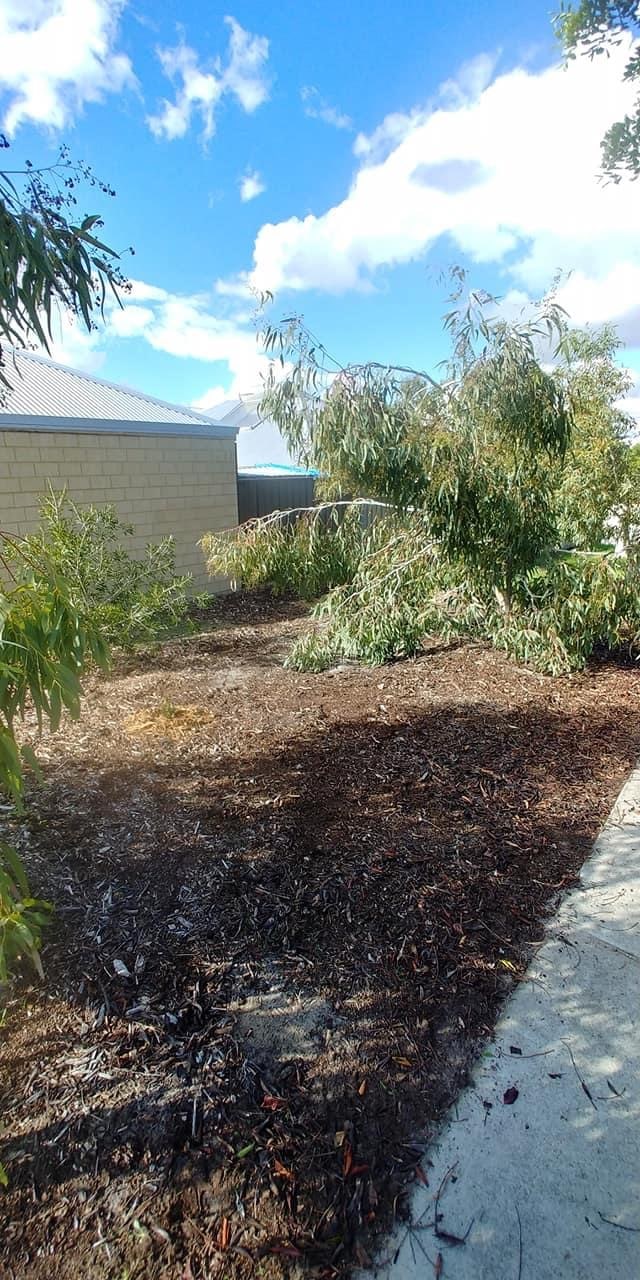
Progress had begun.

(I think if you’re the ringleader of a project, it’s important that you chose a date/time that you know you can make, that you turn up first and you stay until the end of the time you said you’d be there until, even if you’re the only one. Turning up yourself is the single best way to get others to turn up next time.)

Step 4, keep momentum going.

As soon as the first action was taken, the second one was arranged, for a couple of weeks time.

We have a street Facebook group which makes it easier to keep everyone updated, share progress pictures and create events.

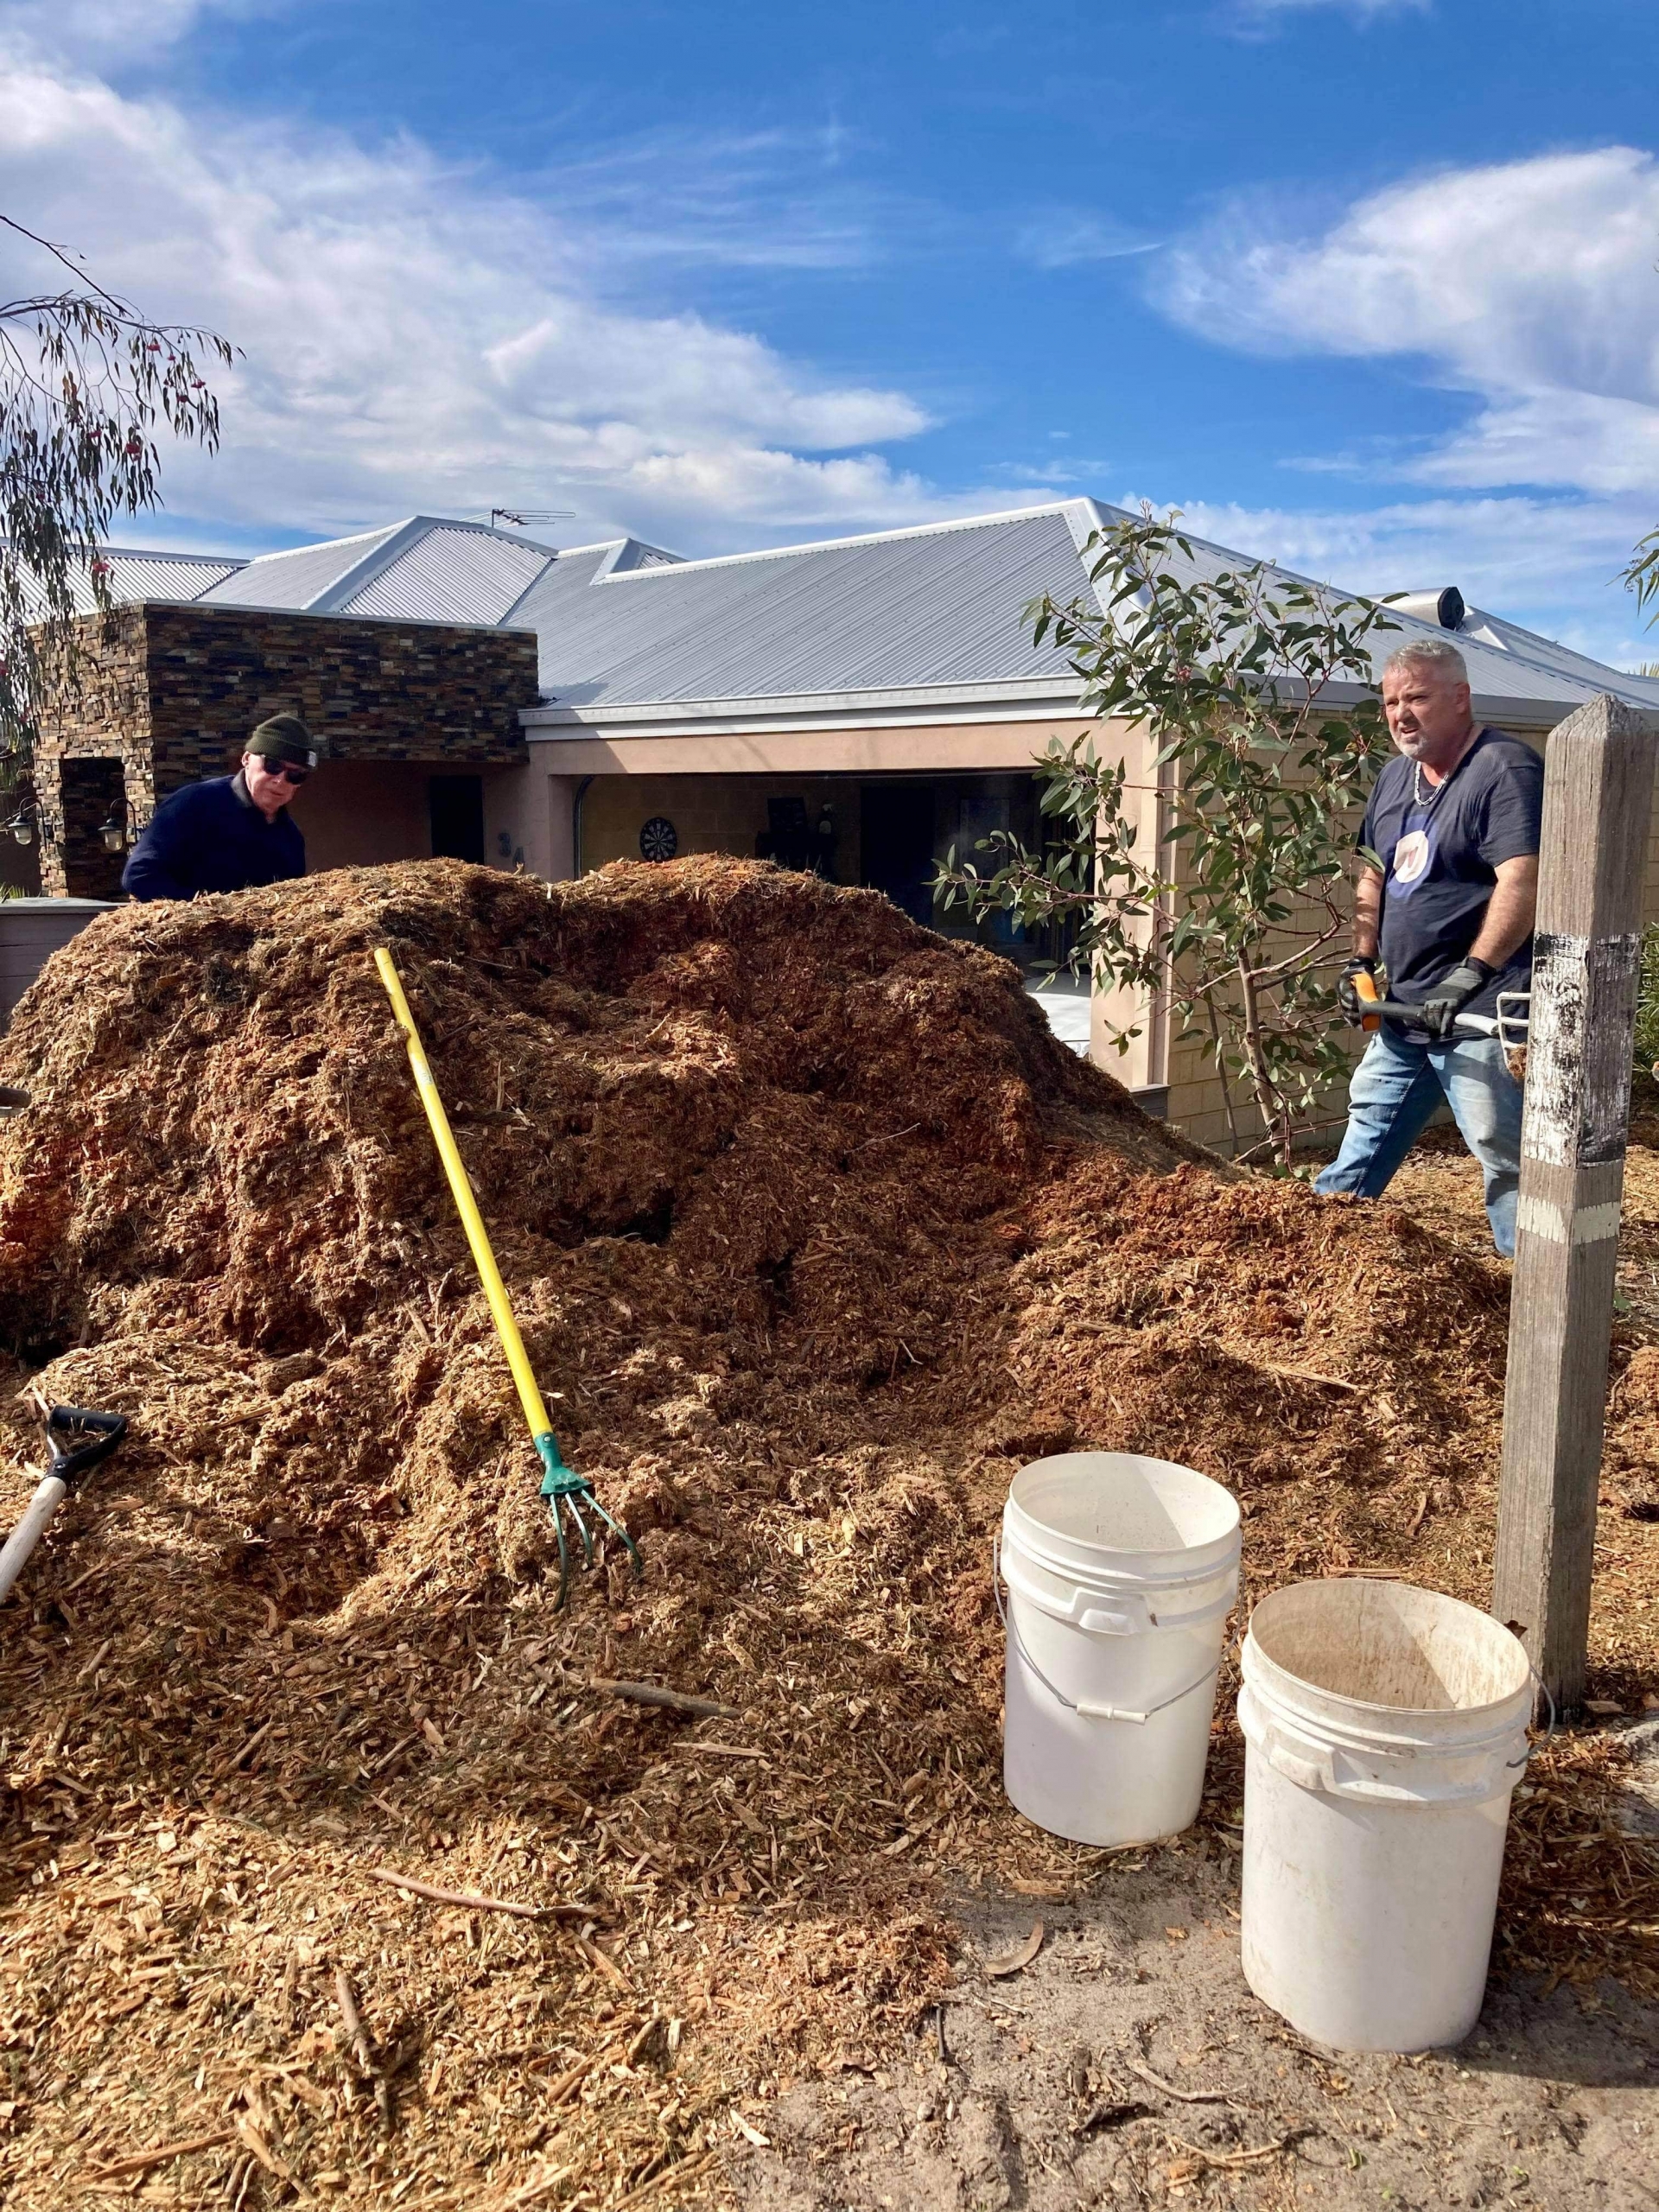
I ordered some mulch (via mulchnet.com – it’s free but you never know when it’s going to be delivered) and it arrived almost instantly.

And from there, things just snowballed.

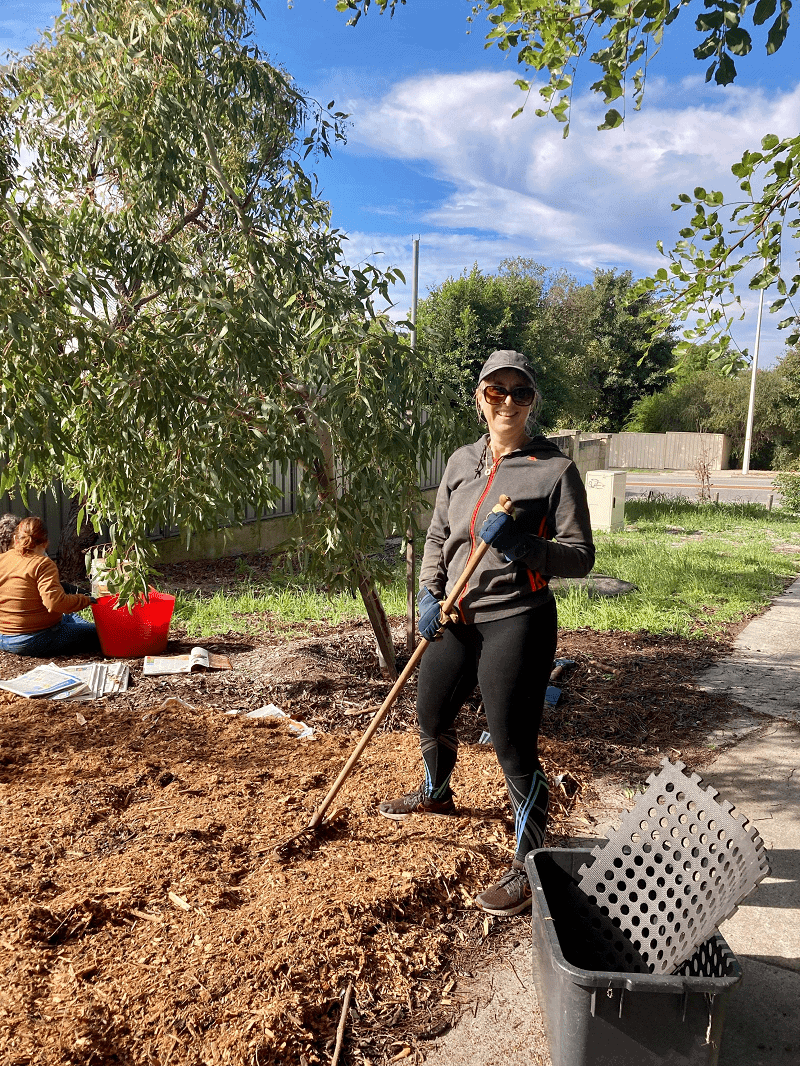
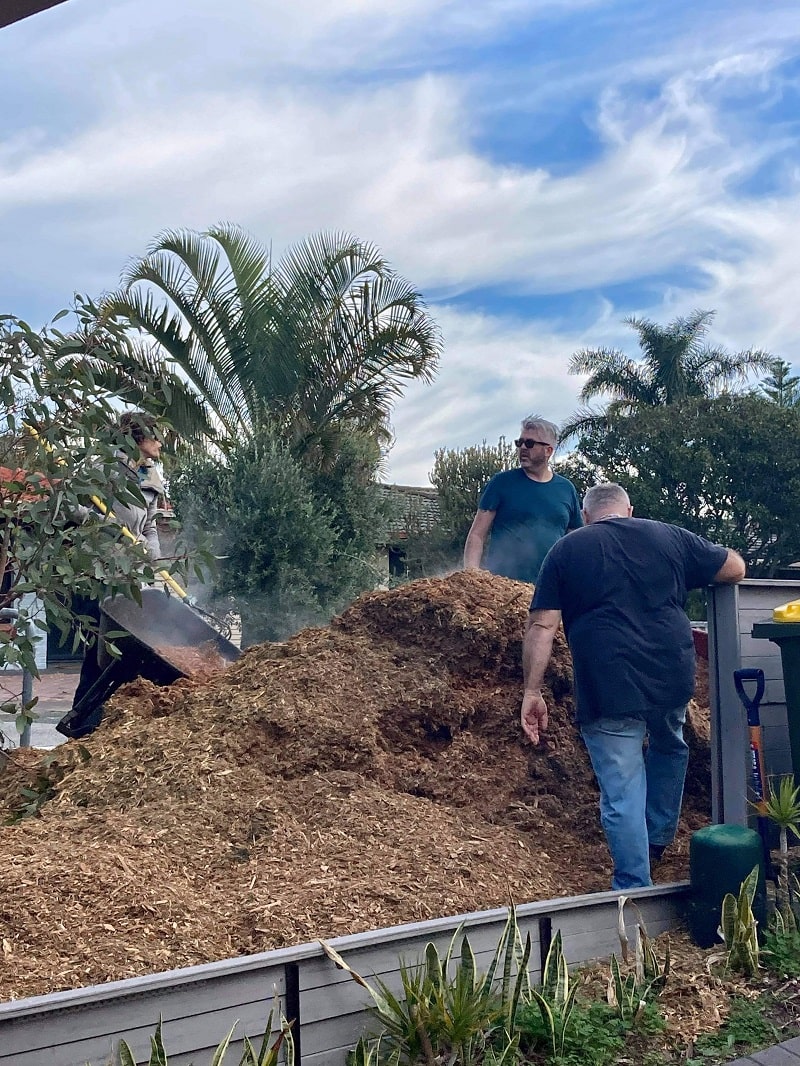
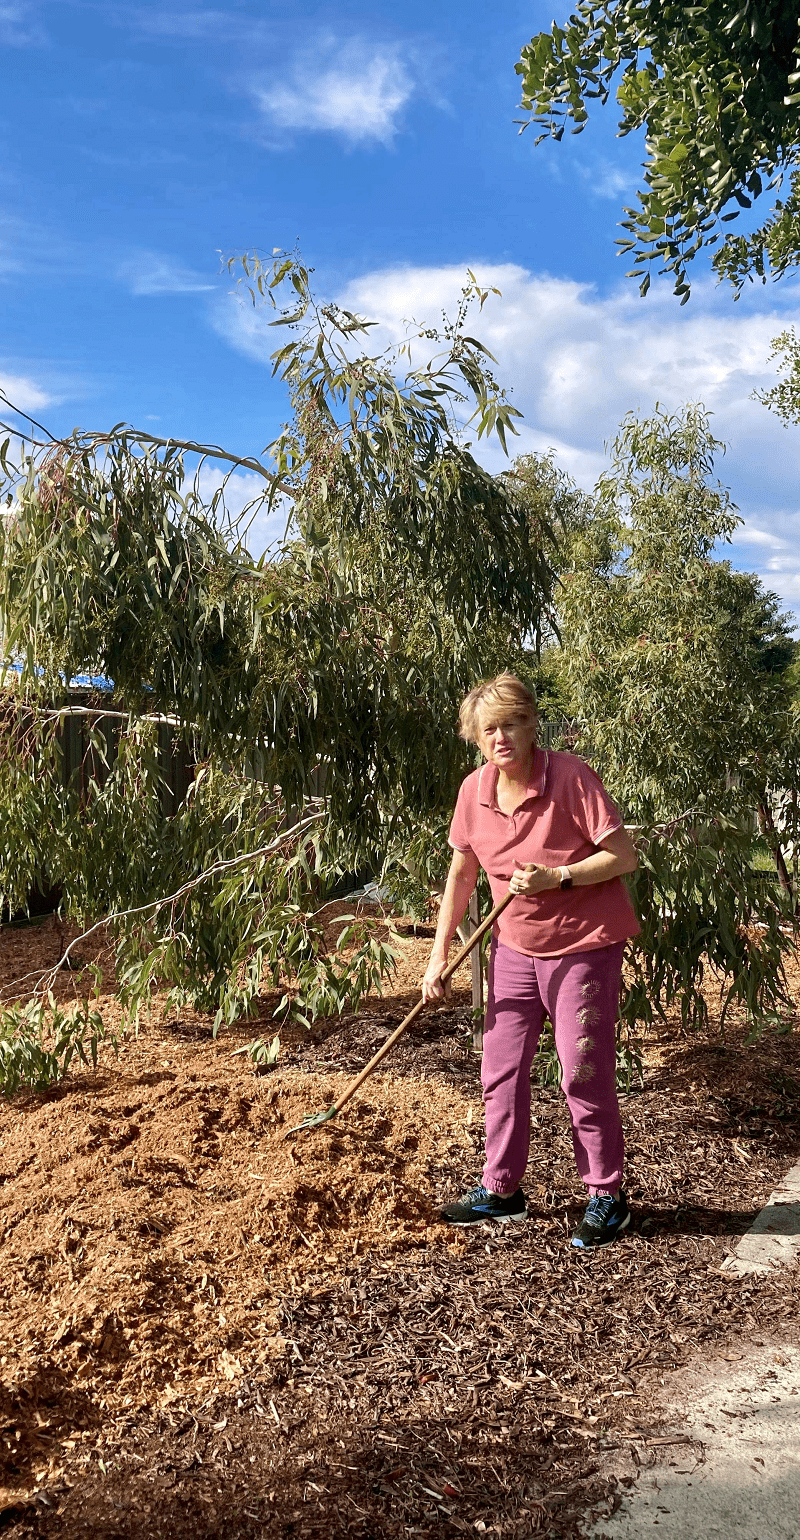
We organised a day to finish weeding, and get the weeded areas mulched.

People who couldn’t make the planned days did some weeding and mulching in their free time.

We ran out of mulch! So I ordered a second pile – which came as quickly as the first!

Next it was time to plant.
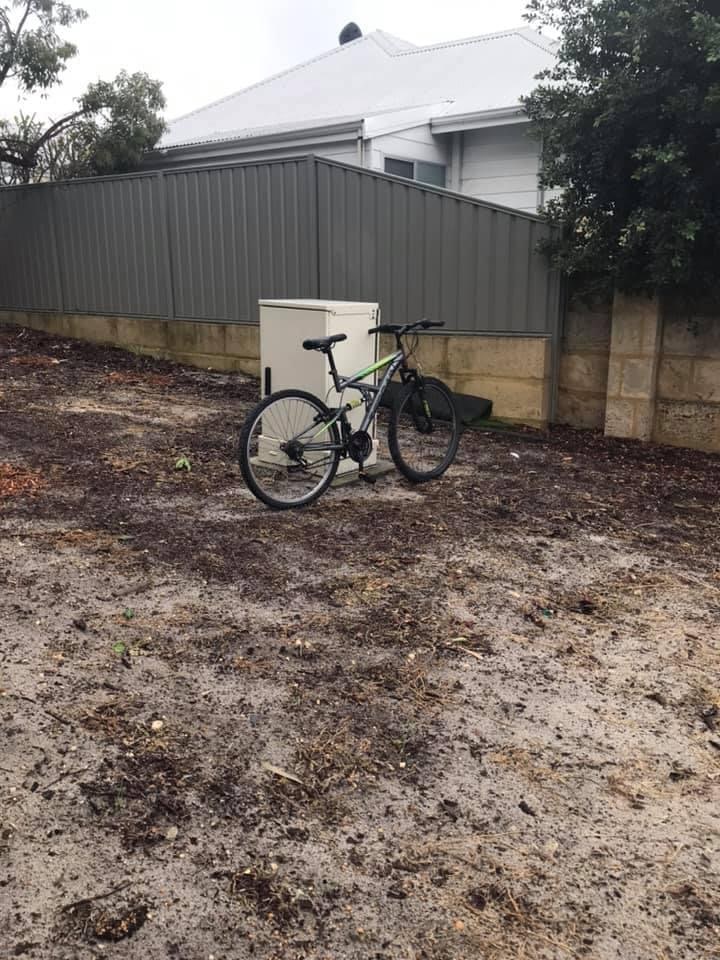
Our local council gives out free native tubestock once a year to households that register, and a few households on our street signed up, and then donated the plants for our project. Topped up with the natives we purchased with the funds raised from the Containers for Change scheme (we’ve raised over $500 from this!), we had plenty of plants to start the planting.

The initial plan was to plant out one half of the space the first year, but we ended up with enough to plant about two-thirds of the area. (The council, when they found out about our project, donated some leftover tubestock from two of their planting days, which helped fill in some gaps).

Step 5, maintenance (the least fun but most important part)

The fun part is the action – getting everyone together and transforming the space, and planting plants. But maintenance is what keeps it all alive. In summer, the most important thing to do is water. And then water some more.

As the plants get more established, there will be less need for hand watering, but the first summer it’s critical to keep things watered.

As you might expect, there was less enthusiasm for the watering part. If it wasn’t for the next-door neighbours who donated their hose and tap, and ended up doing most of the watering, I think we’d have a much lower success rate with the plants.

(That’s not to say they were the only ones. I marched up there with the watering can plenty of times, and also did hose duty There were others who did their bit too! But we had such a hot and dry summer this year – we are talking record-breaking temps and lack of rain – and they really held the fort with it.)

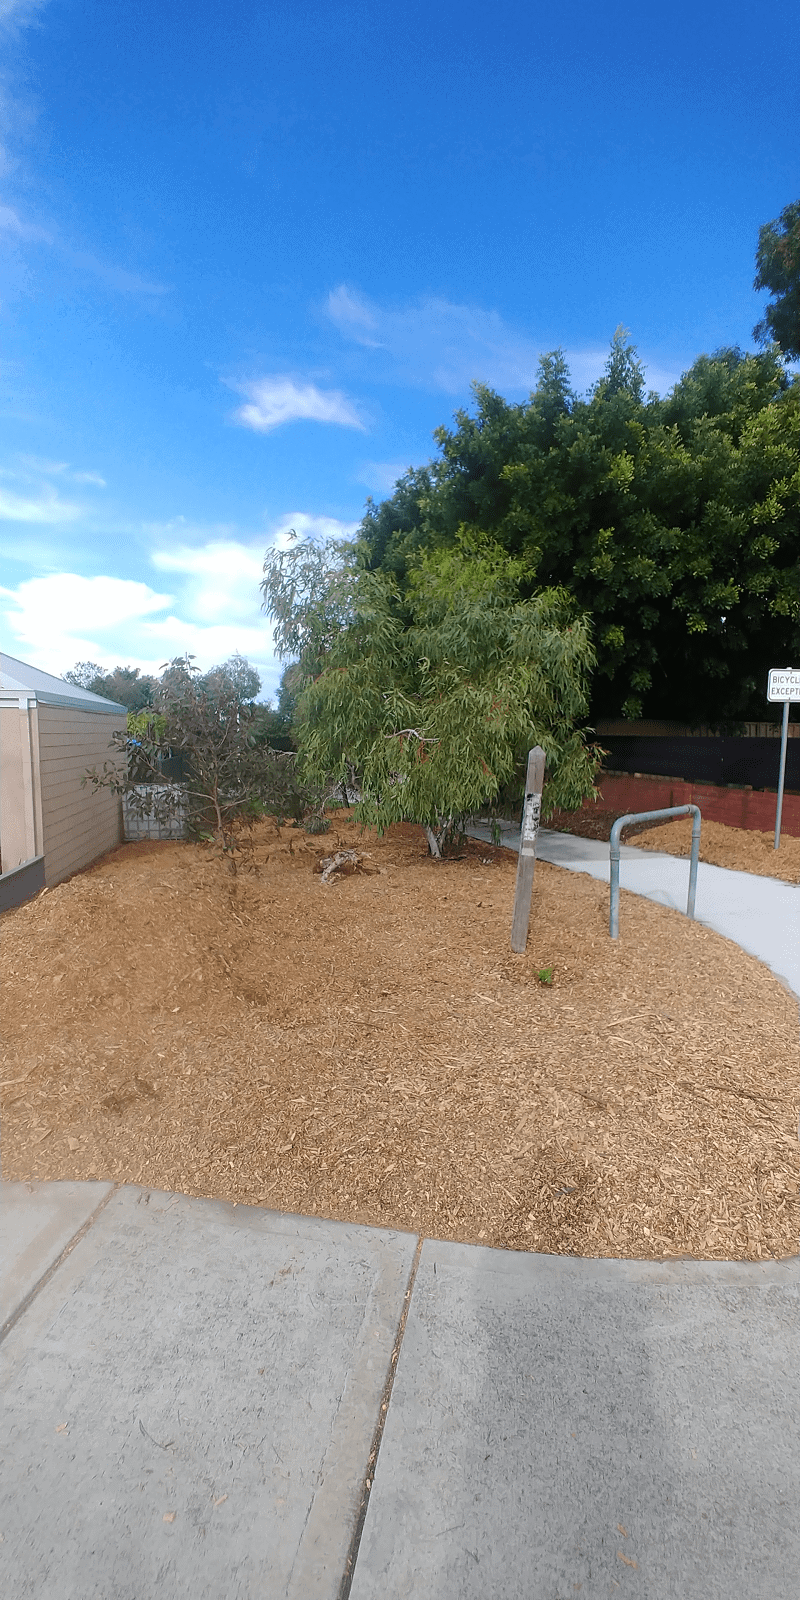
We have placed an empty IBC container on the space. Originally the plan was to connect to the neighbour’s downpipe, which would have helped in spring but would not have solved the summer watering problem – an IBC container holds 1000 litres, but that wouldn’t have lasted for six months of no rainfall.

The council have now offered to fill the tank with their watering trucks (the ones they use to water the street trees) which will mean it will be much easier to water in future years.

Step 6, plan the next steps

This winter, once the first proper rains start to fall, we will plant out the rest of the area, we will replace the tubestock that didn’t make it, we will order anther truckload of mulch to spread and we will keep on top of the weeding. (In summer there’s no weeds as it’s too dry. But once the rain starts…)

This will be when it really starts to take off, as the plants from last year will come into their own and it will be more plant cover and less woodchip cover.

And you might be wondering how the council are suddenly contributing, when I said at the start that we hadn’t contacted them?

We didn’t need them to start the project. But once the project was underway (and we had something to show them) we invited them to take a look.

And that was when we were offered the excess plants, and later on the agreement to fill the water tank. And they are looking into sourcing a couple of macadamia trees for us!

Of course we welcome their contribution, and are grateful for everything they’ve been able to offer us. But I’m still glad we didn’t speak to them before starting the project. It might have slowed things down. And it’s better that the people of our street feel ownership over the project.

It’s worked out well this way.

It’s now been almost a year since we first began the project. With the winter rains coming the transformation is really going to happen in the next few months.

This year I’m going to do a similar thing with my own verge (plant out with native waterwise species). Maybe it seems strange that I decided to tackle the community project first before my own back (well technically front) yard.

But there’s just something immensely satisfying in getting a group of people together and achieving something collectively as a community.

Keeping chickens: an Omlet Eglu Chicken Coop Review

This post is a collaboration with Omlet.

If there is one thing that’s unexpectedly brightened up my 2020, it’s chickens. Adopting chickens back in February was (probably) the best decision I made this year. These adorable, quirky little birds are just bursting with personality, and I really can’t imagine being without them.

And now I’m ready to improve my set-up and expand my flock.

Chickens like to be with other chickens… except when those chickens are new, or sick. In which case, chickens like to decide to demonstrate who is boss by mercilessly attacking the other chickens. (Eventually, a new status quo is established, but it’s pretty brutal in the moment.)

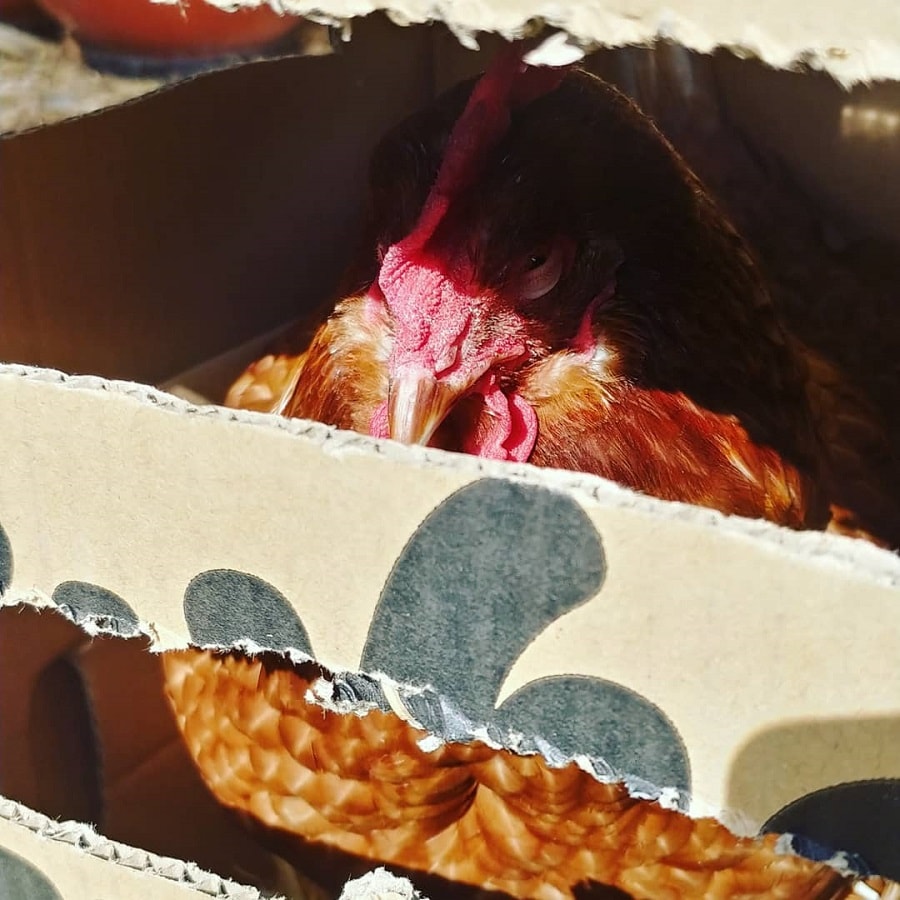
Back in February I started out with 4 chickens, but Billina sadly died of old age in September. She was sick off and on for the last few months, which involved quarantining (in a converted cardboard box in my office) and then reintroducing her to the flock a number of times – and in the space of just a week she’d go from accepted member of the family to UNPRECEDENTED THREAT.

Which was all a big drama for everyone.

And she wasn’t the biggest fan of the cardboard box (as soon as she started feeling better, she let me know).

The good news is, she lived out her very last days as a happy chicken hanging out with her friends, but it got me thinking about having a better future setup for new, sick, injured or possibly even broody chickens.

(Aside from the chickens-fighting-with-other-chickens factor, it is good practice to quarantine new chickens from existing chickens to reduce the chances of passing on diseases to one another).

Long story short… I decided a chicken tractor would be a useful addition to my setup.

A chicken tractor isn’t an actual tractor, it’s a moveable chicken coop lacking a floor. They are called tractors because the chickens dig up the top layer of soil – and then they can be moved to another area with fresh grass and bugs to eat.

Chicken tractors are often a rectangular or A frame design, with a shelter/house section. They are are great for:

  • Quarantining sick, injured or new chickens;
  • For mumma chickens to raise their baby chicks;
  • To allow chickens to graze a particular patch of garden whilst stopping them get access to those bits they are not supposed to be grazing (like the veg patch).

They can be used as temporary or permanent accommodation for chickens, depending on how often the tractor is moved, or whether the chickens are also allowed some free-ranging time and space.

Traditionally they are made of wood and wire, I’ve also seen some made entirely out of metal – and then there’s the Omlet options, with the houses made out of plastic and the runs made out of metal mesh.

Why I opted for an Omlet Eglu chicken tractor

There are a few reasons why I prefer the Omlet option over the other options.

  • Omlet make modular products, which gives them flexibility. My chicken tractor is an Eglu Go UP, which means the house is raised off of the ground – but it can be removed from the frame for ground dwelling. This makes it suitable for chicks (who are too small to climb up stairs), and also quail… and even rabbits. Being modular, it can also be dismantled for storage.
  • You can add components or remove them according to your needs, such as extending the run, or removing the wheels, or adding handles. They also sell spare parts – something I always check for.
  • The plastic house part is insulated, which makes it more suitable for the Perth climate than a metal house, which could bake the poor chickens.
  • It also packs down reasonably easily. Whilst I wouldn’t say it flatpacks, it is easy to disassemble for storage if required as opposed to a rigid structure that’s moveable – yet also permanent.
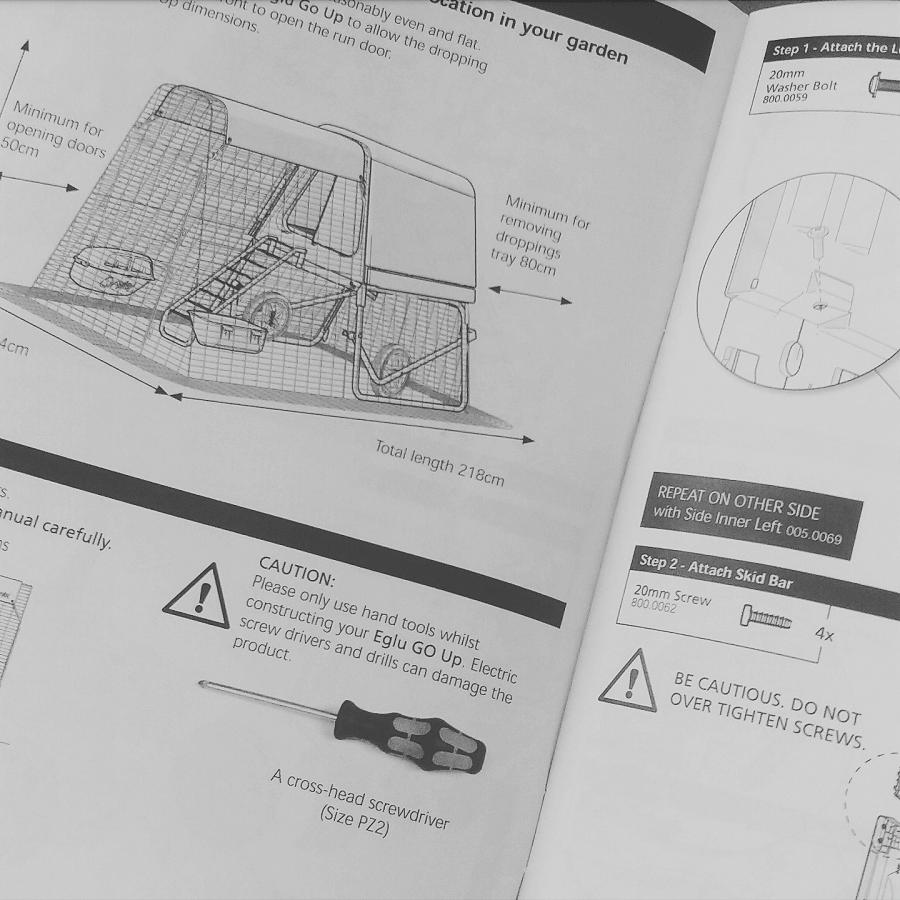
  • You only need a hand-held screwdriver to assemble – hurrah! I have zero DIY skills to build a wooden A frame chicken tractor. (I do feel a bit of shame about this, as I’d love to be some kind of handy upcycler, but it is not me. I would have no idea how to start putting one together from scratch.)
  • Being plastic, the Omlet is super easy to clean and completely weatherproof. Wooden chicken coops get covered in poop, and wood is not easy to clean. If I’m using it to quarantine sick birds, this is not ideal. Wood also needs to be treated every year to stop it deteriorating. And wood can harbour red mite – a chicken pest.

Omlet Eglu Go UP – a review

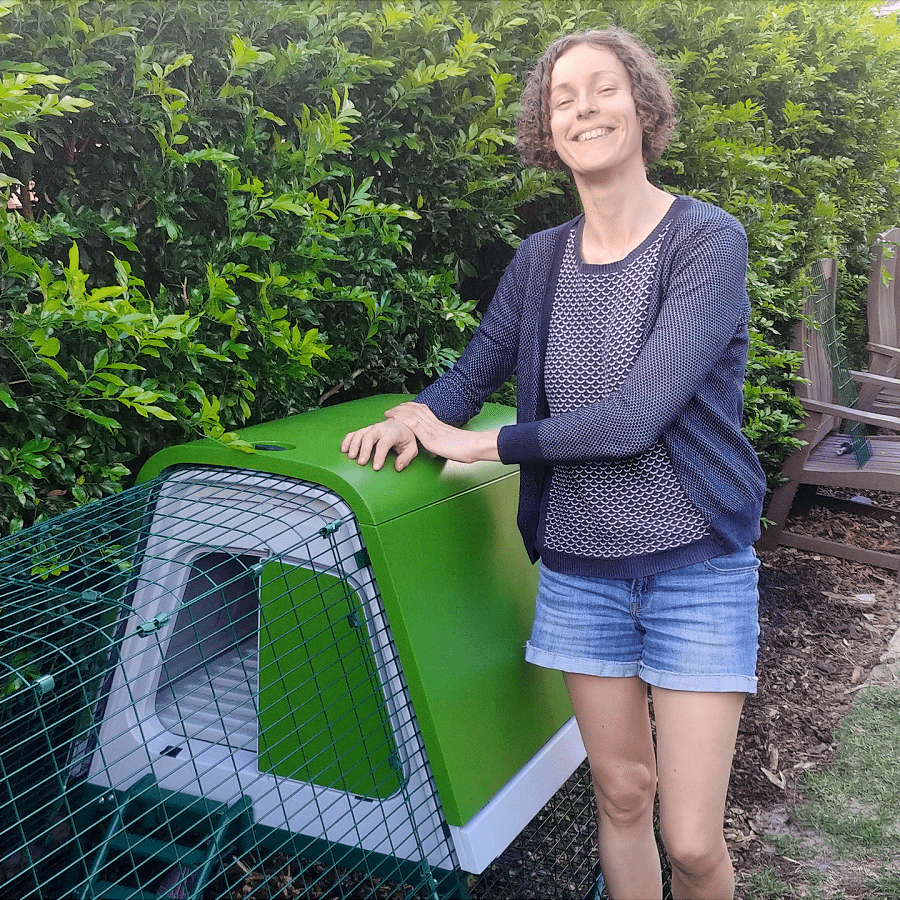
Omlet sent me one of their Eglu Go UP chicken coops to review, and also provided me with a 10% discount code to share with you (the code is TREADING10) – which will work on their Australian, UK, Irish and USA sites.

Omlet have three different chicken coops:

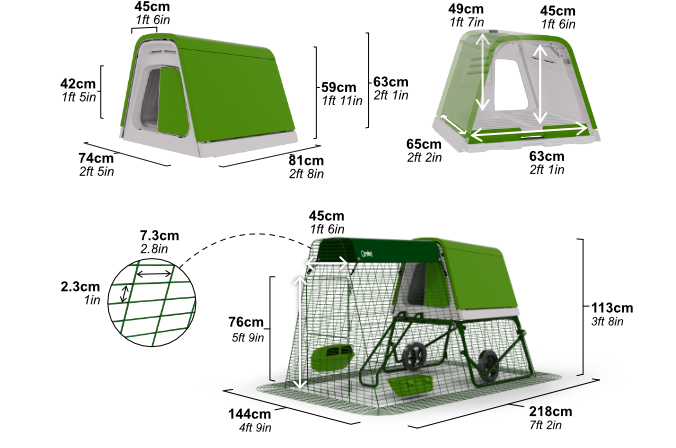
  • the Eglu Go: the original Omlet chicken coop which sits on the ground and is attached to a fox resistant run. Can house between 2 and 4 chickens, depending on the size of the breed.
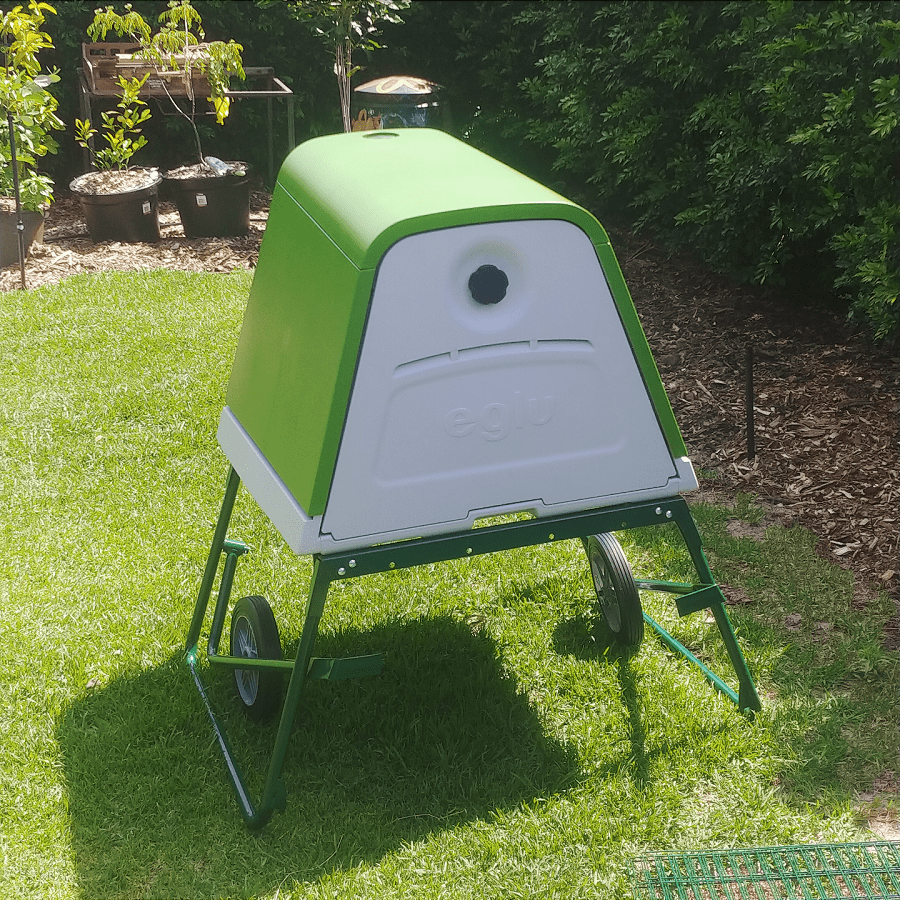
  • the Eglu Go UP [this is the one I chose]: the same Eglu Go house, but raised on a frame (it’s accessed by a ladder) which allow the chickens to go underneath.
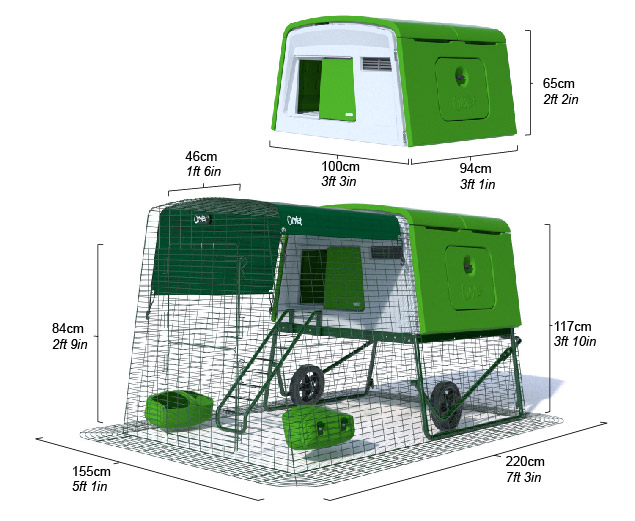
  • the Eglu Cube: a bigger and squarer chicken coop, also raised on a frame – big enough for 10 small chickens, but too big for me and my needs.

I chose the Eglu Go UP because Perth is a hot climate, and the space under the raised house provides a nice shady spot to dust bath. Also, by raising the house off the ground, and allowing the chickens to roam underneath, the same roaming space has a smaller footprint, making better use of the space and takes up less garden.

What I love about the Omlet design though, is that if I changed my mind later on, I could simply take the house off of the frame, and place it on the ground. (I’d need to modify the run to make it compatible with the house – and close the gaps, but that’s not too hard.) I’ve thought about getting quail in the future, and the Omlet Eglu Go is ideal for quail when placed on the ground (they don’t do ladders) and with the perch tray removed.

Setting up the Omlet Eglu Go Coop

Predicted setup time (according to Omlet): 30 mins; actual setup time (according to me): 50 mins.

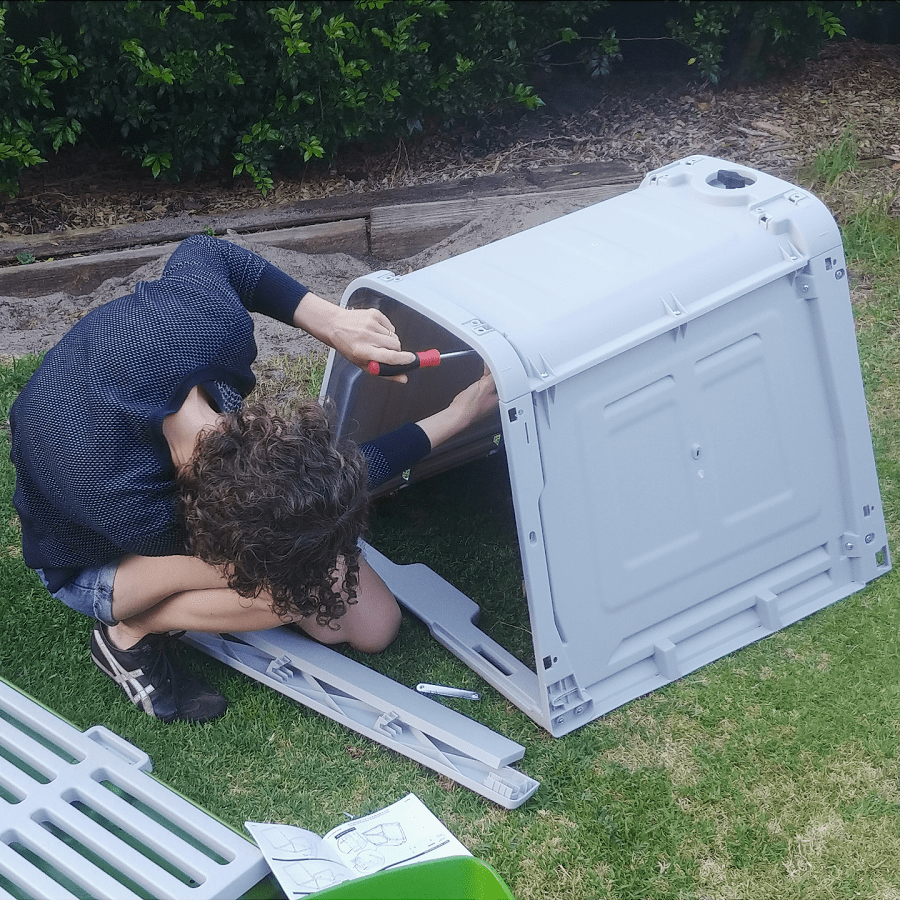
Tools required: a handheld screwdriver.

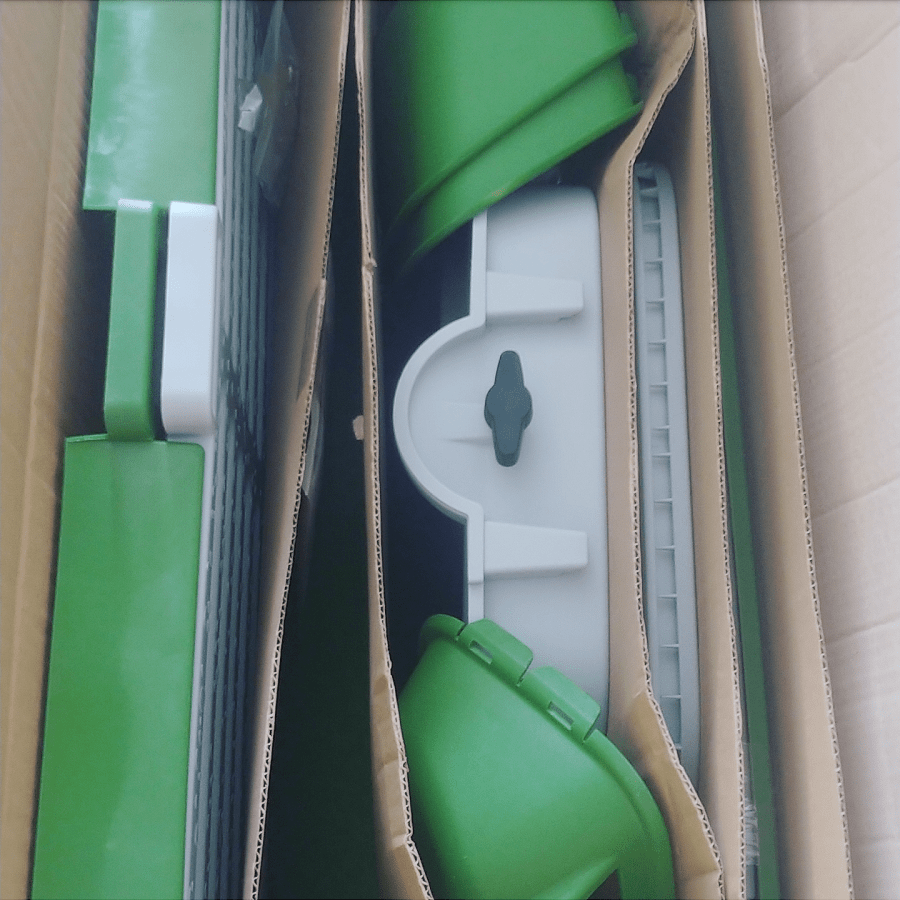
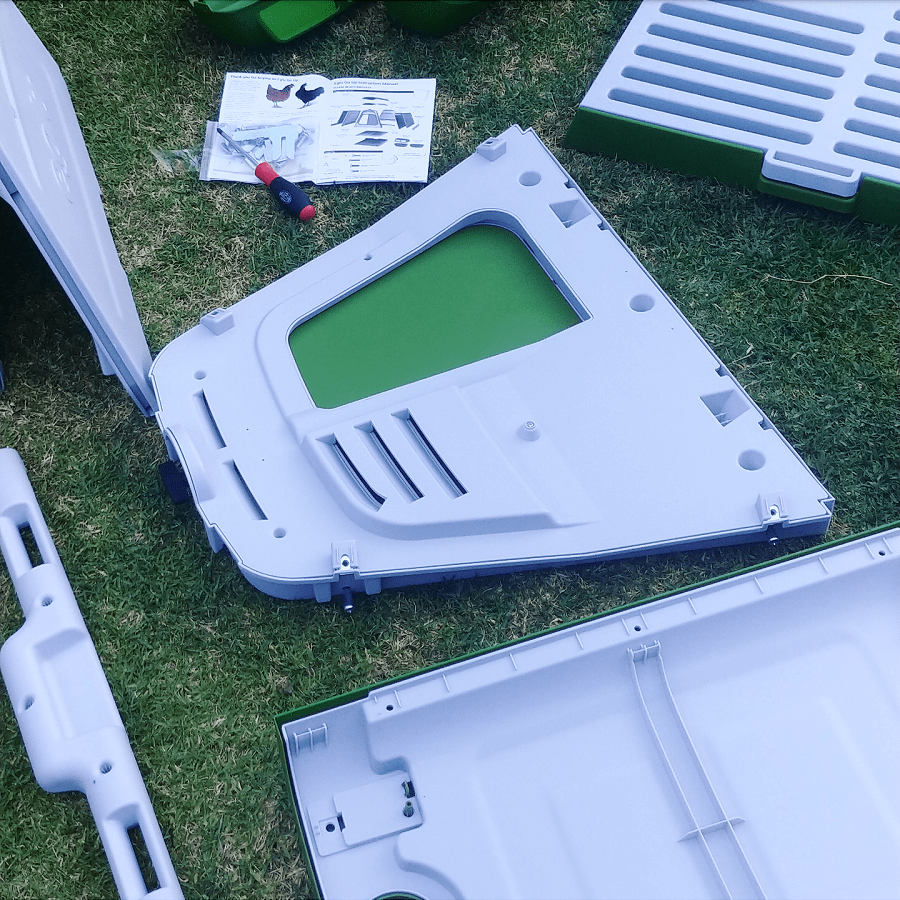
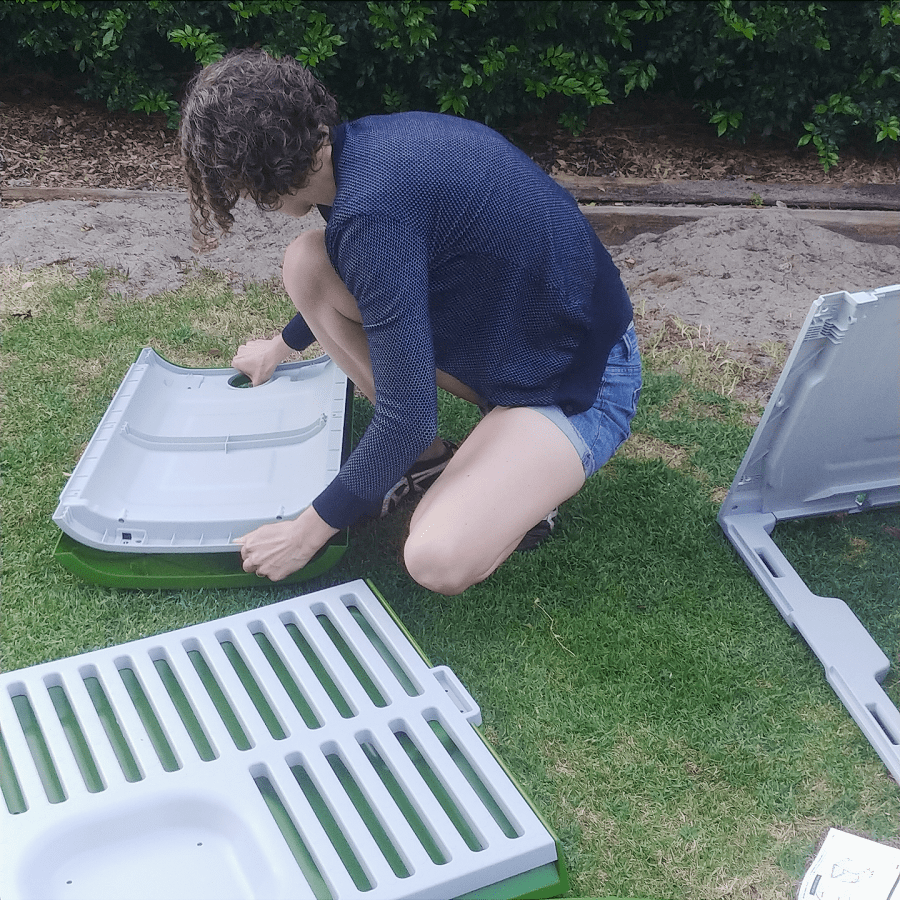
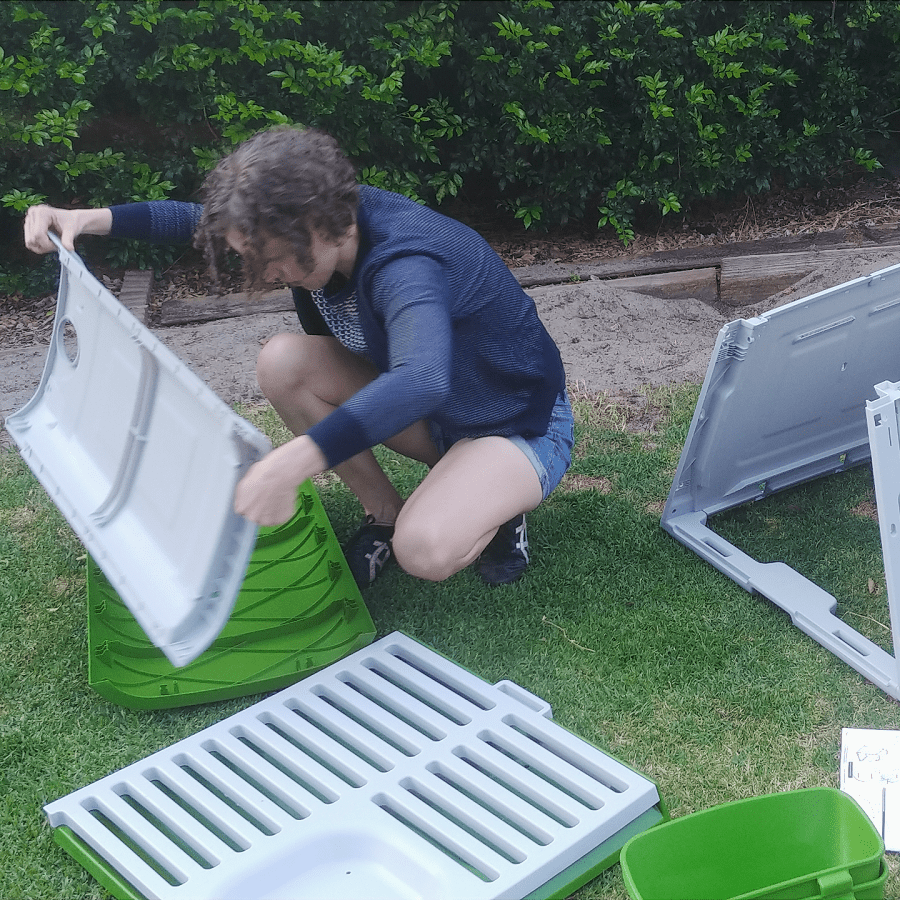
The house comes flatpacked as a series of panels, with some metal screws included to hold it all together. No polystyrene in the box, hurrah!

(The run comes in a separate box.)

The instructions were great, really detailed and easy to follow – although I did have to check everything fifteen times, which is why it took me longer to set up than expected.

The house comes as two sides, a base, a roof, a back and a front – and some green external cladding (they also have a pink option) that insulates the coop.

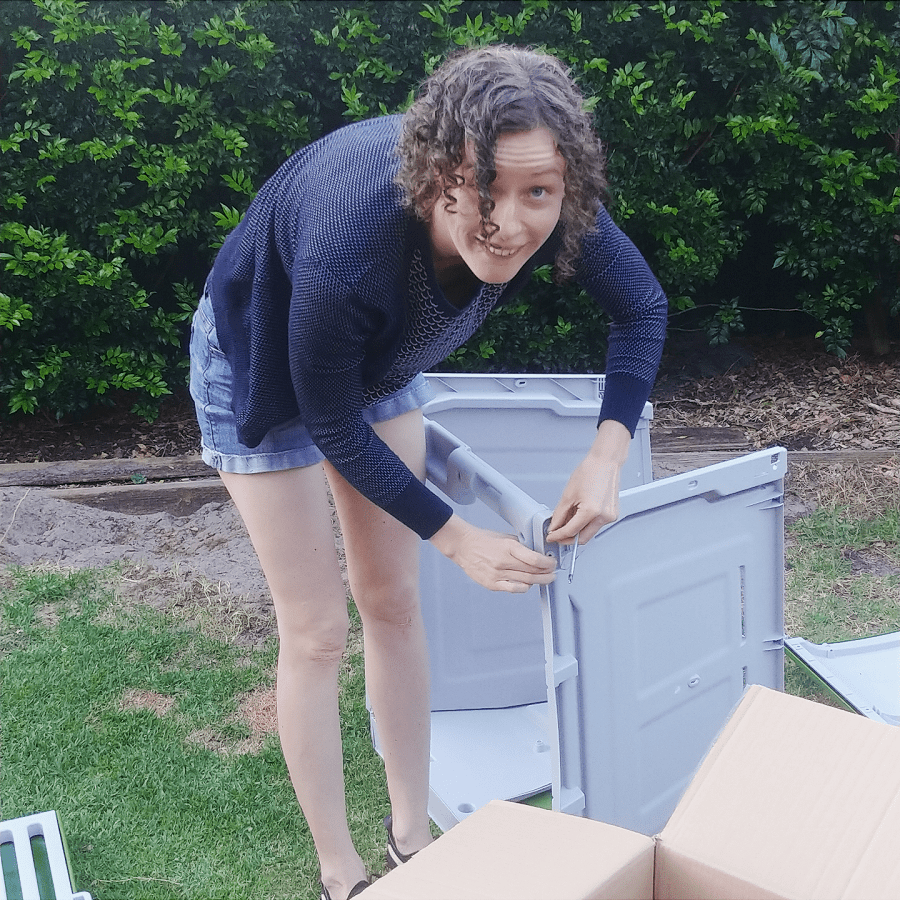
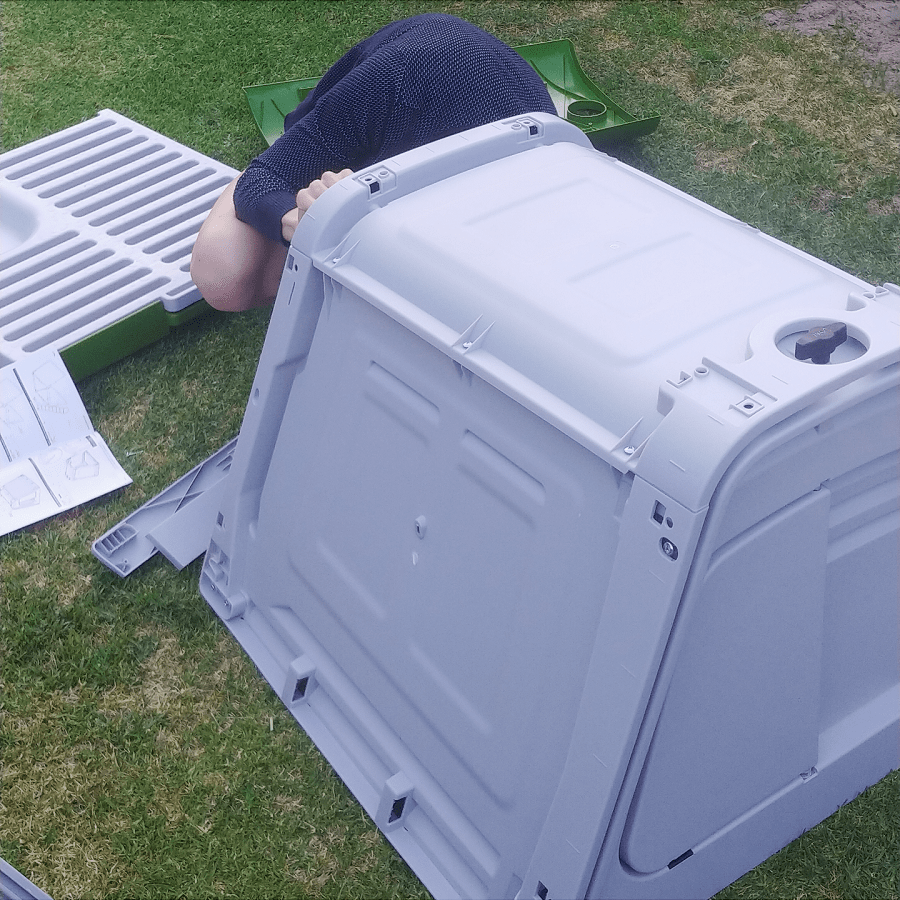
Screwing it together was relatively straightforward.

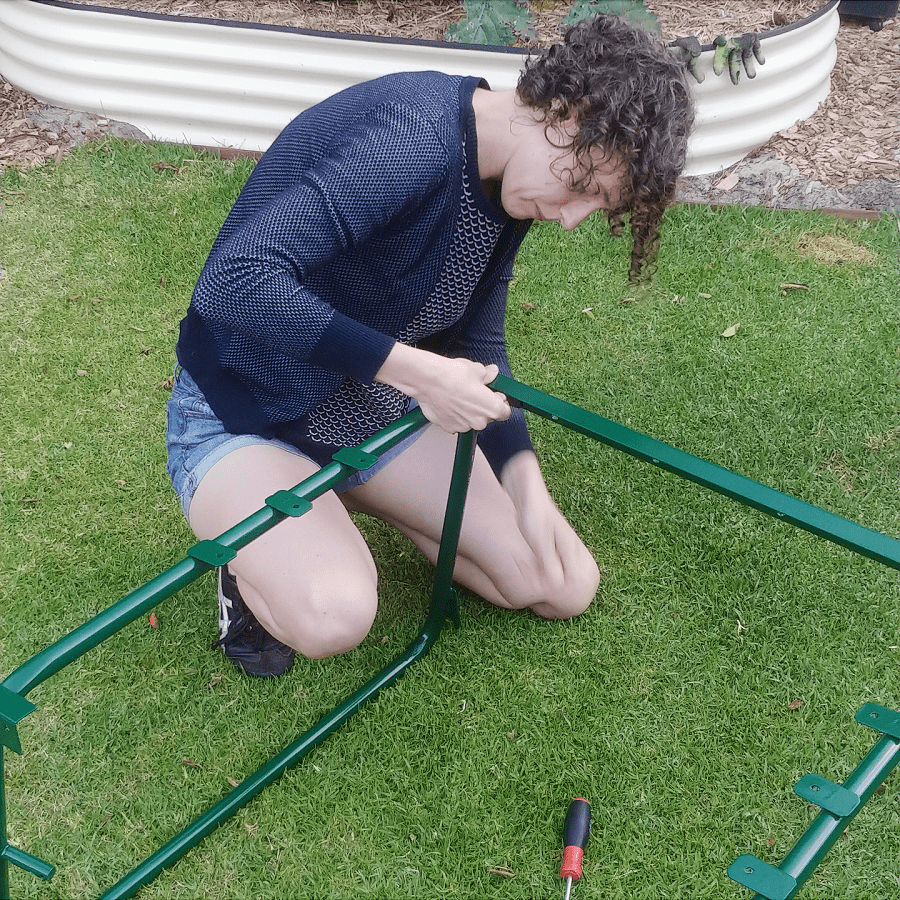
Once the house is screwed together (but before the outer green cladding goes on) the stand needs assembling – the frame that the house sits on.

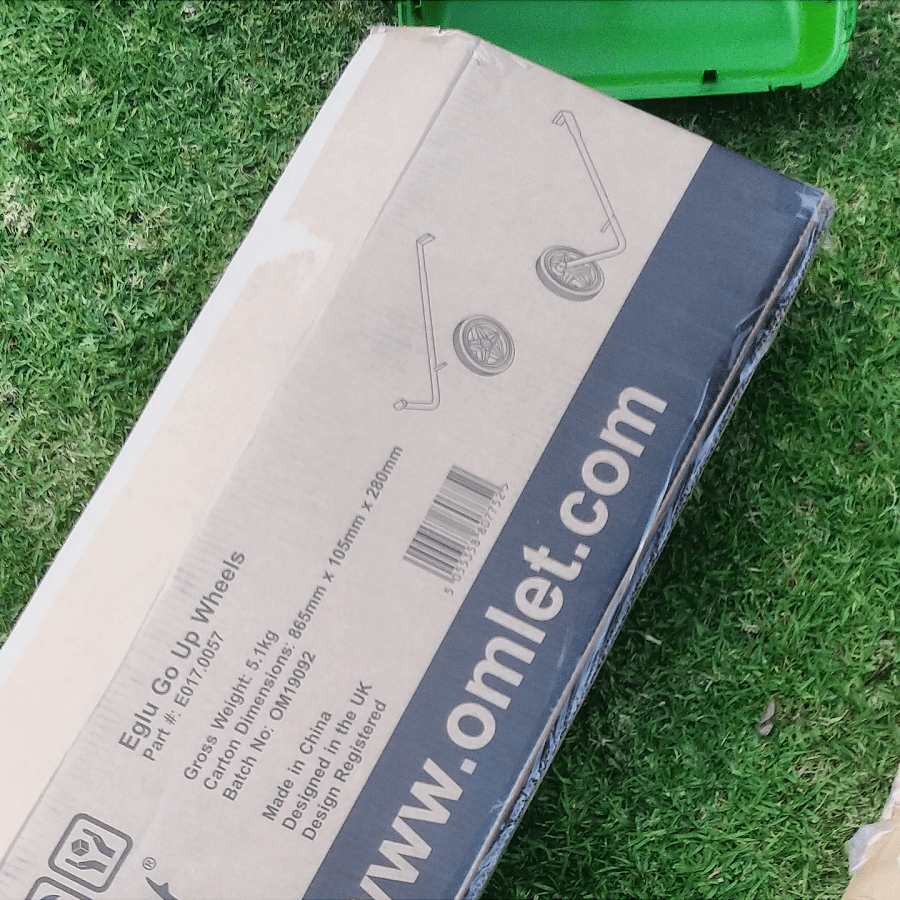
There is also the option to add wheels to this frame, to make the coop easier to move around the garden. You hold the opposite end and maneuver the coop into the position you want. If you’re intending to keep the coop in the same place, you probably don’t need the wheels. You can also lift the coop with two people as an alternative.

Once the frame is assembled and the wheels attached, the house sits on top and is held in place by two sturdy metal holding plates. The green cladding clips in place, and the house is done.

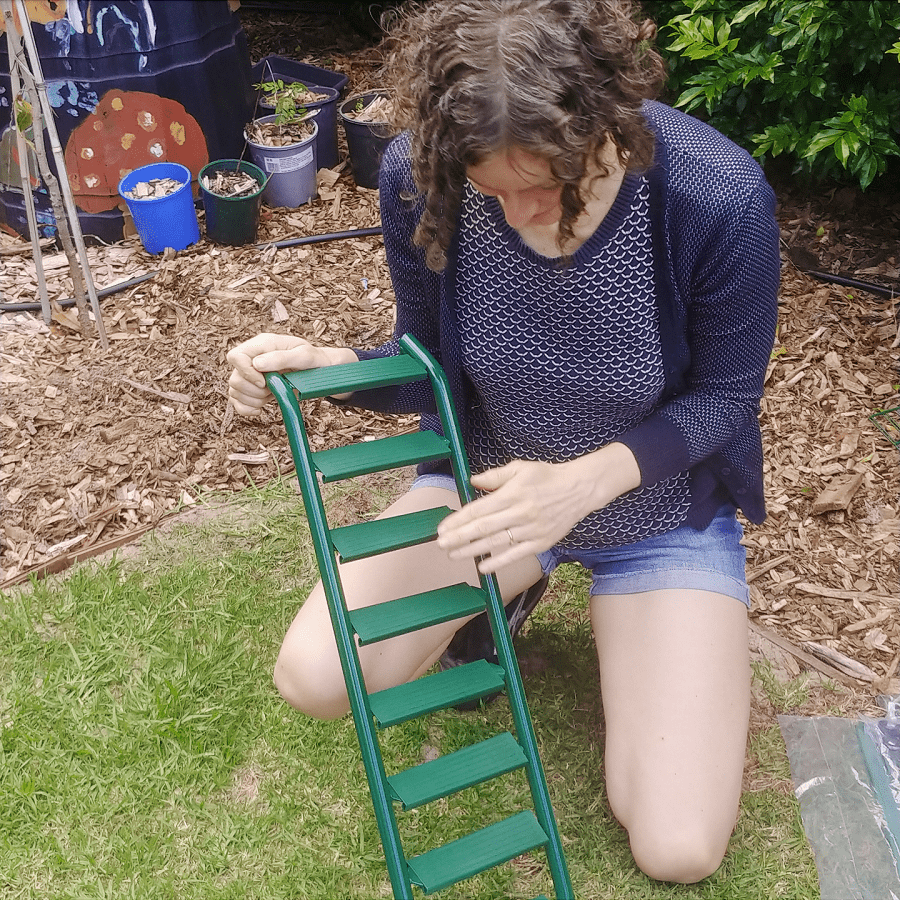
Wondering how the chickens get into their house? With a ladder, of course!

Next, assembling the run.

Setting up the Omlet Eglu Go Coop Run

Predicted set-up time 2 hours, actual set-up time 2 hours.

No tools at all required for this bit.

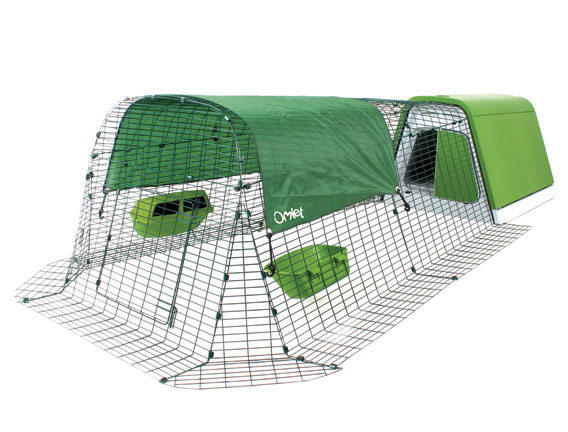
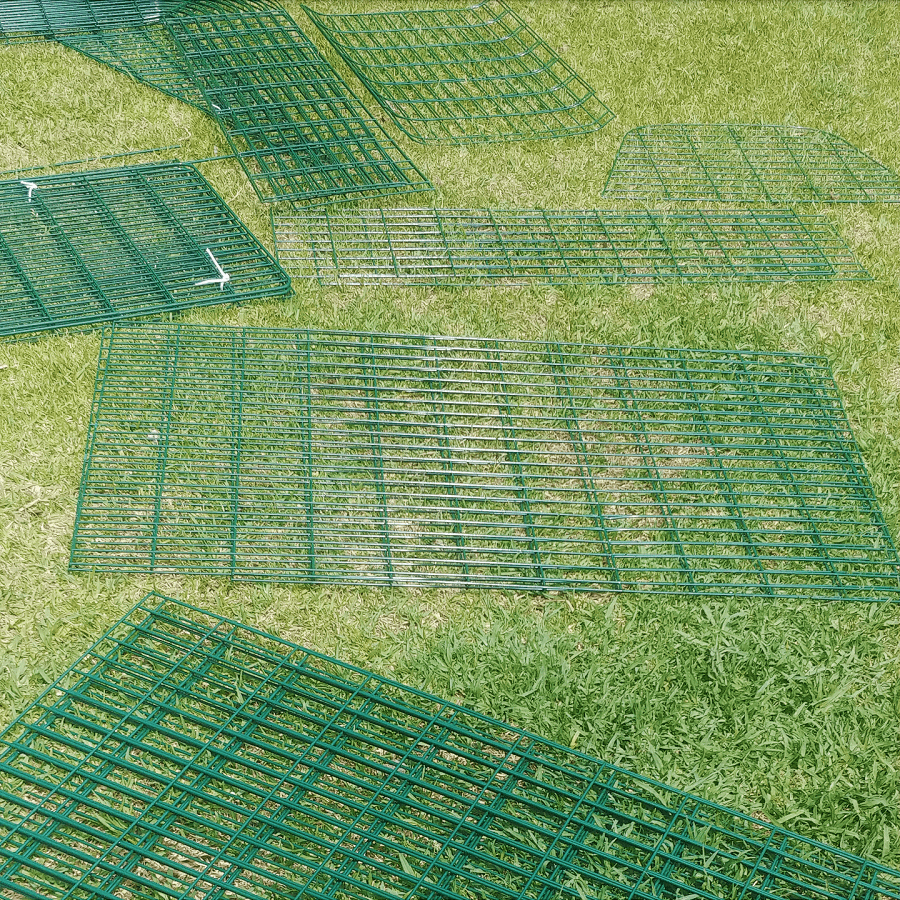
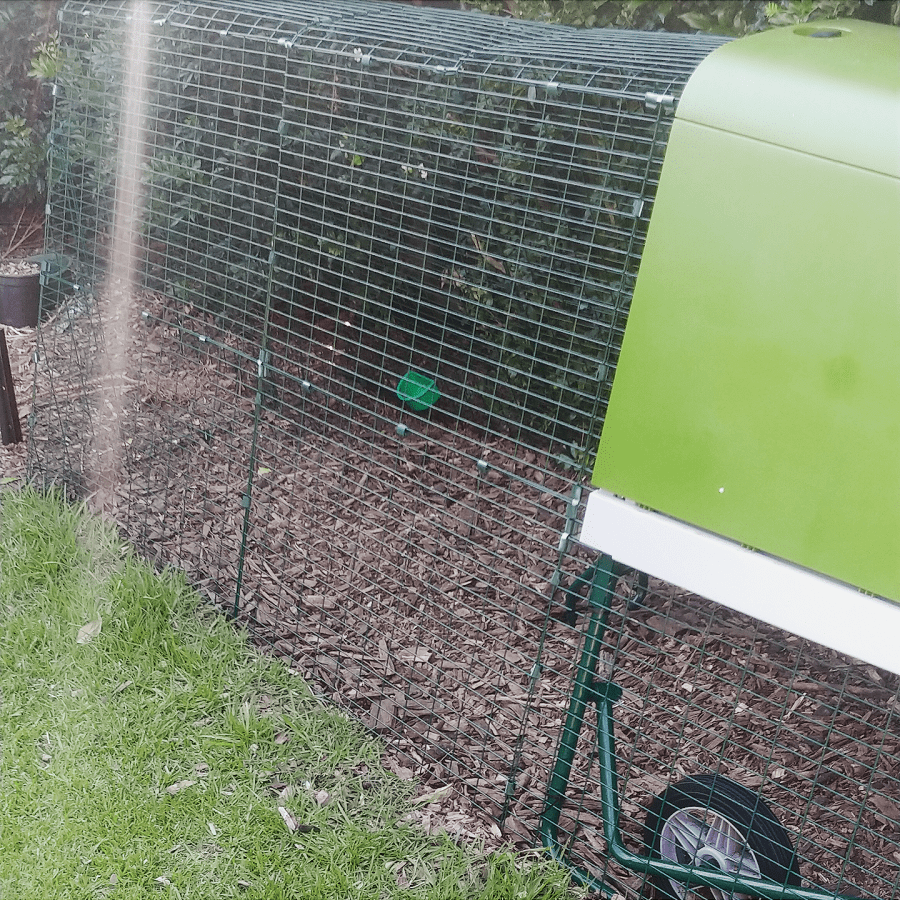
The run is made up of a series of welded mesh steel panels that securely attached to the coop. There’s also a mesh ‘skirt’ that can go around the edge to help deter predators (I haven’t used the skirt as I’m fortunate enough to live in an area without foxes).

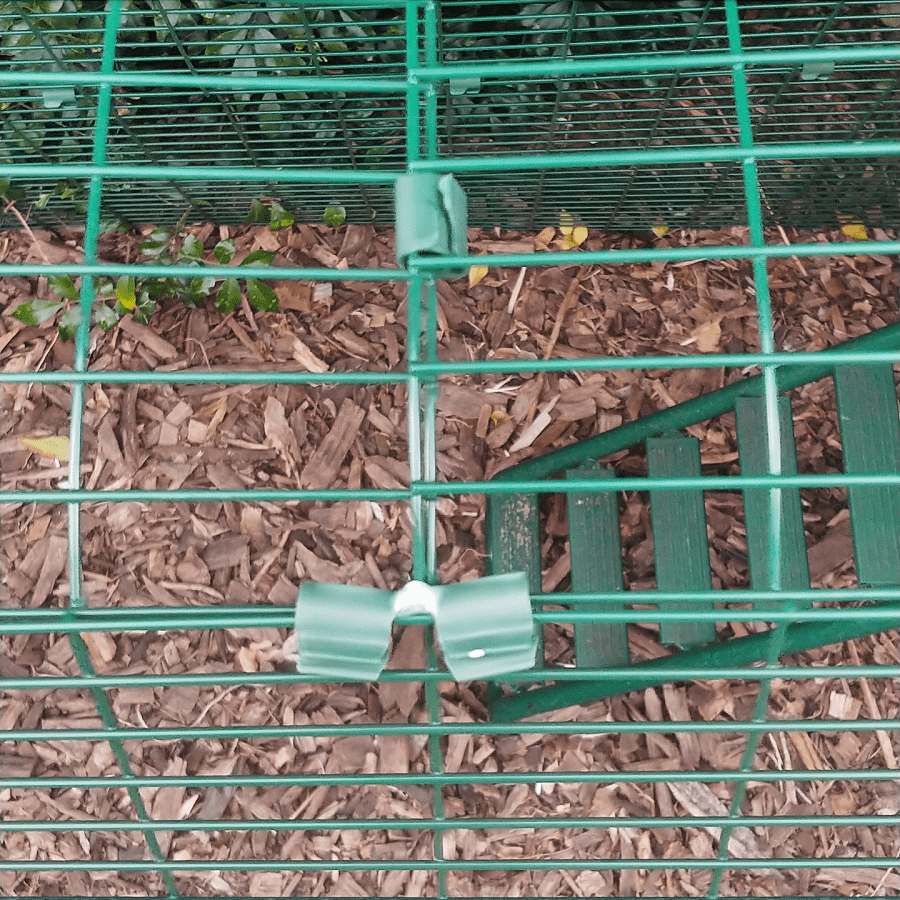
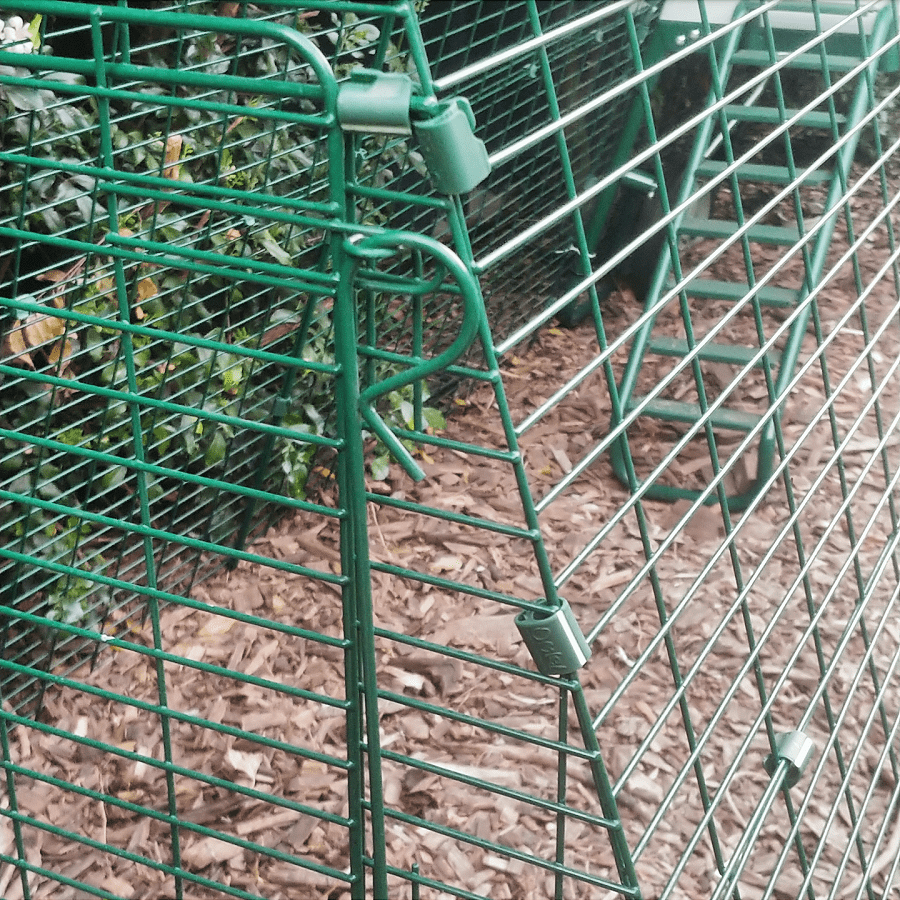
The mesh panels clip together with plastic clips. That might not sound super secure and it’s a little wobbly whilst it’s being put together, but once it’s all in place it’s pretty sturdy.

The clips can be opened and closed to allow for the run to be dismantled. Being plastic, I am sure the bending of the joint will slowly weaken over time, and also degrade in (Australian) sunlight. A follower on Instagram told me that after 4 years in the Queensland sun her Omlet coop clips have started to break. Replacement clips are available, or you could use wire, string, or something else to secure it all in place.

It’s helpful to have two people to assemble this – one to hold the pieces in place whilst the other clips them together.

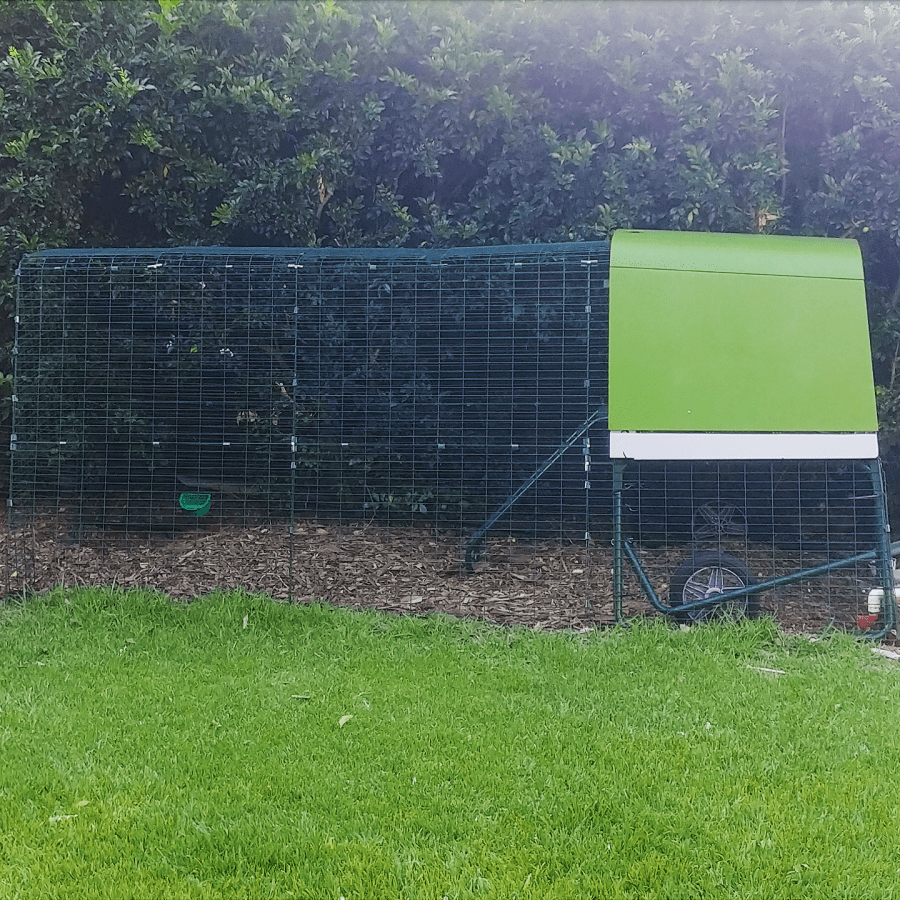
The coop can be purchased by itself, or with a 2m run, and any number of 1m extensions can be added. I added a single extension to make my run 3m. The longer it is, the more awkward it would be to manuevre the coop/run around the garden, but 3m is fine.

A quick tour of the Omlet Eglu Go UP chicken coop

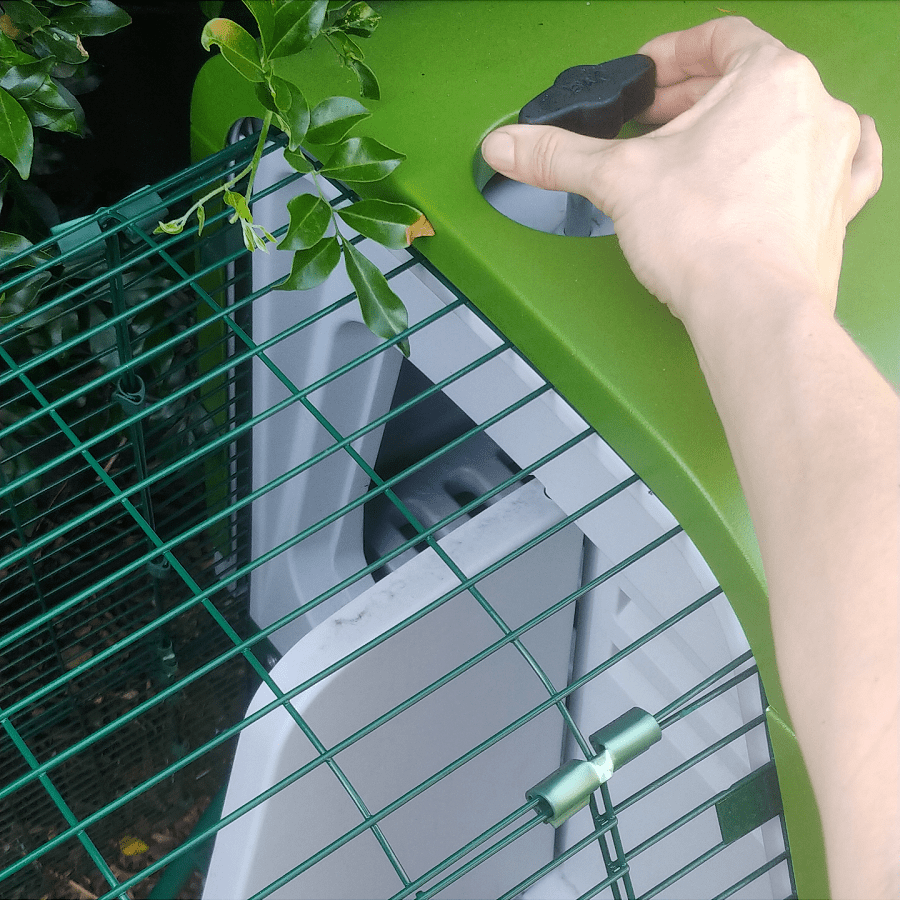
The door to the chicken coop can be swung open and shut with a liftable and turnable knob placed in the roof.

The side panels have vents, so closing the door does not affect air flow, but it helps keep the chickens secure – a great feature if predators such as foxes or snakes are a concern.

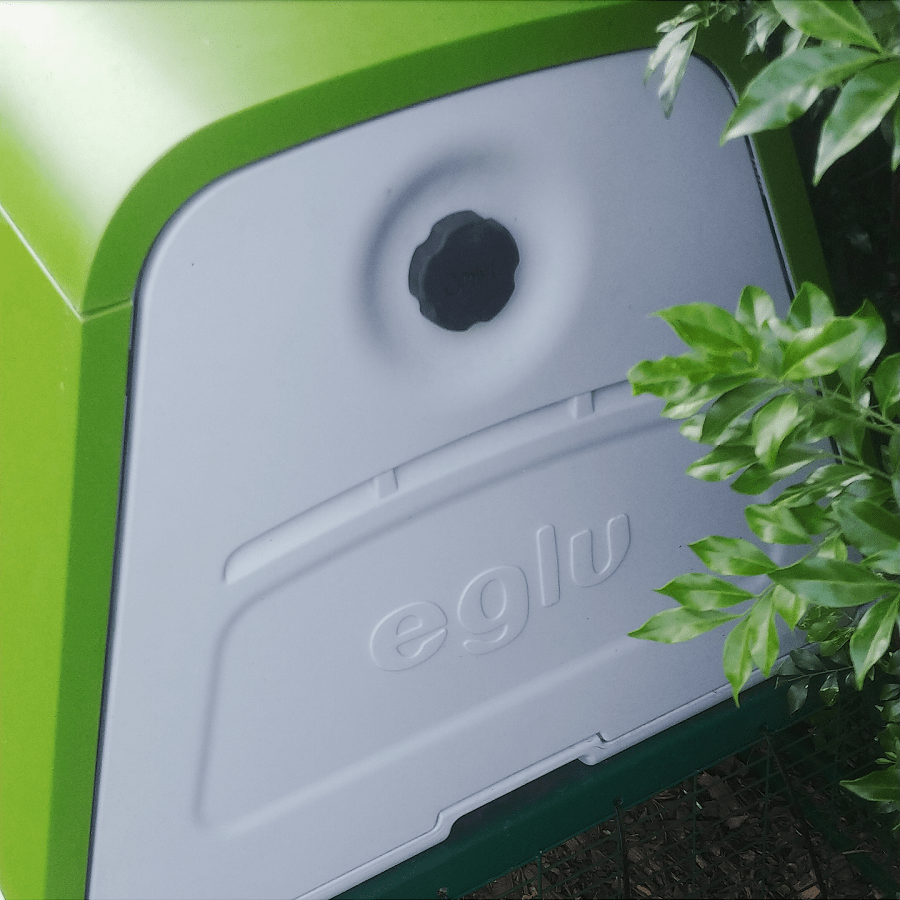
At the back of the chicken house there is a removable panel which can be taken off by turning the big knob at the back, and this gives access to the coop.

The internal tray is removable and slides out, and is made of two parts (the top one is grey, and the bottom on is green). On the top part there is a nesting box area, set slightly lower than the rungs, and then the rungs. (Chickens prefer to perch on flat or wide beams, so these work well.)

There are gaps between the rungs so their poop drops into the bottom tray. The two trays separate easily, and the whole thing can be hosed down to clean.

Honestly, cleaning this coop is a dream.

And of course, to test it out… I have two new chickens.

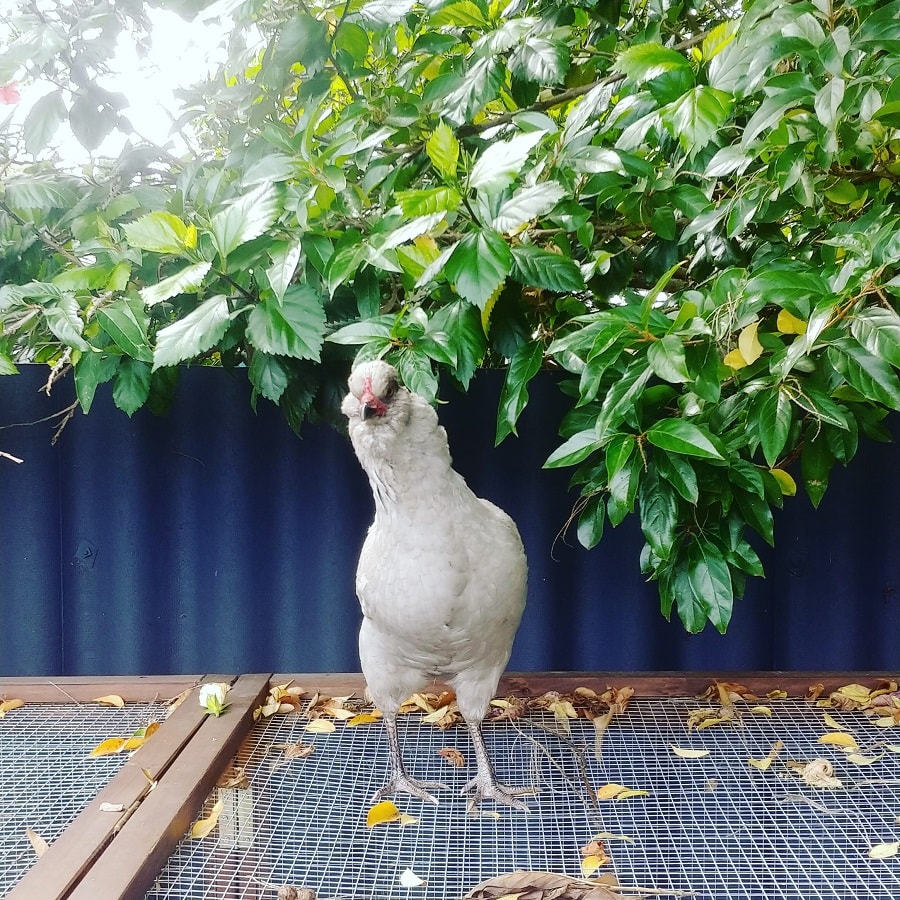
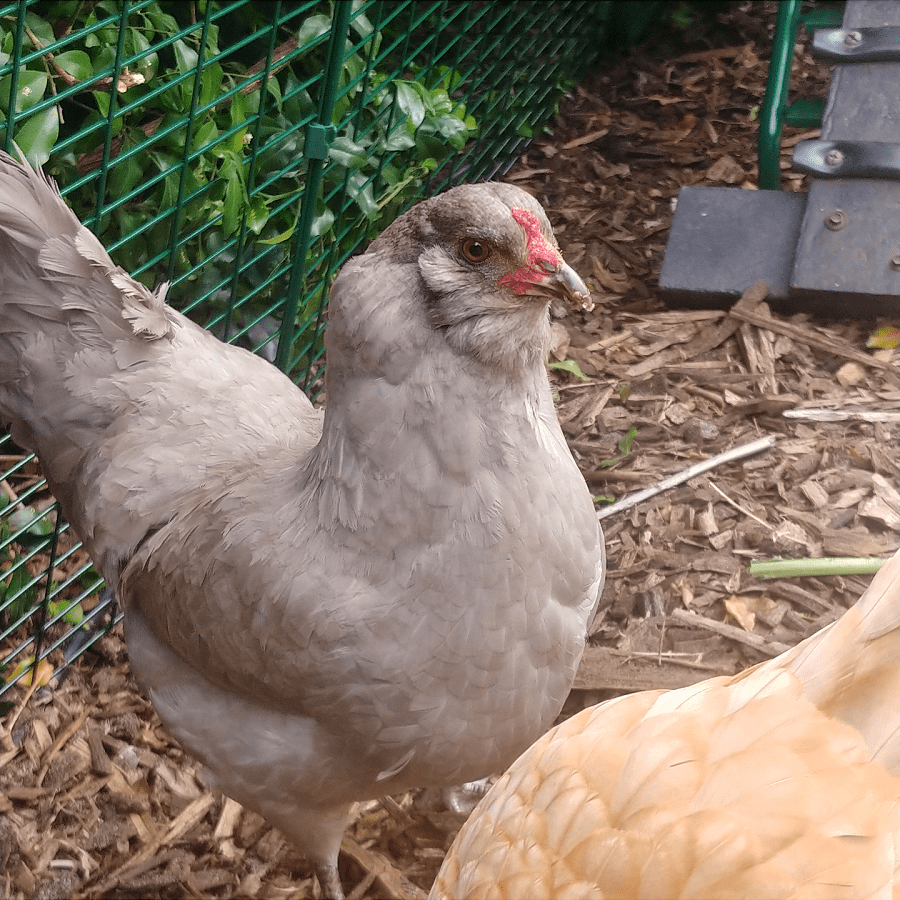
These two have come from friends who are travelling around Australia for a year. The orange feathered chicken – a solid Isa brown called Dorothy – was too busy eating to pose for pictures. The grey chicken, Betty, is the sister of Alison, my existing Araucana chicken.

Oh and fun fact – araucana chickens lay blue eggs!

Final thoughts on the Omlet Eglu Go UP

I’m really impressed with this mobile chicken coop. It’s well designed, sturdy and secure. The coop is completely weatherproof, and easy to clean. (I can’t stress enough how easy to clean it is.) And whilst I expect some colour fading in the sun, it’s robust and made to last (the house is UV stabilised, and the run is metal), and a zero maintenance option.

If you have zero or minimal DIY skills, it is a great no fuss option.

I love the fact that it’s adaptable (by placing on the ground and removing the perch tray, it becomes suitable for quail or rabbits) and modular, and that the company sells spare parts.

There’s also a thriving second-hand market for these items so if you no longer need it down the track, it’s easy to find a new owner. (That said, it’s less easy to find Omlet products second-hand, as they get snapped up quickly and are often priced similarly to new products.)

You’ll find more information about the Eglu Go UP (and all the other pet products that Omlet make) on their official websites (and don’t forget, if you choose to make a purchase you can save 10% with the code TREADING10)

Omlet Australia / Omlet Ireland / Omlet UK / Omlet USA

And of course, if you have any questions about the Omlet chicken coop – or if you wish to share your own experiences – I’d love to hear from you so please get in touch and leave a comment below!

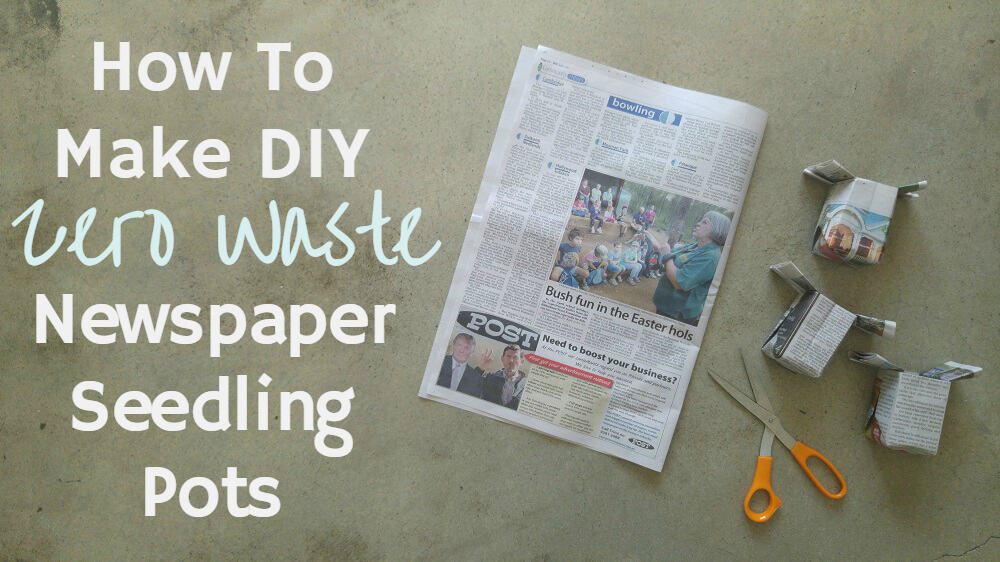
How to Make Zero Waste DIY Newspaper Pots

I’m all for small and low cost (or free!) solutions, particularly when they mean zero waste. We’re in the midst of sowing our autumn and winter seeds for our vegetable garden right now, which means we need lots of seedling pots. (Sowing seeds directly into the ground tends to mean the little seedlings get munched by pests before they have the chance to grow big.)

I don’t want to buy new. I’ve learned (the hard way) that reusing the tiny plastic cells from the garden centre (the ones they sell punnets of seedlings in) doesn’t work too well. They are too small and they dry out too fast. We don’t have enough of the bigger plastic pots to use those…plus they take up a lot more space.

Instead, I’m making my own zero waste seedling pots out of newspaper.

You don’t need any fancy gadgets for this. Even the pair of scissors is optional. You just need two hands, and a bit of patience.

Even though I can make these without thinking now, I’ll admit that when my friend (who is a very good teacher) first showed me how to make these, I had a full-on tantrum! (How embarrassing.) If you get frustrated the first few times, just remember it’s only newspaper, and no-one has died. You’ll grasp it soon enough!

If you don’t read the newspaper, I guarantee that your neighbour does, or someone at work, or a family member. Maybe  a local cafe will have a mangled, well-read one.

The other great thing with these is that newspaper breaks down easily, so they can be planted directly into garden beds. No need to disturb the plant roots by removing from the paper. You can always tear the base before planting if you’re worried it will restrict growth.

How to Make DIY Zero Waste Seedling Pots (With Pictures)

Start with a single sheet of newspaper. For seedling pots, I cut a double sheet like this in half.

All you need to start with: a sheet of newspaper, and some scissors. Although you could do without the scissors, if you can tear neatly ;)

Cut the newspaper sheet in half along the fold. Put the sheet to the left to one side. We will only be working with one sheet at a time.

Turn the sheet of paper so that the longest side is horizontal.

Fold the newspaper in half from left to right (the fold is on the left hand side).

Fold the sheet again from bottom to top (the new fold is on the bottom).

Fold the newspaper one more time from left to right.

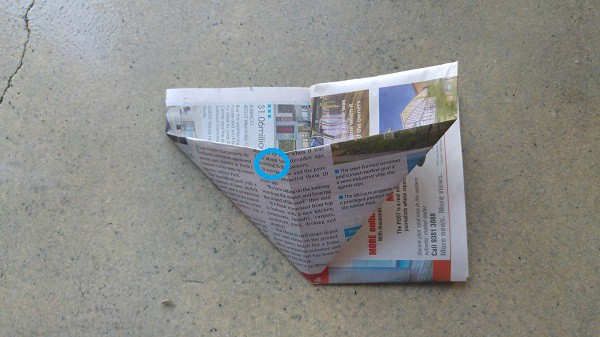
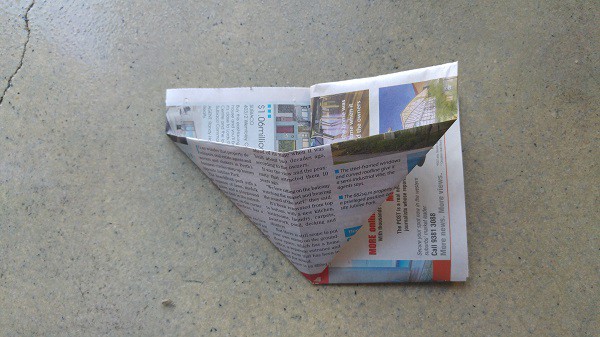
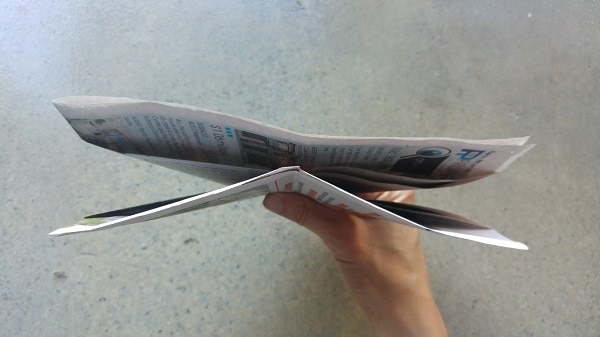
The paper in front of you will be folded a bit like a book, and each flap has a front and a back. You want to take the right-hand corner of the front flap, and fold it towards you, pulling it open as you do so to make a triangle shape along the “spine” of the “book”.

You can see (marked by the blue spot) that the bottom right hand corner has moved to where the spine was, and is opened to form a triangle.

Now that you’ve folded this side, turn the newspaper over (180°) and do the same on the other side. It will be mirrored, so the corner will be on the left hand side.

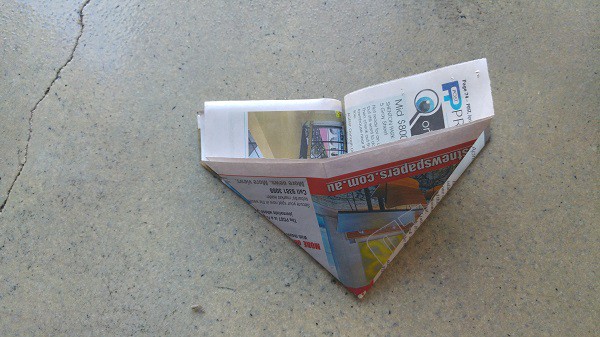
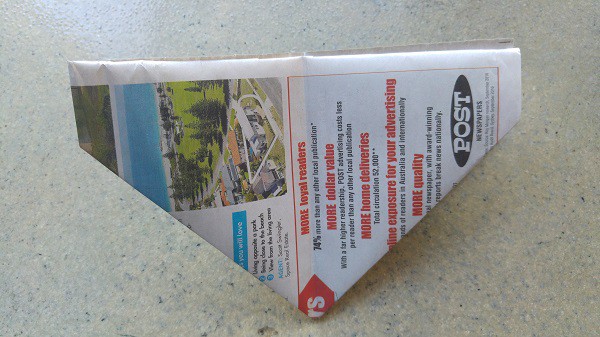
Once both sides have been folded, your newspaper will look like this. There will be a triangle-shaped pocket on the front and the back, and a gap in the centre seam above the two triangles.  Now turn the right hand side of the paper, like the page of a book, to the left (180°) so that you can see one continuous triangle.

Flip the newspaper over and repeat with the other side so that both sides now look like this.

If it is correct, the paper will look like this from above.

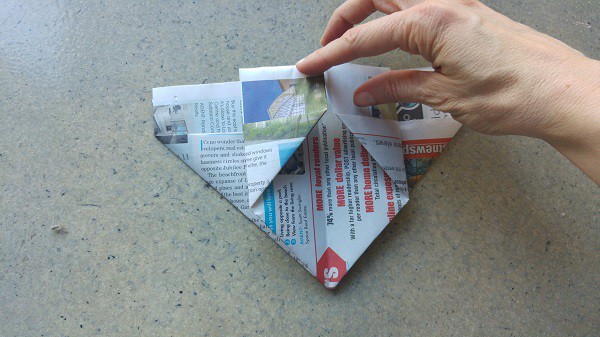
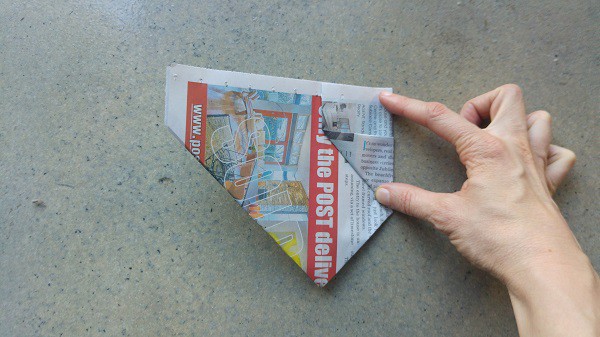
Lay the paper down flat, and fold each of the front flaps into the centre fold.

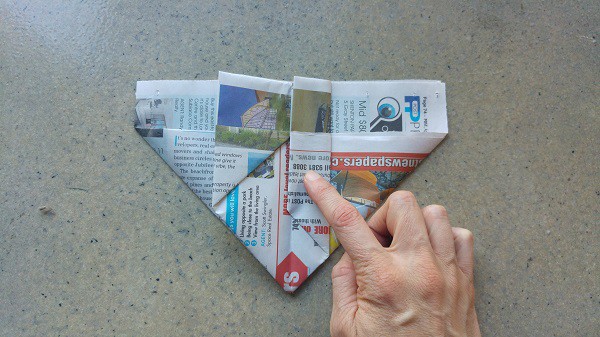
Fold these two flaps in half again, into the centre fold. (Don’t worry if it’s very flappy when you remove your fingers, that is absolutely fine.)

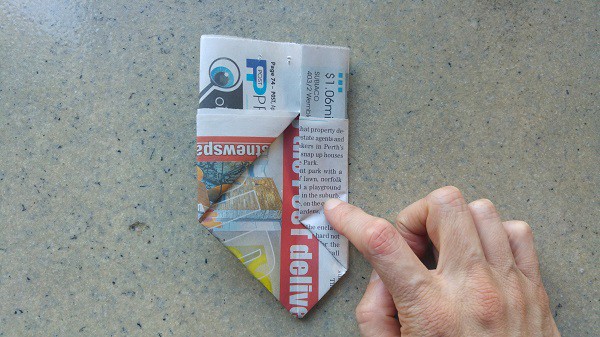
Now flip the newspaper over, and do repeat on the other side.

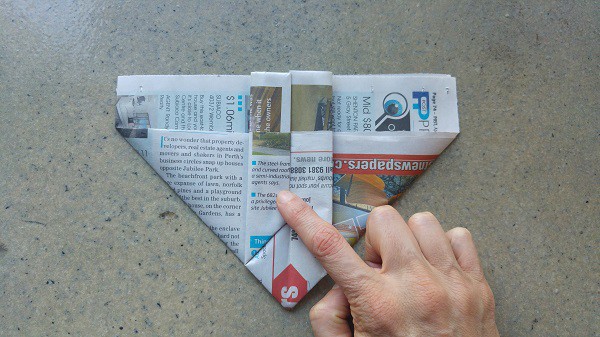
Fold the flaps into the centre…

And then fold these flaps inwards again…

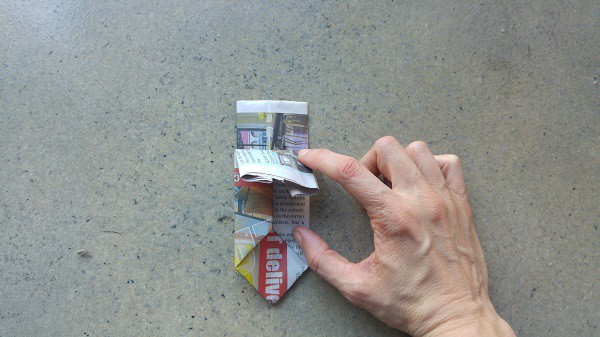
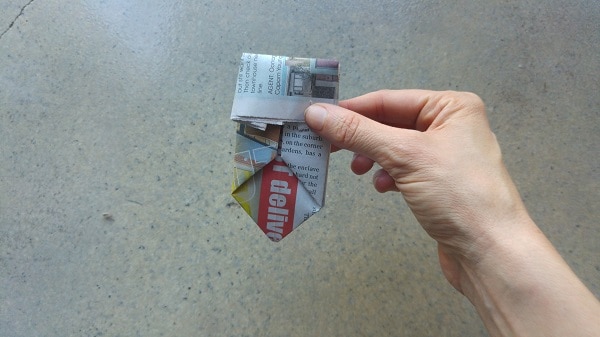
Your newspaper now looks like this. Fold the top flap down towards you along the newspaper line.

Repeat on the other side.

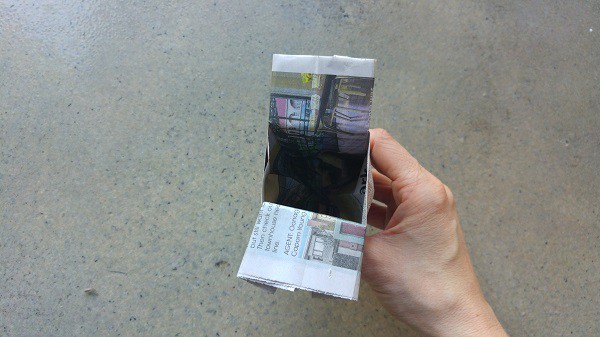
Now you can gently pull the two flaps outwards and open your pot!

Push your fingers inside to straighten out (and flatten out the bottom).

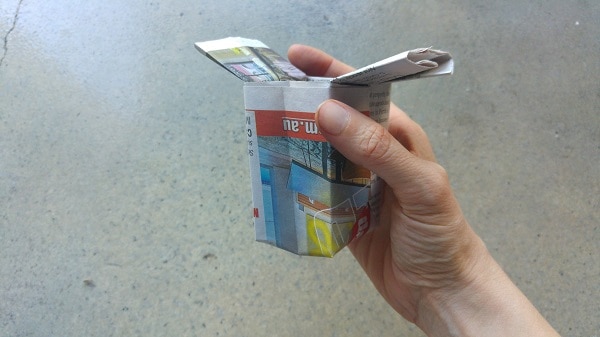
Ta-da! A zero waste newspaper seedling pot.

The flaps can be useful for lifting the pots, or labelling what you’ve planted inside the pot. If you don’t like them you can fold them inside. Once the pot of filled with soil they won’t flap about. I wouldn’t recommend cutting them off as the folding is what keeps it all in place.

Next step… to go forth and plant things!

Now I’ love to hear from you! Have you ever made these before? Do you have a different method? Are you feeling inspired to grow stuff? Do you want to make some and then share a photo with me so I can admire your handiwork? (Answer – yes you do!) Anything else you’d like to add? Please share your thoughts in the comments below!

[leadpages_leadbox leadbox_id=1429a0746639c5] [/leadpages_leadbox]