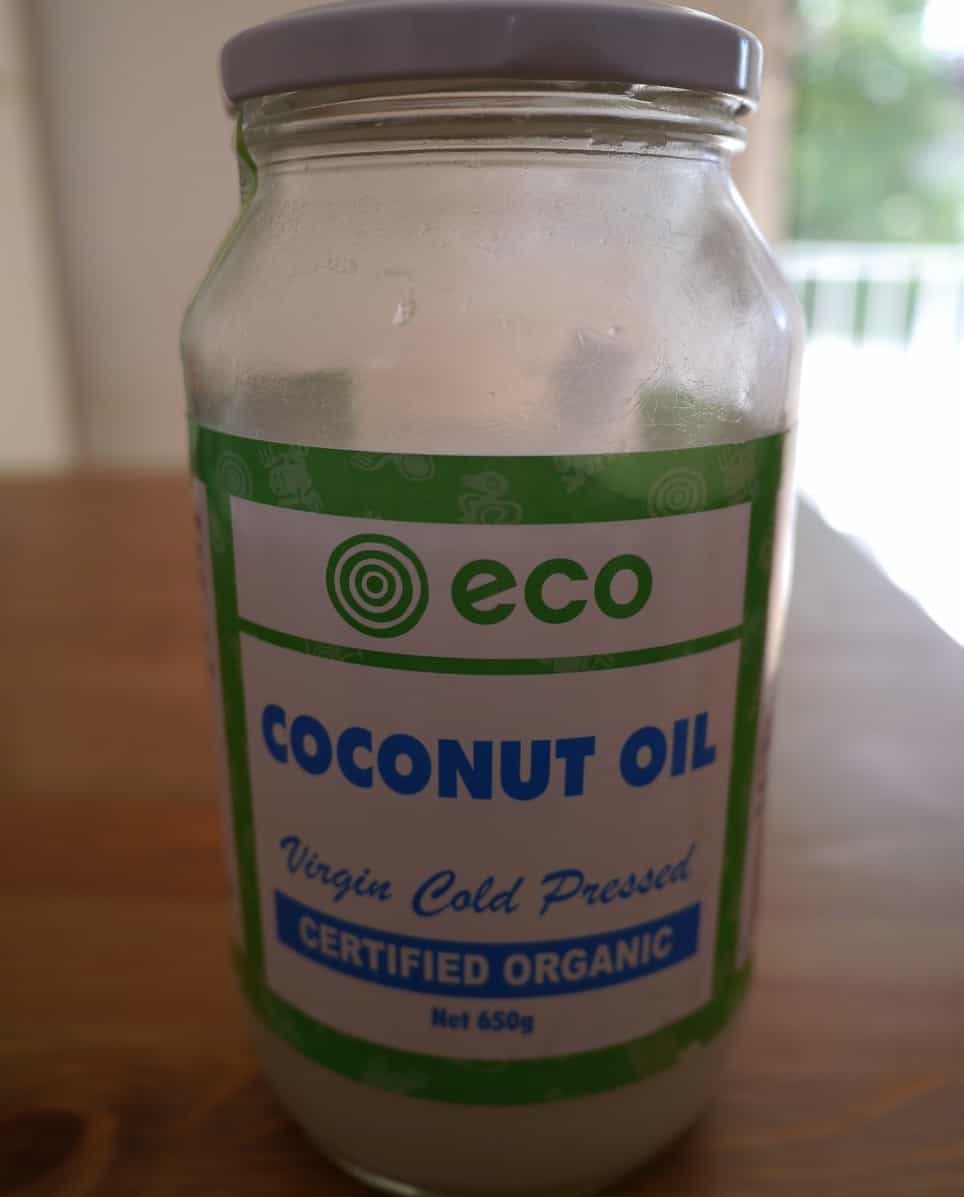
Ingredients I love…Coconut Oil

Coconut oil is a relatively new addition to my grocery cupboard. When I was growing up coconut oil (and coconut products in general) were considered unhealthy because of their high fat content, in particular their saturated fat content. (Avocados and coconuts are unique among fruit and vegetables for containing saturated fat.) Saturated fat has been linked to heat disease. However coconut oil is now becoming popular again as its properties and their benefits are more widely understood.

It’s worth noting that the coconut oil I’m talking about here is virgin cold-pressed. Virgin cold-pressed coconut oil is produced from fresh coconut meat, which is dried and then pressed to extract the oil, usually within hours of harvesting.

Oh, and one more thing before I begin my list. All things in moderation. Coconut oil might have some amazing properties and health benefits, but eating an entire jar in one sitting isn’t going to do you any favours! Limiting consumption to only a few tablespoons a day is recommended.

Six reasons why I love coconut oil

  1. It’s tasty…and better for you!

Let’s face it, things full of fat always taste much better, and coconut oil is composed of 92% saturated fat. But don’t panic! Not all saturated fats are equal. There are 34 different saturated fatty acids, and of the four found in coconut oil, lauric acid accounts for almost 50%. Lauric acid is a medium-chain fatty acid, and medium-chain fatty acids are metabolised differently to other saturated fats.

Medium chain fatty acids tend to be used by the body to provide energy soon after they are consumed, rather than being stored as fat. If fatty acids are used this way they cannot contribute to weight gain. Lauric acid has a particularly high rate of oxidation compared to other fats, meaning it is burned off, making it a valuable source of energy.

  1. It has anti-microbial properties

Lauric acid has antibacterial properties, but can also be converted in the body into monolaurin (glycerol monolaurate), which has even greater anti-microbial properties. In lab tests both lauric acid and monolaurin have been demonstrated to be effective against viruses and pathogenic (disease-causing) bacteria including Staphylococcus aureus, E. coli and Salmonella (research here, here, here and here).

  1. It’s good for the heart

There are two types of cholesterol, LDL (‘bad’ cholesterol) and HDL (‘good’ cholesterol). High levels of HDL are thought to protect against heart attacks and strokes (see reports here, here, here and here). The lauric acid in coconut oil greatly increases HDL cholesterol in the blood (analysis here) and decreases the total cholesterol to HDL ratio.

  1. It has a long shelf life

Because it is high in saturated fat, coconut oil is resistant to oxidation. (Oxidation is what makes oils rancid, breaking fatty acids down into aldehydes, ketones and alcohol.) Oils high in unsaturated fat are much less stable and prone to going rancid. Some particularly susceptible oils (such as flaxseed oil) will go rancid within weeks; coconut oil can last years. This is great if you’ve bought a jar because you needed 2 teaspoons for a recipe, as it will sit happily in the cupboard until you’re ready to use it again.

  1. It’s not just for eating

Coconut oil is also a great base for beauty products because it is solid at room temperature, has a long shelf life and is easily absorbed by the skin. If you want to make your own beauty products then coconut oil is an essential; I use coconut oil for making my own deodorant and toothpaste. It’s a key oil for making soap and also has great moisturising properties. The anti-bacterial properties of lauric acid have been shown to be effective in treating acne.

  1. It’s a great natural alternative to butter

Because it’s solid at room temperature (it melts at 25ºC) it’s great as a butter replacement in recipes for people who can’t/won’t eat dairy products, or want to cut down. Now I’m not a vegan but I am a fan of the raw vegan treat. Coconut oil is often found in such delights as a substitute for dairy products. What could be better than snacking on food that tastes delicious and is packed full of goodness? What, you don’t believe me that raw vegan treats taste delicious?! Try this recipe and see for yourself!

Raw chocolate

(This recipe is adapted from another recipe I found online – I used to link back to it bu as the link no longer works so it’s been removed.)

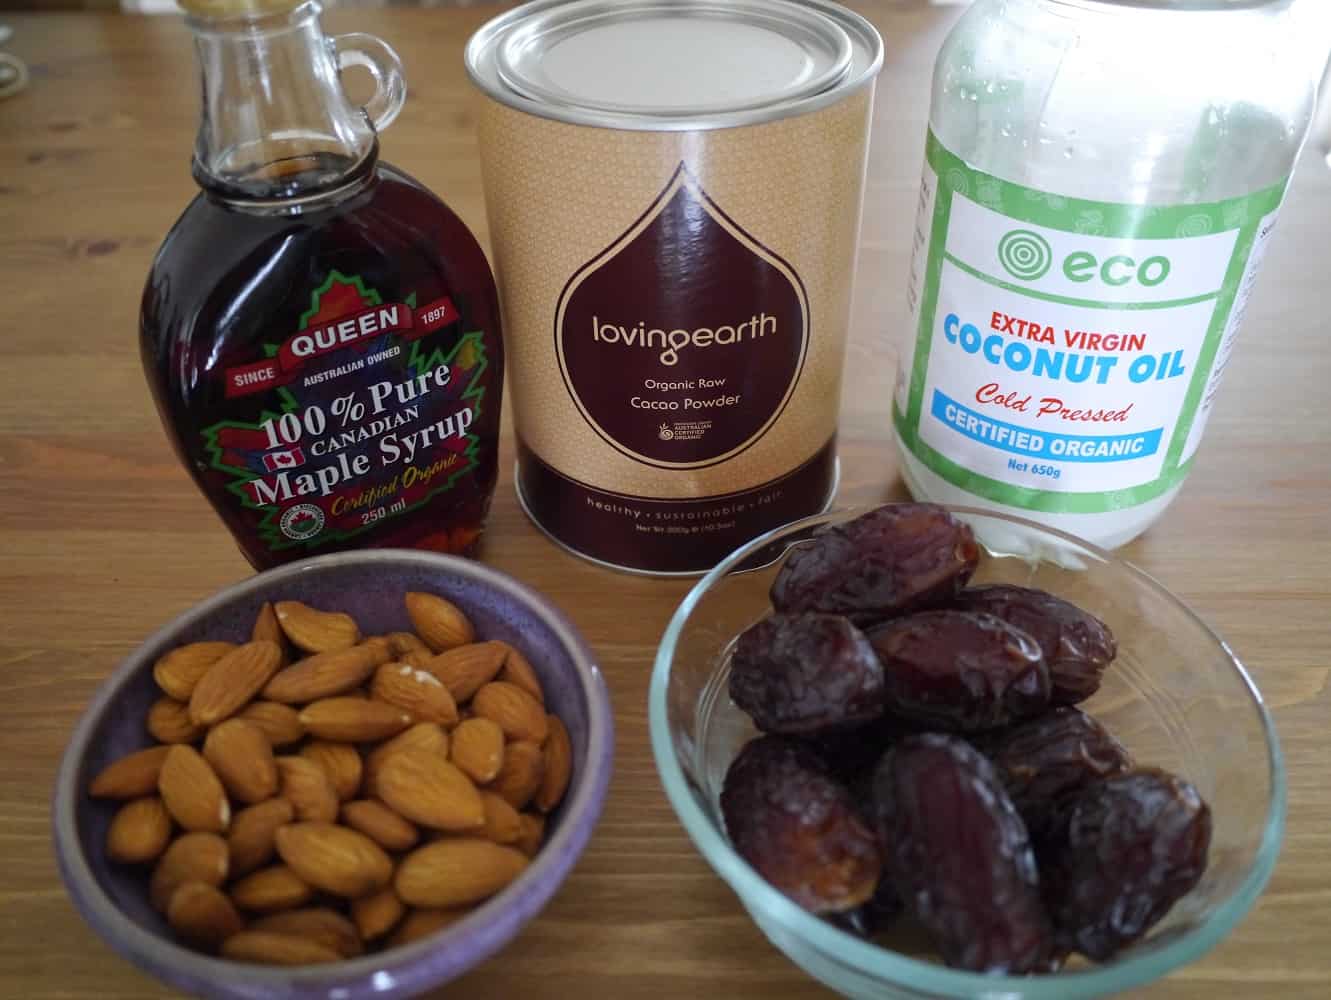
Ingredients:
170g coconut oil
110g raw almonds
60ml maple syrup (1/4 cup)
10 – 12 medjool dates
4 tbsp cacao powder

rawchoc1jpg

Method:

Line a 20cm by 25cm tray with greaseproof paper.

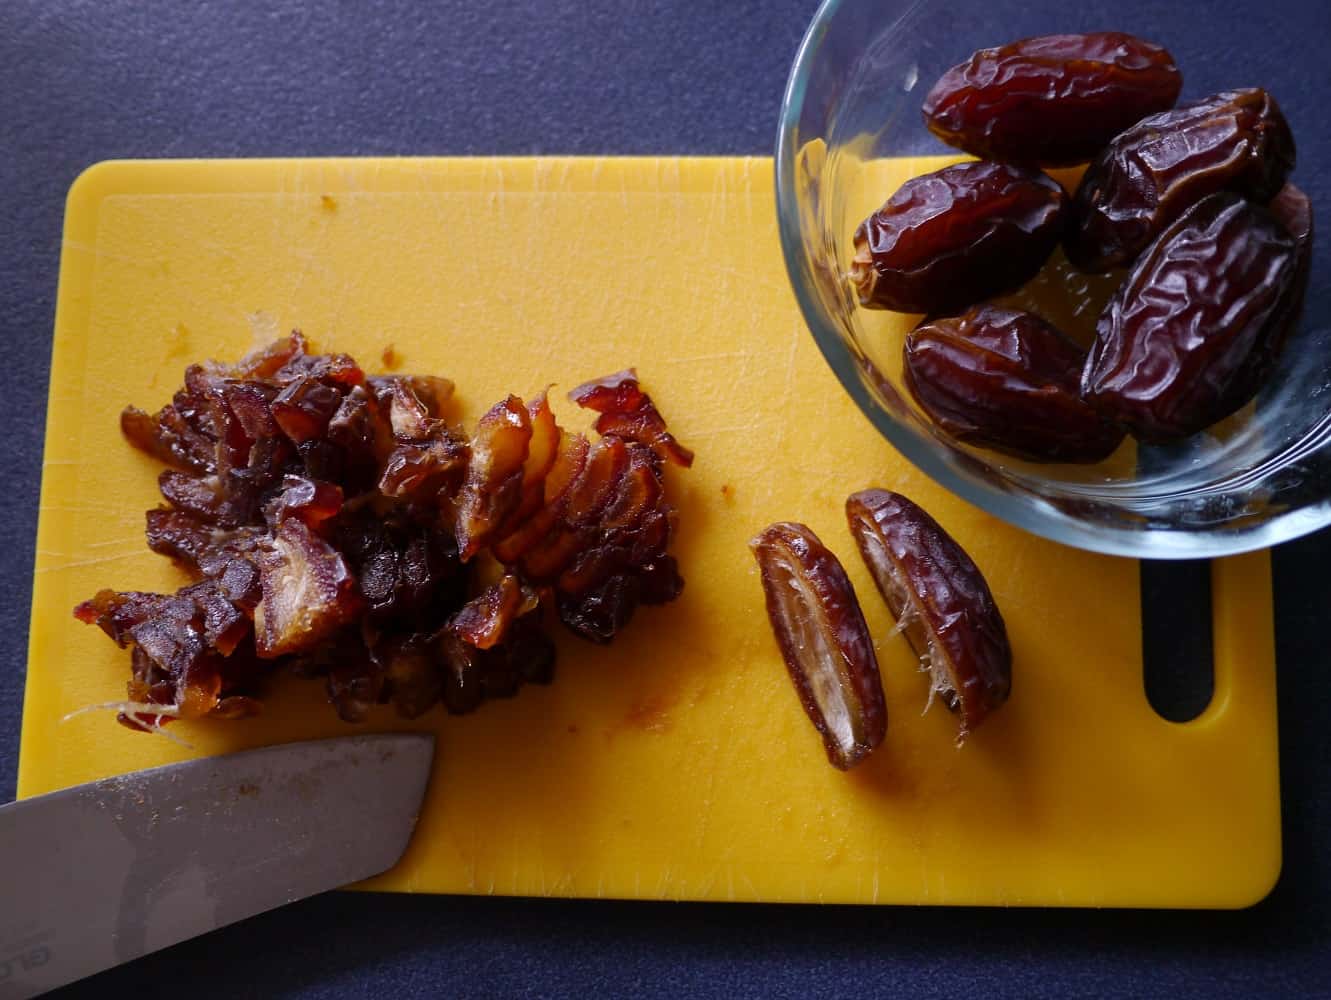
Chop the dates finely using a knife. (Don’t attempt to do this in a food processor or you will end up with a big sticky lump attached to the blades)

rawchoc2jpg

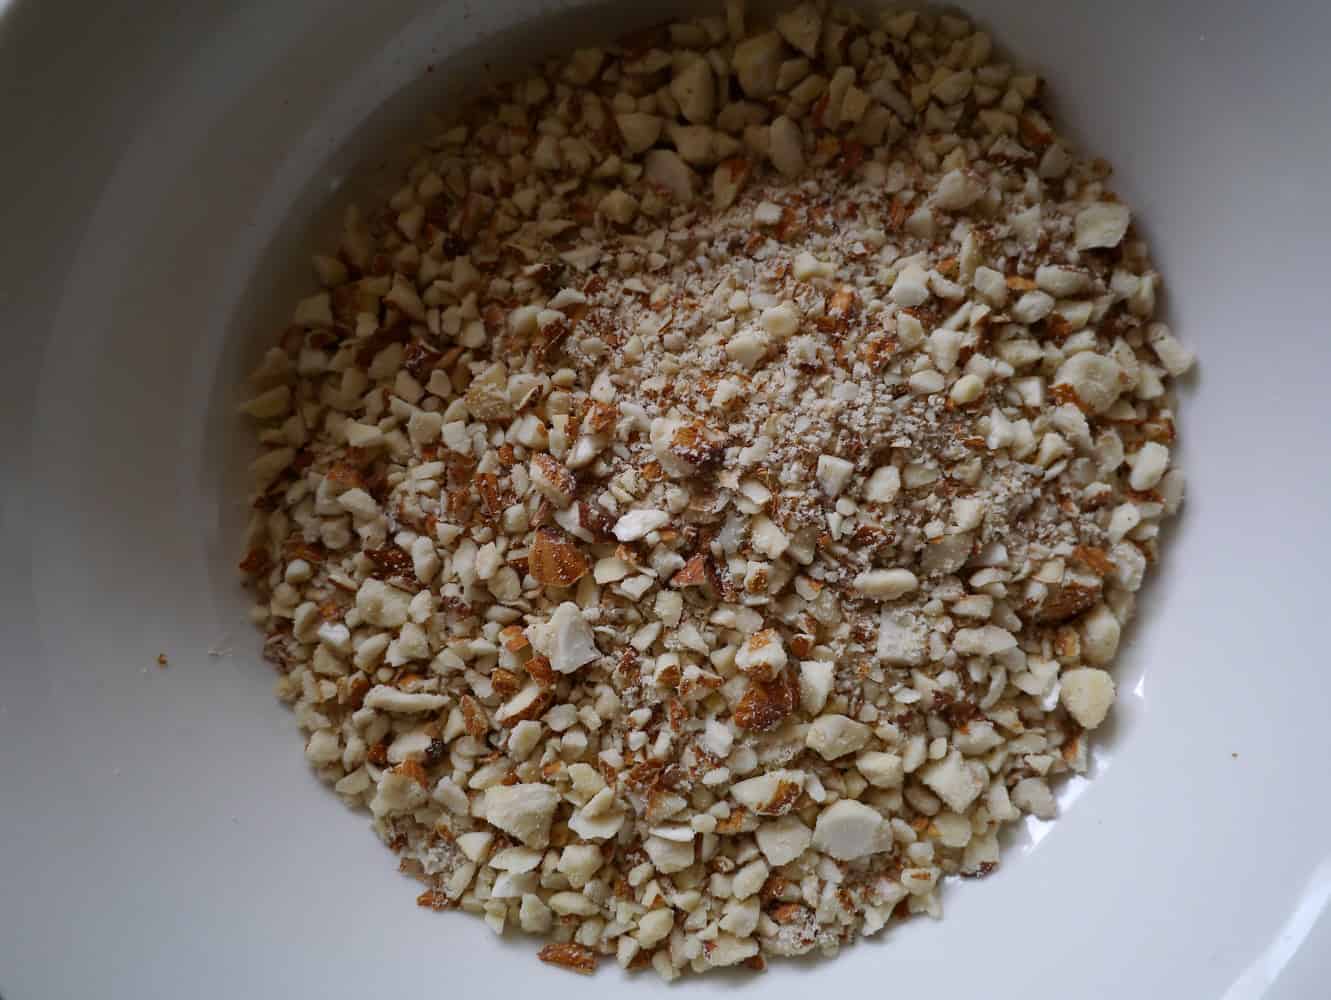
Chop the almonds in a food processor until they resemble small nibs, but not so fine that you get a powder. (If you don’t have a food processor then you could use a coffee grinder of chop by hand using a sharp knife)

rawchoc3jpg

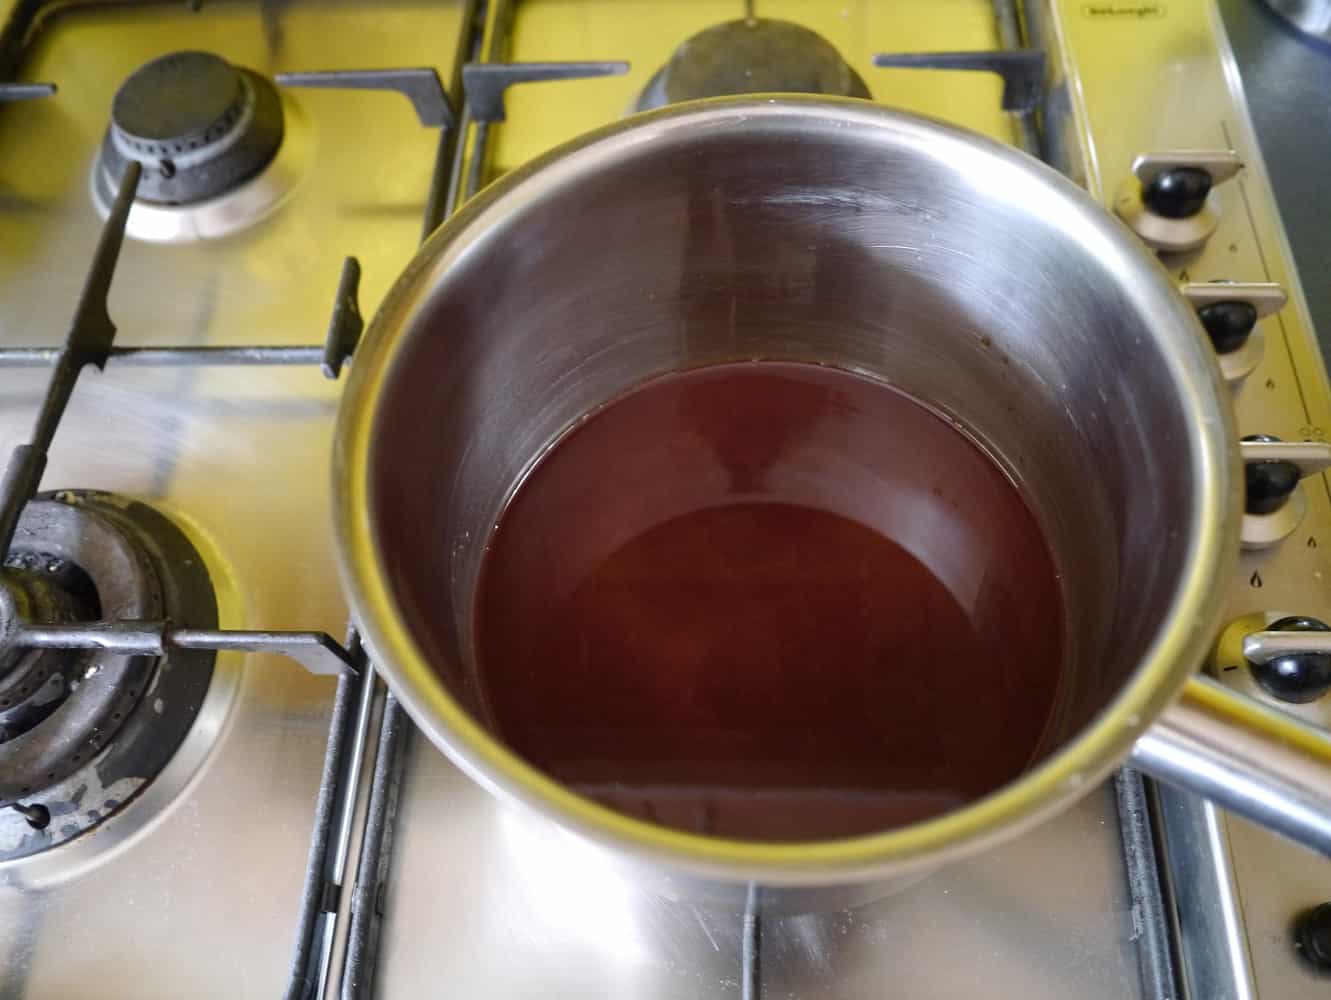
Heat the coconut oil in a saucepan on an extremely low heat until it is liquid (it will melt at 25ºC). Add the maple syrup and cacao to the pan and stir.

rawchoc6jpg

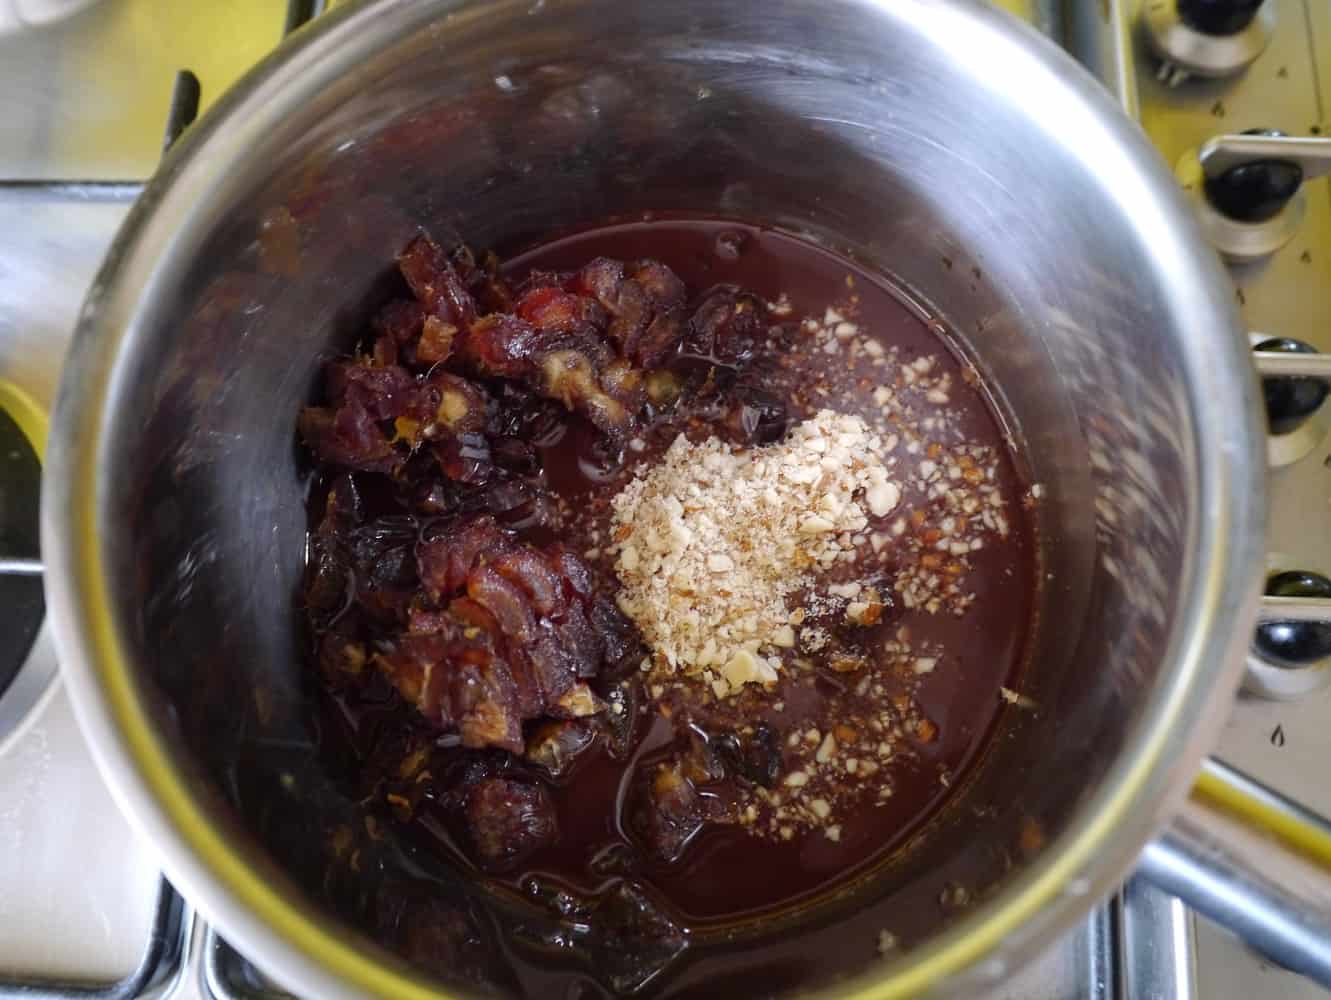
Add the chopped dates and nuts and mix well.

rawchoc7jpg

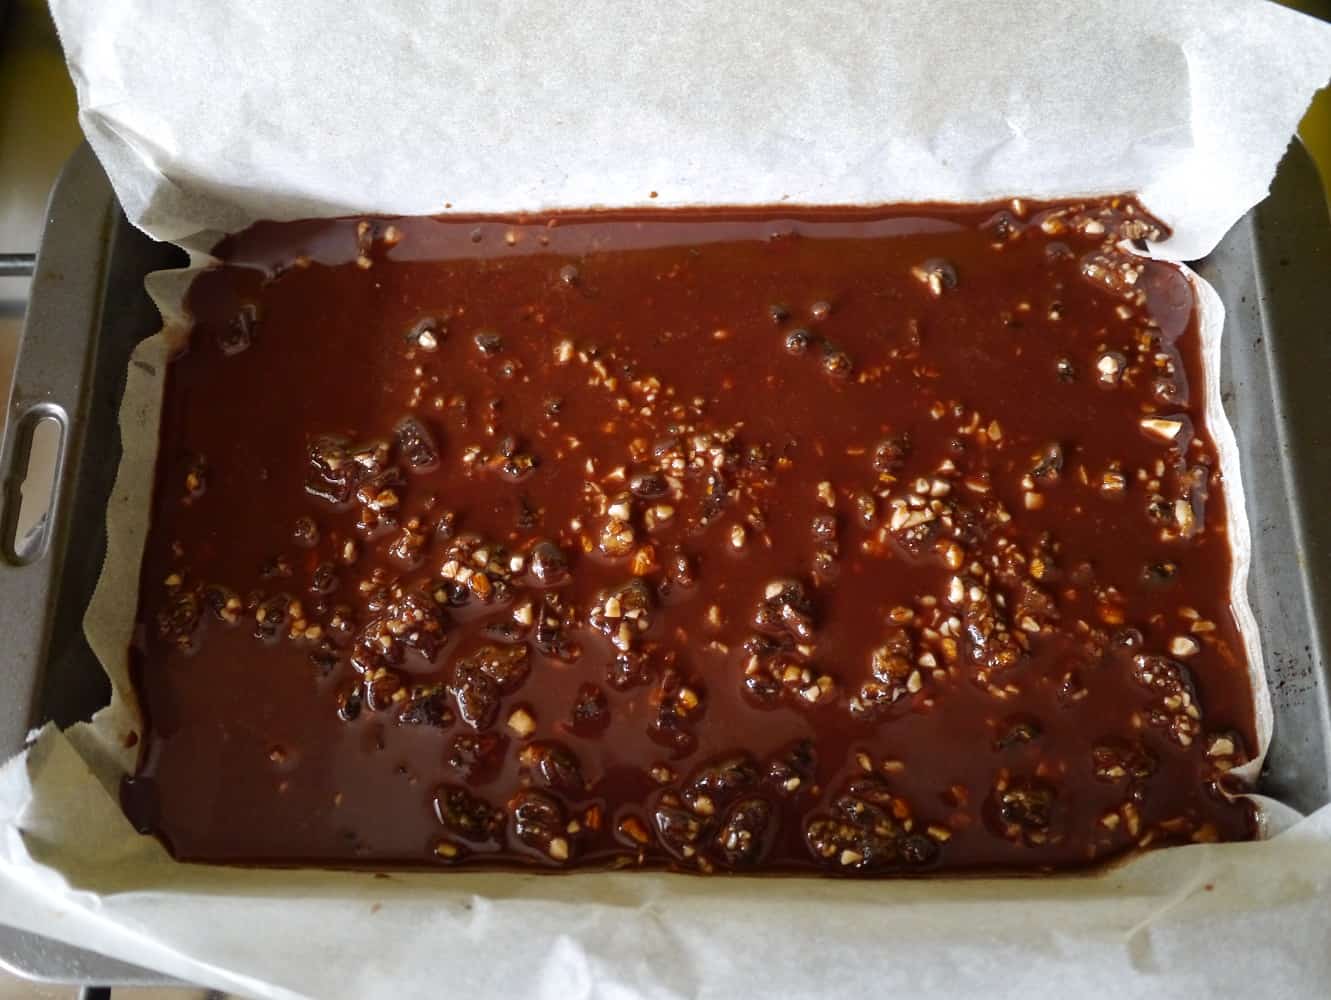
Pour into the lined tin, using a fork to make sure the fruit and nuts are distributed evenly.

rawchoc8jpg

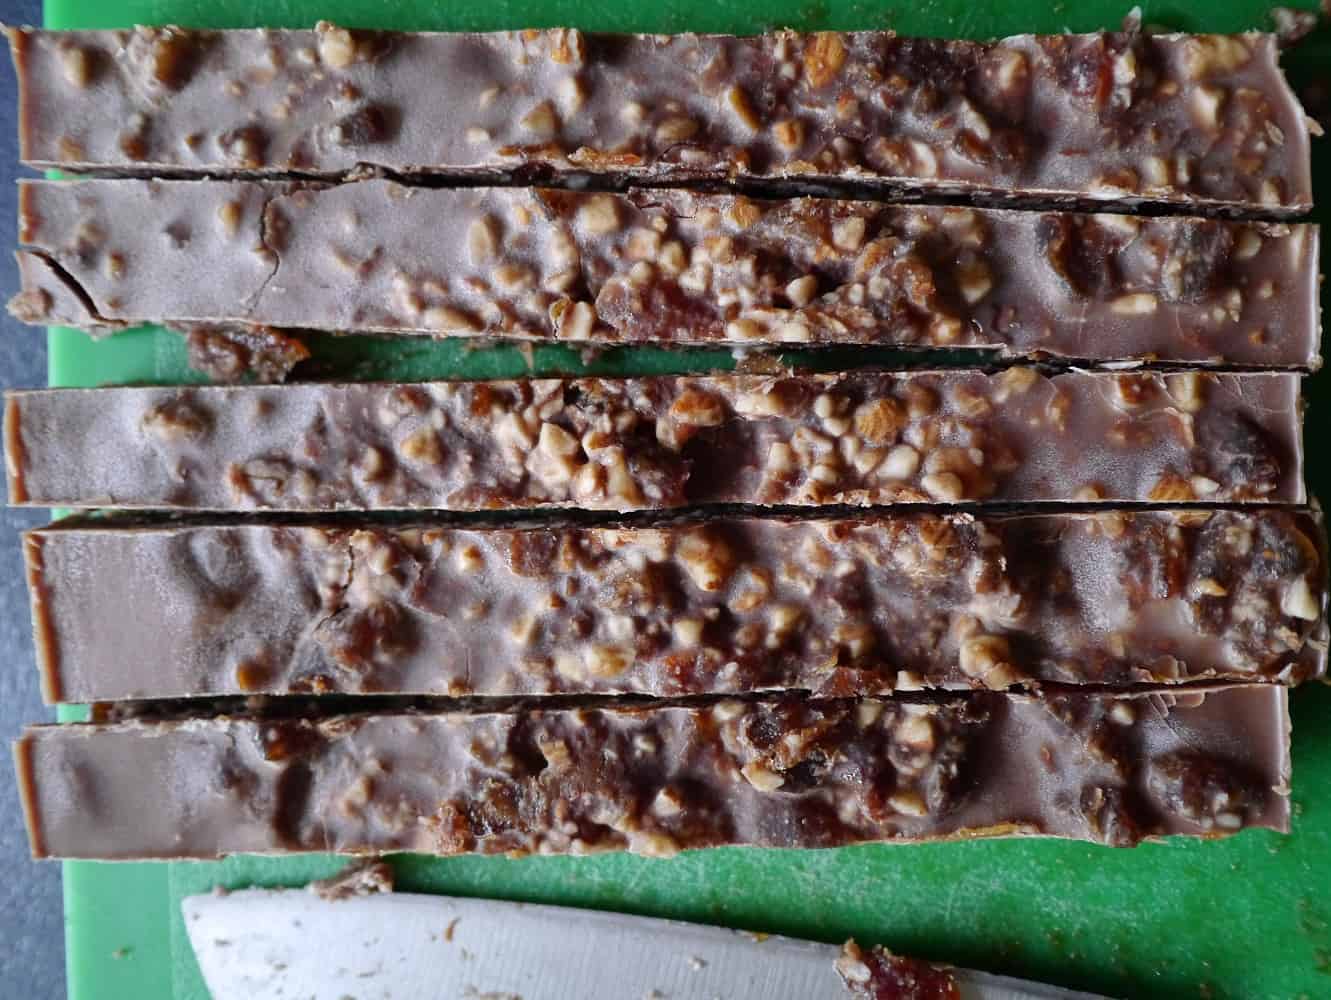
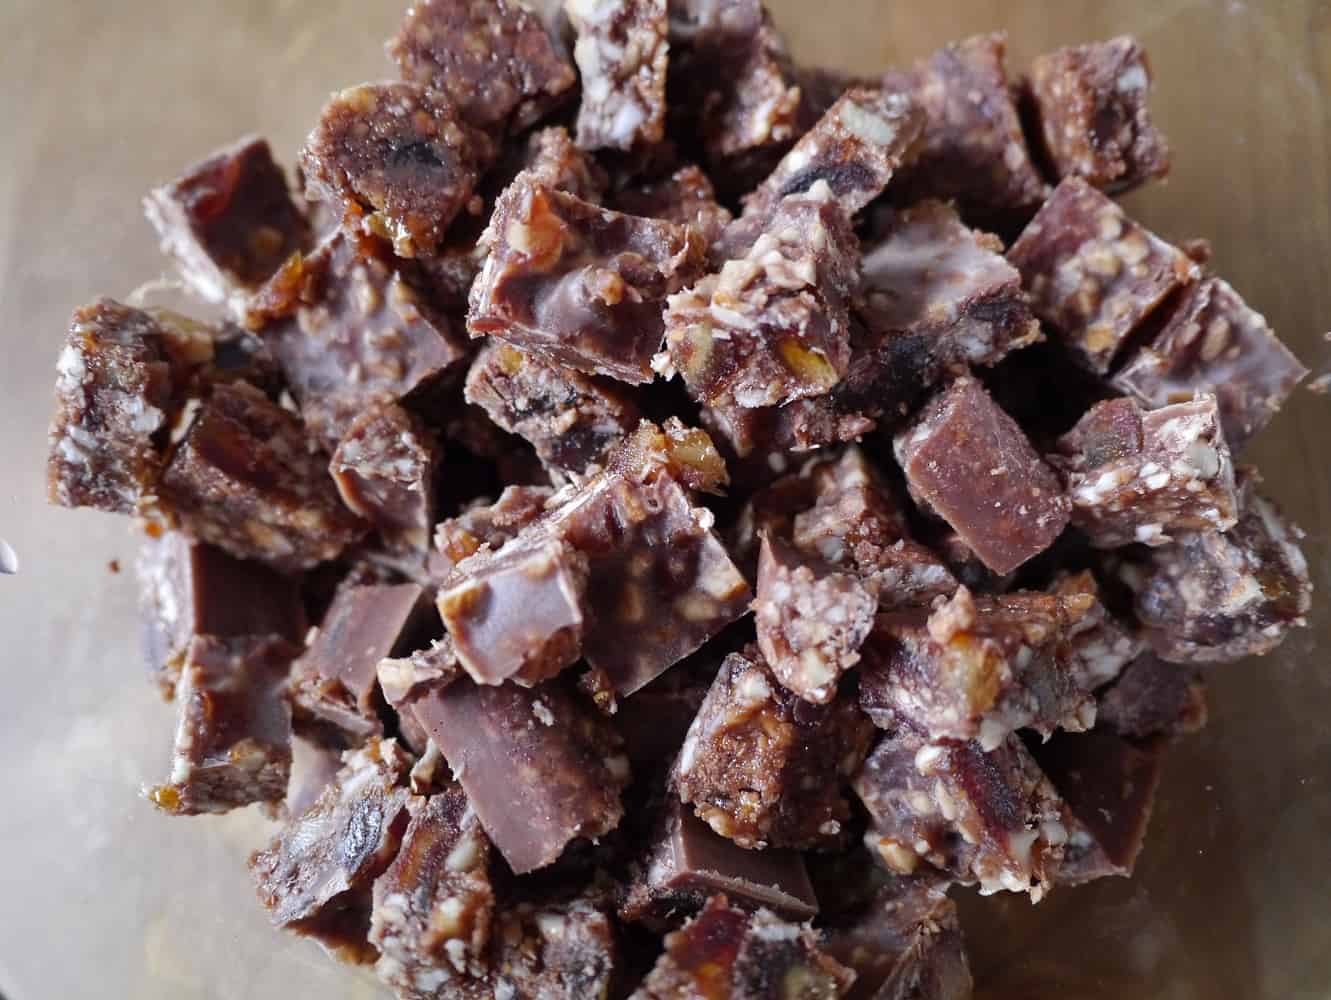
Place in the freezer (make sure the tray is flat) and leave for at least 30 mins until solid. Chop into squares and store in a container in the freezer. (You eat it straight from frozen.) If it doesn’t get eaten immediately, it will last for a month.

rawchoc10jpg

rawchoc11jpg

Notes:

Maple syrup is not raw, as it is made from the heated and reduced sap of the maple tree. If you want a raw sweetener then replace the maple syrup with raw honey (which is not suitable for vegans) or raw agave nectar.

Raw cacao is preferable as it is higher in nutrients. If you cannot find it, then I recommend an organic product such as Green & Blacks cocoa powder. Don’t use Cadbury’s as it contains extra ‘flavours’!

[leadpages_leadbox leadbox_id=1429a0746639c5] [/leadpages_leadbox]

How to Make Labne (Cheese) and Greek-style Yoghurt

I recently started making my own yoghurt (you can read about it in this post). The next part of my yoghurt adventure is making Greek-style yoghurt and labne. The great news is that making it requires no additional ingredients and no cooking either!

In case you’ve never heard of it before, labne (also spelled labneh or lebni) is a simple fresh-tasting cheese made from yoghurt that originates from the Middle-East. It is made by straining the yoghurt to drain off the liquid (whey) and leave the solids (curds). The longer that yoghurt is strained, the firmer the consistency. Labne can be made after 4-6 hours and up to 3 days; thickened Greek-style yoghurt is the intermediate product formed after straining for 2-3 hours.

How is this different to shop-bought Greek-style yoghurt?

There’s no additives! Real natural yoghurt is fairly thin and runny. Draining the liquid off is the natural way to make the yoghurt thicker, but the final volume is much smaller. 1 litre of milk will make 700ml yoghurt, which if strained for several hours will result in around 350ml Greek yoghurt. To save money, instead of straining yoghurt, manufacturers may leave the whey and use additives to bulk and thicken the yoghurt artificially, including gums, gelatine, starch and milk powder. In Australian supermarkets it is almost impossible to find any yoghurt for sale without one or more of these additives. In the UK the market is much better and natural Greek-style yoghurt is more readily available.


Let’s get making!

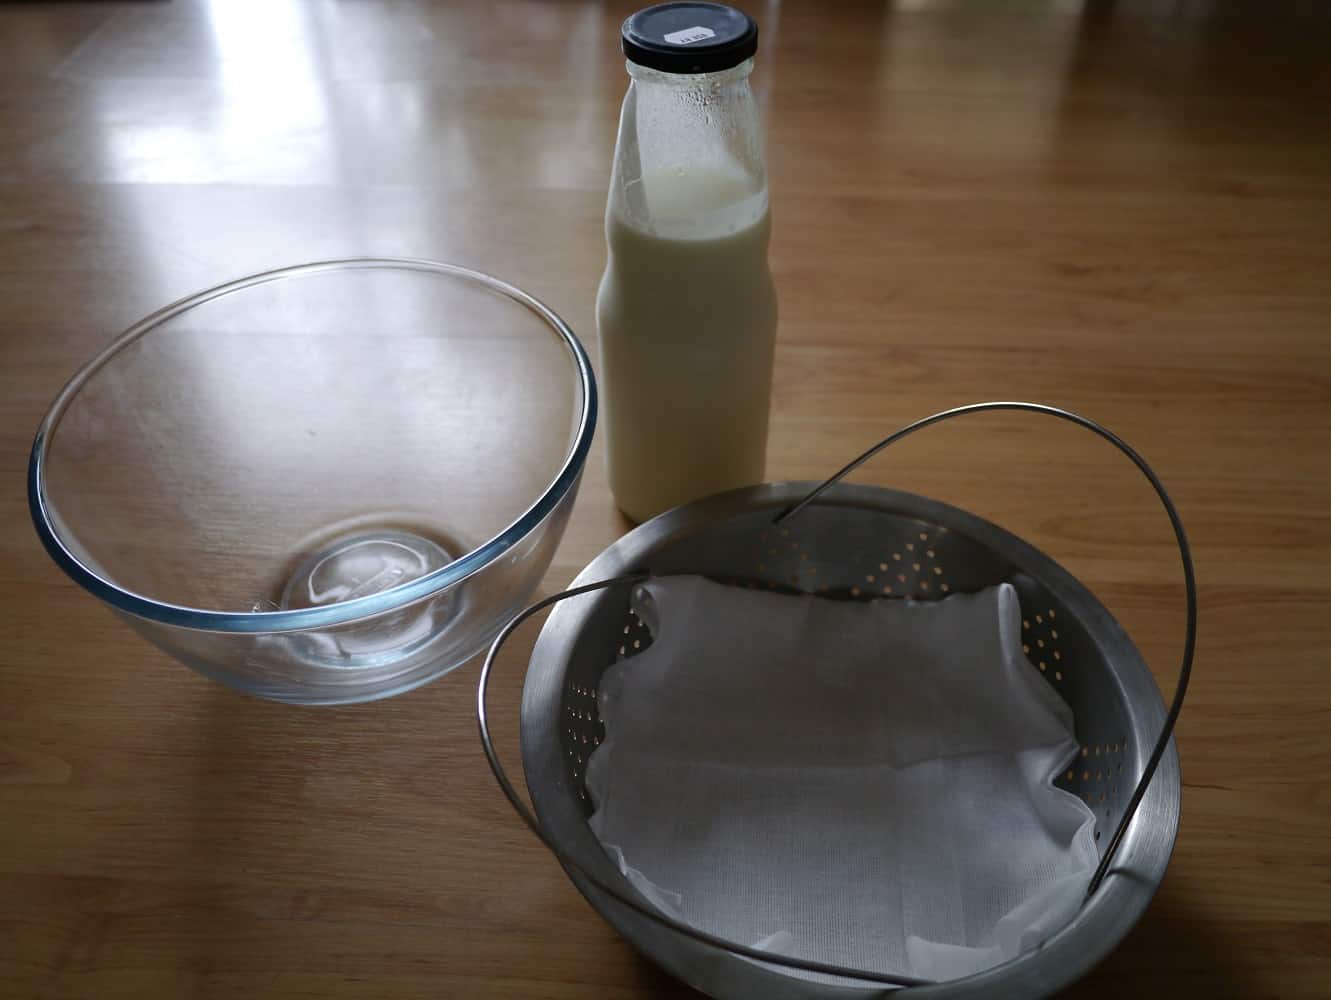
You will need: 1 litre yoghurt, muslin (cheesecloth), a bowl and a sieve or colander. If you don’t have any muslin, you could improvise with other (very clean) material such as an old sheet or tea towel.

How to make thick Greek-style yoghurt

Fold the muslin so it is 4 layers thick and place in the colander. Place the colander over a bowl.

labne1jpg

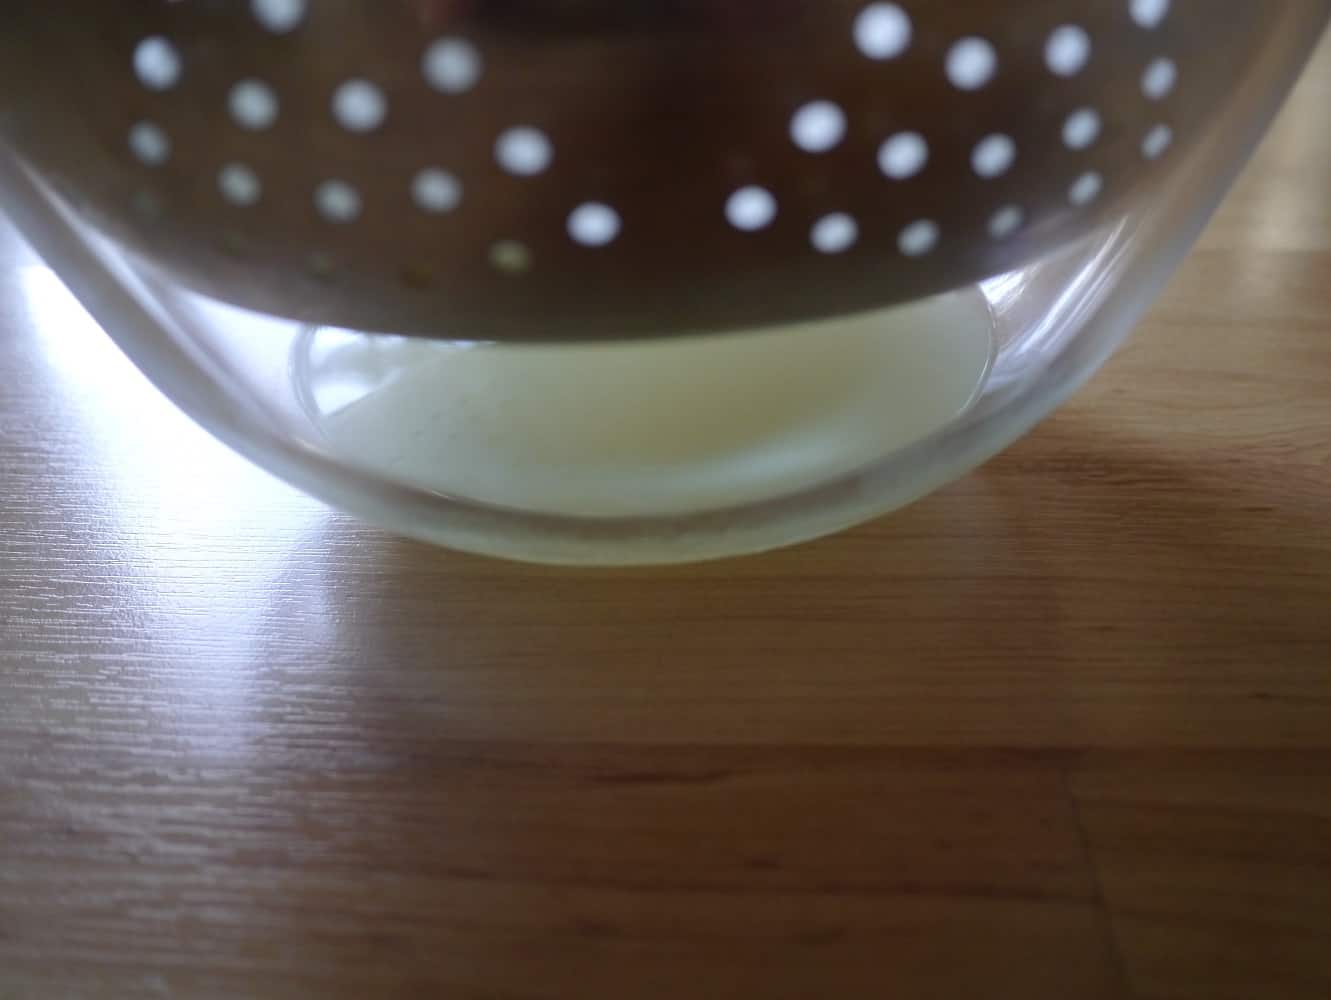
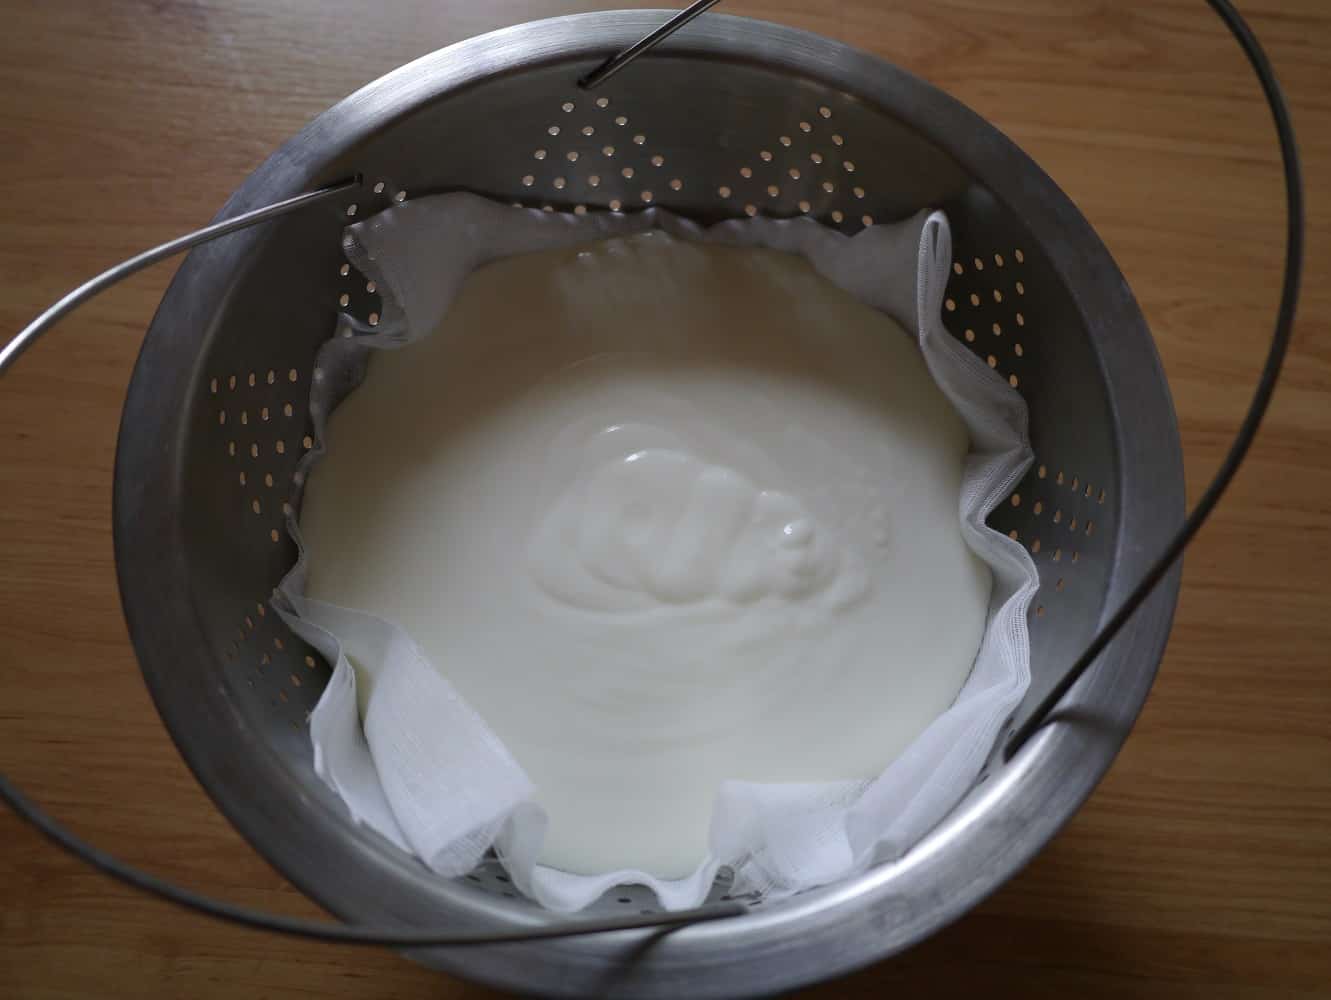
Pour the yoghurt onto the muslin. The whey will begin dripping into the bowl below straight away.

labne2jpg

labne3jpg

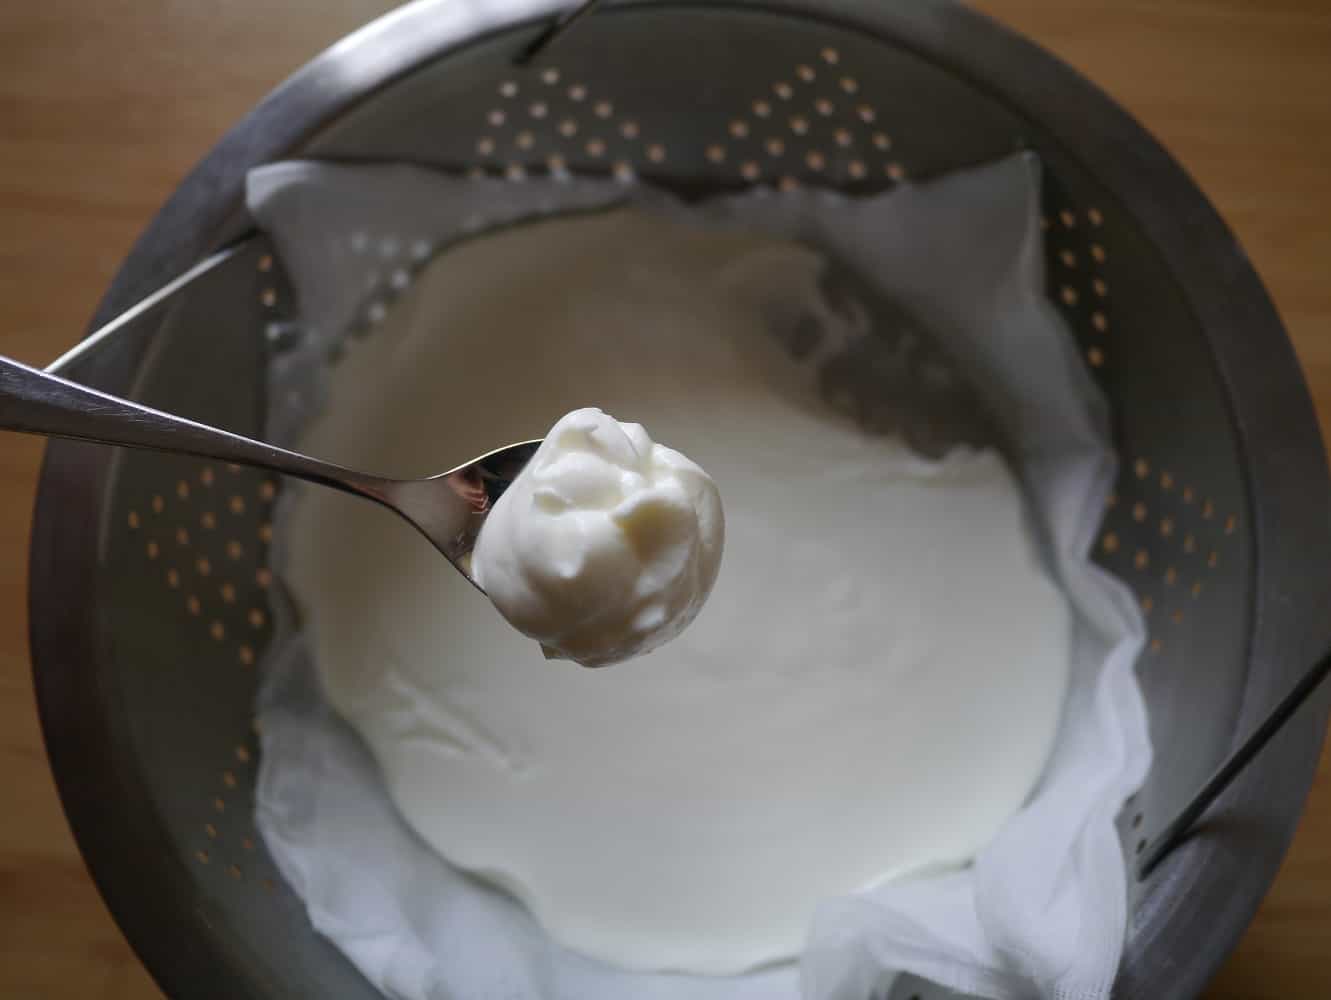
Leave for 2-3 hours until thickened.

labne4jpg

Place in a glass jar and store in the fridge. The yoghurt will last for several days.

Note: if your room is not too warm it is fine to leave out on the side whilst the whey drips out. If it is a particularly hot day or you would prefer, place the bowl in the fridge instead of leaving at room temperature.

How to make labne

This is a lengthier version of the previous recipe, and it starts in an identical manner. By leaving the yoghurt for longer you will make labne instead of Greek-style yoghurt.

Fold the muslin so it is 4 layers thick and place in the colander. Place the colander over a bowl.

Pour the yoghurt onto the muslin. The whey will begin dripping into the bowl below straight away.

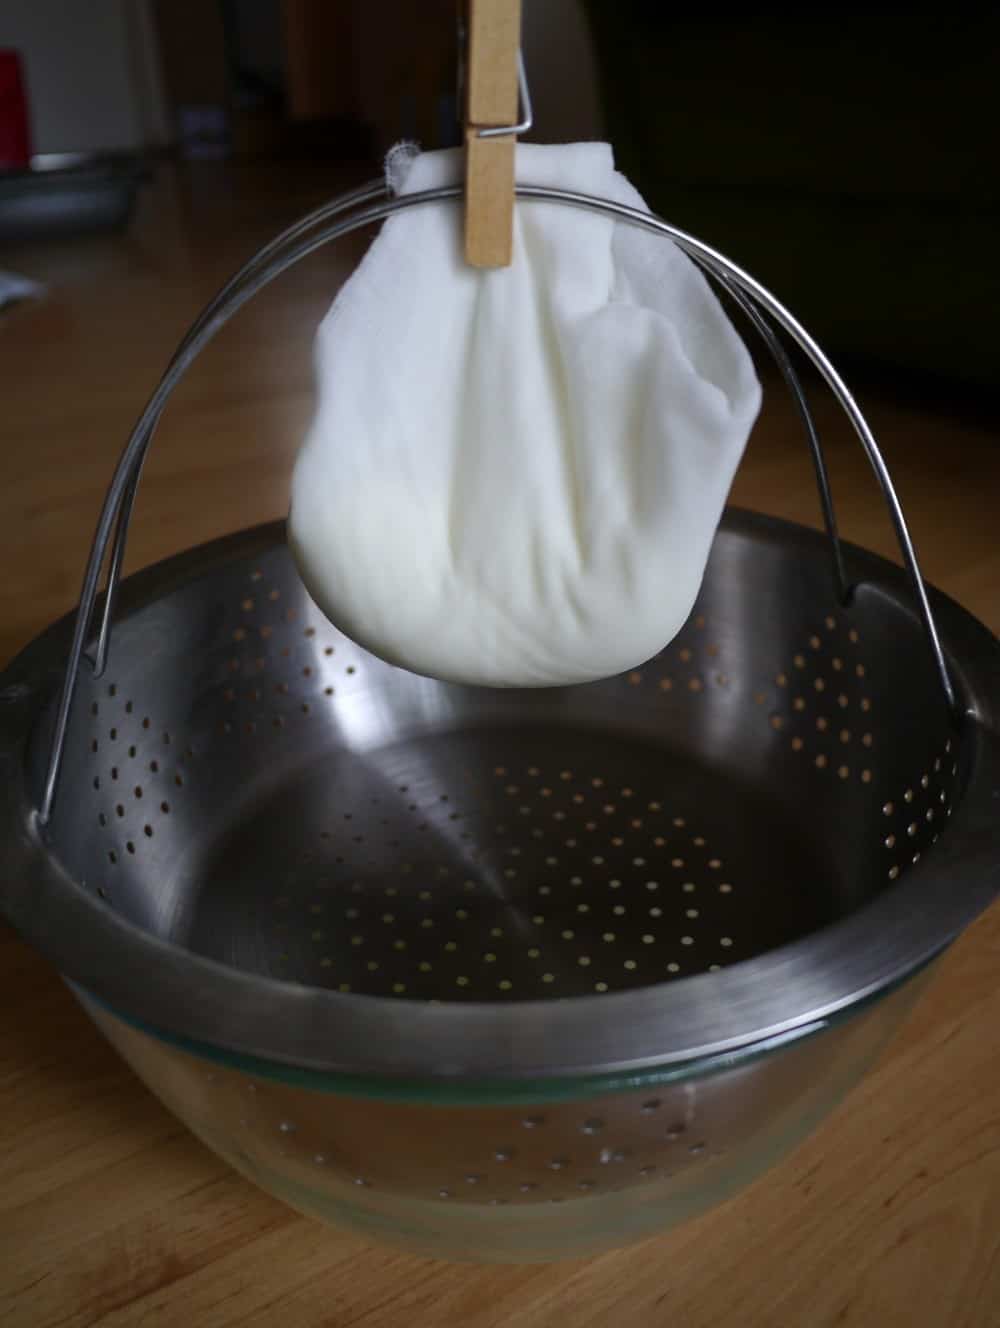
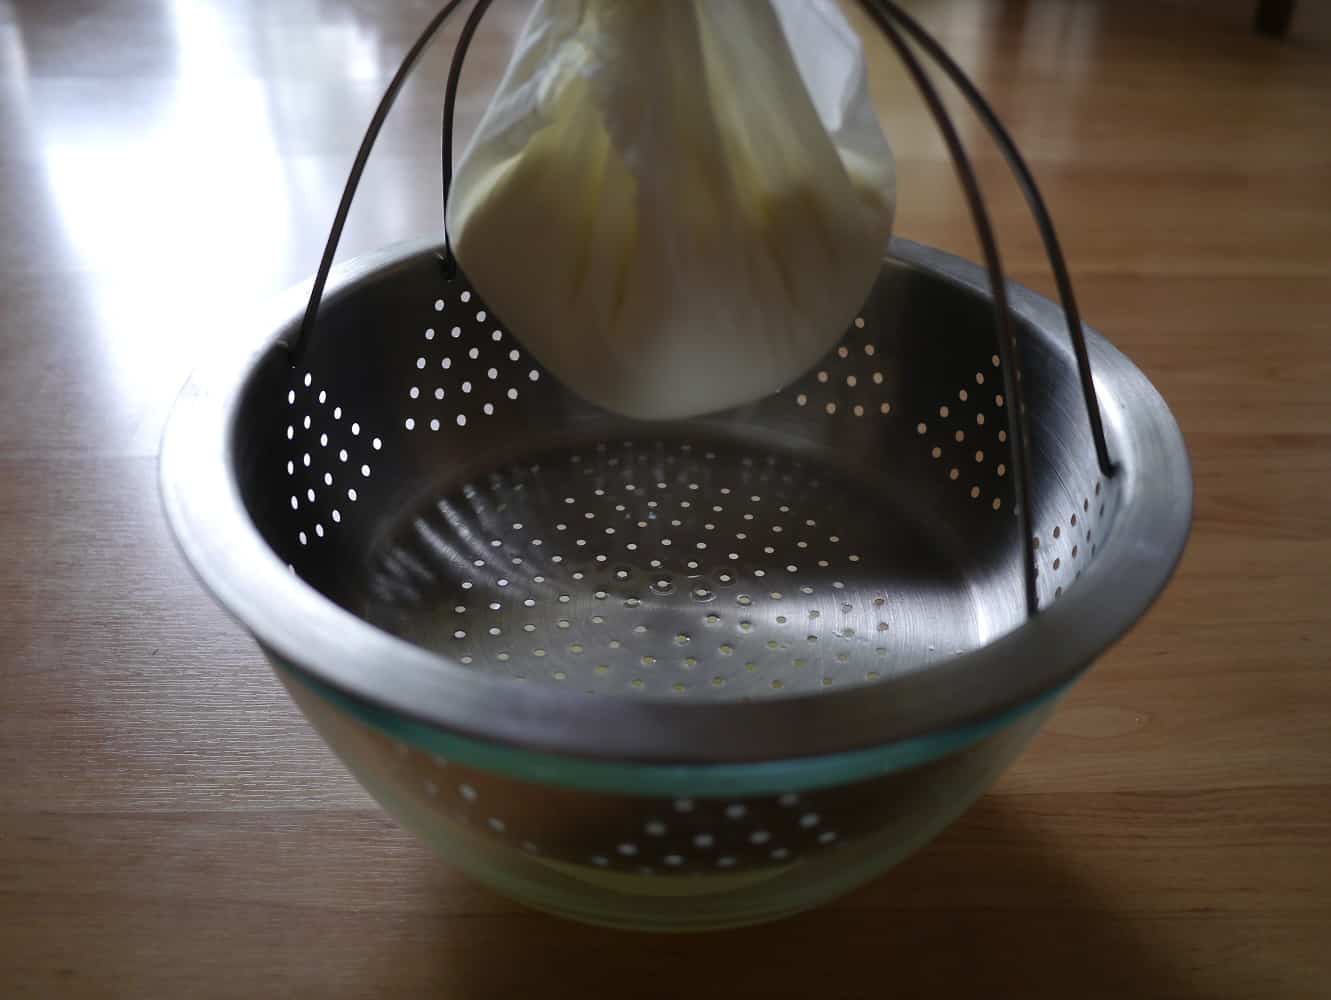
After 2-3 hours, take the four corners of the muslin to make a parcel, and hang over the colander to aid dripping. I used a clothes peg.

labne8jpg

labne6jpg

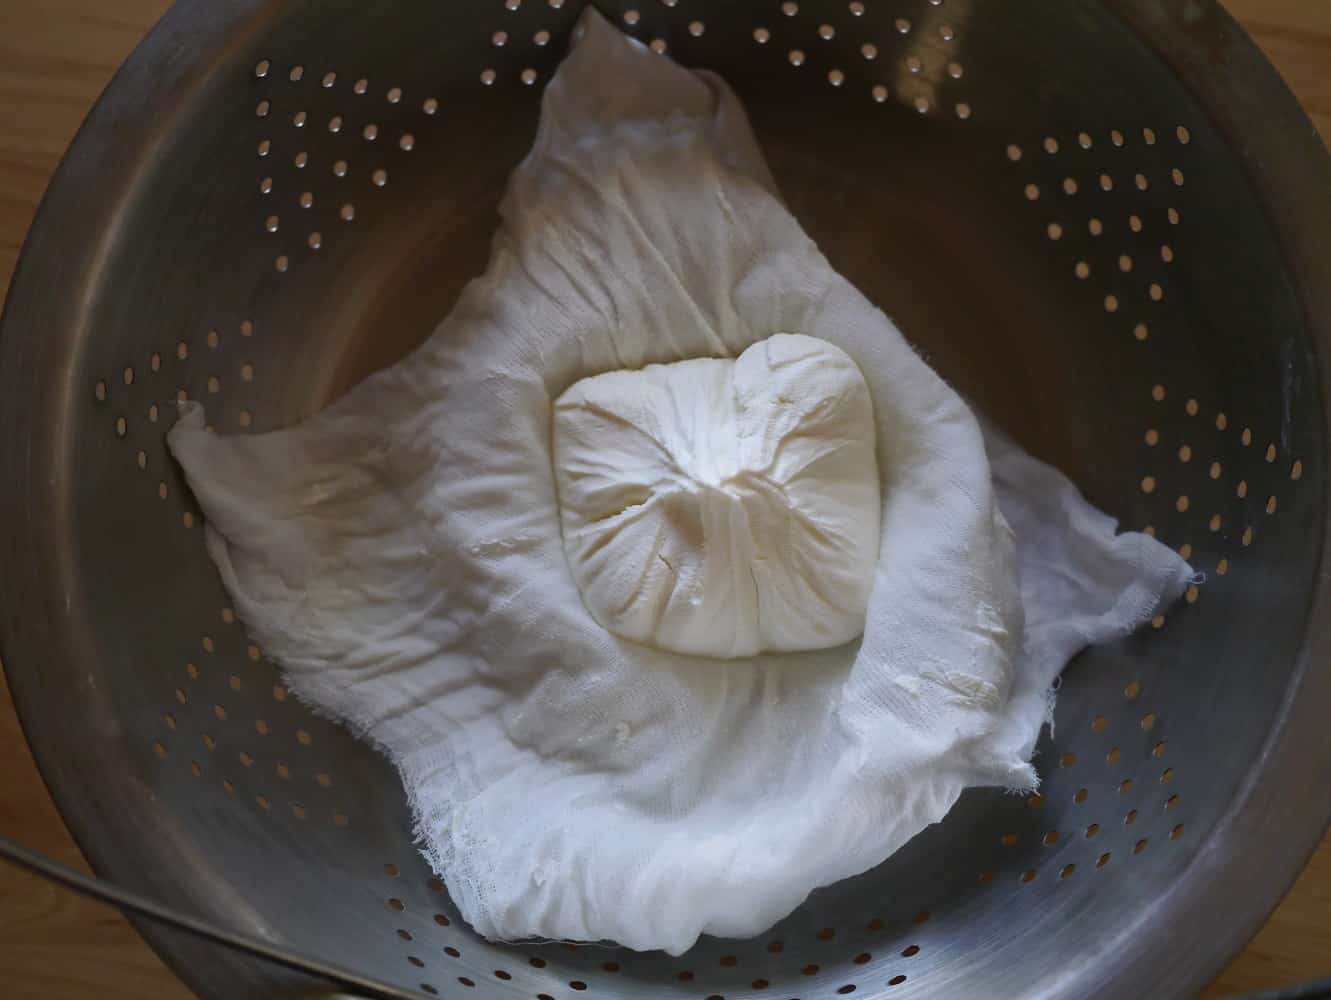
After 6 hours, the yoghurt will have thickened enough to make a soft cheese. You can leave this longer if you want the cheese firmer – leave for up to 2 days in the fridge to make a really firm labne.

labnes1jpg

This is how my yoghurt looked after straining for 6 hours.

When you are happy with the consistency, remove the curd ball from the muslin. You can eat it straightaway or store covered in olive oil in a jar in the fridge – it will keep for up to a week.

Storing your labne with herbs and olive oil:

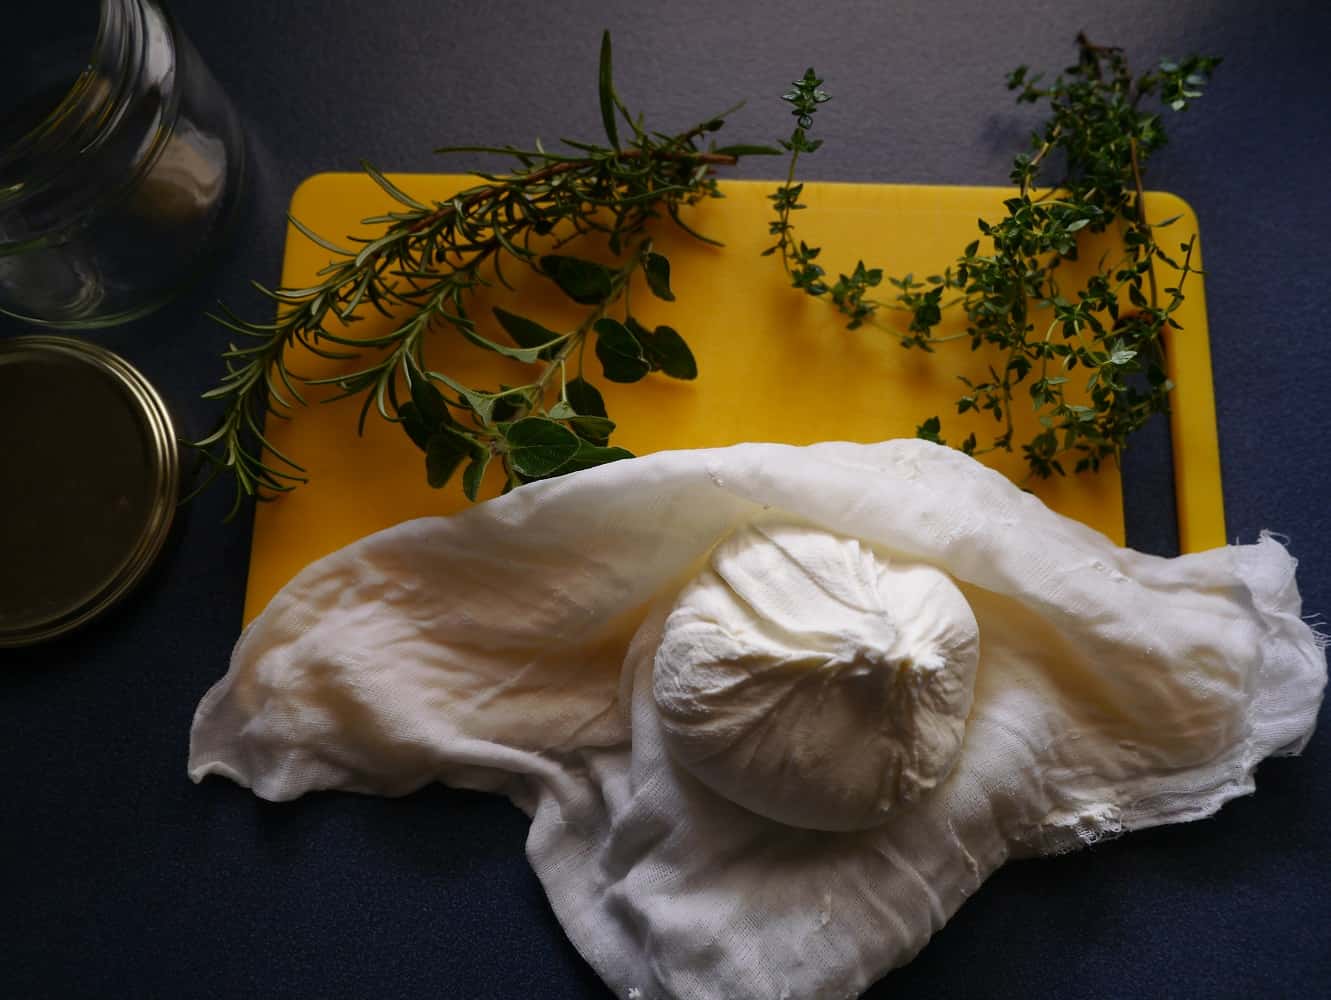
You will need a clean glass jar, olive oil and some fresh herbs.

labnes2jpg

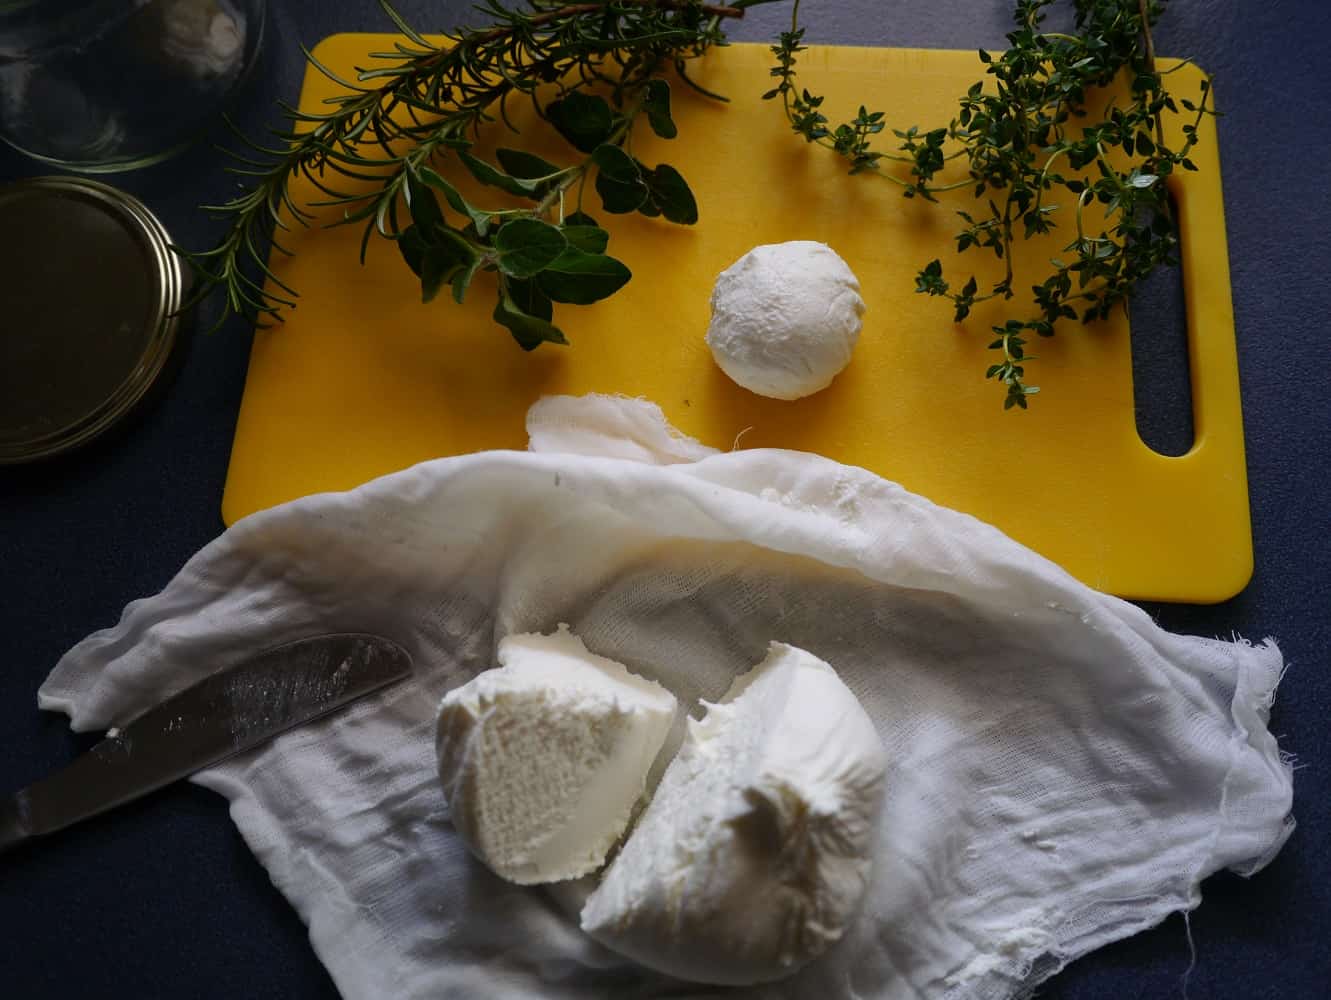
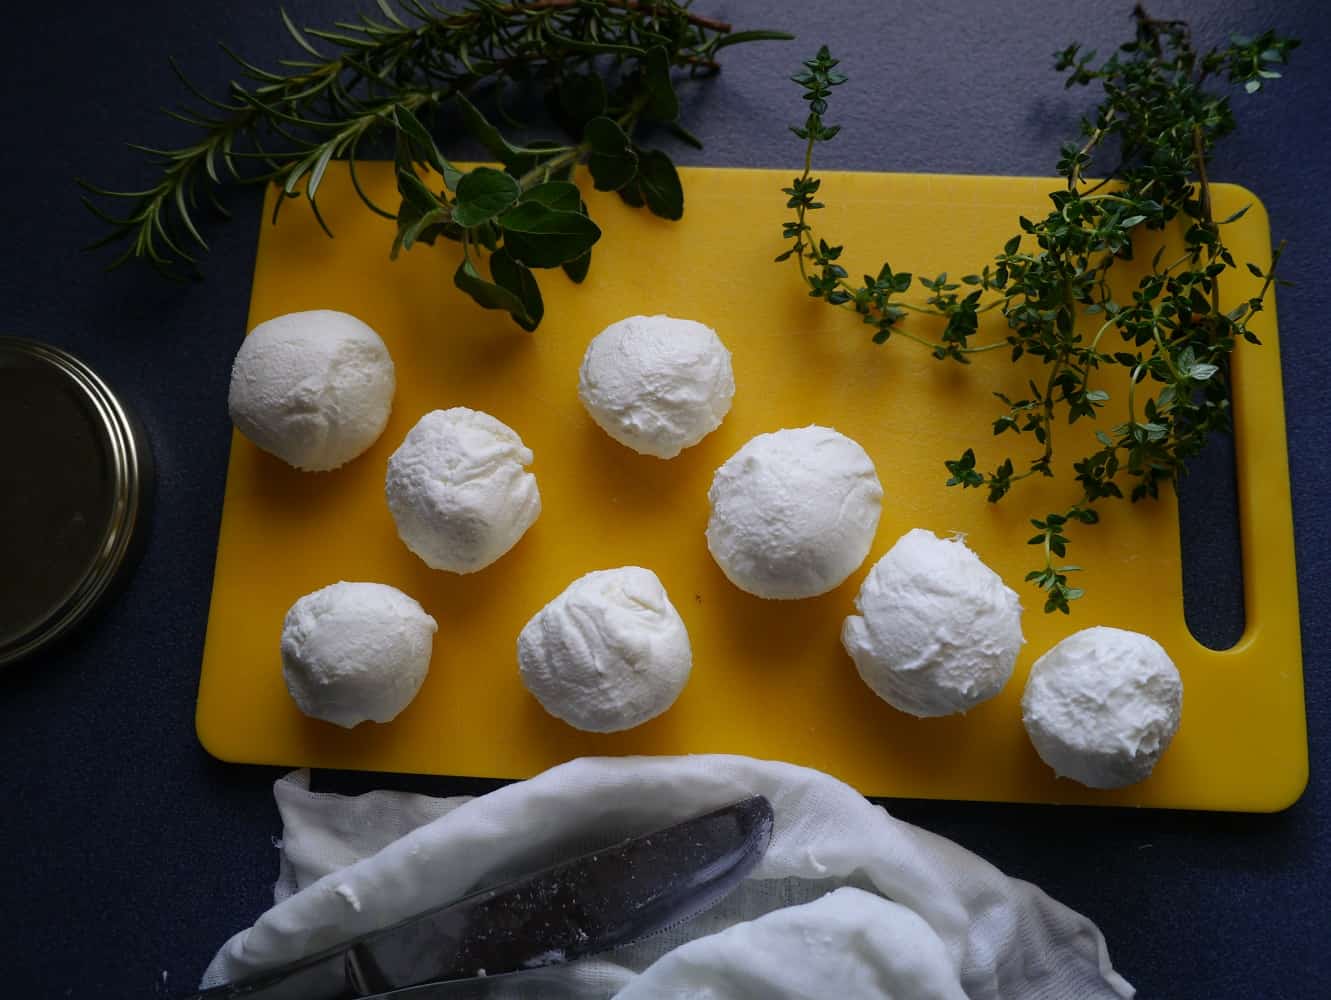
Cut the curd into pieces and shape into walnut-sized balls with your hands.

labnes3jpg

labnes4jpg

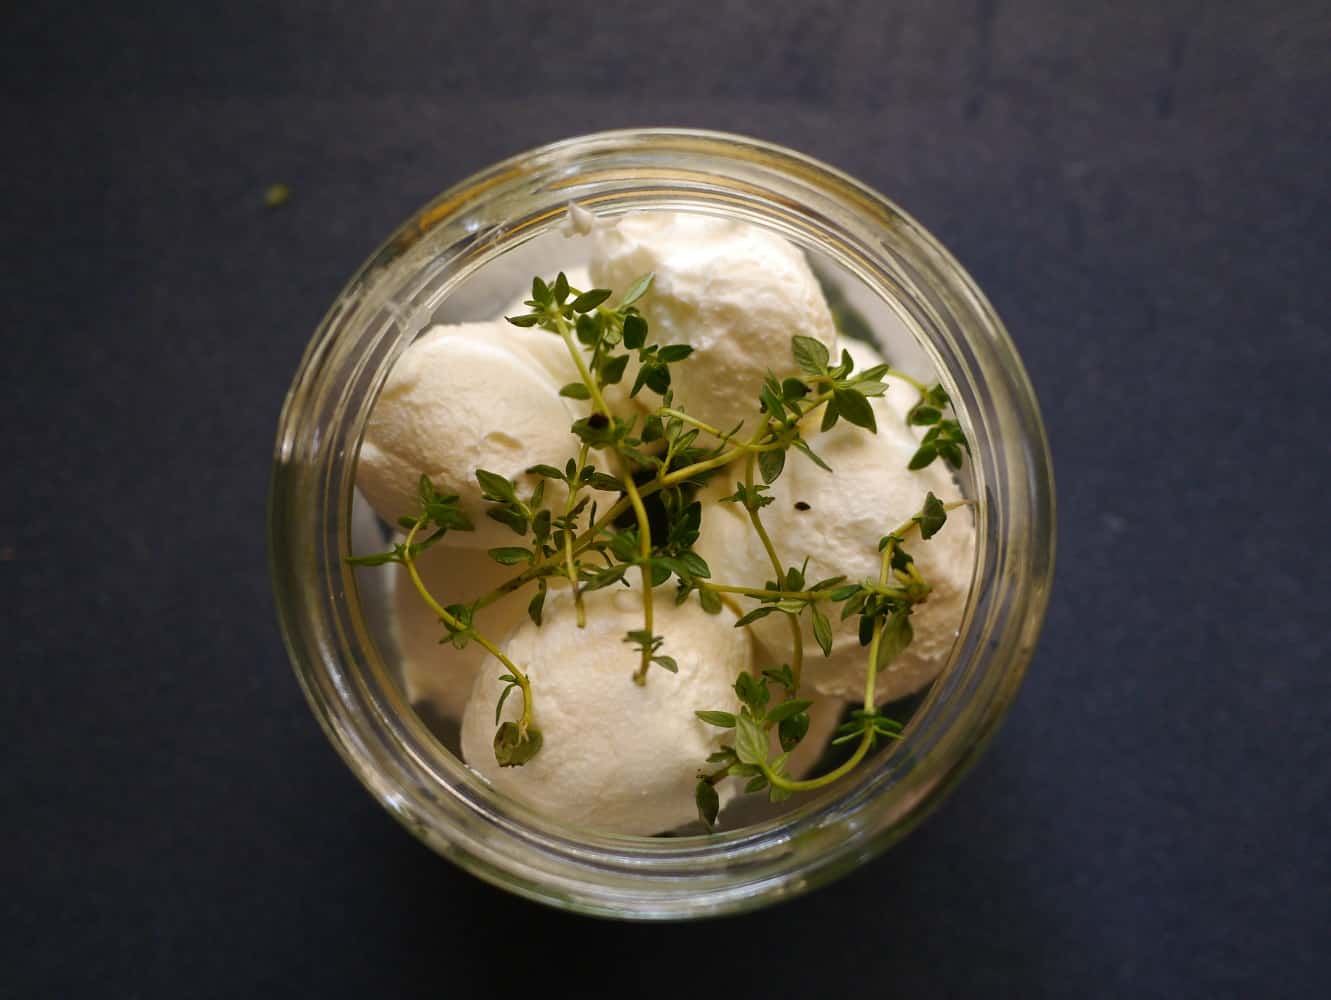
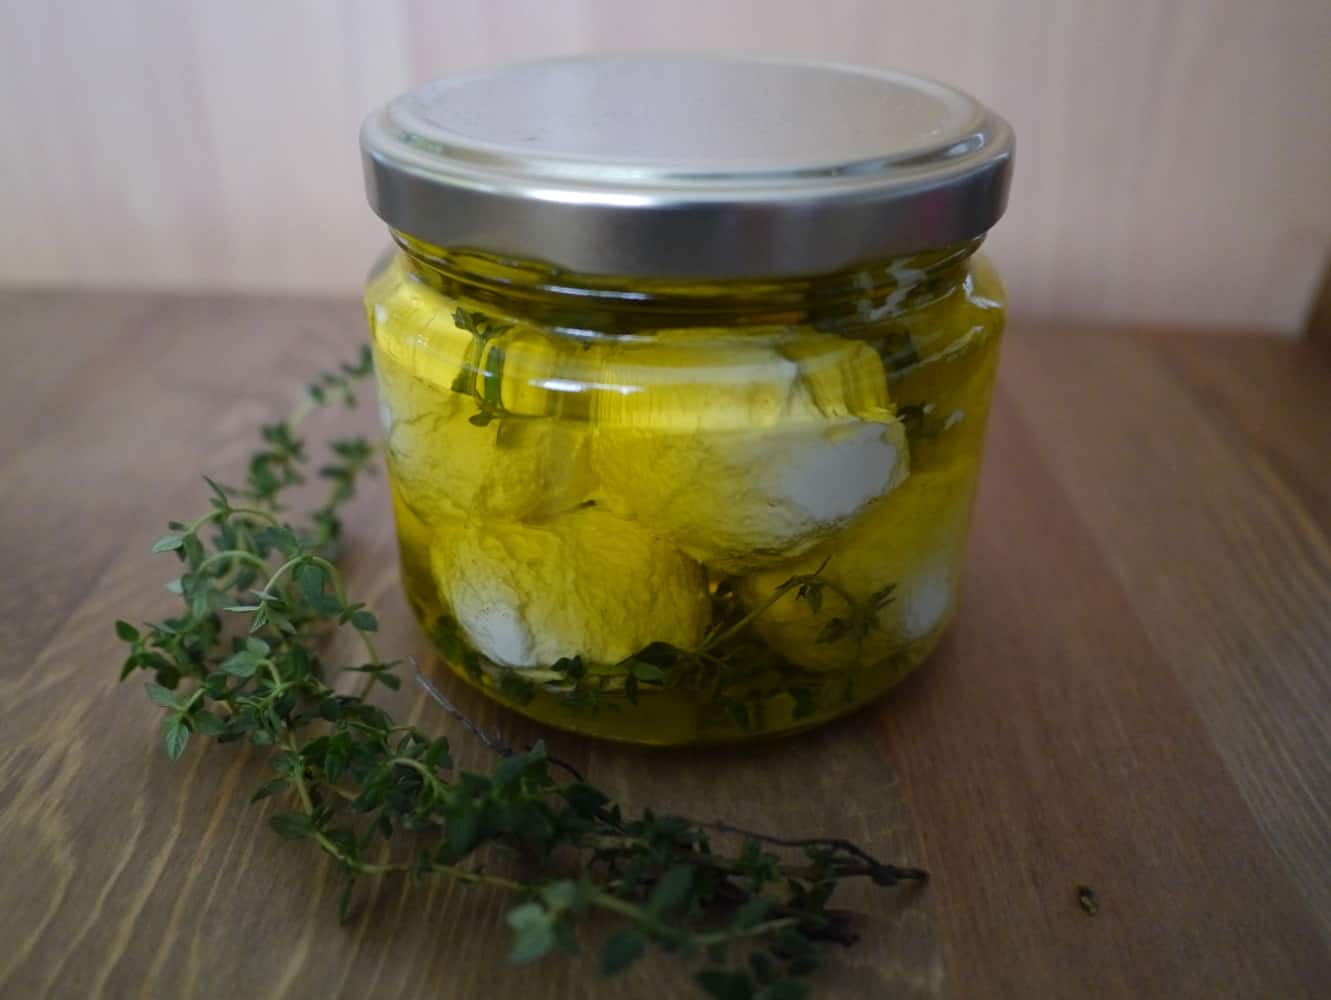
Add the balls to a clean jar along with some herbs, and cover with olive oil.

labnes5jpg

labnes6jpg

labnes7jpg

This will keep in the fridge for up to a week.

Using what’s left – the whey

I used 700ml yoghurt to make my labne, which made enough cheese to fill one small jar, and I was left with 350ml of whey.

wheyjpg

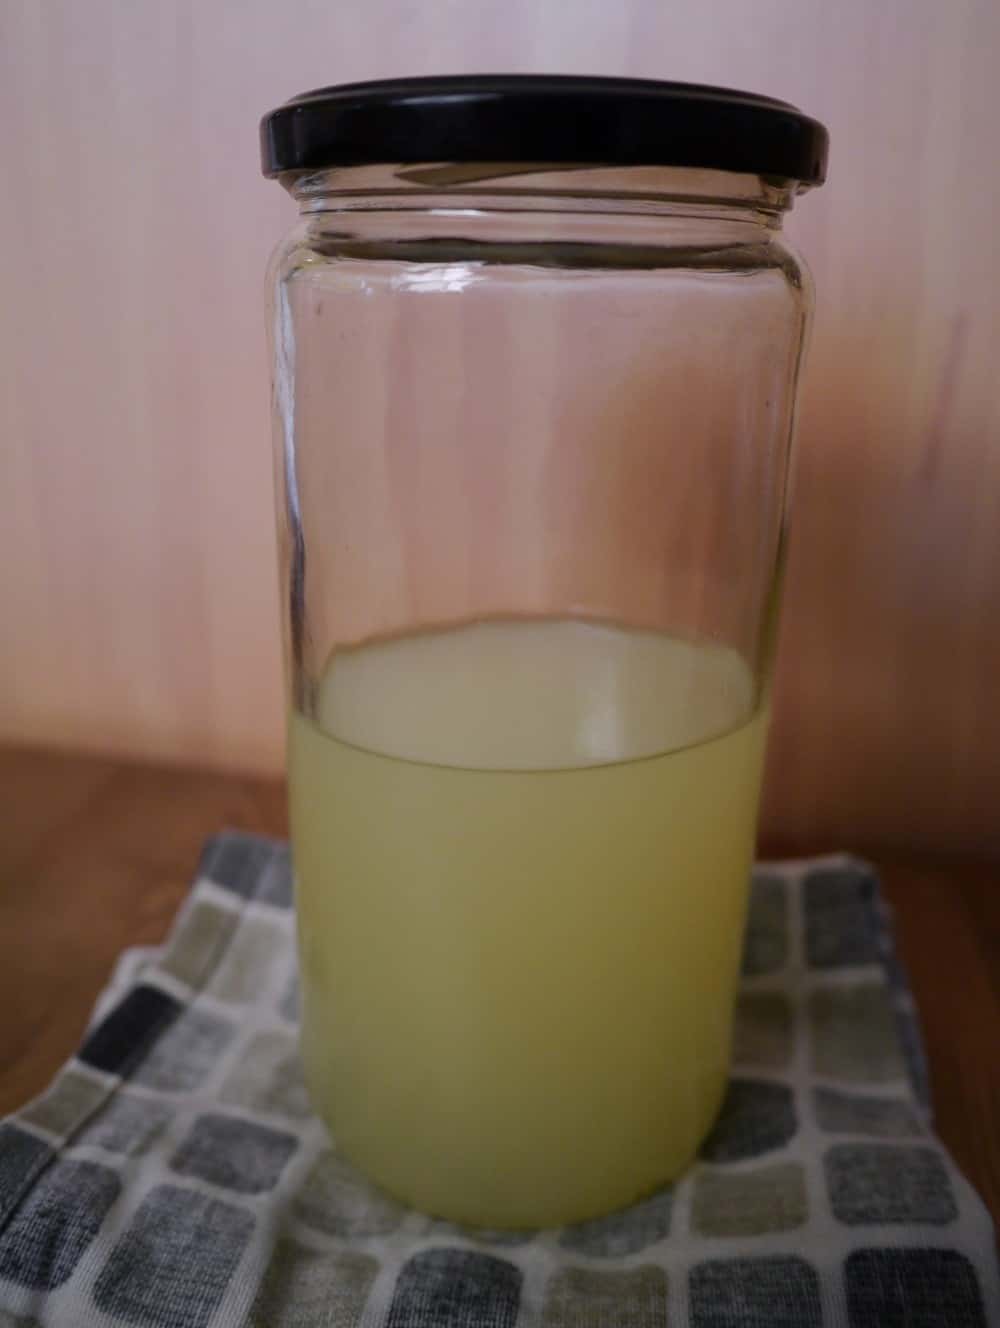
This cloudy yellow watery liquid (which has a similar taste to yoghurt) contains proteins, minerals such as calcium, potassium and B2 as well as friendly lactobacteria, making it a great probiotic. Don’t throw it away!

So…what should you do with it then? Well. It can be drunk as a probiotic drink. It can be used to replace the water when making bread products, or to replace the buttermilk in other recipes. You can use it to soak lentils and grains. Apparently. I wouldn’t like to recommend any of these things without trying them out myself first though, so expect a follow-up blog post in the coming weeks with some helpful tips with what to do with all the leftovers! In the meantime, you can leave it in the fridge in a sealed glass jar for several weeks.

[leadpages_leadbox leadbox_id=1429a0746639c5] [/leadpages_leadbox]
Baking Sourdough Bread.

I love real food, and I especially love fresh real bread. Not the ‘bake-from-frozen’ or ‘filled with additives’ bread that the supermarkets sell as fresh bread, but proper, slow-risin’, crusty, still-warm-from-the-oven bread that is sold in bakeries where the bakers have been up since 4am. The kind of bread with just four basic ingredients: flour, water, salt and yeast.

I particularly love sourdough bread. Sourdough is slightly different to other bread because it requires a sourdough starter which, in addition to yeast, contains lactobacilli bacteria. These ferment the dough giving a distinctive and slightly sour taste. Compared to bread made with commercial yeast only, sourdough is easier to digest because fermentation helps break down gluten, and has a lower glycemic index (GI). Additionally, because sourdough is acidic it discourages mould from growing, and so the sourdough will keep for much longer.

The downside is that buying this kind of bread isn’t cheap. We used to spend over $11 a week buying two loaves from the bakery at the weekend markets. We also had to make sure we made time every weekend to go to the market in order to buy the bread, which was annoying if we wanted to make other plans. The dilemma: have fun…or have bread? Tricky.

So these factors (cost and freedom), combined with the appeal of learning a new skill, led me to decide I was going to teach myself how to make my own bread. That was six months ago, and we haven’t been back to the bread shop since.

There is a shedload of information about sourdough on the internet, and it can get a little overwhelming. I don’t claim to be an expert, but the sourdough I make consistently works, tastes amazing and keeps extremely well. If you think that bread from the shops that is still warm is delicious, wait until you make your own and eat it straight out of the oven!

How to bake a Sourdough loaf

Making sourdough can be thought of in four stages: looking after the starter culture, making the sponge (fermentation), making/proving the dough, and baking the loaf. The whole process takes about 36 hours from start to finish, although the physical time actually doing anything is far less. However it’s quite difficult to pause the stages because you’ve suddenly found something better to do, so it takes a bit of forward planning. That said, the fridge is your friend, and can give you a bit of extra time if something unexpected comes up.

The quantities described below are for making one large and small loaf. If you want to make one medium loaf, simply halve everything.

Total ingredients required: 175-200g sourdough starter culture, 1.010kg bread flour, 600ml water, 22g salt.

Sourdough Starter

To make sourdough you will need a starter culture, which contains yeast and lactobacilli bacteria. I got mine from a friend but if you don’t know anyone who makes their own bread, you could try eBay, Gumtree or Freecycle, or a local bakery.

This culture needs feeding and watering to keep it alive. I keep my culture in the fridge in a glass jar and feed it every time I make bread, which is usually every 10 days or so. It will keep fine in the fridge in-between bakes.

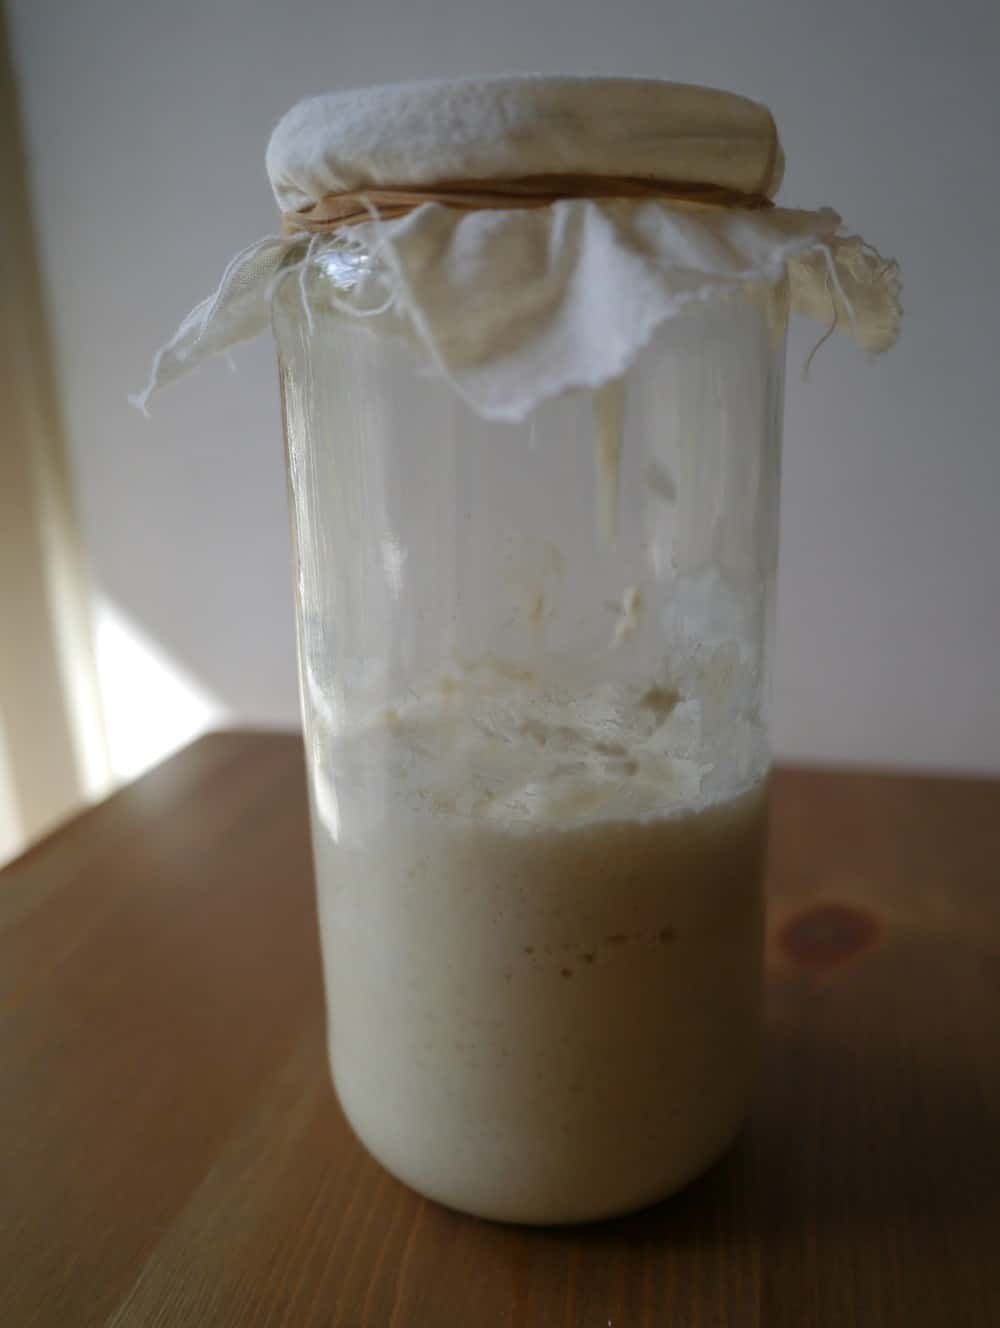
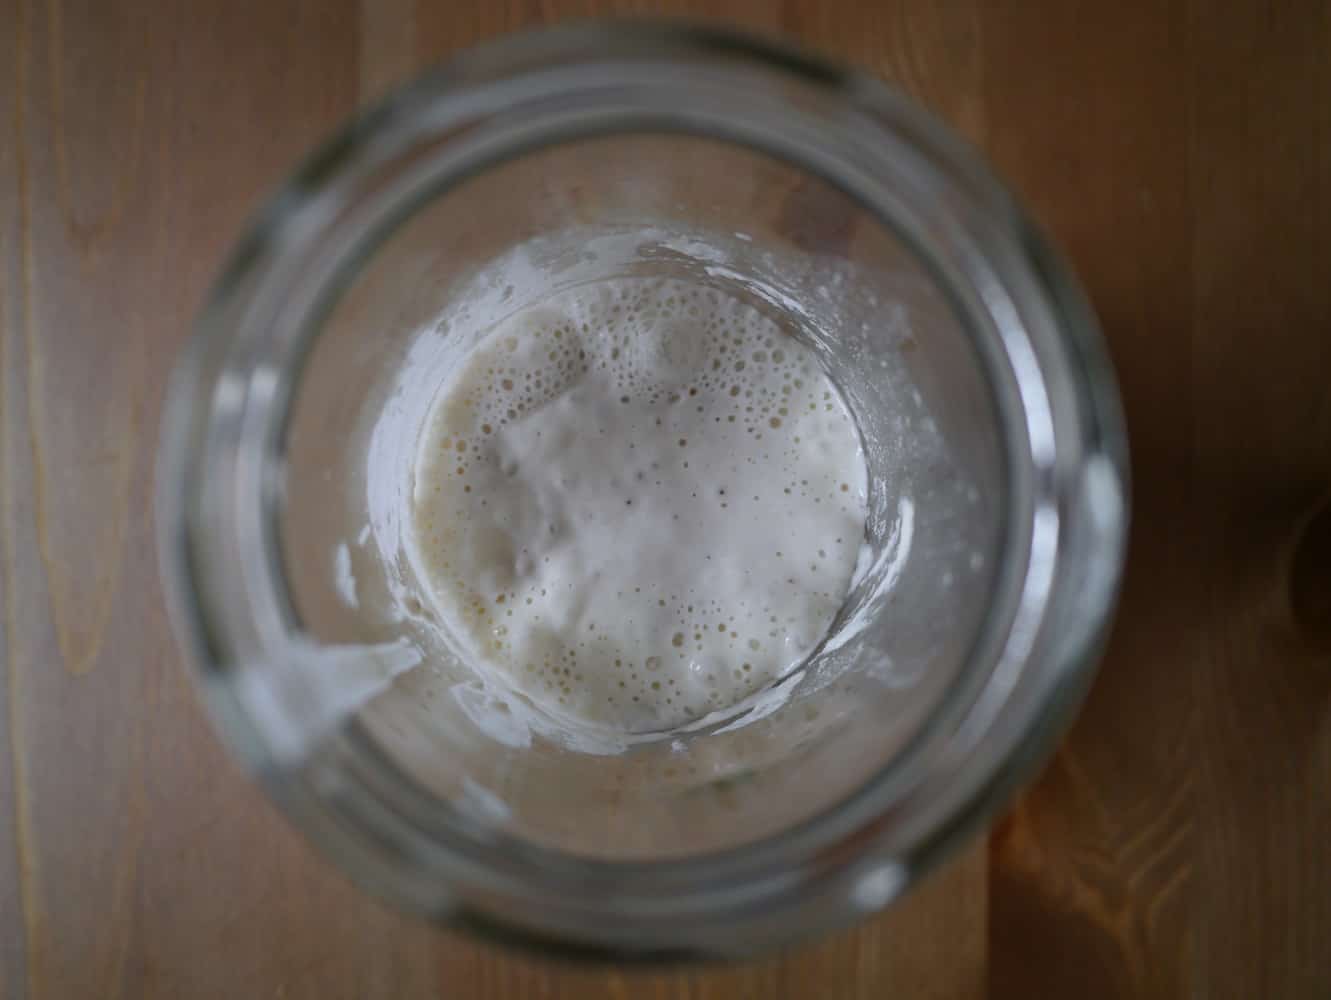
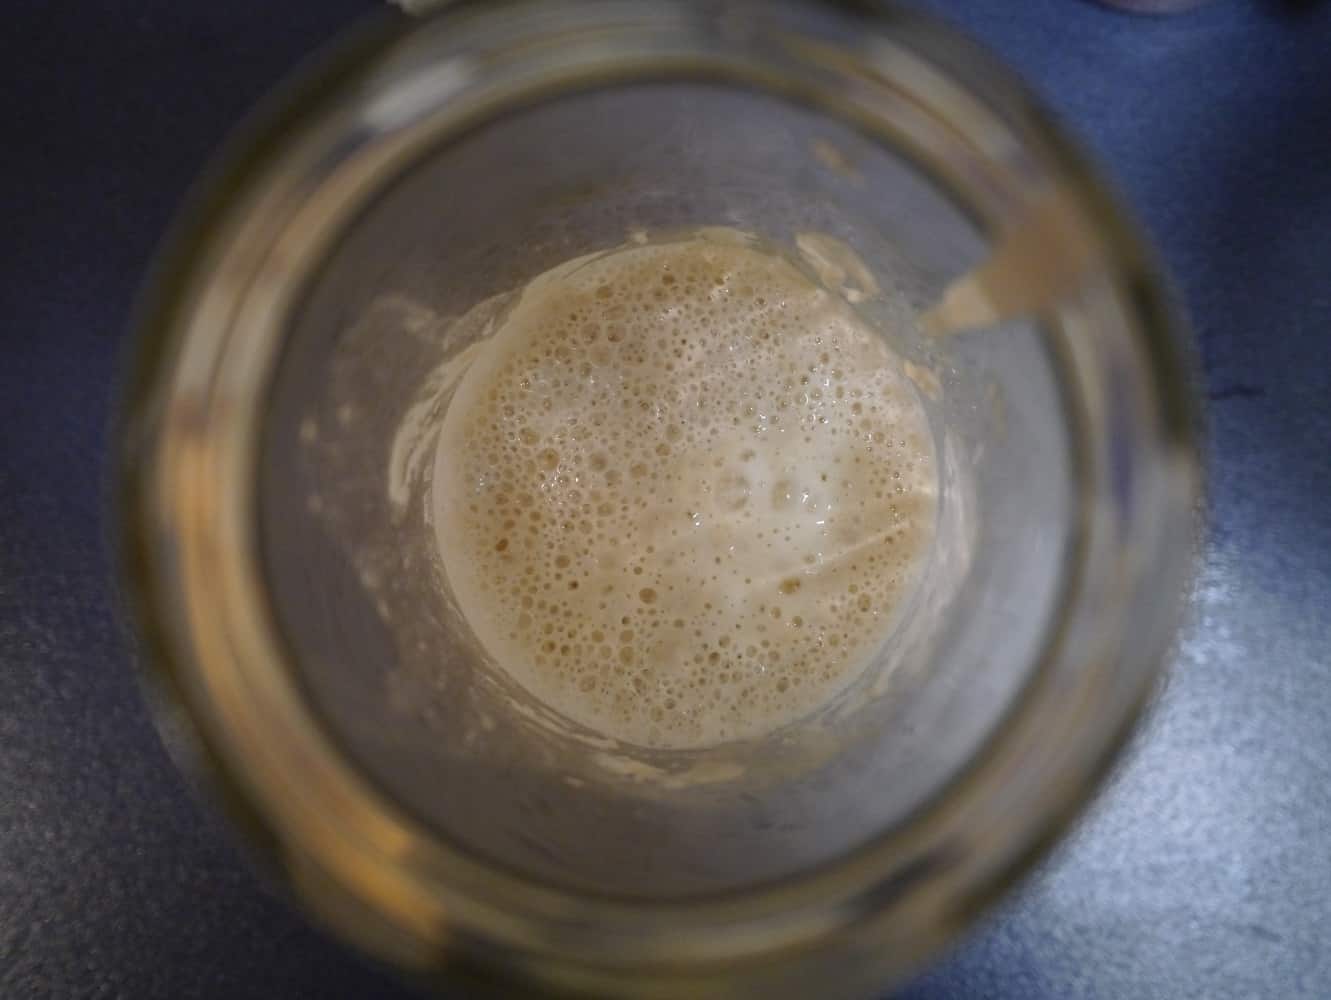
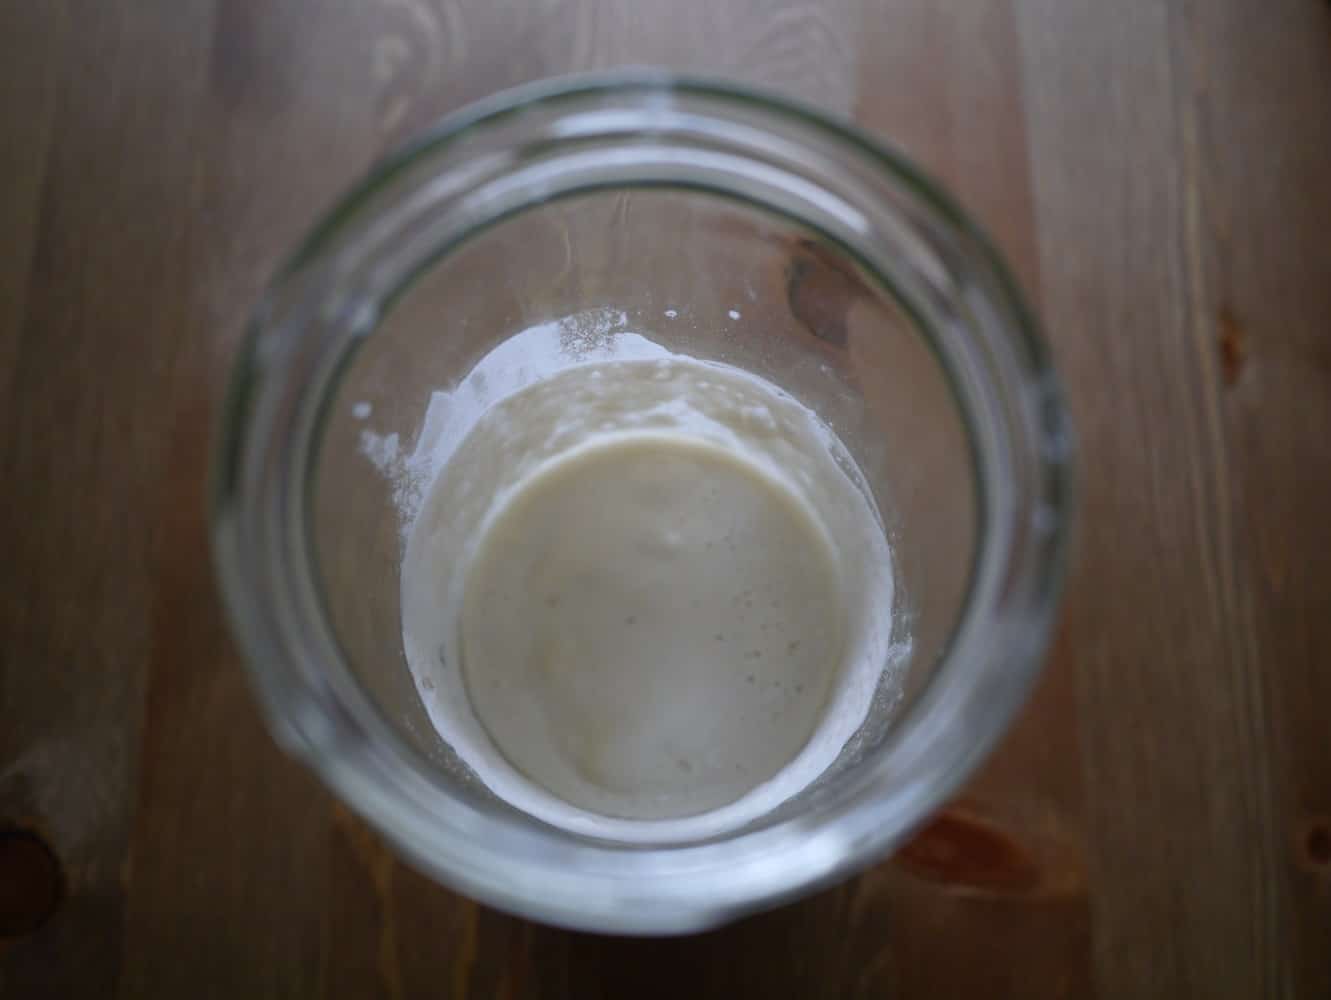
When you’re ready to bake, take the starter culture out of the fridge. It may have gone hard on top and not look very pleasant. Don’t worry! Stir in any lumps and they will be broken down. Leave the culture at room temperature for several hours to allow it to become active and ferment (or ripen). Leaving overnight is fine. What should happen is the culture should bubble and become frothy, and appear to double in size, before deflating back to its original size. This is when it’s ripe and ready to use. If you’re not sure whether it’s risen and deflated (if you left it overnight for example) look at the sides of the jar; if it has risen it will probably have left a residue.

oldstarter2jpg

Starter taken from the fridge. It will have started to ferment in the fridge but will not be fully developed.

oldstarter1jpg

The starter after a couple of hours. The bubbles show that fermentation is taking place.

oldstarter3jpg

Fermentation in full swing. The starter will appear to have doubled in volume.

oldripestarterjpg

Fermentation is complete and the starter is ready to use. You can see on the sides of the jar where the culture rose and then sank. Looking for this helps know when your starter is ready.

Before using the starter in your loaf you will need to retain some for the next time you bake. You will need to feed this with flour and water; the ratio starter:flour:water needs to be 1:5:5. So, for 20g of starter you need to add 100g flour and 100g water. This is called a ‘100% hydration starter’. Mix together in a bowl, pour into a clean glass jar, cover with a piece of cloth or a loosened jar lid and return to the fridge.

Making a Sourdough ‘Sponge’

Now you’ve fed your starter you’re ready to start making the loaf. The first part is making what is called the ‘sponge’. The sponge is made of flour, water and starter culture which is allowed to ferment for several hours.

Ingredients:
160-175g starter culture (remember to save 20g for the new starter culture)
460g strong white unbleached bread flour
580-600g filtered water

Method:

Weigh the ingredients into a large bowl (remember that whilst fermenting the mixture will rise). Cover with a tea towel and leave at room temperature for at least 8 hours (or overnight) until the mixture has risen and then deflated.

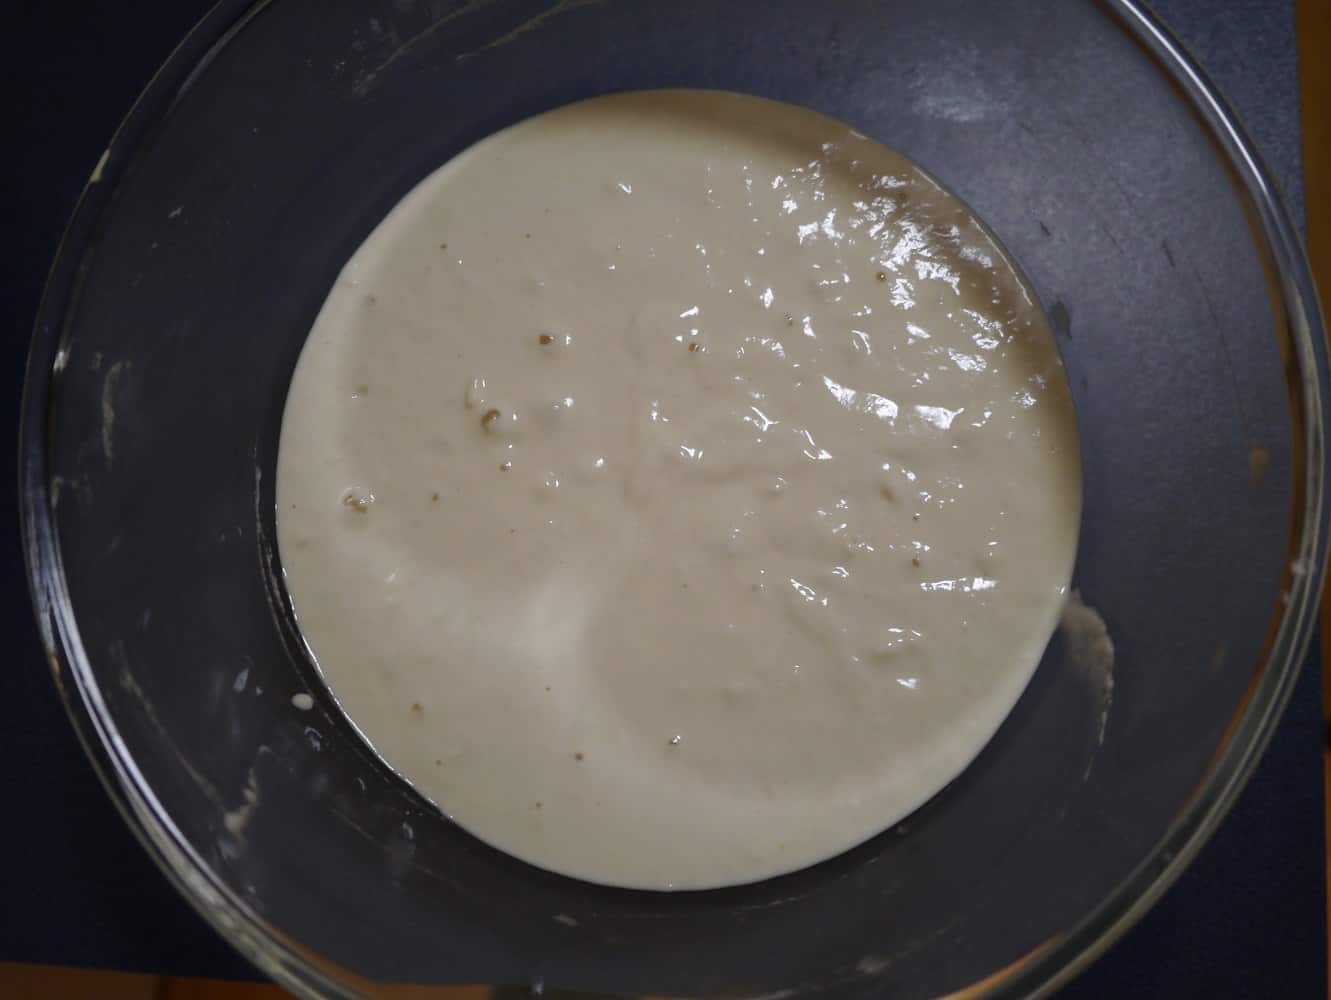
sponge1jpg

The sponge mixture starts with a glossy appearance.

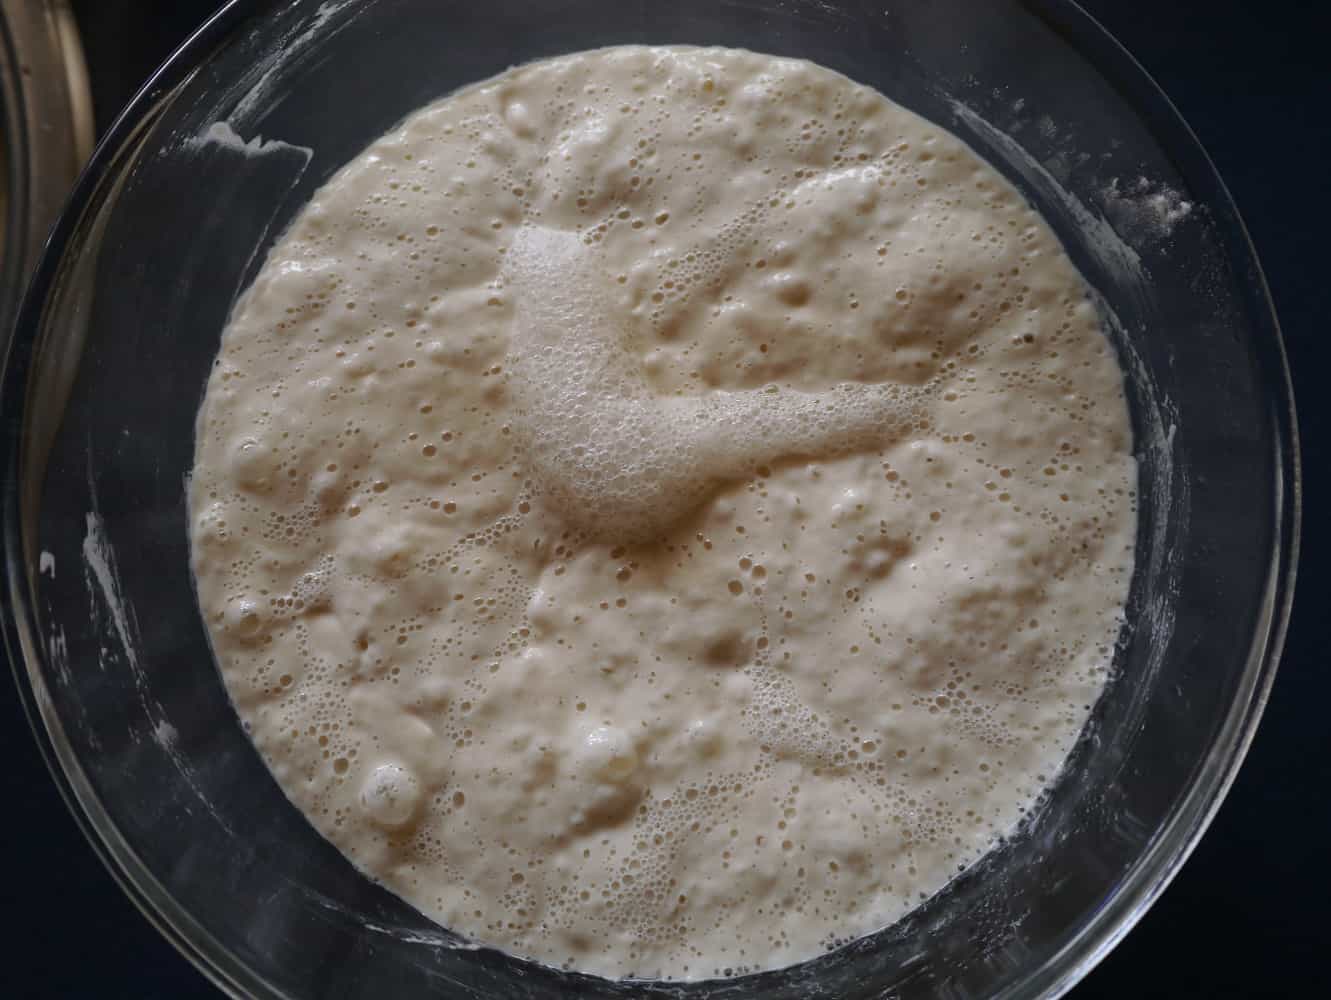
sponge2jpg

As it ferments bubbles appear on the surface and the sponge rises.

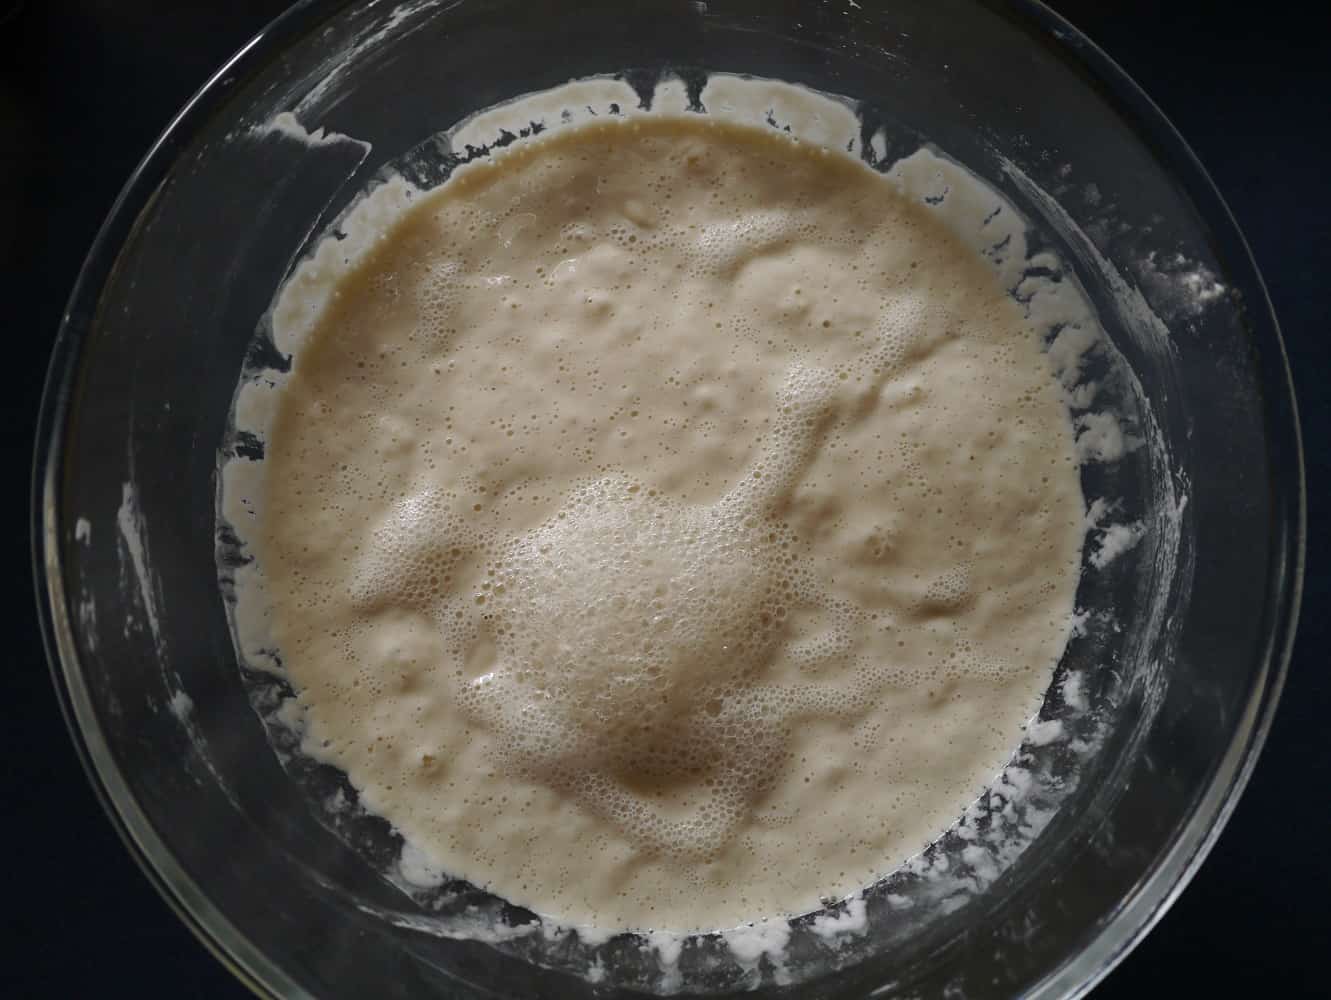
sponge3jpg

When the sponge is ready (ripe) there will be bubbles on the surface but it will have reduced in volume. You can see marks on the side of the bowl where the sponge rose and then sank. Look for this to know when your sponge is ready to use.

Preparing the Sourdough ‘Dough’

This is the stage where timing is more critical. If you don’t have enough time to make the dough, leave it to rise and then bake into bread, the sponge can be left longer until you are ready. I have left the sponge for a day in the fridge when something unexpected came up – just remember to bring it back to room temperature before using to make the dough.

Ingredients:
Fermented sponge (see previous step)
550g strong white unbleached bread flour
22g salt

(Don’t be tempted to leave the salt out. In addition to adding flavour it slows the fermentation rate of yeast, and also strengthens the gluten, which is what allows the dough to rise.)

Method:

Grease a loaf tin (or two) with butter or oil. Add the flour and salt to the bowl containing the fermented sponge mixture. Mix together with a wooden spoon until the mixture becomes stiff.

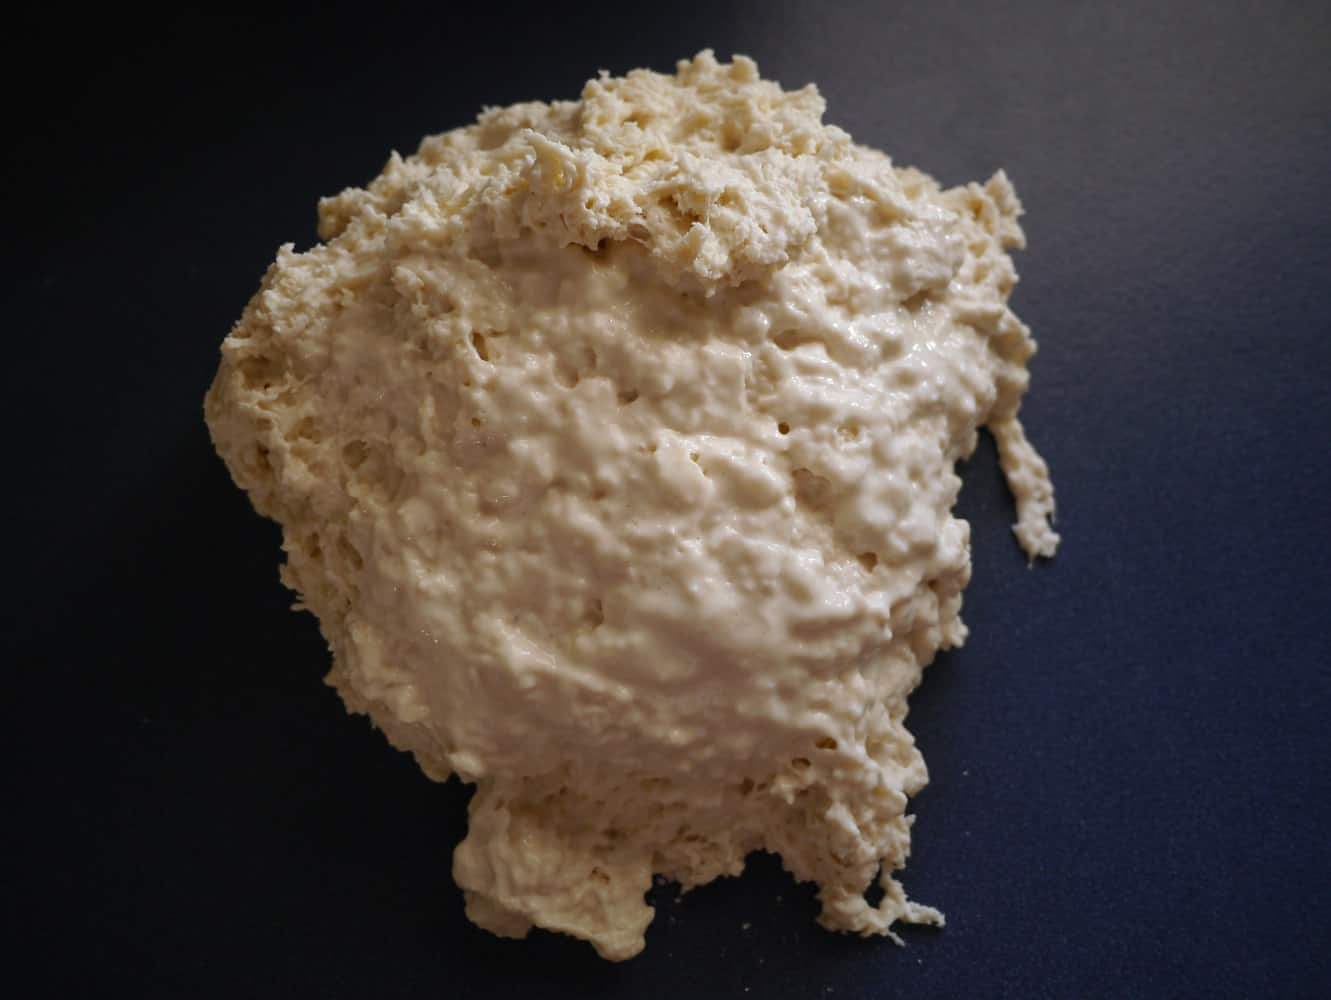
Turn the mixture out onto an un-floured surface. It will look impossibly sticky and nothing like bread dough, but don’t be disheartened. Once you start working it, it will start to look like dough very quickly.

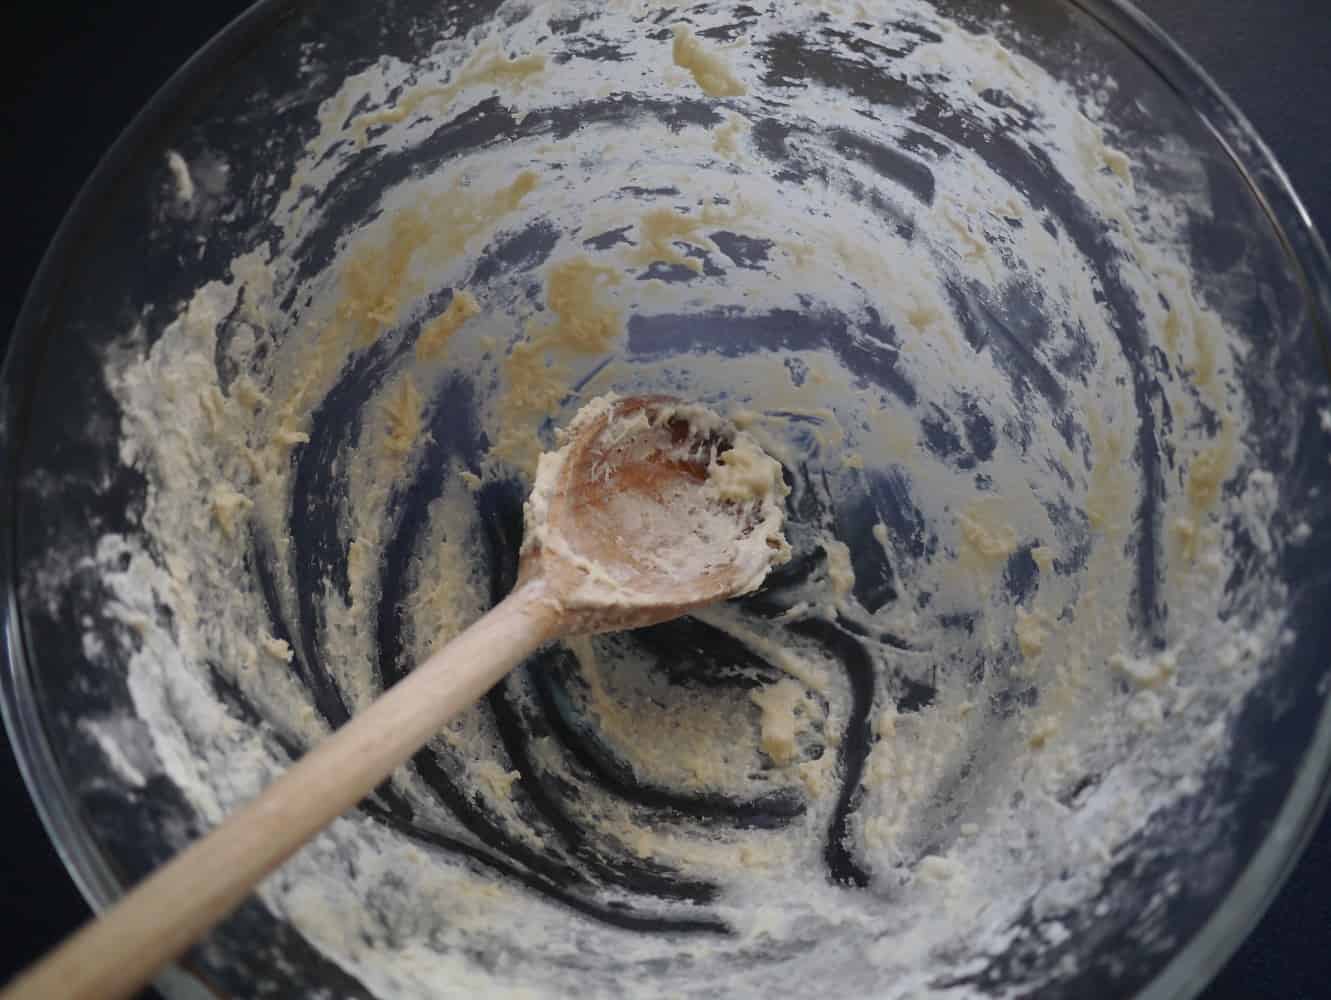
Don't panic if your mix looks like this! With ten minutes kneading, it will look like a proper ball of dough.

Don’t panic if your mix looks like this! With ten minutes kneading, it will look like a proper ball of dough.

Stretch and fold the dough for at least 10 minutes using your hands. (If it is really sticky a large silicon spatula is helpful to begin with.) Working it like this allows the gluten to develop which is needed for the bread to rise.

After 10 minutes the dough should be smooth and elastic (if it isn’t, keep on working it and you’ll get there). Shape into an oblong that will fit into the loaf tin. Cover with a tea towel and leave in a warm place until doubled in size. The time this takes will vary according to the temperature of your kitchen – in Australia I find that in summer it takes around 4 hours, and in winter nearer 6 hours.

You will know your loaf is ready when it has doubled in size. If you leave it too long it will start to sink.

Baking the Sourdough Loaf

Total time required: 30 minutes

Preheat your oven to 250°C.

Pour an inch of water into a roasting tin and place in the oven once it reaches the correct temperature. Once the water in the tray is bubbling, the oven is ready for your loaf. (You can speed this up by using boiling water to pour into the roasting tin.) The steam created will give your loaf a better crust.

Using a sharp knife, score the top of the loaf just before you put into the oven. This will stop the loaf bursting open as it cooks.

bread1jpg

Use the sharpest knife you have and try to cut the bread quickly to avoid dragging the skin.

Place the loaf in the oven. After 10 minutes reduce the heat to 200°C, and bake for another 5 minutes. If one end appears to have cooked more than the other, it is fine to turn the loaf around at this point.

Now turn the oven off and leave for 5 minutes, then open the oven door slightly and leave for another 10 minutes.

Take out of the oven and remove the loaf from the tin and onto a cooling rack as soon as possible – use a clean tea-towel to handle the loaf if it is too hot. If you leave the loaf in the tin the steam will make the crust soggy.

loaf1jpg

loaf3jpg

cutbread4jpg

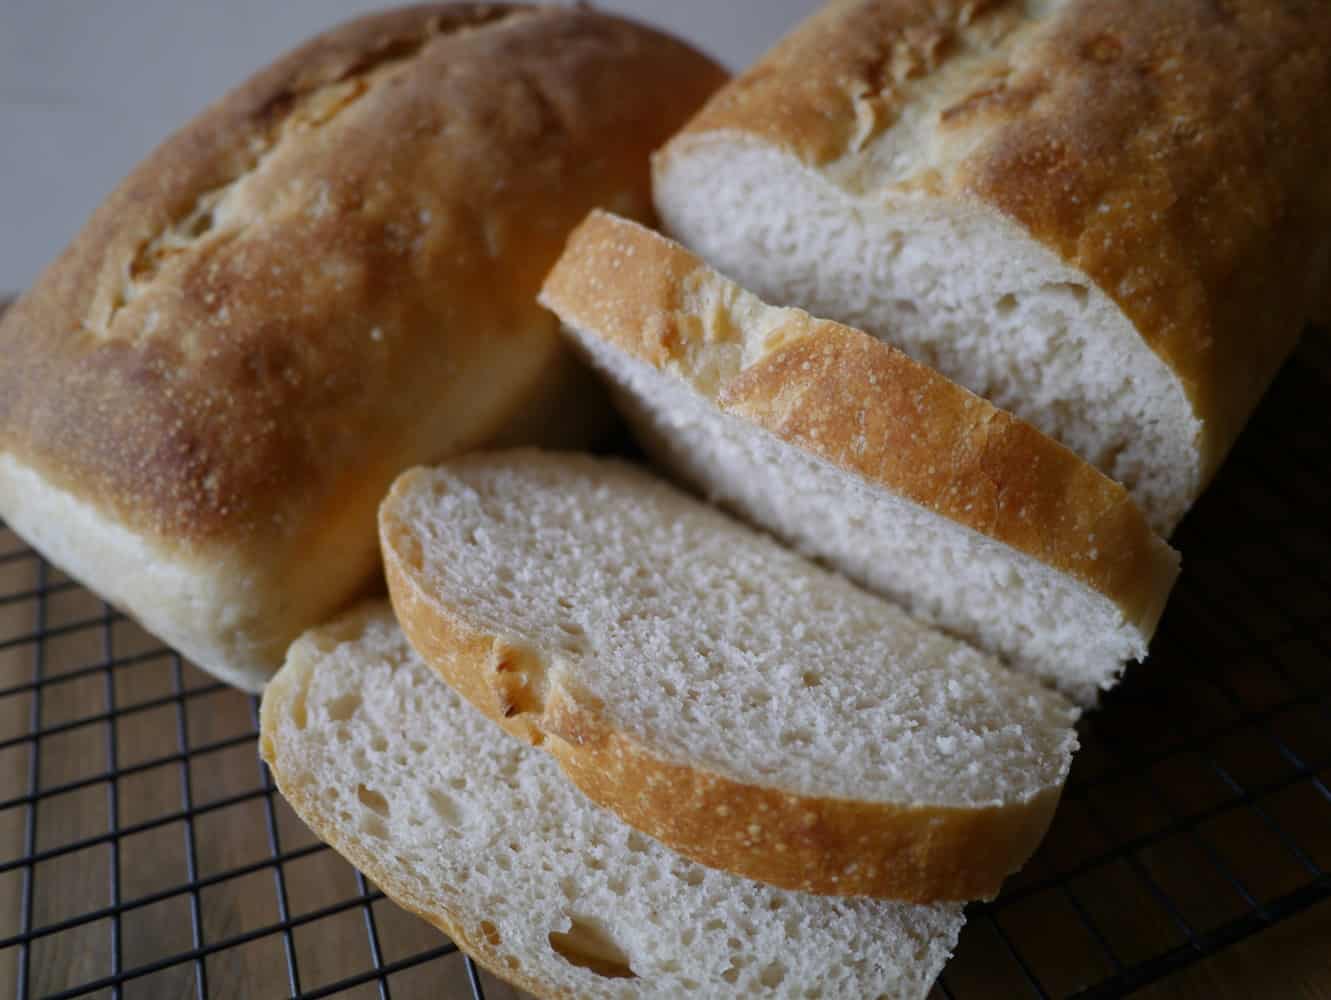
Your loaf should keep for several days (and up to two weeks), and the flavours will continue to develop.

Baking Sourdough: Timings

It’s worth giving a bit of thought to when it will be convenient for you to actually put the loaf in the oven, and work back from that so that all the other steps happen at the right time. I have misjudged how long the loaf would take to rise and had to stay up past midnight in order to actually bake it so it wasn’t flat by morning!

This is what generally works for me:
Day 1: 6pm Remove starter culture from fridge and (leave at room temperature for 12 hours)
Day 2: 6pm Make new starter culture (10 minutes)
Day 2: 6.10pm Make sourdough sponge (leave at room temperature for 12-18 hours)
Day 3: 8am Make dough (10 mins)
Day 3: 8.10am Work dough (10-15 mins)
Day 3: 8.25am Grease loaf tin and put loaf into tin (leave at room temperature for 4-8 hours)
Day 3: 2pm Bake loaf (30 mins)

If you want to bake bread on a Saturday it’s quite easy to do the other stages on Thursday and Friday evening, and once the bread is rising in the tin you can leave it for several hours. I find it all starts to go wrong when I try to make the sponge and the dough on the same day, because the fermenting of the sponge can’t be rushed or speeded up, and it means I am still baking bread after midnight. If you start out with good intentions but come Saturday morning you can’t face getting up, let alone baking, the sponge can be left on the side for a few hours or put in the fridge for 24 hours without any adverse effects, and you can make the dough and bake the loaf the following day.

endofsourdoughblogjpg

[leadpages_leadbox leadbox_id=1429a0746639c5] [/leadpages_leadbox]
How to… Make Your Own Natural Yoghurt

This is a recipe for dairy yoghurt. You’ll find my recipe for dairy-free coconut yoghurt here.

Ever since I went to a workshop, I have been meaning to make my own yoghurt. The workshop was in February. We’re creeping towards May. I needed to stop thinking about it and talking about it, and actually do it!

The delay was predominantly the result of my not having the right equipment, namely a thermos flask and a thermometer. Strictly speaking you don’t need either of these things, but it makes it easier. Plus they are both useful tools to have in the kitchen anyway, and I know I will use them.

After scouring Gumtree and eBay for two months I decided to bite the bullet and buy a new flask. A wide-neck one is more practical and there didn’t seem to be any available second-hand. I also bought a new thermometer. Both came with a few pieces of unnecessary plastic packaging (do I really need a carry strap for the flask, and even so, does the carry strap really need to be ‘protected’ by a plastic bag?!).

I don’t buy brand new things very often (see why here) but sometimes I have to admit defeat. At least now I can get on with my yoghurt-making!

(I have to confess I was slightly nervous about the end result of my first batch. I remember at school in biology class having to do an experiment where we filled test tubes with milk and a dollop of yoghurt and then incubated them at different temperatures for a few days. After waiting the few days, we ended up with…test tubes of milk and a dollop of yoghurt. Even the teacher was confused. But I needn’t have worried…)

Making yoghurt is simple. You will need: fresh whole fat milk and live yoghurt (it will say ‘live’, ‘probiotic’ or ‘cultures’ on the label). 1 litre of milk requires 1 tablespoon of yoghurt, and should make 700ml yoghurt. As well as a flask and a thermometer, you will require a saucepan and a wooden spoon.

Pour the milk into a saucepan. Warm over a low heat, stirring occasionally, until the thermometer reaches 82oC. This heat treatment kills any bacteria that may be present in the milk. Turn off the heat and allow the milk temperate to drop to 45oC.

The milk needs to drop to 45oC so that when the yoghurt cultures are added they are not killed by the high temperature. Once the milk has cooled enough spoon the yoghurt culture into the flask (make sure the flask has been thoroughly cleaned with hot water beforehand) and add a small amount of the milk from the saucepan. Stir thoroughly before adding the rest of the milk into the flask.

Screw on the flask lid. Now you need to leave the flask for 8 hours to allow the yoghurt culture to do it’s thing – namely converting lactose (the natural sugar in milk) into lactic acid, which then causes the milk proteins to coagulate, which results in the thicker, creamier texture of yoghurt.

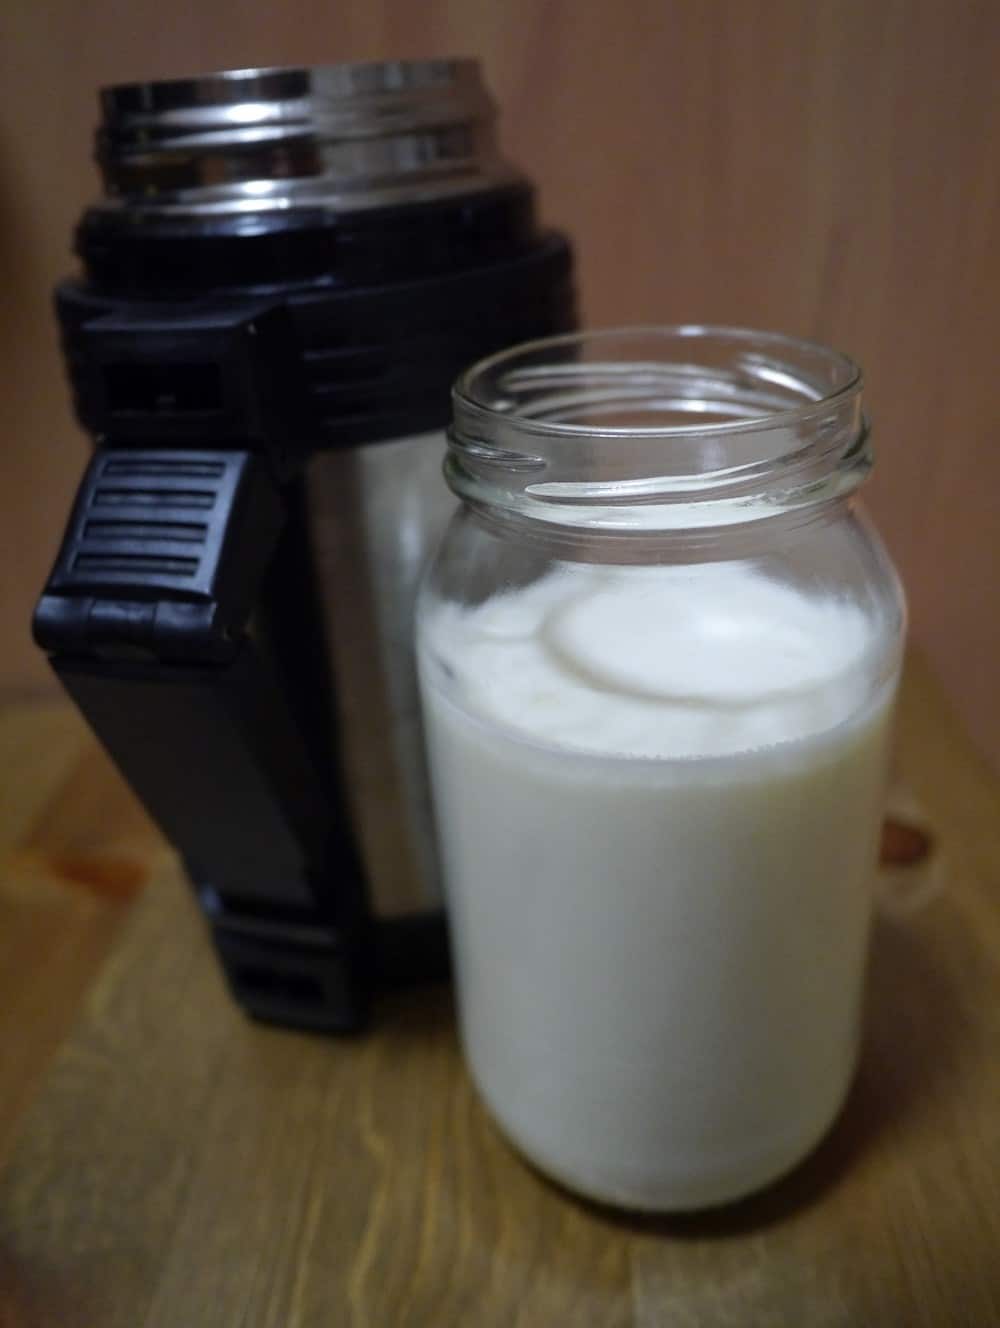
finalyoghurtjpg

Ta-da! Fresh homemade probiotic natural yoghurt.

On opening up the flask, you should be looking at a container full of delicious probiotic yoghurt! It will need stirring to make sure there’s no lumps. (This is why a wide-necked flask is useful.) The yoghurt can then be poured into a glass jar and stored in the fridge. It should last several days.

[leadpages_leadbox leadbox_id=123a865e9839c5] [/leadpages_leadbox]
Fruit and vegetable shopping…the sustainable way

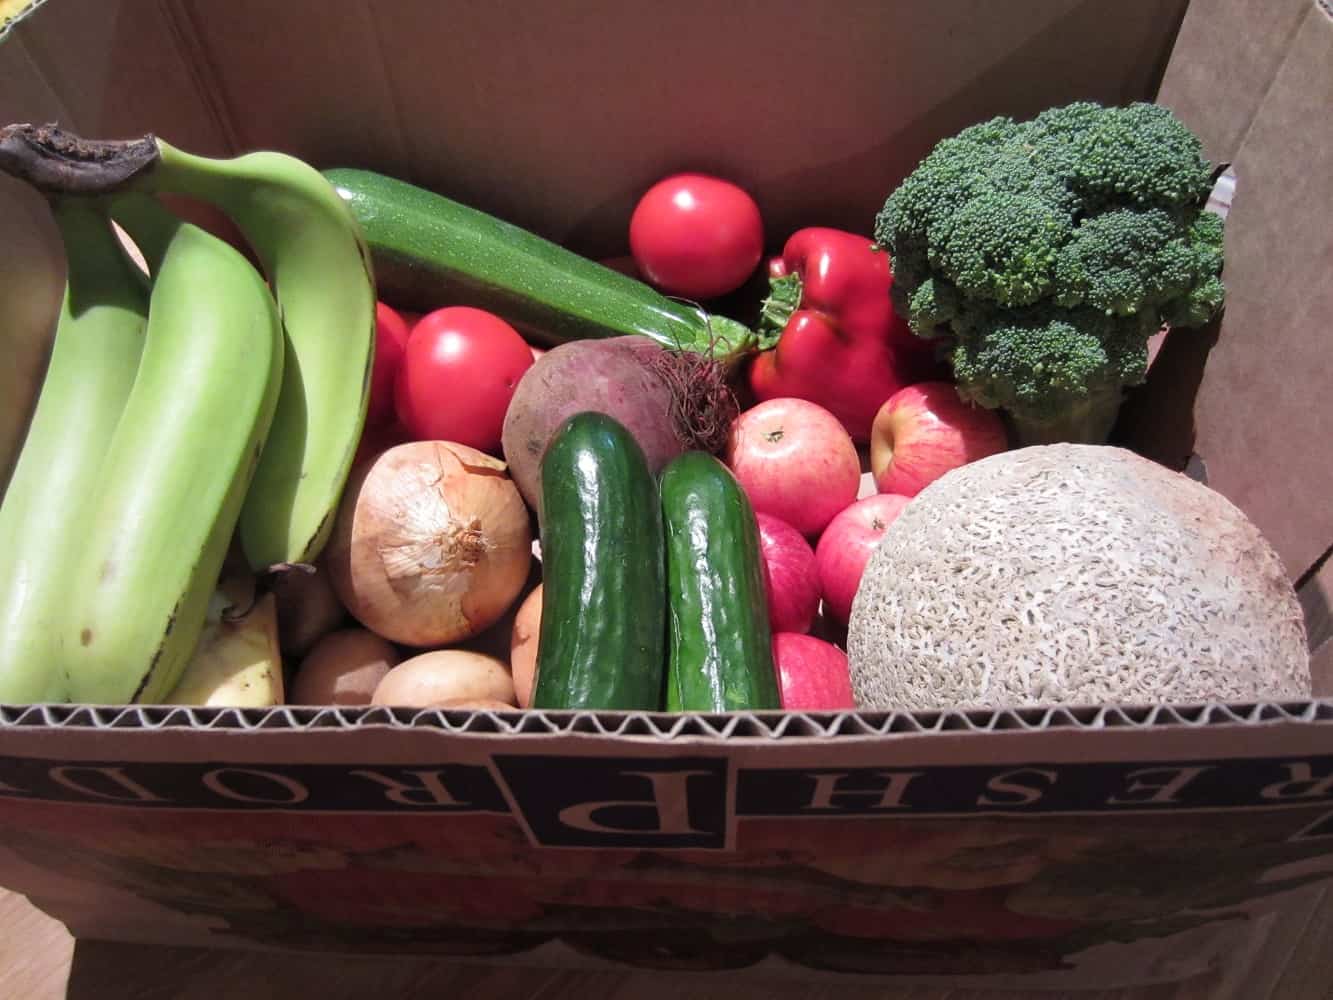
Wednesday night is vegetable box delivery night. This is a fairly new thing for us in Australia, although we had used vegetable box delivery schemes in the UK. Last night was our third delivery, and we’ve decided to make it a regular weekly thing.

vegbox1final

Our first veg box delivery. Completely plastic- and actually all unnecessary packaging- free!

Read more

Green smoothies

Until about two weeks ago, I had no idea what a green smoothie was. I had on occasion seen other people drinking murky green drinks and turned my nose up, but nothing more. And I was sure it was going to stay that way, but somehow it didn’t. You know how you hear about something for the first time, and then all of a sudden it’s everywhere you go, everyone seems to be talking about it, it’s in the newspapers, on the internet… Well that’s how it was for me. Everyone seemed to be drinking green smoothies, or writing about it, or talking about it, or maybe even all three. And I’m a curious kinda girl, and I was intrigued.

This intrigue coincided with a few other things. Firstly, my boyfriend owns both a juicer and a blender from a previous life, and in the 15 months we’ve lived in our little flat they have been stored out of sight in the cupboard. We neither have the space nor inclination to keep things that could be put to much better use by someone else, and we’d already decided that we should dig them out, dust them off, give ’em a go and figure if they were worth keeping or whether they were going on Gumtree. So we were already set up for the green smoothie experiment.

Secondly, my boyfriend has been ill with a cold/flu virus for what has now been three weeks. He took the first few days off work as he couldn’t get out of bed, but as he started getting better he went back to work, and two weeks later he still can’t shake it off. Increasing our fruit and vegetable intake seemed sensible.

Thirdly, I make my own sourdough, which is absolutely delicious. The downside of this is that I have a tendency to have toast for both breakfast and lunch. Tasty, but not very nutritious.

So I decided that this week was going to be a week of green smoothies for breakfast. My boyfriend, as you can probably imagine, was underwhelmed, but duly trudged along with me to the Farmers Market on Saturday to stock up on kale and bananas. The challenge was on.

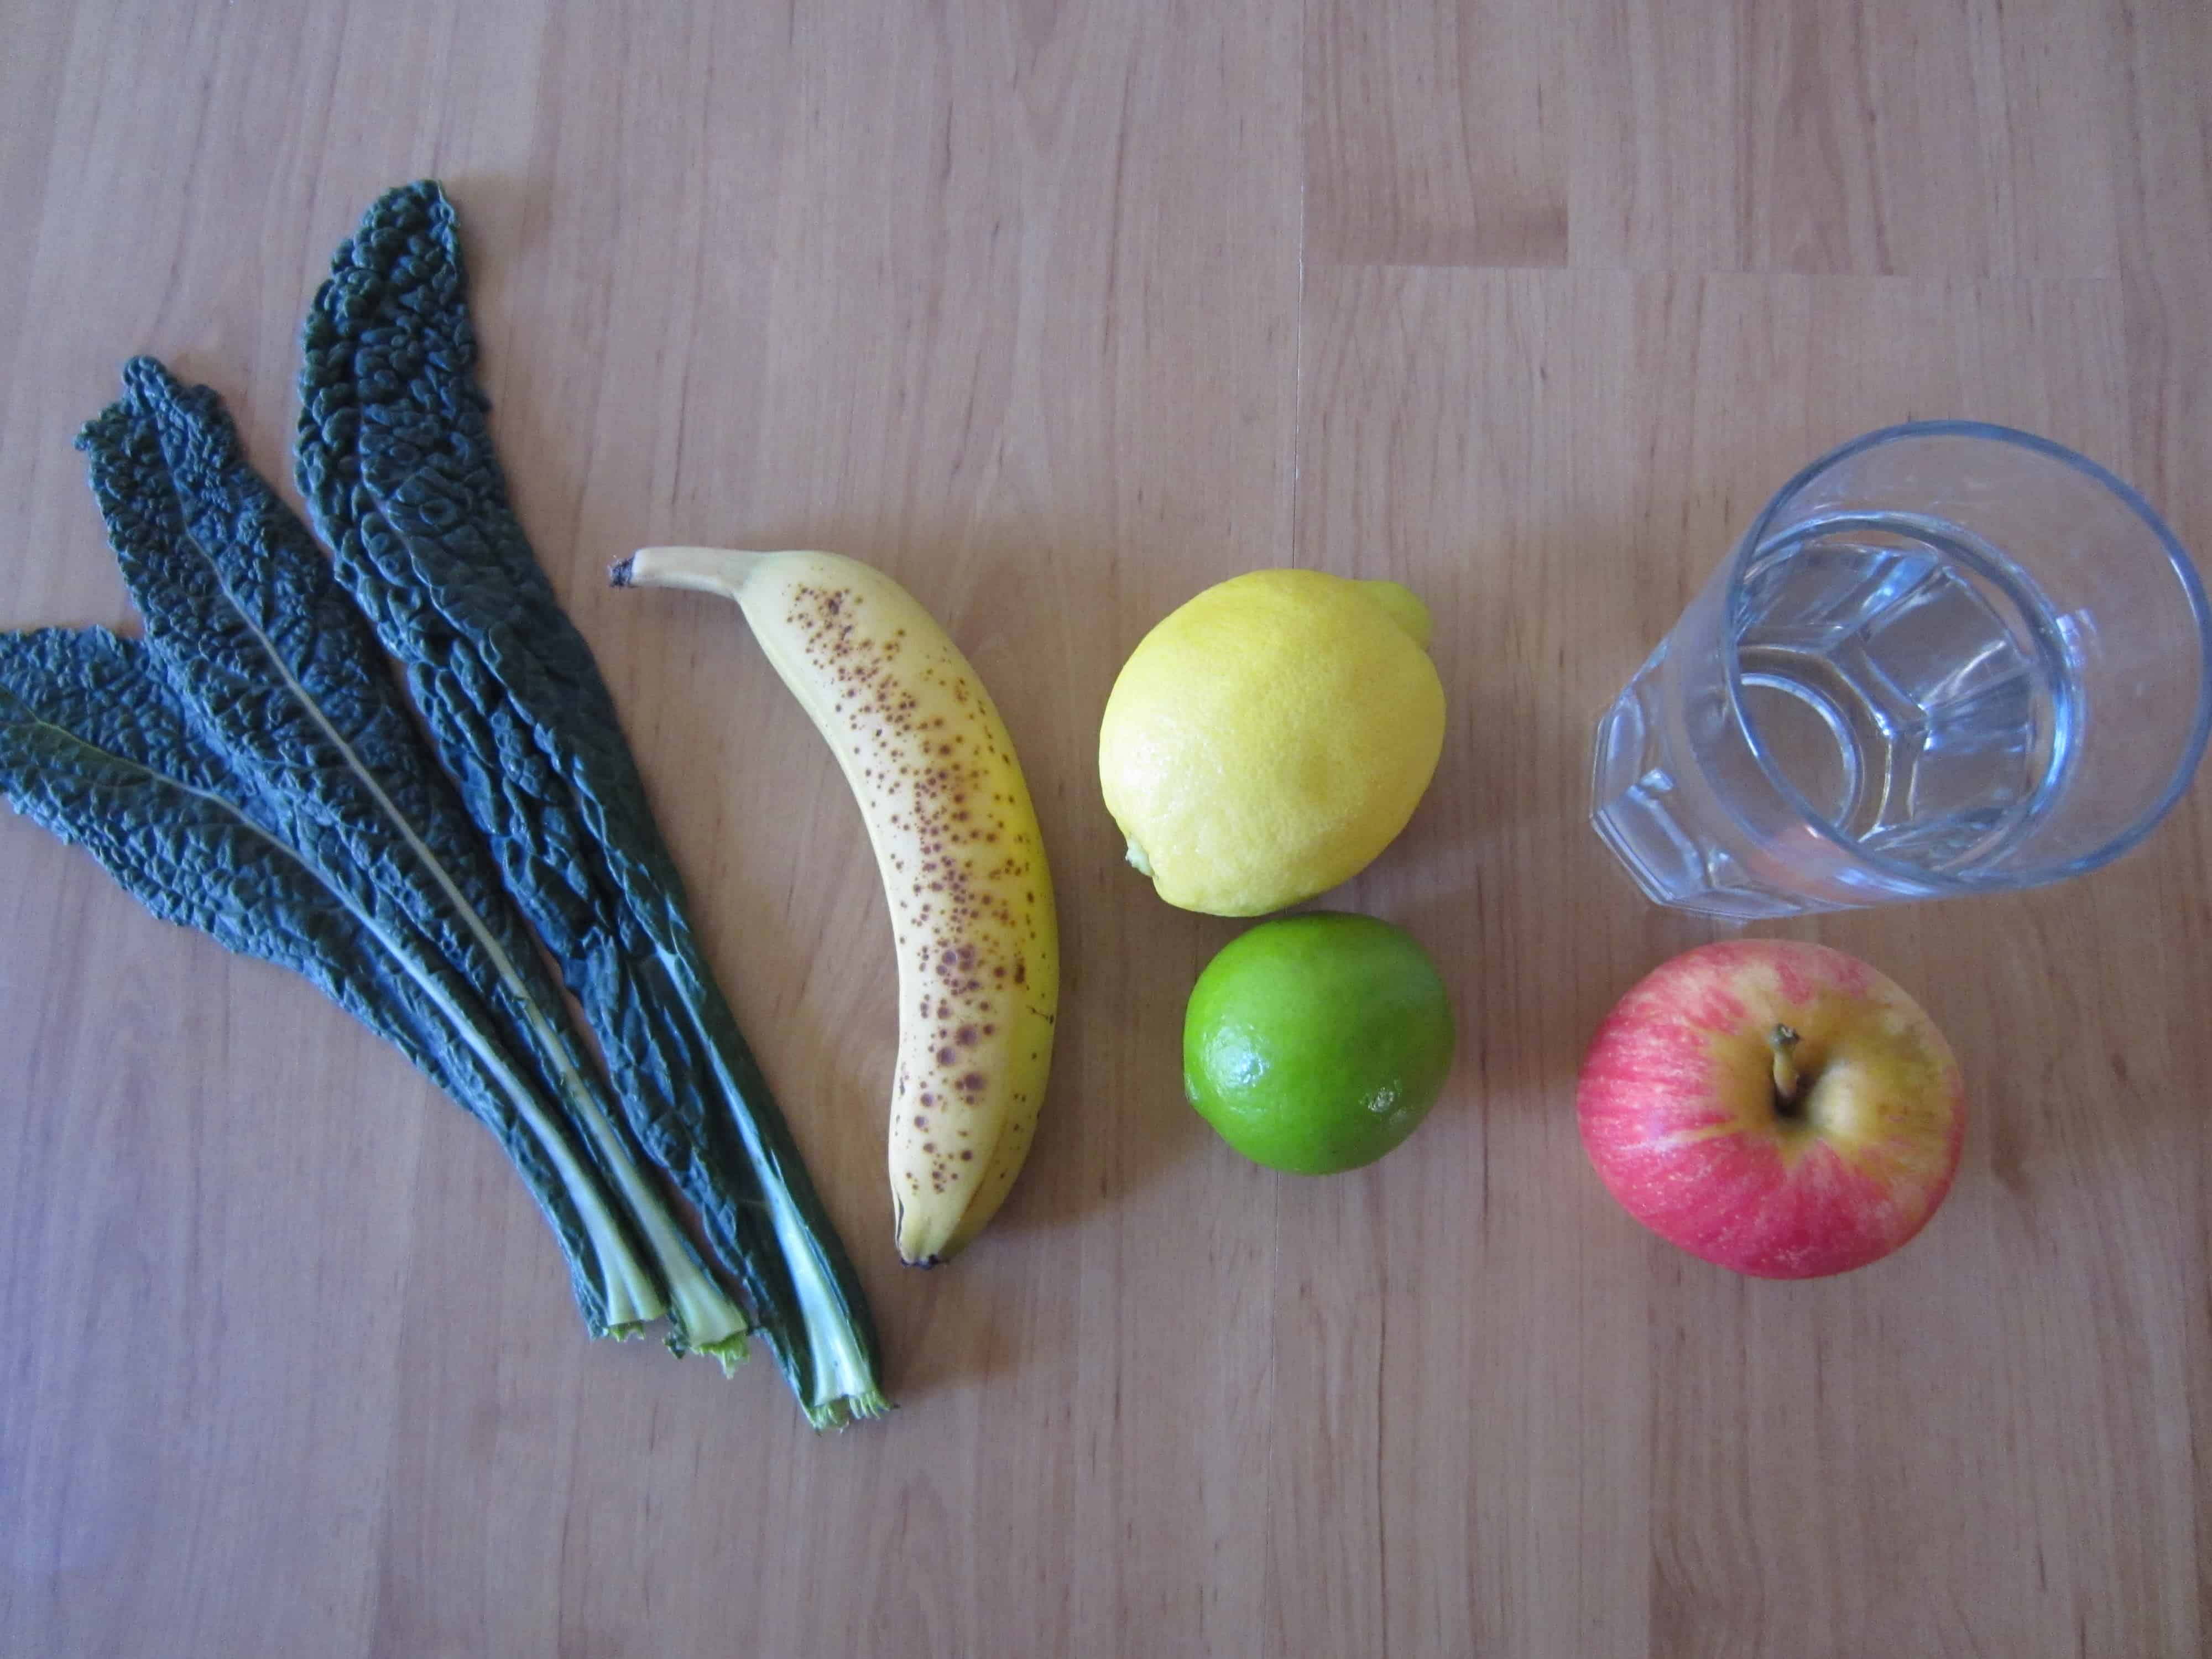
We tried our first one on Saturday afternoon. 3 kale leaves, 1 banana, 1 cup of water and juice of 1/2 lemon per person. Surprisingly, it was quite pleasant (drinkable at least!), although the green colour takes a bit of getting used to. (My brain kept trying to persuade me it was full so it didn’t have to drink any more, but my tastebuds were fine with it.) On Monday morning I used lime instead of lemon. Couldn’t really notice the difference. This morning I juiced an apple to replace some of the water, and the extra sweetness was much appreciated. The extra washing up was not. (I had to use the juicer as well as the blender.) Not only that, but I didn’t secure the lid properly so coated myself and the kitchen in finely ground apple.

So…do I feel any different? Well it’s only been three days. But there’s a definite smugness to knowing that you’ve drank four portions of fruit and vegetables before you’ve even gone out of the door in the morning!

Image

Ingredients for one green smoothie: three kale leaves, one banana, juice of half a lemon or lime, and 1 cup of water (or apple juice)

[leadpages_leadbox leadbox_id=1429a0746639c5] [/leadpages_leadbox]