You may remember that my Plastic Free July pledge this year was to stop buying dog food in plastic, and start making it myself. Aside from the plastic, I didn’t love that the brand that suited our greyhound best was imported from the USA, I didn’t love that it was supporting industrial agriculture, and I didn’t love that it was highly processed.
These are all things I try to avoid, and I was very conscious that buying this was against so many things I believe in.
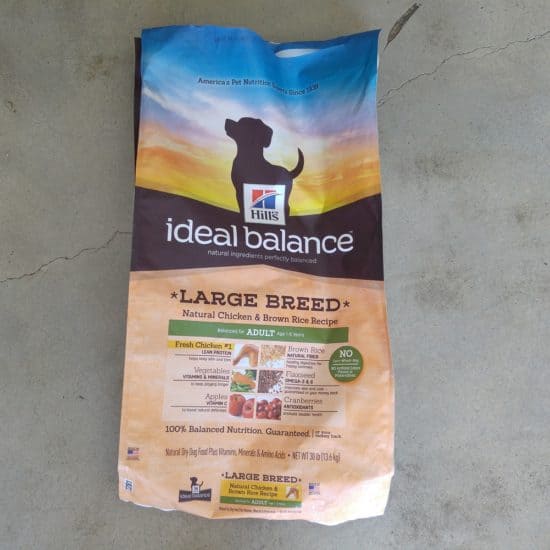
Believe me, we tried other brands. We tried all of the Australian ones, and several other high quality ones. Whilst he ate them all with equal vigour (our boy loves his food), we noticed other effects: fat depositing around his neck, weight gain, loose stools, and one brand that led him to go to the bathroom four times every single day.
Not to mention, all the brands left his skin very itchy. Sometimes he would nibble at his legs so much his skin would bleed.
Enough is enough. I had to at least try homemade dog food.
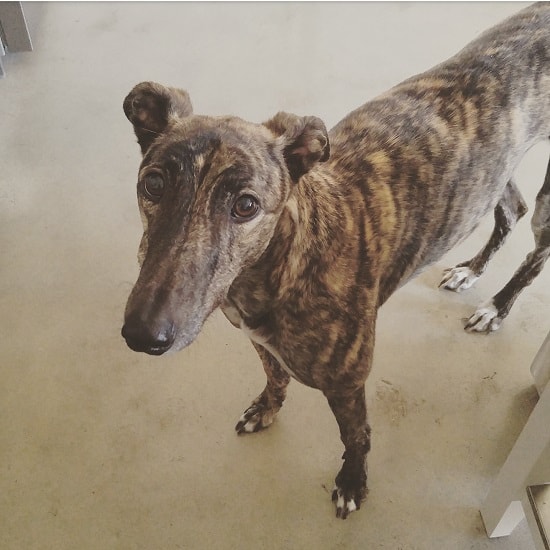
Our greyhound Hans came to live with us a year ago. It was time to stop making excuses, and start knuckling down and getting the plastic-free dog food happening.
Getting Started with DIY Dog Food
The internet can be an overwhelming place, and full of contradictory information as to what is best. My three main concerns were:
- How would I know how much to feed him? (Wet food is very different to dry food.)
- How would I ensure he was getting all the nutrients he needed?
- How would I know that the food was safe?
Before I go any further, disclaimer. I am not a vet, nor am I an animal dietitian. This is not professional advice nor a recommendation. This is what I am exploring for our dog based on my own research and am sharing for information purposes only. Please do you own research or consult a professional.
How Much Do I Feed My Dog?
There are plenty of guidelines for feeding dogs wet or homemade food on the internet – and of course, they are all slightly different! I realised that if I underfed or overfed him, it would eventually become apparent with changes in his weight, energy levels and appearance.
Hans weighs 30kg, and he’s being fed 800g – 1kg of food per day.That seems to fit within most recommendations.
How Do I Ensure My Dog Gets All the Nutrients They Need?
I worried about this for a while, before realising that there are plenty of commercial pet foods that fall short here. Dog nutrition wasn’t even considered a few decades ago. Not forgetting, there are plenty of people who do not consume all the nutrients that they need.
In natural habitats, dogs are scavengers. They don’t get two meals a day fed to them out of a bowl. They might not get two meals a day.
That’s not to say I don’t want to do my best. But it gave me some perspective.
I looked into nutritional supplements to add to homemade dog food, but many of the recommended ones are not available in Australia.
I looked at the labels to discover the ingredients, did some research into the nutritional benefits, and opted to make my own.
How Do I Know My Homemade Dog Food Is Safe?
That was the easiest one to answer, because there is plenty of information on the internet regarding ingredients that are safe for dogs, and those that are not.
The second thing I found helpful was to look at the ingredient lists on the dog food I was buying, and try to mirror these ingredients in the dog food I was making.
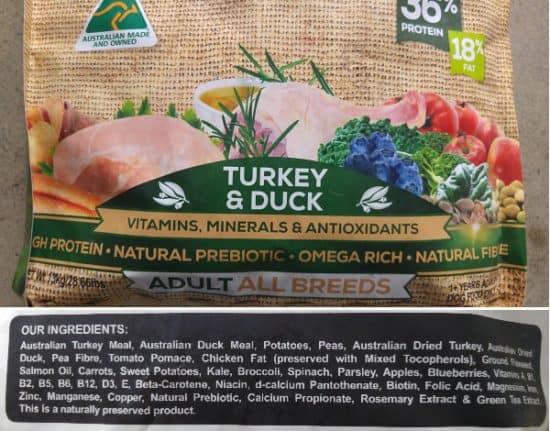
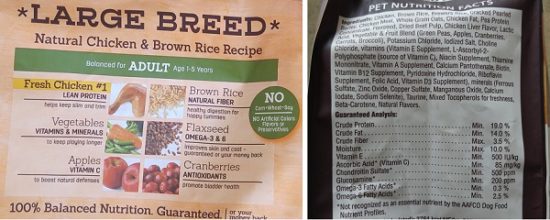
Half the ingredients are things commonly available: carrots, sweet potato, rice. Other ingredients had unpronounceable names. For these, I asked the internet:
- What is [insert name of unpronounceable ingredient]?
- What foods contain [unpronounceable ingredient]?
Then, if I wasn’t sure, I’d ask: is [food containing unpronounceable ingredient] safe for dogs?
It turned out that these ingredients were either preservatives or a component/vitamin/mineral found in many natural foods.
In terms of toxicity, or malnutrition – these things become apparent over time. We are keeping a close eye on Hans and if we notice any change in his appearance or behaviour, we will consult a vet.
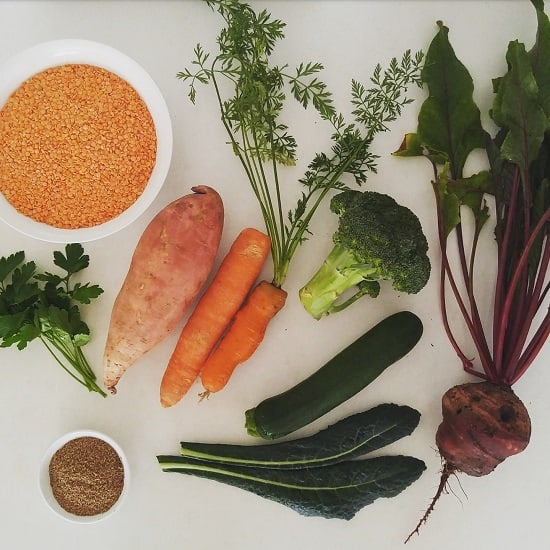
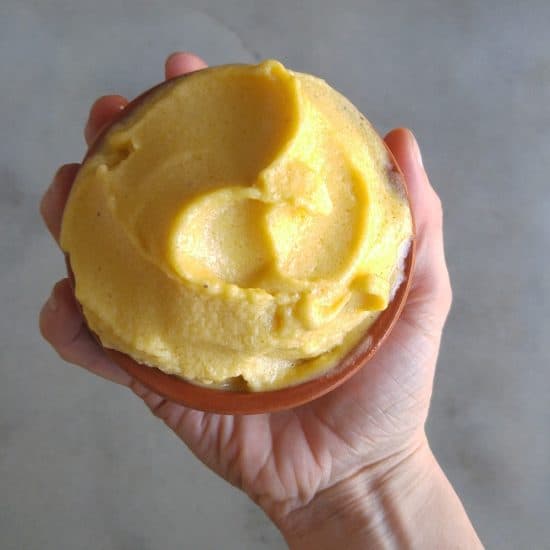
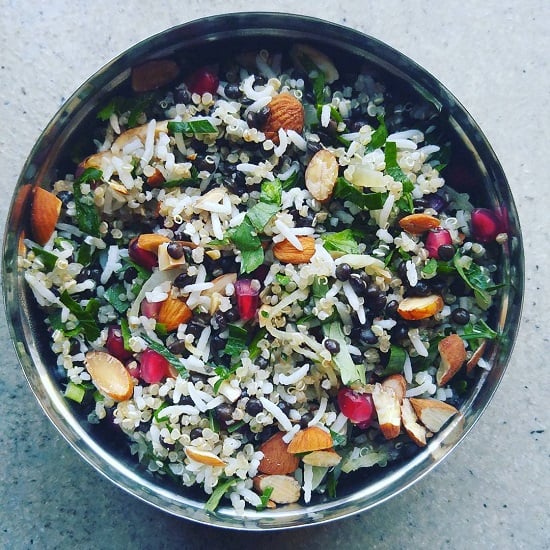
DIY Homemade Dog Food – Vegetable Component
Dogs need protein, fat, minerals and vitamins. Dogs don’t actually need carbohydrates at all. Carbohydrates like white rice and corn are typically used in commercial dog foods as a filler, because they are cheap. But they offer little nutritional value.
For several months before I embraced the DIY dog food, I tested various ingredients on our greyhound. I’d add a small amount to his bowl along with his kibble. He gobbled everything up. And I mean everything.
I’ve heard that greyhounds can be fussy eaters. Not our boy!
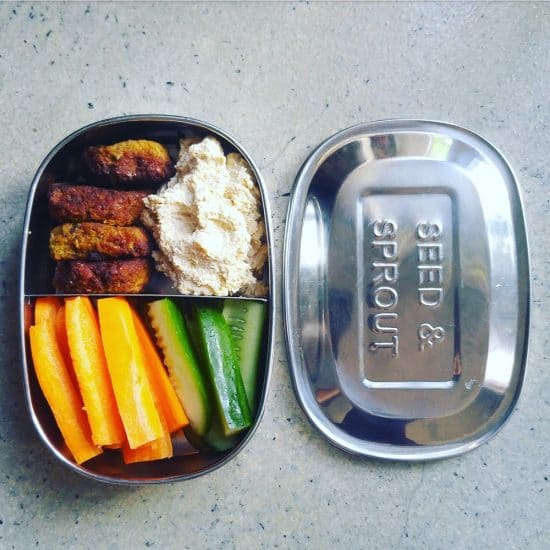
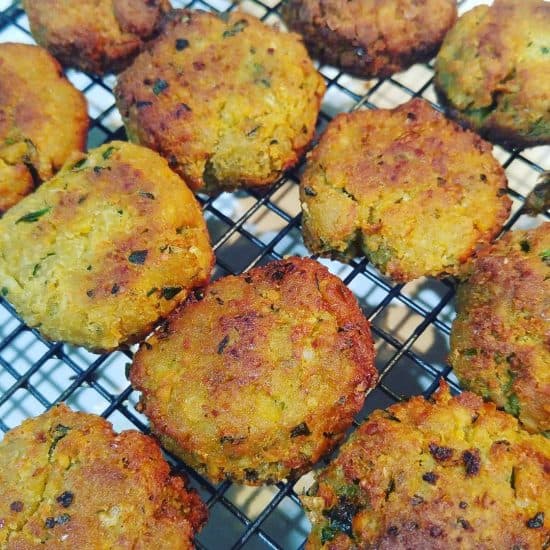
The vegetable component has three parts, in equal proportions.
1. Protein component: 33%
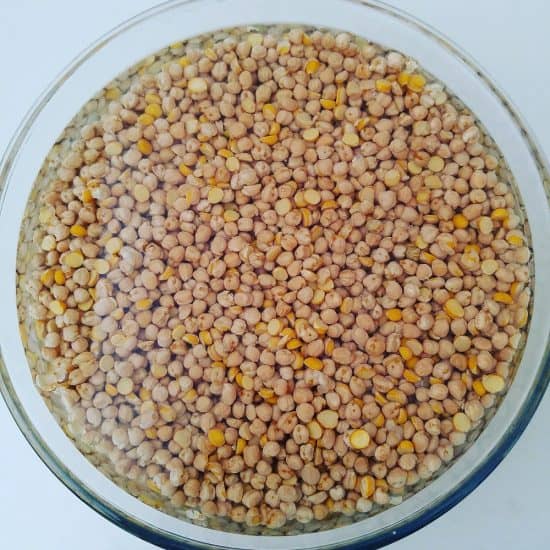
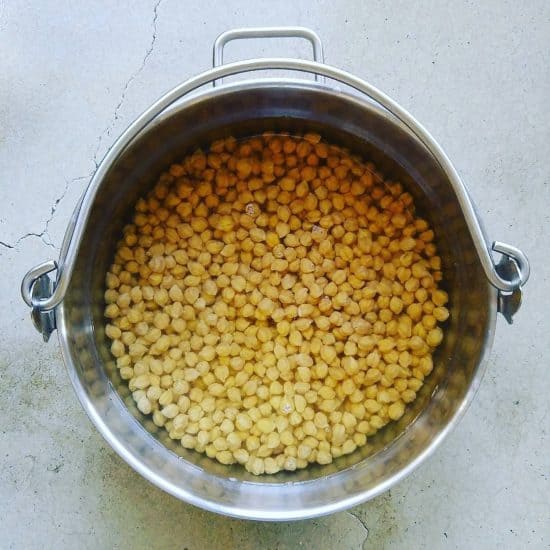
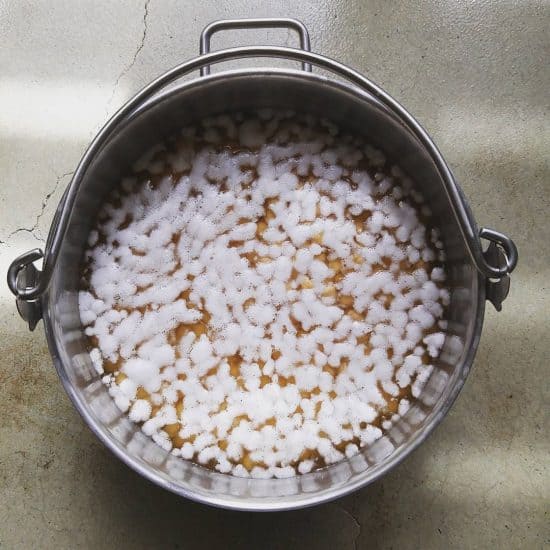
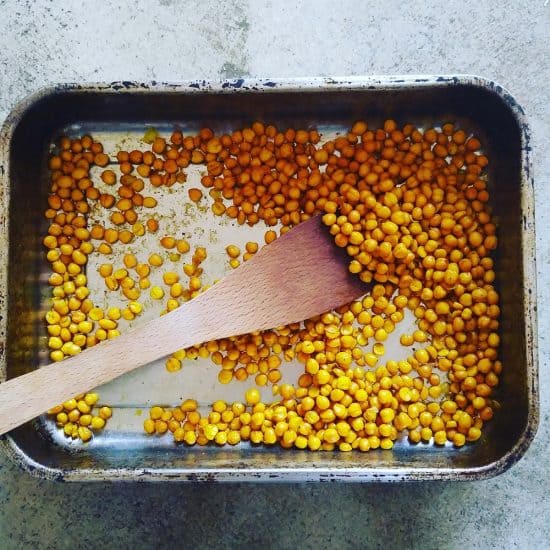
Rather than use carbohydrates as a base, I use lentils. They are cheap but contain protein and vitamins. Typically I use red lentils as they are quick to cook. I soak for 30 mins, rinse thoroughly, and boil in a pan for 30 minutes. Once they have cooled I blend to a puree.
Red lentils are my preferred choice, but I have also used green/brown lentils, puy/French lentils, chickpeas and black beans. (Chickpeas and black beans require much longer soaking and cooking times.)
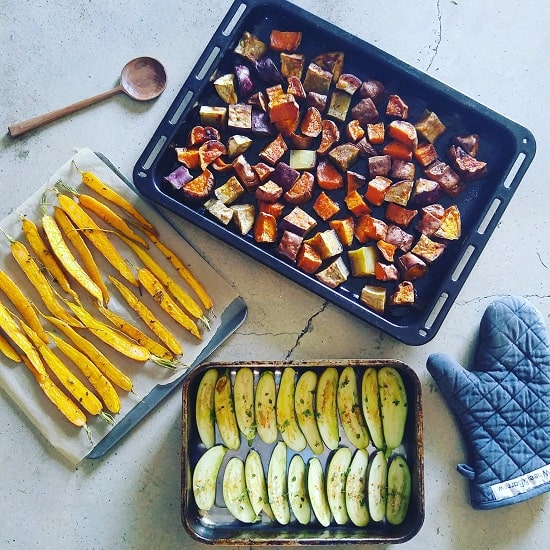
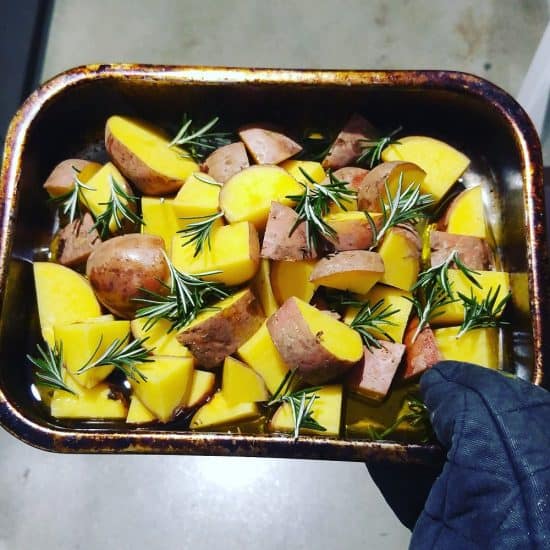
2. Sweet Potato or Pumpkin Cooked Vegetable Component: 33%
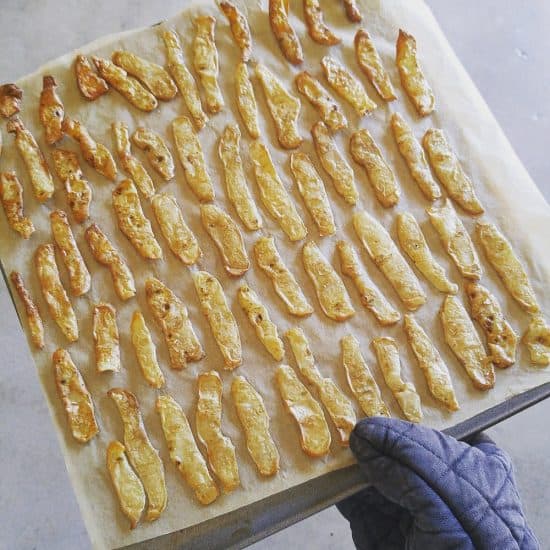
Sweet potato is a good vegetable to give dogs, because it contains beta-carotene, a pre-cursor to vitamin A. It also grows well in Western Australia and is available all year round.
Occasionally I use pumpkin (butternut squash or Japanese pumpkins) as an alternative.
I grate in my food processor, then steam for 12 minutes until cooked, and blend together with the lentils.
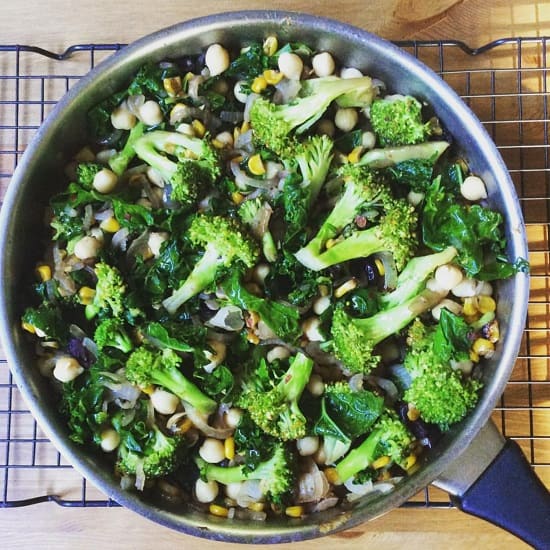
3. Raw Vegetable Component: 33%
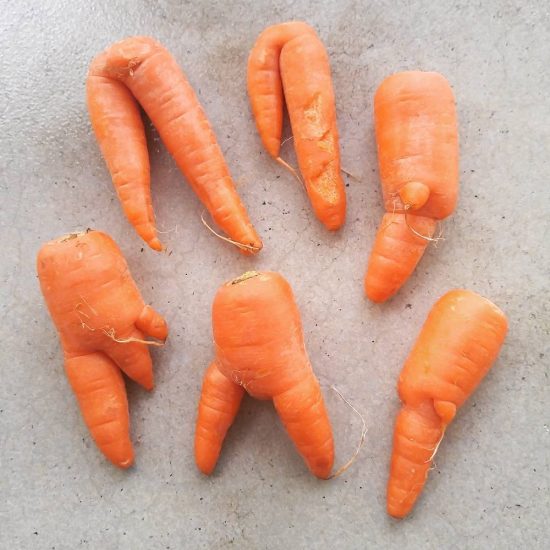
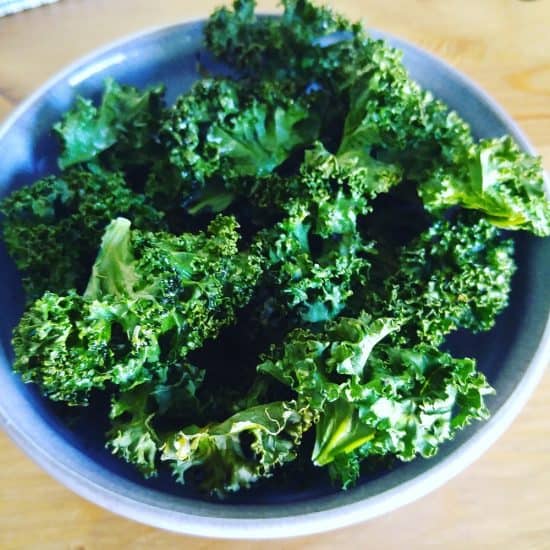
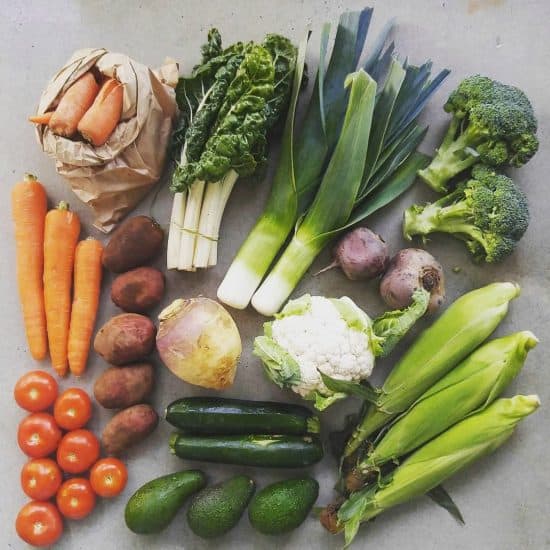
This tends to be mix of whatever is in the fridge or the garden, but typically is 50% raw carrots and 50% of a mix of green leafy vegetables, beetroot, brassicas (broccoli, cauliflower), zucchini/courgette and cucumber.
These are blended together raw, and then mixed with the lentils and orange vegetable components.
DIY Dog Food – Vegetable Fats
I add a tablespoon of oil (olive oil or coconut oil) to every meal, and/or 1 tablespoon of ground flax seeds. Hans is also a huge fan of both peanut butter and tahini so I sometimes stir this through his food as a treat.
DIY Dog Food – Animal Products Component
Hans gets a fair amount of protein from the vegetable component of his diet, but we also add fish, eggs and other animal products.
Sardines: 4-5 per Week
Rather than feed Hans fish oil or supplements, it makes sense to me to feed him whole sardines. He eats whole sardines (head, guts and all) and he loves them.
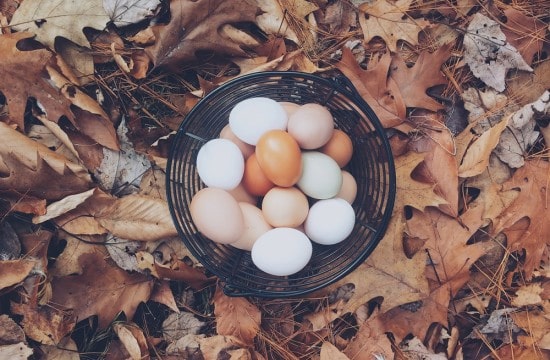
Eggs: 2-3 per Week
Several of our friends have egg-laying chickens, so we source our eggs directly from them rather than buying commercially produced eggs. I also save the eggshells, wash, dry and grind them into a powder, and add a tablespoon along with a raw egg mixed in with his food.
Chicken Necks: 4 a Day
We’ve got a system with our butcher now where we drop off a big container, and when he gets chicken necks in, he fills up the container and gives us a call to collect. I was terrified of giving Hans chicken necks at first because I’d read that dogs can swallow them whole. Of course, the first time I gave him one, he swallowed it whole. And the second one. Naughty boy!
Now I have to hold them at either end and feed them by hand to ensure he bites in the middle and chews before swallowing.
Other Meat
I’m still finding my way with this one. I’m still exploring the various butchers and trying various options, and I don’t have an answer… yet. Hans is happy with whatever he gets, so it’s up to me to find a waste-free, sustainable and local option that I’m happy with.
DIY Dog Food – Nutritional Supplement
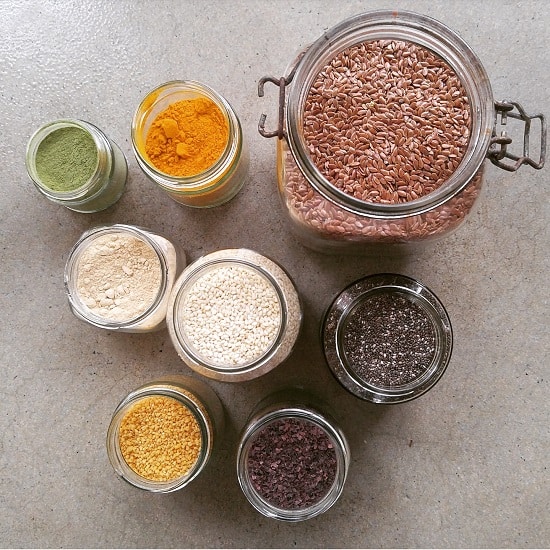
I make up a supplement to add to the dog food to give it an extra nutritional punch. I looked at a number of supplements (both available for purchase and DIY recipes), looked up the nutritional content of each ingredient, and made my own based on that, along with what ingredients I could find.
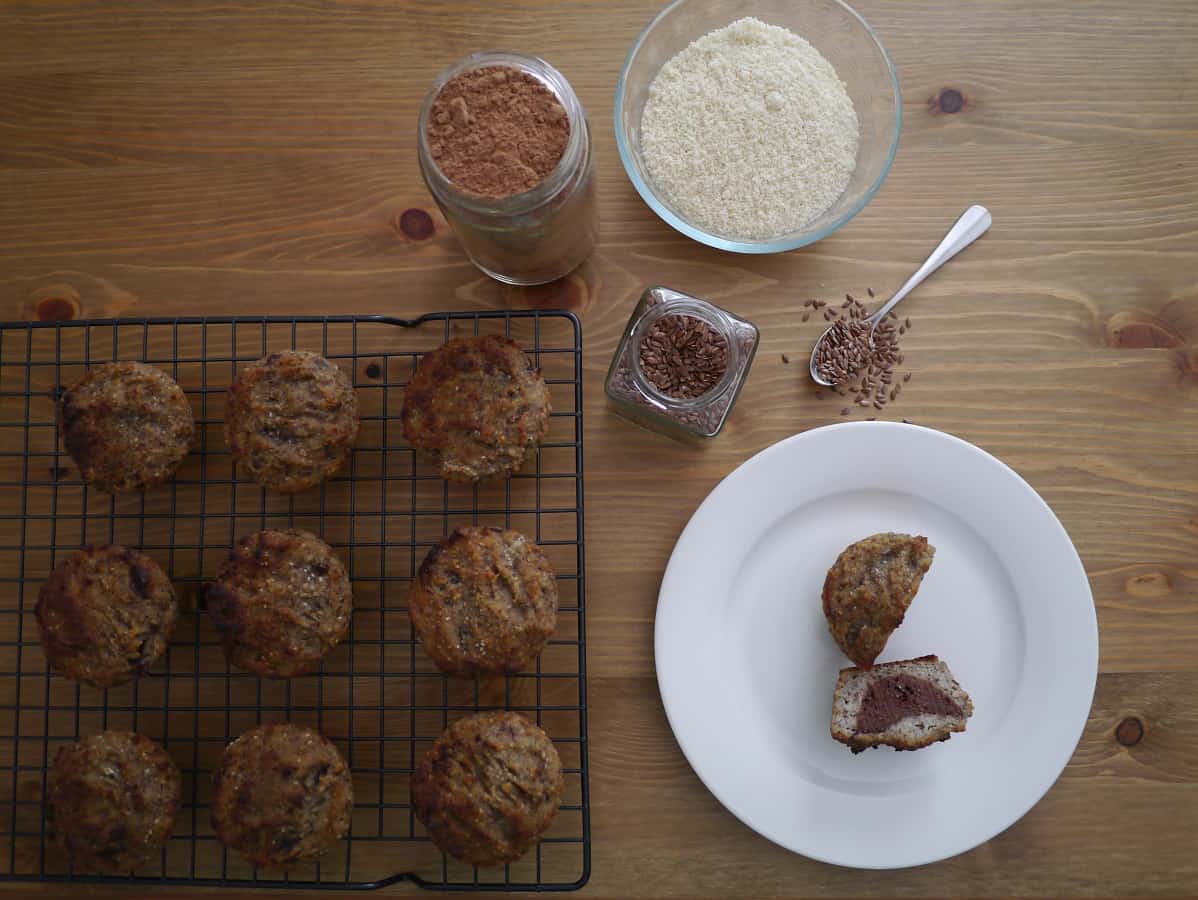
The ingredients I use: ground flax seeds, ground sesame seeds, chia seeds, barley grass powder, lecithin, turmeric, maca powder, and seaweed (either dulse flakes or wakame).
(I realise these ingredients might sound very foreign! I’ve been able to find most of them in bulk at The Source Bulk Foods, who have 35 stores across Australia. The only one they don’t stock is wakame. They also sell other things like brewer’s yeast and other green powders which can be used instead/as well as. Outside of Australia, I’d try a health food shop.)
I’m still playing around with quantities of each ingredient, and also how much to use.
DIY Dog Food – Progress so Far
So far, we have been DIYing it for about 7 weeks. As with all new habits, getting into a routine is the hardest part. We’ve also had to pretty much empty our freezer of our food to fit in Hans’ food!
I can’t report back regarding cost yet, as we are still finding our way. I hope to do an updated post in a few months with actual recipes and costs involved.
The Positives:
Hans loves his new food! He gets much more excited now we’re serving up fresh food than he did with kibble (although he still thought kibble was pretty darn fantastic.)
I feel better about what I’m feeding him. I just feel more comfortable knowing his food is natural and not made in a factory somewhere overseas.
His energy levels are unchanged.
His stools are much better! Which is very helpful when you’re trying to pick them up with newspaper and take home to compost ;)
He has completely stopped itching. Whatever it was that was irritating his skin in the kibble, it’s no more. Hurrah!
The Negatives:
Hans has lost a bit of weight. Actually, we think he might have been a little overweight before (something that is VERY hard to tell with a greyhound). Lots of people have commented on how good he looks and how good his coat looks. But we are keeping an eye on him to ensure he doesn’t get too skinny.
We now have a new friend (or should I say trip hazard) in the kitchen. Whereas he never showed much interest before, now he knows that his dinner comes from there, he is like a constant companion. And if you open the fridge door – there he is beside you!
Did I just hear the pantry door open?
Now I’d love to hear from you! This is all new to me, so I’d love to hear from your experiences. Do you make your own dog food, and if so, what ingredients do use use? What lessons have you learned? If you want to give it a go but are unsure where to start, what are you stuck on? Are you a vet and do you have any (off-the-record) advice? Anything else to add? Please leave a comment below!
[leadpages_leadbox leadbox_id=1429a0746639c5] [/leadpages_leadbox]
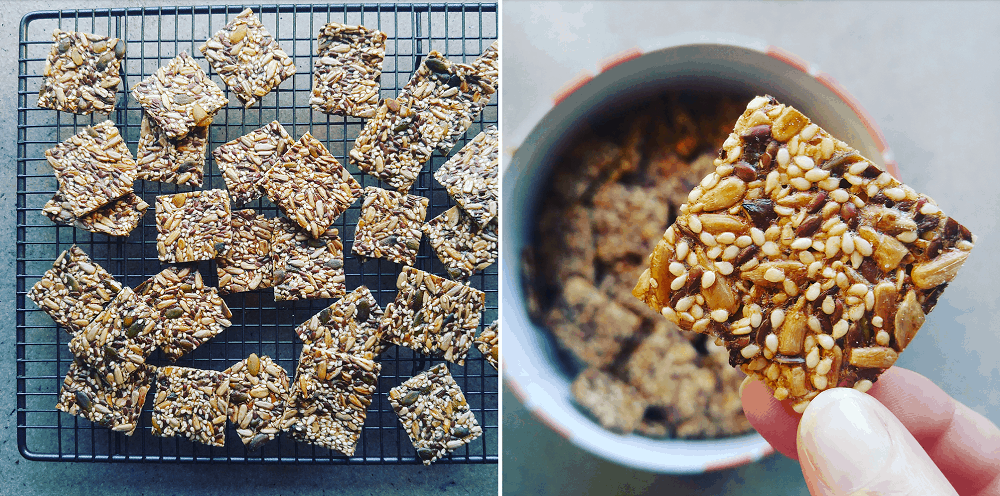
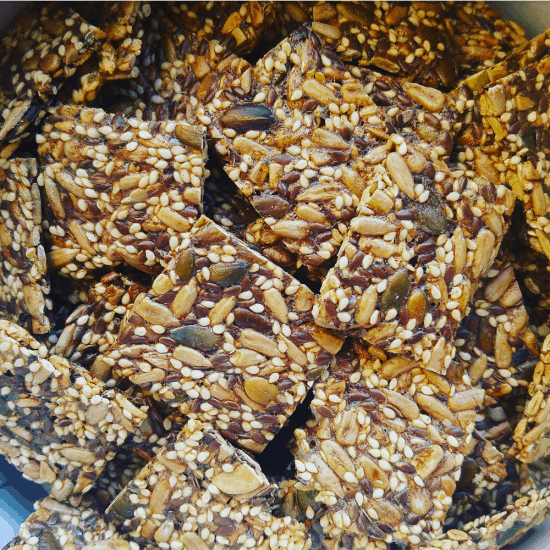
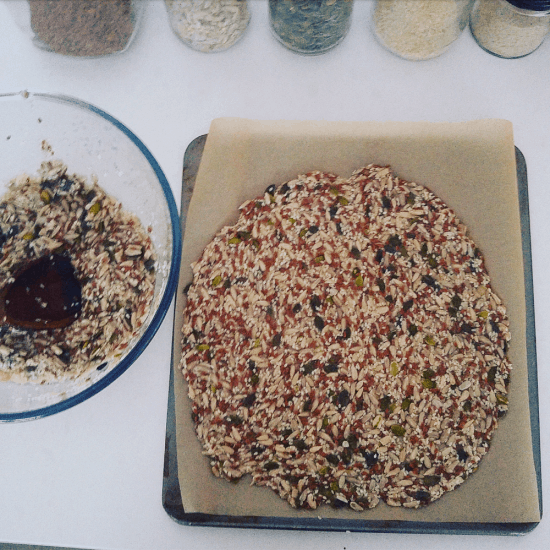
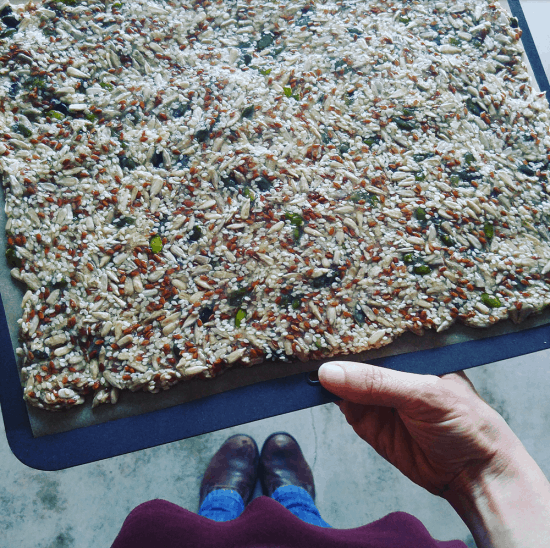
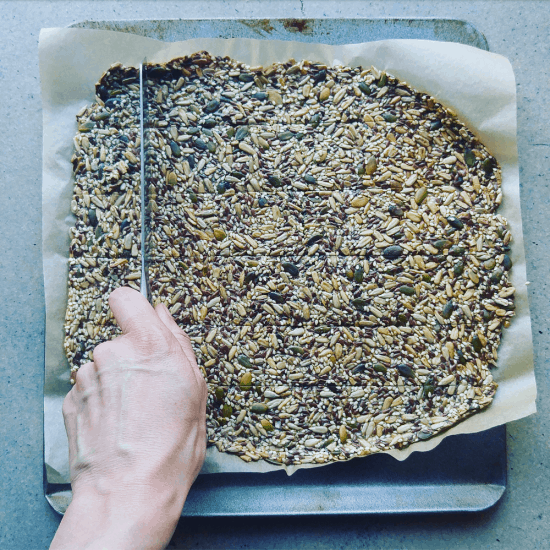
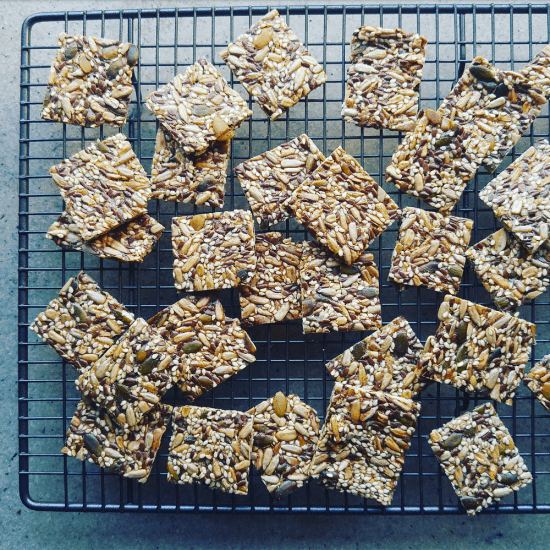
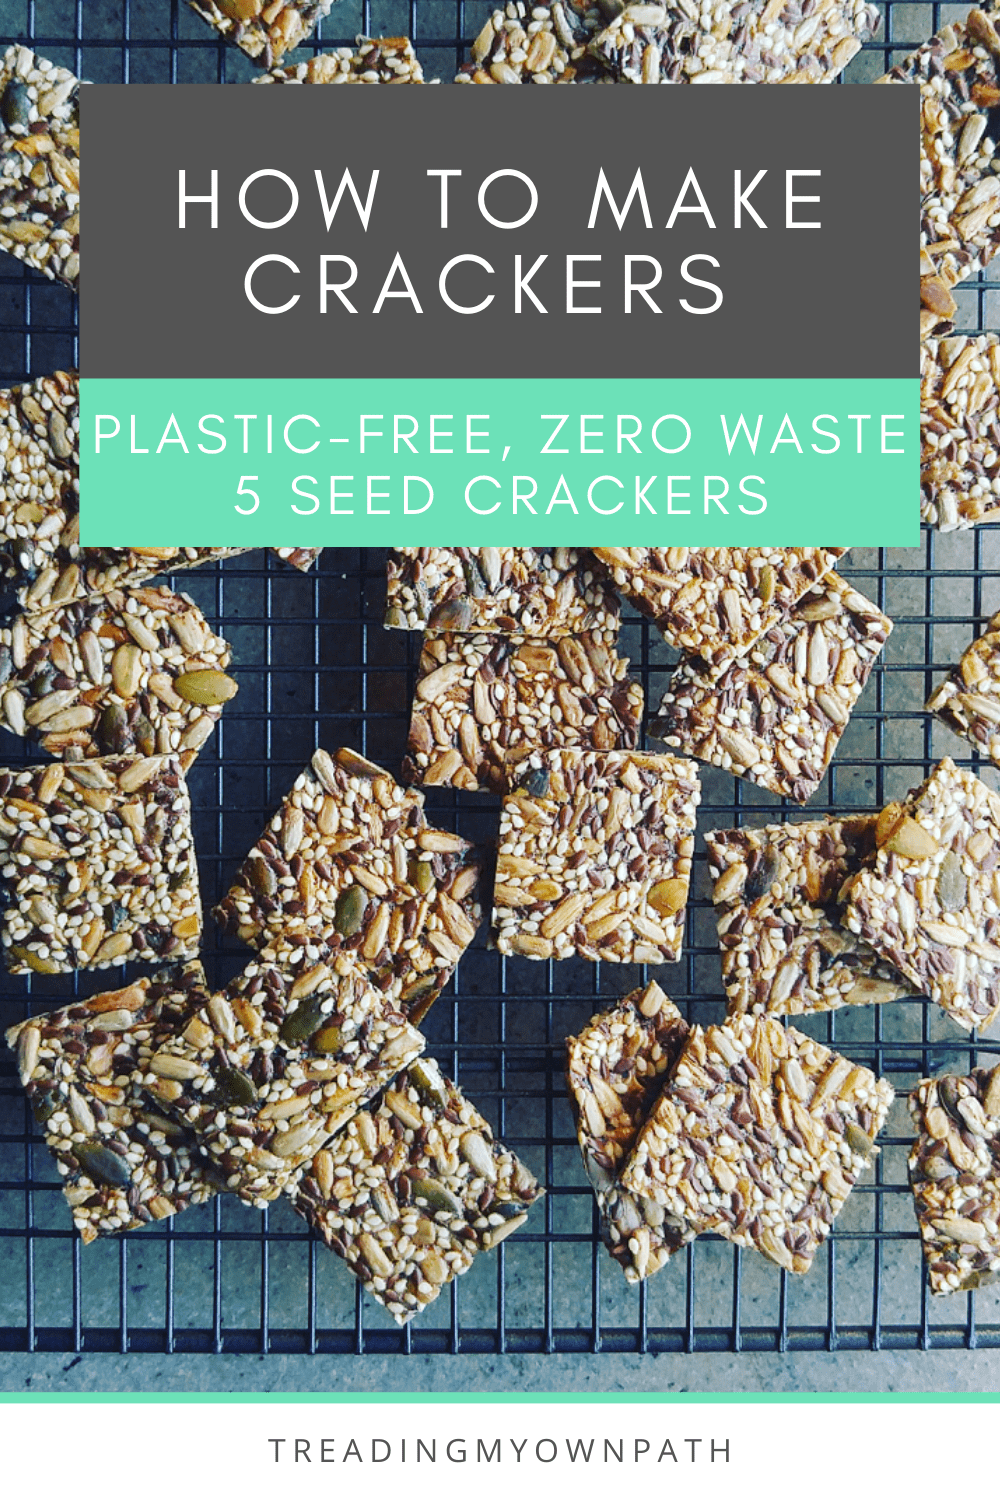 Recipe: Zero Waste 4 Seed Crackers
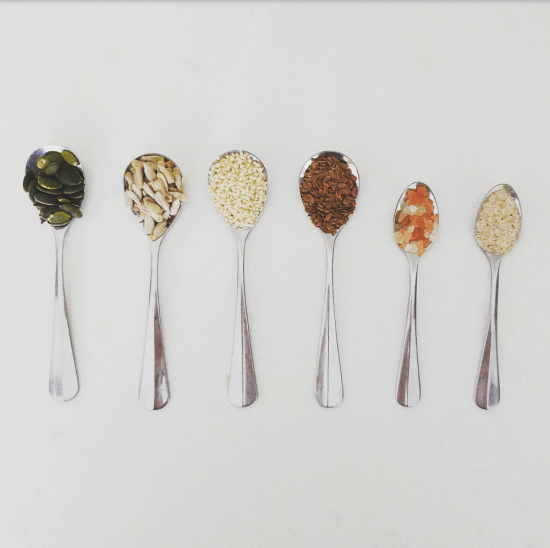


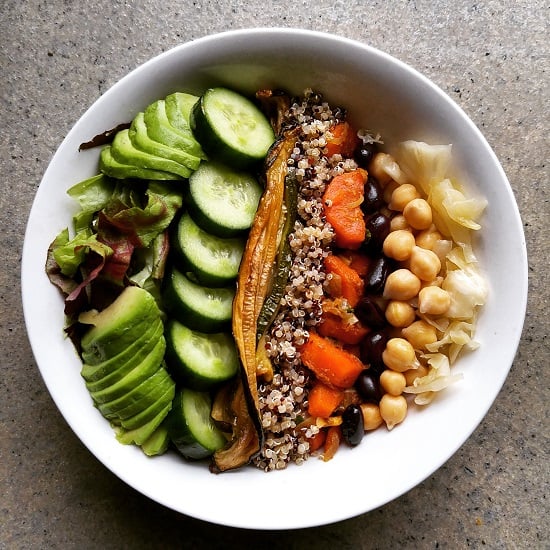
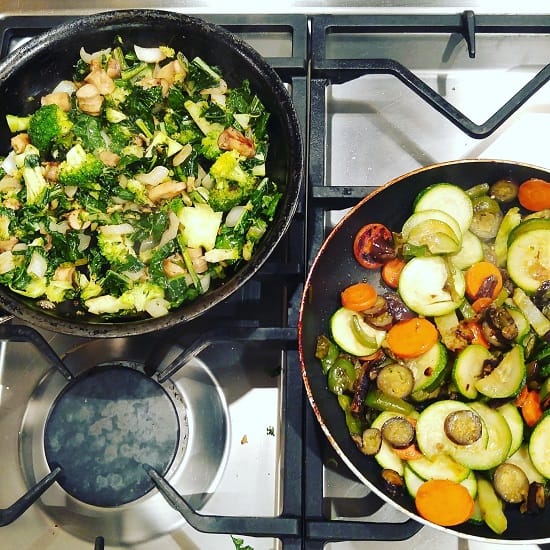
 More vegetable one-pot meals: this would be the kind of filling I’d use for baked potatoes or sweet potatoes – topped with avocado and drizzled with tahini.