Wakame gomasio: what it is and how to make it

I came across a recipe I wanted to try this weekend and one of the ingredients was wakame gomasio. I had no idea what this was. Even more mysteriously, the recipe had an alternative – sesame seeds. What kind of exotic fancypants ingredient with a name like that can be substituted simply with sesame seeds?

So I looked it up. It took me a while to find out what it was and how to make it, but now I know I thought I’d share it. Plus it’s super delicious so I think it’s worth knowing about!

Gomasio (which is also spelled gomashio) is basically a mix of toasted ground sesame seeds and salt. It’s a Japanese condiment that’s also popular in macrobiotic diets (something I don’t know a lot about). Sesame seeds are high in calcium, iron, magnesium and B vitamins (full nutritional information here).

Wakame is a sea vegetable that has been grown by Japanese and Korean sea farmers for centuries. It is an edible seaweed that is high in iodine, calcium and B vitamins (full nutritional information here). It’s also high in sodium so has a salty taste. My local health food store sells this in bulk (plastic-free!).

So wakame gomasio is wakame and gomasio. Fairly straightforward really!

How to make wakame gomasio

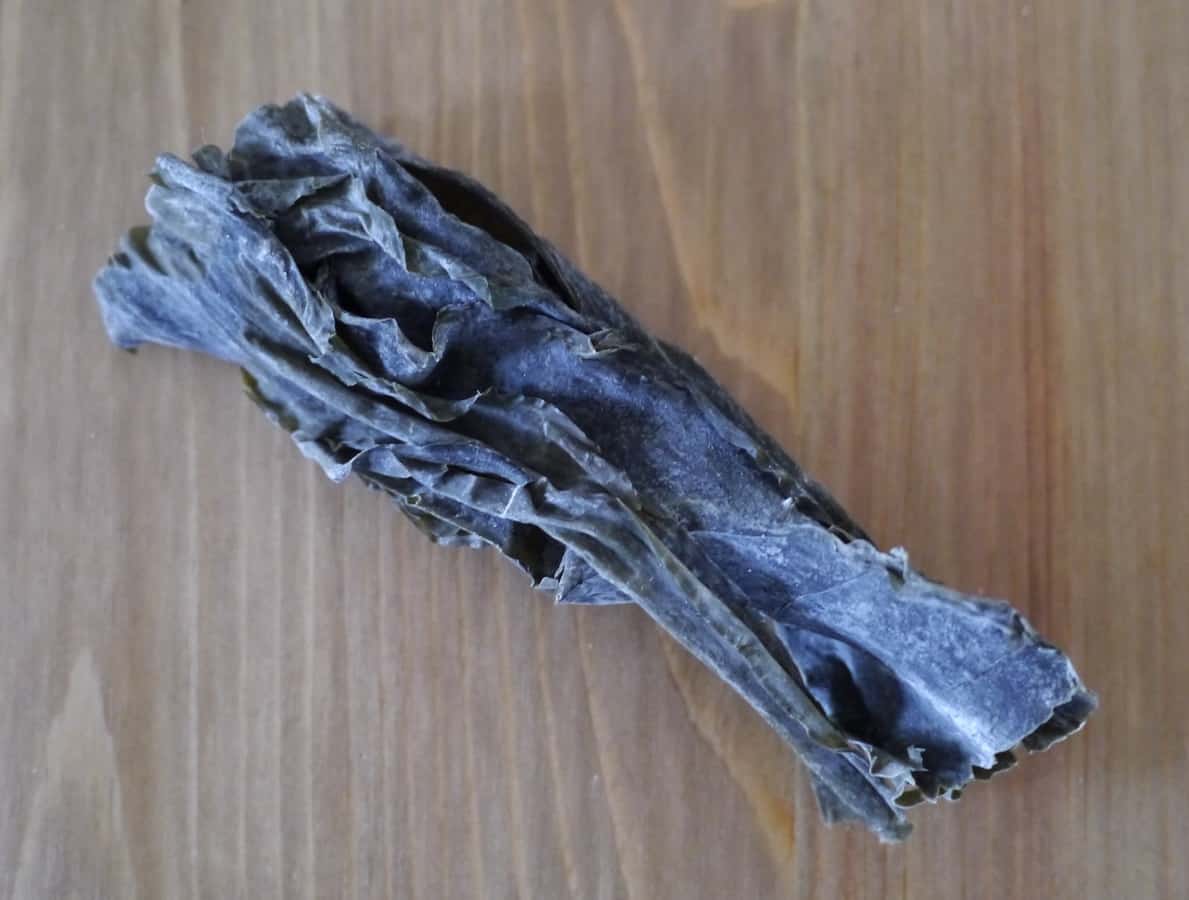
The hardest thing is probably finding the wakame, although I found it in several local health food stores. You could also try the Japanese section of your grocery store or online. It looks like this:

wakameIf you can’t find it (or don’t want to use it, simply omit and use the recipe to make gomasio).

Ingredients:

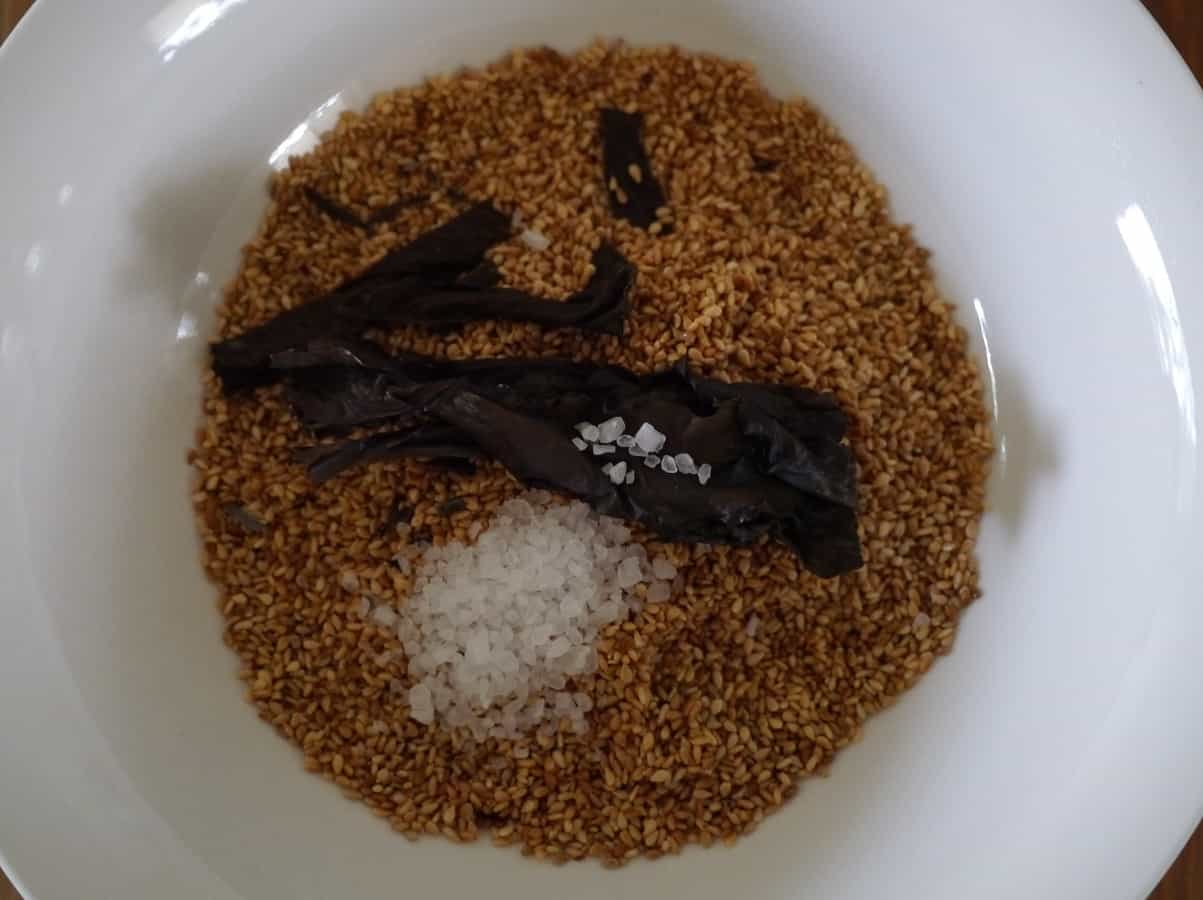
1 piece wakame (when ground should be roughly equal to 1 tbsp)
1/2 cup sesame seeds
1 tsp salt

Method:

Toast the wakame in an oven at 160°C for 10 minutes until dry and crisp.

Meanwhile, in a pan heat the sesame seeds on the lowest heat for 5-10 mins, stirring with a wooden spoon, until the seeds have changed colour from pale to golden. Try to remove them from the heat before they start to pop; if they do begin to pop remove from the heat immediately.

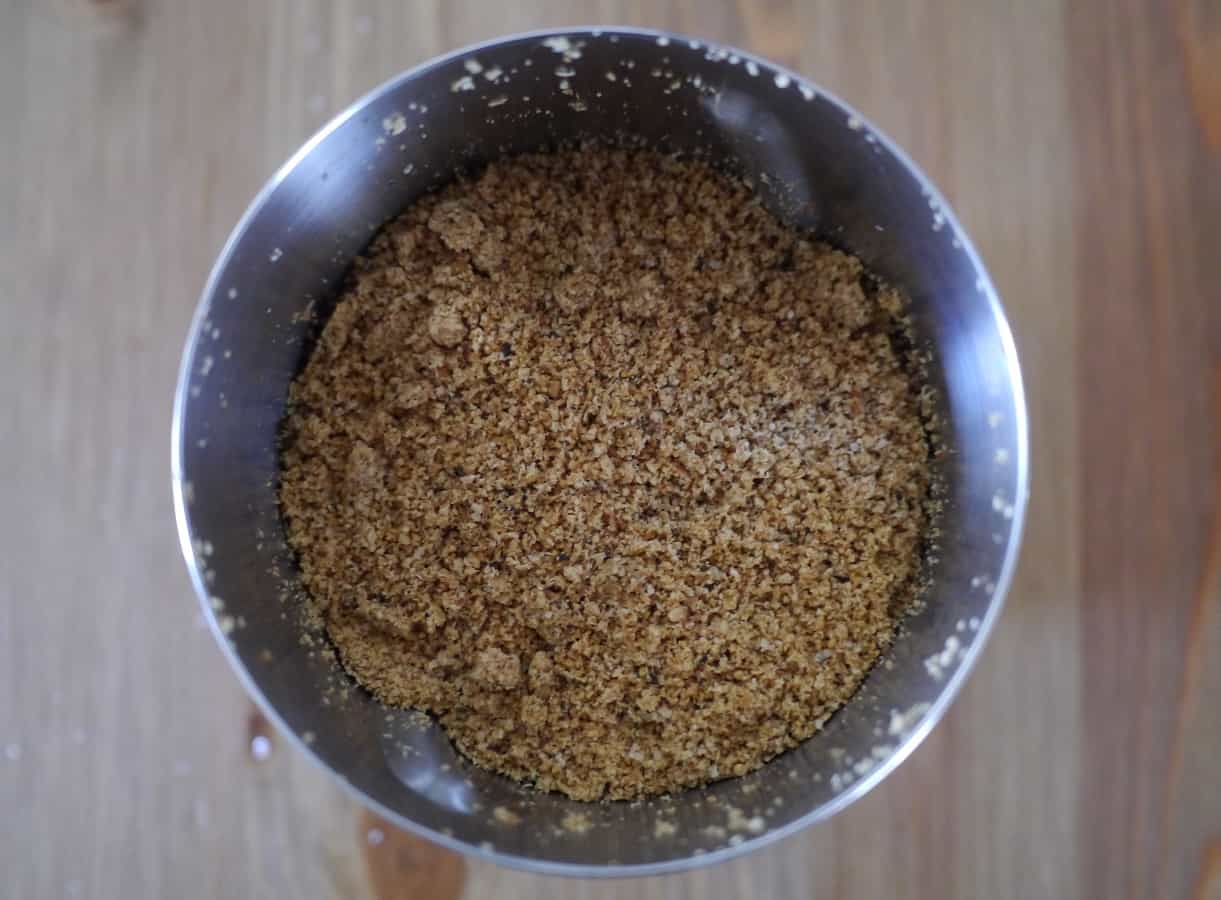
Add all the ingredients to a grinder or mortar and pestle, and grind until you have a coarse powder.

wakamegomasio wakamegomasio3And that’s it!

You can change the quantities of salt and wakame as you wish. If you aren’t using wakame, ratios of sesame seeds:salt can vary from 5:1 (found in commercially available varieties) to 18:1 for traditional Japanese gomasio. If you are using wakame, ratios for sesame seeds:wakame vary with 8:1 being an average. Start with this and adjust to find the combination that you like.

What to do with it

It’s a healthier alternative to salt, and it smells and tastes amazing. In Japan it’s used to season rice. The recipe I used it for was pastry. Feel free to try it whichever way you wish!

[leadpages_leadbox leadbox_id=1429a0746639c5] [/leadpages_leadbox]

Experimenting with Seed Milks

Seed milk. If the name ‘nut milk’ sounds bad, seed milk sounds far worse. But don’t let the feeble name put you off… they are surprisingly tasty!

Nut milks are a great substitute for cow’s milk in smoothies (and whatever else your heart desires), and I often make cashew nut milk as a base for my smoothies (see recipe here). But nuts can be expensive, and seeds are often cheaper. Plus pumpkin seeds and sunflower seeds are delicious, which got me thinking…

I decided to experiment with making some different seed milks. So far I’ve made sesame, pumpkin and sunflower seed milk.

Recipe: How to Make Seed Milks

To make these, the procedure is the same. Soak one cup of seeds in water for a few hours, or preferably overnight. Drain and put in a blender with 3 cups of chilled water. Blend until smooth.

Next you need to strain. I used one of my produce bags made with a fine netting type material. You could also use muslin, or improvise with some other material. A fine sieve should work. I’m sure old tights would work too – but do make sure they’re clean first!

Drain the liquid into a bowl. Once the pulp is dry (squeeze any excess moisture out) pour the liquid into a glass bottle or jar and store in the fridge. It will keep for up to 5 days.

Sesame Seed Milk

This milk has quite a distinctive and strong flavour. If you love tahini and sesame then you’ll love it; if not you may find it a bit strong. I used it to make my cacao banana smoothie and even with all the rich chocolatey-ness I could still slightly detect the sesame flavour.

I also tried this with (plunger) coffee and was really impressed with the result. It didn’t curdle (hurrah!) and I thought the flavours really complemented each other.

Pumpkin Seed Milk

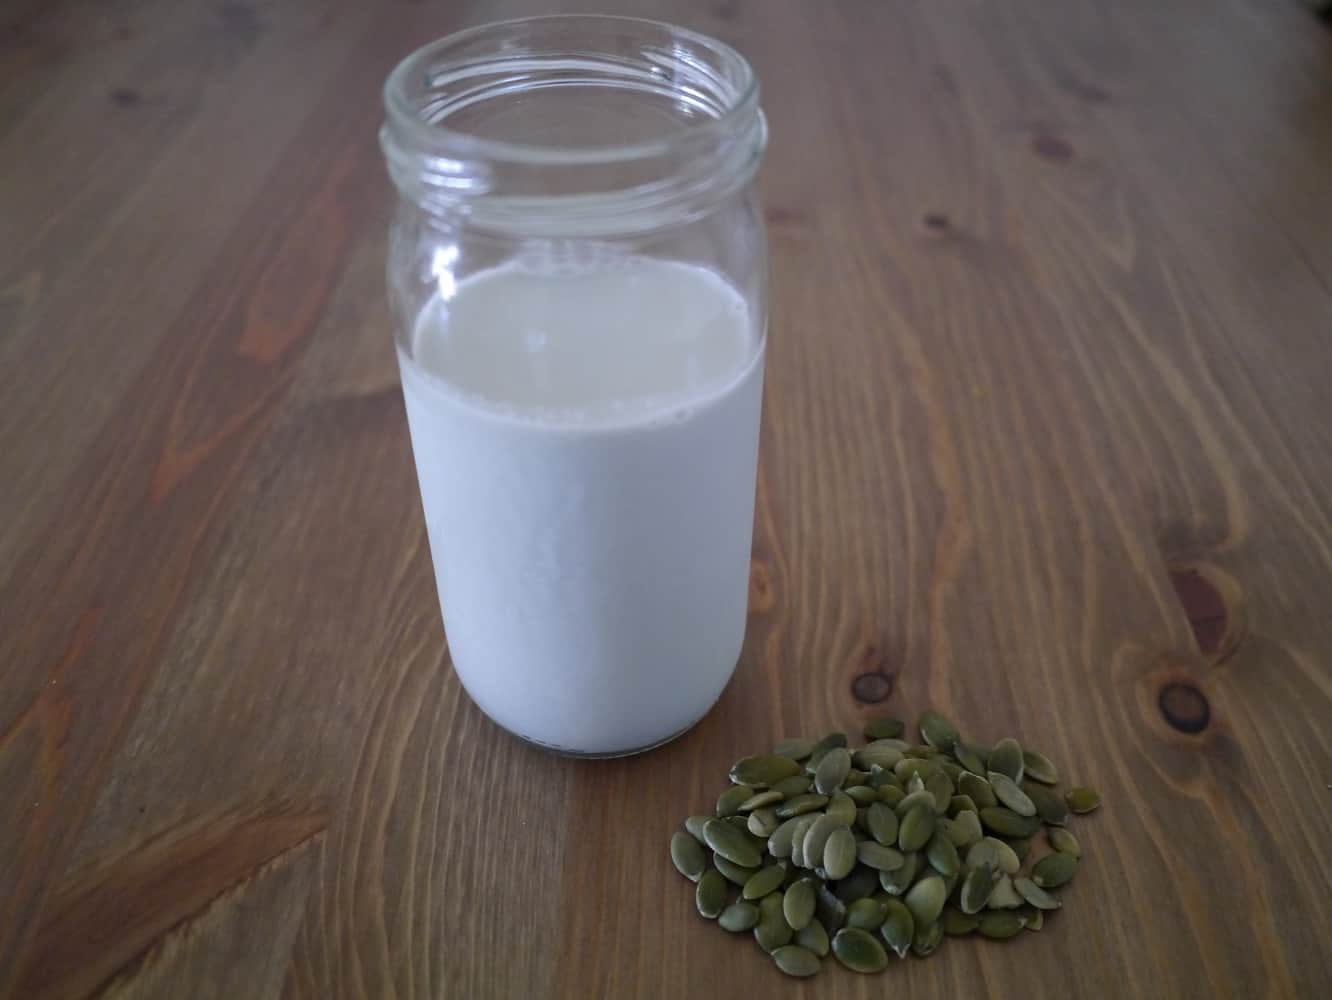
I love pumpkin seeds and I loved this. The flavour is quite subtle and nutty. It has a slight green tinge, which amuses me slightly too.

PumpkinseedmilkSunflower Seed Milk

Sunflower seeds are the hands-down cheapest option I’ve tried so far. The milk tasted great, but had the unfortunate side-effect of separating into a milky layer at the bottom and a strange red liquid layer on top. It is easy to shake and mix the two layers together again, but none of the other seed or nut milks I’ve made have done this before.

I tried this in coffee and it worked really well too; it didn’t separate or do anything strange.

Other seed milks

I tried these three because that’s what I had in my cupboard. Also, they are all fairly cheap seeds. There’s plenty of others out there though. I want to make hemp and flax seed milk at some point too; both of these seeds are really good for you and have a great nutty taste that I think will work really well. Plus I love experimenting in the kitchen!

[leadpages_leadbox leadbox_id=1429a0746639c5] [/leadpages_leadbox]

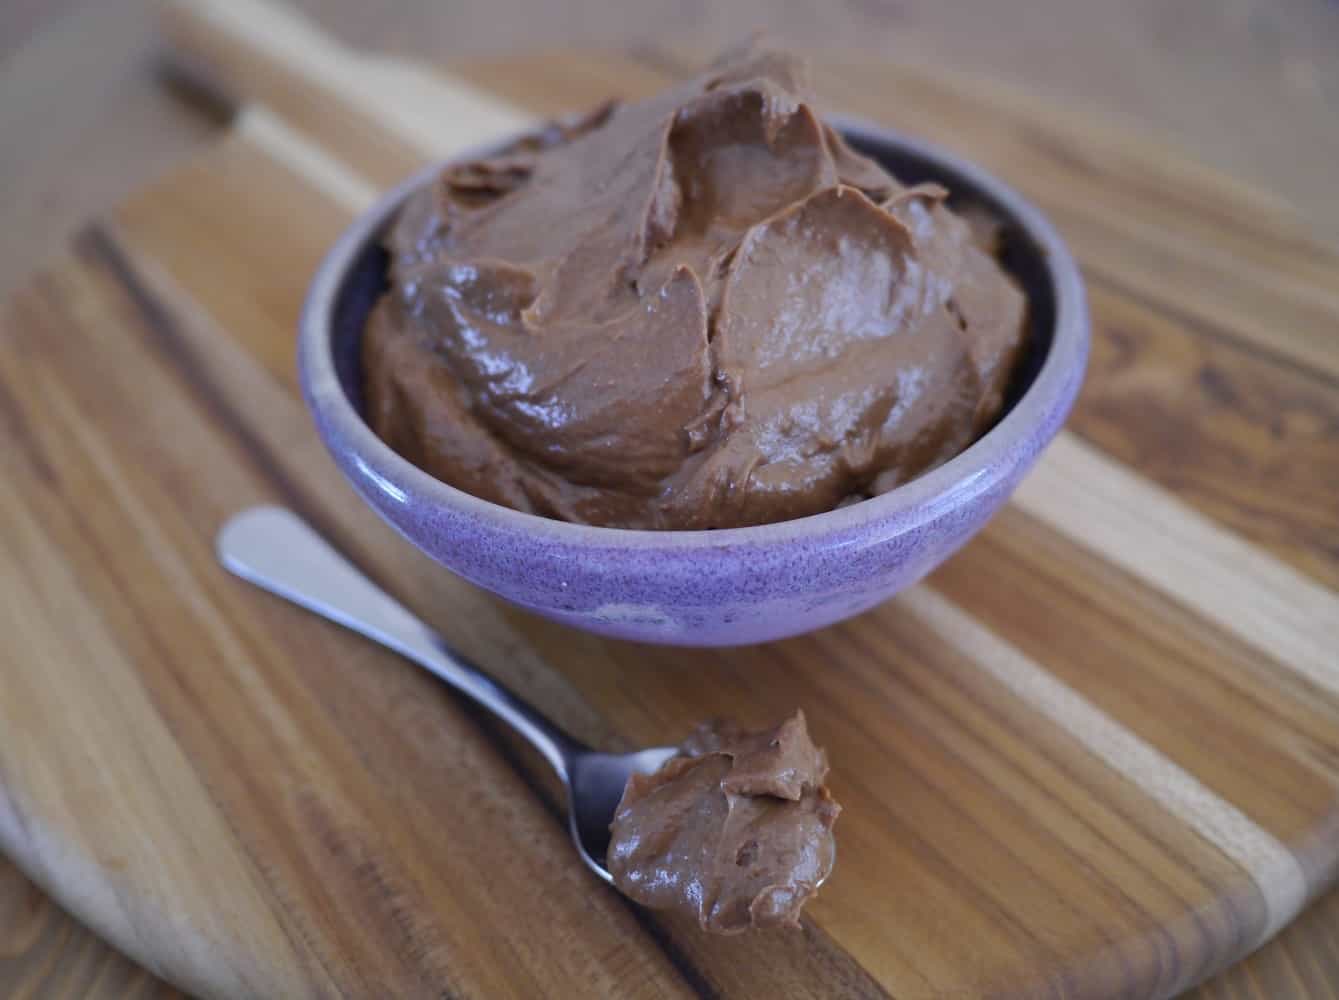
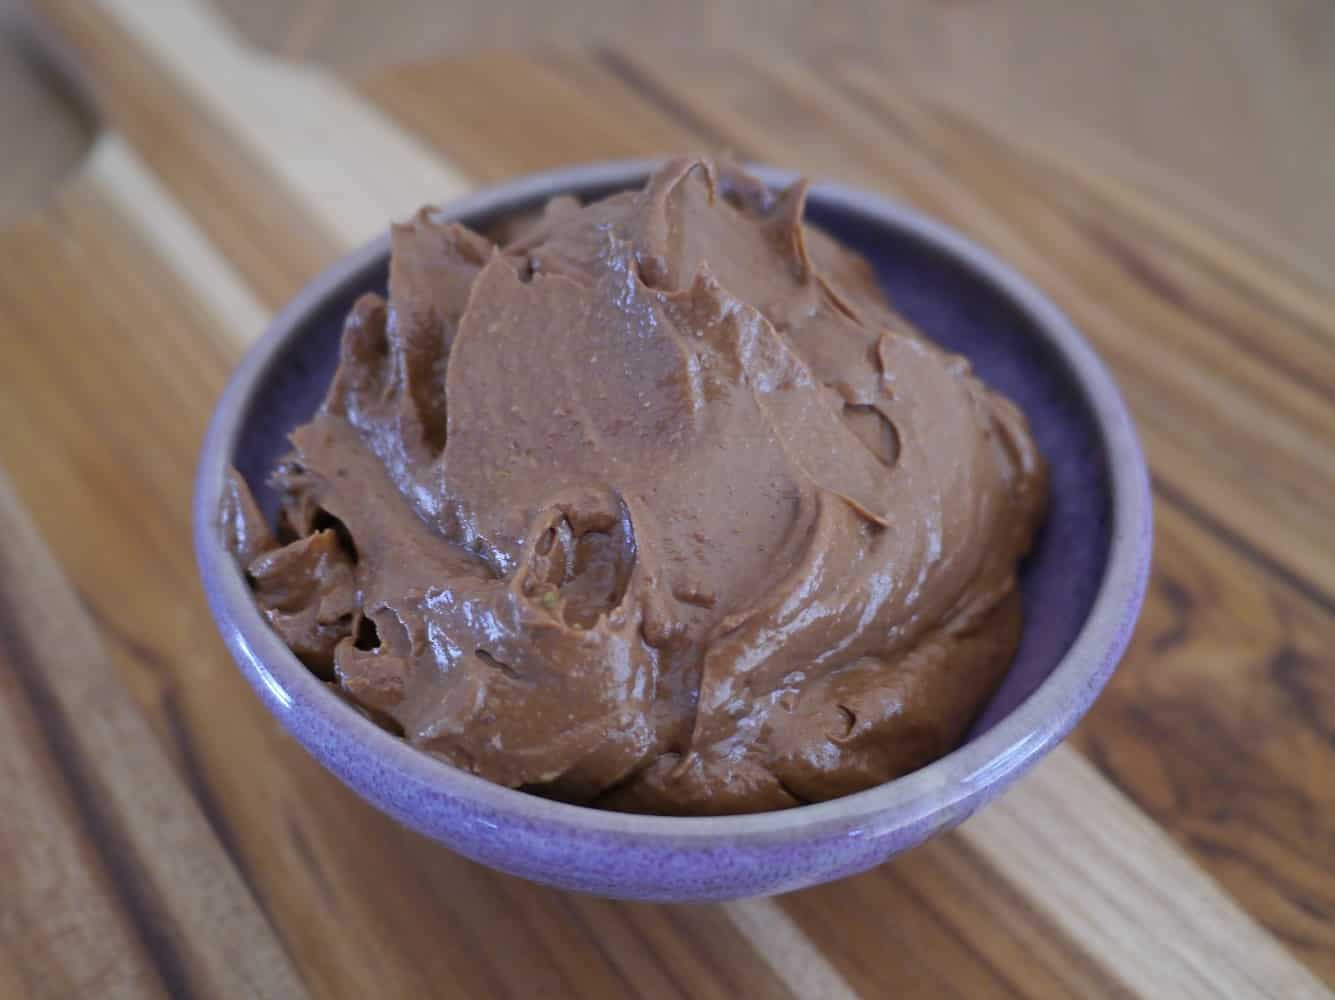
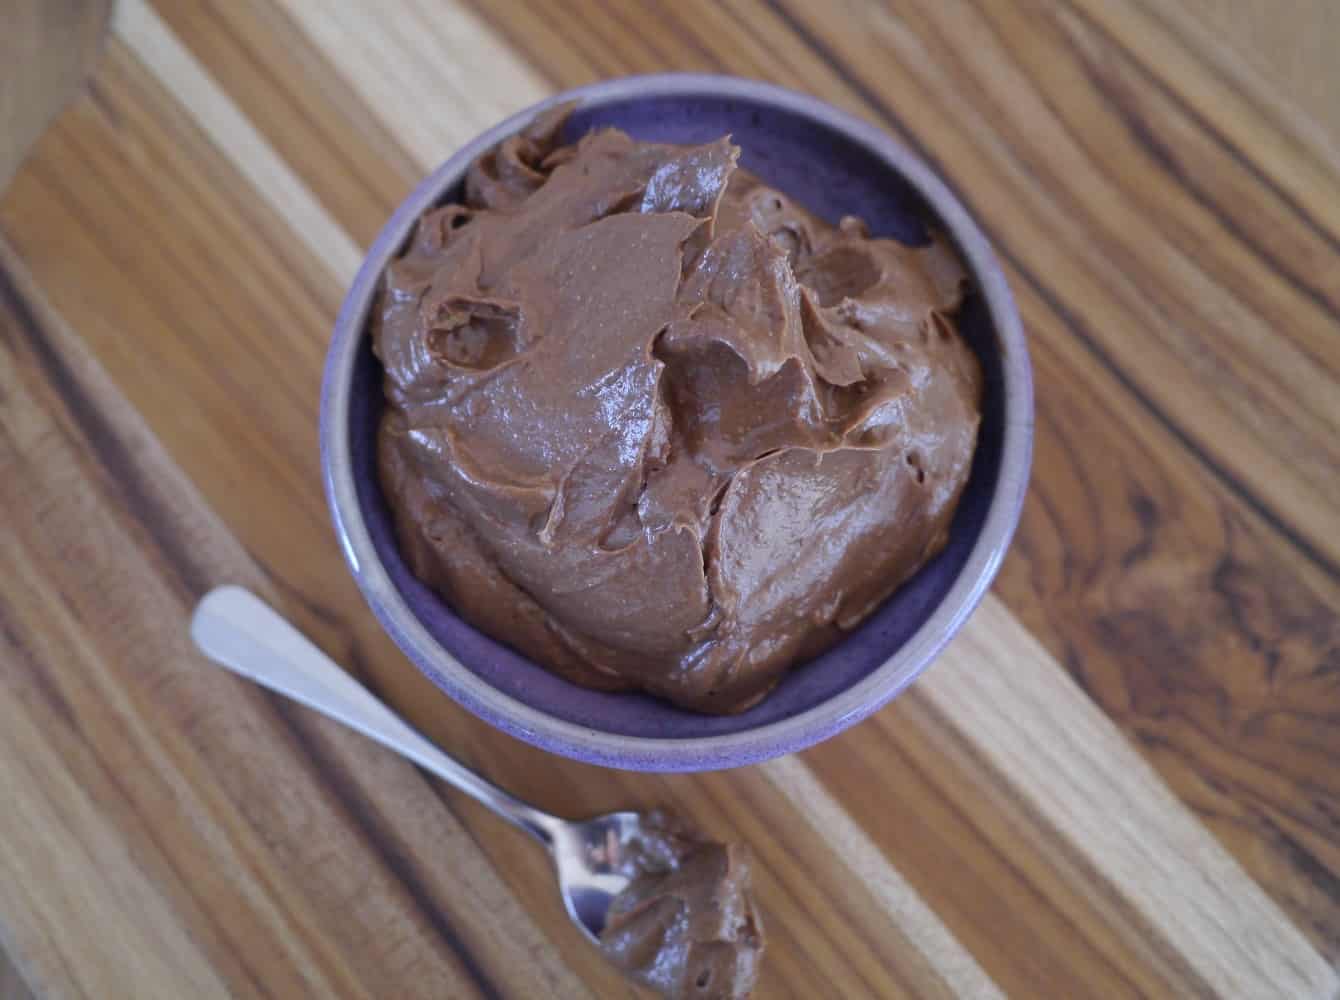
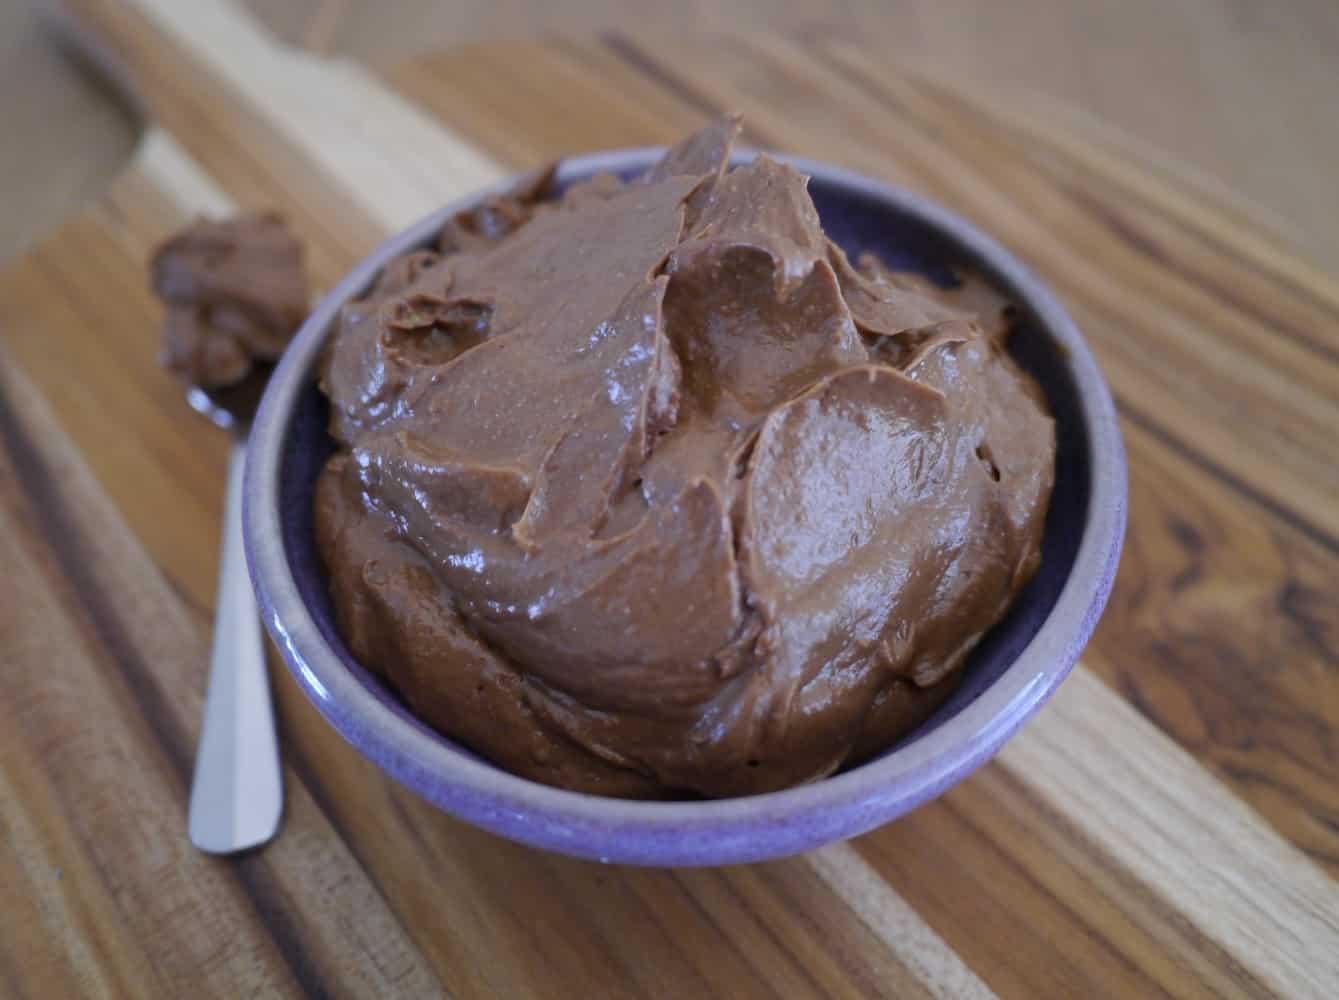
Recipe: Raw Chocolate Mousse (With a Secret Ingredient)

Chocolate mousse doesn’t have to be all about dairy products and refined sugar. You can actually make a much healthier alternative that tastes just as good – no, better! There’s a secret ingredient that gives it the creamy, smooth texture and is really good for you. Avocado!

I say secret, because it’s probably best that you don’t tell anyone eating it that you used avocado until afterwards, lest it put them off. People don’t always like to know that healthy green produce has sneaked into their dessert.

If you don’t like avocados, I promise you that you won’t even know it’s in there. The cacao completely masks the flavour, and by blending it the texture is altered too. (To my sister, who doesn’t like bananas or milk and whom I once many years ago persuaded to try a banana smoothie on the premise that it didn’t taste like bananas or milk…she was nearly sick…this time I ASSURE you that you’d never know.)

In fact, if you know someone who loves chocolate mousse but won’t eat avocados, don’t tell them what’s in it, make it for them and see if they notice. If they do, you’ll just have to eat it all yourself, which is hardly a hardship! (Obviously, if they’re allergic, it’s best you find another recipe!)

This is super simple to make, and tastes amazing. I made mine in my food processor but handheld blender should work, and if you’ve got the patience you could try mashing it all by hand with a fork, although I doubt it will be as smooth.

This makes enough for two people.

Avocado Chocolate Mousse

Ingredients:
1 large avocado
2 tbsp raw almond butter
1 tbsp maple syrup
2 tbsp raw cacao powder
2 tbsp melted coconut oil

Method:
Blend avocado, raw almond butter and maple syrup in a food processor until smooth. Add cacao powder and blend until incorporated. Add melted coconut oil and whizz briefly until combined.

Serve straightaway or store in a glass jar in the fridge for up to 3 days.

avochocmousse1jpg avochocmousse3jpg avochocmousse4jpg[leadpages_leadbox leadbox_id=1429a0746639c5] [/leadpages_leadbox]

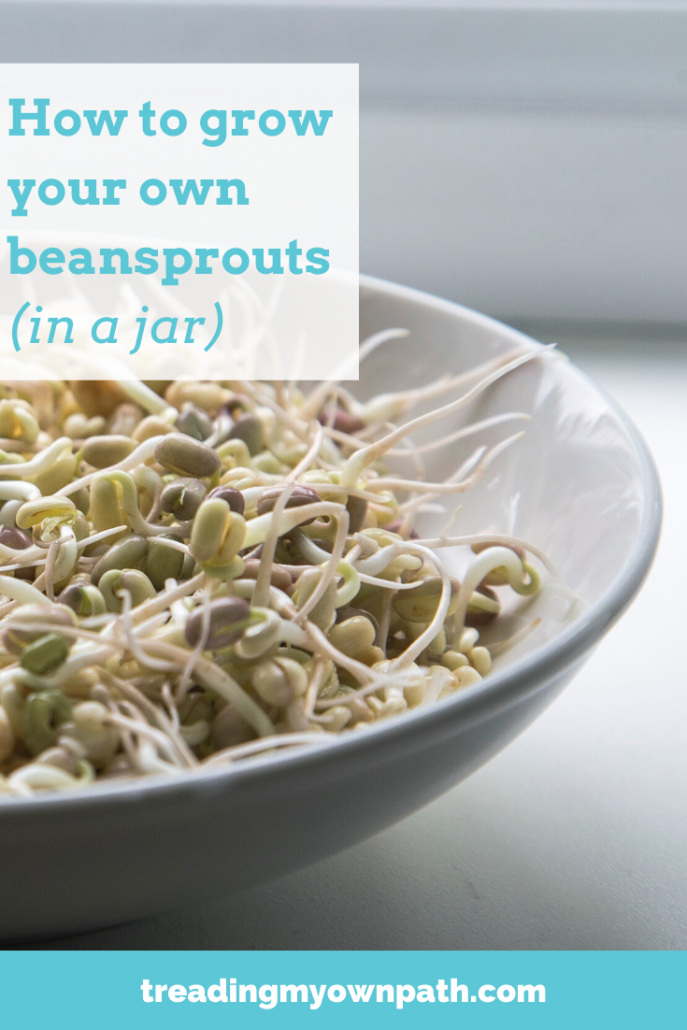
How to Make Your Own Beansprouts

Although they look a little different, these guys are similar to those long white beansprouts that you can buy from the supermarket to put in stir-fries. Although they are both sprouts, the homegrown versions are totally superior, being packed with way more flavour and a good deal more crunch than their insipid white cousins.

Making your own sprouts is super easy, and you can make them from most dried pulses, small bean or seeds.

The smaller the better as they will be the quickest to germinate.

It’s a great way to use up any lifeless dried old lentils that you’ve had sitting in the pantry for months (or years) whilst you wait for an appetising recipe to turn up. All you need is a glass jar, and some water!

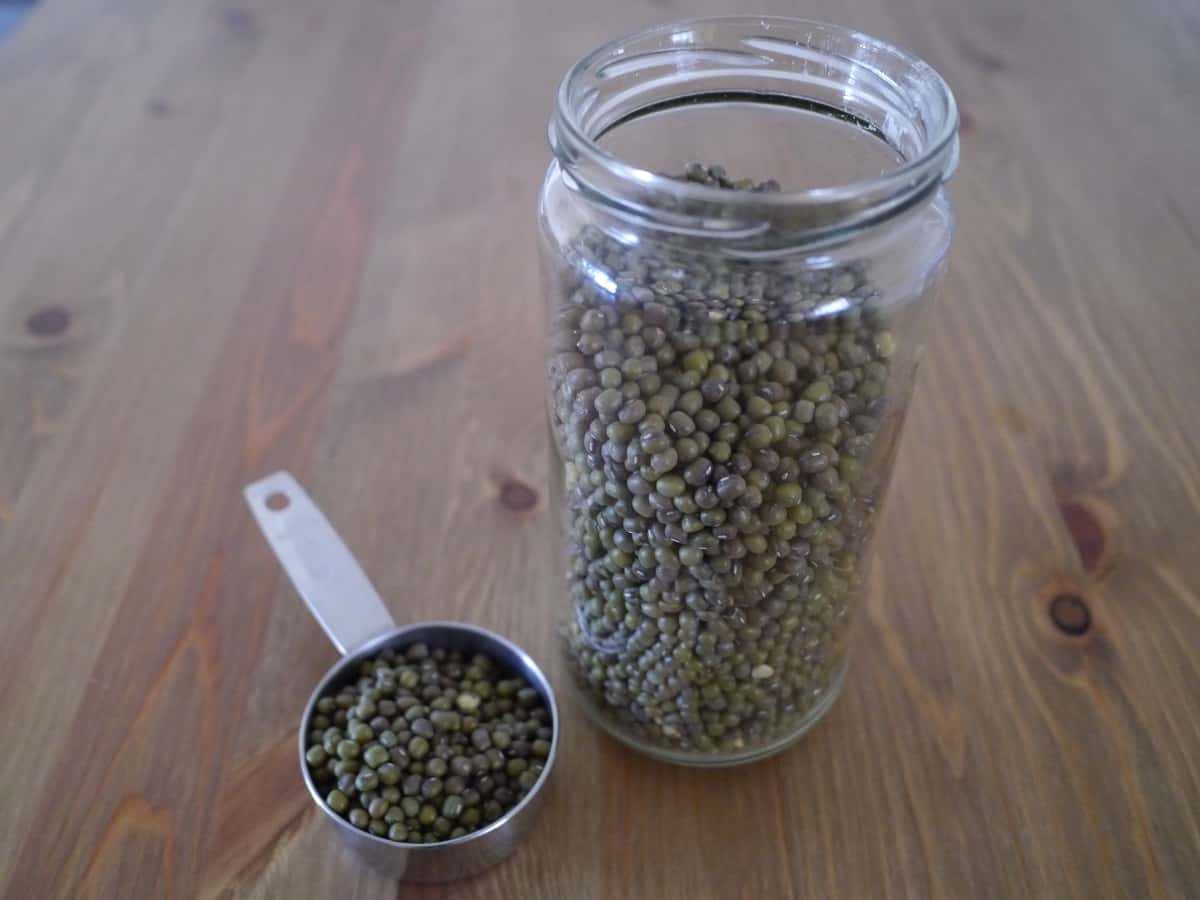
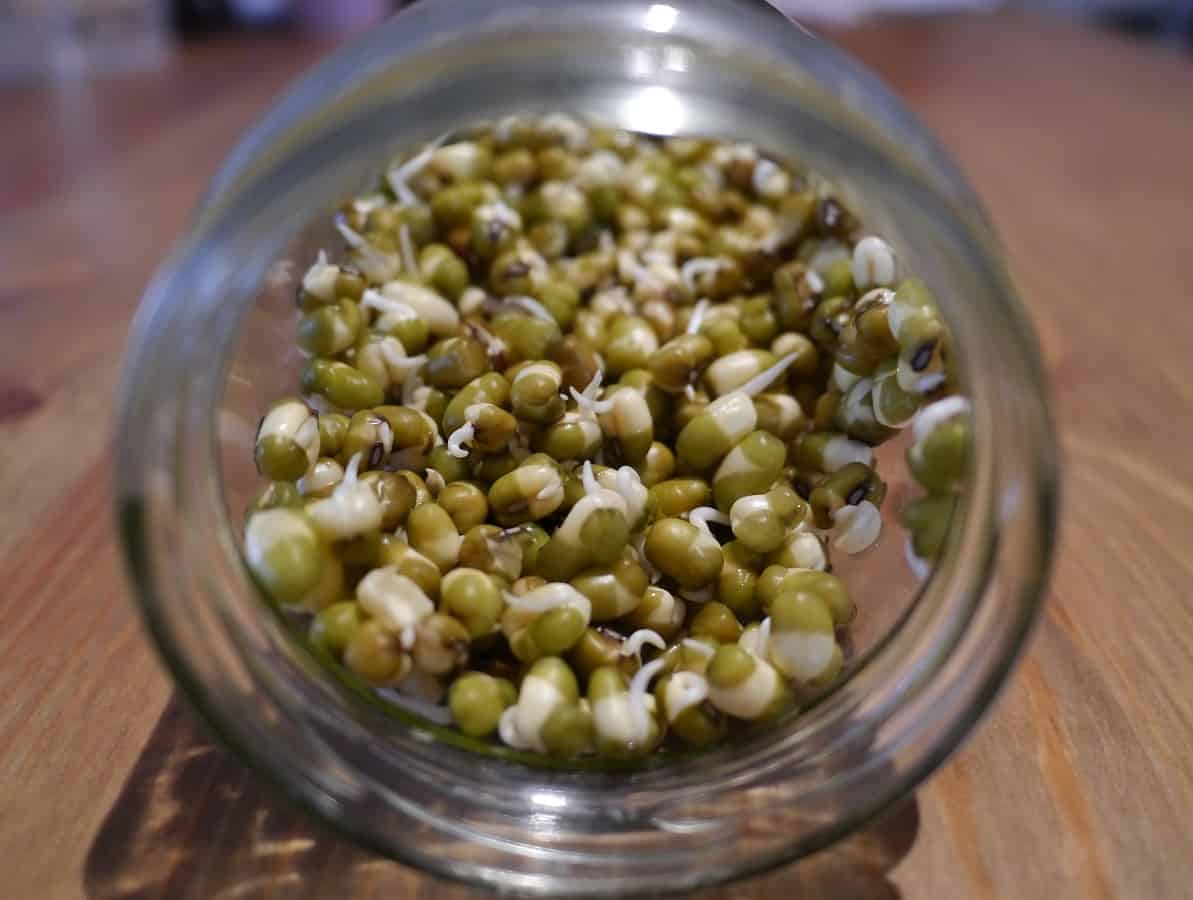
The sprouts I’ve been making recently have been using mung beans, as I had a packet in the cupboard (from before my plastic-free days!) that I had no idea what to do with. It’s hard to believe when you look at these hard, dry little balls that there’s any life in them at all!

sprouts1jpg

Yet with a little bit of watering they turn into something super fresh and tasty. They’re also nutritious, containing thiamin, niacin, Vitamin B6, pantothenic acid, iron, magnesium, phosphorus and potassium, and being a great source of dietary fibre, vitamin C, vitamin K, riboflavin, folate, copper and manganese (for nutritional information check here).

I’ve also made sprouts with various lentils, azuki beans, sunflower seeds and chickpeas, often as a mix.

All you need to do is put whichever dried pulses/beans/seeds you want to use in a jar, and cover with water, and leave for a few hours or overnight. They will swell considerably so be liberal with the water. (Don’t be afraid to add more if they appear to have absorbed it all.)

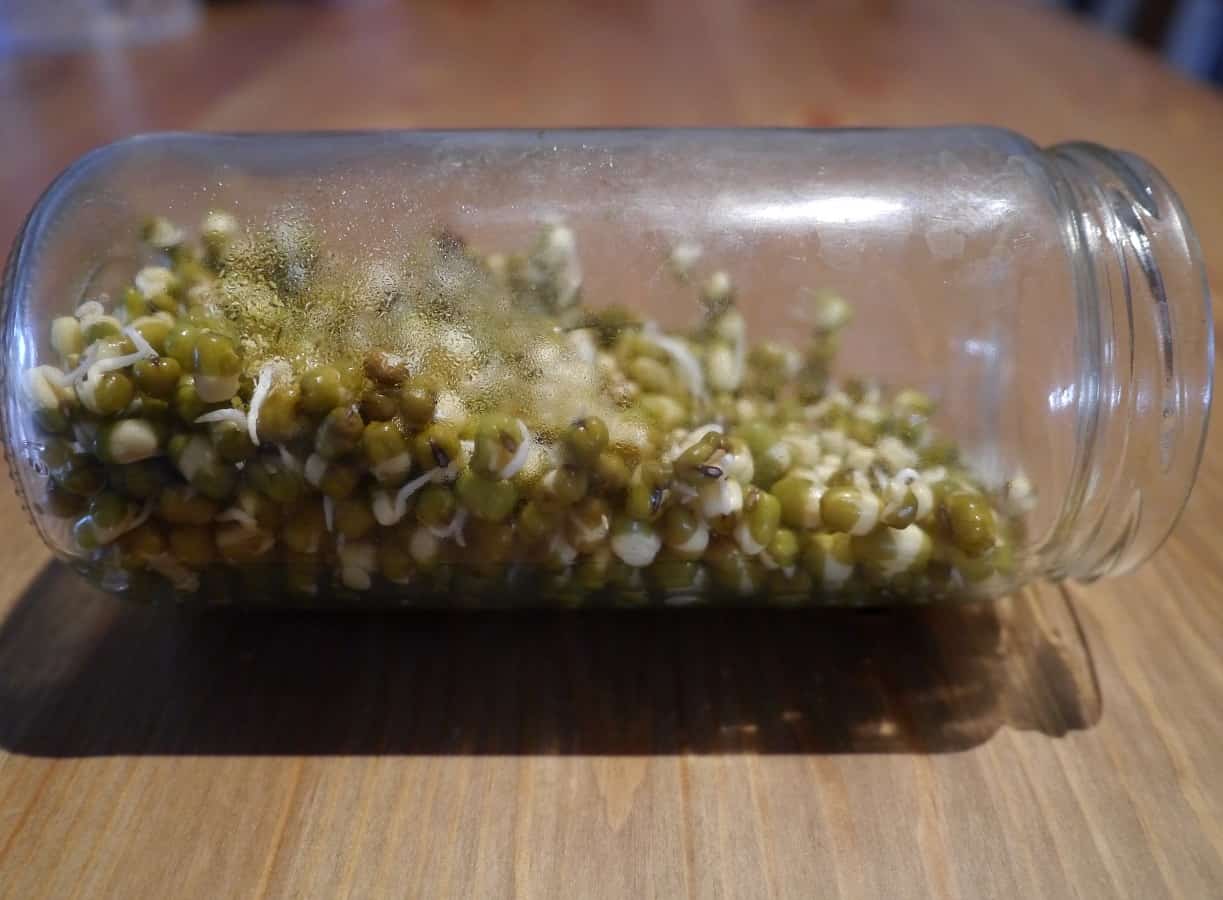
The next morning rinse and add fresh water. After the initial soaking add enough to keep them moist, but not too much so as to drown them! Aim to rinse and replace the water twice a day – more often if the weather is hot. Small sprouts like mung beans should be ready in 24 hours; seeds and larger pulses (like chickpeas) take a bit longer.

sprouts4jpg sprouts3jpgYou can eat them straight after the overnight soak, but I prefer to wait until I can see the little root poking out. Once they’ve sprouted I usually keep the jar on it’s side so the ones at the bottom don’t get so waterlogged.

They will keep in the fridge for a few days but as they are so quick to prepare I make small batches often so I can eat them as fresh as possible.

Stir them into quinoa, use in stir-fries, add to salad or just eat straight out of the jar!

[leadpages_leadbox leadbox_id=1429a0746639c5] [/leadpages_leadbox]

Plastic-Free Sweetcorn (How To Remove The Kernels + Freeze)

Some things seem so glaringly obvious with the benefit of hindsight. I would never have thought of processing my own sweetcorn cobs if it hadn’t been for giving up plastic last year. Until then, I had always purchased bags of sweetcorn from the freezer aisle in the supermarket. I didn’t use it often, but it was one of those staples I liked to have on hand, for when my fridge was empty and the shops were shut.

The freezer equivalent of the tins of tomatoes that I liked to have on hand in the pantry.

So Plastic Free July came along last year, and out went plastic food packaging, and so did frozen sweetcorn. I wasn’t about to buy the tinned stuff, because it’s filled with added sugar and salt, and the tins are lined with BPA plastic. Plus I always think it has a grey tinge that fresh and frozen corn just doesn’t have, which rather puts me off.

I resigned myself to only eating sweetcorn for the month of the year when it comes into season and I could buy fresh corn cobs. Along came the season, and with it more corn than I knew what to do with. And it occurred to me that I could process my own cobs and freeze the sweetcorn, plastic free! Why this epiphany took so long to come to me I have no idea. But at least it did, as I now have a supply of frozen sweetcorn in my freezer that should last me until next season.

It still makes me smile when I think about how obvious it was.

So if you’re like I was, and have no idea how to process corn, read on. If you were on that page years ago, I hope you feel a sense of satisfaction that I have finally caught up!

How to Freeze Sweetcorn

An average cob makes approximately 150g frozen sweetcorn.

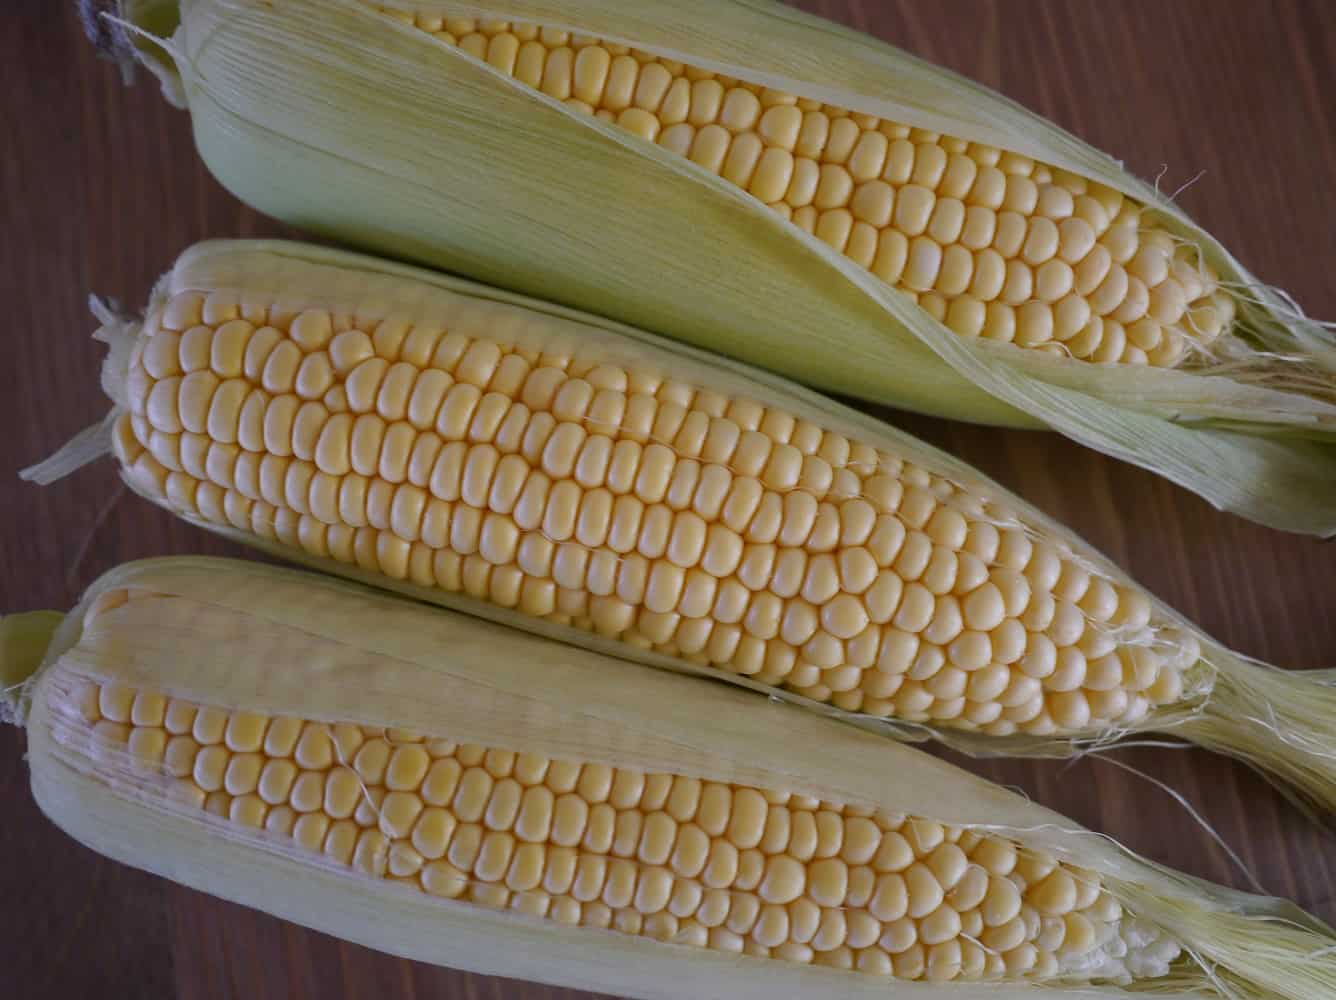
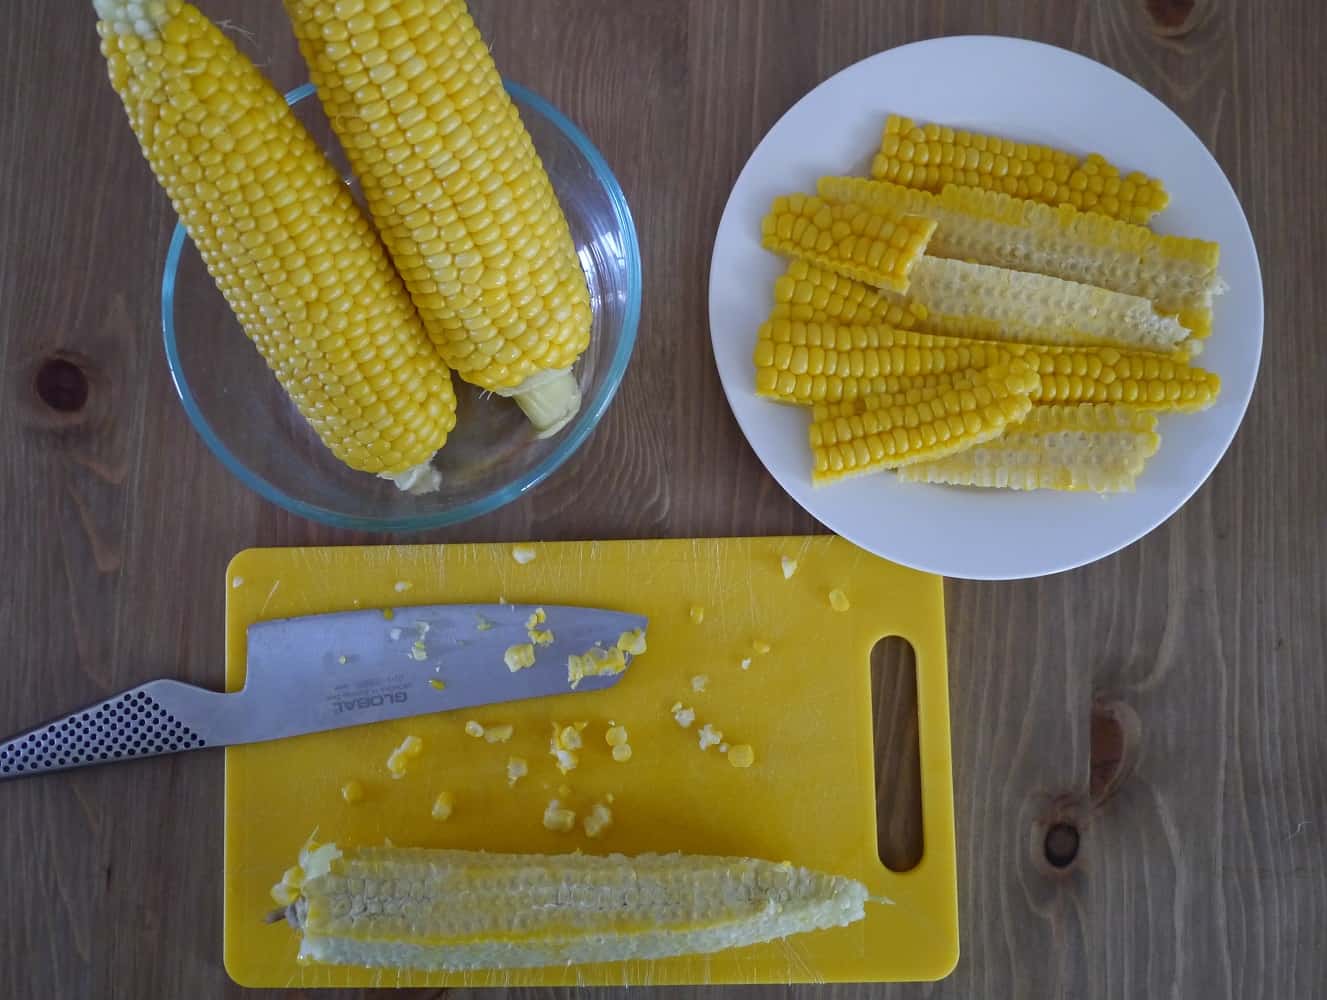
corn1jpgRemove the green husks and as much of the silky stuff as you can.

Place the corn in a pan of unsalted boiling water (wait until it is boiling before adding the corn) and allow to boil for 5 minutes. This is called blanching.

Remove the corn with tongs and place immediately into a bowl of icy water. This will stop them from cooking. Let them sit for at least 5 minutes, until cool to touch.

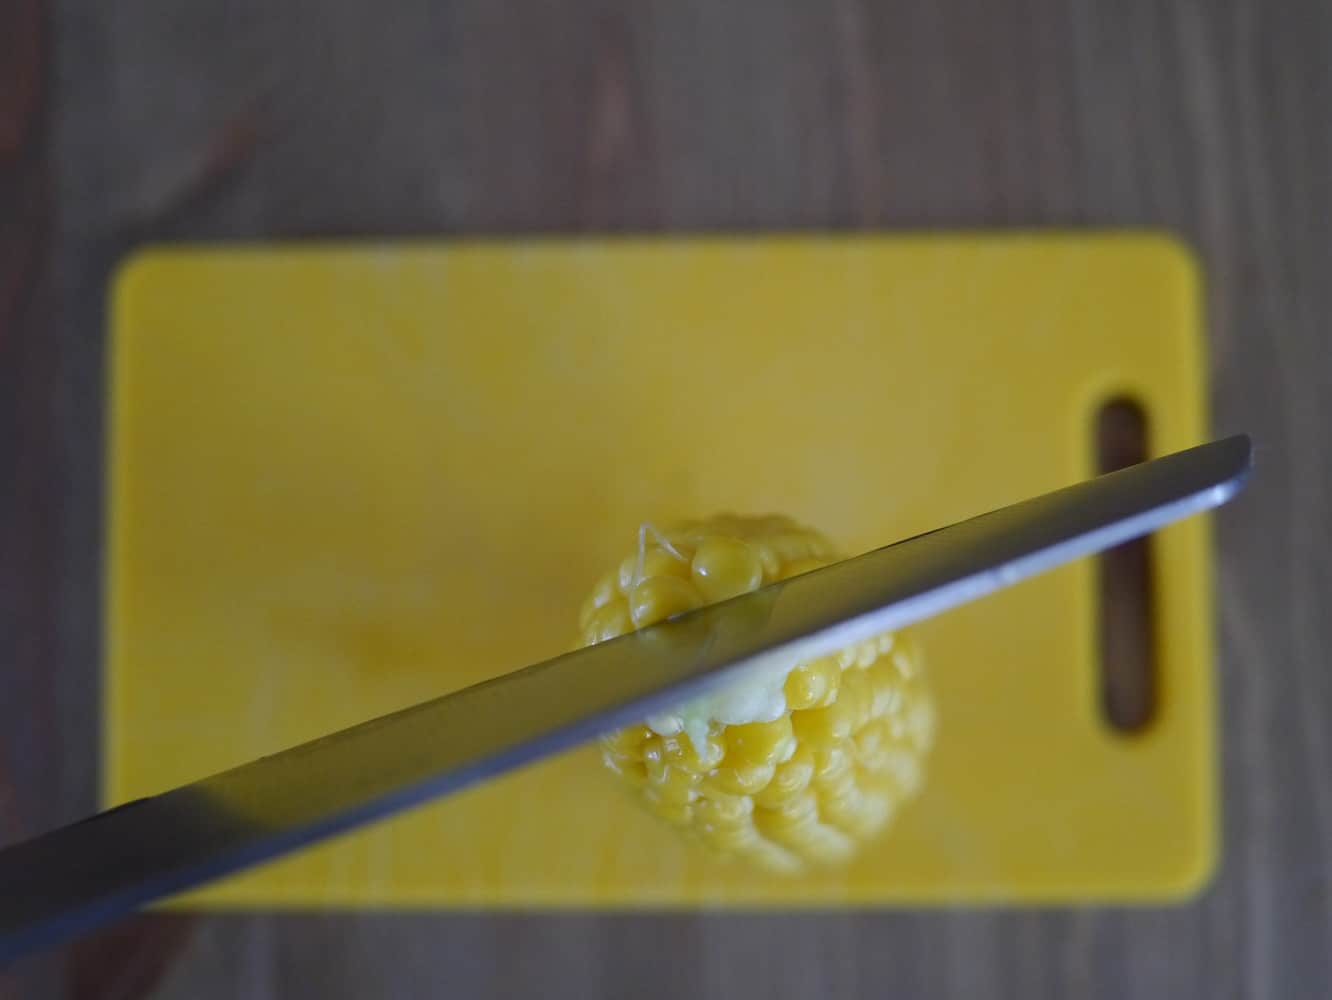
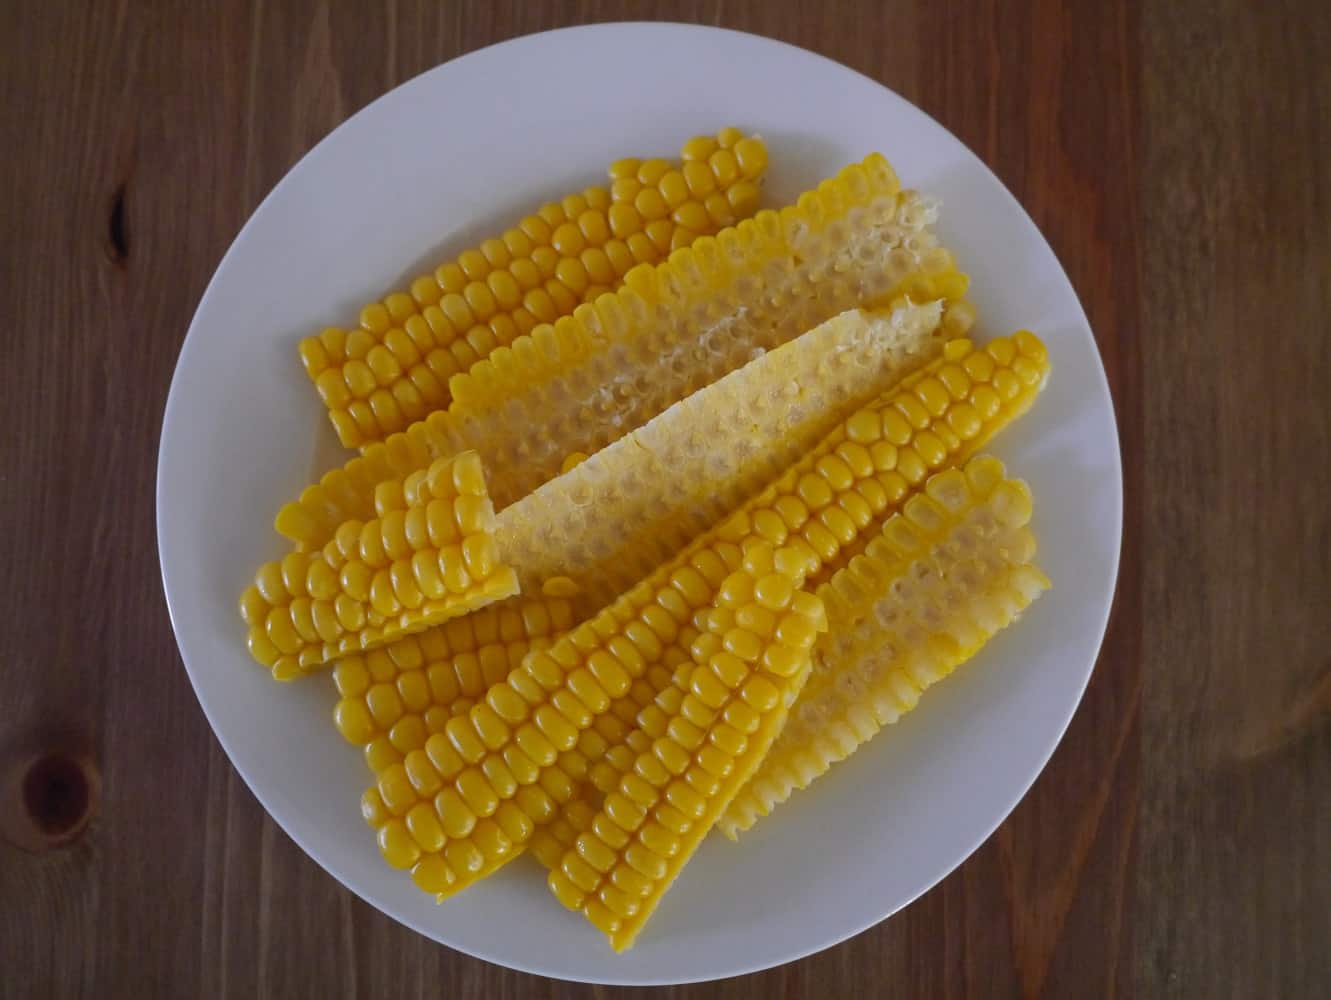
To cut the kernels off, hold the cob upright and using a sharp knife, cut downwards in strips. The corn will fall off in chunks but is easily broken up with your fingers.

corn5jpg

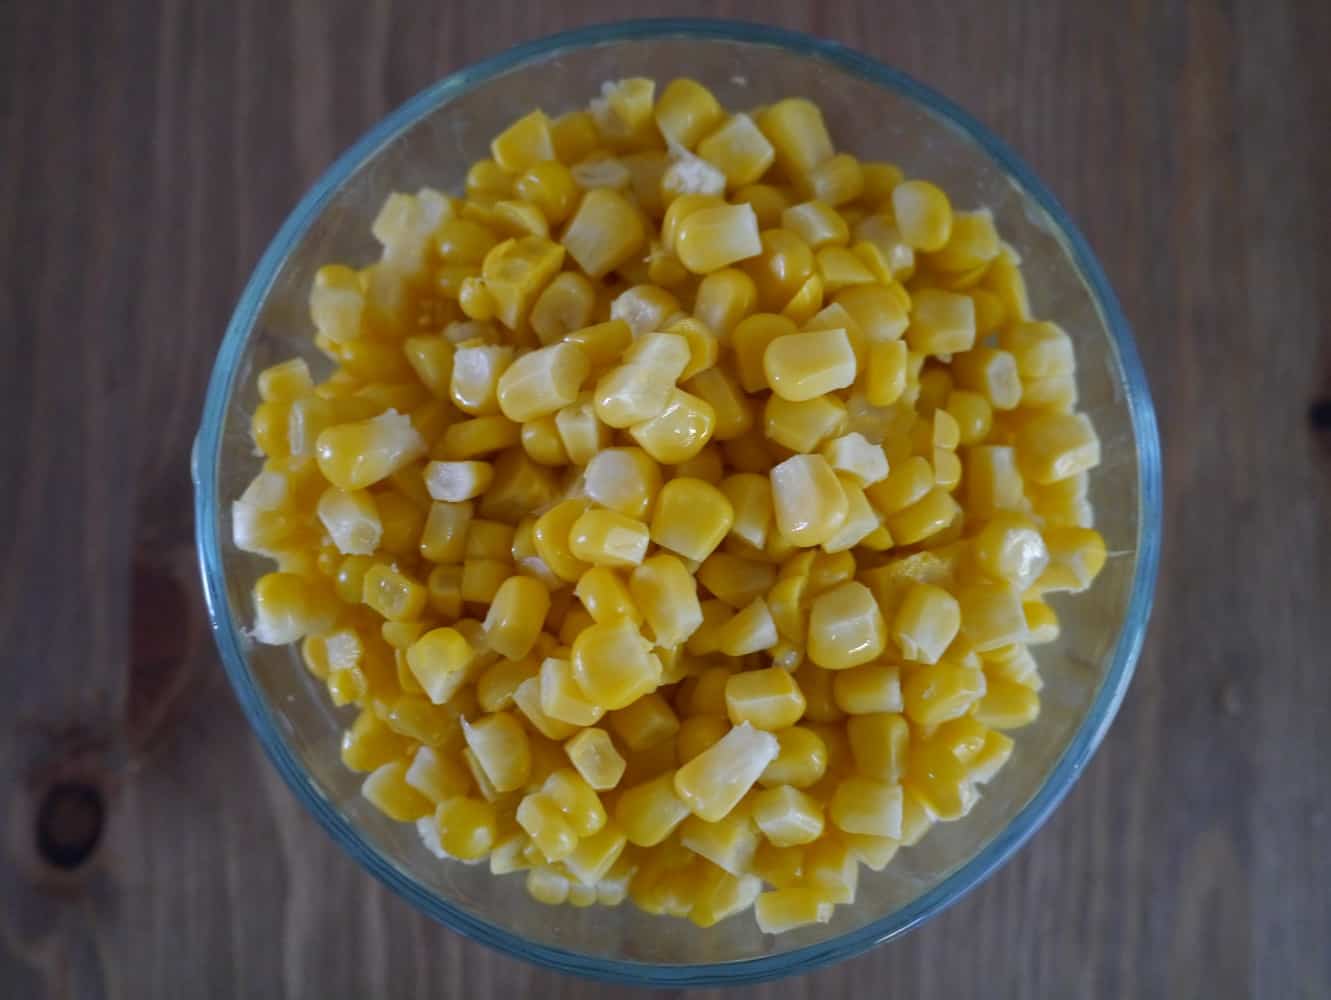
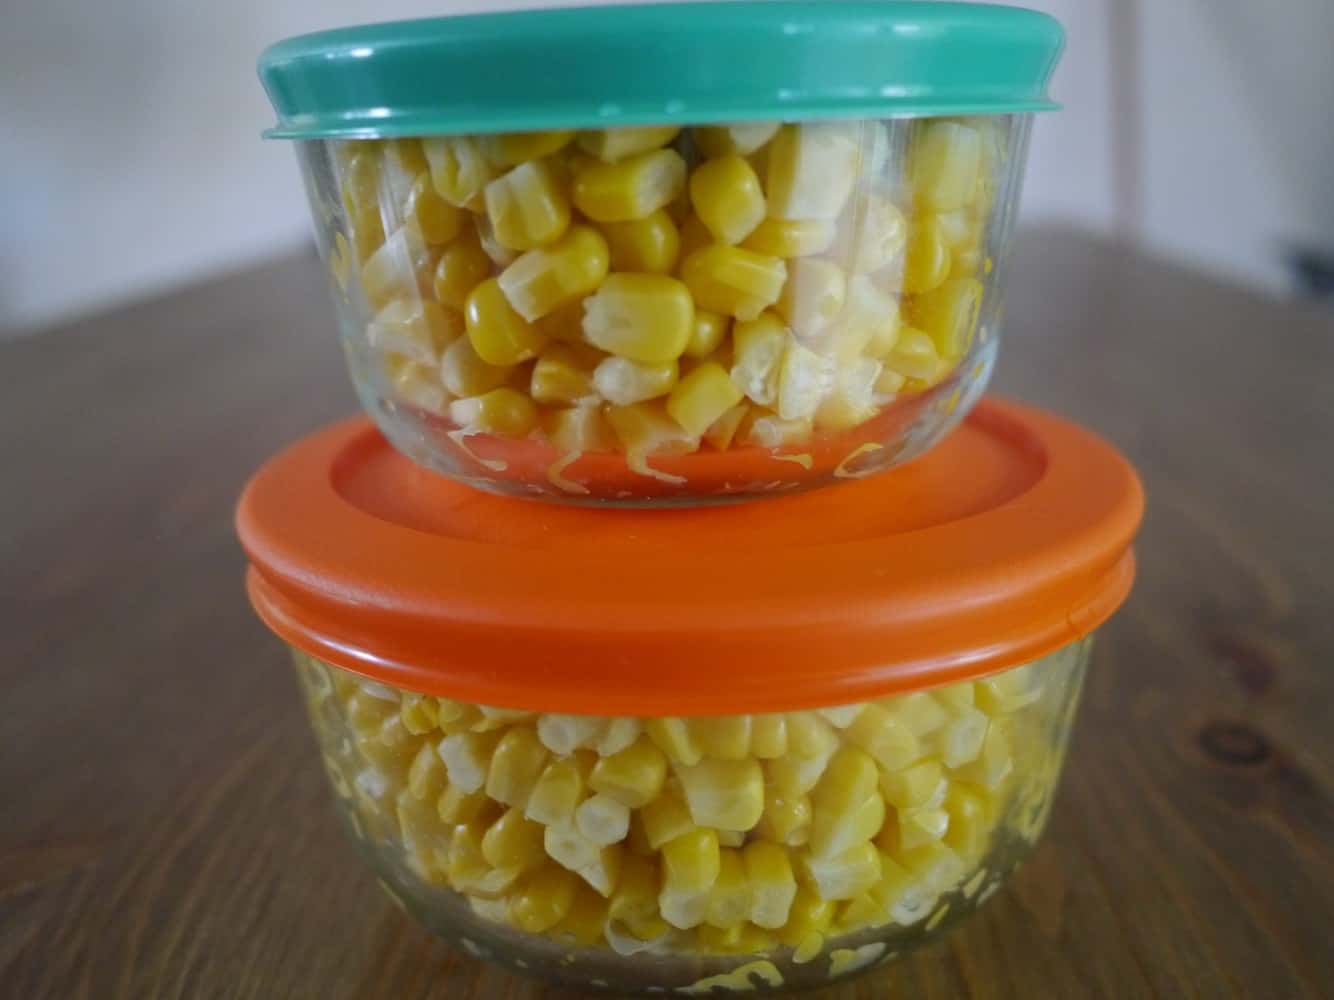
corn10jpgcorn9jpg Break up any clumps with your fingers. Place in a suitable container. Try to pack the containers as tightly as possible to minimise freezer burn.

corn12jpgFreeze until you want to eat!

[leadpages_leadbox leadbox_id=1429a0746639c5] [/leadpages_leadbox]

Making Almond Nut Butter (A Recipe)

Almond butter is essentially the same thing as peanut butter (except a lot of peanut butters have extra salt, sugar, oil and goodness-knows-what-else mixed in too), but made from almonds. I love peanut butter, but I prefer almonds to peanuts, and almond butter is definitely more delicious!

However, if you want to buy it from the shops it’s quite a bit more expensive than peanut butter. I guess that’s what comes from not adding all that other rubbish in.

You can buy almond butter from health food shops and actually our local supermarkets stock it too, except the brand they stock has a plastic wrapper over the lid – and I don’t buy plastic. I did find a plastic free version, but it wasn’t great – too many lumps, oily and ridiculously stiff.

So I decided to have a go at making it in my food processor. And…it was a total success! So I won’t be buying it any more, I’ll be making my own. And I might experiment with some other nuts. I think hazelnut butter would be amazing too, and I haven’t seen that in the shops at all.

Recipe: How to Make Almond Butter

I choose to make roasted almond butter, because roasting brings out the flavour.

This recipe makes approx. 1 cup almond butter.

Ingredients:

2 cups raw almonds

Method:

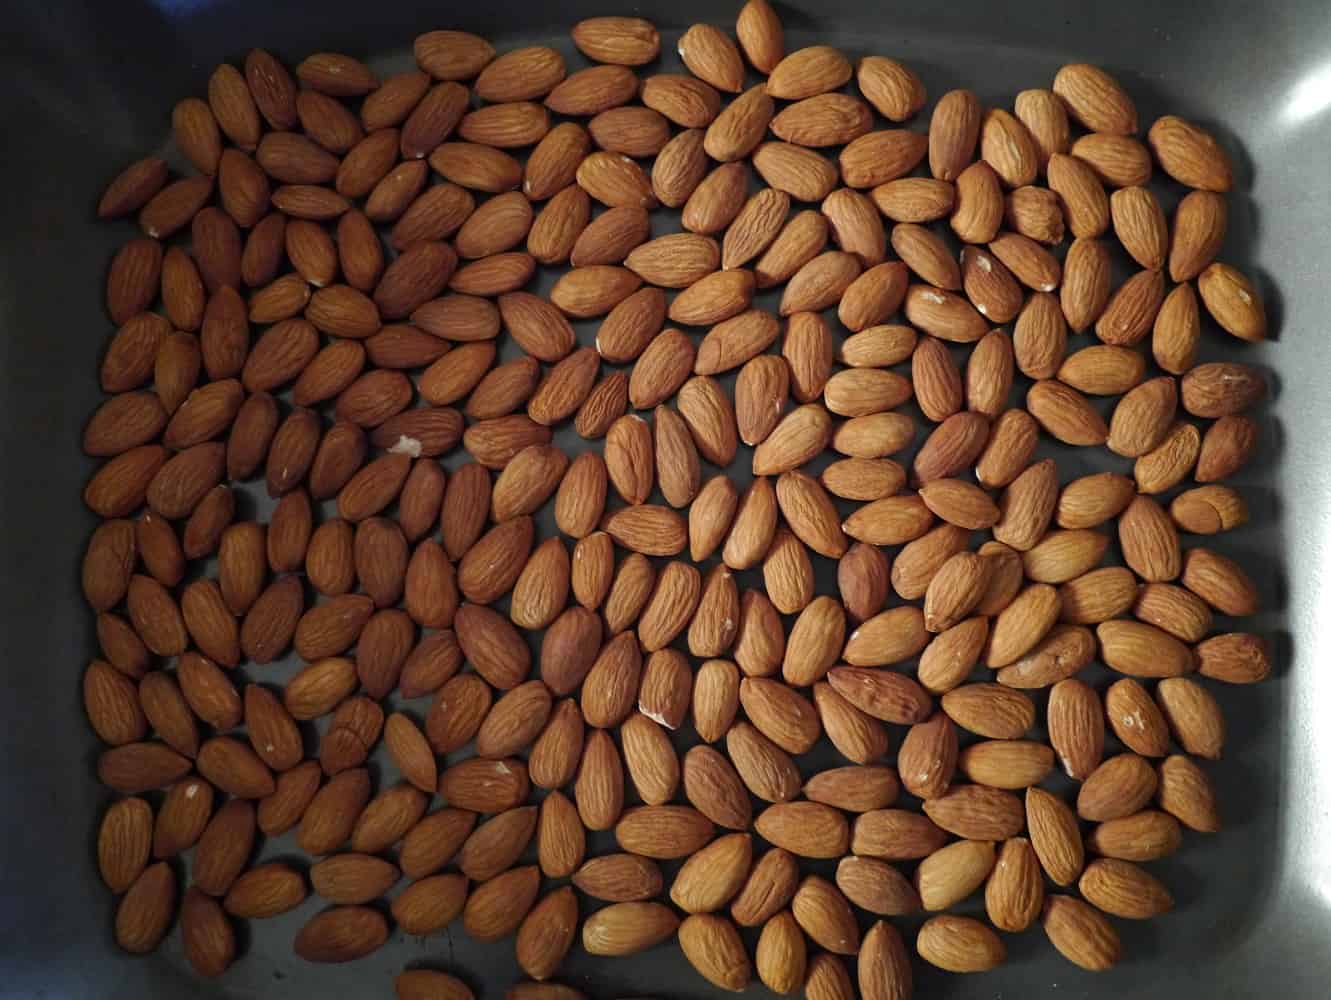
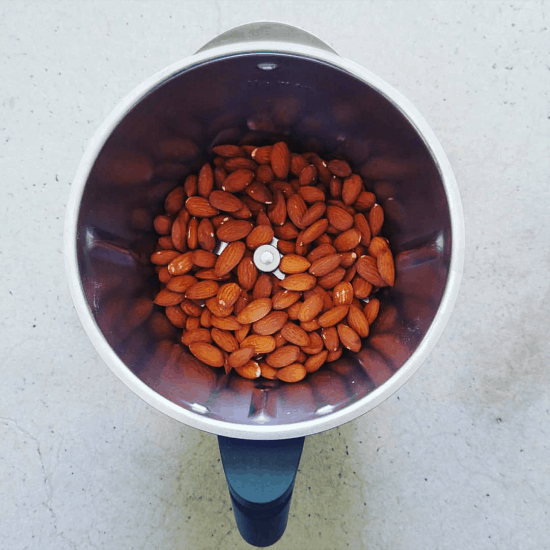
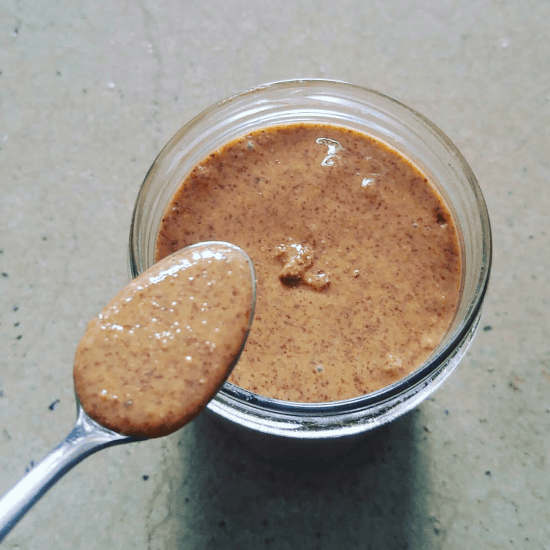
First roast the almonds. Preheat the oven to 150°C. Spread the almonds on a baking tray so they’re not on top of one another and cook for 20-30 minutes. (I cooked mine for 30 minutes and they were very well roasted – possibly a bit too much!)

almond1jpgLeave to cool completely. They will continue to make popping noises even once they feel cool to touch, so wait for this to stop.

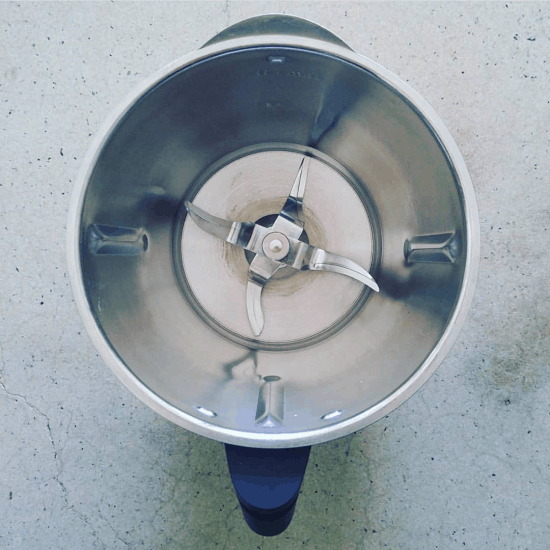
Once the almonds are cold, place in the food processor or high powered blender, and turn on.

After a minute, the almonds will have turned into crumbs.

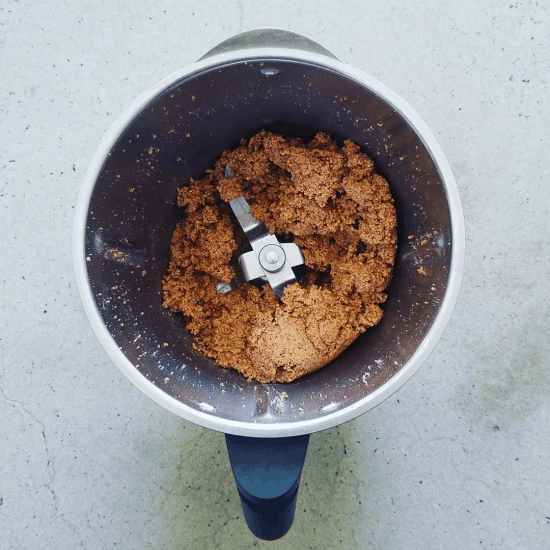
Keep blending, and the crumbs will form a dough.

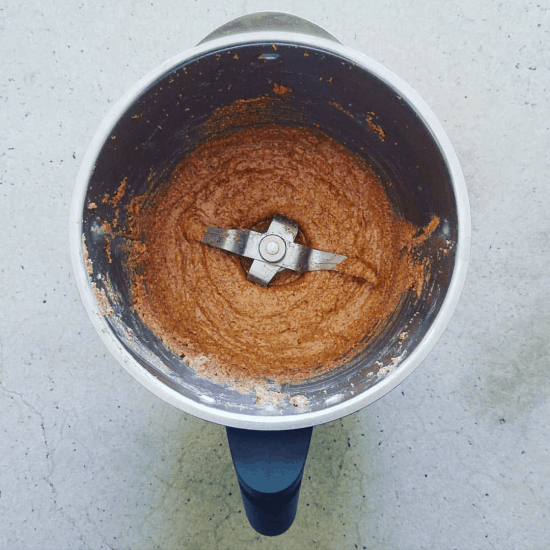
Continue to blend, and the dough will form a smooth glossy paste, which is almond butter.

Scrape into a jar – I store mine in the cupboard, and a jar lasts 2-3 months. It will keep longer if stored in the fridge.

[leadpages_leadbox leadbox_id=1429a0746639c5] [/leadpages_leadbox]

Recipe! Cacao Banana Smoothie

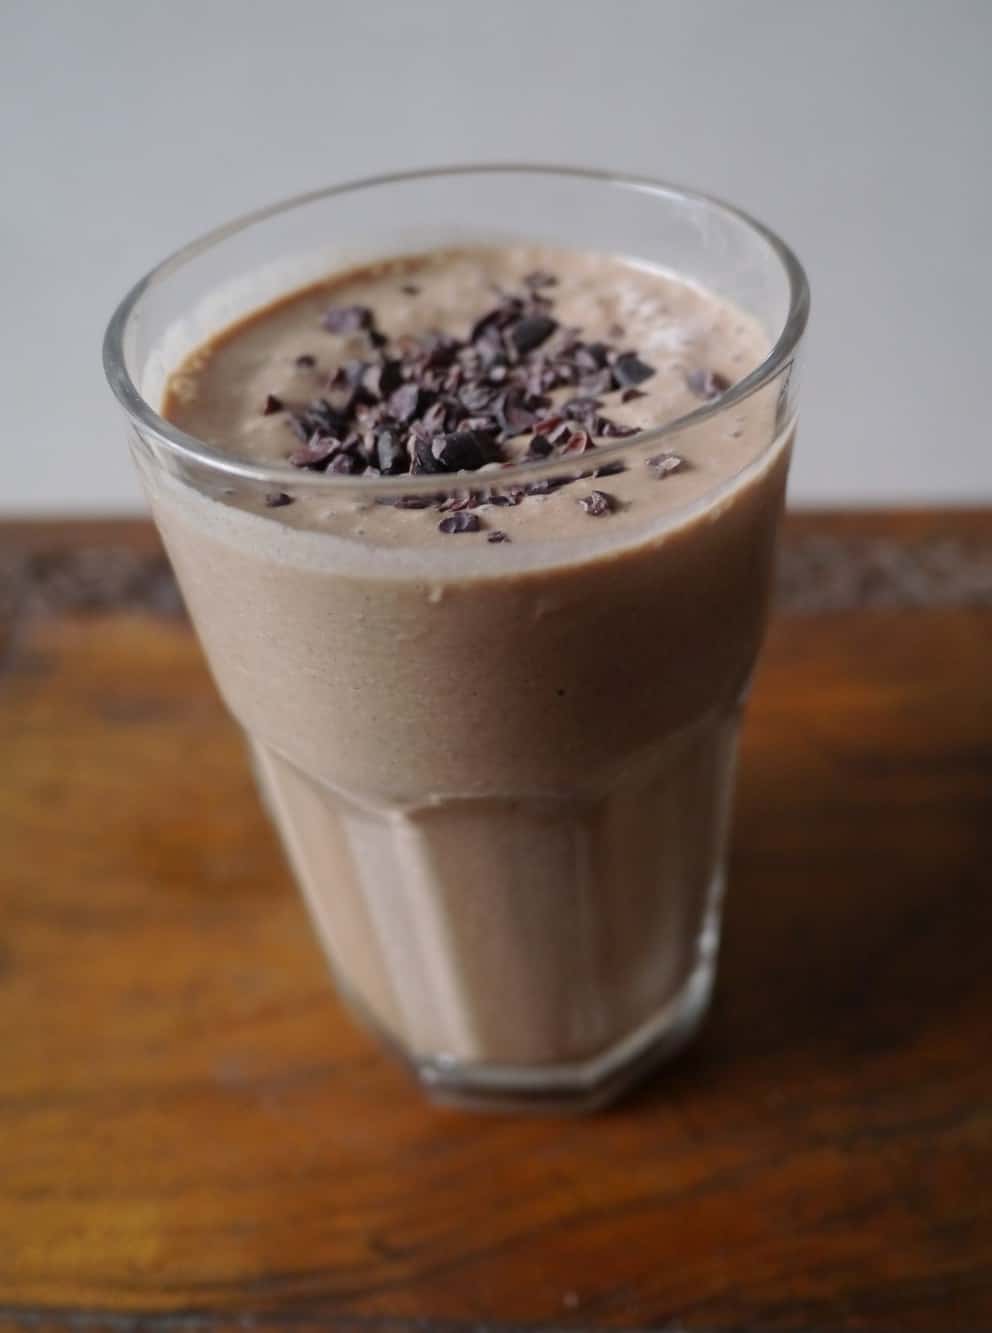
This smoothie is my current new favourite drink. I guess it’s more of a dessert than a drink, but it’s delicious, takes about 2 minutes to prepare and it is actually full of nutritious goodness!

Here’s just some of the great stuff that it contains. Raw cacao is massively high in antioxidants, and contains calcium, magnesium and iron. Bananas are high in potassium and also contain vitamin B6, magnesium and vitamin C. Cashews contain omega-6, iron, phosphorus and calcium. Flaxseeds are really high in omega-3  and also contain calcium, fibre and lignans.

You know those chocolate milkshakes that you buy in the supermarket? Well, rather than all this great stuff, they contain sugar, milk and other powders, modified starch, stabilisers and gums. How un-delicious does that sound?

Here’s a couple of examples. According to the frijj (UK) website, their chocolate milkshake, which they describe as a “chocolate lover’s dream”, consists of: Skimmed Milk (68%), Whole milk (22%), Sugar, Fat Reduced Cocoa Powder, Buttermilk Powder, Modified Maize Starch, Stabilisers (Carrageenan, Guar Gum).

Now I love chocolate, and I definitely don’t dream about those ingredients!

In Australia, the Kick Double Choc milkshake manufactured by Brownes is made up of: Milk, Sugar, Chocolate (1.7%), Flavours, Cocoa, Colours (150c, 155), Emulsifiers (Soy Lecithin, 471, 476), Vegetable Gums (407, 412).

Yuk!

So rather than consume that synthetic, nutritionally-devoid rubbish, try this instead!

Cacao Banana Smoothie Recipe

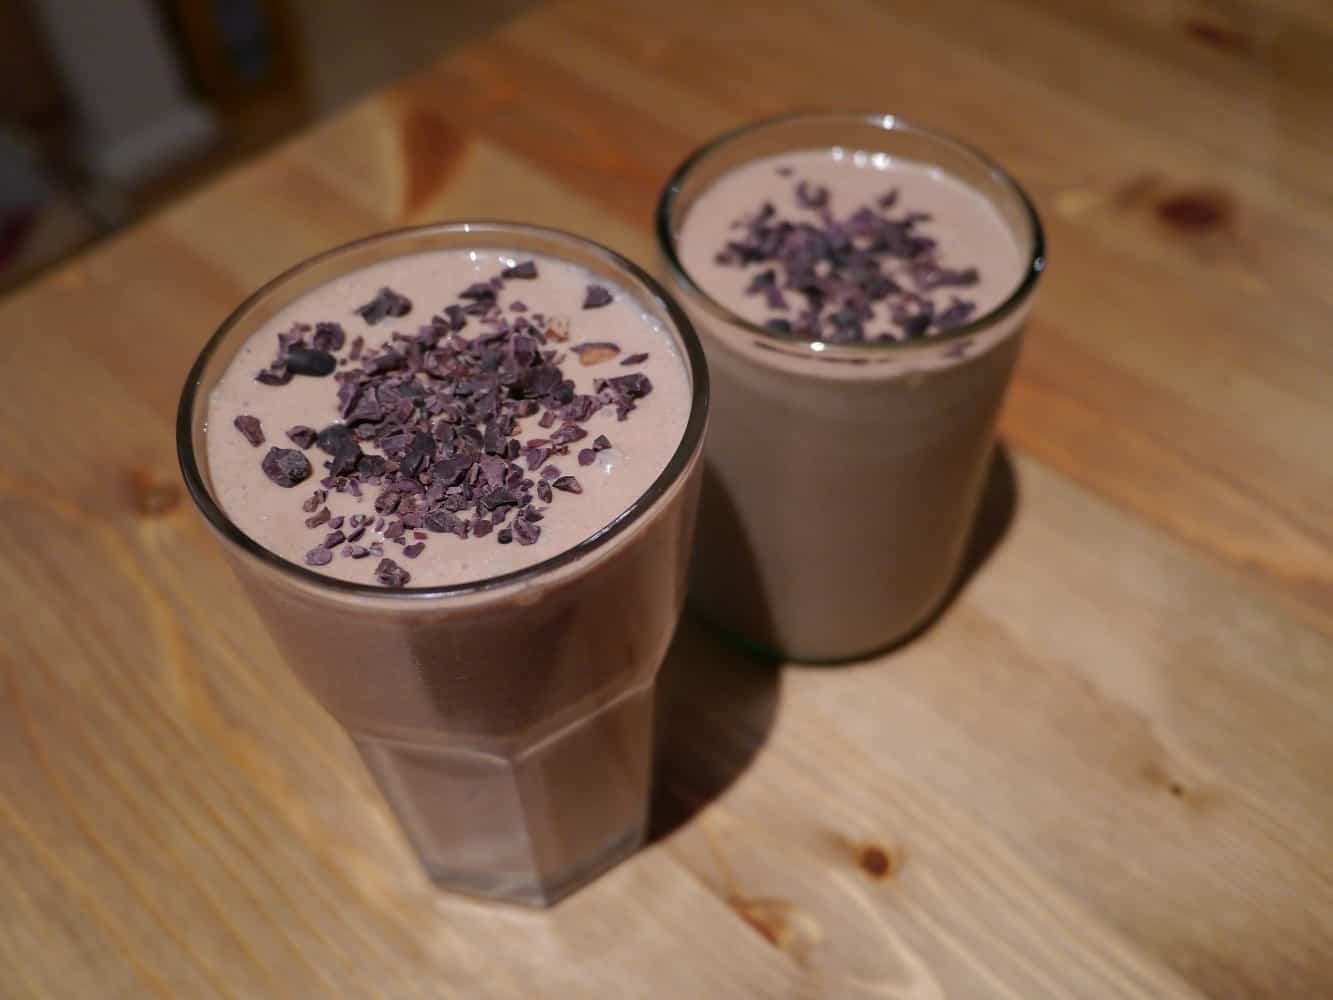
This is the recipe for one smoothie. But make two and share it with someone – they will appreciate it!

Ingredients:

1 cup raw cashew milk (see how to make your own here – it’s dead easy)
1 tbsp raw cacao
1 small banana (or half a large one)
1 tbsp ground flaxseeds

(Optional – 1 dsp maca or mesquite powder)

Recipe:

Put the banana, cashew milk and cacao in a blender. Blend until combined.

Add the flaxseeds (and maca/mesquite powder if using) and whizz briefly to mix.

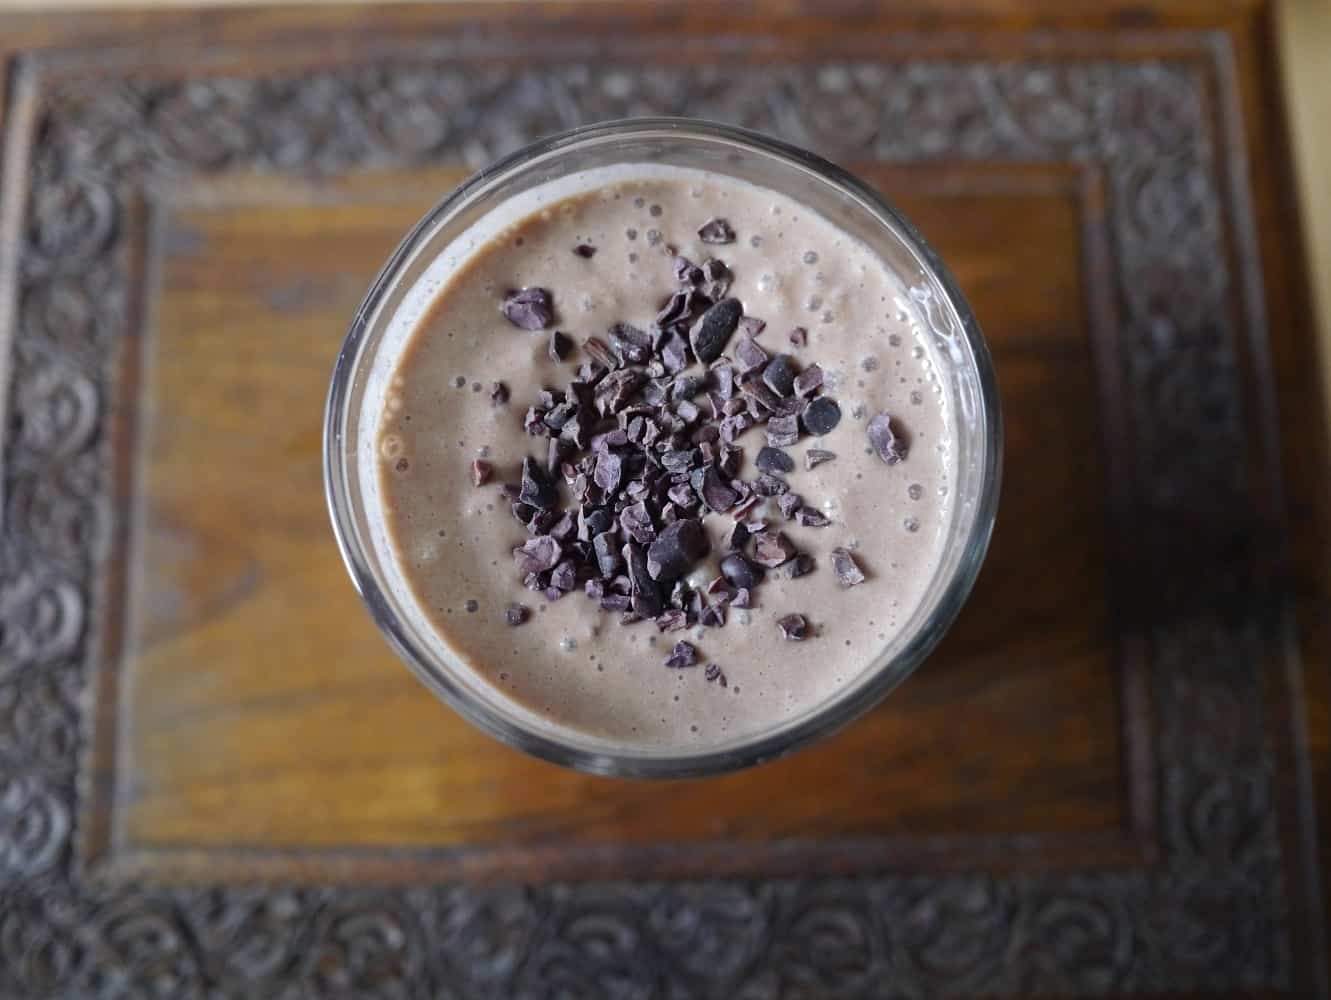
Top with some cacao nibs for some crunch!

And enjoy!

chocmilkjpg chocbanana5jpg chocbanana1jpg[leadpages_leadbox leadbox_id=1429a0746639c5] [/leadpages_leadbox]

Homemade Hummus and Tzatziki (2 Simple DIY Recipes)

Homemade dips are delicious, plastic free, don’t contain a list of additives as long as your arm and are made with real ingredients, not bulked out with cheap ‘fillers’. What’s not to love?!

If you’re reading this and thinking, oh but I don’t have time for all that fiddly stuff, I want to try to convince you otherwise. There’s so many that you can make that are ready in minutes! Sure, if you want to try to recreate anything with the words ‘slow-roasted’ or ‘honey-glazed’ or ‘aged’ it’s probably not going to be a quick process, but there’s so many others that just involve combining a few ingredients and – ta-da!

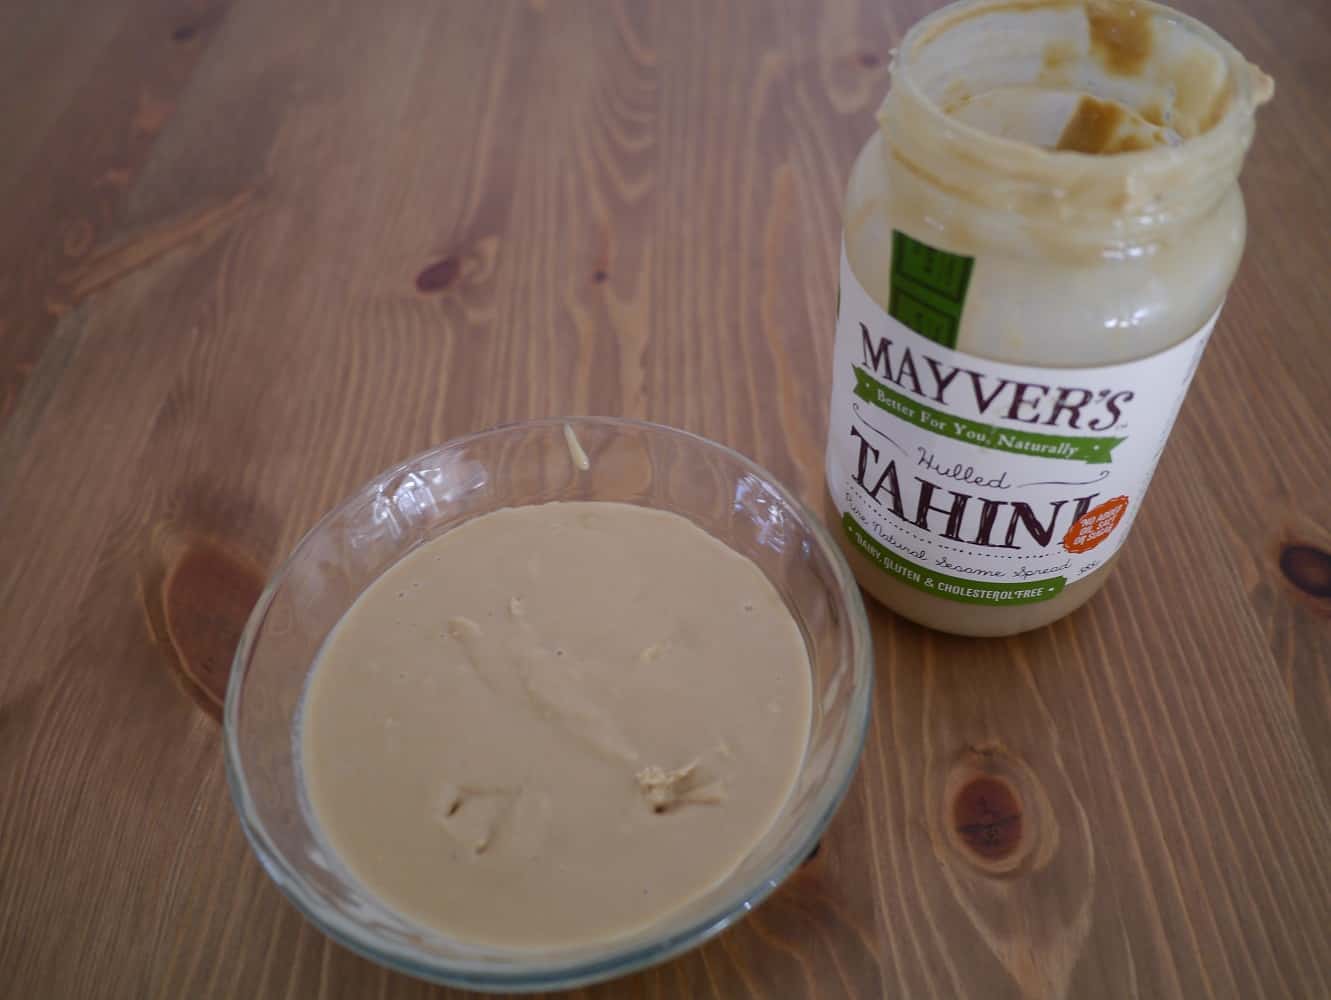
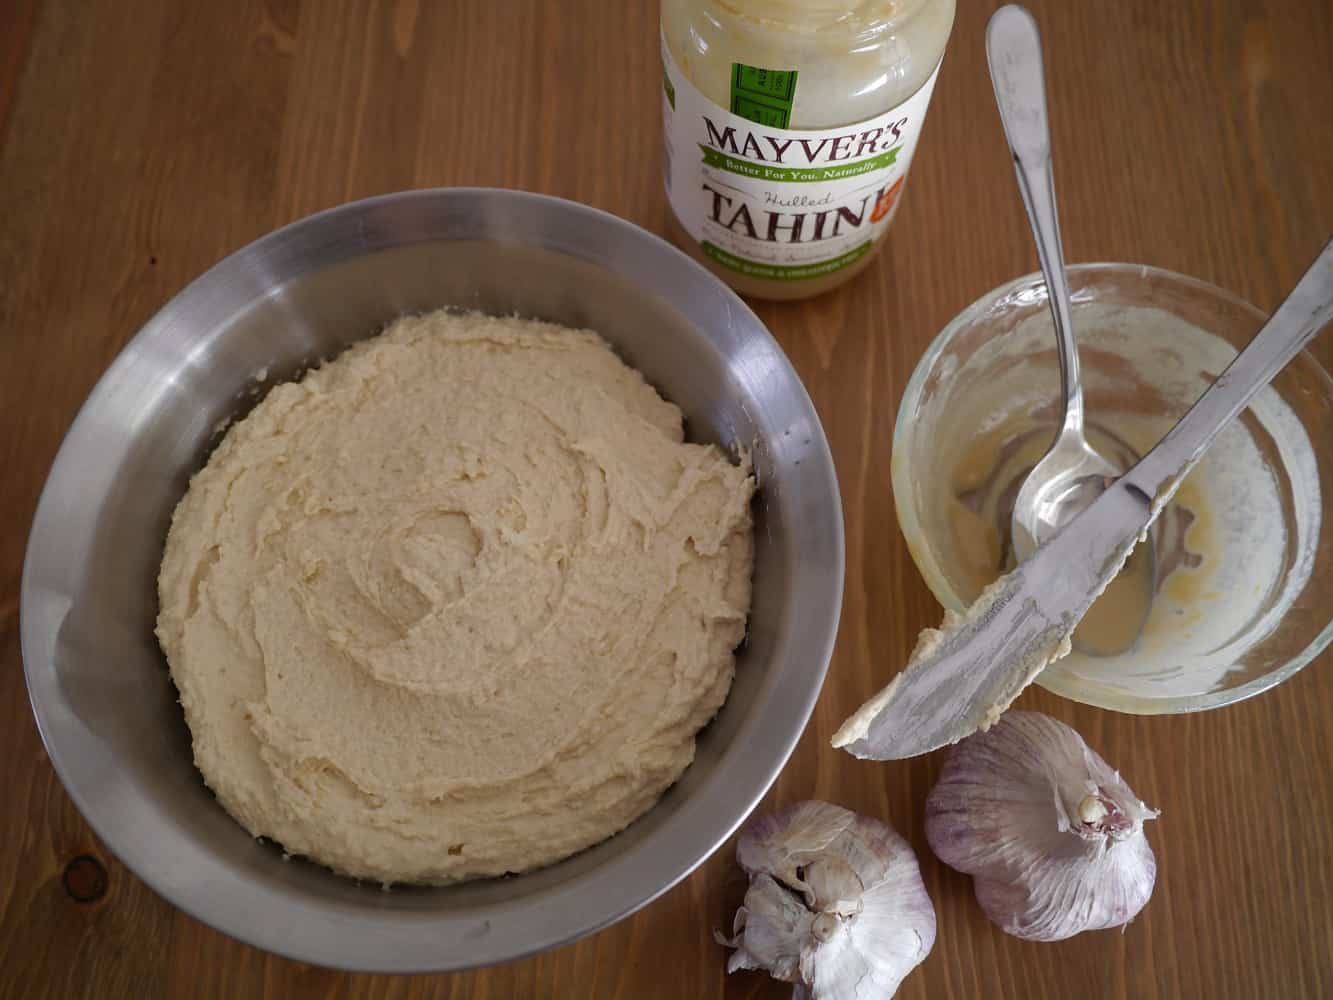
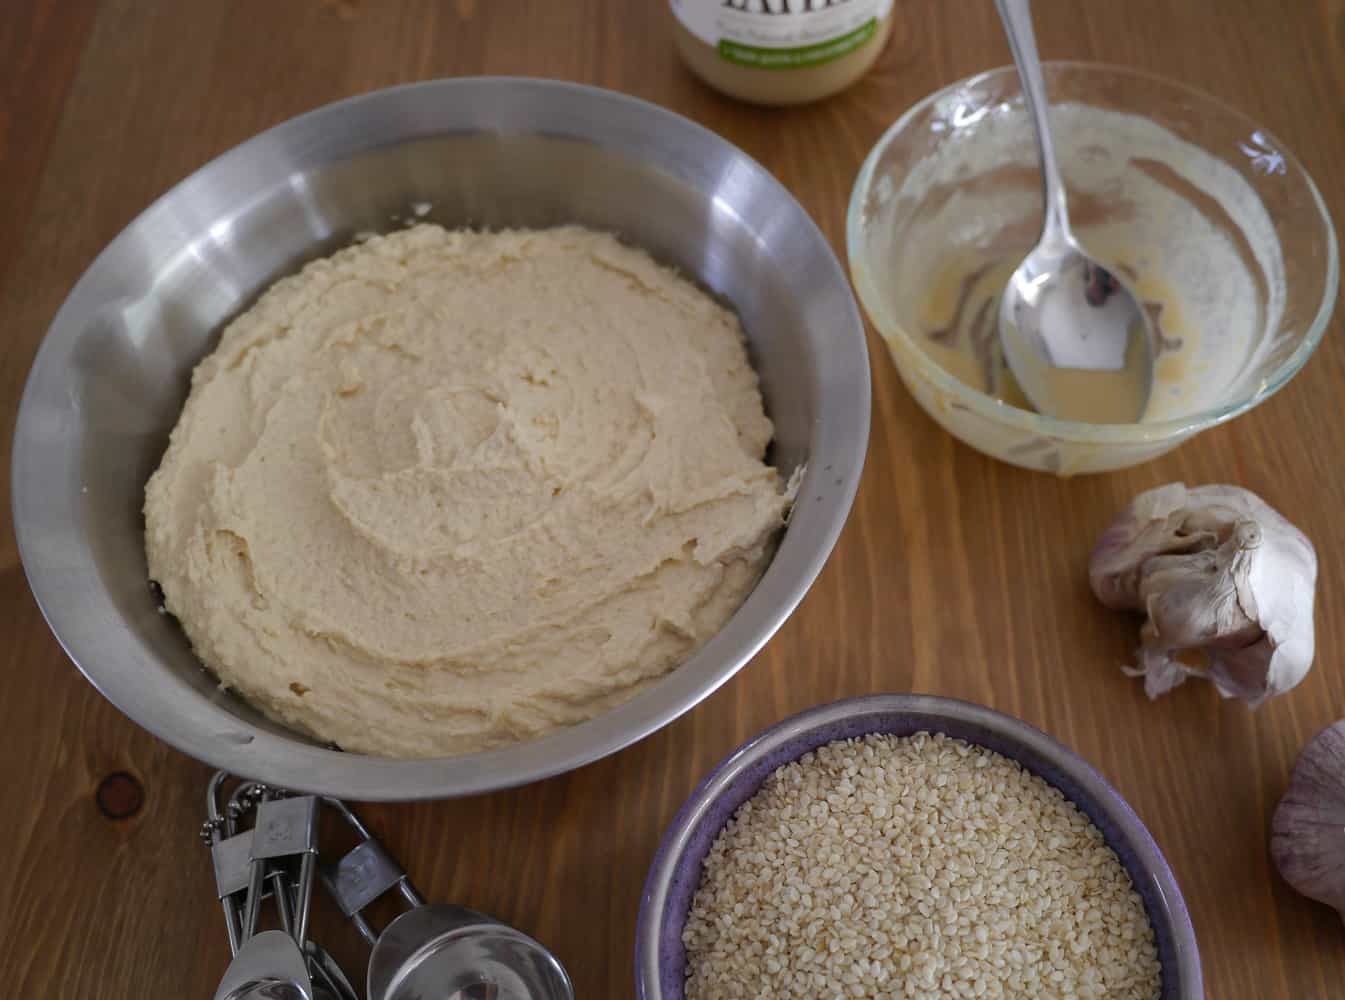
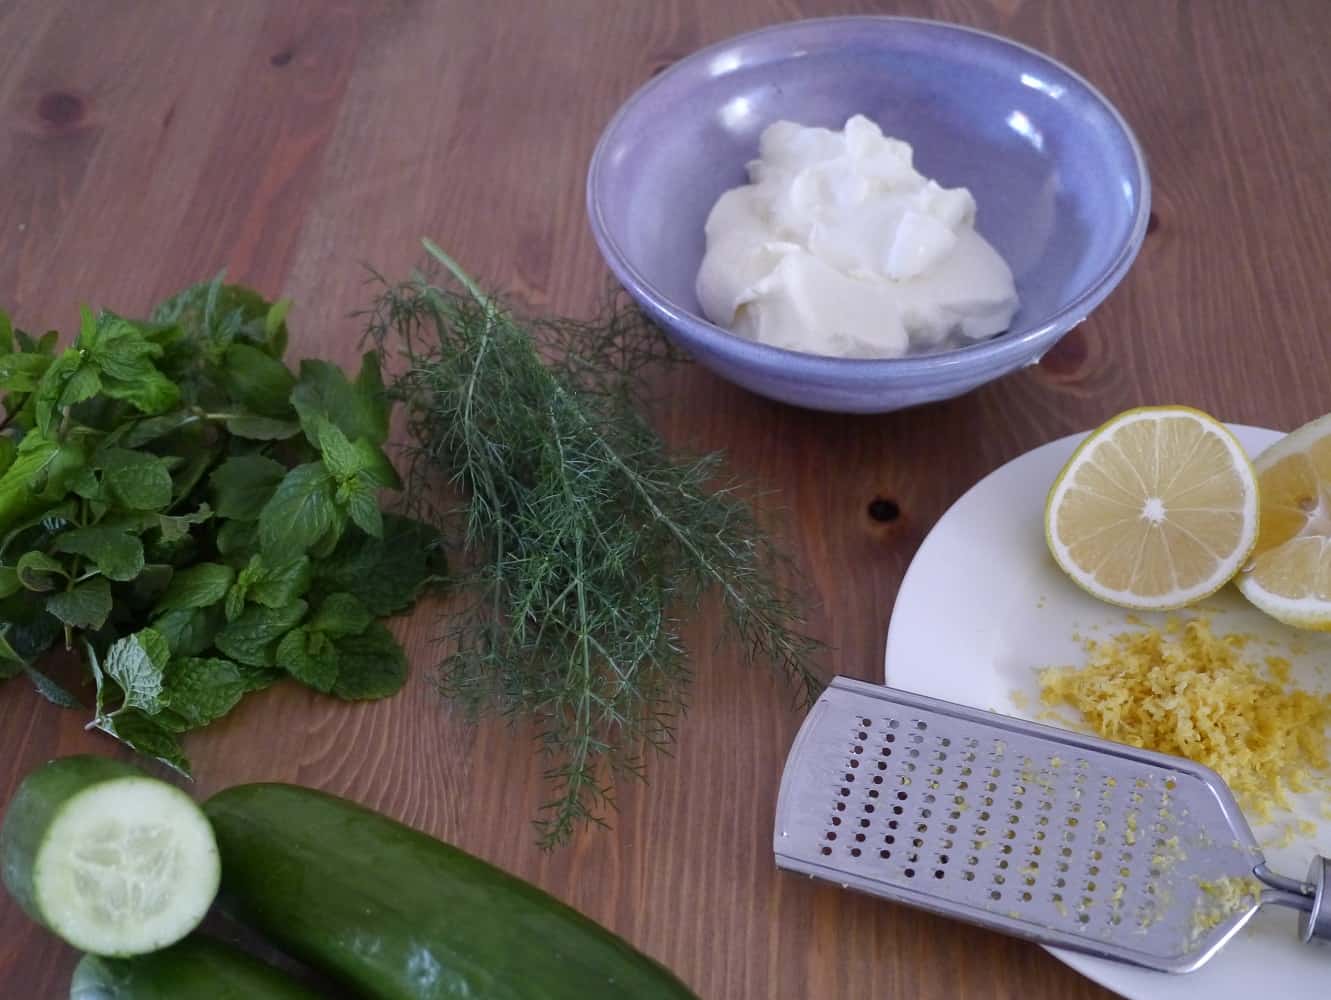
Two of my favourites to make are hummus and tzatziki, because the recipes are so simple, cost next to nothing to make and taste fantastic. Hummus is a middle-eastern dip made from chickpeas and tahini (a paste made from ground sesame seeds). It’s dairy free and suitable for vegans, and tahini is a great vegan source of calcium. Tzatziki is a Greek dip made with yoghurt, cucumber and mint.

Hummus

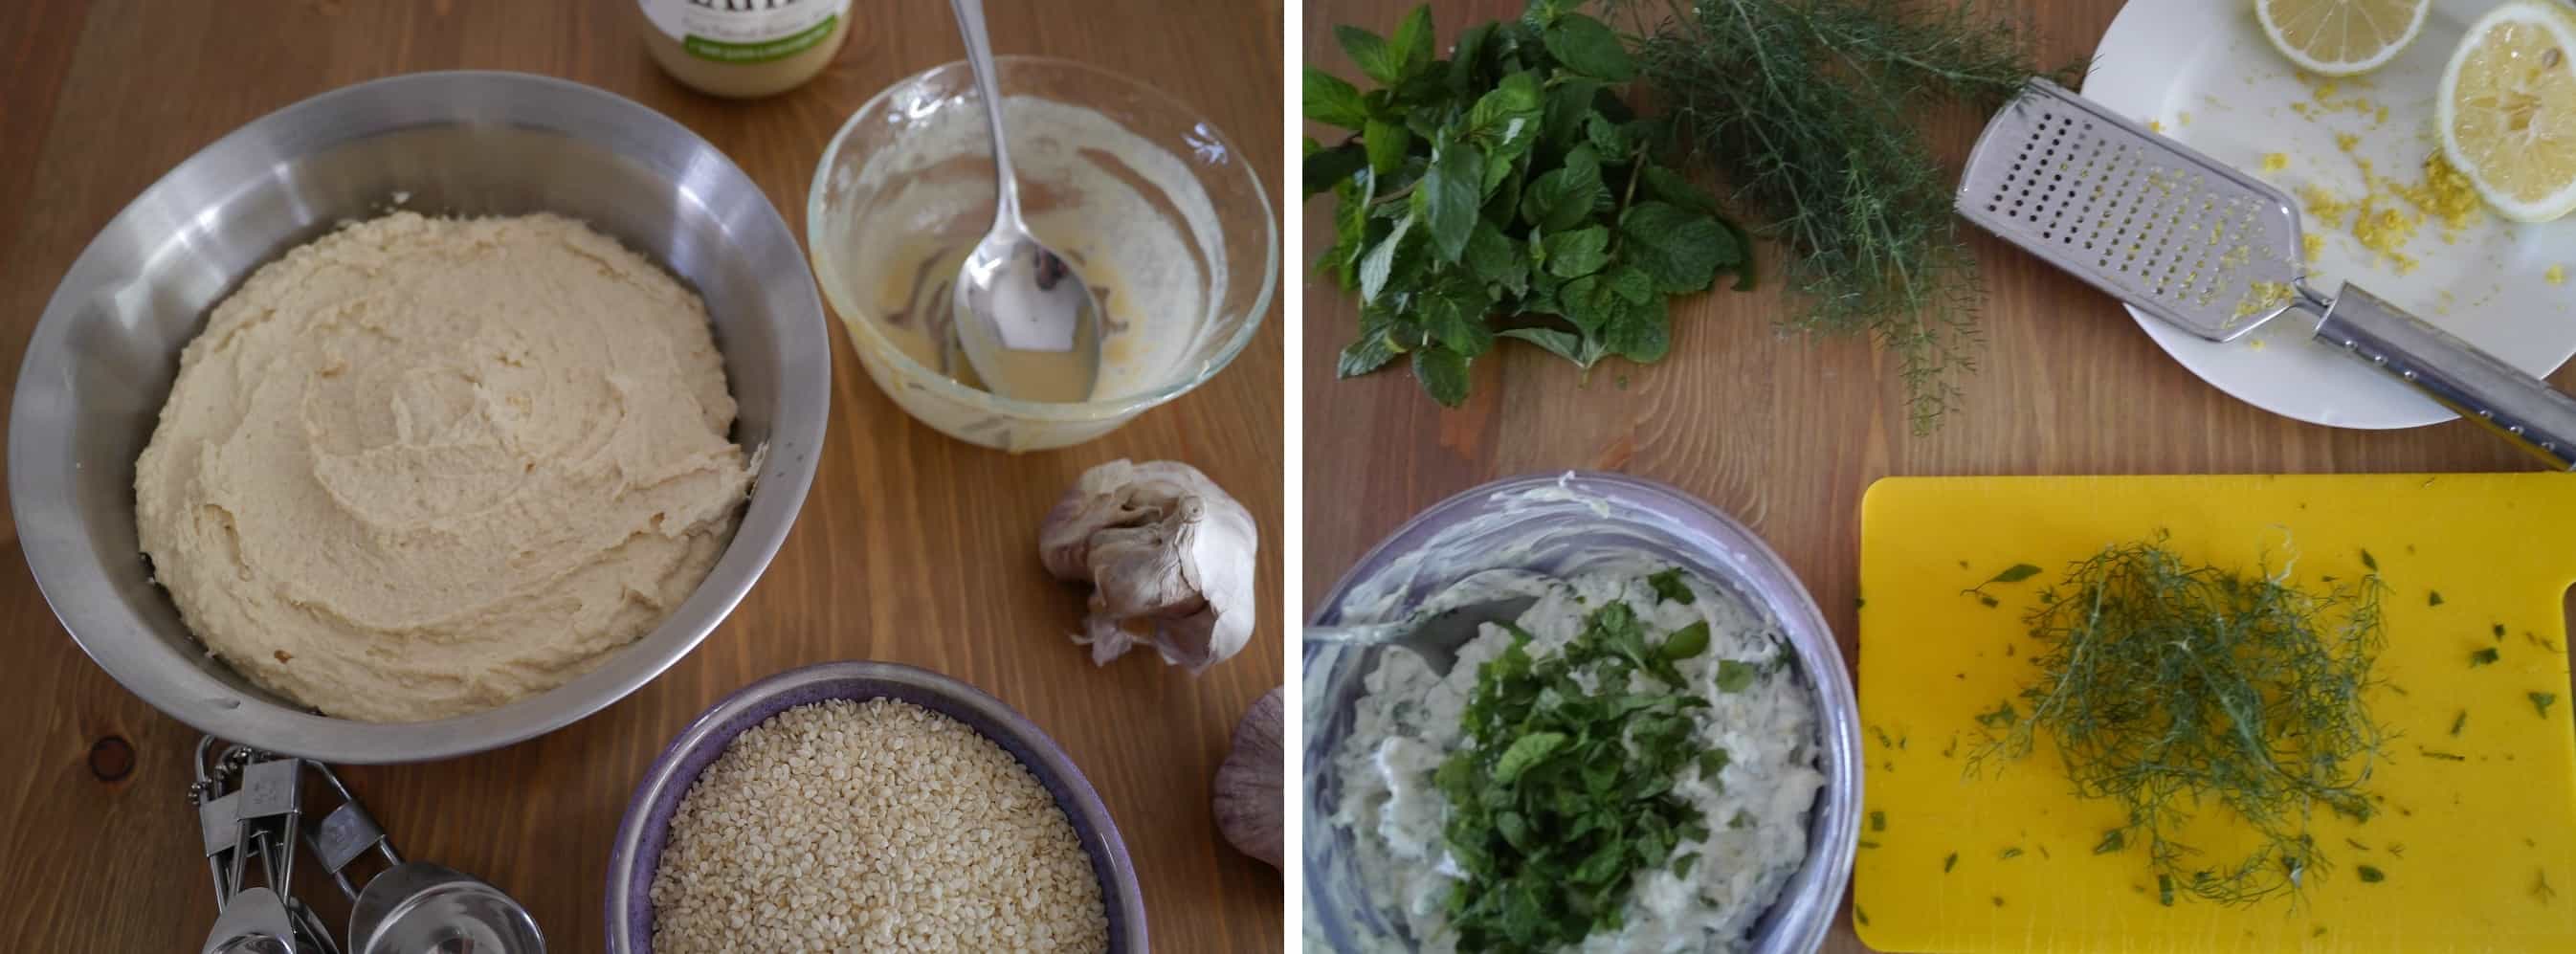
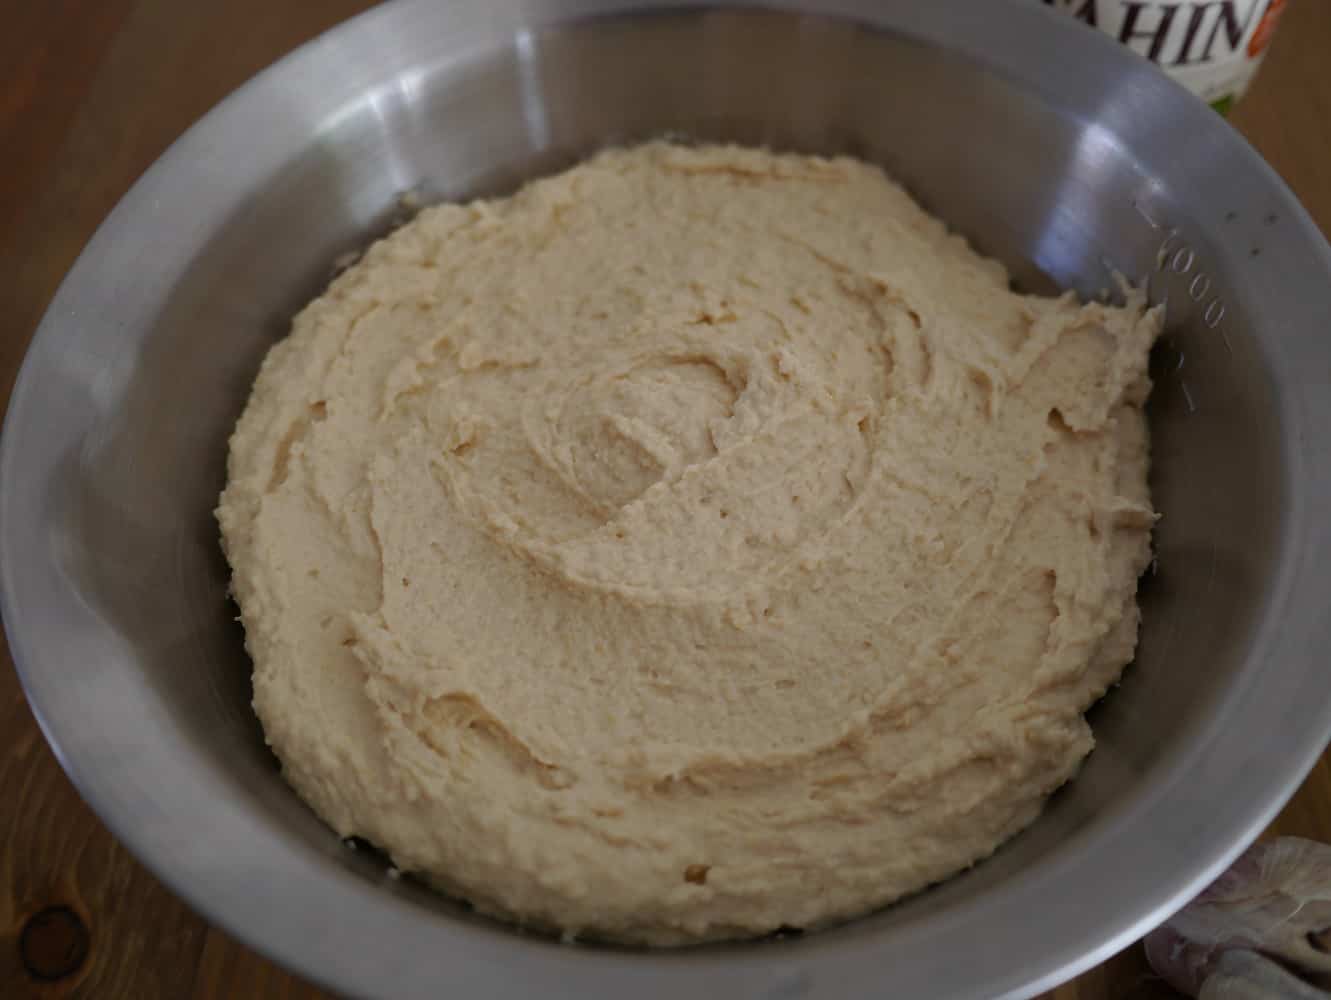
dips8jpg

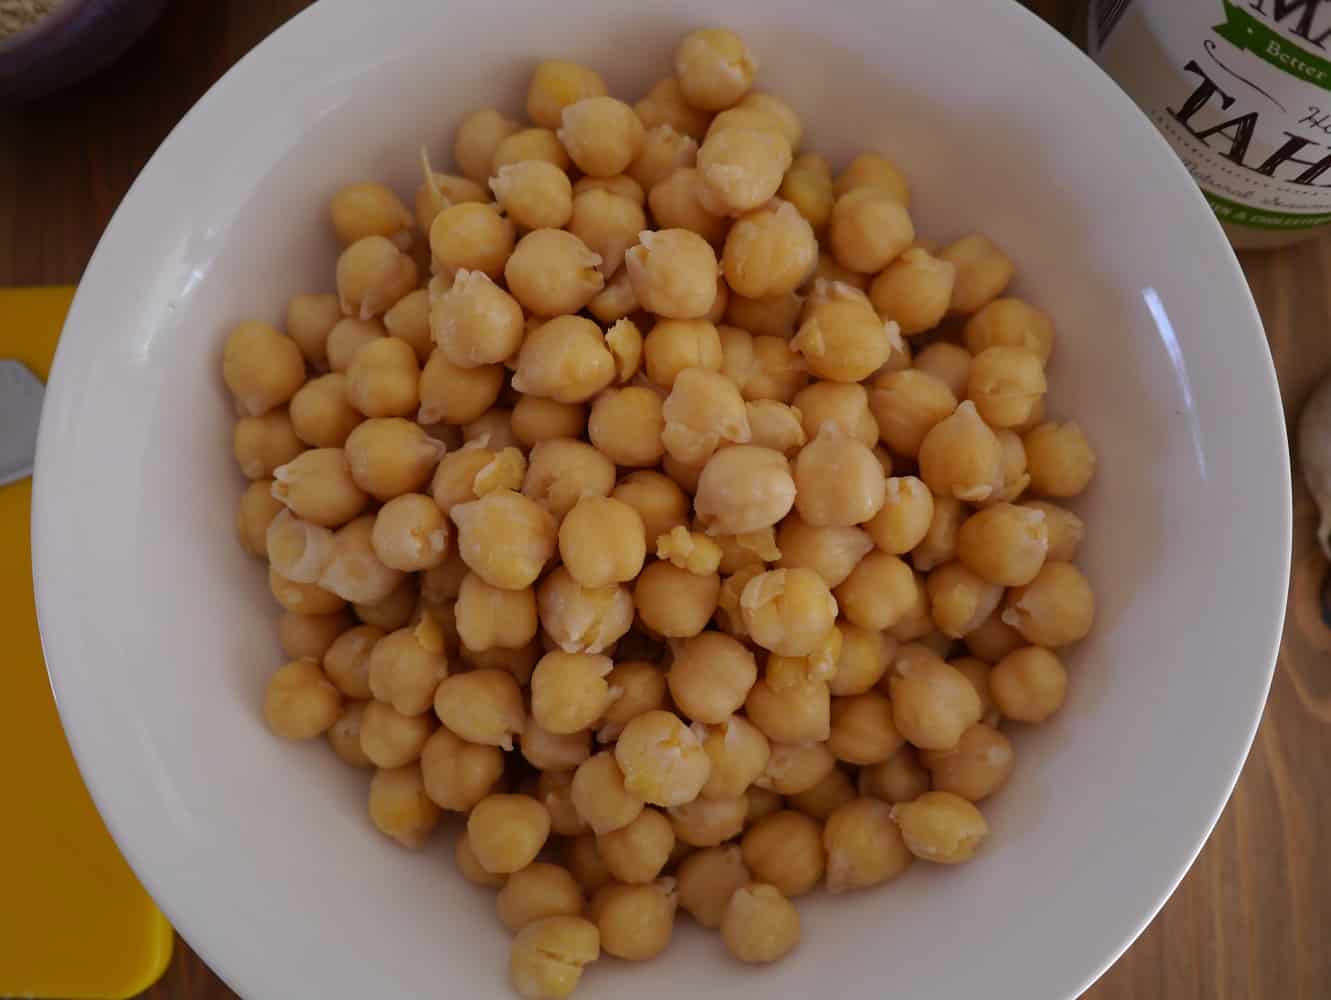
I only buy dried chickpeas which are much cheaper and save wasteful packaging. I buy 1kg at a time, soak them overnight and boil for 1-1/2 hours. This makes a ridiculous amount of chickpeas but they freeze amazingly well, so I separate into a few containers and freeze what I don’t need.

This makes a shedload – just under 1 litre.

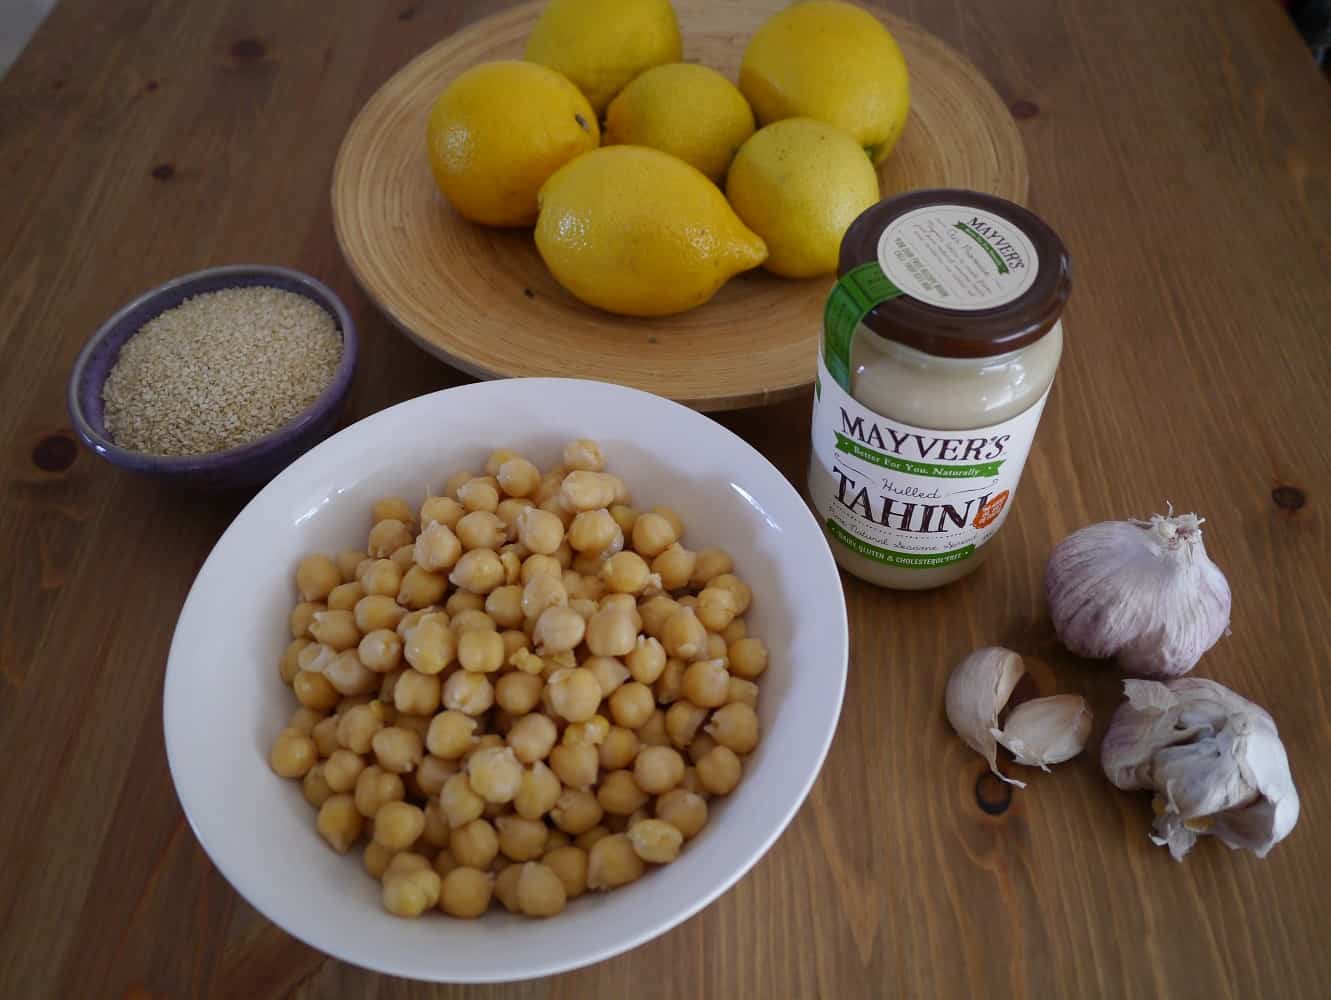
Ingredients:

650g cooked chickpeas (approx 400g dried chickpeas)
200g unhulled tahini paste
2 cloves garlic, crushed
40ml freshly-squeezed lemon juice (about 2.5 tbsp)
5 tbsp water

dips1jpg

Method:

Put the chickpeas, tahini, lemon juice and crushed garlic in a food processor and blend until smooth. Add water until the mixture is a soft paste. You don’t want it to be runny.

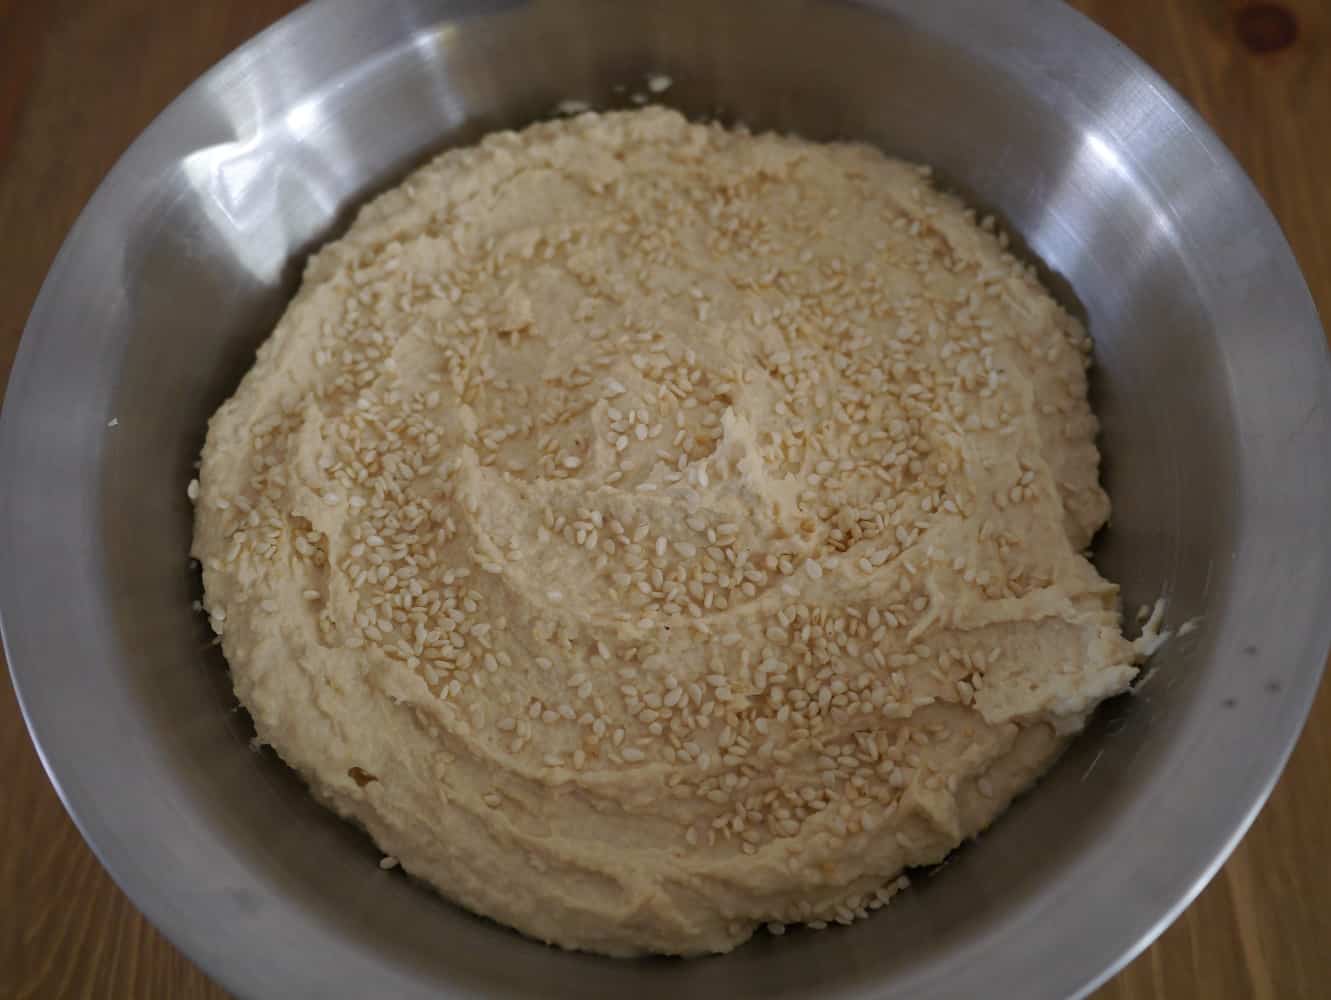
Serving suggestions: if you want to be fancy, you can top the hummus with some whole chickpeas, drizzle with olive oil, sprinkle on some sesame seeds or season with spices (try ground cumin, cumin seeds, paprika or cayenne pepper).

This can be kept in the fridge for up to a week.

dips2jpg dips4jpg dips7jpg dips10jpg dips11jpg

Tzatziki

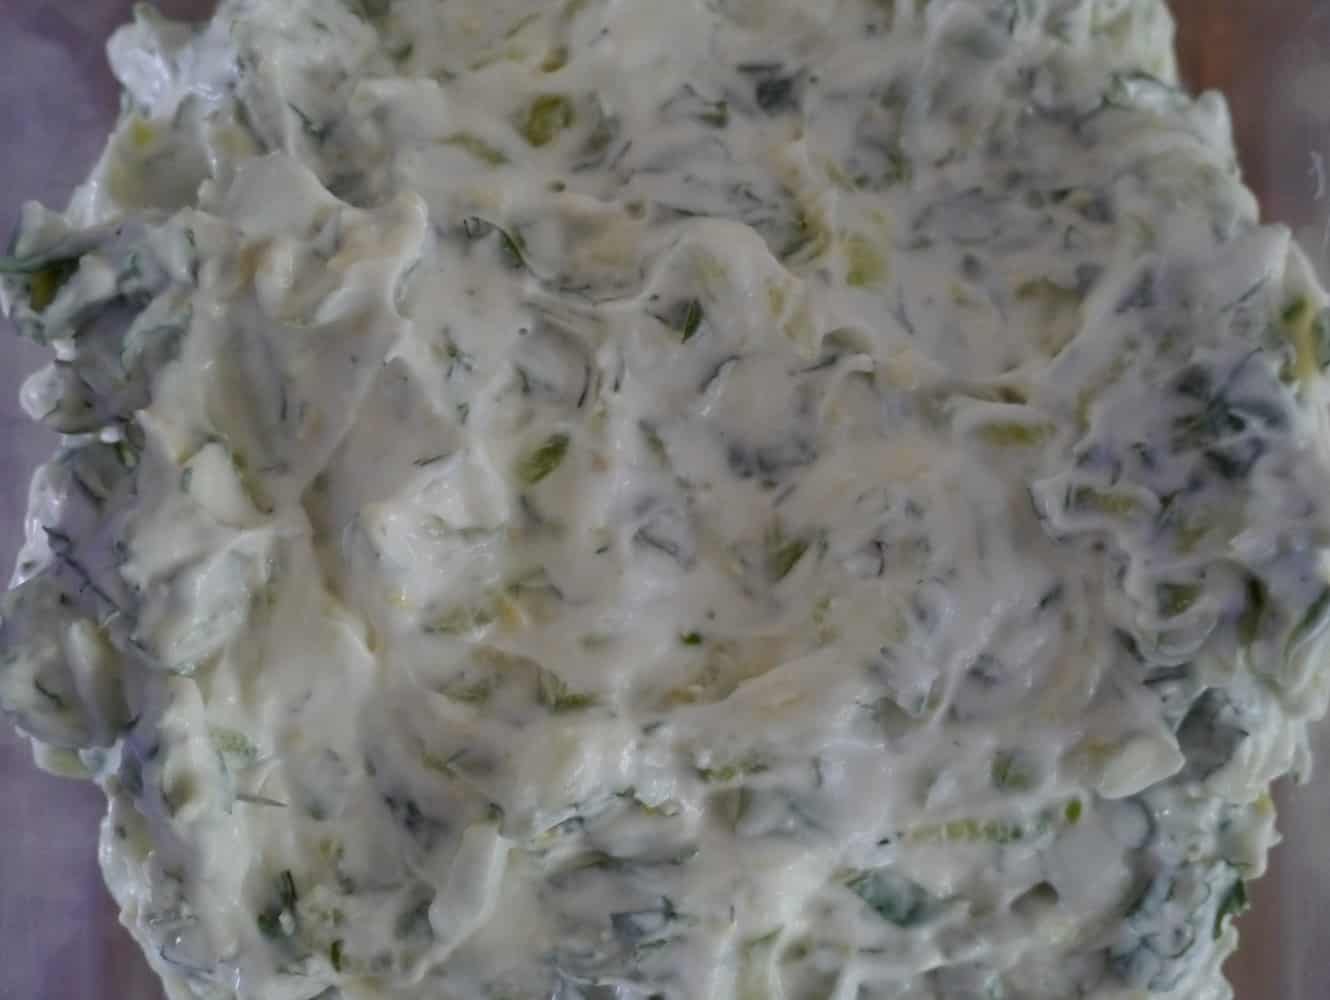
This makes about 500g

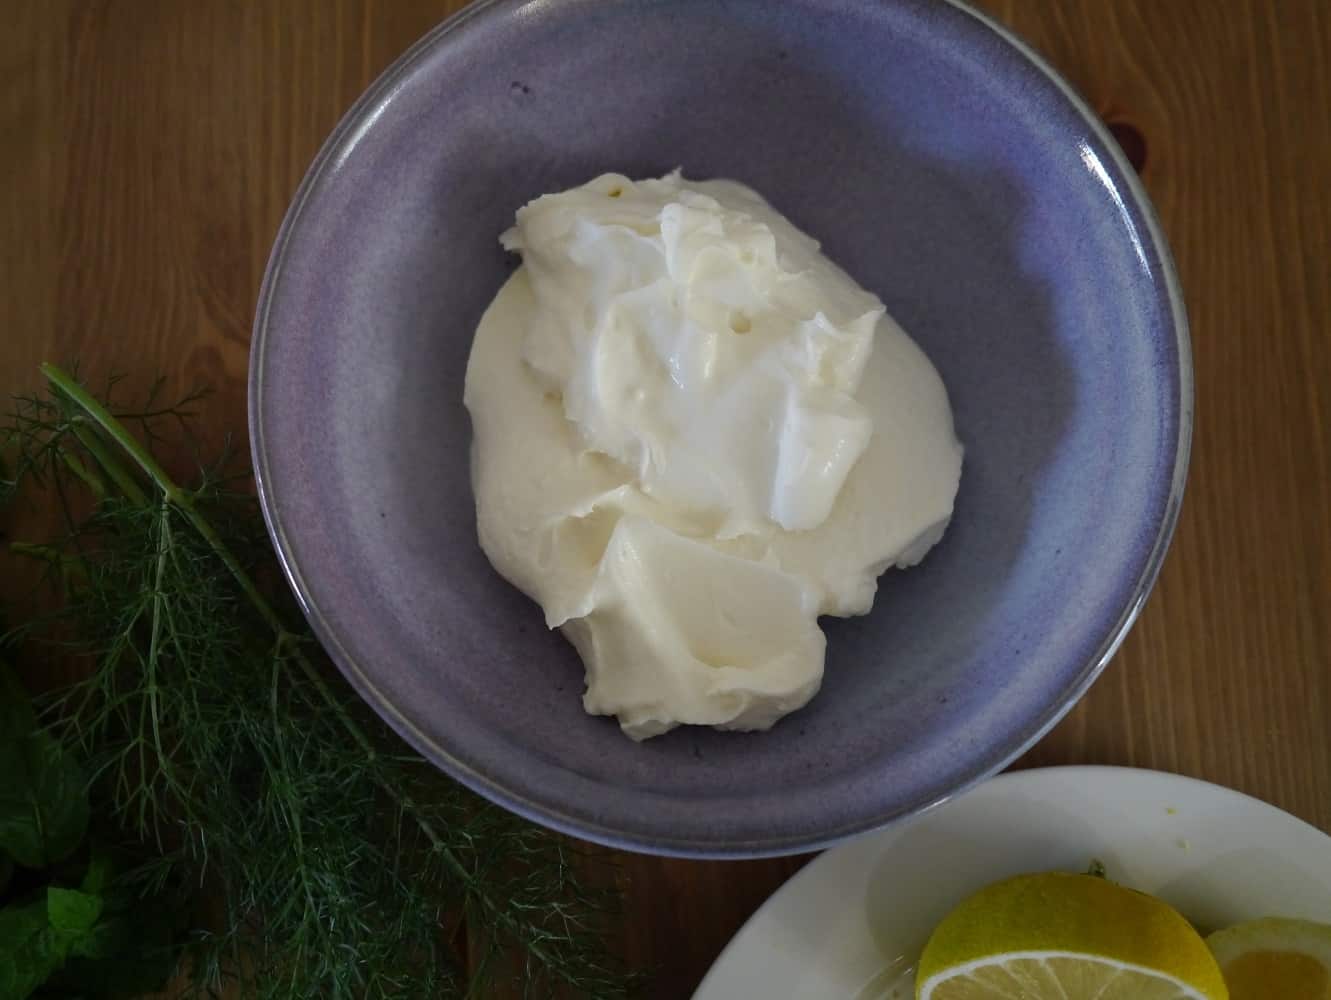
275g strained (Greek) yoghurt – if you want to make your own see instructions here)
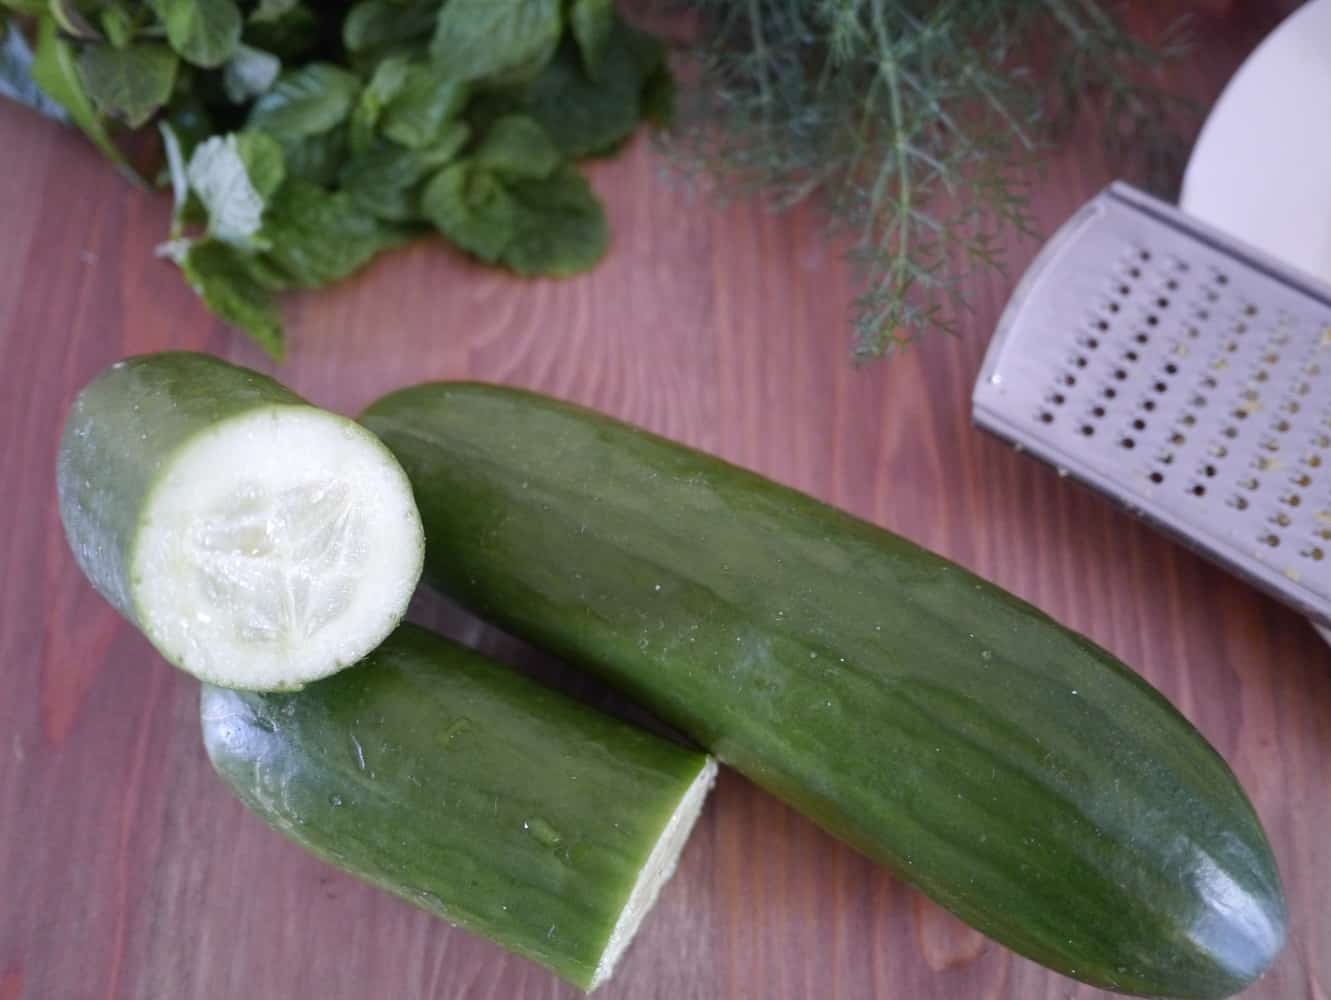
1 English cucumber or 1 1/2 lebonese cucumbers
1tbsp grated lemon zest
1 tbsp lemon juice
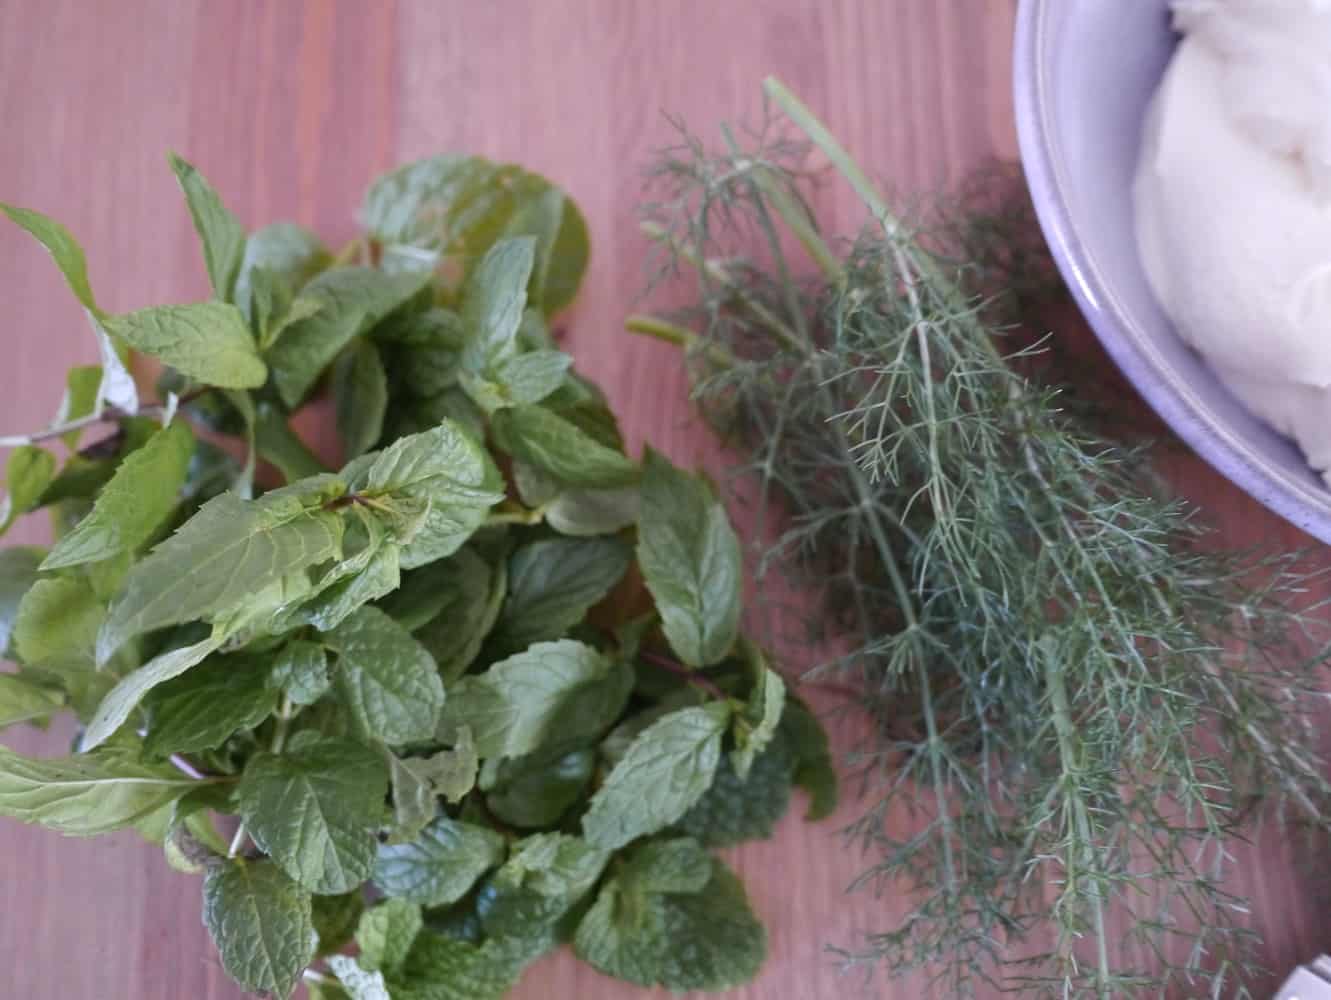
large handful chopped mint (6 – 8 tbsp)
2 tbsp dill (optional)

dips12jpg

Method:

Cut the cucumber into segments and remove the seeds (if your cucumbers don’t have very many seeds you can skip this step but mine had LOADS of seeds).

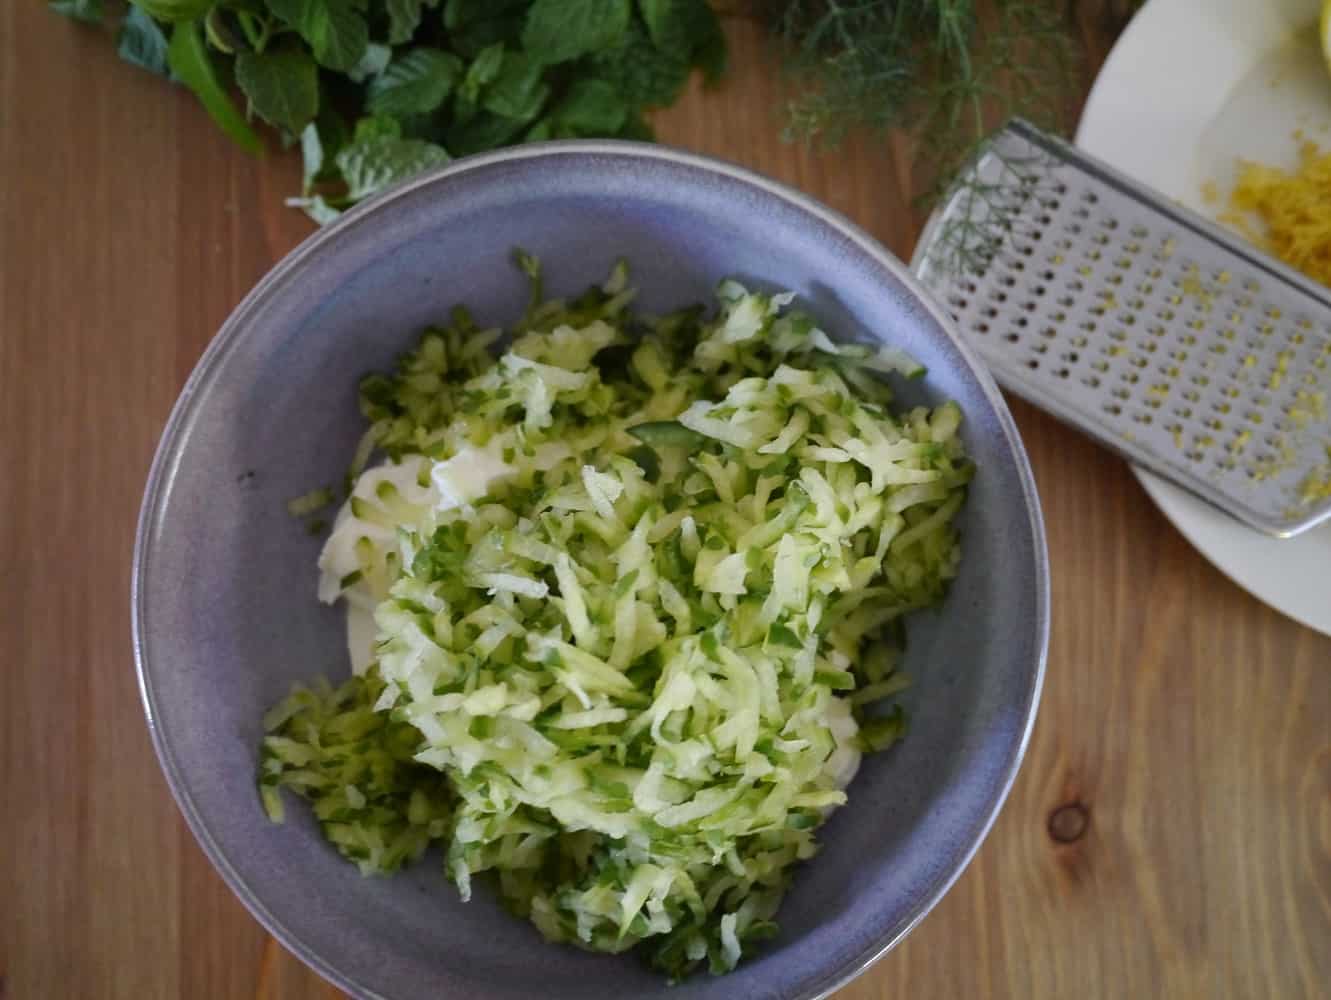
Grate the cucumber. If you have a food processor it will be superfast but if not then a normal grater is fine.

Put the cucumber in a clean dry tea towel, and squeeze tightly over the sink to drain the excess water.

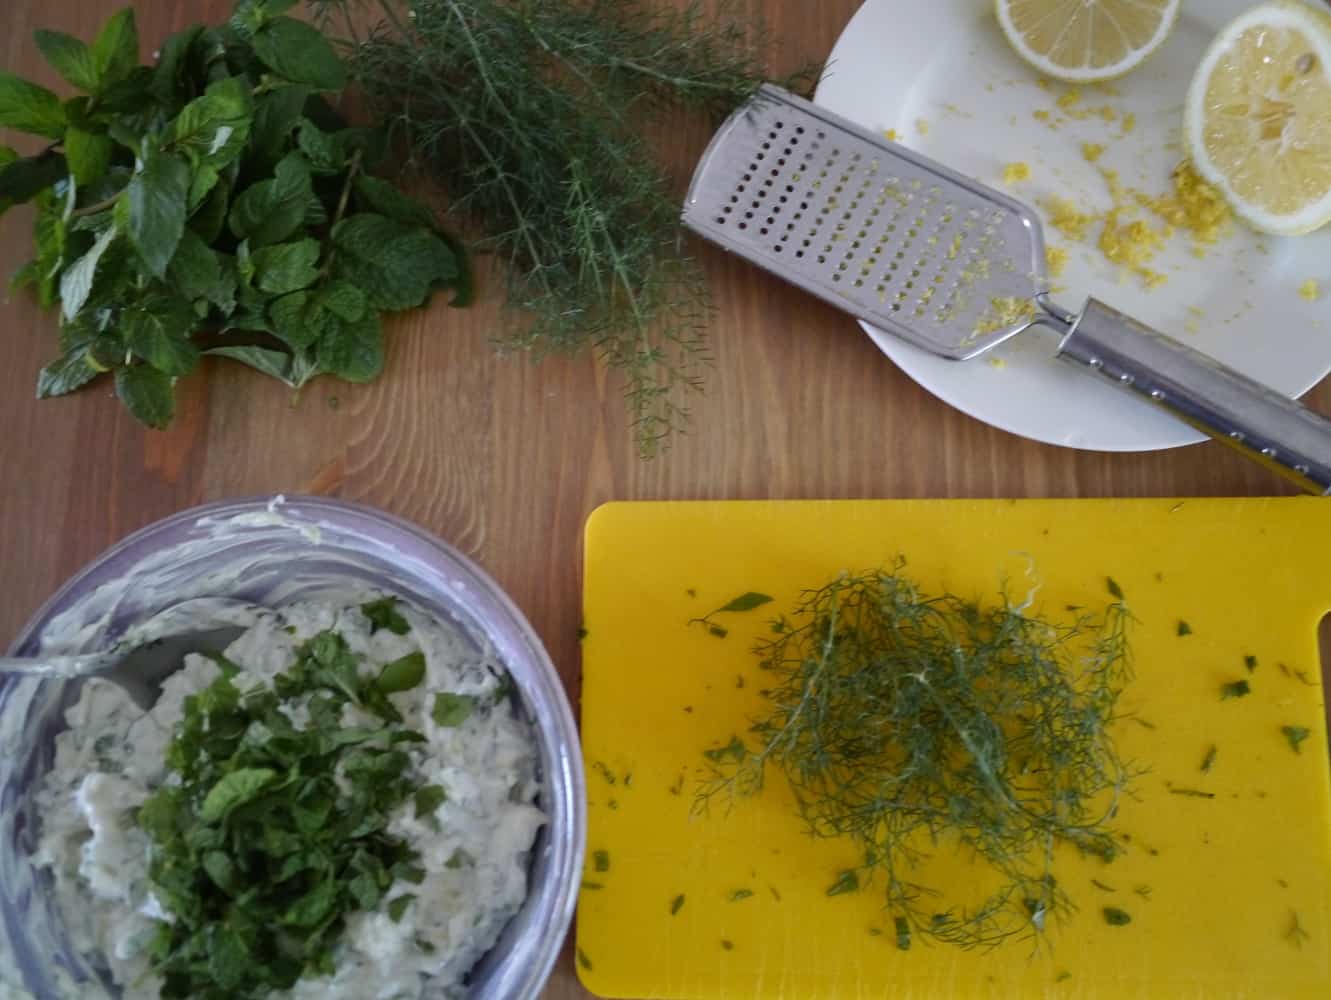
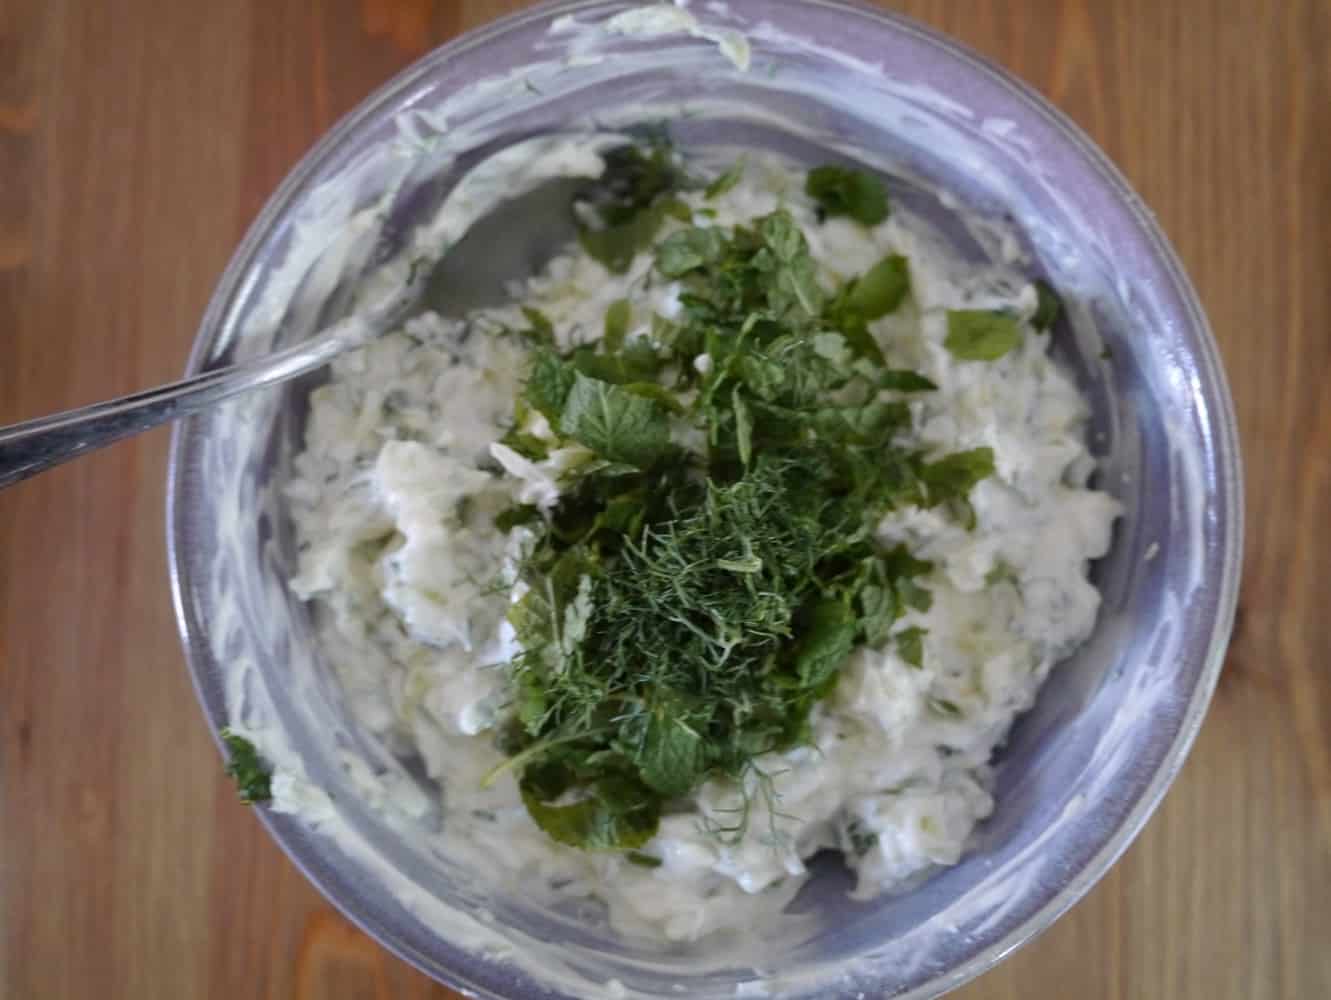
Stir the cucumber into the yoghurt. Add the lemon juice and zest and chopped herbs and mix to combine.

This will keep in the fridge for at least 2 days.

NB: Don’t let any of the steps be a dealbreaker – if you don’t have Greek yoghurt and don’t want to strain it then you can use normal yoghurt; it will just make the dip much more runny. If you don’t want to strain the cucumber, the extra water will just make the dip a bit more watery. When I’m feeling lazy I just chop some mint, squeeze a bit of lemon juice, grate some cucumber and add to normal yoghurt.

dips13jpg dips14jpg dips15jpg dips16jpg dips21jpg dips23jpg dips24jpg dips25jpg[leadpages_leadbox leadbox_id=1429a0746639c5] [/leadpages_leadbox]

How to Make Cashew Nut Milk (A Recipe)

Cashew nut milk is a non-dairy alternative to cow’s (or other animal) milks. Of course it’s not a milk as such, but a blend of cashew nuts and water that has a similar consistency to milk and can be used as a dairy milk replacement in some instances.

It’s got a completely different molecular make-up to dairy milk and won’t respond in the same way to heating, but it’s a great replacement for cold milk.  As I’ve said before though, I’m not a vegan, so what am I doing making cashew nut milk anyway?

Well, I’m passionate about real food. And when that comes to dairy milk, this means non-homogenised, full fat milk with A2 proteins that comes from grass-fed cows, preferably organic or biodynamic. (If you’ve no idea what I’m talking about you should probably read this post, which explains the terms and also the health implications in a little more detail).

This milk can be hard to find – in Australia you won’t find it in your local supermarket – and is much more expensive than the mass-produced stuff. Consequently, I buy less than I used to.  Coupled with the fact that I’m quite curious about food anyway, this means I have become more open to alternatives.

Before I stopped buying plastic I used to keep a carton of UHT milk in the cupboard for emergencies. However those cartons contain plastic and aren’t recyclable, so I don’t buy them any more. Now I keep a jar of cashew nuts in the cupboard instead.

Raw cashew nuts are minimally processed and highly nutritious. They contain 80% unsaturated fat which is predominantly oleic acid and also linoleic acid, an omega-6. Cashews also contain a number of vitamins and minerals including iron, phosphorus and calcium. (Have a look here for complete nutritional information).

My main uses for cashew milk are as an ingredient in smoothies, a dairy replacement for muesli and in some dessert recipes, and as an emergency in case we ever run out of cow’s milk, or it sneakily goes off. (Because it only ever goes off when ALL the shops are shut.) You can add cashew milk to tea and coffee (and it won’t curdle), but I prefer dairy milk for that.

How to make cashew nut milk

This recipe makes 750ml milk. You will need a jug-style blender for best results.

Ingredients:
1 cup raw cashew nut pieces (125g), soaked in water for a few hours or overnight
3 cups water (750ml)

Method:

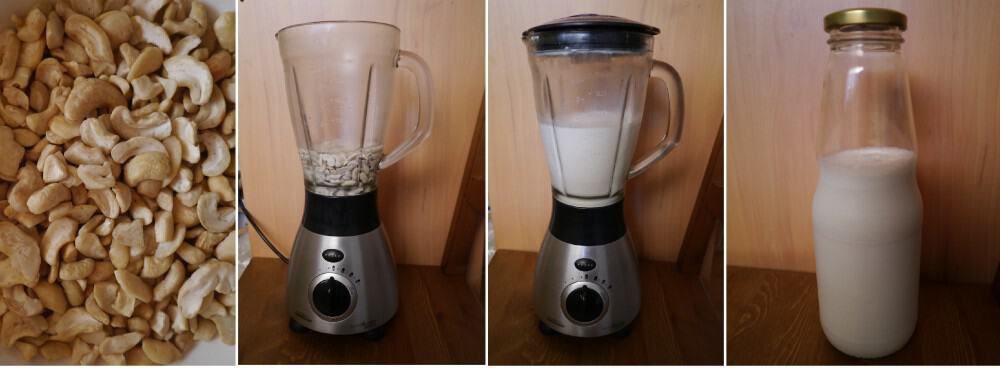
Drain and rinse the soaked cashews.

Put cashews in blender with 1 cup water.

Blend until smooth. Add remaining 2 cups water to the jug and blend briefly to combine. And that’s it! No need to strain.

You can use immediately or store in a jar in the fridge, it will keep for up to 5 days.

Tips:

  • The higher the quality of your blender, the better the results.
  • The longer you blend the milk, the smoother it will be, but the heat from the friction of the blades will gradually cause the milk to warm up. If the nuts are heated too much they may go rancid.
  • Use chilled water if possible, and chill the soaking cashews to help prevent the milk warming too much whilst blending.
  • My blender is made of glass and I find it also helps to chill the jug in the fridge before using.
  • I have tried making this is a food processor and it works okay if you have nothing else, but you will get a much smoother result with a jug blender.
  • If you store your milk in the fridge, remember to shake before using.

If you need more convincing, I’ll be posting some recipes that use cashew milk on the blog in the coming weeks so stay tuned!

[leadpages_leadbox leadbox_id=1429a0746639c5] [/leadpages_leadbox]

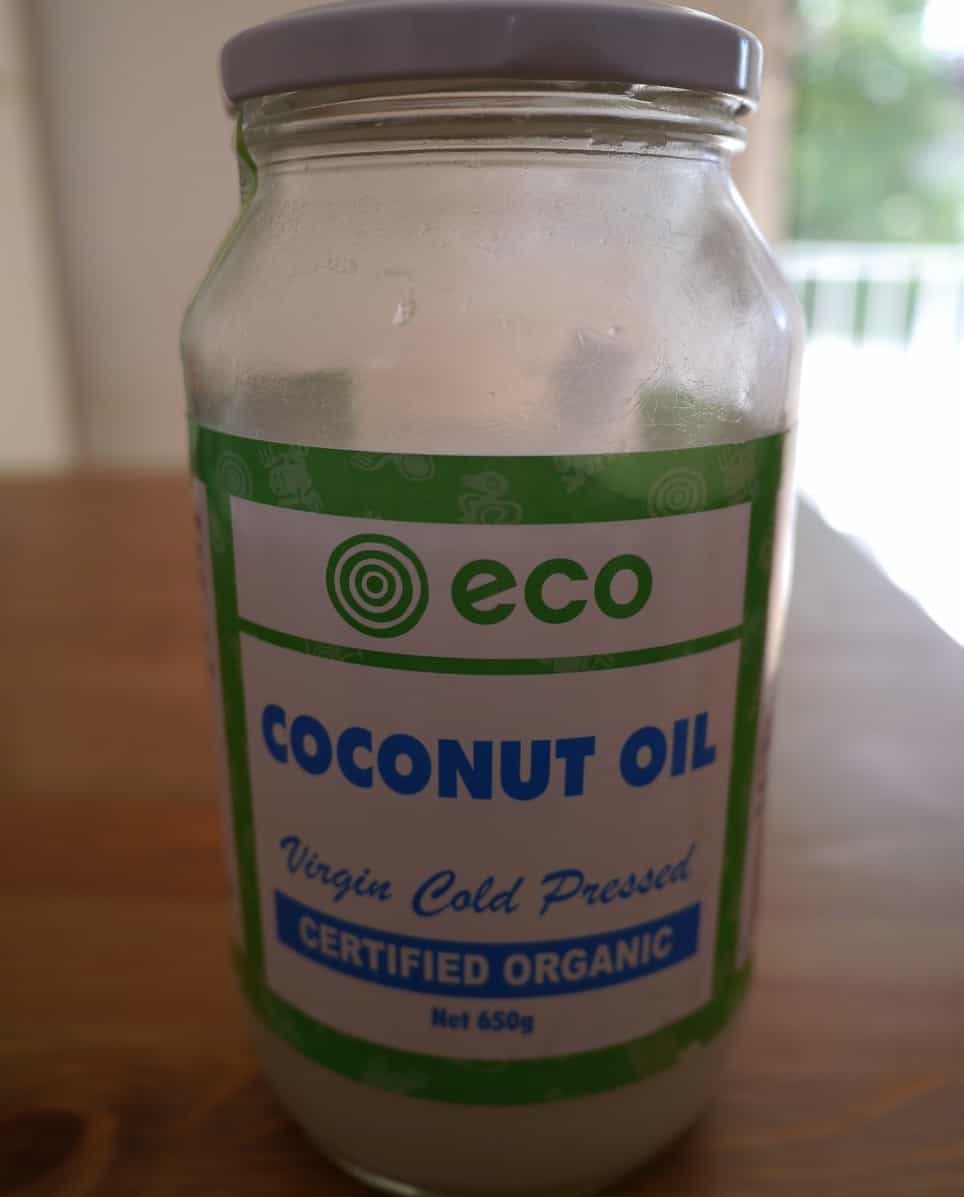
Ingredients I love…Coconut Oil

Coconut oil is a relatively new addition to my grocery cupboard. When I was growing up coconut oil (and coconut products in general) were considered unhealthy because of their high fat content, in particular their saturated fat content. (Avocados and coconuts are unique among fruit and vegetables for containing saturated fat.) Saturated fat has been linked to heat disease. However coconut oil is now becoming popular again as its properties and their benefits are more widely understood.

It’s worth noting that the coconut oil I’m talking about here is virgin cold-pressed. Virgin cold-pressed coconut oil is produced from fresh coconut meat, which is dried and then pressed to extract the oil, usually within hours of harvesting.

Oh, and one more thing before I begin my list. All things in moderation. Coconut oil might have some amazing properties and health benefits, but eating an entire jar in one sitting isn’t going to do you any favours! Limiting consumption to only a few tablespoons a day is recommended.

Six reasons why I love coconut oil

  1. It’s tasty…and better for you!

Let’s face it, things full of fat always taste much better, and coconut oil is composed of 92% saturated fat. But don’t panic! Not all saturated fats are equal. There are 34 different saturated fatty acids, and of the four found in coconut oil, lauric acid accounts for almost 50%. Lauric acid is a medium-chain fatty acid, and medium-chain fatty acids are metabolised differently to other saturated fats.

Medium chain fatty acids tend to be used by the body to provide energy soon after they are consumed, rather than being stored as fat. If fatty acids are used this way they cannot contribute to weight gain. Lauric acid has a particularly high rate of oxidation compared to other fats, meaning it is burned off, making it a valuable source of energy.

  1. It has anti-microbial properties

Lauric acid has antibacterial properties, but can also be converted in the body into monolaurin (glycerol monolaurate), which has even greater anti-microbial properties. In lab tests both lauric acid and monolaurin have been demonstrated to be effective against viruses and pathogenic (disease-causing) bacteria including Staphylococcus aureus, E. coli and Salmonella (research here, here, here and here).

  1. It’s good for the heart

There are two types of cholesterol, LDL (‘bad’ cholesterol) and HDL (‘good’ cholesterol). High levels of HDL are thought to protect against heart attacks and strokes (see reports here, here, here and here). The lauric acid in coconut oil greatly increases HDL cholesterol in the blood (analysis here) and decreases the total cholesterol to HDL ratio.

  1. It has a long shelf life

Because it is high in saturated fat, coconut oil is resistant to oxidation. (Oxidation is what makes oils rancid, breaking fatty acids down into aldehydes, ketones and alcohol.) Oils high in unsaturated fat are much less stable and prone to going rancid. Some particularly susceptible oils (such as flaxseed oil) will go rancid within weeks; coconut oil can last years. This is great if you’ve bought a jar because you needed 2 teaspoons for a recipe, as it will sit happily in the cupboard until you’re ready to use it again.

  1. It’s not just for eating

Coconut oil is also a great base for beauty products because it is solid at room temperature, has a long shelf life and is easily absorbed by the skin. If you want to make your own beauty products then coconut oil is an essential; I use coconut oil for making my own deodorant and toothpaste. It’s a key oil for making soap and also has great moisturising properties. The anti-bacterial properties of lauric acid have been shown to be effective in treating acne.

  1. It’s a great natural alternative to butter

Because it’s solid at room temperature (it melts at 25ºC) it’s great as a butter replacement in recipes for people who can’t/won’t eat dairy products, or want to cut down. Now I’m not a vegan but I am a fan of the raw vegan treat. Coconut oil is often found in such delights as a substitute for dairy products. What could be better than snacking on food that tastes delicious and is packed full of goodness? What, you don’t believe me that raw vegan treats taste delicious?! Try this recipe and see for yourself!

Raw chocolate

(This recipe is adapted from another recipe I found online – I used to link back to it bu as the link no longer works so it’s been removed.)

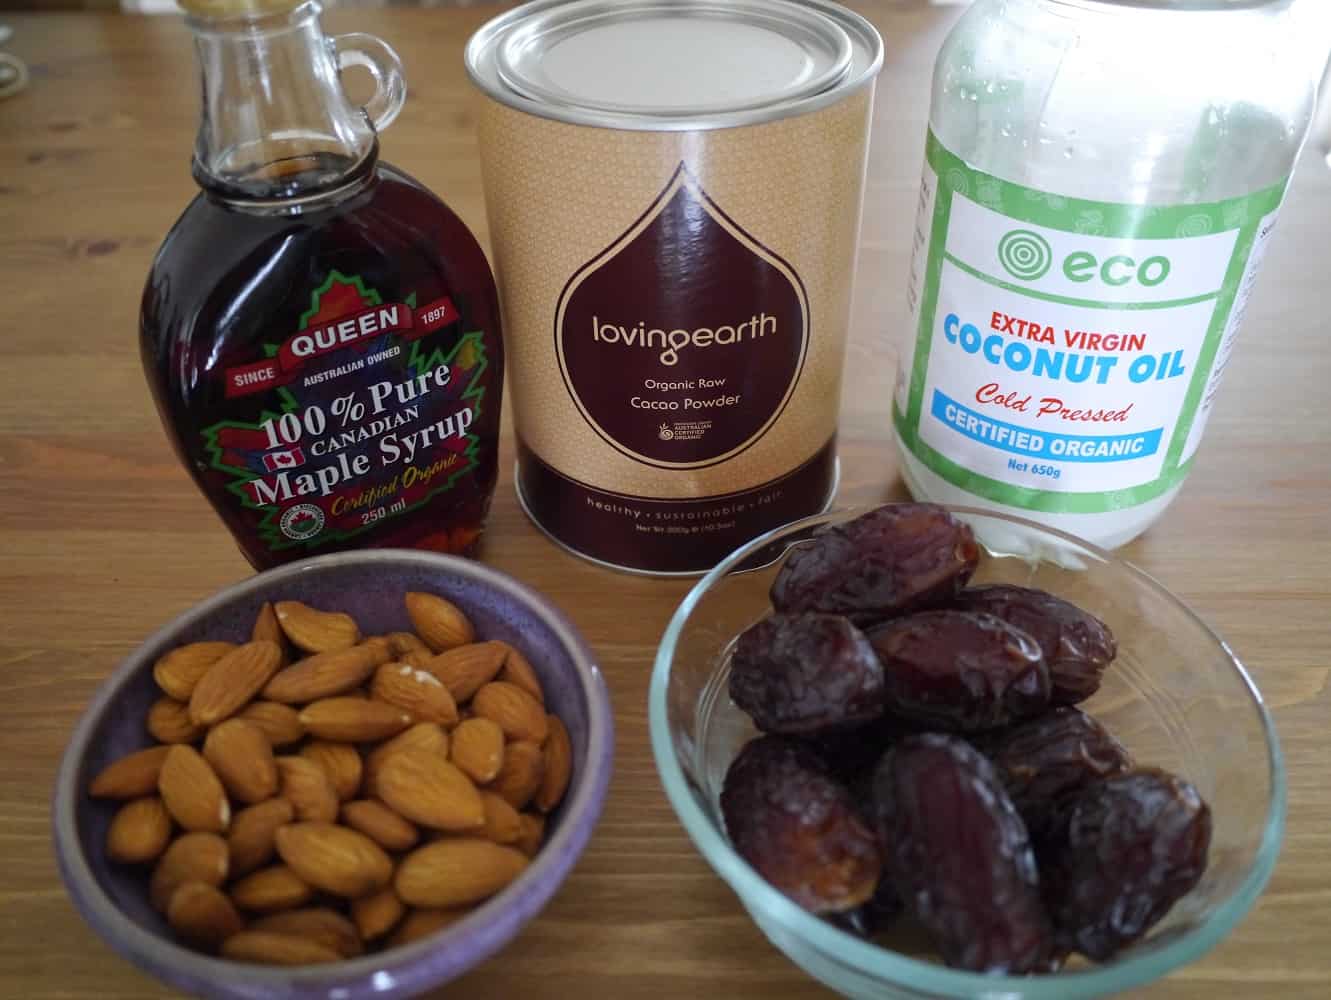
Ingredients:
170g coconut oil
110g raw almonds
60ml maple syrup (1/4 cup)
10 – 12 medjool dates
4 tbsp cacao powder
rawchoc1jpg

Method:

Line a 20cm by 25cm tray with greaseproof paper.

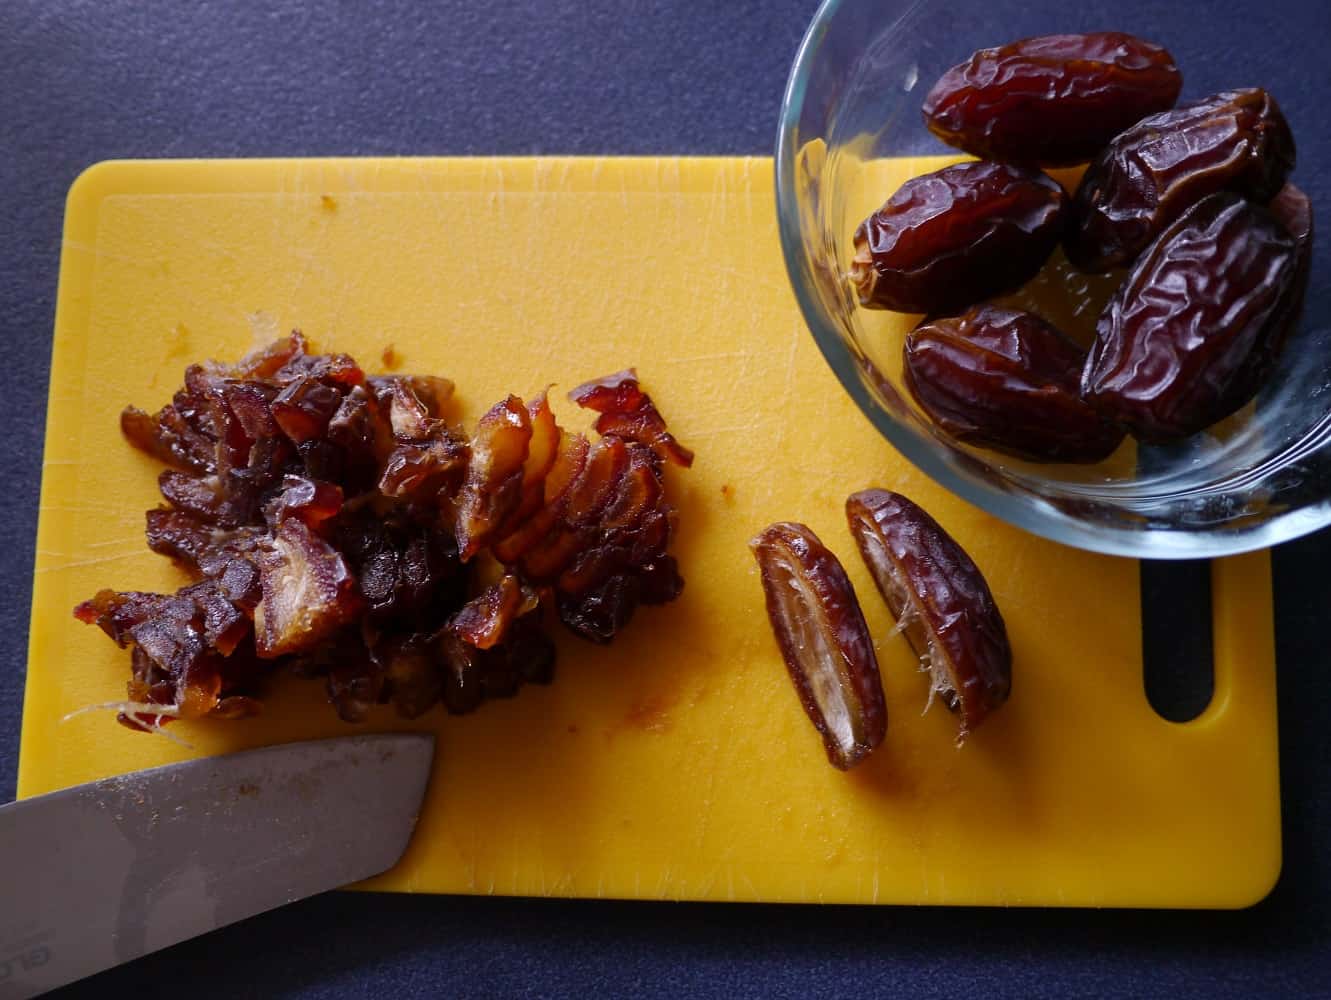
Chop the dates finely using a knife. (Don’t attempt to do this in a food processor or you will end up with a big sticky lump attached to the blades)
rawchoc2jpg

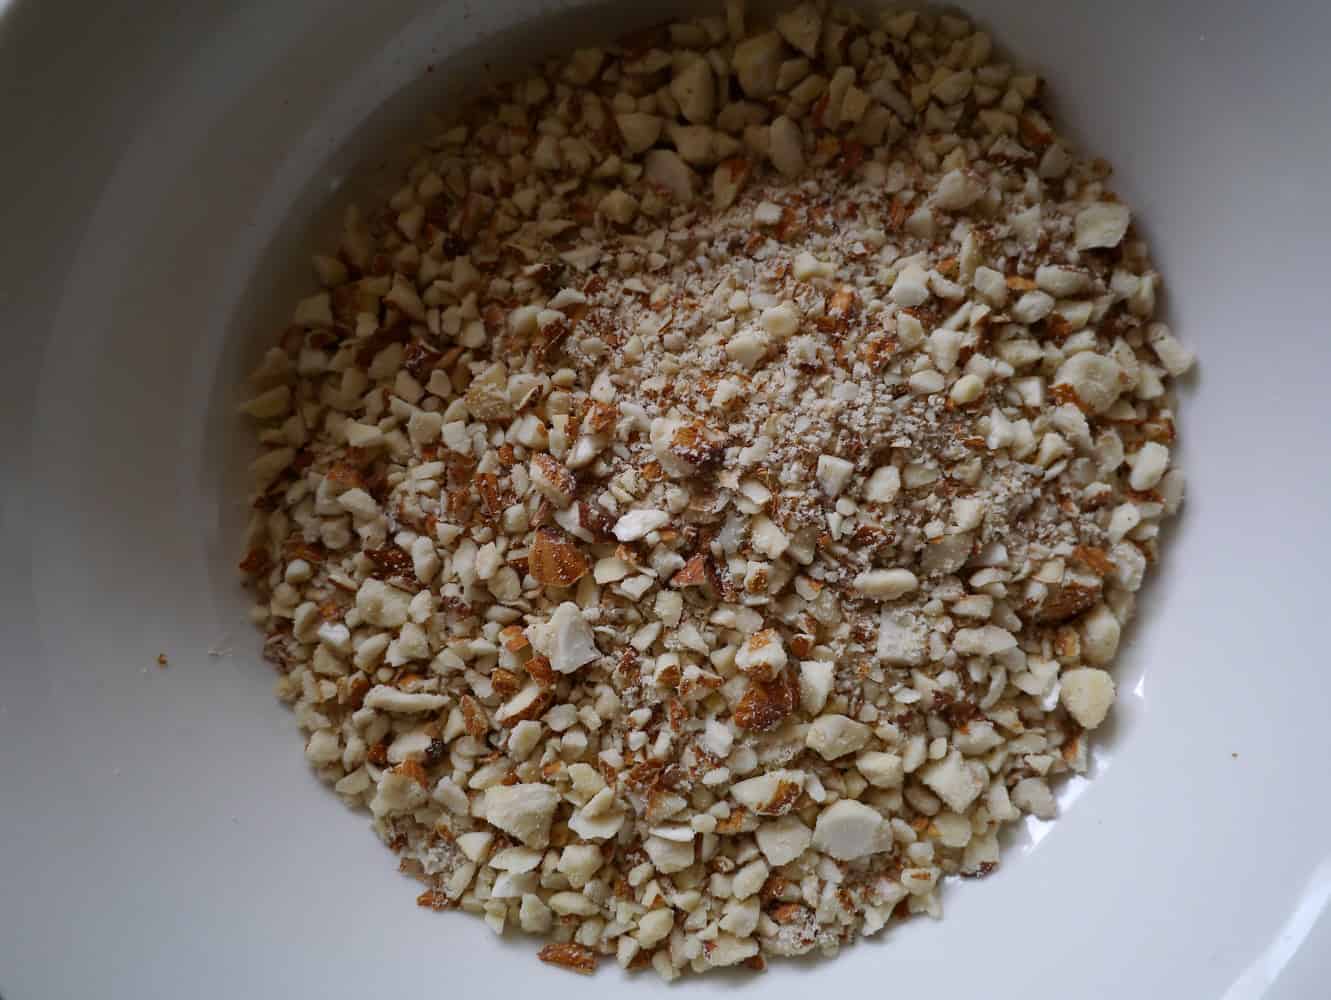
Chop the almonds in a food processor until they resemble small nibs, but not so fine that you get a powder. (If you don’t have a food processor then you could use a coffee grinder of chop by hand using a sharp knife)
rawchoc3jpg

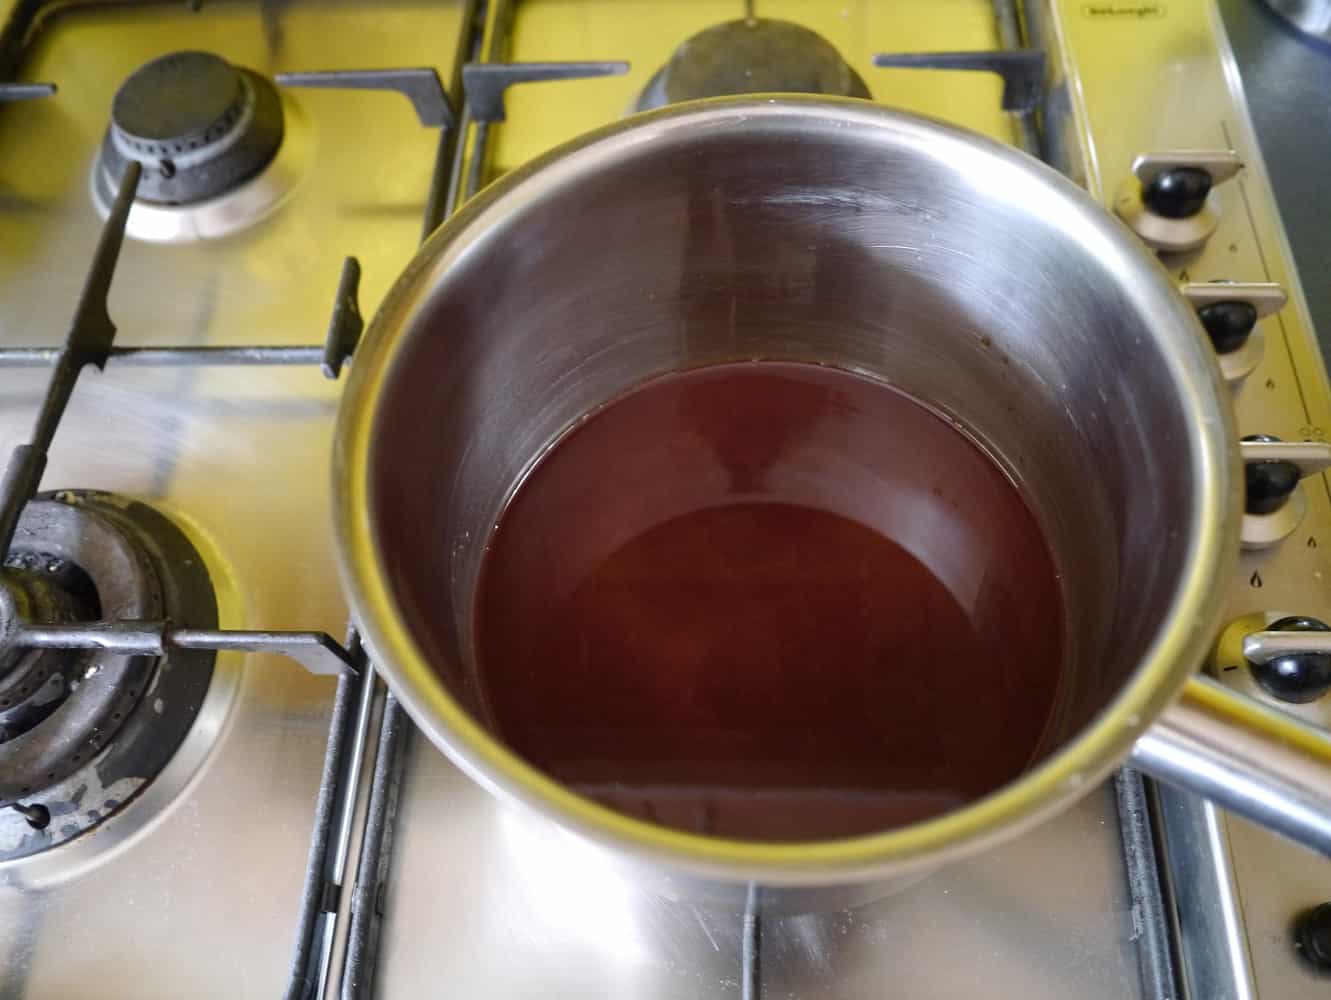
Heat the coconut oil in a saucepan on an extremely low heat until it is liquid (it will melt at 25ºC). Add the maple syrup and cacao to the pan and stir.
rawchoc6jpg

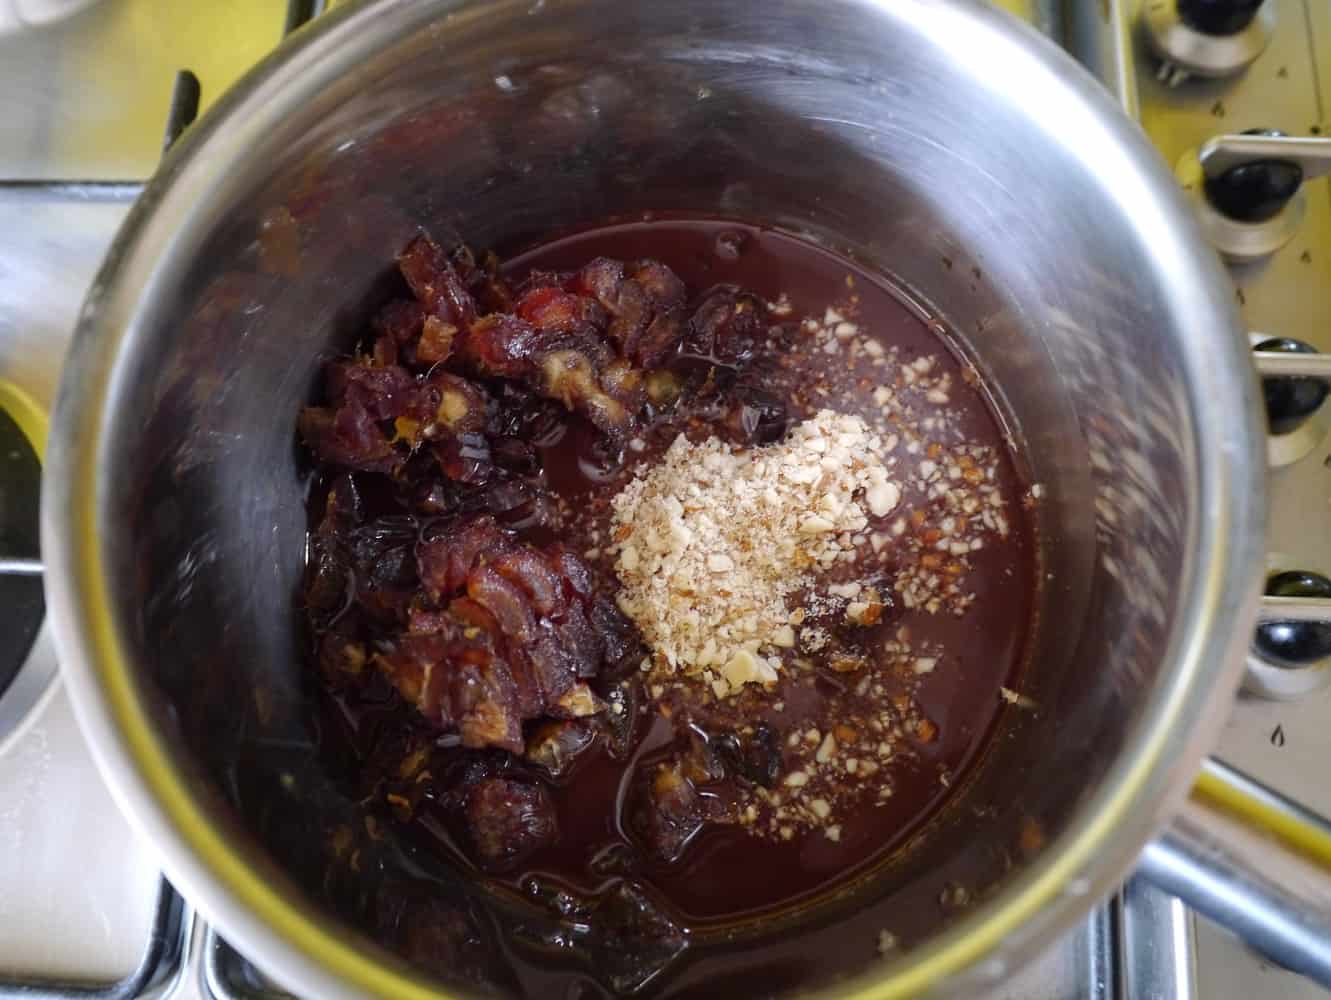
Add the chopped dates and nuts and mix well.
rawchoc7jpg

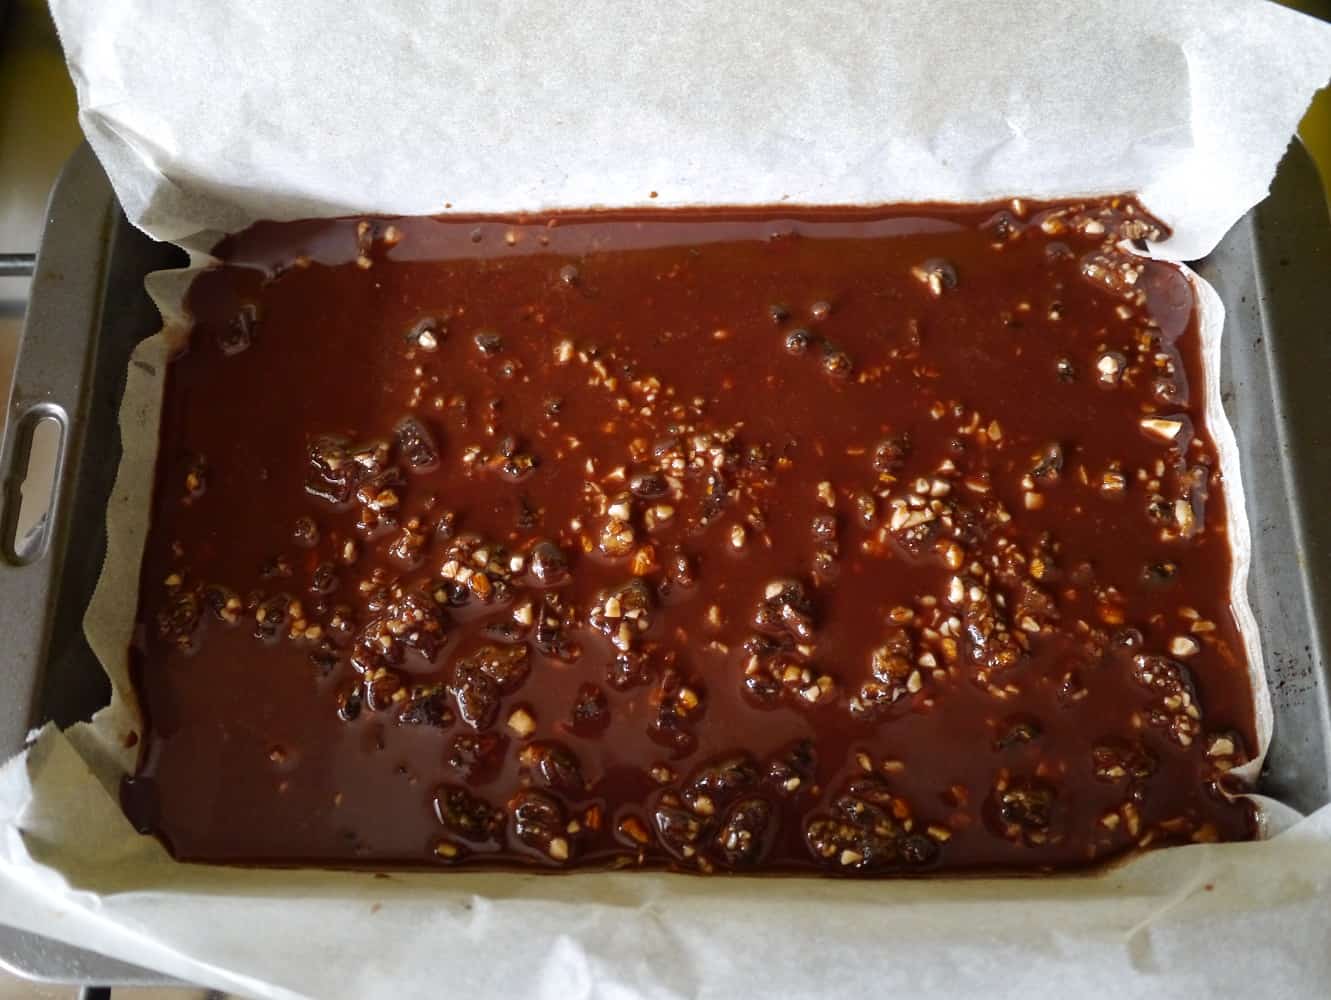
Pour into the lined tin, using a fork to make sure the fruit and nuts are distributed evenly.
rawchoc8jpg

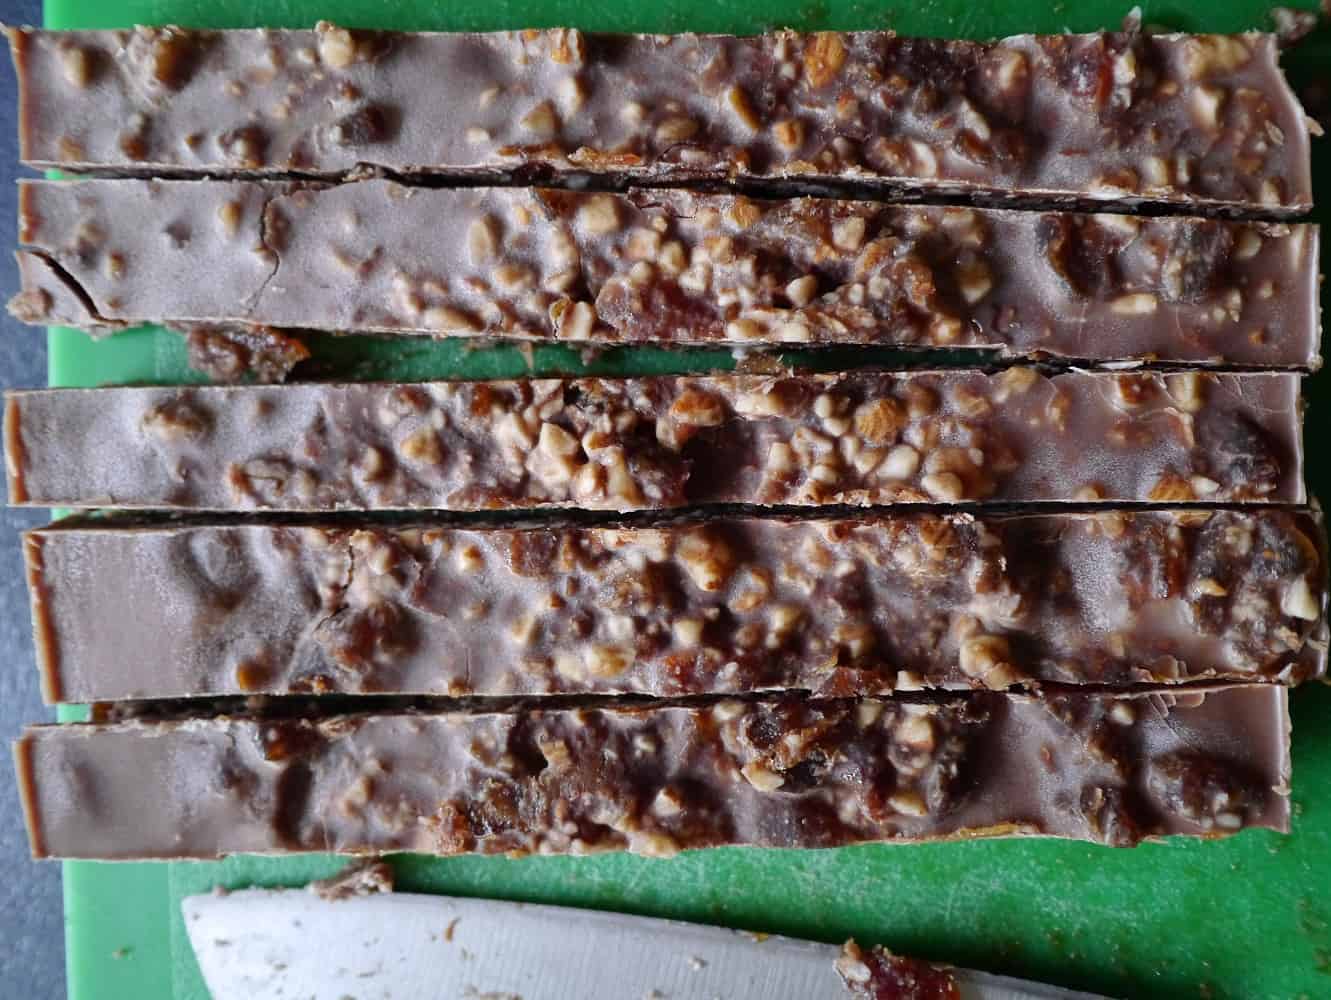
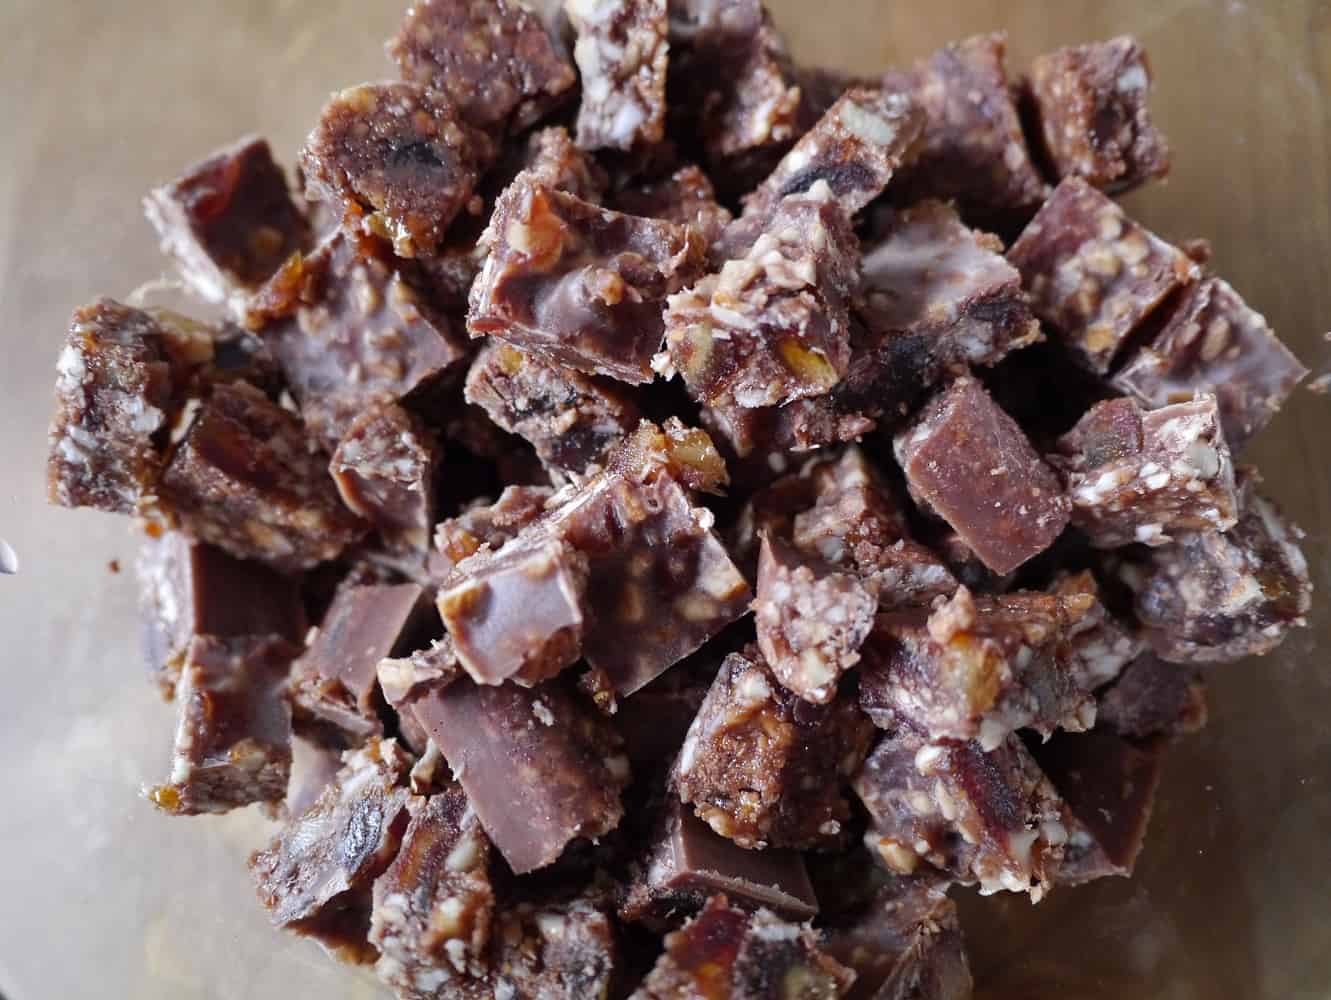
Place in the freezer (make sure the tray is flat) and leave for at least 30 mins until solid. Chop into squares and store in a container in the freezer. (You eat it straight from frozen.) If it doesn’t get eaten immediately, it will last for a month.
rawchoc10jpg

rawchoc11jpg

Notes:

Maple syrup is not raw, as it is made from the heated and reduced sap of the maple tree. If you want a raw sweetener then replace the maple syrup with raw honey (which is not suitable for vegans) or raw agave nectar.
Raw cacao is preferable as it is higher in nutrients. If you cannot find it, then I recommend an organic product such as Green & Blacks cocoa powder. Don’t use Cadbury’s as it contains extra ‘flavours’!

[leadpages_leadbox leadbox_id=1429a0746639c5] [/leadpages_leadbox]