6+ Zero Waste Plastic-Free Snack Ideas

This week, I’m talking snacks. Specifically, zero waste snacks that you can make at home. If you have access to a bulk store, then you’ll have access to heaps of delicious plastic- and packaging-free snacks. For example, we can buy vegetable crisps, flavoured nuts, rice crackers, protein balls, and chocolate-coated everything (not to mention chocolate itself).

If you don’t have access to a bulk store, then this is not the least bit helpful. I realise that!

Rather than bore you all (or make you jealous) by telling you how wonderful bulk stores are, I’m going to focus on things that you can do and snacks that you can make without access to a bulk store. Level playing fields for all!

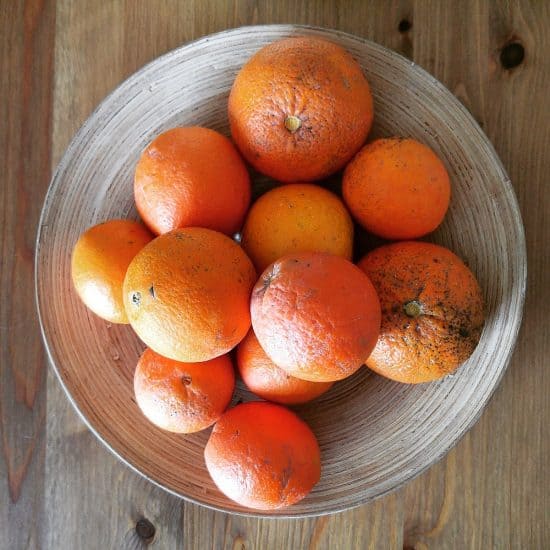
Zero Waste Snacks: Fresh Fruit

I know, I know. Boring! But also very good for you. Extremely easy to find without packaging.

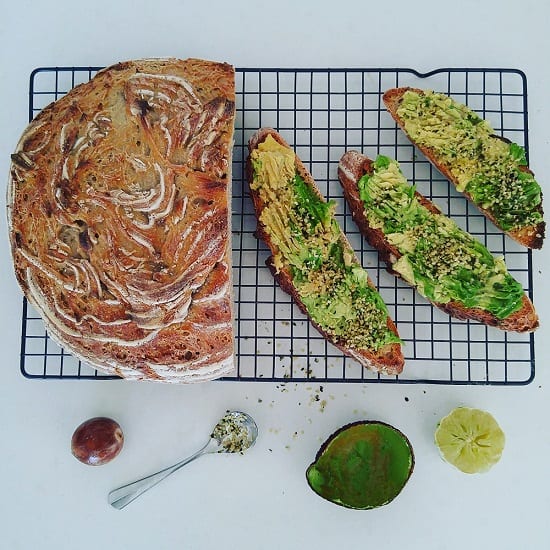
Zero Waste Snacks: Fruit with Extras

I get it. You don’t want fruit. You want chocolate. You want something satisfying. I hear you.

But fruit is very versatile, and can easily be jazzed up. One of my favourite things to make fruit a little more filling (and tasty) is to slather it with nut butter. Apple slices spread with almond butter is the best. (If you’re allergic to nuts, or want a cheaper option, consider seed butters.)

Literally, nut and seed butters are just blended nuts or seeds. The natural oils are released with the friction, so there’s no need to add anything else. Generally toasted (and cooled) nuts will blend better than raw ones, so unless you have a super fancy blender, stick to toasted.

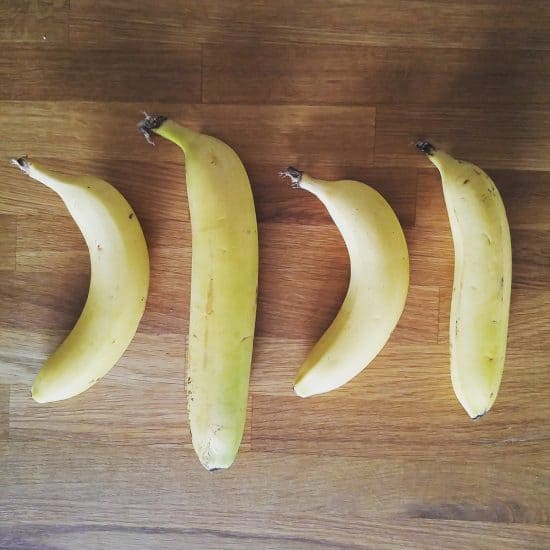
Another favourite is chopping bananas into rounds, and filling two rounds with peanut butter to make a sandwich.

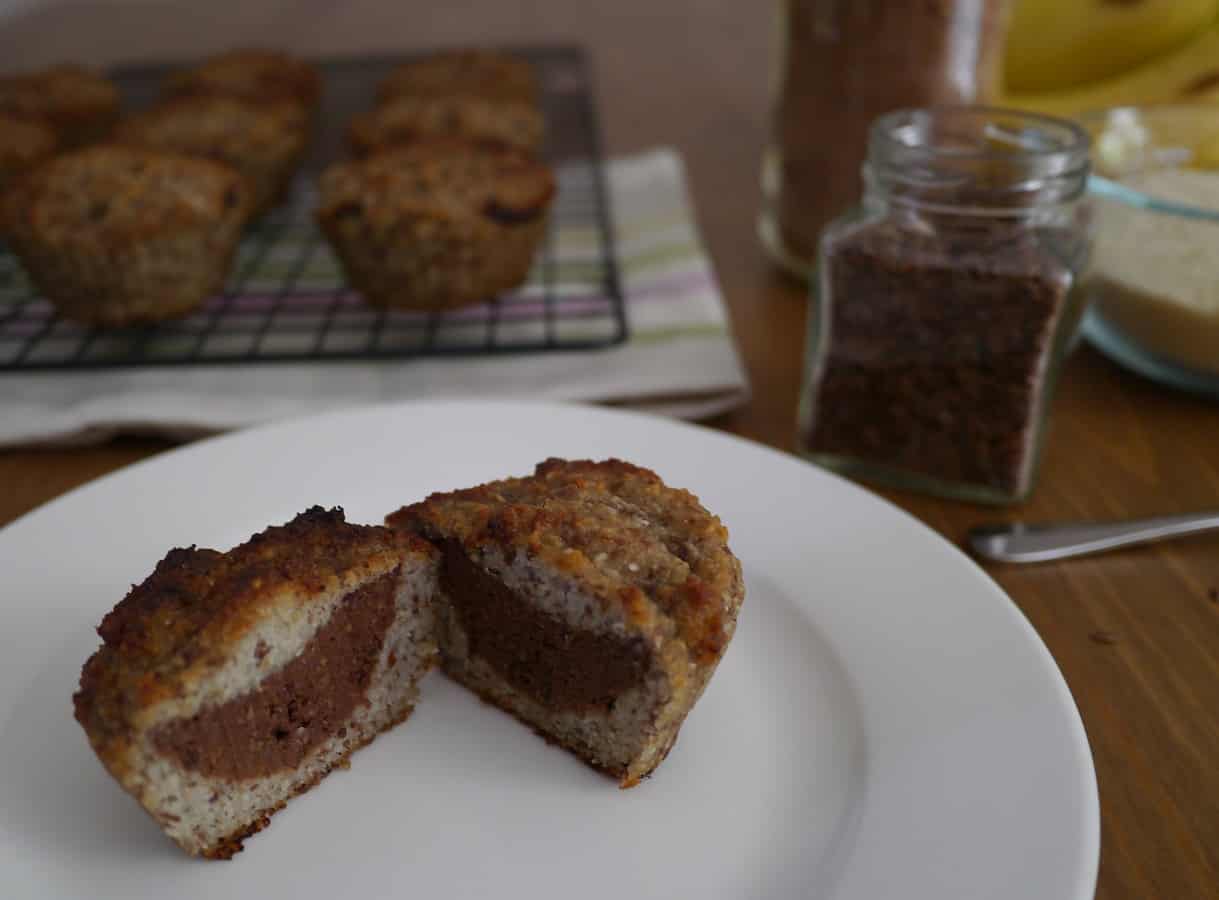
Talking of bananas, I’ve also seen them peeled, dipped into chocolate (maybe half the length) and then nuts, seeds, coconut or other sprinkles used as a topping.

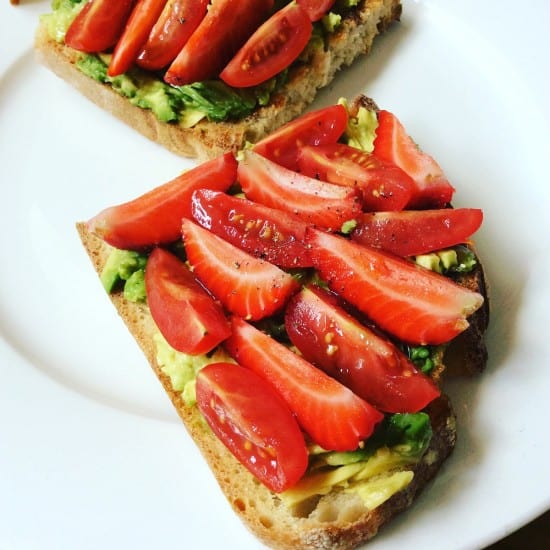
Orange segments, strawberries and raspberries can also be dipped in chocolate (assuming you can find berries packaging-free).

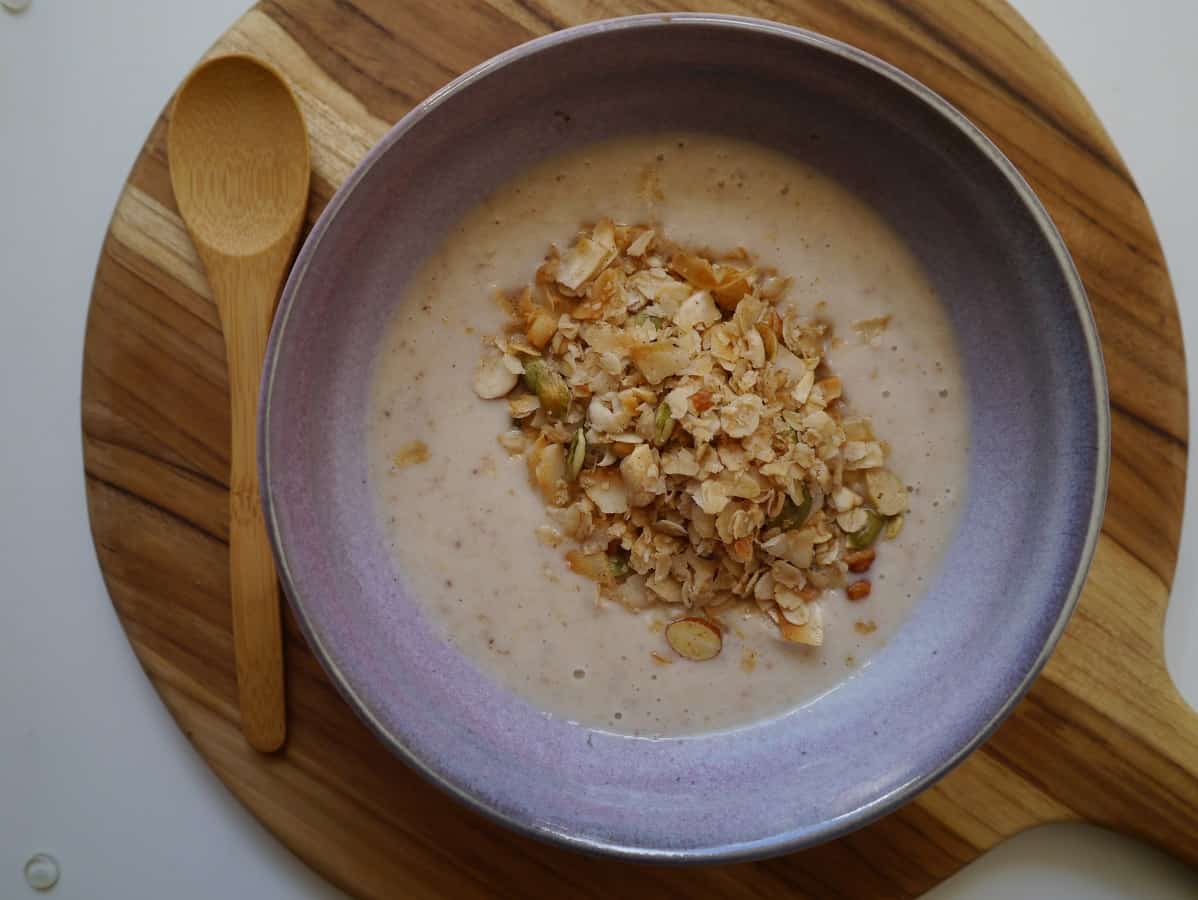
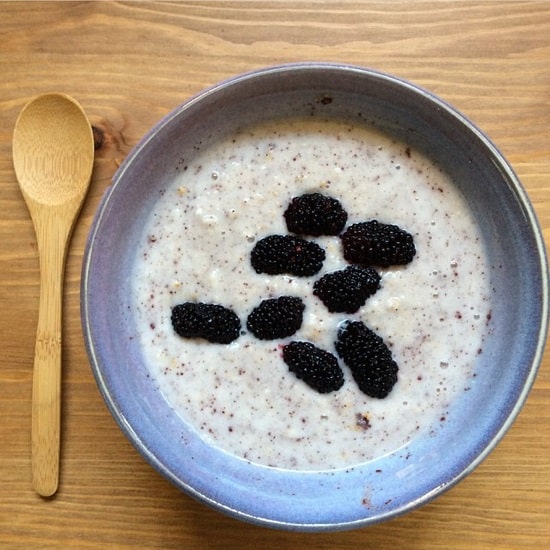
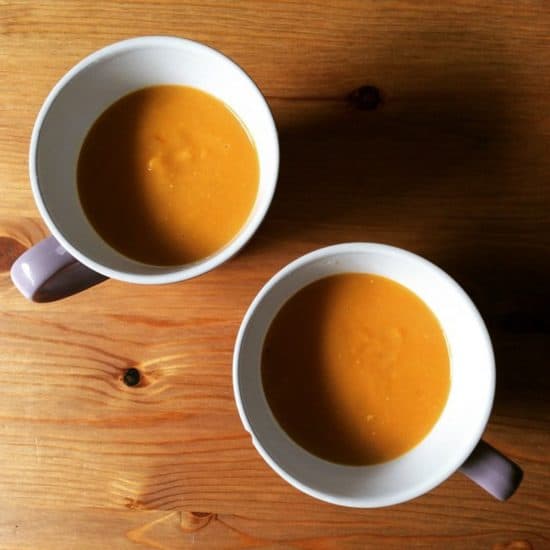
Zero Waste Snacks: Nice Cream

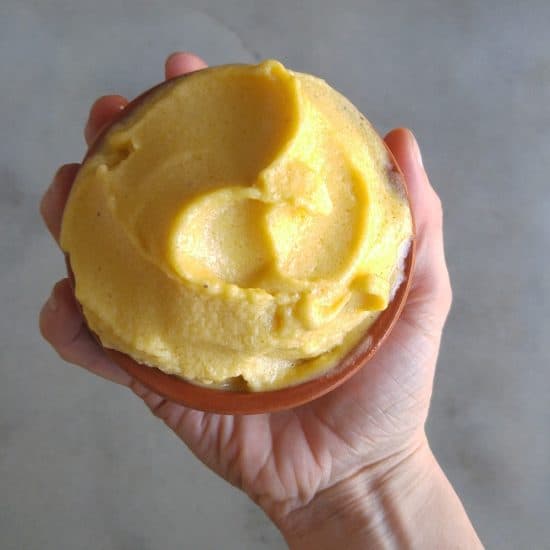
“Nice cream” is often used to describe vegan ice cream, but actually it’s not really ice cream – nothing so complicated. It’s actually just blended frozen fruit, which makes a soft-serve sorbet / ice cream that is eaten straightaway..

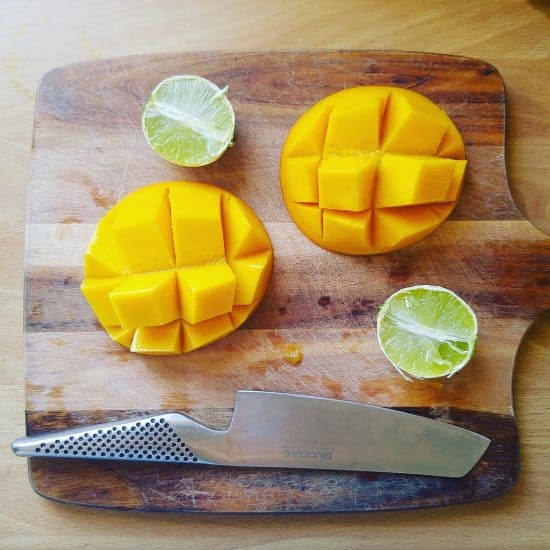
This one is mango and banana. A spoonful of nut butter or coconut butter adds a bit of creaminess. Literally take frozen fruit out of the freezer, and blend. Then, eat. So refreshing on a hot day!

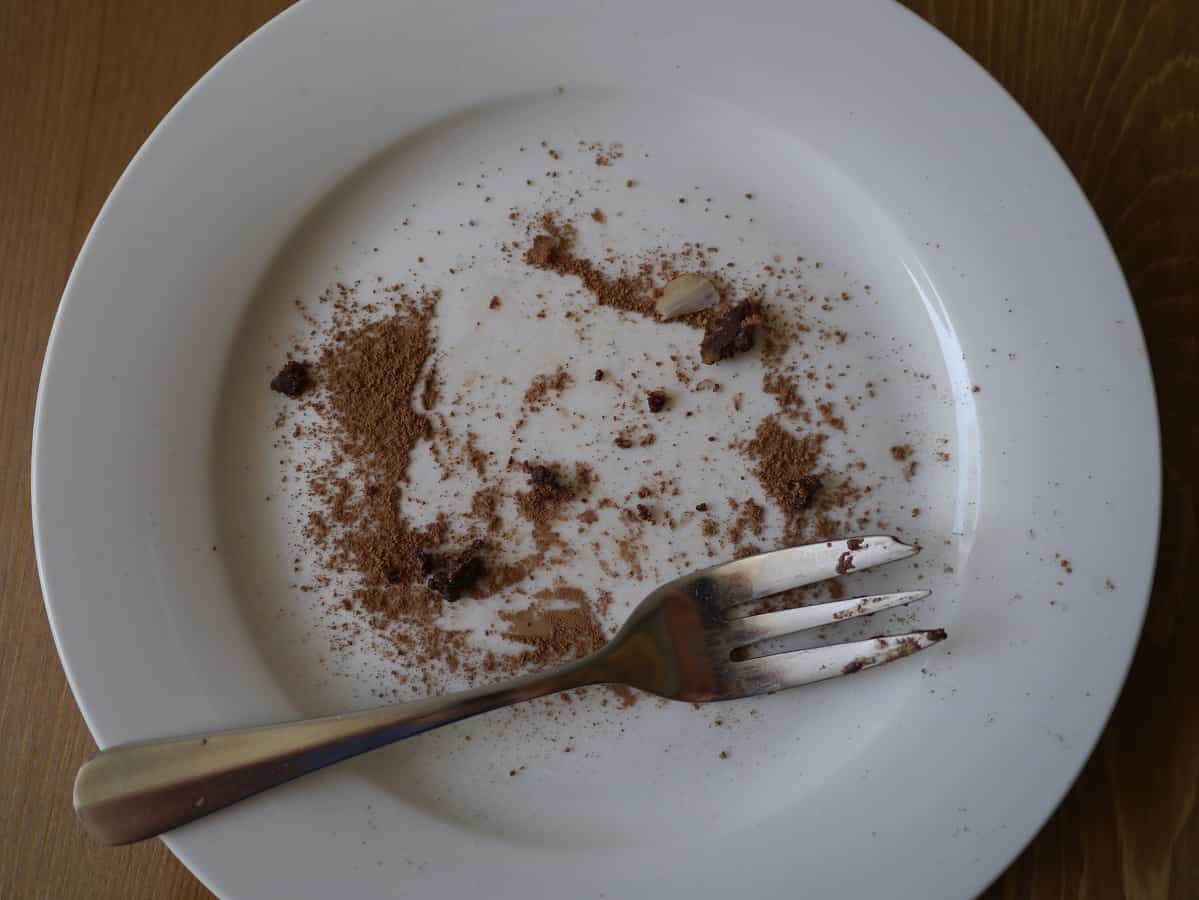
Another favourite “nice cream” combo of mine is chocolate banana peanut butter : literally 2 frozen bananas, 1/3 cup cocoa powder and 2 tbsp peanut butter, blended. Yum.

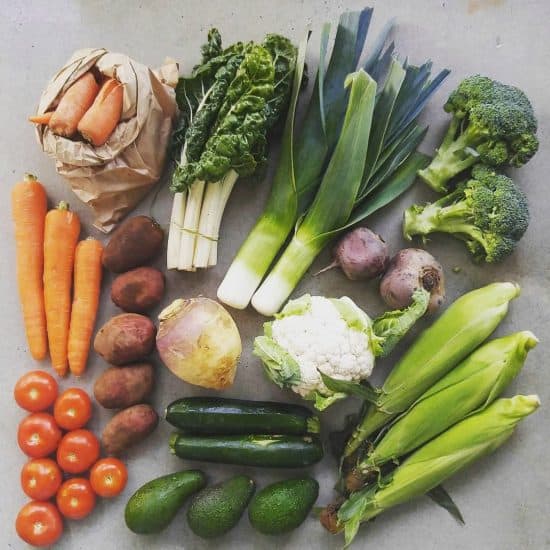
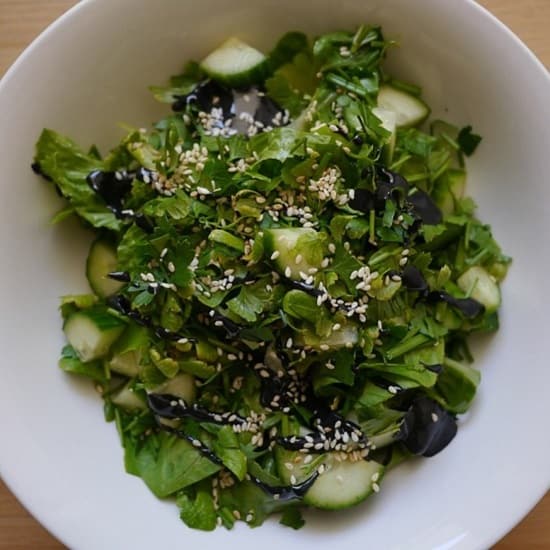
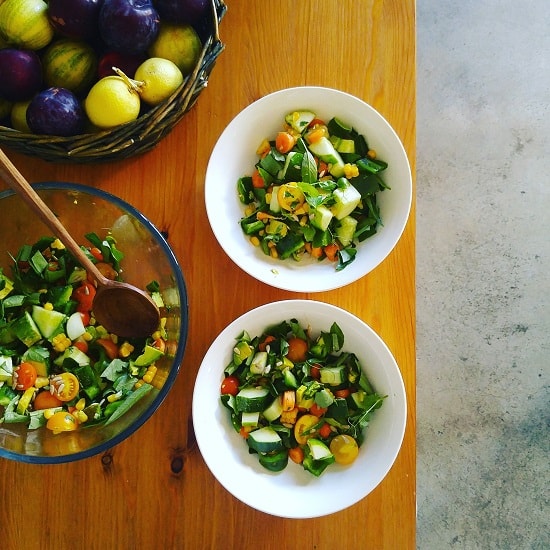
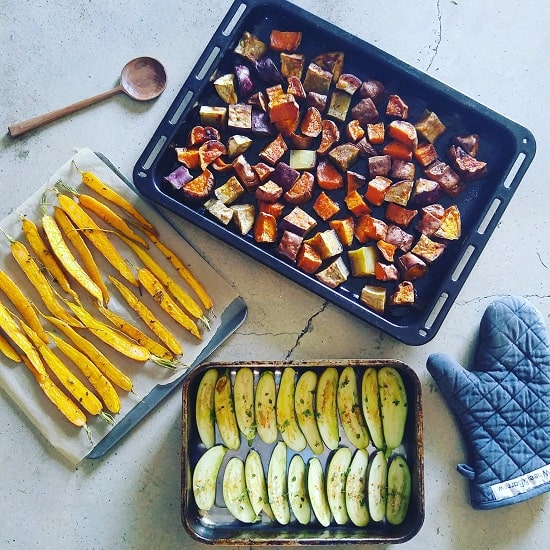
Zero Waste Snacks: Vegetables

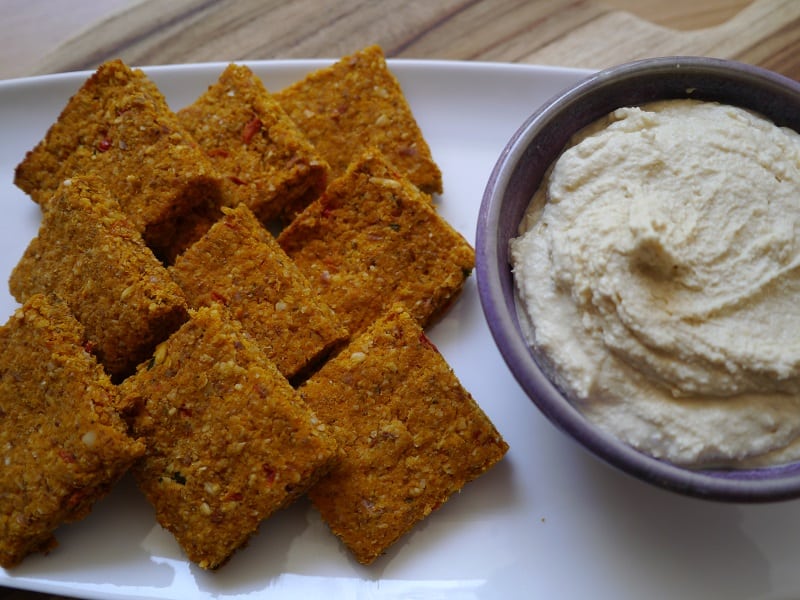
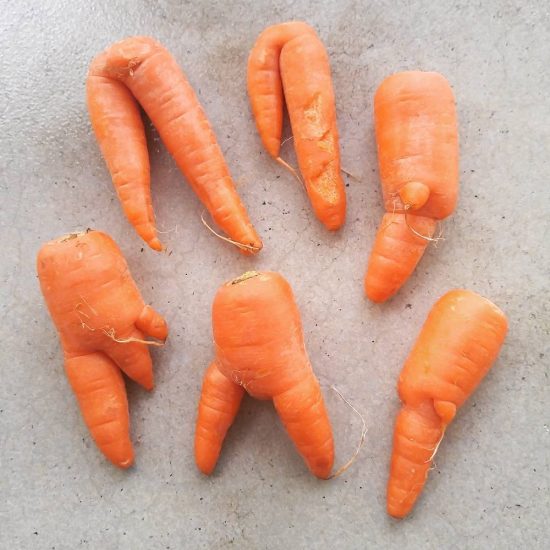
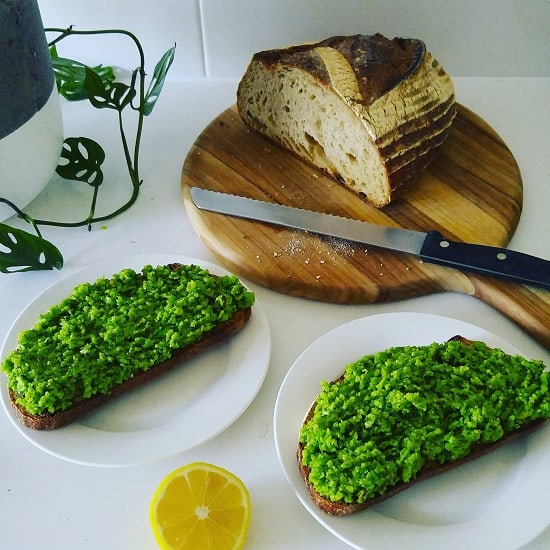
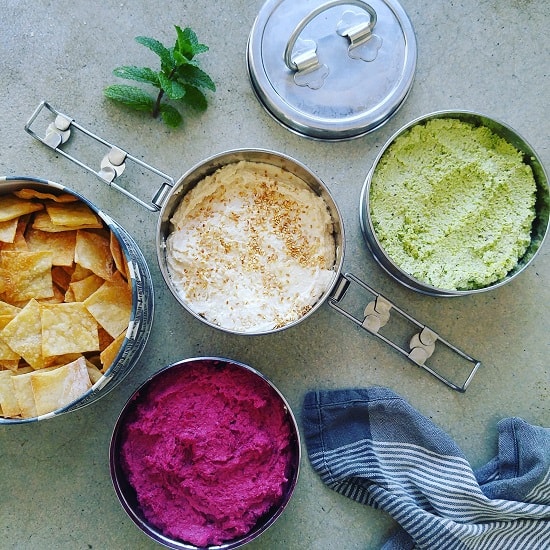
Yes, vegetables can be a snack. Carrots, capsicum, cucumber, radish, celery can all be chopped into crudites – although I tend to just chomp on carrots as they are. If you’ve got a dip (such as hummus – see my recipe here) all the better, but they can be good on their own. Pesto and even peanut butter (yes, carrots and peanut butter are a “thing”) also make good dips.

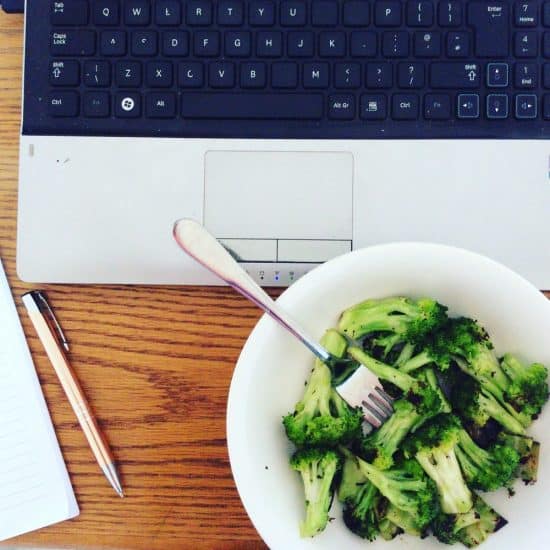
Broccoli has to be my favourite vegetable ever. I could eat bowlfuls of it… and I do. I like to fry it on a high heat so it chars a little, then add a big squeeze of lemon juice and a couple of tablespoons of tahini and mix together. Yum.

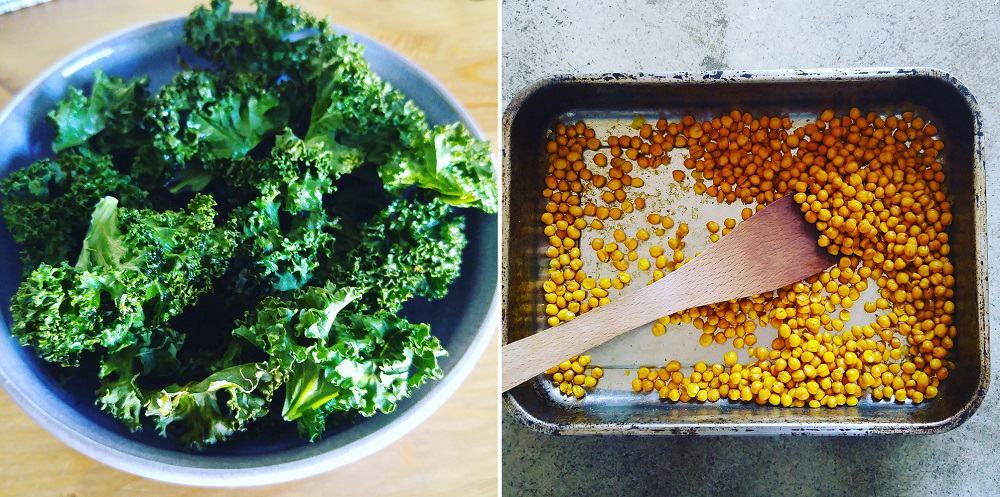
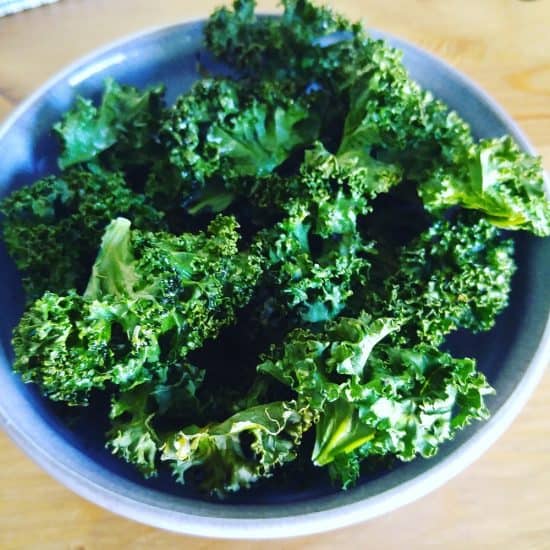
If you’ve never made kale chips, you are missing a trick. Yes, they look green and a little too healthy, but actually they are oily and salty and very tasty. I add to a roasting pan, drizzle with olive oil, sprinkle a little salt and pepper and bake in the oven on a low temperature (100ºC) for about 30 minutes.

(The low temp dries them out whilst keeping them green. If the oven is too high they will dry out and be ready quicker, but they will also be brown – not nearly so attractive.)

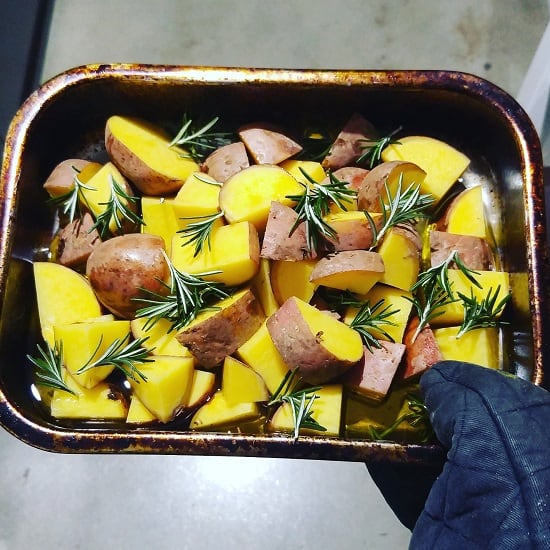
We don’t buy potato chips as they don’t come without packaging. Sometimes as a treat we’ll make a bowl of roast potatoes (chopped into small cubes and roasted to increase the crispy surface area) and snack on them. Probably not the healthiest option, but potato chips aren’t exactly either!

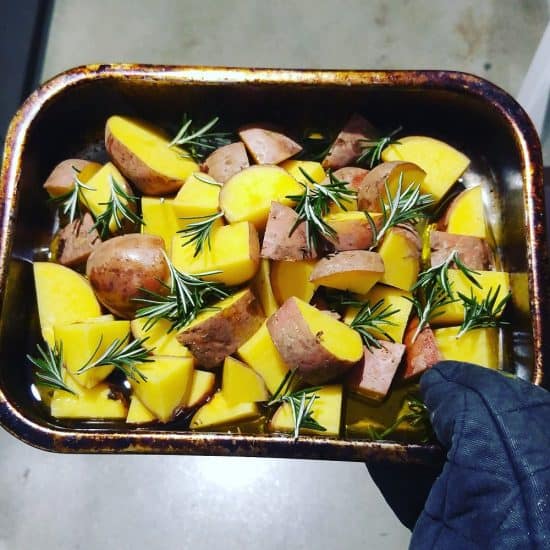
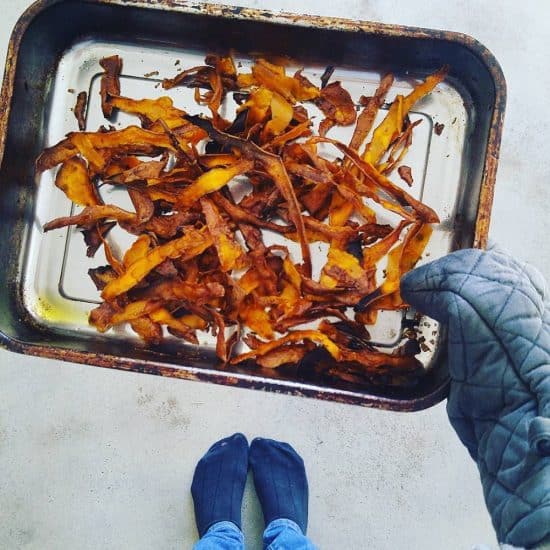
Vegetable peels also make great potato chips / crisps. I don’t tend to peel my veggies often (who can be bothered?!) But sometimes a recipe calls for peeling. If that’s the case I give the veggies a good scrub, peel and then put the veggies in a bowl with a small amount of olive oil. Mix, lay out of a baking sheet and bake in the oven for 10 mins or so, turning half way through.

This works for most veggie peels: potato, carrot and parsnip are my favourite (and the tastiest), but beetroot peels and sweet potato peels also work.

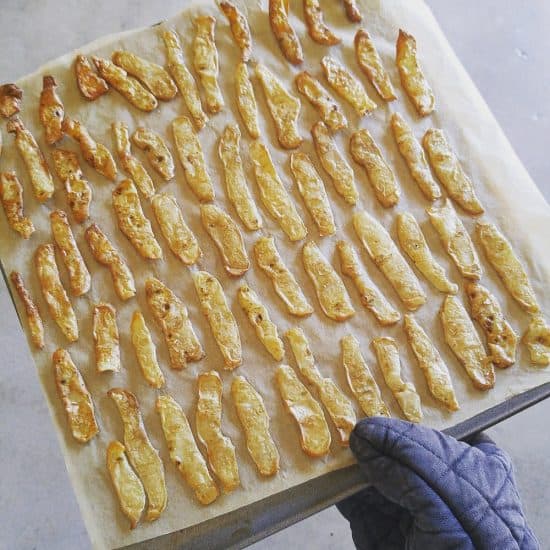
Zero Waste Snacks: Other Crunchy, Salty Things

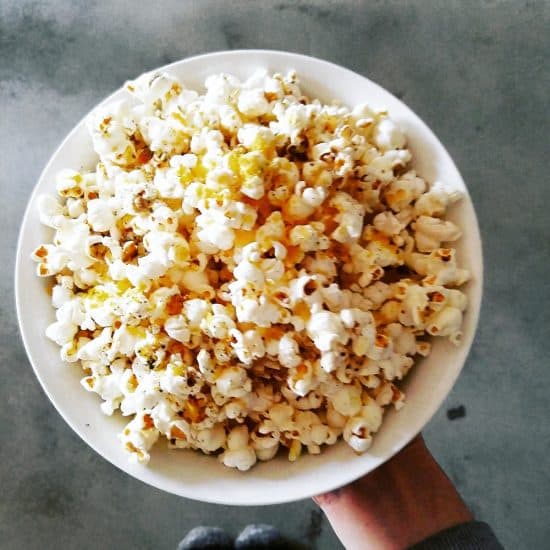
When I crave snacks, it’s not necessarily that I’m hungry. (Usually I’m procrastinating!) Often I just want something crunchy and salty. For me, my go-to option is popcorn.

Even if you can’t buy popcorn from a bulk store and without packaging, a 500g bag of popping corn will make a LOT of popcorn. If you were to buy that many packets of pre-popped popcorn or even potato chips, the waste would be enormous. Even if it comes in plastic, popcorn is a very low-waste snack.

I always make mine in a saucepan. Heat enough oil in the bottom of the pan to coat the kernels (but not so much it covers them) and heat until the kernels begin to pop. Rather than use a saucepan lid, I use a tea towel to stop the popcorn pinging out of the pan. Whilst popcorn is doing its thing, it releases a lot of steam. I find with a saucepan lid the moisture condenses and drips back onto the popcorn – cue soggy popcorn. The tea towel allows the steam to escape and gives you crispy popcorn. Hurrah!

(As soon as the popping slows down, take the pan off the heat, otherwise the popcorn will burn. You can always save unpopped kernels for next time.)

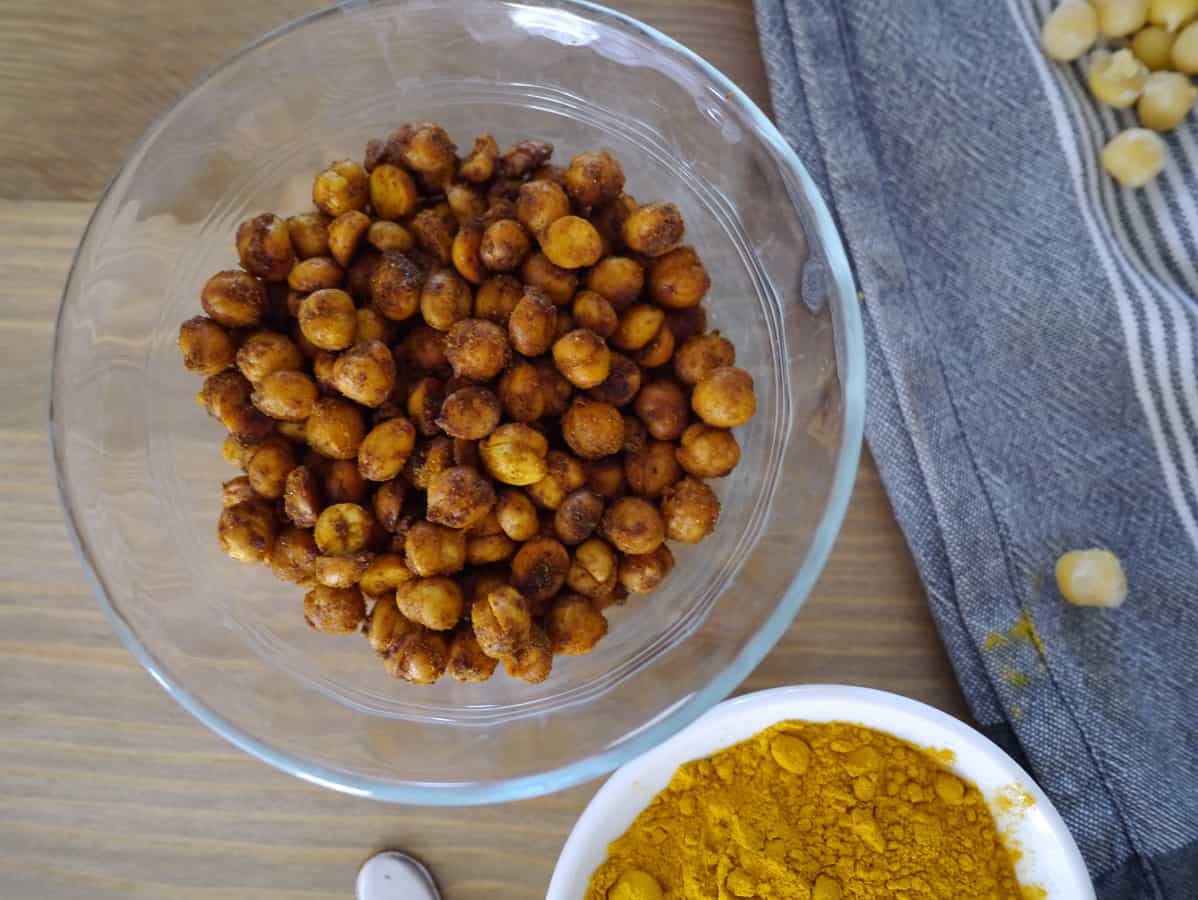
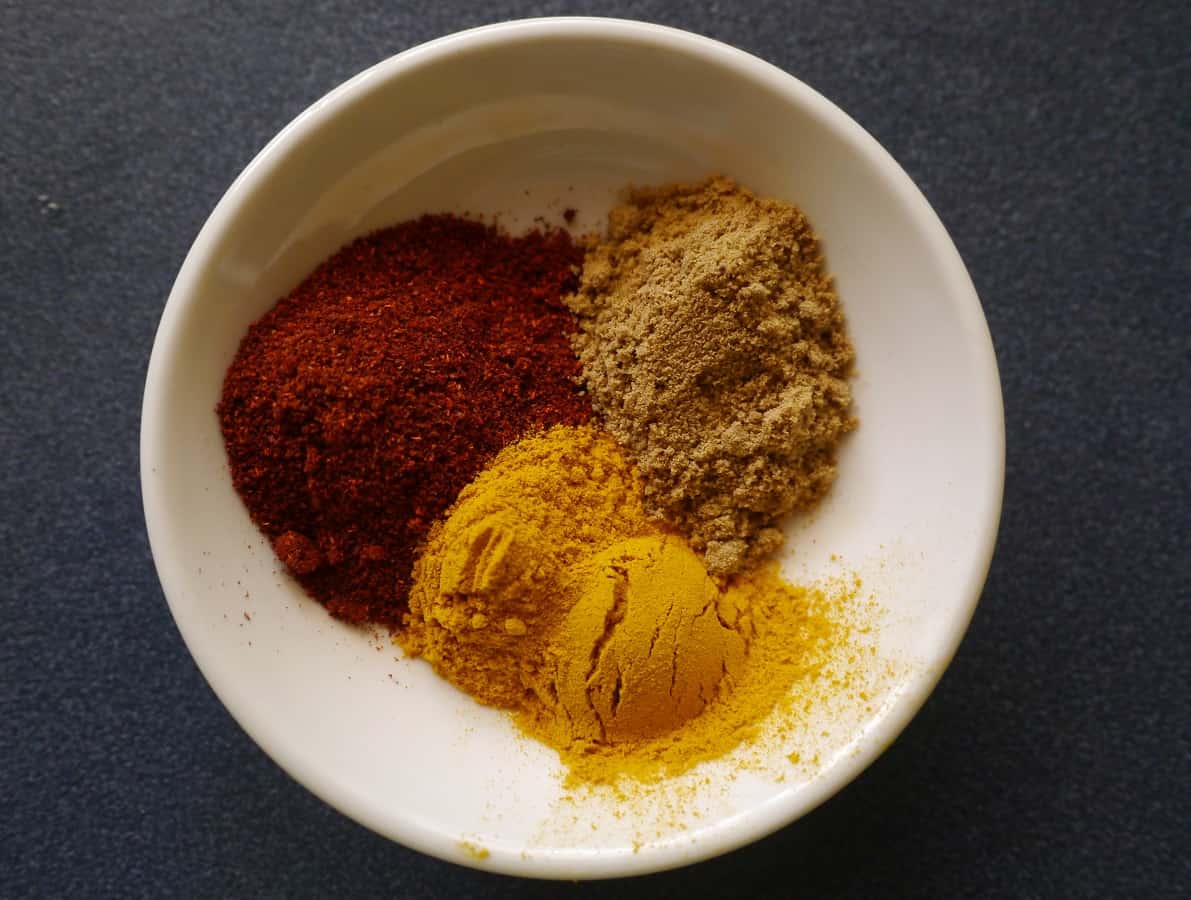
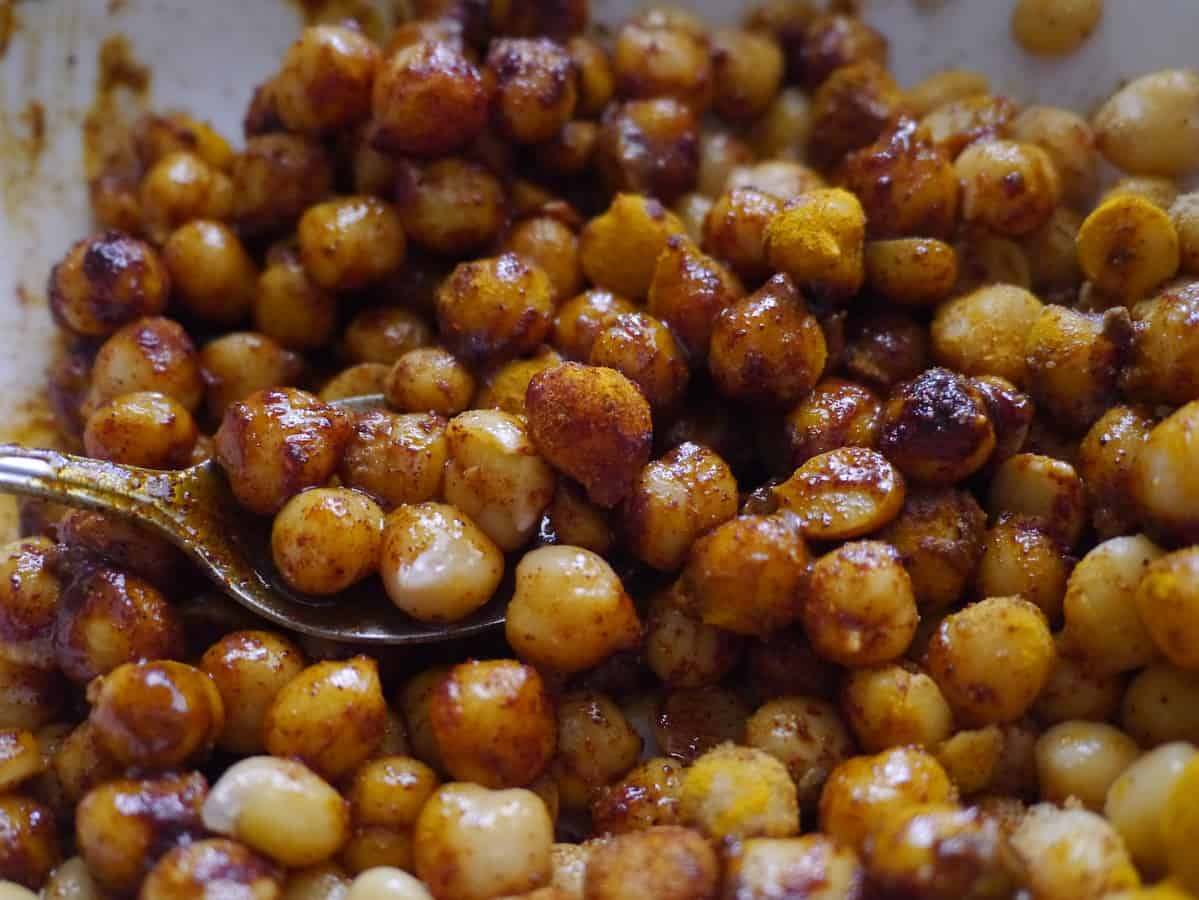
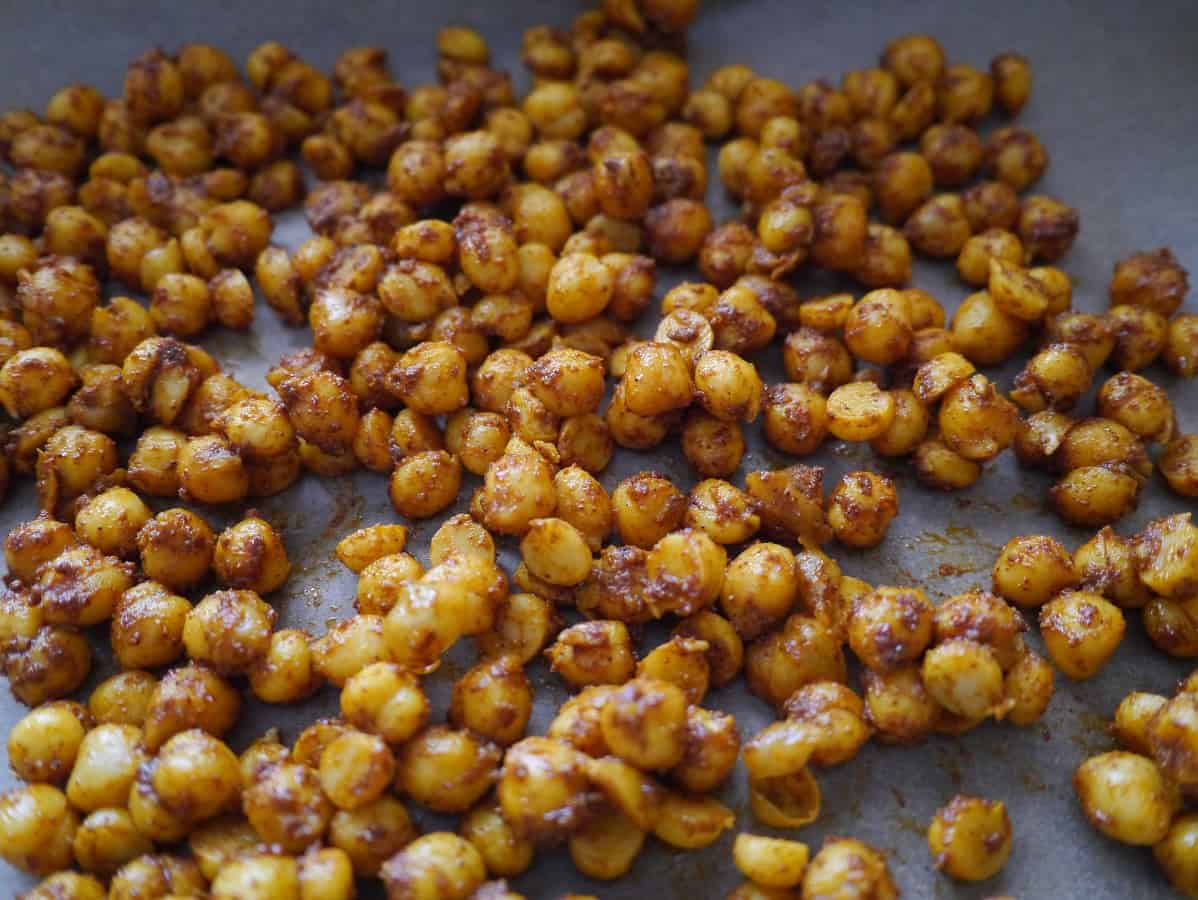
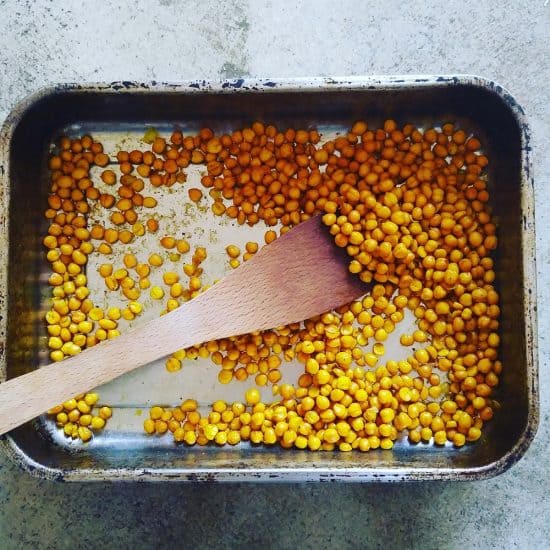
Roasted chickpeas are another snack I make. I tend to buy chickpeas in bulk and cook them up a couple of kilos at a time, so I’ll often make a batch of these. If you have access to dried chickpeas, either in bulk or in large bags, this is a great option. If you can only buy the tins, I probably wouldn’t bother (you’ll end up with way more packaging than snack). You can find my roasted chickpea recipe here.

Zero Waste Snacks: Really Simple Making & Baking

When I think of snacks, I think of something quick and easy. Baking is great, and I love it, but it often requires a little time. However, there are a few things that you can pull together and bake very quickly, so I’ve included a couple of ideas.

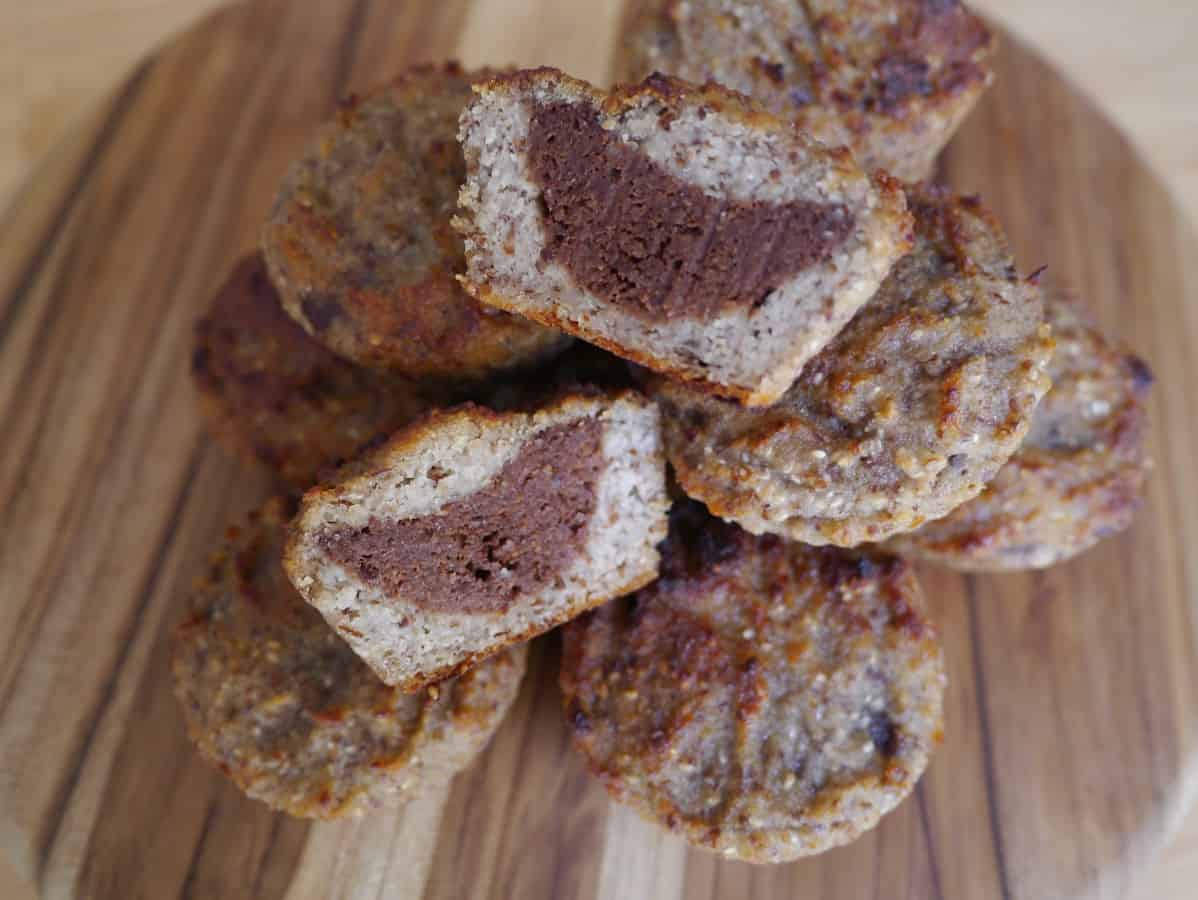
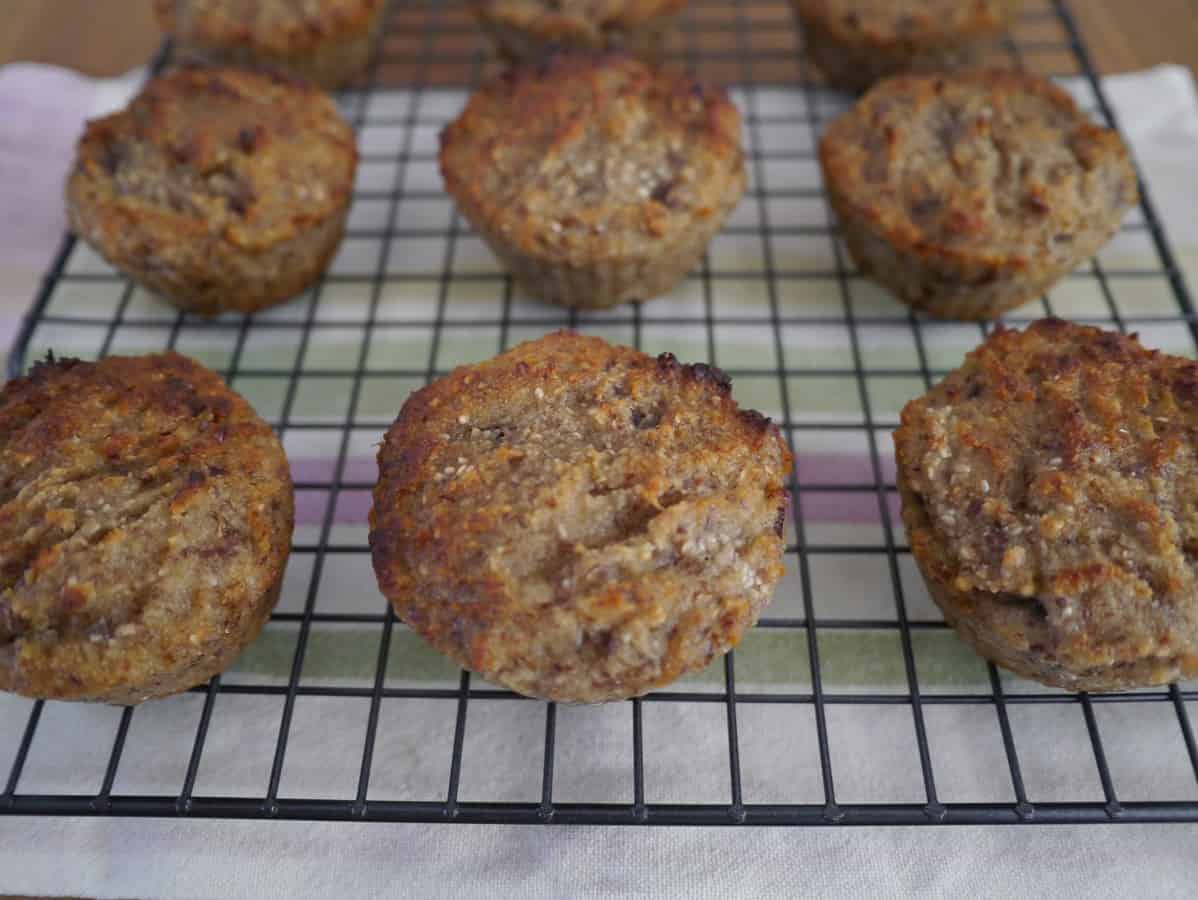
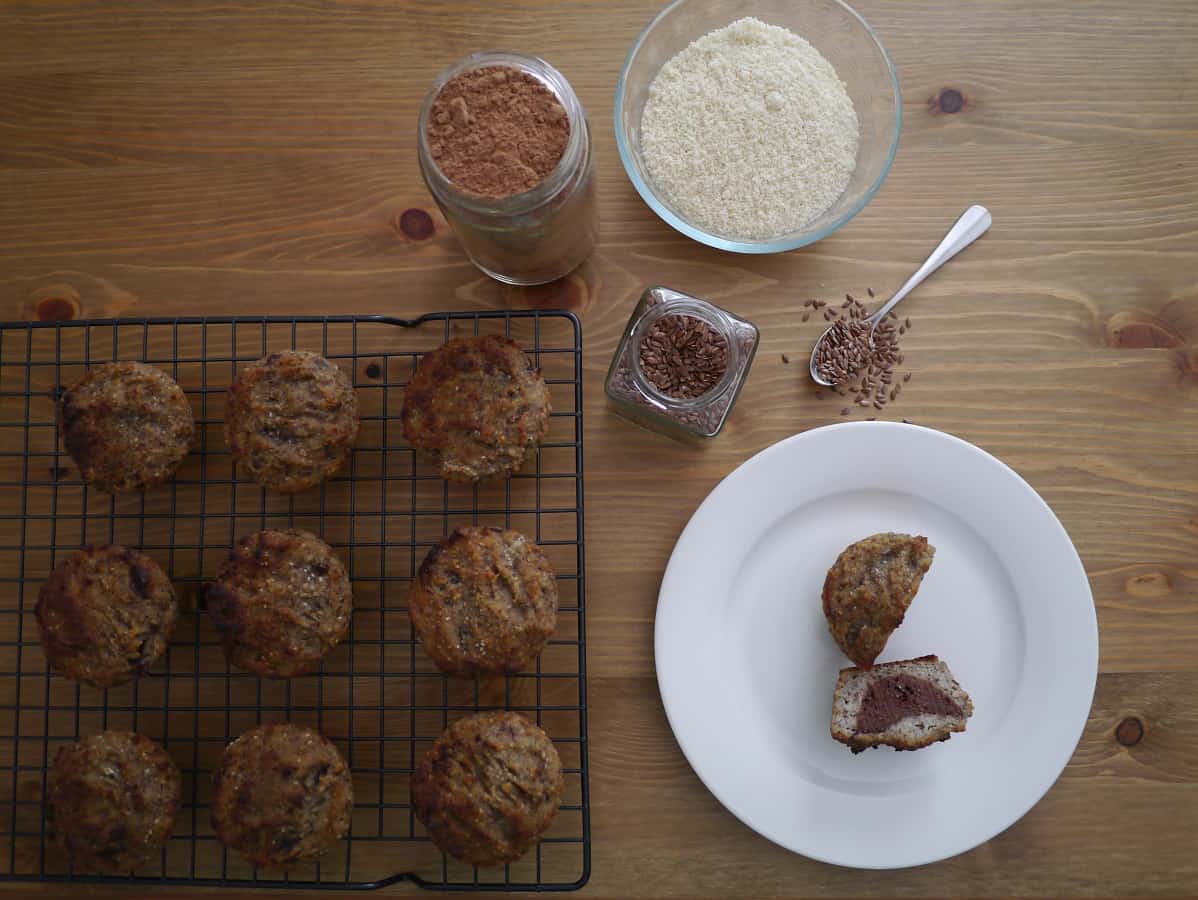
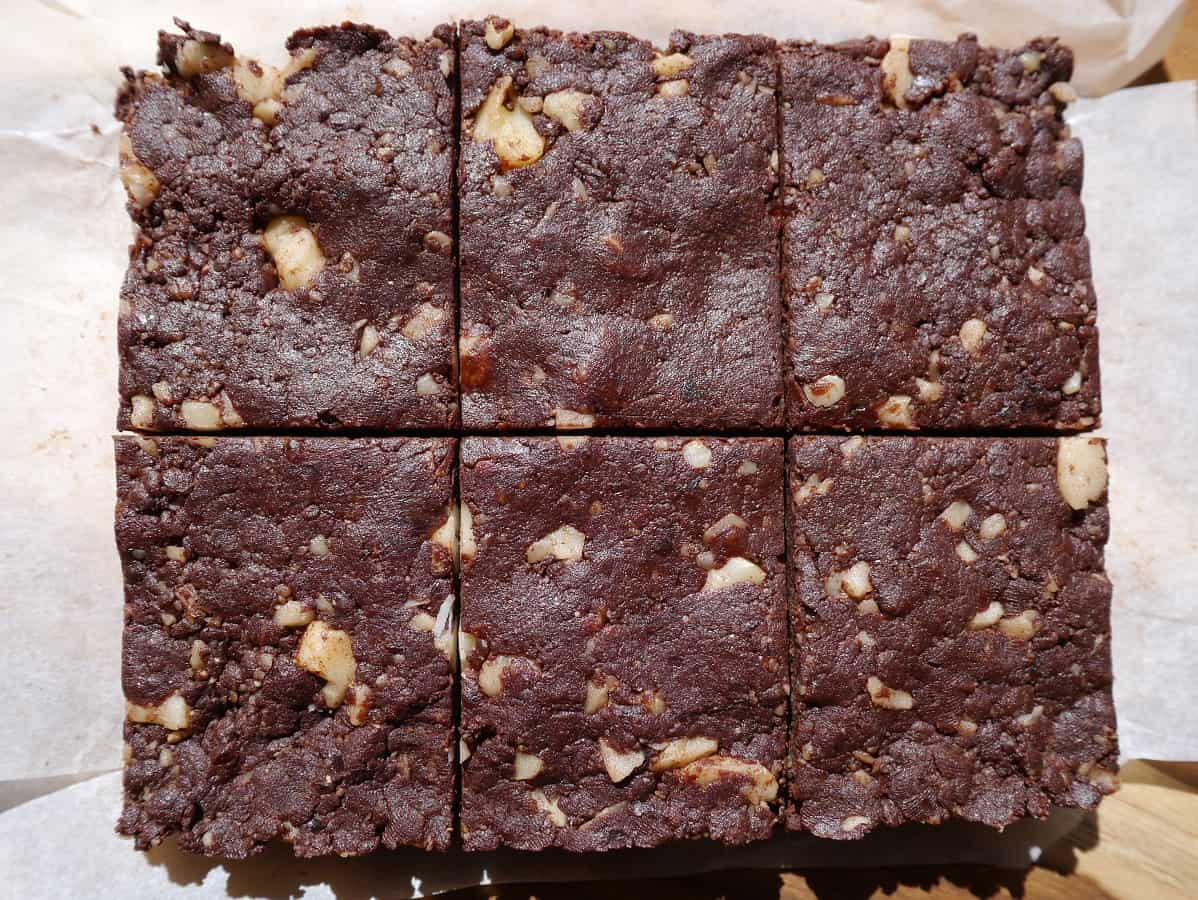
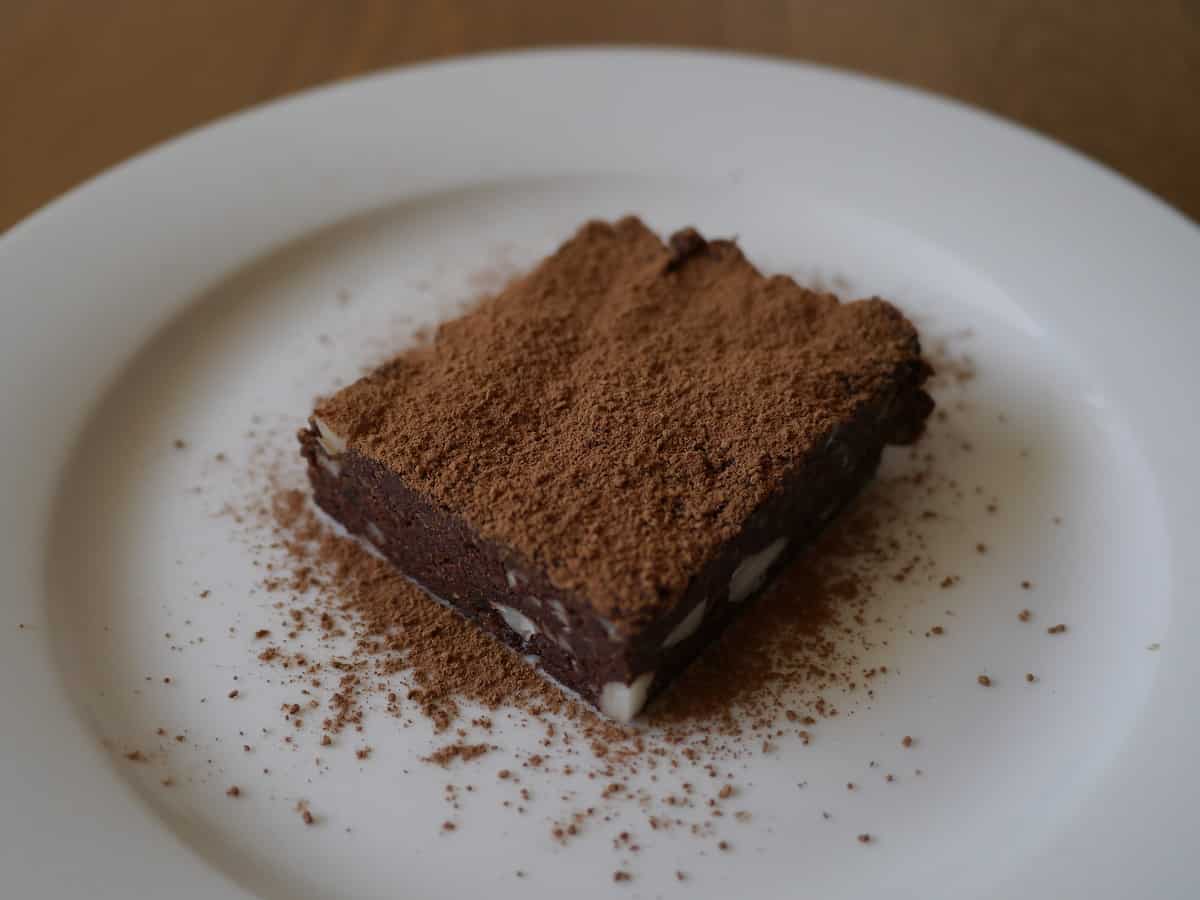
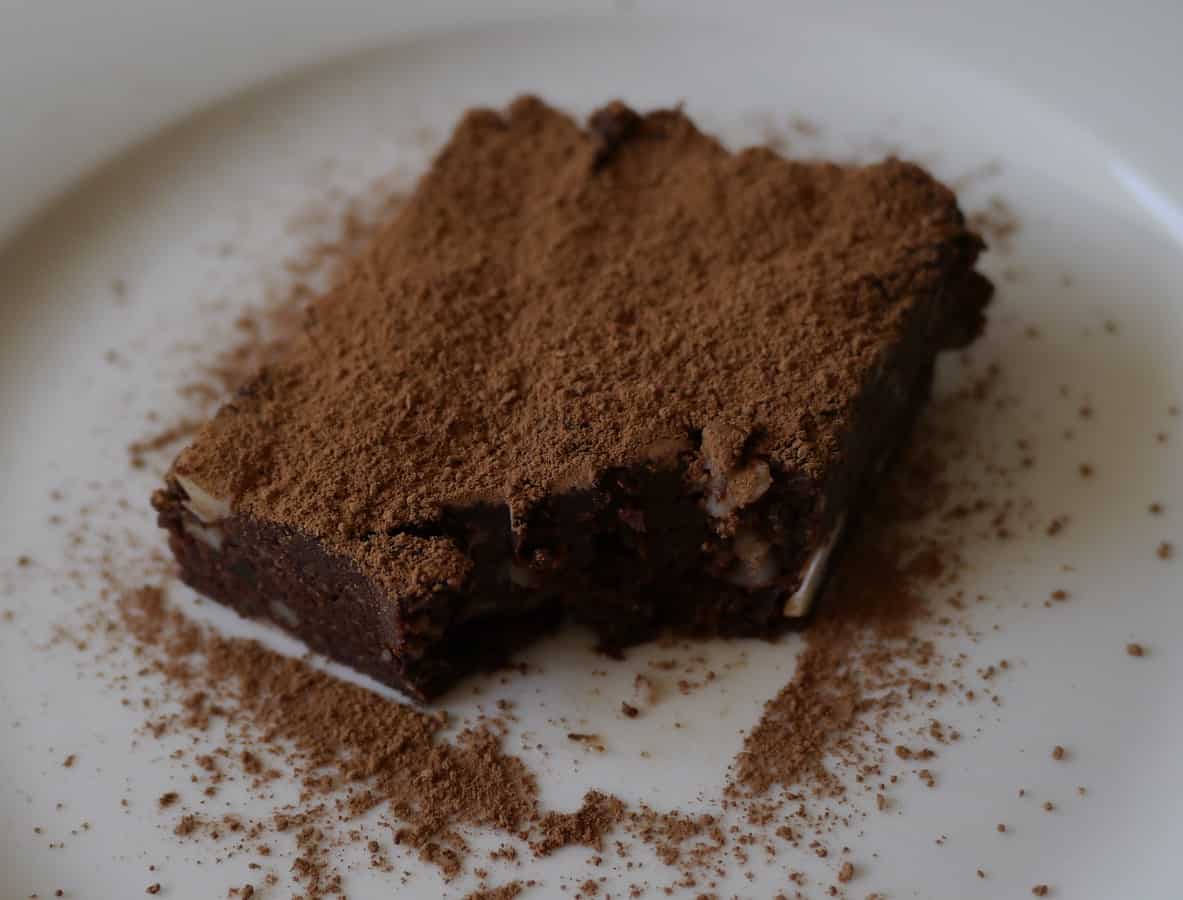
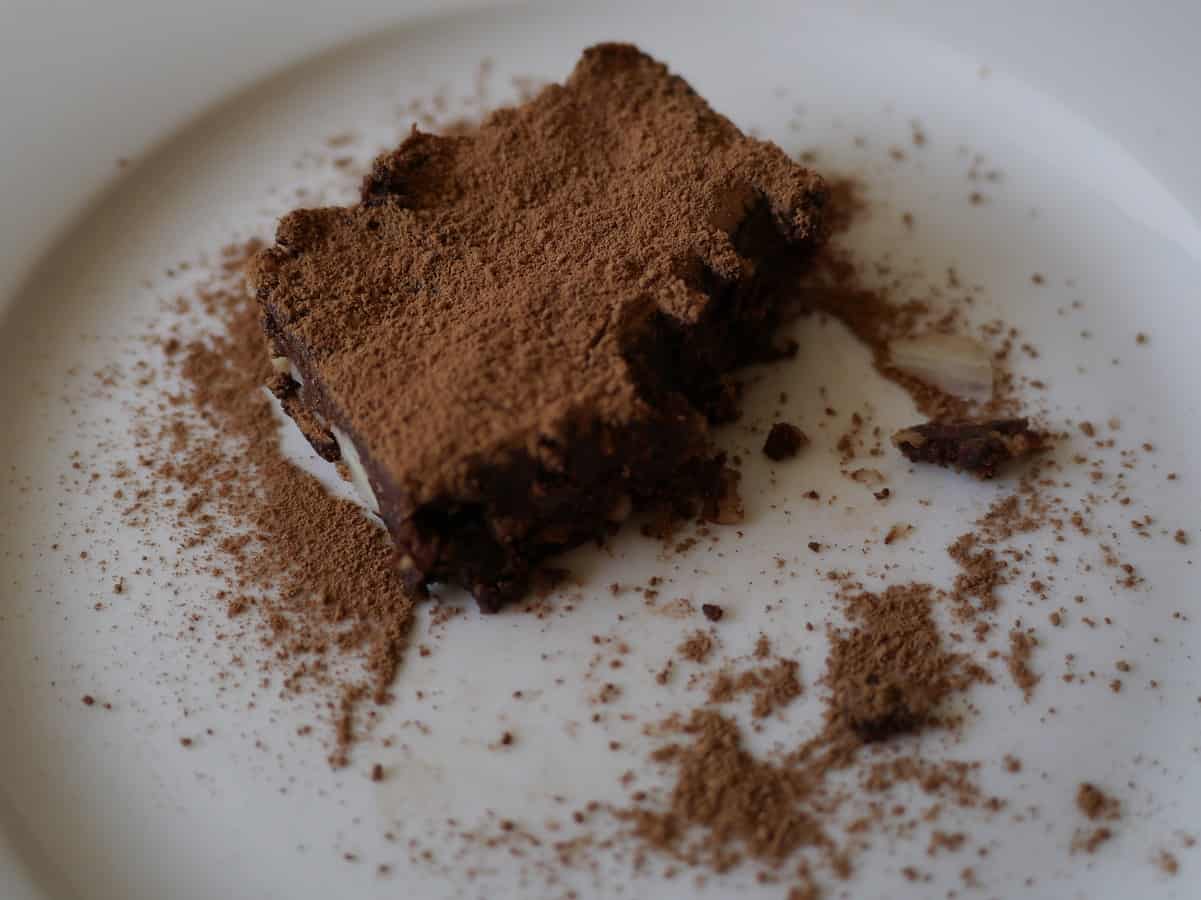
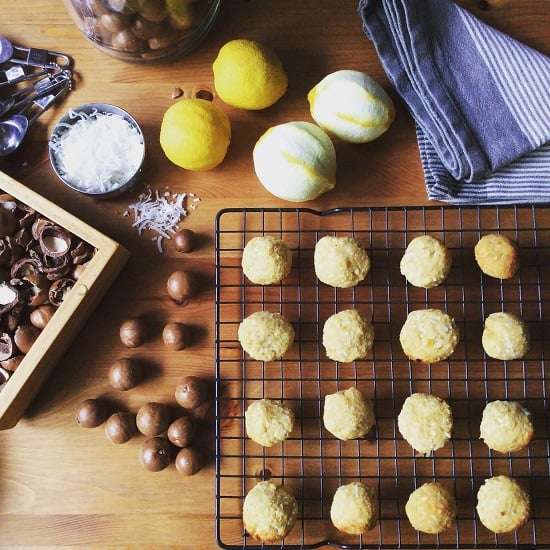
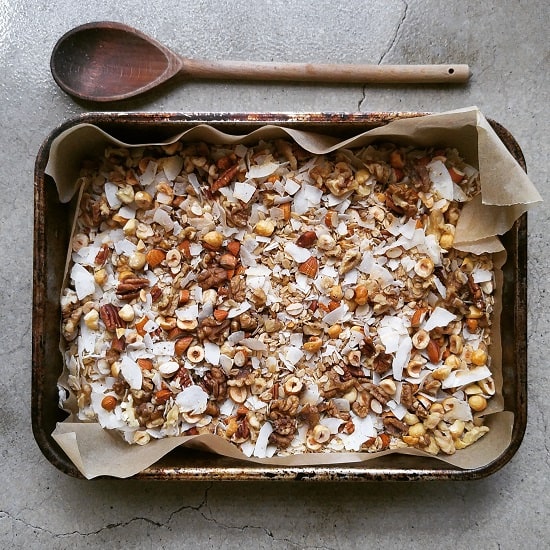
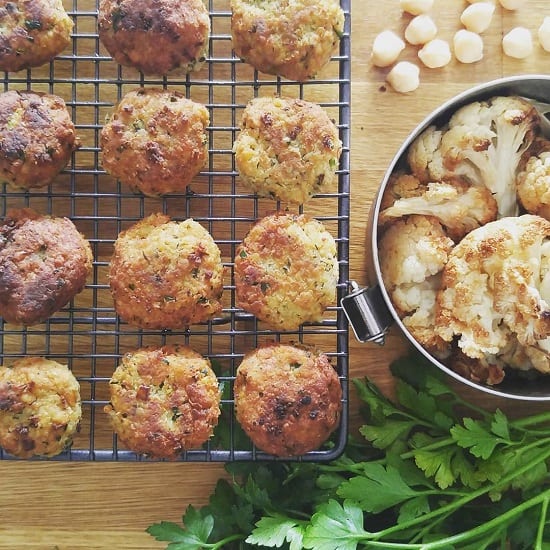
Bliss balls are the first option. All you need is a blender or food processor. They are typically made from nuts and dates blended together and rolled into balls. The less ingredients the better, in my view.

These are macadamias, shredded coconut, rice malt syrup and the juice and rind of a couple of lemons. Macadamias, dates and fresh ginger are also a great combo. And anything chocolate-flavoured, of course. Simply google “bliss balls” and you will find millions of options.

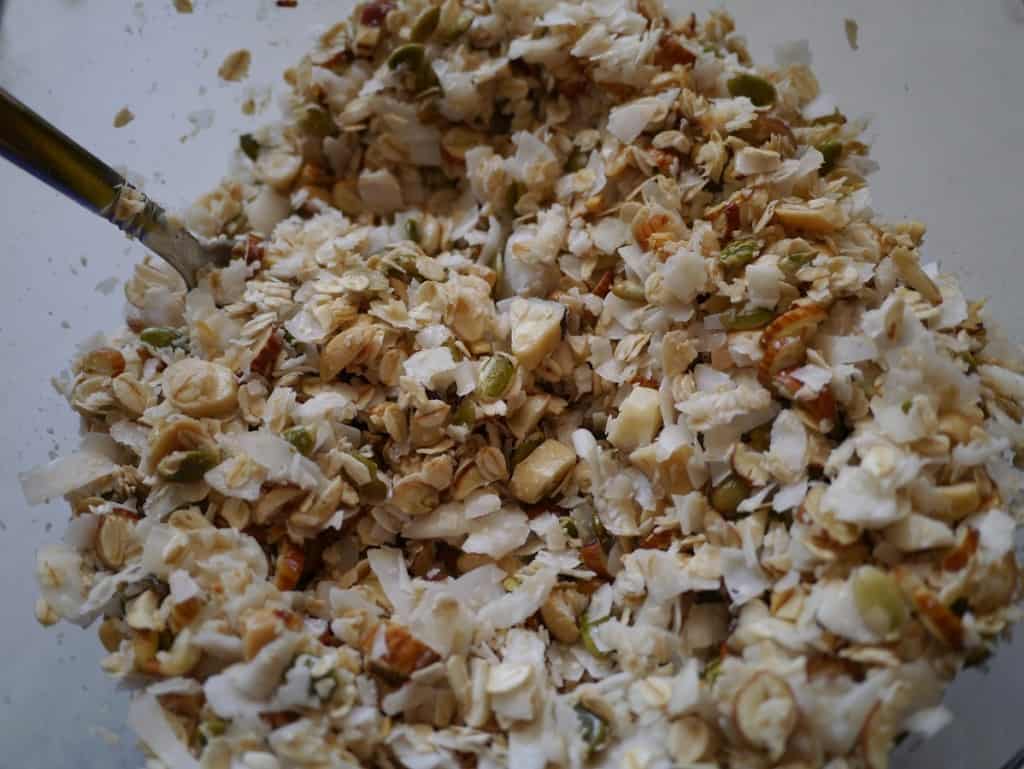
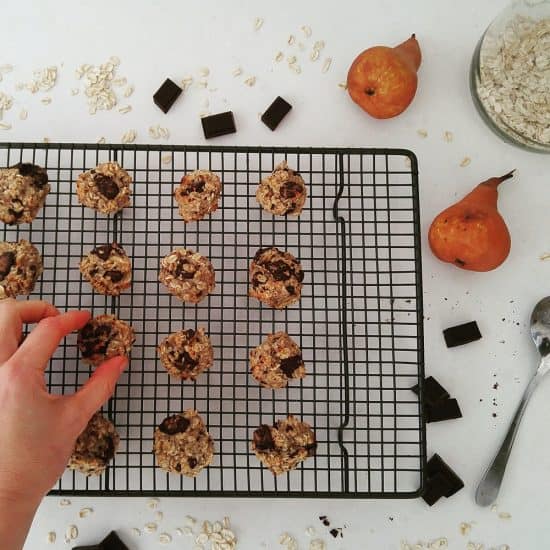
Cookies are another simple, low fuss baking solution, and 84th & 3rd’s 3 ingredient emergency cookies are a great zero waste option, requiring oats (these can be bought in cardboard only if not in bulk), pears and chocolate. You can substitute the pear for banana, switch the chocolate for nuts, add a couple of spoonfuls of nut butter to increase the flavour.

I’m not going to delve into full-on baking in this post, but of course, your imagination is your only limitation. Don’t be afraid to google recipes, or even inspiration for single ingredients and see what the internet has to offer. Or even better, experiment!

Now I’d love to hear from you! What are your favourite zero waste and plastic-free snacks? Any recipes that you’d recommend? Any tips and tricks to share? Any particular struggles that you have? I’d love to know more so please share your thoughts in the comments below!

[leadpages_leadbox leadbox_id=1429a0746639c5] [/leadpages_leadbox]

A Zero Waste Food Diary (Part 1): Mealtimes

I get asked about this a lot and I’ve been intending to write about this for ages: the kinds of things I eat in a typical week. I confess, I tend to get stuck in a rut of eating the same 5-7 meals week in, week out until inspiration strikes again. (Can anyone else relate to that?)

Even though there is a whole plethora of things I love to eat, my brain seems to forget them all save a few. Then I’ll glance on a long-forgotten recipe, and that will become the new staple for a couple of months, and something else will fall off the list.

So what I’ve shared below isn’t a typical week, so much as a collection of the kinds of things we eat.

I don’t tend to meal plan, at least not week by week. We get a veg box delivered once a fortnight (from The Organic Collective) and we never know exactly what we are going to get. We also have a veggie garden that does not ripen according to any meal-planning schedule. Fortunately, I do have a knack for being able to whip up a meal even when my husband assures me that there is simply nothing to eat in the house.

Organic Collective Veg Box

The veg box arrives on a Tuesday, and I’ll open it up to see what we have and make a rough meal plan in my head for the next fortnight. There will be things that I need to buy to supplement what I want to make. I also tend to buy avocados (we eat a LOT of avocados; grateful they grow here in WA), mushrooms, onions, garlic and tomatoes from the store fairly regularly to supplement the box.

In my veggie garden there is always a variety of greens, plenty of herbs, chillis and some seasonal vegetables. (I recorded a garden tour video last week for my Patreon page; you’ll get access to this and additional content if you become a member.)

Garden Pickings

Sometimes I make my own sourdough, but recently we’ve been buying bread from Escape and Rebellion, a local microbakery. My bulk goods come from The Source Bulk Foods (specifically the Vic Park store), which has everything I could ever need… and plenty of things I don’t but that I buy anyway (hello, enormous and delicious chocolatey section.)

A Zero Waste Food Diary: Breakfast

Porridge is one of our staple breakfasts. I cook the oats on a very low temperature with water, and stir through a little cashew milk as soon as I’ve taken it off the heat. I often add hemp seeds, chia seeds or flax seeds. Sometimes I add fruit: chopped banana or mulberries (when in season).

Toast comes and goes as a breakfast item. I don’t think it’s really that healthy; but it’s easy, and since we discovered the new microbakery we have been eating it a little more. We generally top our toast with mashed avocado, a squeeze of lemon juice and a sprinkling of hemp seeds.

Muesli is another breakfast basic. I make my own using this no sugar muesli recipe. Sometimes I’ll use it as a topper for porridge or a smoothie if I want some extra crunch.

Smoothies and smoothie bowls tend to be more a summer thing than a winter one. Smoothie bowls are simply smoothies that are thick enough to eat with a spoon. Adding half an avocado and a few spoonfuls of nut butter helps bulk it out.

It is worth noting that I am a huge fan of leftovers, and will quite often have leftovers for breakfast: salad, rice and vegetables, etc.

A Zero Waste Food Diary: Lunchtime / Light Meals

It is actually quite hard to distinguish between lunch and dinner in our household, as lunch usually consists of last night’s dinner or other leftovers. We don’t tend to eat sandwiches or wraps or other lunchtime-y things.

One of the reasons I don’t love having bread in the house is that it is all too easy to have toast for lunch as well as breakfast. Sometimes we will have bruchetta at the weekends, but not often during the week.

Great things to put on bread / bruschetta (aside from avocado): dips (hummus especially), pesto, fresh tomatoes, fresh mashed broad beans, lots of herbs.

Dips are really easy to make from scratch. I make hummus often (you can find my hummus recipe here). To make beetroot hummus I simply add finely grated beetroot to the regular hummus recipe (both raw and cooked beetroot work). Hummus freezes really well, so make more than you need and freeze the rest.

To eat I either slather on toast, chop up veggies to make crudites or make my own sourdough crackers.

Salads tend to be a side serve rather than a meal in themselves, unless it’s a 40 degree day. Salads do not have to be boring. If they are insipid and without any flavour or substance, it just means you will spend all afternoon eating chocolate.

I’m a big fan of a colourful salad, but I also like making green salads where the only ingredients can be green. This can include: lettuce, kale, pan-fried broccoli, lots of herbs (ideas include coriander, parsley, Thai basil and mint – probably not all at once!), cucumber, green capsicum/pepper, green jalapenos, avocado. I always add some kind of fat (avocado, nuts and/or seeds) and try to include different textures. Capers add a bit of punch.

For salad dressing I add a squeeze of lemon or lime juice, maybe a dash of apple cider vinegar and a drizzle of tahini.

Colourful salads can contain everything! Don’t be afraid to add apple or pear, strawberries (which go amazingly with tomato) or mango to a salad. Roasted vegetables that have cooled are a great addition too (think butternut squash, sweet potato, beetroot). Always add some kind of crunchy topping – nuts or seeds, even croutons.

I often eat salad with a side of quinoa. Generally I mix it all up in the bowl, but here I was being all fancy-like. It’s simply green lettuce, cucumber, avocado, roasted zucchini, quinoa, roasted carrots, olives, chickpeas and sauerkraut (DIY sauerkraut recipe here).

Soup is another lunch option. I tend to like soup that only has one or two vegetables in it (rather than generic chunky veg soup), so it tends to be made if I have a glut of something. I often have a corn cob with soup for lunch, and have been known to use soup as a pasta sauce.

A Zero Waste Food Diary: Dinnertime / Heavier Meals

I take a lot of my inspiration from Yotam Ottolenghi. The man is a vegetable-cooking genius, and he is not even vegetarian! An Israeli-Italian living in London, he knows how to use vegetables, pulses and beans to create filling, tasty, flavourful dishes. I own a couple of his cookbooks (and as a minimalist, that’s saying something!)

Some of his recipes can be a little fiddly but most are easily adaptable. If you’re unsure how to get started with vegetarian cooking, or using chickpeas and other pulses, I’d recommend his books Plenty and Plenty More (check your library).

These falafels are not from Ottolenghi, but it’s the kind of thing you’d find in his books. (I suspect he has a recipe somewhere.) After struggling to make falafels several times, I’ve finally nailed a recipe and these have become a staple in our house.

(Back when I lived in the UK, before I went plastic-free / zero waste, I used to eat a lot of falafels. They came in a hard plastic tub, with a plastic film lid, then with a cardboard outer. You’d get 8 in a pack. I bought them often. Cringe!)

I almost always serve with roasted cauliflower (not tried roasted cauliflower? You’re missing a trick!) and a rice salad which I’ve talked about below.

This rice salad definitely draws inspiration from Ottolenghi: he has a bunch of salads that look like this. I’ve made most of them over the years: these days I follow a general formula rather than a recipe as such. As a minimum I cook white rice, lentils (usually puy lentils) and quinoa. I cook all three separately and combine when cooled). I’ll thinly slice and fry onions until caramelised. Then I add heaps of herbs (coriander, parsley and mint tend to be the ones I have; I don’t necessarily use all but at least two). Finally I add something for sweetness (pomegranate, cape gooseberries, dried cherries) and something for crunch (roasted almonds, occasionally pine nuts).

Sometimes I’ll add wild rice, or use red rice instead of white rice. The puy lentils can be switched for beluga lentils, or green lentils, or even chickpeas. I’ll use spinach or mizuna lettuce instead / as well as herbs. Sometimes I add cumin or lemon zest. I find it pretty flexible.

I also make an enormous bowl and we tend to eat it for lunch and dinner for a few days.

We also eat a lot of stir-fries and one-pot vegetable dishes. This one below was inspired by Ottolenghi – I didn’t have half of the ingredients, but had similar things so I looked at the picture and made my own version. It’s white sweet potato (pre-cooked) fried in a pan with onion, chard and chickpeas, and lots of lemon juice.

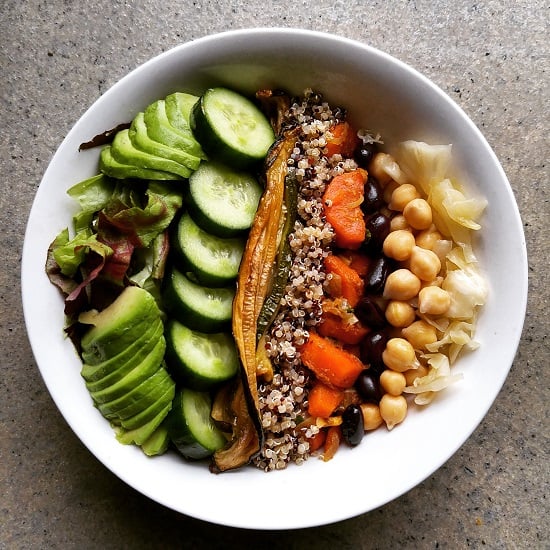
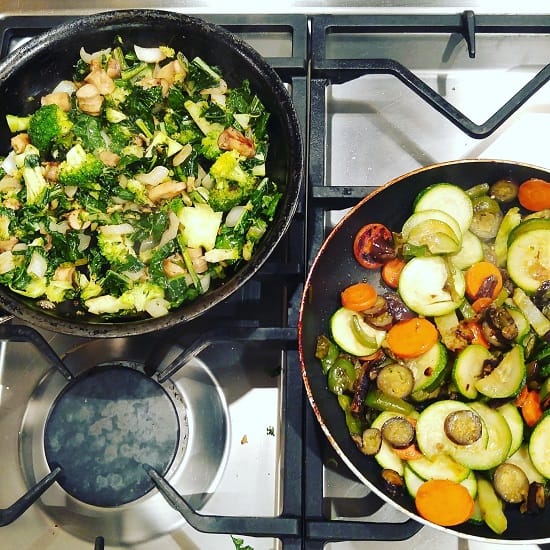
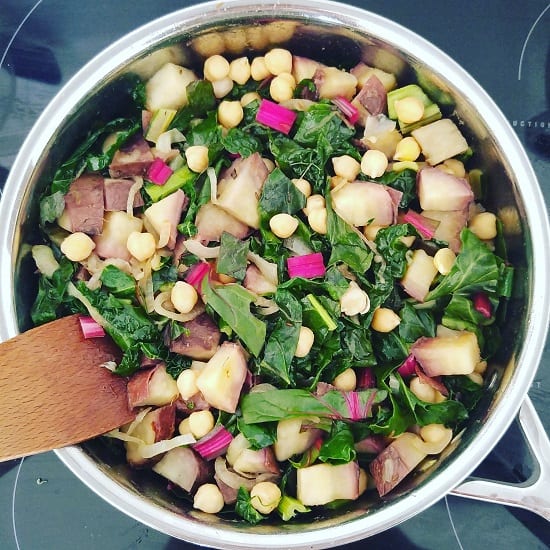
More vegetable one-pot meals: this would be the kind of filling I’d use for baked potatoes or sweet potatoes – topped with avocado and drizzled with tahini.

This is literally a use-up-whats-in-the-fridge meal. I used two pans to try and keep the flavours different and make it a bit more interesting.

We eat pasta occasionally, usually with a tomato-based sauce (we chop up fresh tomatoes), or with pesto (made with herbs from the garden) or a creamy sauce made with avocado. This is chopped greens (kale, spinach and parsley), fried in garlic, drizzled in lemon juice and mixed with some pesto.

We also eat a lot of dahl (which is basically Indian spiced cooked lentils). I tend to use yellow lentils for this. I first made dahl using Nigel Slater’s recipe way back when. I still use it as a base recipe, but mess around with the spices, or add coconut milk (probably not a very dahl thing to do) or add lots of kale.

Usually I don’t mix dahl with rice, but this was a case of reheating leftovers and only wanting to wash one saucepan.

Roast vegetables are a winter staple in our house. I roast a lot of butternut squash and other pumpkins, sweet potato, beetroot, carrots. Once roasted I use in salads, as a side, or with puy lentils to make a more filling dish. Alternatively I used leftover roast veggies to make soup, or add to hummus.

I have a guilty pleasure of roasting actual potatoes and then eating out of a bowl as a snack.

As I mentioned at the beginning, this isn’t a complete food diary of what I eat in a week – rather I’ve tried to show you as many ideas as possible. There’s plenty more I could talk about. Plant foods are so versatile, it is truly impossible to run out of inspiration!

In part 2 I’m going to be talking about zero waste snacks: in particular, snacks to eat when you don’t have access to a bulk store. Until then, I’d love to hear from you! What are your go-to zero waste meals? Any quick and easy ones you recommend? Or anything that takes a bit of effort but is totally worth it? Any flavour or ingredient combos you love? Anything else to add? Please share your thoughts in the comments below!

[leadpages_leadbox leadbox_id=1429a0746639c5] [/leadpages_leadbox]

A Beginner’s Guide to Sauerkraut (+ Fermented Vegetables)

Today, I’m talking cabbage. (Stay with me…it gets better, I promise!) Now cabbage and I, we have a bit of a love-hate relationship. I like cabbage, but it arrives in the veg box every week, reminding me that there’s still last week’s cabbage in the fridge refusing to go bad.

(Of course, I can’t put a perfectly good cabbage in the compost. If it happened to accidentally go bad…well, maybe I could justify it, but cabbage is stubborn!)

In fact, cabbage simply refuses to go bad, which actually makes it a rather good zero waste vegetable. (It shrivels a little and the outer leaves go brown, but peel those leaves back and there’s still perfectly good cabbage underneath.) Plus it grows at a time of year when many other more delicious vegetables do not.

If you want to eat seasonal and you live anywhere except the tropics, cabbage is going to feature on your menu. But cabbage week in, week out; it can wear a bit thin.

That, my friends, is why we need to embrace sauerkraut.

Sauerkraut is fermented cabbage. That might not sound delicious, but it’s a tangy, crunchy, super healthy vegetable that’s tastier than the name suggests. Sauerkraut contains millions of good bacteria, so is like taking probiotics, but without the packaging. Sauerkraut also lasts for ages in the fridge.

I’ve kept sauerkraut in the fridge for a year. Fresh cabbage might seem to last forever, but it won’t last a year.

The good news is, whilst fermenting sounds hard, it is actually very easy. Plus you don’t actually need any specialised equipment. Sure, there’s all kinds of fancy gadgets out there, but you can get going with a glass jar and a tea towel. Oh, and some cabbage ;)

That said, you don’t actually have to make sauerkraut with only cabbage. You can mix cabbage with other vegetables like onion, carrot and beetroot.

But let’s not get distracted thinking about all the wonderful potential! Let’s start at the beginning.

Some Fermentation Basics

Fermentation is a process that uses good bacteria and yeast to transform a product. By fermenting, we crowd out the bad bacteria with good bacteria, which changes the flavour and texture, but also helps lengthen the shelf life of the product. For example, yoghurt is fermented milk: whereas fresh milk will last in the fridge for up to a week, yoghurt might last a month.

Fermenting is anaerobic, meaning without oxygen. (Although confusingly, some foods are actually fermented with oxygen, such as vinegar.) In my experience of making sauerkraut, this “without oxygen” rule doesn’t need to be absolute. By removing oxygen we create conditions for the good bacteria to multiply, and these prevent the bad bacteria getting a hold and spoiling the food.

Fermentation has been used for centuries as a way of preserving food, prior to refrigeration. People were fermenting long before air-lock attachments and special fermentation jars were invented. This specialist equipment can help, but isn’t necessary.

I make sauerkraut a few times a year, and I simply don’t see the need to buy specialised equipment when it works without.

Because we are dealing with bacteria, we need to be careful not to be too over-zealous with the cleaning. I’d avoid using an anti-bacterial hand wash or chopping boards, for example. Clean is good, sterile not so much.

How to Make Sauerkraut (No Fancy Equipment Required)

I’m a big believer that you don’t need fancy equipment. I don’t use any, and I’ve been making sauerkraut and other fermented vegetables for over 4 years. If you’re a professional, that’s different, and with certain ferments, it can be crucial. But for sauerkraut, I personally don’t believe that it is.

Ingredients:

Cabbage;
1/100th weight of cabbage in salt.

So if the cabbage weighs 1 kg, use 10g salt. Basically, divide the weight by 100. (It is possible to eyeball it, but when starting out it helps to measure.)

Equipment:

A large bowl;
A glass jar that you can fit your fist into (or if you have large hands or small jars, you’ll also need a wooden rolling pin);
A weight that fits inside the glass jar (I use a smaller glass jar filled with water);
A tea towel.

Method:

I’ve included a lot of photos before to give you a really clear idea of what each stage is meant to look like.

Remove the core of the cabbage (the stalky white bit), and chop the cabbage into strips. Weigh the cabbage, put into a large bowl and sprinkle the salt on top (the amount is calculated based on the weight of the cabbage – 1 kg cabbage equals 10g salt).

Massage the salt into the cabbage with your hands, and the salt will begin to draw the water out of the cabbage. This is what you want to happen. Massage for 10 – 15 minutes until the cabbage looks like it has shrunk.

At this stage I always add a tablespoon of cumin seeds. I love the flavour it gives. You can keep yours plain, add cumin or go crazy with the spices. At the beginning, I’d suggest keeping it plain until you learn what flavours you’re meant to be looking out for.

Notice how the cabbage appears to have shrunk. (If you taste it at this point, it will taste like salty cabbage, not sauerkraut.)

Next you need to start packing the cabbage into the jar. Choose a jar that’s going to have room for the juices to expand because they will. Ideally find one that you can fit your hands into, but if not, a rolling pin will work.

Put a few tablespoons of cabbage into the jar, and press down as hard as you can. You want to squeeze out any remaining liquid. Keep adding the cabbage and pressing, and you’ll start to see the liquid rising above the cabbage.

This is important as the liquid helps keep the oxygen away from the cabbage, and creates the right conditions for fermentation.

Once you’ve put all the cabbage in the jar, add any liquid remaining in the bowl into the jar. Do not add any other liquid.

The cabbage will probably sitting slightly under the water level. To compact it down and thereby raise the liquid level, use a weight. I use a smaller jar that fits inside my large jar, or a bottle (I fill it with water to make it heavier).

If there’s any floating or escaped bits of cabbage, poke them under the liquid. Next, I cover with a tea towel.

The bottle on top is pressing the cabbage below the water line and excluding oxygen, and the bottle restricts the amount of jar entering through the lid. For me, this is enough.

If you’d like to put a lid on the jar (and it fits), this will exclude oxygen better. However, it has its own drawbacks. In the fermentation process, carbon dioxide gas will be released. Unless you remember to open the lid at intervals to allow the gas to escape (called “burping” the jar), your jar could explode. Won’t happen with a tea towel!

(That’s why you can buy fermentation valves that allow carbon dioxide to escape without letting in oxygen. For some things, like cider making, it is very important. For sauerkraut and lactic acid fermentation, it is less critical.)

Every day, check your cabbage. You’ll start to notice bubbles forming. I tend to press the weight down to squeeze out the bubbles, and also check for any floating bits. If there’s cabbage floating on the surface, it is in contact with air (oxygen), so needs to be submerged or removed.

After 1 day (see the bubbles starting to form both on top, and within the cabbage layers):

And after 3 days:

How quickly and how much it bubbles will depend a lot on room temperature. If your jar is narrow or filled to the top it can be helpful to place in a bowl as it might bubble over!

This is a different batch, but shows how much it can bubble (and I’ve seen more than this!):

I tend to keep my sauerkraut on the kitchen counter, covered with a tea towel (to also exclude light) until the bubbling subsides, which takes 1 – 2 weeks.

Some people like to leave their sauerkraut on the counter for several weeks or even months to increase the good bacteria (it will also taste more sour). In my view, it doesn’t really matter, and once in the fridge fermentation won’t stop, it will just continue very very slowly.

When the bubbling subsides, the sauerkraut should be crunchy and taste sour (but delicious). You may see a white film, this is kahm yeast and is harmless. I’ve never had an issue with mold, but if you see anything multi-coloured or blue, that batch might be better in the compost.

When you’re ready to place in the fridge, you can remove the cabbage/sauerkraut from big jar and put into something more practical. The less surface area the better, so choose a smaller jar. At this stage it is fine to place a lid on the jar.

Other Fermentation Ideas

You can ferment most veggies and even fruits, but they have varying levels of difficulty. If you’re a beginner, stick to hard veggies like beetroot and carrot, or use softer vegetables like onion as part of the vegetable mix, but not all of it.

That said, I’ve had success fermenting chillies, and I’m sure capsicums would work well also.

My personal favourites are carrot, onion and white cabbage with cumin seeds – taken from a South American ferment called curtido.

I also like beetroot and purple cabbage together because the colour is fantastic.

I made an amazing turmeric ginger sauerkraut once that tasted like piccalilli, but I’ve never been able to recreate the flavour combination since.

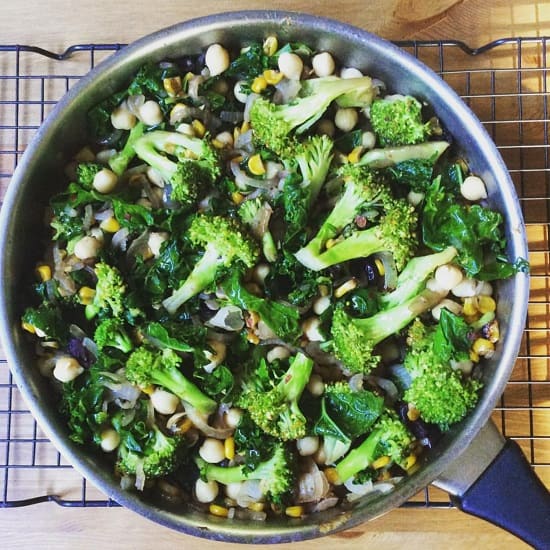
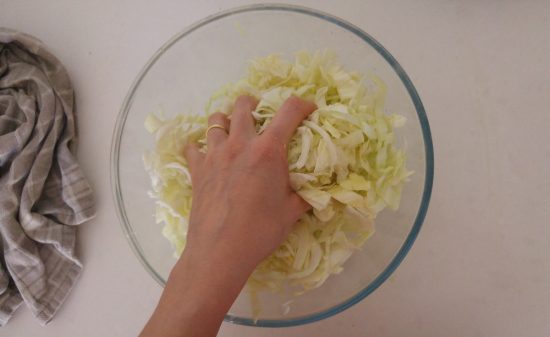
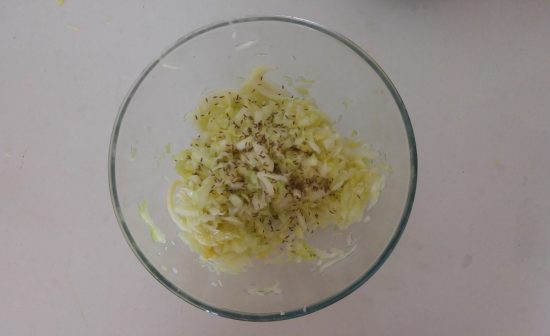
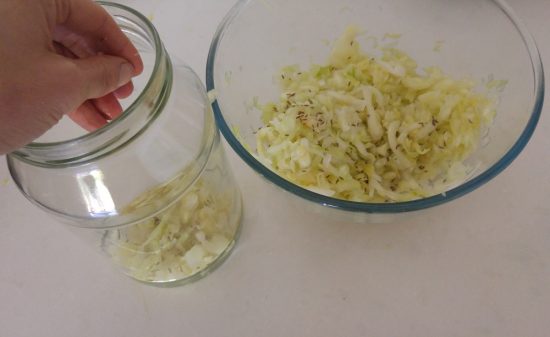
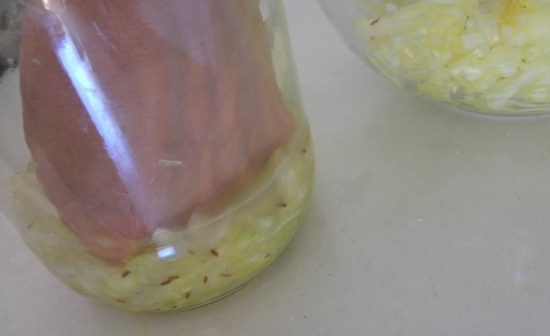
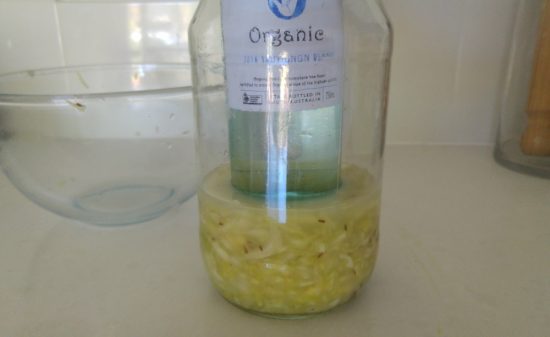
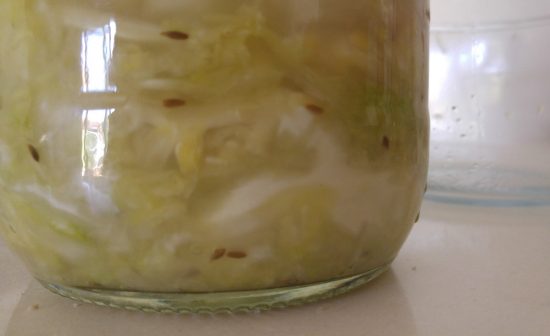
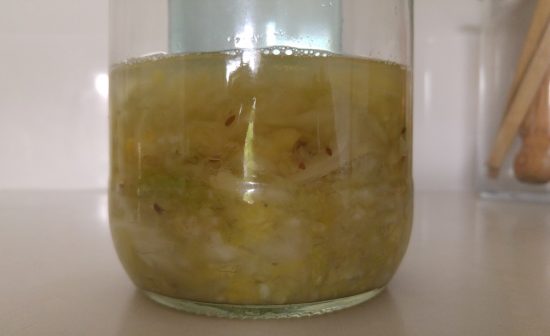
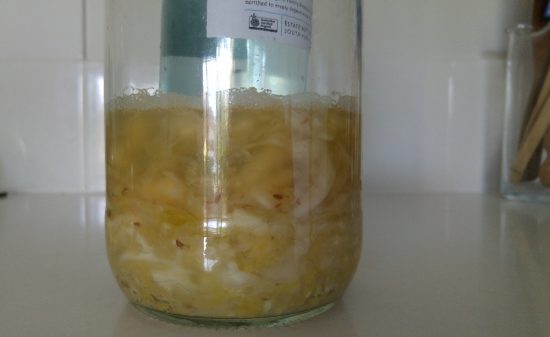
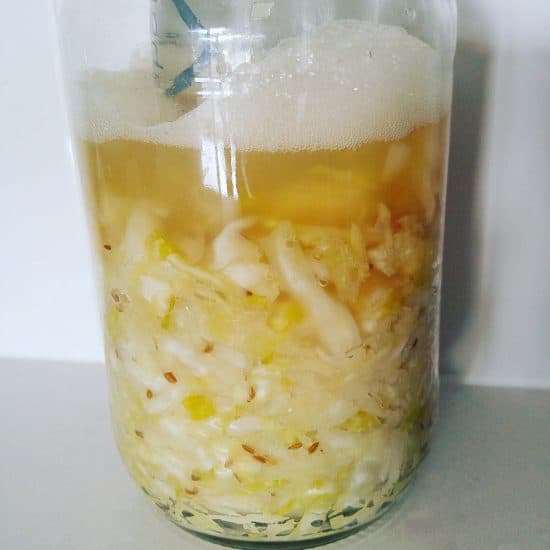
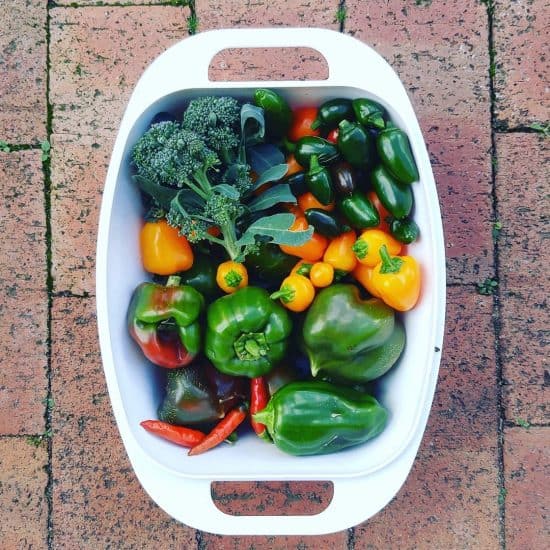
Fermentation is a great way to preserve vegetables, and it a healthier option than pickling: the food is literally “alive” with good bacteria (there’s not heat process to kill them) and there’s no added sugar.

Plus it means I get to keep my cabbage in the fridge for literally months, without feeling the slightest bit guilty about it!

Now I’d like to hear from you! Do you ferment vegetables? What are your favourite flavour combinations? Have you had any disasters? Are there any other tips you’d like to add? Are you tempted to give this a go, or does the idea still scare you a little? Please tell all in the comments below!

[leadpages_leadbox leadbox_id=123a865e9839c5] [/leadpages_leadbox]

DIY Sourdough Starter + Zero Waste Crackers

Making a sourdough starter from scratch is one of the easiest things you can do, and it doesn’t need any special ingredients. Literally all that is required is flour, water, a bowl, a spoon, and a little bit of patience. Even if you’re not sure you want to start baking sourdough every week (although I assure you, once you start, you won’t want to stop!) the sourdough starter can be used to make sourdough crackers.

Crackers are far quicker and simpler to make than sourdough bread, but equally delicious… plus crackers are one of those things that are impossible to find zero waste or plastic-free in my experience. Homemade, simple, delicious, waste-free… what’s not to love?!

To make a sourdough starter from scratch, we utilize the natural yeasts and lactic acid bacteria present on the flour. Another term for it is wild fermentation – how cool does that sound?! That’s how people made bread and other fermented products for thousands of years, before commercial yeasts were available. They harnessed the power of nature.

If we’re going to use the natural yeasts and bacteria present on the flour, then I recommend buying the best flour that you can find. Once your sourdough culture is established you can relax a little, although I’d always recommend buying the best ingredients that you can afford. If your tap water is chlorinated, fill a bottle and leave at room temperature or in a sunny place for a few hours to let the chlorine gas dissipate – you don’t want to kill the starter before it’s started!

How to Start your Sourdough Starter

Mix together 50g flour with 50g water in a bowl (1 gram of water is the same as 1 ml water). You can use more but don’t use too much less as it will be much harder to work with. However much you use, you want the flour:water ratio to be 1:1.

At this point it will look like a dough, and it will smell like wet flour. Cover the bowl with a tea towel and leave on the side at room temperature (if you’re home is cold or it is winter, a warmer place will help get it going faster). Stir every few hours. If a skin forms on top, simply stir it in.

It may not seem like much is happening at the start, but if you pay attention to the smell you will notice that it starts to smell less like flour and has developed a sour smell. This is a sign that it is working. Hurrah! Look out for bubbles forming in the dough. In the beginning there will only be a couple, but it’s another sign that your starter is beginning to do its thing.

After a couple of days of stirring, you will need to feed your starter. Even if you’re only noticing a couple of bubbles, the starter will dry out over time, and as it sticks to the side of the bowl and hardens the volume tends to decrease, so feeding helps refresh it. Take another bowl, add 10g of your starter to it, and then add 50g flour and 50g water to this (you can use other volumes, but the ratio should be 1:5:5 starter:flour:water). Stir thoroughly, and cover with the tea towel.

Leave the remaining leftover starter in the original bowl, cover with a plate and store in the fridge. This will be used for making the sourdough crackers later.

Keep stirring the new starter every few hours (this doesn’t need to be exact, just whenever you remember). You should notice that the bubbles are becoming more frequent (you may not see a lot, but more than you saw at the start). Depending on how active your starter is getting, you can either feed again in 24 hours, or leave for a couple of days.

To feed, repeat as before. Take 10g of your active starter and add to a new bowl with 50g flour and 50g water, and stir well. Any leftover starter can be poured into that bowl sitting in the fridge with the original starter.

Each time you feed, you should notice your starter getting a little more active. You’ll want to feed it at least 5 times, once a day (timing is not that important) before it’s ready – and by ready, I mean active.

Sourdough Starter from Scratch Treading My Own Path

The four stages of starting your own sourdough starter from scratch. Stage 1: mix flour with water. Stage 2: cover with a tea towel or gauze – you want air to get in, but nothing nasty! You will need to stir every few hours. Stage 3: you will notice bubbles begin to appear. Your starter will begin to dry out a little. Stir the drier parts in, but as it gets drier you’ll need to feed it. That means taking a small part of this and mixing with fresh water and fresh flour (save the discard to make crackers). Step 4: after a week and a few feeds, your starter should be bubbling away quite happily.

Maintaining Your Sourdough Starter

Once your sourdough starter is ready, you can either store on the kitchen counter, or in the fridge. Store in a jar with a loose-fitting lid, or with a fabric circle secured with an elastic band. You want air to get in, but no creepy-crawlies. If you keep it on the kitchen counter you’ll need to feed it every day. If you keep it in the fridge you can feed every 1-3 weeks (once a week is best, but it will be fine if you feed it every three or so). I keep mine in the fridge.

When you want to feed your starter,  allow to return to room temperature if it has been in the fridge. Keep the ratio the same 1:5:5. Keep the discard in the fridge until you are ready to make crackers.

Zero Waste Sourdough Crackers

Sourdough Crackers Treading My Own Path

Homemade sourdough crackers – simple to make, zero waste, plastic-free and no nasty additives. What’s not to love?!

Once you’ve made your sourdough starter you should have a bowl of discarded starter sitting in your fridge, waiting to be made into crackers. I have to thank the Zero Waste Chef for this idea, as previously when I had excess sourdough starter I’d throw it away. It felt so wrong, but that’s what all the recipes tell you to do. Turns out, they are all wrong! Throw nothing away, and make crackers instead. Thanks Anne-Marie!

This recipe is a combination of the one by the Zero Waste Chef, and also some notes I have from a Plastic Free July workshop back in 2012 which has no references except a comment that the writer was called Katie.

Ingredients:

215g discarded sourdough starter
3 tbsp olive oil (30g)
100g plain flour
1/2 tsp salt
1/4 tsp bicarb soda

Extra olive oil and salt to top.

I found that when I made a starter from scratch, feeding every day for 5 days left me with 215g starter. But you change change the quantities of flour to starter, they don’t need to be exact – just remember it’s approximately twice the starter to flour. You want to make a dough, so if it is too sticky add more flour.

The moisture in the starter also varies depending on how fresh it is. If you need to add more flour, do so!

Method:

Mix the olive oil with the starter and stir until combined. Add the dry ingredients to the starter / oil mix and combine first with a spoon, and then with your hands. If it is still sticky, add flour in small quantities until you have a dough. Knead to ensure it is smooth.

Place in a glass bowl, cover with a tea towel or a plate (or both!) and leave to rest at room temperature for 8 hours (or overnight). This allows the dough to sour and develop flavour.

After 8 hours, divide the dough into 4. One at a time, roll the ball out onto a baking sheet lined with baking paper using a rolling pin (yes, my zero waste kitchen contains baking paper. I re-use each piece several times. You can read more here). The reason for the paper? After waiting 8 hours, I don’t want to take the risk that my crackers will stick to the metal tray and burn.

Roll the dough out to between 3 – 5mm thickness, trying to ensure it is even. Trim the edges, and cut into rectangles with  sharp knife.

Brush with olive oil, and then sprinkle salt on the top.

Bake in an oven at 150°C (350°F) for 8 minutes, then turn over and bake for another 8 minutes. You will find that the crackers on the edge cook a lot faster than those in the middle, so if you want to remove those sooner you’ll avoid them over-cooking. You want them to look golden but not too brown.

Cool on a wire rack and store in an airtight container.

TIPS:

  • 8 hours in the ideal, but this recipe is really flexible. You can make the crackers after only leaving the dough for 30 minutes (but longer is better). If you forget and leave them longer, you will still have good crackers.
  • The dough can be frozen or refrigerated if you want to make a big batch of dough and keep some for later.
  • I would guess they would last a week, but I’ve never been able to find out as they all get eaten long before! They don’t lose their crunch after storing so they are definitely something that can be made ahead.
Sourdough Zero Waste Crackers FINAL

Zero Waste Sourdough Crackers

As always, I’d love to hear from you! Do you make your own sourdough, and have I tempted you to give it a go? Do you already make your own crackers? Do you have any recipes and tips you’d like to share? What toppings and flavours do you think would work best? Please tell me your thought in the comments below!

[leadpages_leadbox leadbox_id=123a865e9839c5] [/leadpages_leadbox]

Recipe: Carrot Pulp Cracker Flatbreads

This super-simple recipe tackles two dilemmas I face when trying to live plastic-free and with zero waste – how to make your own plastic-free crackers, and what to do with leftover carrot pulp (from juicing carrots). I came up with this recipe after realising that if I wanted plastic-free snacks, I was going to have to make my own. I am yet to find crackers in plastic-free packaging.

I went through a phase of drinking carrot juice a couple of times a week, and decided to experiment with using the pulp to make my own crackers. After countless experiments, I am happy with this recipe, but I must point out that they are not crunchy. Making them crunchy just meant I had to drink a gallon of water every time I ate one, because they were so dry. This was my happy spot. They are still soft on the inside, which makes them more of a bread than a cracker – except they are nothing like bread either. I’ve called them cracker flatbreads because I have no idea what else to call them. Crackerbreads? Anyway, if you make them and think of a better name, please let me know!

If you don’t have carrot pulp, you can use grated carrot instead. The mixture will be a lot more watery, so will need longer to cook (still at the same temperatures), but will still work. You could try squeezing the juice out of the grated carrot, but then you’d be wasting delicious carrot juice!

Recipe: Carrot Pulp Cracker Flatbreads

This recipe is for a 33cm x 23cm tin.

Ingredients:

Approx 200g-250g carrot pulp
1/2 cup almonds, soaked overnight, rinsed and drained
1/2 cup oats (for gluten-free, use gluten-free oats; or replace with 1/2 cup almonds for completely grain-free)
2tbsp flaxseeds, ground
2 small tomatoes, chopped
1 tbsp olive oil
Salt and pepper
Optional: 1/2 tbsp fresh rosemary, finely chopped, or other herbs or spices depending on your taste

Method:

Preheat the oven to 170ºC.

Line a baking tin with greaseproof paper.

In a blender, grind the soaked and rinsed almonds until small pieces. Add the oats and grind to a coarse mixture. Add the carrot pulp and blitz to combine. Add the tomatoes, oil and flax seed and blend until combined. Add the salt, pepper and nay herbs or spices that you want to add and blitz again to ensure everything is mixed together.

Tip the mix into the lined baking tray. It will look sticky. Press into the tin with a spoon.

It may seem like there isn’t enough mixture for the tin, but you want a fairly thin layer. Push right up into the edges and corners, and press the edges down firmly. You can use your hand to firmly pack the mix into the tin once it’s all spread evenly.

Mark out the cracker shapes using a knife.

raw carrot pulp mix

Empty the carrot pulp cracker mix from the blender into a tin lined with baking parchment…

raw carrot pulp cracker mix with spoon

Use a spoon to press the raw carrot pulp cracker mix into the edges of the tin…

raw carrot pulp mix squished

Compact the carrot pulp cracker mix down using your hand, and use a spoon to make sure the edges are neat…

raw carrot pulp mix with squares cut

Use a knife to mark out the carrot pulp cracker squares before they go into the oven.

Place in the oven, and leave for 30 minutes.

After 30 minutes, see if you can lift the baking paper lining out of the tin without breaking the crackers. If they are still too soft, pop them back into the oven for another 5 minutes or so, and keep trying until they are firm enough to handle. Lift firmly and quickly.

Lower the oven to 100ºC and put the crackers (still on the baking paper) on a grill tray in for another 15 minutes (do not wait for the oven to drop to temperature; they will be fine).

Remove from the oven, and carefully separate the crackers. You may need to use a knife to cut them. Put each one upside down on a grill tray (to aid air circulation), and return to the oven for 15 minutes to cook the other side.

carrot pulp crackers in baking tin

Golden carrot pulp crackers out of the oven…

carrot pulp crackers baked once

The underside will still be moist, so separate the crackers carefully to avoid breaking them…

Carrot pulp crackers other batch

Pop back into the oven with the damp underside facing up. Use a grill pan or rack to enure the air can get between them and they don’t burn!

Once they are ready they will be a golden colour and be dry to touch.

Remove and enjoy!

carrot pulp crackers on a plate

Carrot pulp crackers and hummus

These carrot pulp cracker flatbreads are perfect with hummus!

Tips:

  • This recipe is extremely forgiving, so feel free to change quantities, cook for longer to make them crunchier or modify however you think best. Just let me know in the comments!
  • Feel free to miss out the middle step. Cook in the oven for 30+ minutes, then take out, separate straightaway and put back in the oven for the last 15 minutes. The crackers will be more moist and harder to separate, but if you’re patient enough it will work fine!
  • If you don’t want to make crackers immediately after juicing carrots, store the pulp in a sealed container in the fridge. It will last for a couple of days.
  • The tomatoes provide the moisture. If you don’t like tomatoes, you could swap with a small courgette.
  • Brazil nuts make a great alternative to almonds. They make a much crunchier cracker. Cashew nuts don’t work as well – the crackers tend to discolour and not look as appealing.

These crackers are delicious with hummus! Follow the link to find my super-simple plastic-free hummus recipe.

[leadpages_leadbox leadbox_id=1429a0746639c5] [/leadpages_leadbox]

A Recipe: Plant-Based Banana Chocolate Muffins (Gluten-Free)

These muffins may look plain on the outside, but there’s a decadent rich chocolatey centre hiding inconspicuously inside each one. Because chocolate makes everything better, don’t you think?!

They’re great for people with allergies, being vegan and dairy-free, paleo-friendly and gluten-free. They are also full of nutritional goodness; rather than flour and dairy they’re packed with bananas, almonds and flax seeds. Bananas are packed with potassium, magnesium and manganese, and B vitamins including B6 and folate. Almonds are a great source of magnesium, calcium and zinc (as well as many other minerals) and are also high in vitamin E. Flax seeds are super high in omega-3s, B vitamins and minerals including magnesium and selenium.

Did I mention that they’re super tasty too?

pic4 pic9 pic8 pic7 pic11

Recipe: Chocolate Surprise Banana Muffins

Makes 10 muffins.

Ingredients

3 bananas (about 300g)
1/4 cup nut milk (I use cashew nut milk – you can make it yourself; it’s super simple)
2 tbsp maple syrup (or other liquid sweetener)
50g macadamia oil (or other high quality flavourless oil)
175g ground almonds
30g ground flax seeds
1.5 tsp baking powder
1 tbsp chia seeds

For the chocolate filling:
30g macadamia oil
20g cacao powder
20g maple syrup

What To Do

Preheat your oven to 170ºC.

Blend bananas, maple syrup, cashew nut milk and oil together until smooth. Add the ground almonds, ground flaxseeds and baking powder and mix well.

Put the 1 tbsp chia seeds in a bowl and add 3 tbsp water, stirring well. Leave for 10 minutes or so until the chia has formed a gel.

Separate 1/4 of the cake mixure and place in a separate bowl. If you want to be accurate, use scales. Otherwise guesswork is fine! Stir the chia gel into the larger cake mix portion.

To the 1/4 mixture in the separate bowl add 20g cacao powder, 20g maple syrup and 30g oil and stir until combined.

Put a heaped dessertspoon of cake mix into 10 muffin cases. You should be left with a small amount of cake mix. Using a teaspoon, make a well in the centre of each muffin.

Divide the chocolate mix between the 10 muffins, carefully filling the well in the centre using a teaspoon.

Top each muffin with a thin layer of the remaining cake mix, using a spoon to seal the gaps. You shouldn’t be able to see any of the chocolate mix.
pic12premuffin1 premuffin2 premuffin3 premuffin4 premuffin6Place in a pre-heated oven and bake for 25 minutes until golden.

Enjoy!

pic2

Tips:

  • I used chia seeds to help bind them together as these muffins don’t contain egg. Flax seeds and bananas are also great binders though, so if you can’t find chia seeds just leave this step out.
  • If you think the assembly sounds like too much hassle, don’t stress. Just fill the cake cases with half of the plain mix, add a spoonful of the chocolate one and then top with remaining plain mix. They might not look quite so neat but they’ll still taste amazing!

[leadpages_leadbox leadbox_id=1429a0746639c5] [/leadpages_leadbox]

Make Your Own: Plastic-free, Sugar-free Muesli

I used to be a huge lover of breakfast cereals. I’d hoard them. I actually had a cupboard dedicated to breakfast cereal. I liked to have a minimum of 5 different choices in my cupboard, and I remember once having 11 different types on the go. I’m not the only one either, it seems. In 2011 Australians spent $1.17 billion on breakfast cereal, and consumed almost 8 kilos per person!

My tastes changed over time of course – as a kid I loved Frosties (I cringe at that thought now), as a teenager my staple cereal was Fruit ‘n’ Fibre, and as an adult I fell for those luxury muesli lines with the beautiful packaging.

But then I began to fall out of love with cereals. Firstly there was the media reports revealing how cereals are way too high in salt and sugar. Low fat cereals are particularly high in sugar, and a UK study found cornflakes that contained as much salt as ready-salted crisps. Next was the constant bombardment of adverts and marketing. Oh we’ve made this new product. Oh we’ve made that new product. Oh we’ve made a chocolate version! A cereal bar version! A chocolate cereal bar version! I started getting cereal company fatigue. And then there was the packaging. Boxes that would appear enormous until I opened them to find the contents only half-filled the bag inside. Or packets that would declare “contain 20 servings”, only for me to discover that their interpretation of a serving was 4 teaspoons, and for my portions, the box contained nearer to four servings. Which actually made cereal a rather expensive habit.

And the final straw? Plastic. When I gave up buying anything in plastic, only a couple of options remained. Some super fancy muesli sold in glass jars for exorbitant prices, or plain oats in cardboard. The love affair was over.

But recently, I’ve started craving cereal again, and so I’ve started making my own using the ingredients I get from the bulk-bin stores. It’s super easy and there are limitless possibilities. This recipe is my current base.

I wanted to keep it sugar-free so it doesn’t contain any dried fruit. If one morning I fancy something sweet I add some fresh fruit, or blend a banana with some (cashew) milk and sprinkle the muesli on top.

Or I add a teaspoon of bee pollen or a tablespoon of cacao nibs. You can always add the sugar in, but you can’t take it out!

Recipe: plastic-free, sugar-free muesli

Ingredients:

3 cups coconut flakes
2 cups oats
1/2 cup brazil nuts
1/2 cup peanuts
1/2 cup raw almonds
1/2 cup pumpkin seeds/pepitas
80ml macadamia oil (or other high quality, flavourless oil)

Method:

[I soak my almonds and pumpkin seeds overnight to activate them and make them more digestible, and then dry them out before chopping and adding to the mix. If you can’t be bothered with this step or are short of time, just skip it.]

Roughly chop the brazil nuts, peanuts and almonds. Combine in a bowl with the coconut flakes and oats. Stir in the oil and mix well until everything is well coated.

Line a baking tin with baking paper. Spread the mixture evenly over the paper and bake at 100ºC for 30 minutes, until golden. Leave to cool.

Store in a glass jar. It will keep for a few weeks, but I think it is better to make small batches and more often to keep it fresh.

Enjoy!

mueslimix

muesli4

mueslijar

05_03breakfast

This delicious breakfast was made using half a banana blended with half a cup of cashew nut milk to form the base, and topped with half a cup of muesli. I like doing things by halves, it seems!

[leadpages_leadbox leadbox_id=1429a0746639c5] [/leadpages_leadbox]

Oven-Roasted Chickpea Recipe – a plastic free alternative to potato chips?

When we gave up buying food that came packaged in plastic, one of the hardest things for my boyfriend to give up was potato chips. He’d wander down the crisps aisle forlornly, rustling each packet and declaring I’m pretty sure this one is plastic-free! It feels like paper! See?

Sadly though, potato chips do not come in paper. They are all wrapped in plastic, even though the plastic is often cunningly disguised as paper, or foil (you can do the scrunch test to figure out if something is wrapped in plastic or foil. Scrunch it up; if it springs back into its un-scrunched position, it’s plastic).

Because of this we’ve had to find alternatives. I’ve not tried making my own from real potatoes yet, although I haven’t ruled it out for the future.

We found a bulk bin store that sells sweet potato chips, but they are very expensive and not something we buy often.

I’ve recently experimented with making kale chips (not as weird as they sound, although yes, they are made with kale), which are actually quite tasty, but you need a lot of kale for not that many chips, which makes them another costly option, and you can’t fit that many in the oven at once, so it’s quite a laborious process.

Our staple replacement is popcorn, made with popping corn kernels bought at the bulk bin store. It’s cheap, super easy/quick to make, and satisfying. Of course it tastes nothing like potato chips (it tastes like popcorn, obviously) but it meets that need for a savoury, salty snack that can be delivered by the handful.

Popcorn may be the current favourite, but there is now a new contender on the block – roasted chickpeas. I got the inspiration for this from a couple of places. I’ve seen them for sale in the bulk food stores, and if you’ve ever eaten Bombay mix or similar Indian-style snacks you’ve probably had them yourself.

Secondly, I always buy dry chickpeas and cook my own, usually 1kg at a time, as they freeze amazingly well and I try to avoid cans where possible to save waste. This always seems like a great idea, but when I’m storing the resulting 3kg of cooked chickpeas I’m thinking of novel ways to try to use them up so I don’t feel quite so intimidated every time I open the freezer door.

I’m not going to tell you that they taste like potatoes. Of course they don’t. I am going to tell you that if you want a salty, crunchy alternative that you can munch away by the handful, plastic-free, then roasted chickpeas are seriously worth considering.

They’re cheap and simple to make. Have them plain, or flavour them. I’m still experimenting with what flavours I like best, so I’ve given you a couple of ideas to get started.

chickpeasfinal

Recipe – Roasted Chickpeas

Ingredients:

2 cups cooked chickpeas (380g approx)
2 tbsp macadamia oil
Spice mix: 3/4 tsp turmeric, 3/4 tsp ground cumin, 1 1/2 tsp paprika (or omit altogether for plain chickpeas)
Salt and pepper

Method:

Pre-heat oven to 180°C.

Rinse chickpeas and spread onto a clean dry tea towel to remove excess water. Remove any loose skins and discard.

Put into bowl, add oil, spices (if using) and salt and pepper, and mix well until all the chickpeas are coated.

Line a roasting tin with greaseproof paper and empty chickpeas into tin, spreading out as much as possible. Place in oven and cook for 40 minutes, stirring occasionally to prevent sticking and to ensure they cook evenly.

Remove and allow to cool completely. They will continue to harden as they cool (don’t be alarmed if they still feel soft when you take them out of the oven). Store in a glass jar if not eating immediately.

Chickpeas2 Spicemix1 Chickpeaspices1 chickpeas3 roastedchickpeas roastedchickpeas2 Enjoy! If you have a go at making them, I’d love to hear what you think in the comments!

[leadpages_leadbox leadbox_id=1429a0746639c5] [/leadpages_leadbox]

A Recipe for Coconut Milk Yoghurt (Dairy Free + Plant Based)

I did something this month that I haven’t done for over a year. I deliberately bought something in a plastic container.

Oh, the scandal!

The product in question is a dairy-free yoghurt alternative called CoYo, made from coconut milk and full of probiotic cultures. I’d seen the name pop up in various places and was intrigued. Since being advised to cut out dairy from my diet as much as possible, yoghurt is something I miss, and I particularly believe in the benefits of probiotic foods for maintaining a healthy gut. This product seems like a win-win… apart from the packaging. Of course, I questioned whether I would be able to make it at home. When I saw it in stock in my local health food shop, I was intrigued enough to buy it.

coyo

I have to say, CoYo tastes amazing. If I was to describe the flavour, I would say it has the yoghurty-ness of yoghurt, and the coconuty-ness of coconut milk. (Does that make it any clearer?!) I guess what that means is, it has the tangy, slightly acidic taste of yoghurt, but the creamy smooth richness of coconut milk, with that exotic coconut flavour. It is also super smooth and literally melts in my mouth. It is also a stunning bright white colour – like coconut.

It also has a pretty amazing price tag. One small 400g tub cost me over $13! Indeed, I have suffered for my sin.

For reasons of both price and plastic packaging, I can’t justify buying this again. However, now I know how good it is I can try to make my own (and I have a benchmark to measure against), and I can use the CoYo as my starter culture. Its deliciousness has only made my resolve to make my own stronger! I want this in my life!

After a couple of attempts at recreating it, I’m now pretty happy with the recipe I’ve come up with. This recipe makes 1 litre, and should keep in the fridge for 2-3 weeks.

How to Make Coconut Yoghurt

Ingredients:
2 x 400ml tins of organic coconut milk/cream
200ml water (to make up to 1 litre)
8 tbsp arrowroot powder (also called tapioca)
20 drops stevia
1 tbsp CoYo (or other starter culture)

Method:
Blend the arrowroot, coconut milk and water together briefly to remove any lumps.

Heat to above 80ºC for several minutes to allow the mixture to thicken, stirring with a spoon.

Cool to 45ºC.

Add stevia and stir.

Add a spoonful of Coyo to pre-warmed thermos flask. Add a cup of the coconut milk mix to the flask and stir well. Fill the flask halfway and stir again. Add the rest of the mix, stir a final time and seal the lid.

Leave for a minimum of 12 hours but preferably 24 hours.

Pour into a glass jar and store in the fridge.

coyo3 coyo2

Notes:

I use Woolworths (Australian) organic coconut cream which comes in a BPA-free tin. It’s one of the few items I still buy at the supermarket and it’s one of the better organic brands that I’ve tried… although I’d love to find a independent brand or make my own in the future.

I used arrowroot and stevia as these were what CoYo lists as its ingredients. It may be possible to use other thickeners. The stevia is to give the friendly bacteria a food source. Other sugars might work too, I just haven’t tried them yet.

I used CoYo as the starter culture as I already had it but if you’re not lactose-intolerant or vegan you could use ordinary live yoghurt. Another option is to use a vegan probiotic capsule.

Coconut yoghurt takes a lot longer to culture than cow’s milk yoghurt. I find that leaving it for 24 hours gets better results.

I have also found that the yoghurt thickens over time, something that doesn’t happen with dairy yoghurt. I don’t know why this happens, but if your yoghurt is a bit thin, you should find it thickens up after a few days.

Obviously, once you’ve made your first batch you can use this as a culture for future batches – no need to keep buying things in plastic containers!

[leadpages_leadbox leadbox_id=1429a0746639c5] [/leadpages_leadbox]

5 Ingredient Chocolate Brownie Recipe (No Baking Required)

This is my new favourite thing to make. Aside from the fact that it tastes amazing, it is also super simple to assemble.

Now I love a cooked brownie, when the edges are crispy and the middle is molten, but there’s a bit of an art to it. Knowing your oven well and being super accurate with timings is the only way to catch the brownie in that tiny window between still-raw-and-gloopy-and-dissintegrates-upon-touch and overcooked-and-crunchy-and-dry-all-the-way-through. There’s also a lot more mess generated, and washing-up, with cooked brownies, and you need more time. Luckily, his cousin, the raw brownie, means none of this to worry about!

With this brownie, there’s no cooking. Hurrah! You can’t over- or under-cook it, and you don’t have to wait ages for it to be ready. Also, you only need 4 ingredients (plus salt). How awesome is that?! The other great thing is you can make this in small batches rather than having to make a tray full. If you’re greedy like me and can eat 24 brownies in 24 hours, this is a great way to exercise some restraint – just make less!

I also imagine that these would keep much longer than normal brownies which dry out over time, but I’ve not been able to resist eating them long enough to find out. They will definitely keep for a week in the fridge or freezer in an airtight container, and I can’t see any reason why they wouldn’t last longer if you have more willpower than me.

This recipe makes enough for 6 pieces. You will need a food processor or high powered blender.

Ingredients

100g walnuts (approx 1 cup)
60g macadamias (a very full half cup)
10 medjool dates, stones removed
1/2 cup cacao powder
1/4 teaspoon salt (recommended but optional)

Method

Grind the walnuts and salt into a flour. Add the cacao and mix well. Blend the dates in a few at a time until the mixture has formed small crumbs.

Roughly chop the macadamias by hand. Stir into the mix.

Line a container with baking paper. Tip the mix into the container and press down firmly. Place in the freezer before cutting into pieces (it will cut into pieces better if it is cold).

brown1

Store in the fridge or freezer.

You can eat straight from the freezer, or allow to warm to room temperature. I dust extra cacao powder on the top to serve but this is optional.

brown2 brown3 brown4 brown5

Yum!

[leadpages_leadbox leadbox_id=1429a0746639c5] [/leadpages_leadbox]