9 ways to get the most out of your freezer (+ reduce food waste)
My freezer has saved many a food item going into my compost bin. Overripe bananas, leftovers I’ve eaten for five days straight and really can’t bear to make it six, onion peels that I’ll use to make stock – the freezer is great for both reducing food waste, and treating future us to a ready-made meal in the form of something we prepared earlier.
Many of us are doing bigger and less frequent grocery shops than we might normally do, and cooking more than we might normally do – and this is putting extra pressure on the freezer.
Which let’s face it, for many of us is also a bit of a stick-it-in-there-and-forget-about-it zone.
My freezer is fairly small, which means that there’s always less room in there than I’d like. But it also means that I’ve got good at keeping my freezer organised, and making the most of the both space and the utility.
If you’d like to use your freezer more efficiently, here are my tips.
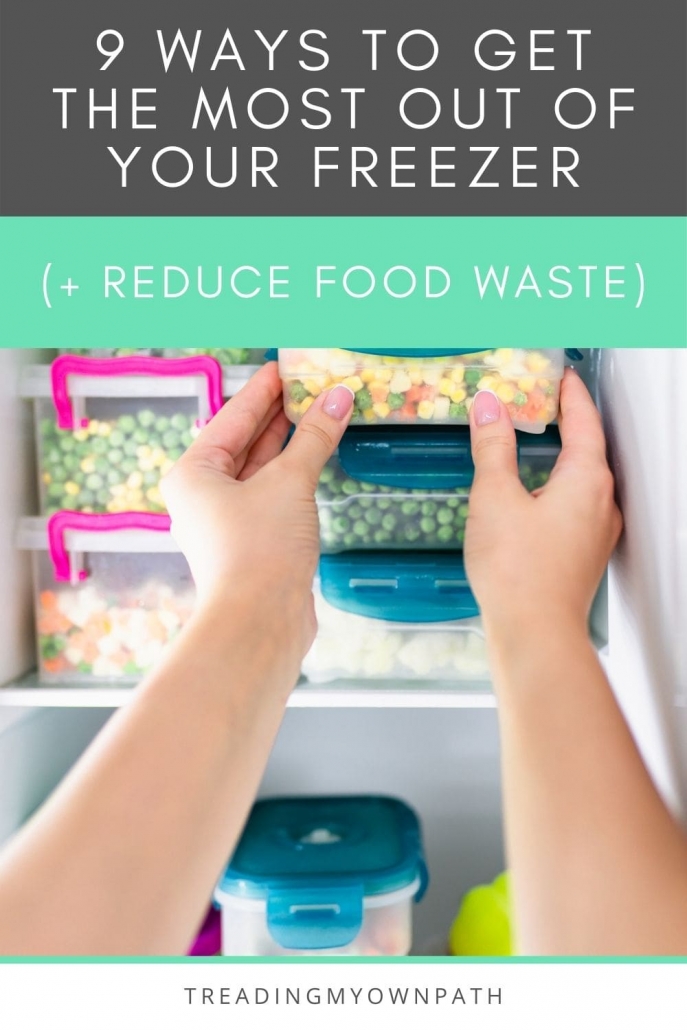
1. Ensure your freezer is a frost-free zone
If your freezer resembles a small iceberg, it’s not running as efficiently as it could be – and that ice is taking up valuable leftovers space. If this is the case, you need to defrost your freezer.
Defrosting it will melt the ice – then you just need to ensure the melted water is removed and it’s wiped dry, and turn it back on.
Whenever I defrost my freezer, I put my freezer contents in a neighbour’s freezer temporarily. You can also put frozen food in the fridge or use an esky/cool box to slow down defrosting. Any meat, fish or dairy products are better not refrozen, but vegetarian leftovers will probably be fine to go back in the freezer.
Make sure your freezer is set to (and running at) -18° C (0° F) before you fill it back up.
2. Audit your freezer
It’s really useful to go through your freezer every few months and see exactly what is in there – because there will be something you had forgotten about. Hopefully something tasty!
(With me, its usually extra jars of onion scraps for stock making. Sigh.)
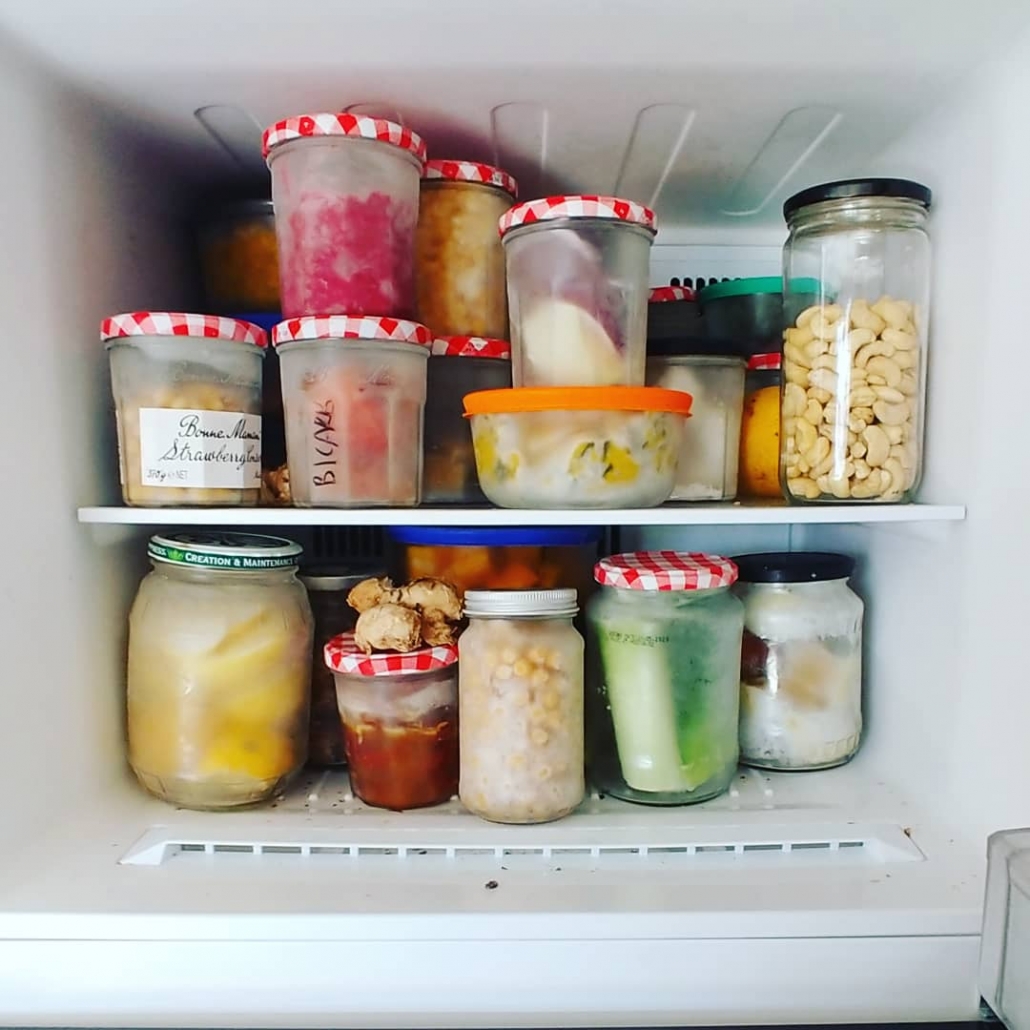
It’s best if you can pull everything out and have a good look. That way you won’t miss anything, and you’ll spot half-empty containers and other things you might have missed.
Once you know what’s in the freezer, here’s some ideas to organise it better:
- Make a plan to use anything old, or anything you have lots of, in the coming weeks;
- Ensure anything you have lots of isn’t on your shopping list;
- Put the oldest stuff at the front so you are more likely to notice (and therefore use) it;
- Make sure everything is labelled (or at least the suspiciously ambiguous stuff);
- Pop a reminder in the calendar for 3-6 months time, so you remember to do it again.
(I label my jars with a wax pencil – it’s easy to rub off. You can by them from art supply stores. You could also use a marker pen, or stick labels on.)
3. Prioritise what you keep in the freezer
If you’re like me, with a small freezer, you’re probably constantly juggling things to make space. When I need to make space for something else, there are a few things I think about.
What’s most valuable to be in my freezer?
Without a doubt, the most useful thing for me in my freezer is ready-cooked meals, ideally in 1-person or 2-person portions.
Generally speaking, the more prepared something is, the better. So frozen banana cake, or a frozen smoothie, is better than a frozen banana. A jar of stock is more useful than a jar of onion peels.
These are all things that save me time in the future (convenience) – which is what I value.
Value is also related to the cost of the item (what it would cost to replace), and the space it takes up.
Remove non-essentials.
I don’t keep ice in my freezer all the time (no space!) so if I have an ice cube tray in there during a sort, this is the first thing to go.
I also tend to have a bunch of ‘saved’ items in the freezer. I often have a jar of lemon zest, and maybe orange and lime zest too. That’s three jars. if I’m having a cull, these will go.
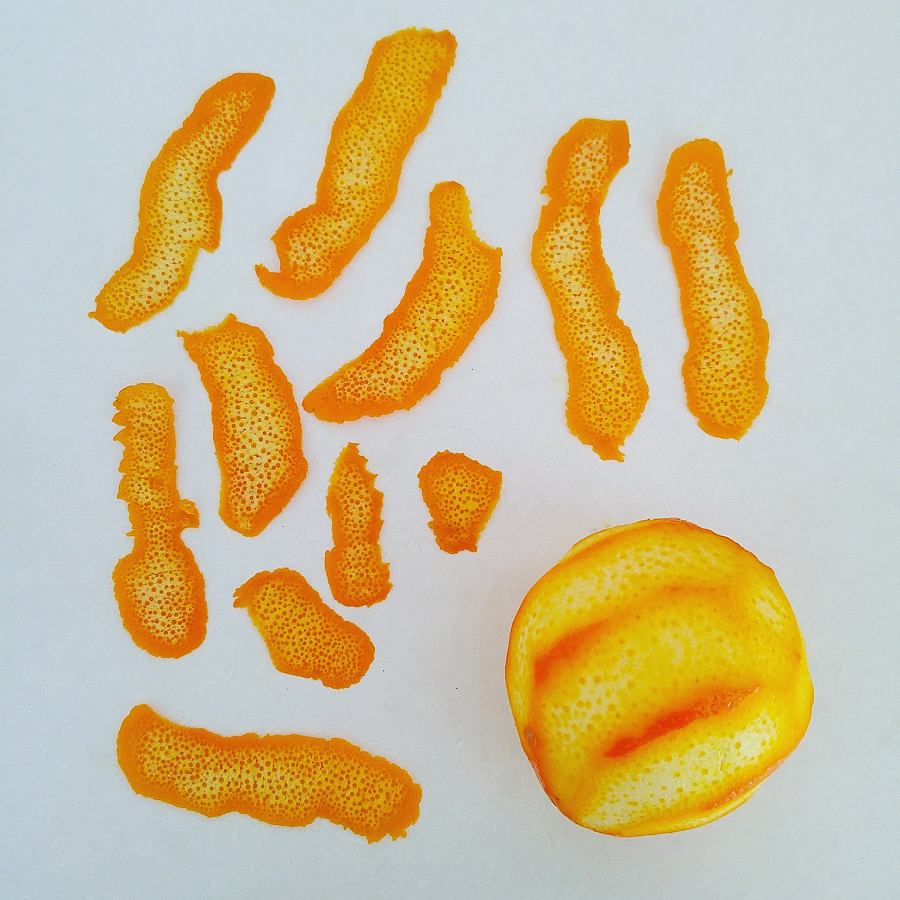
I don’t zest every citrus fruit I ever eat, so I don’t feel too bad about putting these in the compost if I’m short of space for something else. (Plus, it’s easy to make more down the track.)
Try to keep the contents balanced.
The more you rotate the food in your freezer, using up things and replacing them with new (different) things, the more you’ll get out of your freezer – literally.
I like to have a few slices of bread, a few portions of leftovers, maybe a jar of stock and a couple of jars of sauce, some frozen bananas – and then some snack items like falafels, fritters or hummus.
Rather than long-term storage, I use my freezer as a way to extend the life of leftovers, and make my meals more interesting – especially when the fridge is running low.
Prioritising doesn’t have to mean throw away.
If you do have to remove some things from the freezer, you don’t have to throw them in the bin. You can pop in the fridge where they will last a few days (they will defrost pretty slowly in there).
If it’s something that you know you won’t eat, but someone else might, you could try listing on the olioex app (it’s a free food sharing app).
4. Learn what you can freeze
In short, you can freeze almost everything (one important exception is meat and fish that has previously been frozen, and then defrosted).
When food is frozen, the water expands, which can change the texture. You’ll notice this with raw fruit and vegetables, which go mushy once frozen because the frozen water breaks the cell walls.
But this isn’t a problem if you intend to cook with them (using berries in baking, or veggies in soup) because cooking also breaks the cell walls.
Vegetables often freeze better if blanched (heated briefly in boiling water, then submerged in ice) first. But it’s not the end of the world to just freeze raw.
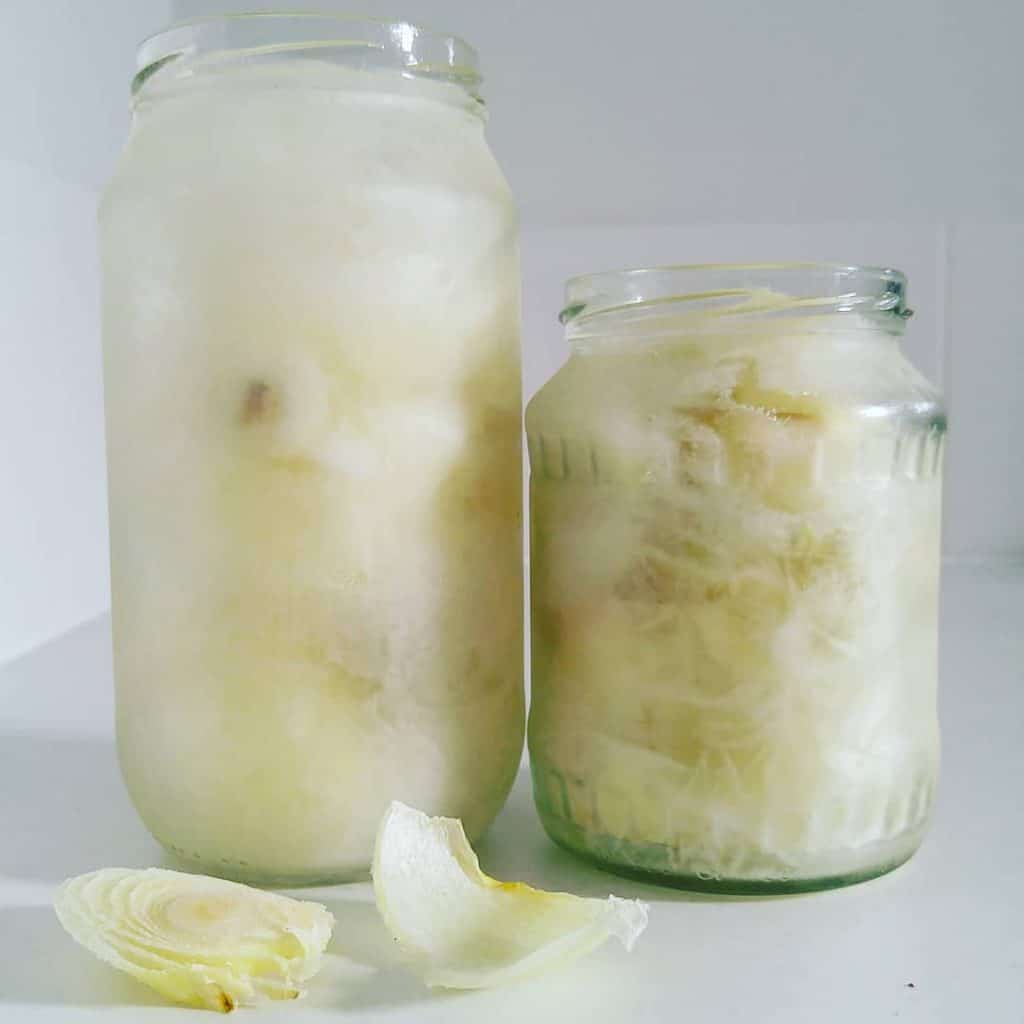
I always freeze my onion peels, leek ends and other bits I’ll be using to make stock raw, because they will be boiled later, so texture doesn’t matter.
You won’t notice much change in texture if you freeze cooked food. I often roast vegetables, and then freeze them this way. It also means that when I defrost, they are cooked and ready to go.
Milk and yoghurt can be frozen but freezing can change the texture of these – particularly of non-homogenised full-fat milk, which can go lumpy. It’s still edible, but may be better used in cooking rather than in coffee or tea.
5. Choose suitable containers
I prefer to freeze in a mix of glass jars, and Pyrex containers. I’ll occasionally freeze something in a stainless steel lunchbox, but they are less useful as you can’t see what’s inside (and frozen metal hurts my fingers when prising the lid open).
(Yes, you can freeze in glass. Instructions here.)
Bigger glass containers are more efficient in terms of space, but you’ll need to defrost the whole thing at once. Which is fine for traybakes or leftovers you made specifically for freezing, but less good for item you’d like to separate, like chunks or frozen berries.
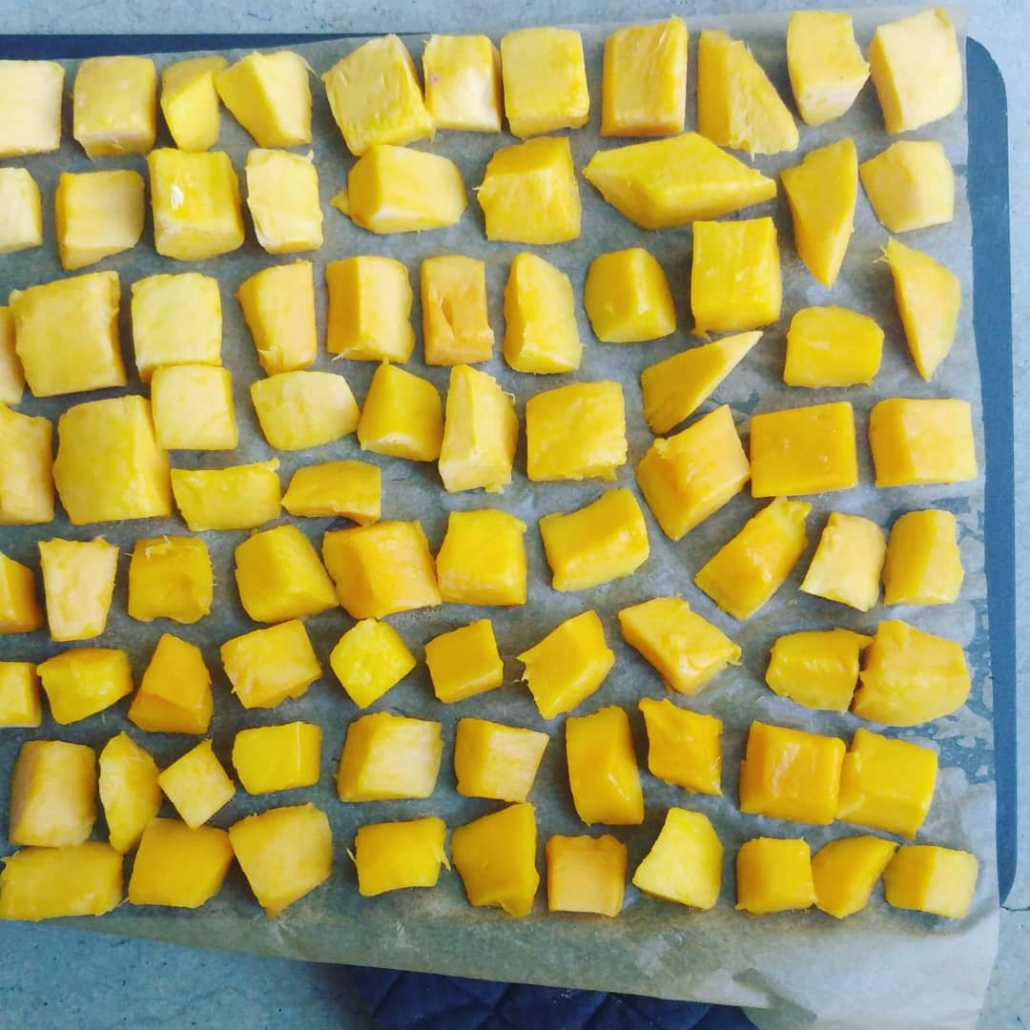
Tip: if you want to freeze berries, or anything cut into chunks, you can freeze on a tray, and once frozen, add to a big container. That way they don’t all stick together, and you can scoop out just what you need.
Smaller containers are great if you just want individual portions, but the containers take up more space, particularly solid ones like glass or thick plastic.
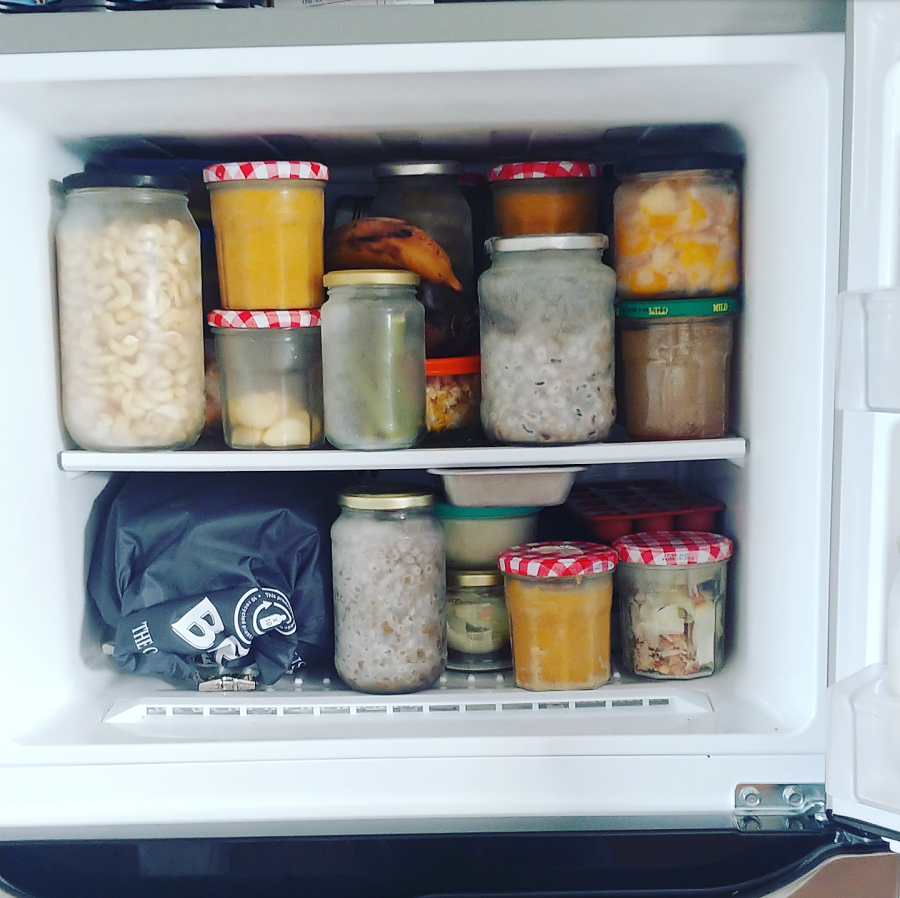
For small containers, I love Bonne Maman jam jars. They are readily available and free, and to be delight, I discovered that there is enough space in my freezer to stack them, which makes the most of the space.
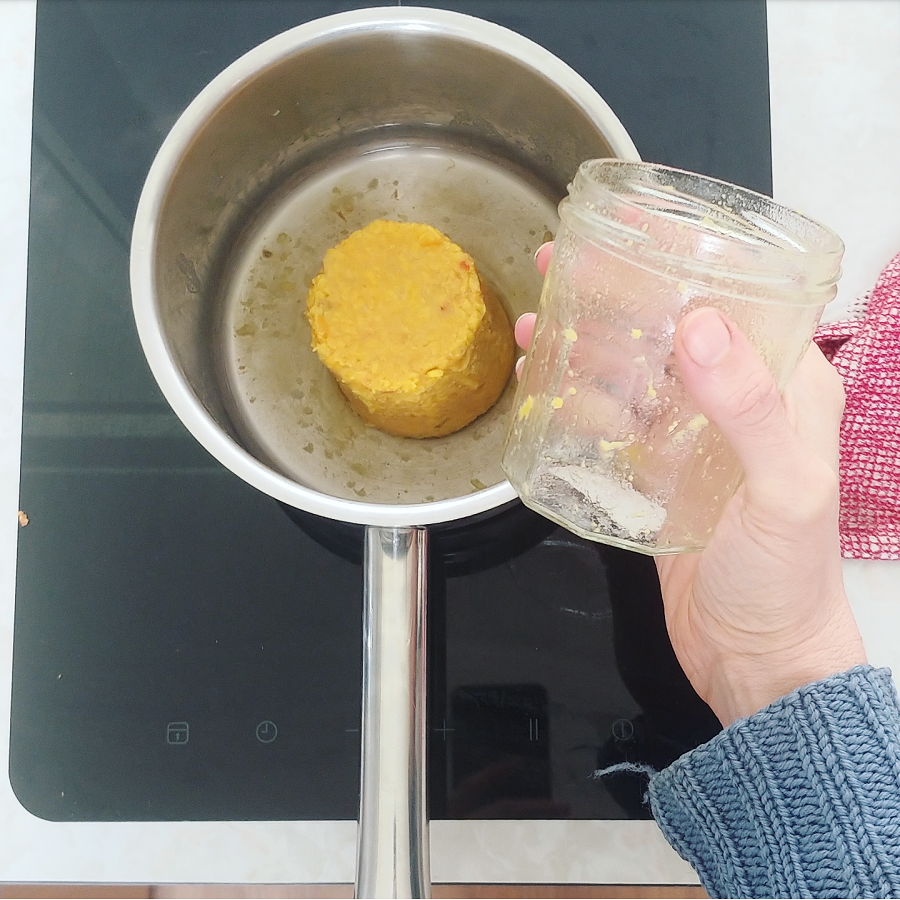
The tapered sides means it is easy to freeze in them (they are unlikely to crack, unlike narrow jars) and it is easy to slide still-frozen leftovers out to reheat in a saucepan.
I’m sure you all know that I’m not a fan of single-use plastic. If you simply don’t have room for solid containers, you could consider investing in some reusable silicone storage bags. And I do mean invest, because they are not cheap – but look after them and they will last a lifetime. Buy the best you can afford – if you have the budget, I recommend the Stasher bags (expensive, but you do get what you pay for), and can guarantee that they do not leak.
If reusable storage bags are out of your budget, and you’d prefer to use single-use plastic ziplock bags or similar, remember that you don’t have to use them once only. Wash and reuse them as many times as you can.
For freezing bread, I used a reusable cloth bag for years. After a million recommendations from readers I now have an Onya bread bag, purpose-made for freezing bread.
It’s not a necessity, but it will help keep your bread fresher for longer in the freezer.
6. Reduce freezer burn
Freezer burn happens when the fan that moves air around the freezer sucks out the moisture from the food, leaving pockets of air that discolour the food, and taste weird. Food that has freezer burn isn’t unsafe but it isn’t tasty, either.
The longer something is in the freezer, the more likely it is to develop freezer burn.
The more you can exclude air (and air circulation) from your food, the slower this will happen. Keeping food in containers helps, and packing containers tightly.
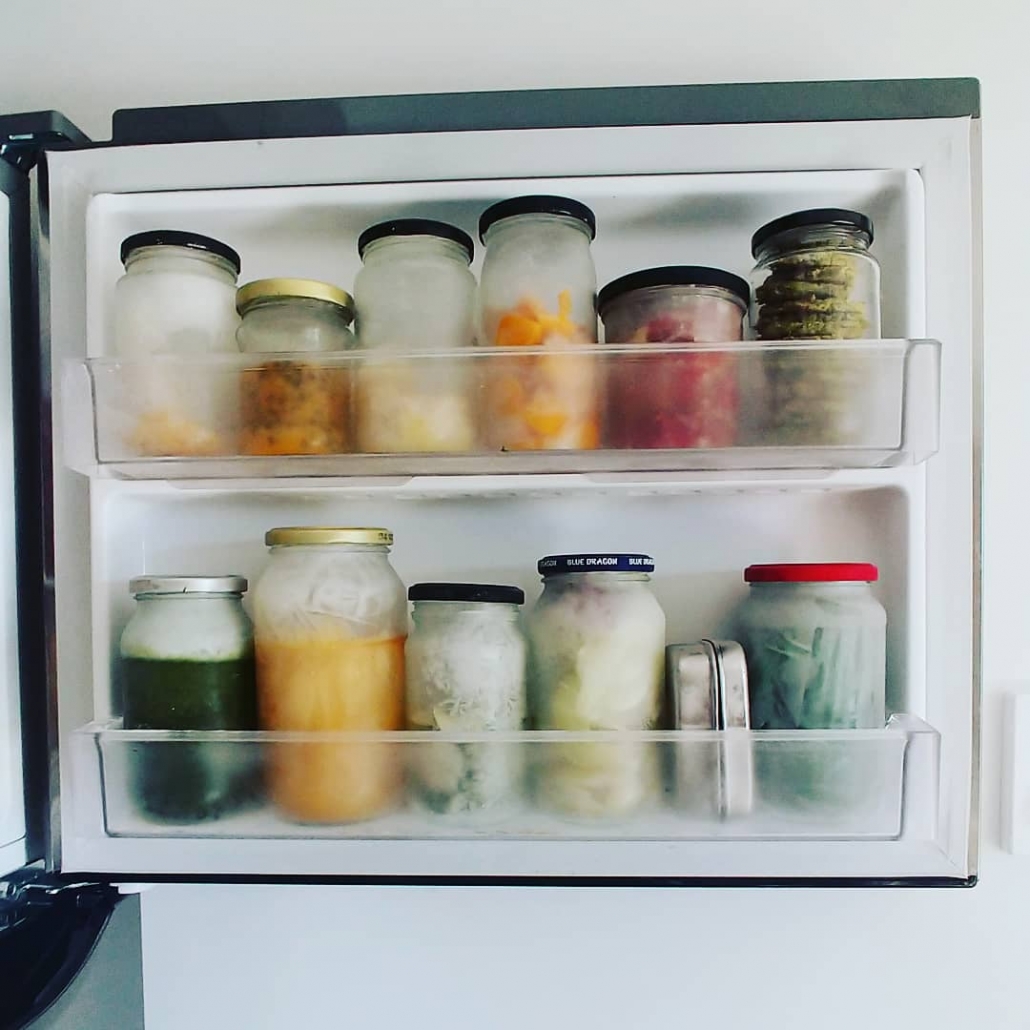
For really sensitive (or expensive) items, wrap with paper within in the container, which can help reduce the exposed surface area.
Make sure you’re rotating your food, eating the oldest things first, and don’t leave anything in the freezer too long. Whilst a few months will probably be fine, ultimately time is not on your side!
7. Label what you freeze
I am very bad at this, but it really is a good habit to get into. You might remember what the item is when you freeze it, but that doesn’t mean you’ll remember in six months time.
One label is better than no labels (it’s a start)…
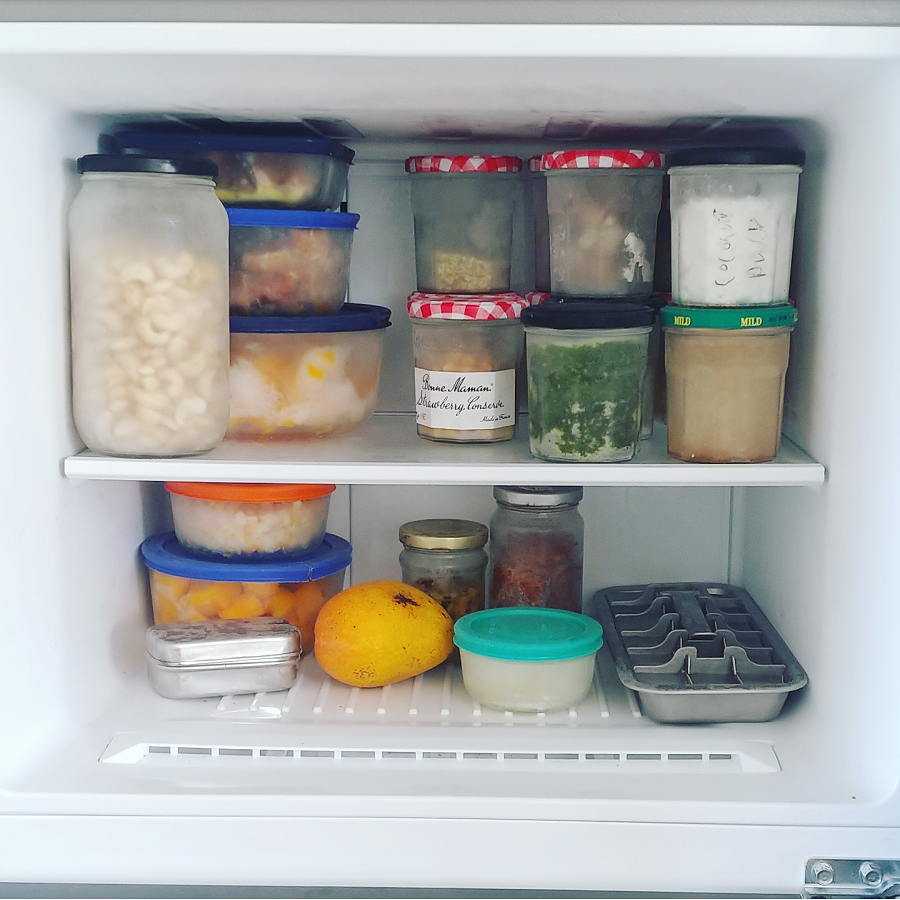
And as the weeks/month pass, you’re less likely to remember the date – or even the year – you froze something.
So get into the habit of labelling what an item is (if it’s not obvious) and when you froze it.
8. Keep your freezer running smoothly
If you’ve gone to the trouble of defrosting your freezer, you don’t want it icing up again any time soon. There are a few things that speed up ice creation in freezers, so here’s a list of do’s and don’ts.
- Don’t put hot food (such as leftovers) in the freezer. Let the food cool down, and ideally chill it first;
- If you’re putting frozen items from the store in the freezer, wipe off any condensation or water that may have formed on the packaging;
- Try to minimise how long you leave the freezer door open;
- Check the freezer door seal, and if it’s not sticking properly, invest in a new one (it will also save you paying more than you need on electricity);
- Don’t stuff your freezer so full that air can’t circulate;
- Don’t block any fans or vents that say ‘do not cover’ on them.
9. Love your freezer and it will love you back.
Freezers are a pretty epic modern invention. By freezing, we can extend the life of our food, provide future us with tasty snacks and pre-prepared meals, and bypass the problem of ‘there’s nothing in the fridge’.
Keep your freezer frost-free, (relatively) organised and filled with things you like to eat, and you’ll be rewarded time and time again.
Now I’d love to hear from you! Are you good at making the most of your freezer, or could your freezer do with a bit of love and attention? Any tips you’d like to share, or questions about freezing? Any successes or fails when it comes to freezing food? Any other thoughts? Please share in the comments below!




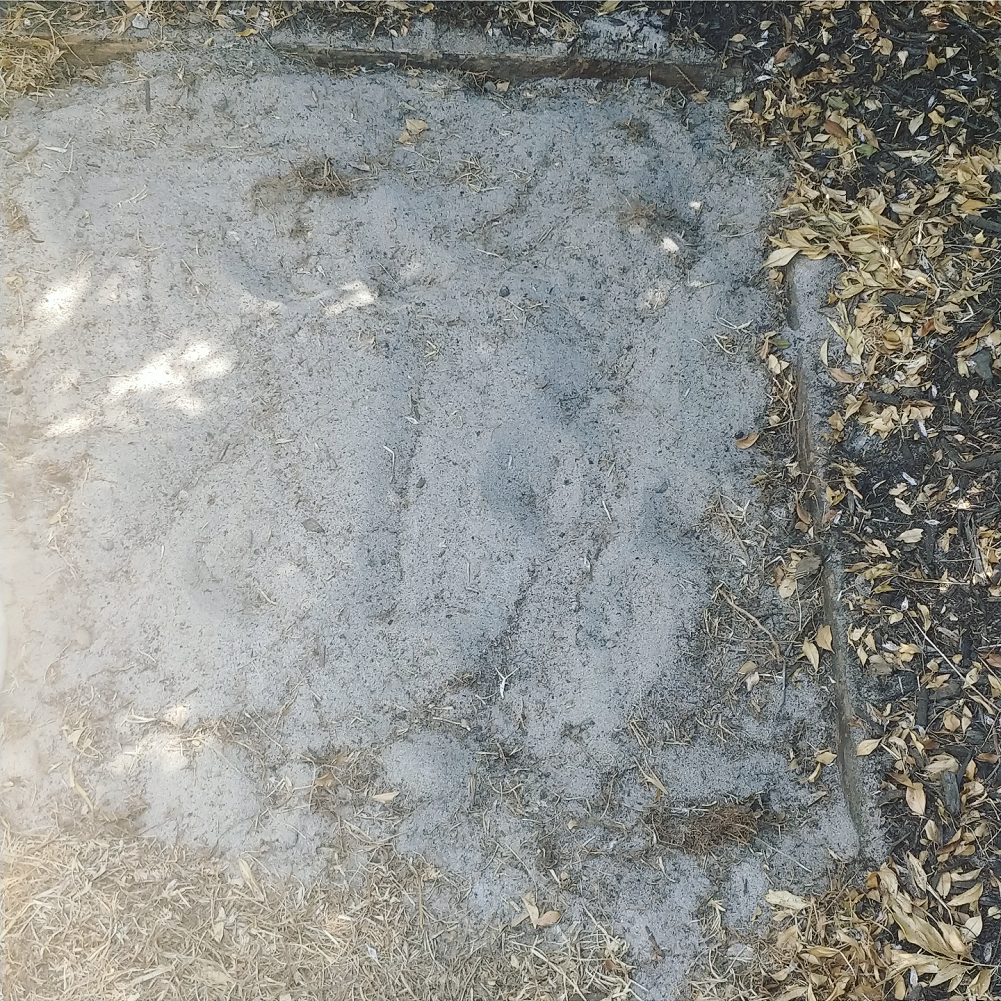
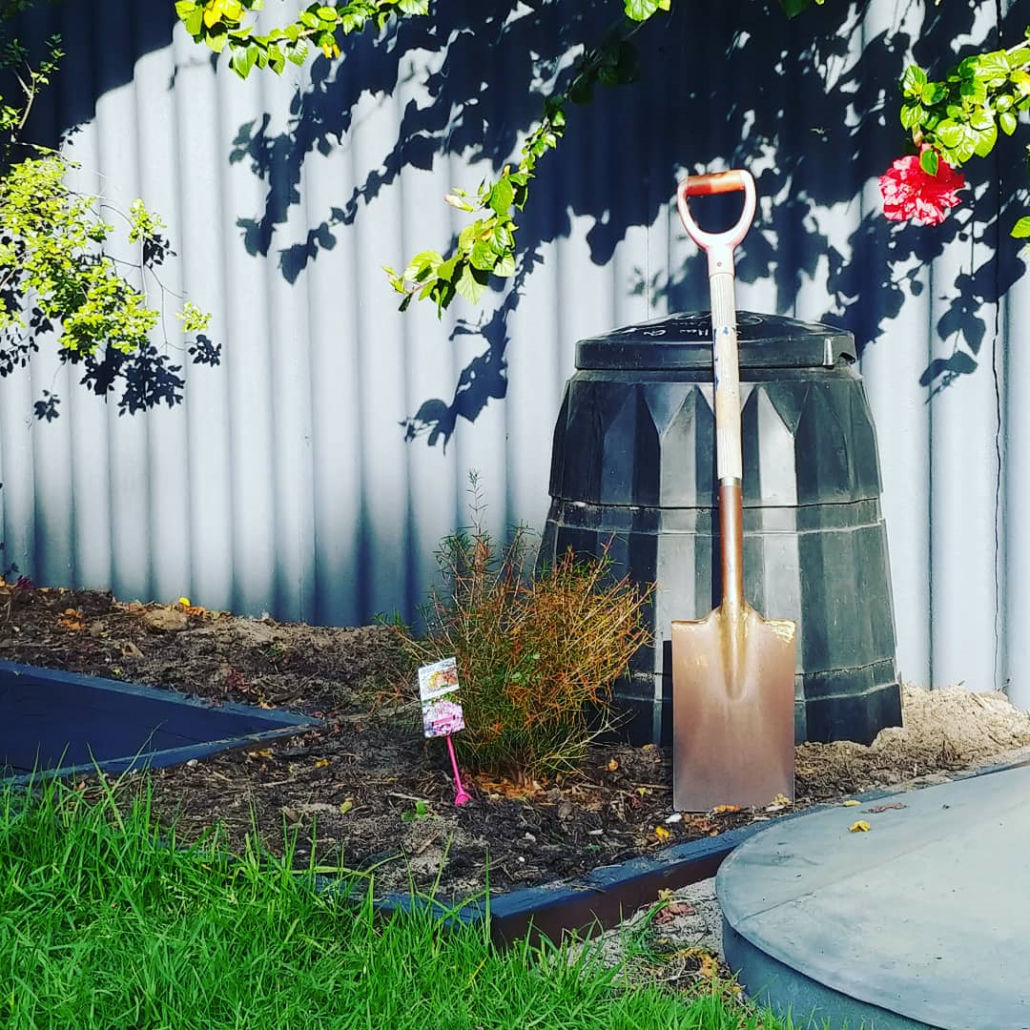 The thing about creating good soil is that you need a lot of compost.