Tag Archive for: love food hate waste

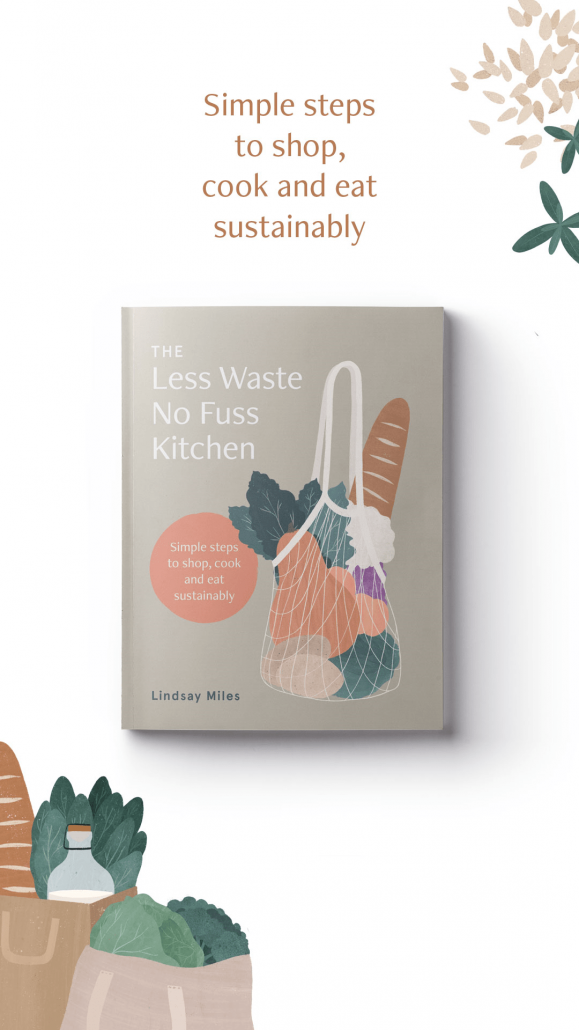
The Less Waste No Fuss Kitchen: simple steps to shop, cook and eat sustainably

My new book ‘The Less Waste No Fuss Kitchen’ will be hitting the shelves in just a few days, and I’m excited to tell you all about it! Especially if you live somewhere where the bookstores are currently closed, so you can’t pop in for a good old snoop.

Never fear – I am bringing the snoop to you!

I’ve also included some answers to some of the questions I’ve been asked. I’ve had a few questions about the book, so just in case you’ve been wondering too, I thought I’d pop them all together for you.

A bit more about the book: introducing The Less Waste No Fuss Kitchen

The book covers three aspects of waste and sustainability: plastic and packaging, carbon footprints and food waste. I wanted to write something that talked about their interconnected nature. There has been lots written on each of the subjects but in isolation. But some of us who care about all of these issues – and we often don’t want to compromise anywhere.

And that makes making choices hard.

Is it better to buy plastic-free but air-freighted from overseas, or is it better to buy plastic-packaged but locally grown?

If groceries packaged in glass have a higher carbon footprint, is plastic packaging better if we want to keep our carbon footprint low?

Is it better to buy everything packaging free, but then increase my food waste as a result? Or choose the packaging to reduce my food waste?

And so it goes on.

What I realised as I was researching the book, is that there is never perfect answer. There are always exceptions to rules. ALWAYS.

Unless we’re going to grow every single thing we eat outside our back door, using rainwater we’ve harvested and seeds we’ve saved, and we’re recycling all our nutrients (I’m not just talking about composting food scraps…), then we are going to have some kind of impact.

Perfect isn’t possible, but better is. And that, my friends, is where this book is here to help. All the ways that it’s possible to take action, to do a little bit better than before. And how to figure out which actions will work (and be sustainable) for you.

Let’s take a look inside the book…

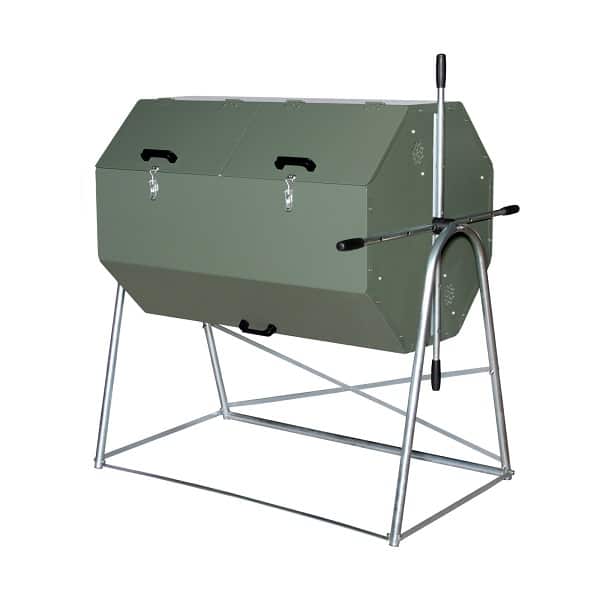
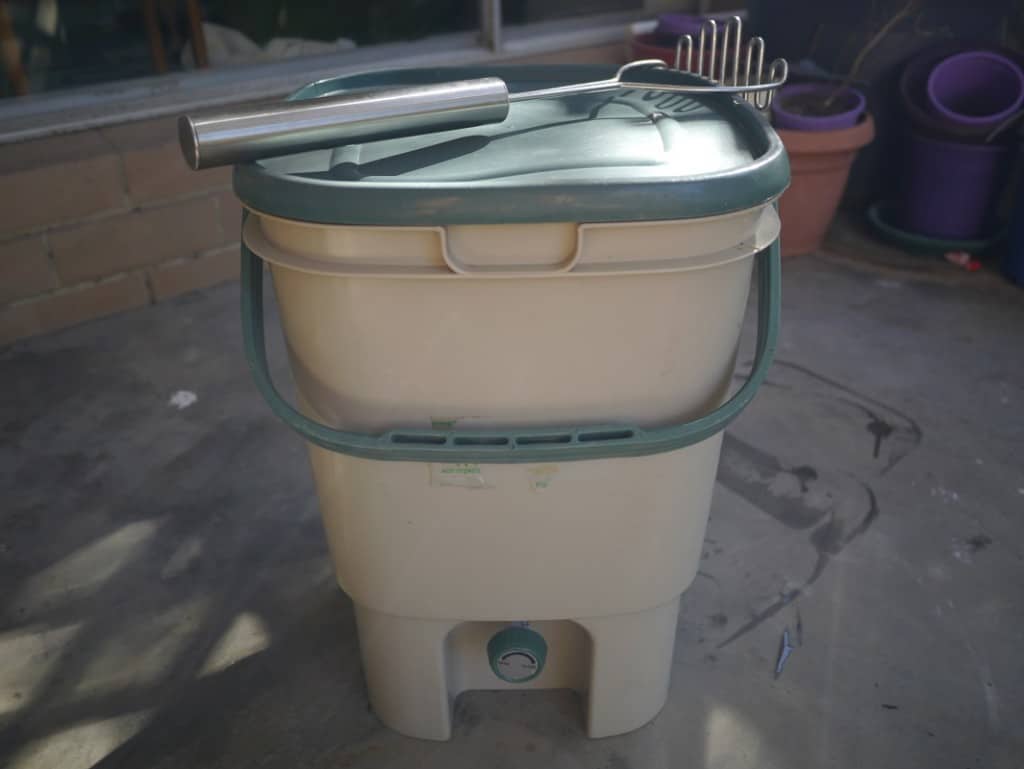
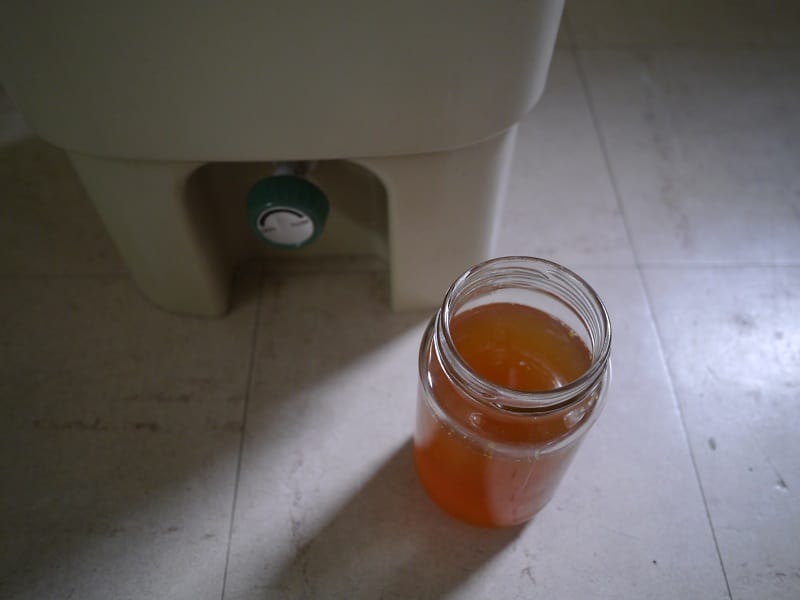
First, the technical stuff. The book is 224 pages, printed on FSC-certified sustainably sourced paper using vegetable inks. It’s full colour and there’s lots of beautiful illustrations throughout – and I even managed to get the illustrator to draw a compost bin, a bokashi bucket… and a mouldy strawberry!

These things are just as important as the pretty stuff, amirite?

A reader asked me if it was gloss paper – no, it most definitely is not! The cover is flexibound, which is half ways between a hardback and a paperback.

Now, the content!

There are five sections:

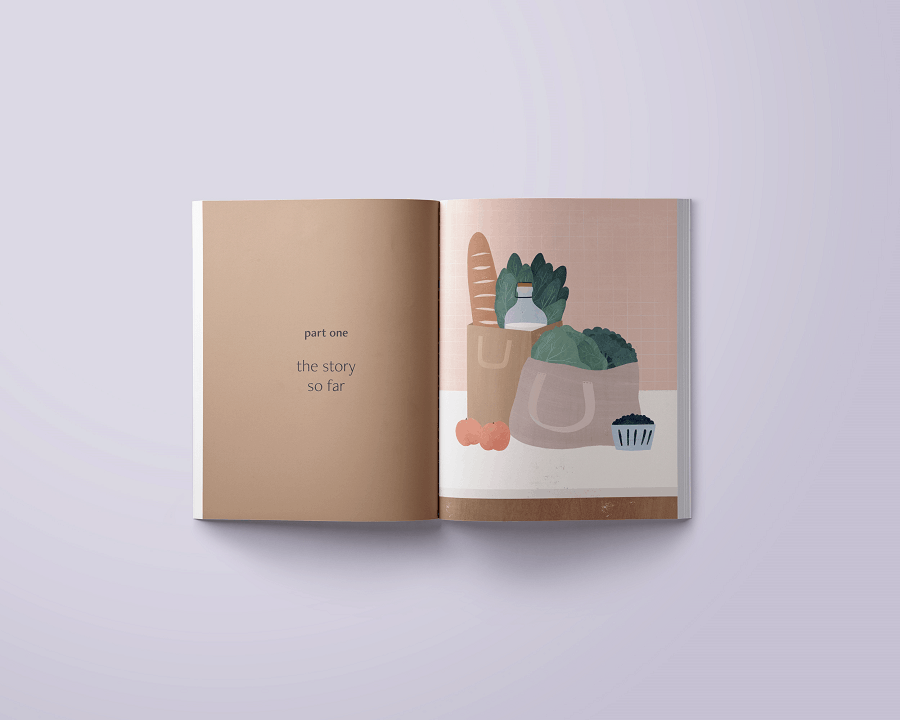
Part one, the story so far – a look at our modern day food system, how it evolved to be the way it is and some of the problems it has created. I’m not one to dwell on problems, but it’s helpful to have a bit of an understanding of the issues we are trying to fix.

Then, we talk about habits, and making an action plan that’s sustainable for you, starting where you are.

Part two, plastic and pre-packaged: unwrapping the solutions – all about plastic and other types of single-use packaging, and how we can make better decisions around our choices and where possible, use less.

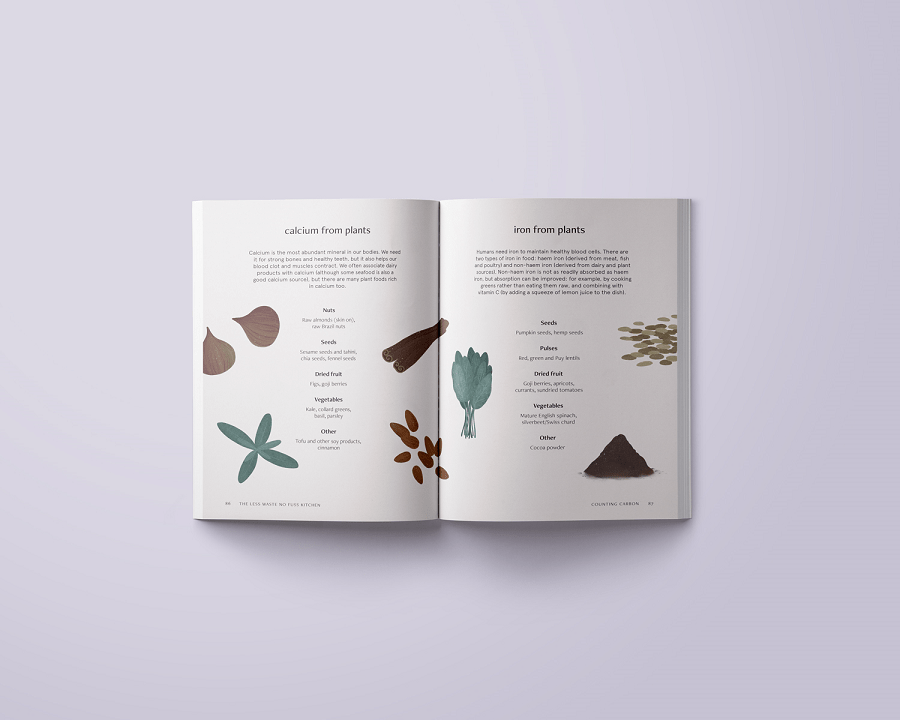
Part three, counting carbon: climate-friendly food choices – covering how our modern food system contributes to greenhouse gas production and all the ways we can lower our footprint, from the way we shop to the things we buy, and what we do with those things once we bring them home.

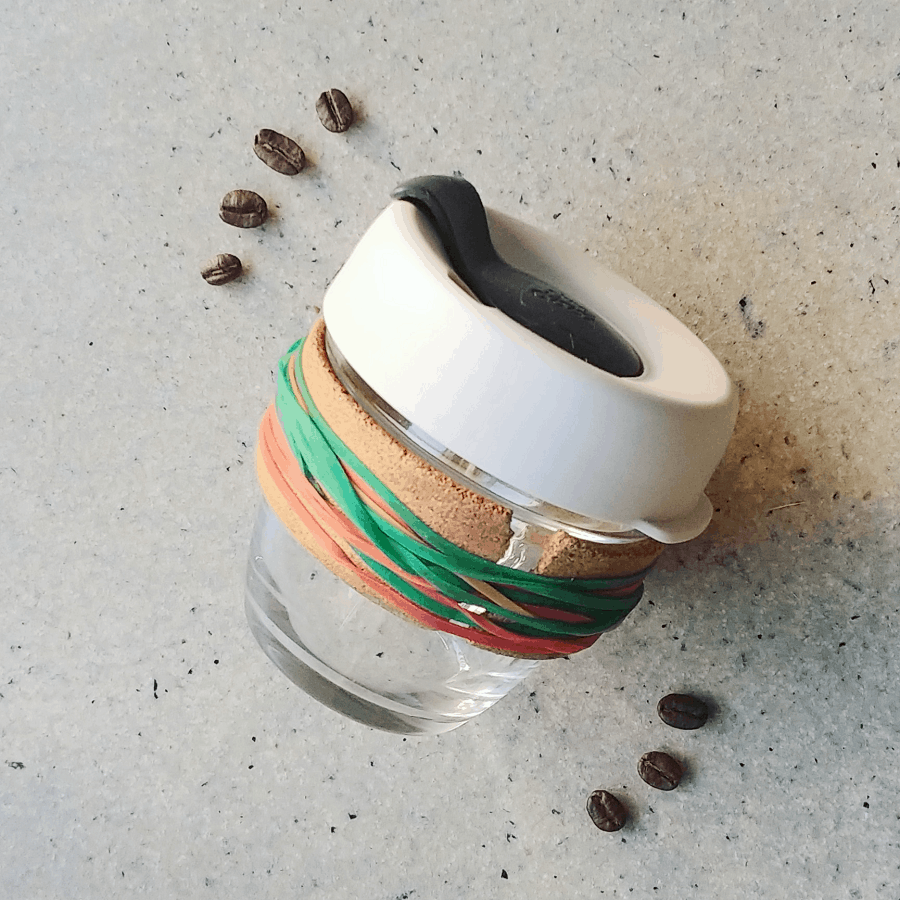
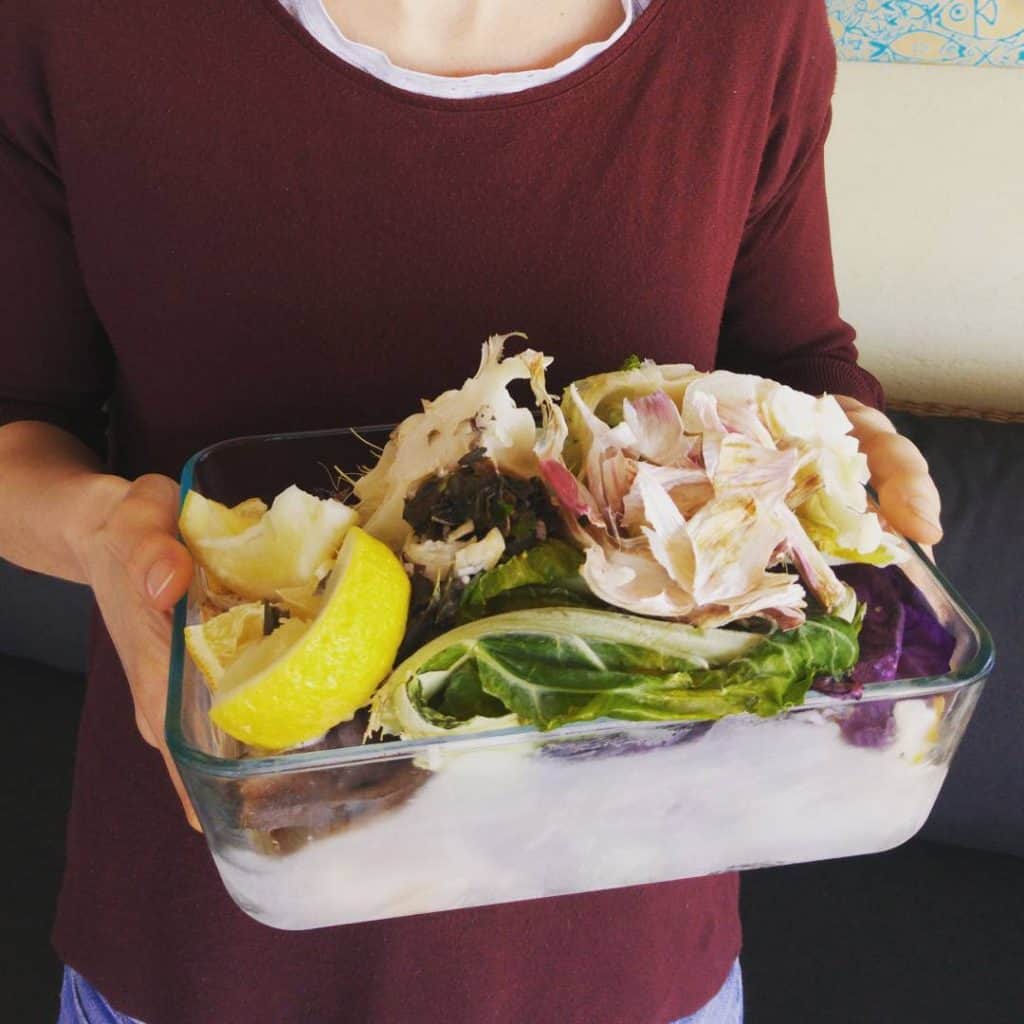
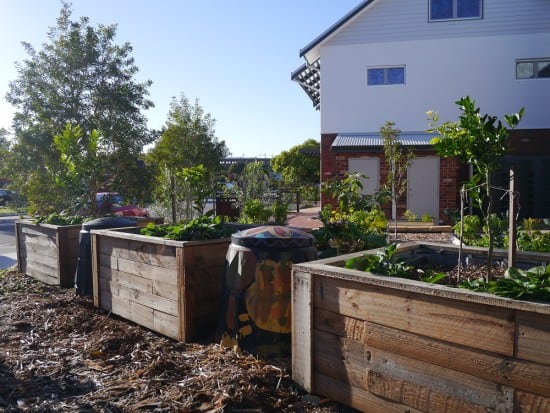
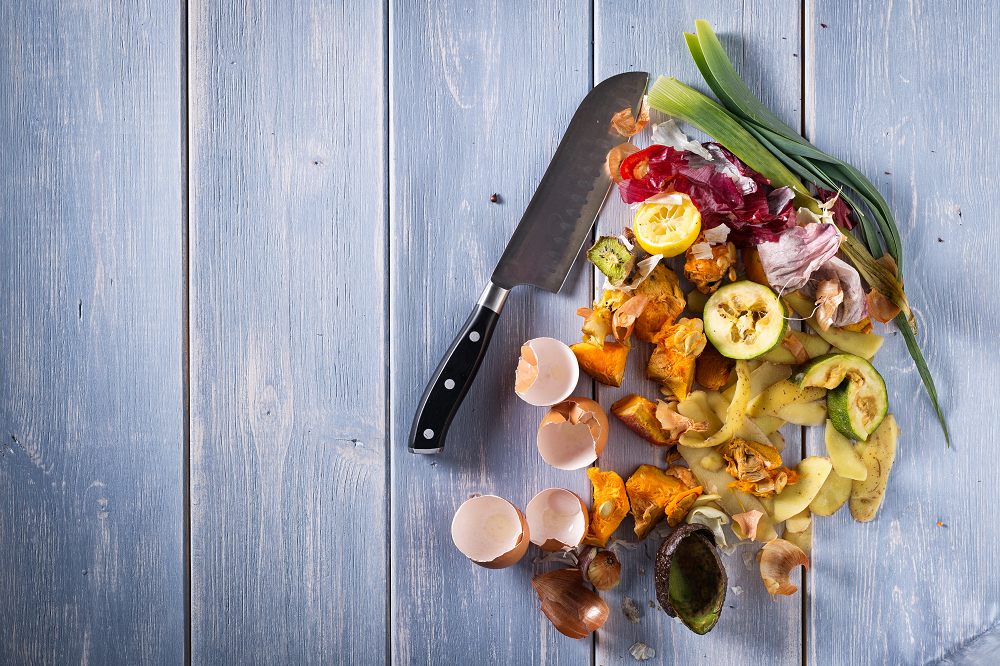
Part four, food not waste: keeping groceries out of landfill – a look at all the ways we can reduce what we throw away, from better storage to using things up to processing our food waste at home.

Part five, getting started in your (less waste no fuss) kitchen – practical ideas for reducing waste when in the kitchen. From setting up your kitchen to choosing substitute ingredients to use what you have, from tips for cooking food from scratch and simple recipes to get you started.

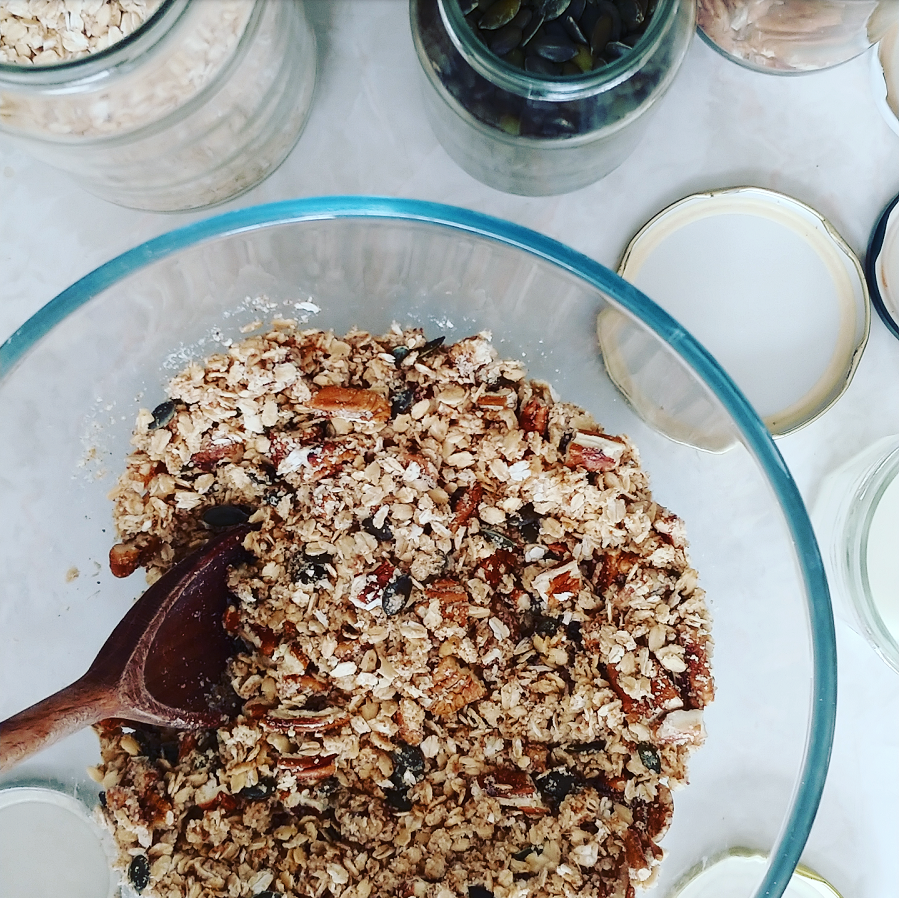
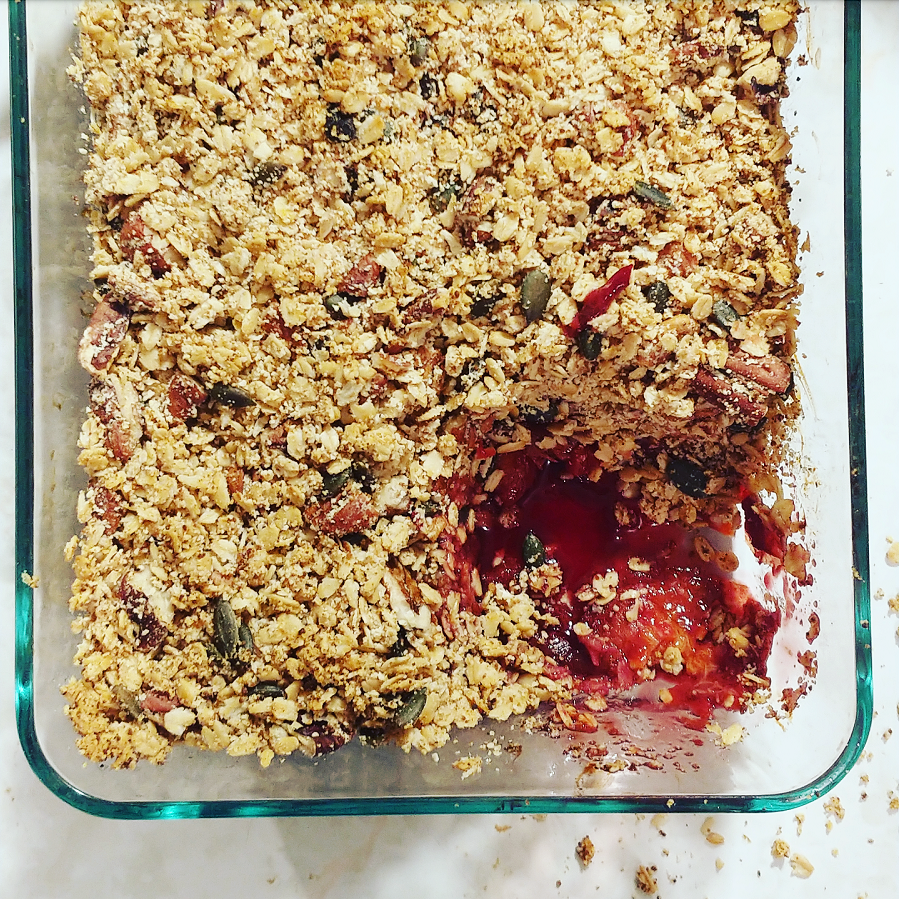
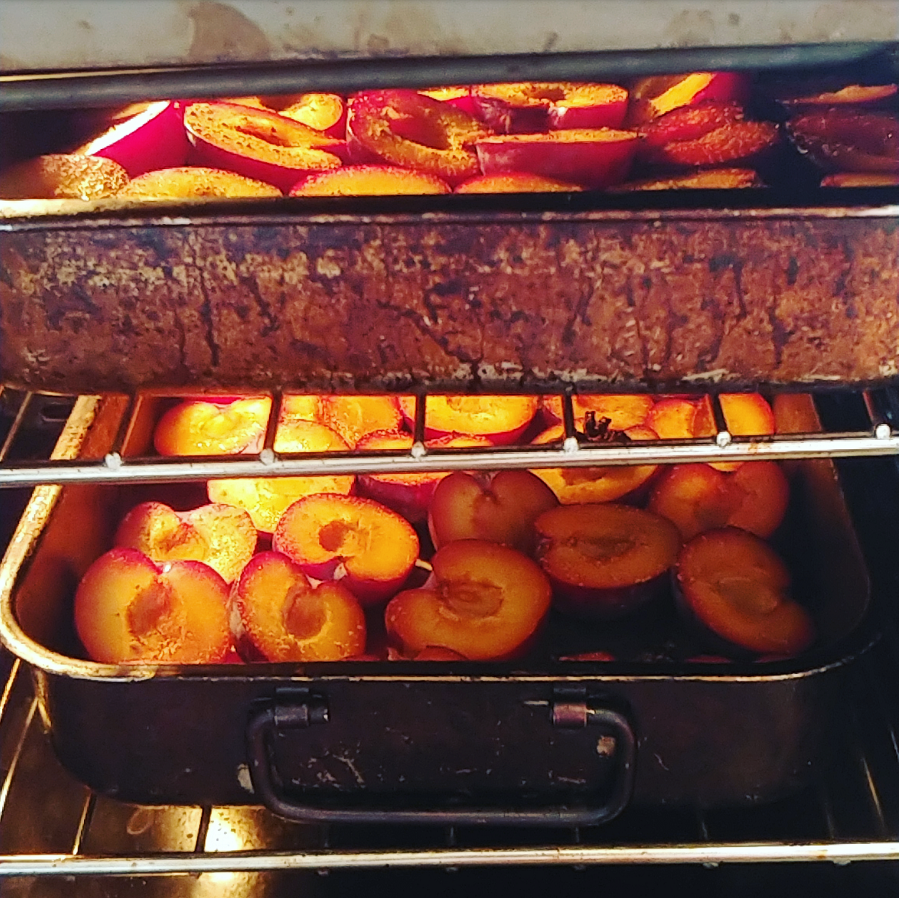
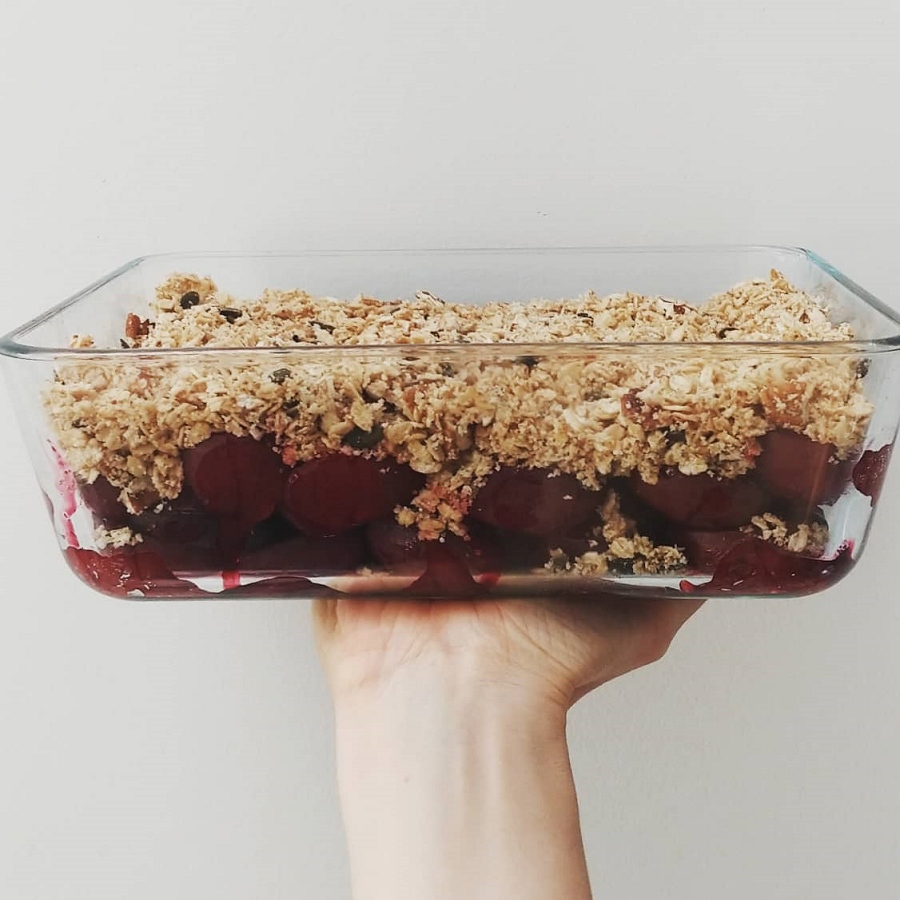
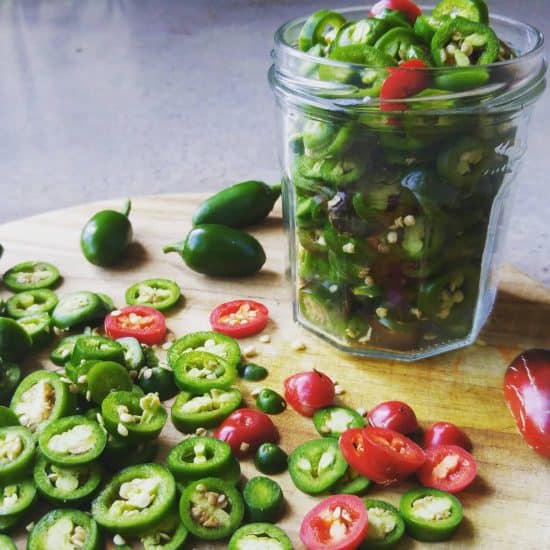
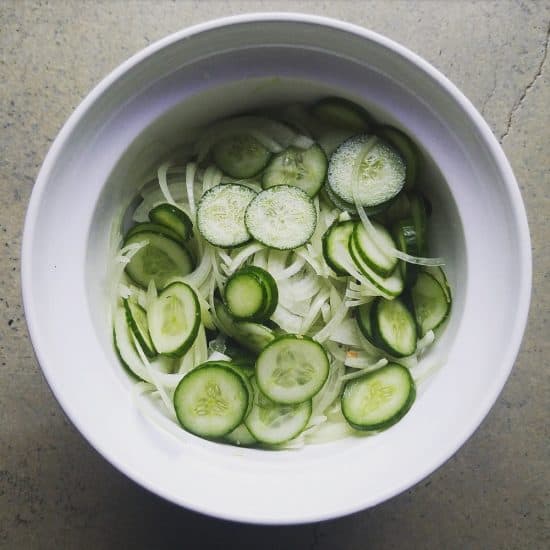
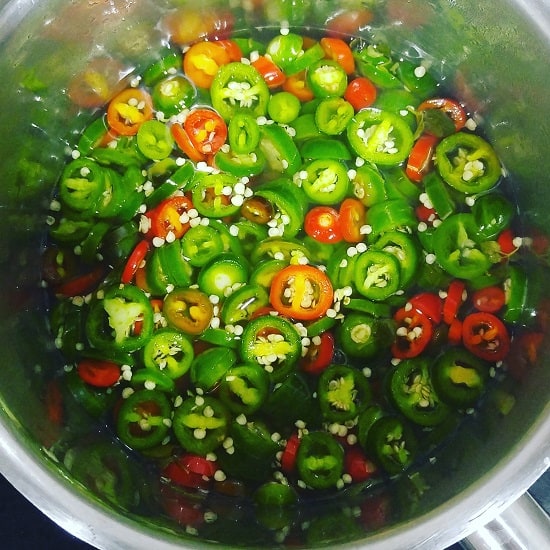
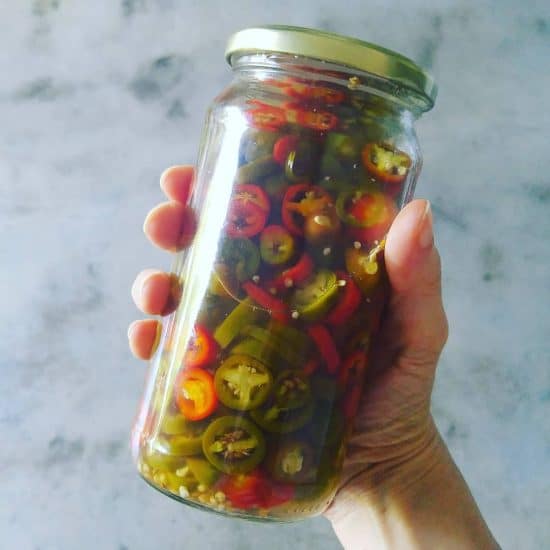
Here are a couple more sneak peeks of the pages…

Where you can buy The Less Waste No Fuss Kitchen

The best place to buy the book, if you can, is your local independent bookstore. If you can’t physically go into the shop to browse, you might be able to call and arrange collection, or they may deliver.

Alternatively, you might like to support MY favourite independent bookstore, Rabble Books & Games (Maylands, WA). They can post, if you’re not local. All books purchased from Rabble will be signed by me :)

Alternatively, here are some online stockists that are selling my book:

Australia / New Zealand stockists:

Angus & Robertson | Booktopia | Book Depository | Dymocks | Mighty Ape (AU) | Mighty Ape (NZ)

UK Stockists:

(Official publication date is 11 June 2020)

Blackwells | Book Depository | Foyles | Hive Books | Waterstones

US and Canada Stockists:

(Official publication date is 16 June 2020)

Amazon | Barnes & Noble | Books-A-Million | Indigo (Canada) | Indiebound

eBook:

(Release date 15 June 2020)

Apple Books (iTunes) | Kindle (UK) | Kindle (USA)

Don’t forget your library!

If you’re a book borrower and not a book buyer, please don’t forget to ask your library to stock the book. It’s hard right now with so many libraries currently closed, but if staff are still working behind the scenes they might be able to order it in ready for when they re-open the doors. It’s worth checking!

The Less Waste No Fuss Kitchen – your questions answered!

Is The Less Waste No Fuss Kitchen a recipe book?

It’s more of a handbook than a recipe book. There are some recipes in part five, but it’s a much more holistic look at the way we shop, cook and eat. From the places we shop at to the things we buy; from navigating confusing choices to making the most of what we have once we bring it home – the book explores the options and ideas to limit plastic and packaging, lower our carbon footprint, get more creative in the kitchen and reduce food waste – without overhauling our entire lives or chaining ourselves to the stove.

Less waste, no fuss.

Is this a book that vegans will get value from? / Is this a book that non-vegans will get value from?

Without wanting to say ‘it’s a book for everybody!’ (because when is that ever helpful?), if you’re a vegan or a non-vegan who gets value from reading my blog, then you will get value from reading my book. Remember, it’s not a cookbook (although the recipes that are included are plant-based/vegan friendly). There’s no beating anyone over the head with a baguette and telling them what they *should* be doing (or eating) – that’s just not my style.

My approach (here and in the book!) is to avoid being prescriptive, and anyways, I really don’t believe there is a single approach that works for everyone in all circumstances. The purpose of the book – as I see it – is to help you find which approaches will work for you (rather than tell you what I think you should do).

Can I get a signed copy?

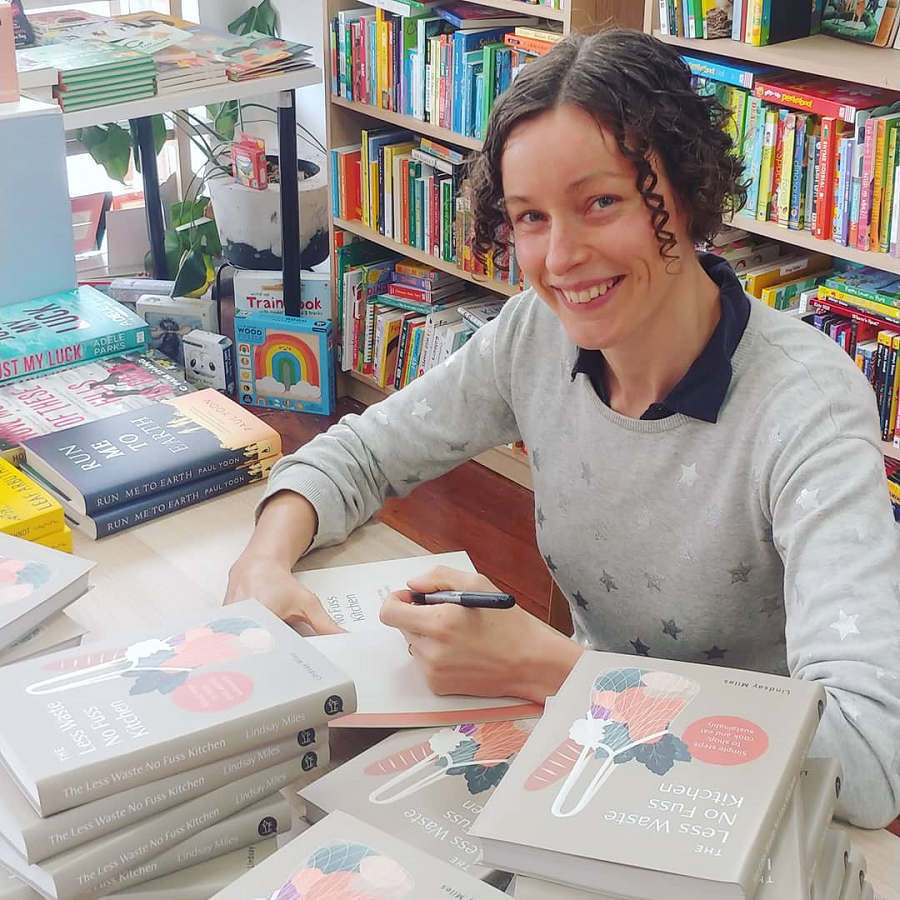
Yes! If you order from my favourite local independent bookshop Rabble Books and Games (located in Maylands, Perth WA) you’ll be able to request a signed copy!

Pick-up is available in store, or they offer local delivery, or ship by Australia Post for orders further afield.

Are you doing any events or a launch for the book?

Sadly no, all the events that were planned have had to be cancelled due to Covid-19.

Why are there different covers of the book?

Actually, there aren’t. There is just one cover – this one.

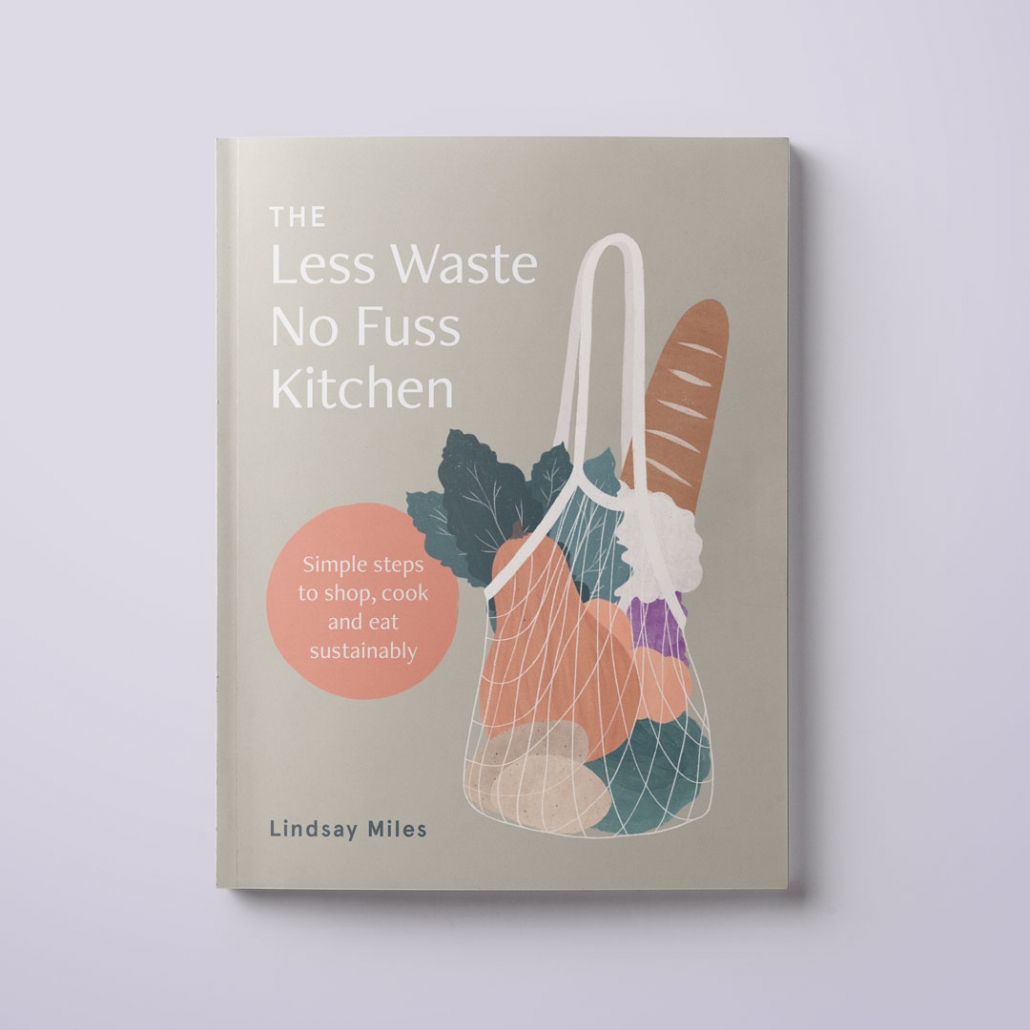
However, the US office of my publisher released a super early concept version of the front cover several months ago (one that I’d never seen before it was plastered all over the internet!) and it’s been a long process trying to get all the stores to update the image. That cover never went to print, and you won’t actually receive a book with any cover other than the one above. Sorry for the confusion!

Is there an ebook or audiobook version?

The ebook is being published on 15 June 2020. There is no audiobook planned at this stage.

I hope that answers all your questions, and gives you a bit of insight into the book. If I missed anything, be sure to ask me.

I can’t wait for you to have a read, and I really hope you find it useful and actionable!

Reducing food waste: store cupboard crumble (+ ideas to use up old fruit)

With the current lockdowns and restrictions on movements, I’ve been rethinking how I use my (rather small) freezer. Now that I really need to optimise the space, I’m removing and using up some of the less useful items that take up space (a few random sticks of rhubarb, and a jar of stock) and filling it up with more useful items – ideally meals, or parts of meals.

One of the things I find really handy to keep in the freezer is crumble topping. Whenever I make crumble I always double the topping, and freeze half. (After all, making double – or triple – the quantity creates exactly the same amount of mess and washing up, but twice the food, and I’m all for that.)

It means down the track, when I discover some sad fruit in the fruit bowl, or a glut of something that I want to use up, I can grab the topping outta the freezer, and voila – almost instant crumble.

Growing up, the crumble I ate was made of refined white flour, refined white sugar, and butter. These days I prefer to make my crumble a little bit healthier.

And as long as you follow the rule of some sweetness, some crunch and some fat, it’s a pretty great idea for using up random ingredients from the pantry.

Making crumble topping

Ingredients:

  • 2 cups rolled oats
  • 1 cup ground almonds (you could replace this with plain flour – wouldn’t be as tasty but kinder on your wallet. Other options are oat flour, rice flour, buckwheat flour)
  • 1/3 cup solid sugar (I like rapadura sugar, but any white or brown sugar that you have is fine)
  • 1/4 cup melted coconut oil
  • 1 cup nuts/seeds (use what you have: chopped almonds, mixed nuts, hazelnuts or pecans, shredded coconut or coconut flakes, pumpkin or sunflower seeds, even buckwheat kernels will all work great)
  • Pinch of salt

(A note if you’d prefer to use butter instead of coconut oil: the traditional way of making crumble is using cubes of cold butter, and rubbing into the flour to make ‘crumbs’. But my guess is, if you’re using chunky ingredients like oats rather than just plain flour, you can just pour melted butter in – it’s the same consistency as melted coconut oil.)

Method:

Mix all the dry ingredients into a bowl, pour melted coconut oil on top, and mix well.

Whatever you’re not using straightaway, pop in a container (I use a glass jar) and store in the freezer. If you don’t have space the fridge is fine. I’d keep in the fridge for a month or two, and the freezer for three to six months.

Reducing food waste: using old fruit for crumble

Crumble is the perfect way to use up old fruit. Apples that have gone floury, pears that have started to go squishy, stone fruit that’s gone wrinkly, blackberries or mulberries that have been sitting in the freezer for months – they are all perfect for crumble.

If you don’t have enough fruit to make a crumble, you can simply chop and freeze what you have until you’ve got enough. Or, you could just make a one person version.

Tropical fruit like bananas and mango will work too. I’ve never seen a crumble for citrus, but I’d love to try 50/50 with orange and rhubarb, for sure.

It can be helpful to stew the fruit before you make crumble. You don’t have to, but it will ensure the fruit isn’t hard in the crumble, and also reduce the cooking time considerably. All ‘stewing’ means is roughly chopping the fruit and chucking in a saucepan with a small amount of water (or orange juice), and cooking for a few minutes until the fruit starts to break down.

I don’t add sugar, because I find the fruit sweet enough, and there is sugar already in the topping. I usually add a sprinkle of cinnamon – and sometimes ginger – to the stewed fruit. Zested orange would be great, too.

Another option is to roast the fruit. Stone fruit are great roasted. Slice, place on a tray, brush with a little oil, sprinkle with a little cinnamon and bake in a medium-hot oven for 15-20 minutes. Takes longer, but tasty.

I like my fruit still a bit chunky, but you can cook it until mushy if you prefer.

How to cook store cupboard crumble

I don’t tend to weigh out fruit, or even the crumble topping. I prefer to measure it visually. Spoon the fruit into an ovenproof dish (I use glass Pyrex) so that it’s a few centimetres (a couple of inches) deep. Then, sprinkle on the crumble topping until it’s the thickness you like. No need to press it down.

Any excess crumble topping can be placed in a glass jar or other container, and frozen until you want to make crumble next.

Bake in the oven on a medium heat (I’d go for 150 – 180°C / 300 – 360°F) for about 15 – 20 minutes. If you’ve stewed the fruit beforehand you don’t actually need to ‘cook’ the crumble so much as warm it through. If you’ve used pecan nuts, opt for the lower temperature as they are prone to burning at higher temperatures.

(Better to cook for slightly longer at a lower temperature than end up with a blackened top.)

It’s ready when the top is browned and the fruit is bubbling.

Although crumble is traditionally a dessert, I often make it for breakfast (cooking the night before and either eating cold, or warming through in the morning). It’s got less sugar in it than a lot of cereals. I think if it as inverted muesli with fruit at the bottom rather than on top.

To store, allow to cool and then refrigerate and then eat within a week, or freeze and use within 3 months.

Now I’d love to hear from you! What ingredients are sitting in your pantry right now, and how are you planning to use them up? Any pantry ingredients you’re wondering how to use right now? What staples are you keeping in your freezer? Any other thoughts? Please share in the comments below!

Food is free: 8 ideas for where to find it and how to share it

I’m a big believer that the most important part of zero waste isn’t the stuff you buy or the things you use – it is the connections that you make with others.

Ultimately, as a society, if we want to waste less then we need to share more. The more connected we are, the more we can participate in sharing – be it receiving or giving.

I’ve talked about the sharing of ‘stuff’ often (and it’s a big part of what my book Less Stuff is about). Today I wanted to talk about something different that we can share – food – and just some of the many ways that people are already sharing food with others in their community.

Food goes to waste in lots of ways. It might go unpicked on a tree or in a garden bed, or it might be picked but then not used before it begins to go bad. We might buy more than we need, change our plans or our minds, decide we don’t like something we purchased and so let food we have go to waste.

The following community initiatives all exist to help those with not enough have access to what they do need, and those with too much/excess to share what they have. Everyone wins.

Buy Nothing Project

It might be possible to write a waste-related post and not include the Buy Nothing project, but today is not that day. It’s one of the best neighbourhood sharing networks I’ve ever joined. The Buy Nothing project is a global network of community neighbourhood groups that use Facebook Groups to connect members.

It’s only possible to join one group – the one where you live. The vision for the network is ‘buy nothing, give freely, share creatively’, and members can give, lend or take from other members (no swapping, selling or bartering is permitted).

A lot of the items are of course not food, but it’s by go-to resource for finding excess lemons, and I’ve also found avocados, lemongrass, oranges, limes, opened jars of peanut butter, other unopened grocery items and more.

Website buynothingproject.org

Little Free Pantries

You might have heard of Little Free Libraries… well, Little Free Pantries have taken this concept and applied it to food and household items: neighbours helping neighbours.

They are designed to provide better food access to those less able to meet their everyday food needs, but everyone is welcome to provide or take food as they need. It removes the hierarchy associated with food charities, and there is no need to ‘register’.

Their website not only has a map of where the existing Little Free Pantries are located (if you’d like to donate items), but lots of information for setting up your own including detailed plans for actually building a pantry.

Website: littlefreepantry.org

Community Fridges

These refrigerators are located in public spaces, enabling food to be shared with the community – anyone can put food in or take it out – with the goal of reducing food waste, and also enabling those in hardship easy access to fresh food. The first Community Fridges were set up in Germany in 2012.

They are like Little Free Pantries with electricity – meaning that they can offer chilled products, but are more tricky to establish (needing an electricity supply, for a start).

Unlike the Little Free Pantry, there isn’t one overarching network for the fridges, and they sometimes go by different names.

Freedge is a good starting point if you’re in North America, South America or Europe. Website: freedge.org

In Spain they’re called Nevera Solidaria, or Solidarity Fridges. Website: neverasolidaria.org

In the UK, a national network of Community Fridges has been set up by the environmental charity Hubbub with a goal of 100 open Fridges by 2020. Website: hubbub.org.uk

Grow Free carts

Started in Australia and now expanding overseas, this growing network of sharing carts offers free home-grown produce including eggs, jams and chutney, seeds and seedlings. Some carts also offer empty glass jars, old plant pots and egg boxes for reuse.

Some carts are available 24/7, and others have ‘opening hours’ (my local one, pictured above, is only open on weekends). Many local groups use Facebook to detail exact open hours and also what the cart has from day to day/week to week.

Everything is free, and they have the motto “take what you need, give what you can.’

Website: growfree.org.au

(I’m planning on setting up my own Grow Free cart in the next month or so. I’ve sourced a suitable cart – a baby change table on wheels from my Buy Nothing group – and will be posting shortly on how it goes.)

Food Swap / Crop Swap groups

These are informal neighbourhoods groups of people sharing their excess food and produce through recurring events (often weekly, fortnightly or monthly). They run under a few different names, including Grow Swap Share groups and Crop Swap groups, and they all run slightly differently.

Even if you’re not currently growing anything it can be fun to go along and find out who’s growing what in your area, and get to know your community.

Website foodswapnetwork.com (or try cropswap.sydney for a great list of Australian groups)

Fallen Fruit

A map of urban fruit trees and other edibles that is open for anyone to edit. Listings include public orchards and community plantings, trees or shrubs on public or council land, and those on private land. Run by volunteers as a not-for-profit initiative.

Website fallingfruit.org

Ripe Near Me

A map of locally grown food that allows both the public to add any fruit trees growing on public land, or home gardeners and growers to list their surplus (which they can either offer for free or charge a small amount). 

Website ripenear.me

Olio Ex

There are plenty of apps helping reduce food waste, but Olio is one that is completely free, allowing shops, cafes and households to list excess food and share it with neighbours.

Website: olioex.com (app available on Android or Apple)

I’m sure I have only touched the surface of all the great ways that people are sharing surplus food, strengthening neighbourhood ties and connecting community. But I’m also sure that there is something here for all of us. Whether you want to drop some tins at your local Little Free Pantry, download the Olio app, set up a Grow Free cart, check out fruit trees in your nihbourhood or join a local Crop Swap group, the best thing about all of these ideas is that you can start today.

Now I’d love to hear from you! Which one (or two!) ideas resonate most with you? What will you do to take action? Are you already involved in one of these and can you share your experience? Do you know of any other great initiatives I’ve missed? Please share your thoughts in the comments below!

How to Compost ‘On The Go’

Having a compost bin (or worm farm) at home is great, and I’d thoroughly recommend it as a place to put all your food scraps, peels, bad bits and other things you might like to compost rather than put in the general waste bin. But we tend to eat food when we’re out and about too, and we all go on day trips and holidays… so what do we do about food waste then?

Whilst it isn’t as easy as stepping outside the back door and opening up a compost bin, there are still things we can do to ensure we’re still composting whilst on the move.

How to Compost on Day Trips

I always carry my reusable coffee cup in my handbag: it is most used not for takeaway coffee but for food waste scraps. Apple cores, pips and peels, the occasional teabag, a dirty napkin or anything else I might be left with when out gets stashed in here until I get home.

I’d recommend a glass, ceramic or metal coffee cup (or other container) for this. Plastic tends to absorb the flavours of whatever it’s holding, and coffee that’s flavoured with yesterday’s banana peel isn’t great. If you do use plastic, wash throroughly and leave overnight filled with water and a spoonful of sodium bicarbonate to try to lift any stufbborn smells.

If I ever wrote a ‘ten things I use my KeepCup for’ post, carrying around bits of compost would be number 1 (leftovers would be number 2, and actually, takeaway coffee would probably be number 10).

If I take snacks from home, I’m always conscious of any ‘waste’ they might create. Take a banana, I’ll be left with the peel; take an apple and there will be a (smaller) core; take grapes and I’ll be left with a couple of pips. I think about where I’m going and if I want to be carrying around these things before choosing.

If I go on a picnic, It’s pretty easy because I take my food in reusable containers, so I can simply use my containers for scraps.

How to Compost on Longer Trips and Holidays

If I’m going somewhere far from home, the absolute first thing I do is check ShareWaste, the free compost networking service. It’s one of my favourite resources. I see if anyone has a compost bin in the areas I’m travelling to.

I’ll also do an online search for local community gardens, as these often have compost bins.

Sometimes it’s a yes, but often it’s a no. In which case, these are my options.

In an ideal world, I’ll take my food scraps home with me. If I’m away for several days they will start to get a bit stinky, so I either store in the freezer (if there is a freezer) or fridge, which helps slow down any decomposition.

Ideally I’d have a cool box (Esky) for the trip home. Failing that, any container that can seal tightly will work. You won’t want to be spending time in a car with decomposing food waste smells, promise.

If you don’t have the luxury of a car, you’re camping or for other reasons can’t refrigerate or transport food scraps home, your options are more limited.

Does the local council have a food scraps collection service?

Councils are increasingly offering doorstop food waste collection services, and compost those scraps. It’s worth checking if this service is offered where you’re staying.

Could you bury the food scraps?

Ideally, food scraps need to be buried 25cm (10 inches) deep and covered with soil to deter pests. Burying is more practical in the countryside or bush than in the city. If there are signs specifically telling you not to do it, then don’t do it.

What about local parks?

Parks are not there to accommodate our personal food waste, although burying a single apple core deep in a planter box is a little different to dumping a week’s worth of trash on the lawn in Central Park. It’s not ideal, and it’s not really recommended.

As tempting as it is to take food waste to public places, remember that if everyone did this, it would turn into a garbage heap pretty quickly. Food will attract wildlife, and even if you bury it, you might be inadvertently adding pests or invasive species to the area (those fruit pips might sprout trees that are not welcome).

When you’re out of options…

Try to reduce food waste wherever we can. I try to make choices to reduce food scraps. If I need to cook, I’ll often choose vegetables like broccoli and mushrooms, where the whole thing can be eaten, and be less likely to choose foods like mango and pineapple that have huge amounts of skin and or a big stone to deal with, just to keep my waste to a minimum.

I don’t want to put my food scraps in the general waste bin, but if I really don’t have any other options, that’s what I do. I remind myself that it’s not my fault: governments, councils and businesses need to recognise food scraps both for the resource they are (nutrients) and the burden they are if not composted properly (methane emissions).

They need to make it easier for people to do the right thing.

When I say easier, I’m not meaning that we should appease people’s ‘apparent laziness’. I mean this: when I visited Exmouth in 2017, some of my food scraps travelled 1,248km home with me because there was no composting anywhere on the route. Sharewaste now has a few additions on their map, and it’s currently a ‘mere’ 835km from Exmouth to the closest compost bin.

Most people aren’t going to do this.

So whilst I encourage you to set up a compost bin at home, try to plan ahead, bring a container, think about the waste you might create it and attempt to avoid it, and look for local services that might be able to help, I also want to remind you that sometimes, trying to do what’s right feels like (or is) an uphill battle.

It isn’t always accessible or practical. That’s not our fault. Do what you can, celebrate your successes, don’t feel bad if you can’t make it work, and resolve to keep on trying.

Now I’d love to hear from you! How do you reduce food waste? Any tips to add? Any situations you particularly struggle with? Any questions about composting? Please share your thoughts in the comments below!

Fight Food Waste: How to Make Refrigerator Pickles

I’m heading overseas in less than a week, and in a moment of memory loss I forgot to cancel this week’s veg box. Needless to say I now have a fridge packed full of fresh organic vegetables, when really I need to be using stuff up, not buying more.

Whilst I don’t really have the time to be food prepping, I do have the time to make refrigerator pickles. It’s a simple way to preserve things like cucumbers, chillies and cabbage in just a few minutes and store them in the fridge until they are ready to be eaten.

Pickling (and preserving in general) is not just for homesteaders, or people with gardens full of fresh produce. It’s for anyone who appreciates the value of good food and doesn’t want to chuck stuff in the bin.

If you’ve ever been faced with more food in your fridge than you can actually eat fresh, you might find this useful.

Refrigerator Pickles versus Canning

Refrigerator pickles is a quick and easy way to preserve vegetables, but it is not the same as canning. Canning involves more processing, much more care, boiling the jars to ensure sterilization – and it means that the resulting cans can be stored at room temperature.

Refrigerator pickles need to be kept in the fridge. It’s a way of prolonging the life of fresh veggies using salt, sugar and vinegar to deter bacterial growth and spoilage, but also relying on the cool temperature of the refrigerator to slow it down rather than using heat and sterile techniques (which is canning).

Refrigerator pickles are easier, quicker and more forgiving. People choose to can when they don’t have the fridge space, and are storing big quantities. Most of us have the fridge space for a few jars of pickled cucumbers.

Refrigerator Pickles – Preparation

Unlike canning, it’s not necessary to sterilize your equipment, but it is good practice. Refrigeration slows down spoilage but doesn’t kill bacteria, so doing all we can to keep things clean will increase the shelf life.

Wash glass jars with hot, soapy water, then place on a baking tray and heat in the oven at 160°C for 10-15 minutes. Place the lids (and any spoons) in a pan of boiling water for 5 minutes.

Salt, sugar and vinegar are all preservatives so avoid reducing these. There’s no hard and fast rules about spices used, or quantities, so feel free to adjust according to what you have and taste preferences.

Fresh dill is great with cucumbers, if you have it.

If you run out of brine after filling the jars, simple heat a little extra vinegar and pour on top.

I usually decide what size jars I need by packing the sliced produce into jars before making the brine. Then I clean and sterilize the jars before refilling.

Cucumber Pickles (Bread and Butter Pickles)

Ingredients:

600g cucumber (3 Lebanese cucumbers), sliced into thin rounds
1 white onion, thinly sliced
250ml (1 cup) white vinegar / apple cider vinegar
250ml (1 cup) water
60g (1/4 cup) sugar
1 tbsp salt
1 tsp mustard seeds
1 tsp black peppercorns
1 tsp fennel seeds
Pinch of turmeric

Method:

Place the sliced cucumber and sliced onion in a bowl and sprinkle with salt. Leave for a couple of hours to draw out the water, then drain well in a colander.

Pour the water and vinegar into a saucepan, and add the sugar and spices. Bring to the boil, ensuring the sugar has dissolved. Simmer for 5 minutes, then add the cucumber and onion, and turn off the heat.

Place the cucumber and onion into the glass jars using tongs, then pour the liquid over the top until completely submersed and with a 1cm gap at the top of the jar. Ensure there are no air bubbles (banging the jar gently on the counter, or stirring with a spoon handles will remove them).

Secure the lids, then pop in the fridge and store for up to 6 months. Can be eaten straightaway.

Jalapeno Pickles

Ingredients:

20 – 30 jalapeno (or other) chillies, sliced into rounds
185ml (3/4 cup) white vinegar
185ml (3/4 cup) water
1 tbsp sugar
1 tbsp salt
1 clove garlic, crushed
Optional: 1 tbsp fresh or 1 pinch dried oregano

Method:

Slice the chillies into rounds.

Pour the water and vinegar into a saucepan, and add the sugar, salt, garlic and oregano. Bring to the boil, ensuring the sugar has dissolved. Simmer for 5 minutes, then add the chilli, and turn off the heat. Leave to sit for 10 minutes.

Place the chillies into glass jars using tongs, then pour the liquid over the top until completely submersed and with a 1cm gap at the top of the jar. Ensure there are no air bubbles (banging the jar gently on the counter, or stirring with a spoon handles will remove them).

Secure the lids, then pop in the fridge and store for up to 6 months. Can be eaten straightaway.

TIP: Once in the fridge, the garlic may turn blue. This may seem like cause for concern but actually it’s completely safe. There’s a number of reasons why the garlic might turn blue: soil conditions, garlic type, metal traces in the water and enzyme content. It might look odd but it’s fine to eat.

Pickles are a great way to preserve food when it’s abundant (such as cucumbers and chillies in the summer) and store them for when they are out of season. Sure, they don’t taste exactly the same as the fresh versions, but it’s a great way of bringing a little sunshine into winter meals.

Now I’d love to hear from you! Do you make your own pickles? What flavour combinations do you like? What’s the most unusual thing you’ve ever pickled? If you’ve never pickled anything before, are you game to give it a try? Share your thoughts in the comments below!

[leadpages_leadbox leadbox_id=1429a0746639c5] [/leadpages_leadbox]

How to Compost for Zero Waste Living Without a Compost Bin

When I gave up plastic, I quickly noticed that the only thing going into my rubbish bin was food scraps. Take out the plastic, and food waste is pretty much all that’s left. Glass, paper, cardboard and metal are commonly recycled, so these would go in the recycling bin.

It’s not that I was throwing perfectly good food away. You wouldn’t catch me doing that! Food waste includes spoiled fruit and vegetables, the peels, the skins, the outer leaves, the cores, the husks, the seeds. The inedible bits.

Food waste makes up almost 40% of the average domestic rubbish bin. Without the plastic, it was nearly 100% of mine! I realised that if I could set up a system for dealing with food waste, my bin would be empty.

The thing was, when I began living zero waste, I lived in an upstairs flat without a garden. The good news is, we managed. There is always a way! There are actually plenty of ways to deal with food waste without having a garden or even a compost bin.

A Zero Waste Guide to Composting (No Garden? No Problem!)

1. Regular Composting

Zero Waste Plastic Free Gardening Homemade Compost Treading My Own Path

A standard compost bin requires a patch of soil or dirt about 1m² where it can be dug in. That isn’t a huge amount of space. Even if you don’t have your own garden, there might be a shared area where you can put one.

And if the reason you’re not composting is simply because you haven’t yet got yourself a compost bin yet… Well, get yourself on the local classifieds sites or Freecycle immediately! There is no time to lose ;)

Suitable for: anyone with a small patch of dirt.

Not suitable for: apartment dwellers, those with no outdoor green space.

2. A Rotary Composter

rotary-compost

A rotary composter is a compost bin suspended on a frame, making it useful for small spaces and paved surfaces. They are also called barrel composters and spinning composters. They are often more expensive than regular compost bins, and it is worth paying extra for one that is well designed and sturdy. They can be difficult to turn when full, particularly the larger ones, so bear that in mind before choosing the XL model. Read reviews to find a model that suits your needs.

Suitable for: anyone with a balcony, yard or space outdoors.

Not suitable for: people with back or strength issues (who may find turning it hard).

3. Neighbours with Compost Bins (or a Garden)

You might not have a garden, but what about your neighbours? Would they mind if you put a compost bin on their land? How about family and friends living locally? It doesn’t hurt to ask, and it’s a great way to build good relations with your neighbours.

Alternatively, check out this great site Sharewaste.com, which lets you either find places to take your compost, or offer your compost bin to others. I’ve registered my bins!

Suitable for: anyone with friendly neighbours or friends/family with a garden.

4. Council collections

When I lived in Bristol (UK) I was lucky enough that the council would collect food scraps from my door once a week for composting. If you live in an area with this service, make use of it! If you don’t live somewhere where this happens, contact your council and find out if there are any plans to launch it in the near future.

(If your friends or family have this service but you don’t, maybe you can make use of theirs!)

Suitable for: anyone with a council composting collection service.

5. Collected Compost

This is similar to the council composting scheme, except they are run privately. Food waste is collected from your door and taken away for composting. Unlike the council services, there may be a small charge for these services.

Sometimes Farmers Markets offer this service, so you can take your compost waste to the Farmers Market.

Suitable for: anyone living in the catchment of a private compost collecting company.

Not suitable for: anyone on a tight budget who doesn’t want to commit to weekly collection fees.

6. Community Garden Composting

If you don’t have space to compost at home, and you don’t have neighbours, friends or family who are able (or willing) to help you out, community gardens are a great place to take your compost. Many are willing to take food scraps without the need for you to be a member (although being a member is a great way to support a local organisation doing good in the community). Find out where the nearest community garden is to your home or your place of work, and get in touch to find out how you can connect your waste with their bins.

Suitable for: anyone living or working near a community garden with compost bins.

7. Worm Farm (Vermicomposting)

Build a DIY Worm Farm

A worm farm is typically a box with air holes, drainage and a lid, and worms. Worm farms (also called vermicomposting) uses composting worms, which are fast growing and fast eating, rather than earthworms that you might dig up from your garden. They eat food waste and turn it into rich worm castings that is a great soil additive.

They are available for purchase (often in the second-hand ads) or you can make your own using waste materials.

Worm farms can be kept indoors or outdoors dependent on climate (worms don’t like the cold). If looked after properly they do not smell.

Suitable for: everyone, but especially apartment dwellers and those without a garden.

8. Bokashi

Bokashi Bin

Bokashi bins ferment waste rather than breaking it down. They are an indoor home composting system and can deal with all types of waste, including cooked food and meat/fish products. Inoculated bran is added to the bin to kickstart the fermentation process. The bokashi bin is sealed and does not smell.

Once filled the contents need to be dug into a garden or added to a compost bin, so access to outside space is necessary.

Find out more about bokashi composting.

Suitable for: meat eaters who have waste unsuitable for composting.

Not suitable for: anyone without access to outdoor space.

When we began our zero waste lifestyle, we started out with a single worm farm. That grew to two worm farms, and we added a bokashi bin to the mix too. Now we have a garden we still have the worm farms and the bokashi bin (although this is not currently in use) and have established not one but four compost bins! This means we have space not only to compost our own food scraps, but other people’s too :)

Now I’d love to hear from you! How do you deal with your food waste? Do you compost, or have a worm farm, or a bokashi? Do you have all three?! Or none of them, and you do something completely different? Have you tried any of these and not got on with them? Do you need help or troubleshooting? Which one is your favourite? Any that you’d like to get started with? Tell me your thoughts in the comments below!

[leadpages_leadbox leadbox_id=123a865e9839c5] [/leadpages_leadbox]

Bokashi Bins: the Whats, Hows and Whys

Inspired by watching Dive! last week, and thinking about reducing the food waste I send to landfill, I’ve decided to revisit the bokashi bin. We give most of our food scraps to our worm farm, but there are some things that worms just don’t like (onion skins and lemon peels, for example) and these end up in the rubbish bin.

When I attempted my first Zero Waste Week in June I used a Bokashi bin to process my food waste to avoid sending it to landfill. Having completed a full cycle with this system, I thought I’d explain what they are, how they work and how I found using one.

The Bokashi Bin: What Is It?

Bokashi bins are home composting systems that are designed to be used indoors.  (Technically, they aren’t composting, but fermenting.)The bokashi system comprises two parts: a bucket with a sealable lid and a tap, and also bokashi mix, which are fermented grains (such as wheat bran and rice husks) that contain microorganisms. There is a tray inside the bucket to separate the liquid leachate that drains off with the sold waste.

Removable tray inside the bokashi bin.

Removable tray inside the bokashi bin.

Bokashi Bins: How Do They Work?

Bokashi bins work by fermenting food, and need anaerobic conditions (no oxygen). The bokashi bin has a tightly fitting lid to seal the waste. (This differs from composting which requires oxygen). Food waste is placed in the bucket, the fermented grains are sprinkled on top, everything is compacted down and the lid is sealed. Because the food isn’t decomposing, there’s no terrible rotting food smell (although it’s not odourless), and it doesn’t attract pests. When the lid is on, there is no smell at all.

Bokashi bins have a tap on the bottom that allows the excess liquid to be drained off. A surprising volume of liquid is produced (how much exactly depends on the types of food you add to the bucket). Being very acidic, it’s not suitable to put on plants unless it’s heavily diluted, and even then it’s recommended that young roots are avoided as it will burn them. It does, however, make a great toilet and drain cleaner! No dilution is needed, you just pour it straight down.

Once the bin is full and the contents are fermented – usually after 4-6 weeks – the waste needs to be buried, or composted.

Bokashi Bins: Who Are They For?

Bokashi bins are touted as a great alternative for people who don’t have a garden and can’t compost their food waste. They are a fairly small and contained system suitable for indoors. They can deal with all types of food waste, including cooked food, meat bones, citrus peels/onion skins, egg shells and dairy – all things that you can’t put in compost or worm farms – so if you’re committed to zero waste, they are part of the solution.

The Bokashi Bin Review

I did not buy my bokashi bin – it was a gift from a friend who rescued it from a verge collection where it was destined for landfill. Conveniently, there was also a pack of bokashi grains with it. Bokashi bins are fairly easy to find second-hand, if you look in the right places!

I used my bokashi bin for citrus peel, onion skins, egg shells, corn on the cob waste, fruit stones and vegetable stems – things I can’t put in the worm farm. Because of the low water content of these things my bin filled up quite quickly: probably 4 weeks in total. Despite the low water content, I was surprised at how much leachate came off.

Bokashi bin first layer

The start of my bokashi bin filling…

Bokashi bin mashing

Each layer is covered with a sprinkling of grains, and then pressed down tightly.

Full bokashi bin

Filling the final layer of the bokashi 4 weeks later.

The smell of the bokashi didn’t bother me. When I opened the lid, it has a sour, fermented kinda smell (as you’d expect) that wasn’t unpleasant. I was quite impressed that with the lid on, there was no smell at all. The leachate smell, however, I could not bear by the end! It didn’t smell bad, just sour, but very strong, and I really didn’t like it.

Bokashi bin drained liquid

Bokashi bin leachate. It might look a bit like honey, but it most definitely does not smell like honey!

The frustration came when the bucket was full, and I had to empty it. The waste needs to be buried, so I found a corner of our communal garden to be the bokashi grave. The bucket was surprisingly heavy, and having to carry it down flights of stairs and across a car park was a pain, as was digging a big hole using only a trowel. (I’m sure a spade would have been easier, but bokashi bins are touted as solutions for people who live in apartments, and I’m sure most apartment dwellers with no garden don’t own a spade – I don’t). Fortunately the hole was big enough, so I emptied the fermented mass of waste into it and covered it over.

Digging a hole to bury the bokashi waste

Digging a hole to bury the bokashi waste…

Burying the bokashi waste in the garden

Filling the hole with bokashi waste.

Bokashi bin waste all gone (buried)

The bokashi waste final resting place.

I now understood why a lot of bokashi bins end up on the verge.

 Should You Give Bokashi Bin Composting a Go?

I didn’t find the bokashi bin the most practical thing in the world, but I love that they provide a solution to disposing of food waste that can’t be composted or given to the worm farm.

However, you need to buy the fermented grain bokashi mix, which comes in a plastic bag and isn’t cheap. Having to buy the grains would be a deal-breaker for me. (If you’re dedicated, there are instructables out there for making your own.) Needing somewhere to put the waste when the bin is full – either a compost bin or digging it into the ground and burying it – makes it impractical for many people. Bokashi bins are often touted as alternatives for flat-dwellers who can’t compost, but that often means they don’t have land to bury the bokashi waste either.

Should you give it a go? Yes! I’m a great believer that you should try everything once! How else are you going to know if it’s for you? See if you can find a bin second-hand, or borrow one from a friend. Before you begin, just be clear on what you’re going to do with the fermented waste – you really don’t want it hanging around your kitchen for eternity.

Good luck!

I really want to hear you! Have you ever used a bokashi bin? How did you find it? Do you have any tips or ideas to share? If you haven;t used one, what’s putting you off? Please tell me your thought and ideas an leave a comment below!

[leadpages_leadbox leadbox_id=1429a0746639c5] [/leadpages_leadbox]