Today, I’m talking cabbage. (Stay with me…it gets better, I promise!) Now cabbage and I, we have a bit of a love-hate relationship. I like cabbage, but it arrives in the veg box every week, reminding me that there’s still last week’s cabbage in the fridge refusing to go bad.
(Of course, I can’t put a perfectly good cabbage in the compost. If it happened to accidentally go bad…well, maybe I could justify it, but cabbage is stubborn!)
In fact, cabbage simply refuses to go bad, which actually makes it a rather good zero waste vegetable. (It shrivels a little and the outer leaves go brown, but peel those leaves back and there’s still perfectly good cabbage underneath.) Plus it grows at a time of year when many other more delicious vegetables do not.
If you want to eat seasonal and you live anywhere except the tropics, cabbage is going to feature on your menu. But cabbage week in, week out; it can wear a bit thin.
That, my friends, is why we need to embrace sauerkraut.
Sauerkraut is fermented cabbage. That might not sound delicious, but it’s a tangy, crunchy, super healthy vegetable that’s tastier than the name suggests. Sauerkraut contains millions of good bacteria, so is like taking probiotics, but without the packaging. Sauerkraut also lasts for ages in the fridge.
I’ve kept sauerkraut in the fridge for a year. Fresh cabbage might seem to last forever, but it won’t last a year.
The good news is, whilst fermenting sounds hard, it is actually very easy. Plus you don’t actually need any specialised equipment. Sure, there’s all kinds of fancy gadgets out there, but you can get going with a glass jar and a tea towel. Oh, and some cabbage ;)
That said, you don’t actually have to make sauerkraut with only cabbage. You can mix cabbage with other vegetables like onion, carrot and beetroot.
But let’s not get distracted thinking about all the wonderful potential! Let’s start at the beginning.
Some Fermentation Basics
Fermentation is a process that uses good bacteria and yeast to transform a product. By fermenting, we crowd out the bad bacteria with good bacteria, which changes the flavour and texture, but also helps lengthen the shelf life of the product. For example, yoghurt is fermented milk: whereas fresh milk will last in the fridge for up to a week, yoghurt might last a month.
Fermenting is anaerobic, meaning without oxygen. (Although confusingly, some foods are actually fermented with oxygen, such as vinegar.) In my experience of making sauerkraut, this “without oxygen” rule doesn’t need to be absolute. By removing oxygen we create conditions for the good bacteria to multiply, and these prevent the bad bacteria getting a hold and spoiling the food.
Fermentation has been used for centuries as a way of preserving food, prior to refrigeration. People were fermenting long before air-lock attachments and special fermentation jars were invented. This specialist equipment can help, but isn’t necessary.
I make sauerkraut a few times a year, and I simply don’t see the need to buy specialised equipment when it works without.
Because we are dealing with bacteria, we need to be careful not to be too over-zealous with the cleaning. I’d avoid using an anti-bacterial hand wash or chopping boards, for example. Clean is good, sterile not so much.
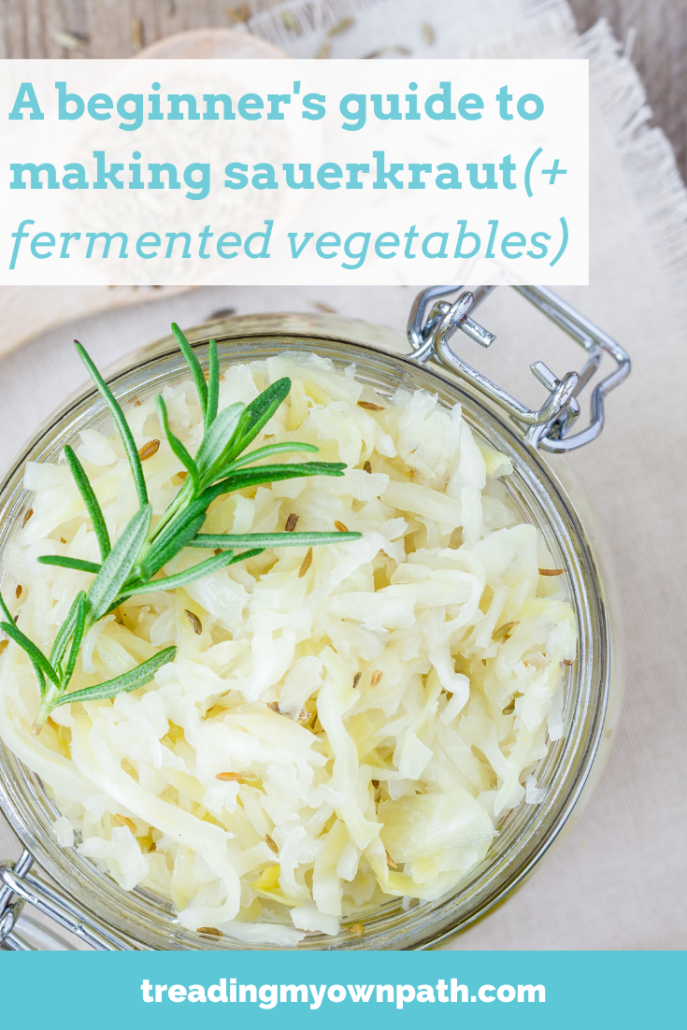
How to Make Sauerkraut (No Fancy Equipment Required)

I’m a big believer that you don’t need fancy equipment. I don’t use any, and I’ve been making sauerkraut and other fermented vegetables for over 4 years. If you’re a professional, that’s different, and with certain ferments, it can be crucial. But for sauerkraut, I personally don’t believe that it is.
Ingredients:
Cabbage;
1/100th weight of cabbage in salt.
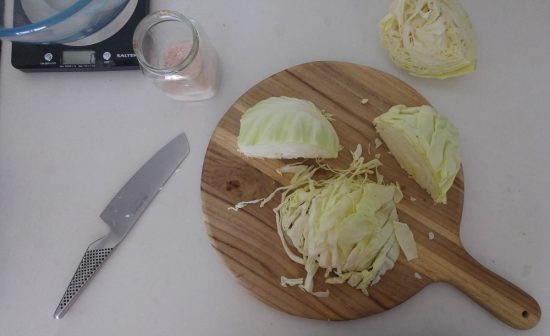
So if the cabbage weighs 1 kg, use 10g salt. Basically, divide the weight by 100. (It is possible to eyeball it, but when starting out it helps to measure.)
Equipment:
A large bowl;
A glass jar that you can fit your fist into (or if you have large hands or small jars, you’ll also need a wooden rolling pin);
A weight that fits inside the glass jar (I use a smaller glass jar filled with water);
A tea towel.
Method:
I’ve included a lot of photos before to give you a really clear idea of what each stage is meant to look like.
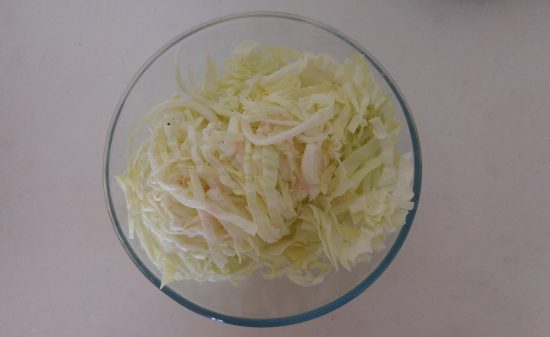
Remove the core of the cabbage (the stalky white bit), and chop the cabbage into strips. Weigh the cabbage, put into a large bowl and sprinkle the salt on top (the amount is calculated based on the weight of the cabbage – 1 kg cabbage equals 10g salt).
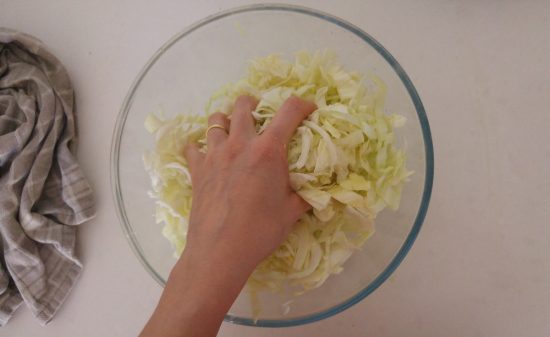
Massage the salt into the cabbage with your hands, and the salt will begin to draw the water out of the cabbage. This is what you want to happen. Massage for 10 – 15 minutes until the cabbage looks like it has shrunk.
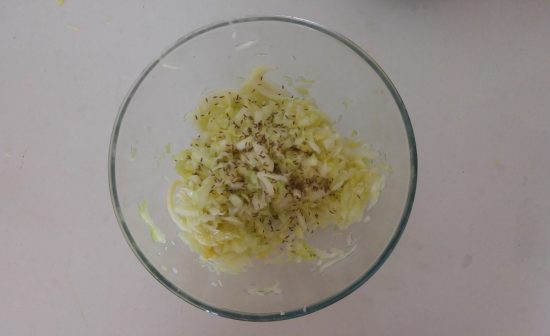
At this stage I always add a tablespoon of cumin seeds. I love the flavour it gives. You can keep yours plain, add cumin or go crazy with the spices. At the beginning, I’d suggest keeping it plain until you learn what flavours you’re meant to be looking out for.
Notice how the cabbage appears to have shrunk. (If you taste it at this point, it will taste like salty cabbage, not sauerkraut.)
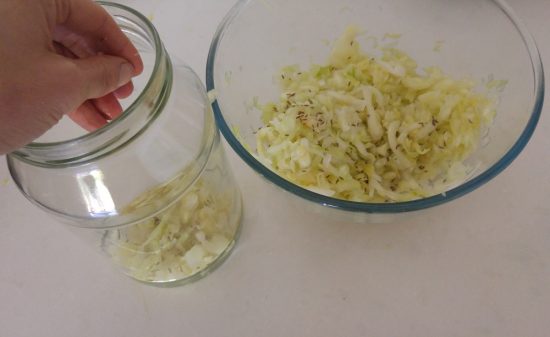
Next you need to start packing the cabbage into the jar. Choose a jar that’s going to have room for the juices to expand because they will. Ideally find one that you can fit your hands into, but if not, a rolling pin will work.
Put a few tablespoons of cabbage into the jar, and press down as hard as you can. You want to squeeze out any remaining liquid. Keep adding the cabbage and pressing, and you’ll start to see the liquid rising above the cabbage.
This is important as the liquid helps keep the oxygen away from the cabbage, and creates the right conditions for fermentation.

Once you’ve put all the cabbage in the jar, add any liquid remaining in the bowl into the jar. Do not add any other liquid.
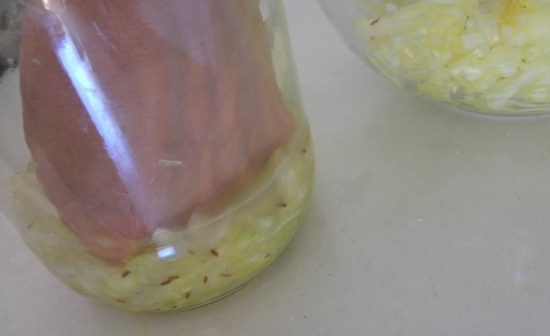
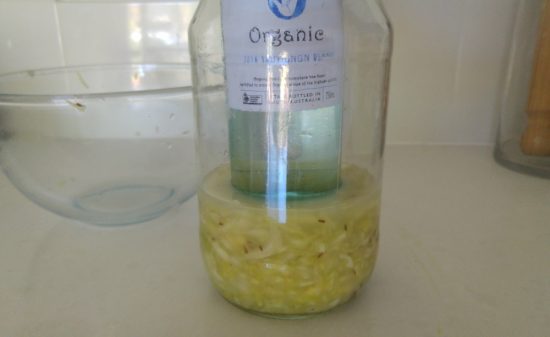
The cabbage will probably sitting slightly under the water level. To compact it down and thereby raise the liquid level, use a weight. I use a smaller jar that fits inside my large jar, or a bottle (I fill it with water to make it heavier).
If there’s any floating or escaped bits of cabbage, poke them under the liquid. Next, I cover with a tea towel.
The bottle on top is pressing the cabbage below the water line and excluding oxygen, and the bottle restricts the amount of jar entering through the lid. For me, this is enough.
If you’d like to put a lid on the jar (and it fits), this will exclude oxygen better. However, it has its own drawbacks. In the fermentation process, carbon dioxide gas will be released. Unless you remember to open the lid at intervals to allow the gas to escape (called “burping” the jar), your jar could explode. Won’t happen with a tea towel!
(That’s why you can buy fermentation valves that allow carbon dioxide to escape without letting in oxygen. For some things, like cider making, it is very important. For sauerkraut and lactic acid fermentation, it is less critical.)
Every day, check your cabbage. You’ll start to notice bubbles forming. I tend to press the weight down to squeeze out the bubbles, and also check for any floating bits. If there’s cabbage floating on the surface, it is in contact with air (oxygen), so needs to be submerged or removed.
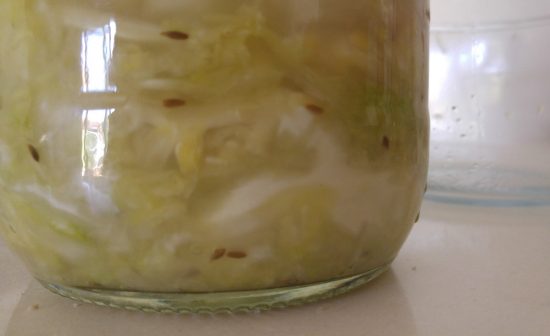
After 1 day (see the bubbles starting to form both on top, and within the cabbage layers):
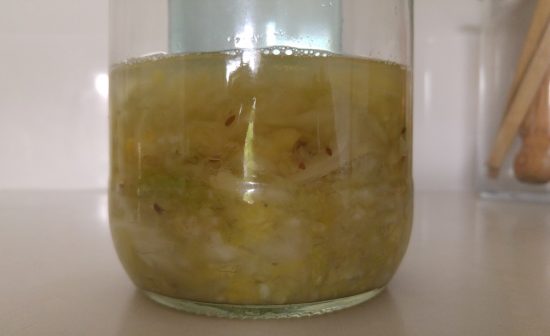
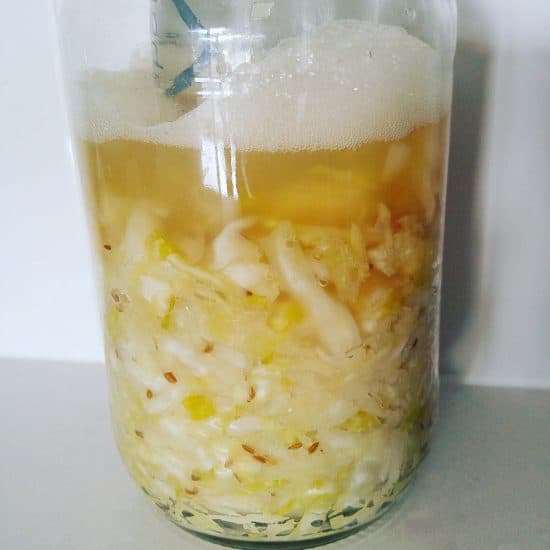
And after 3 days: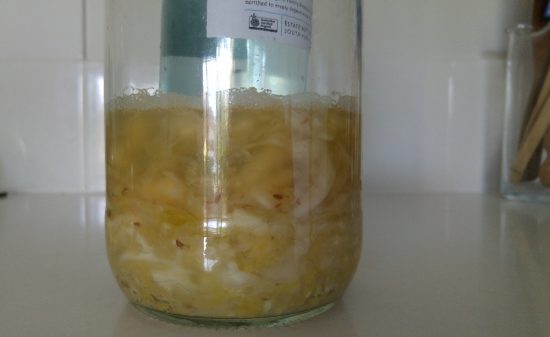
How quickly and how much it bubbles will depend a lot on room temperature. If your jar is narrow or filled to the top it can be helpful to place in a bowl as it might bubble over!
This is a different batch, but shows how much it can bubble (and I’ve seen more than this!):
I tend to keep my sauerkraut on the kitchen counter, covered with a tea towel (to also exclude light) until the bubbling subsides, which takes 1 – 2 weeks.
Some people like to leave their sauerkraut on the counter for several weeks or even months to increase the good bacteria (it will also taste more sour). In my view, it doesn’t really matter, and once in the fridge fermentation won’t stop, it will just continue very very slowly.
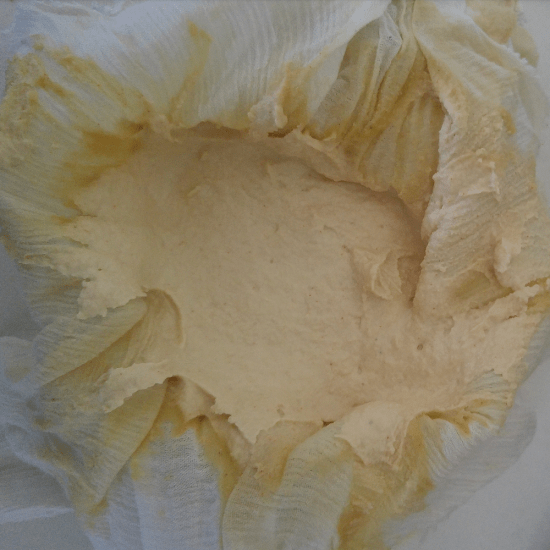
When the bubbling subsides, the sauerkraut should be crunchy and taste sour (but delicious). You may see a white film, this is kahm yeast and is harmless. I’ve never had an issue with mold, but if you see anything multi-coloured or blue, that batch might be better in the compost.
When you’re ready to place in the fridge, you can remove the cabbage/sauerkraut from big jar and put into something more practical. The less surface area the better, so choose a smaller jar. At this stage it is fine to place a lid on the jar.

Other Fermentation Ideas
You can ferment most veggies and even fruits, but they have varying levels of difficulty. If you’re a beginner, stick to hard veggies like beetroot and carrot, or use softer vegetables like onion as part of the vegetable mix, but not all of it.
That said, I’ve had success fermenting chillies, and I’m sure capsicums would work well also.
My personal favourites are carrot, onion and white cabbage with cumin seeds – taken from a South American ferment called curtido.
I also like beetroot and purple cabbage together because the colour is fantastic.
I made an amazing turmeric ginger sauerkraut once that tasted like piccalilli, but I’ve never been able to recreate the flavour combination since.


 Fermentation is a great way to preserve vegetables, and it a healthier option than pickling: the food is literally “alive” with good bacteria (there’s not heat process to kill them) and there’s no added sugar.
Plus it means I get to keep my cabbage in the fridge for literally months, without feeling the slightest bit guilty about it!
Now I’d like to hear from you! Do you ferment vegetables? What are your favourite flavour combinations? Have you had any disasters? Are there any other tips you’d like to add? Are you tempted to give this a go, or does the idea still scare you a little? Please tell all in the comments below!
[leadpages_leadbox leadbox_id=123a865e9839c5] [/leadpages_leadbox]