How to make your own baking powder

I started making my own baking powder when I heard that some baking powders contain aluminium. I didn’t want to be eating that. Also, baking powder contains gluten in the form of wheaten cornflour. Some of my family members are coeliac and I like to bake for them, so I need a gluten-free baking powder. That is also aluminium free. And ideally doesn’t come in plastic.

Turns out, baking powder is the easiest thing to make in the world. You need just two ingredients, cream of tartar and bicarbonate of soda.  The ratio is 2:1 so 2 teaspoons of cream of tartar needs 1 teaspoon of bicarb.

Mix them together and voila! You have super easy baking powder. Store in a jar in the cupboard until needed.

Some recipes also add 1 part cornstarch too, which means cornflour, but as cornflour is actually made of wheat and not corn (bizarrely) I don’t add this. I have seen a gluten-free cornflour available that is actually made with corn so at some point I might try it, but I think it works fine without.

What else do you need to know? It has a slight tendency to clump because it hasn’t got caking agents added. This isn’t a problem of course, just give the mix a good stir before you use it.

The other great thing is that you can make small batches as you need it, so it doesn’t sit in the cupboard slowly going out of date. No matter how much baking I do, I’ve never been able to use up an entire container of baking powder before I exceed the expiry date, so this suits me much better.

Roasting, soaking, sprouting, activating, or eating raw – a guide to eating nuts

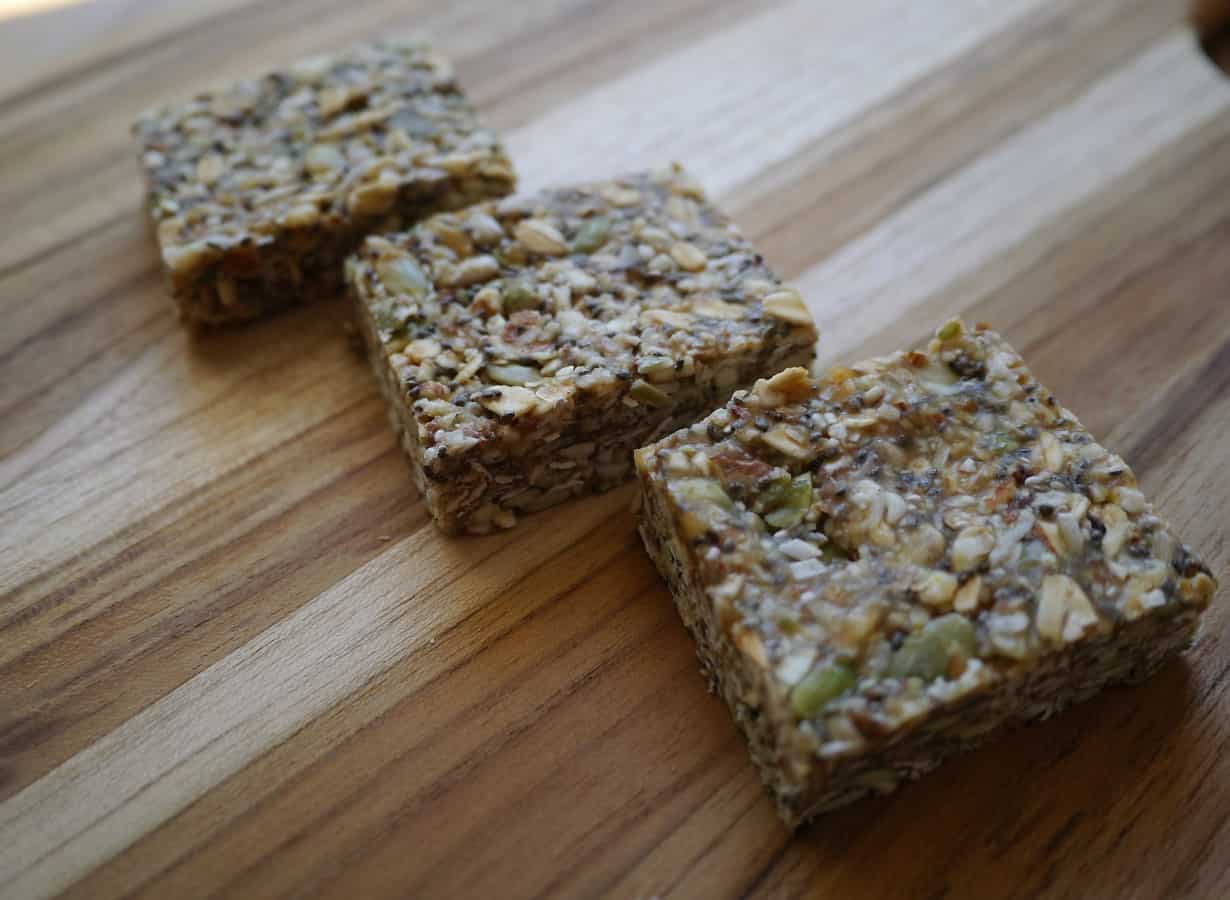
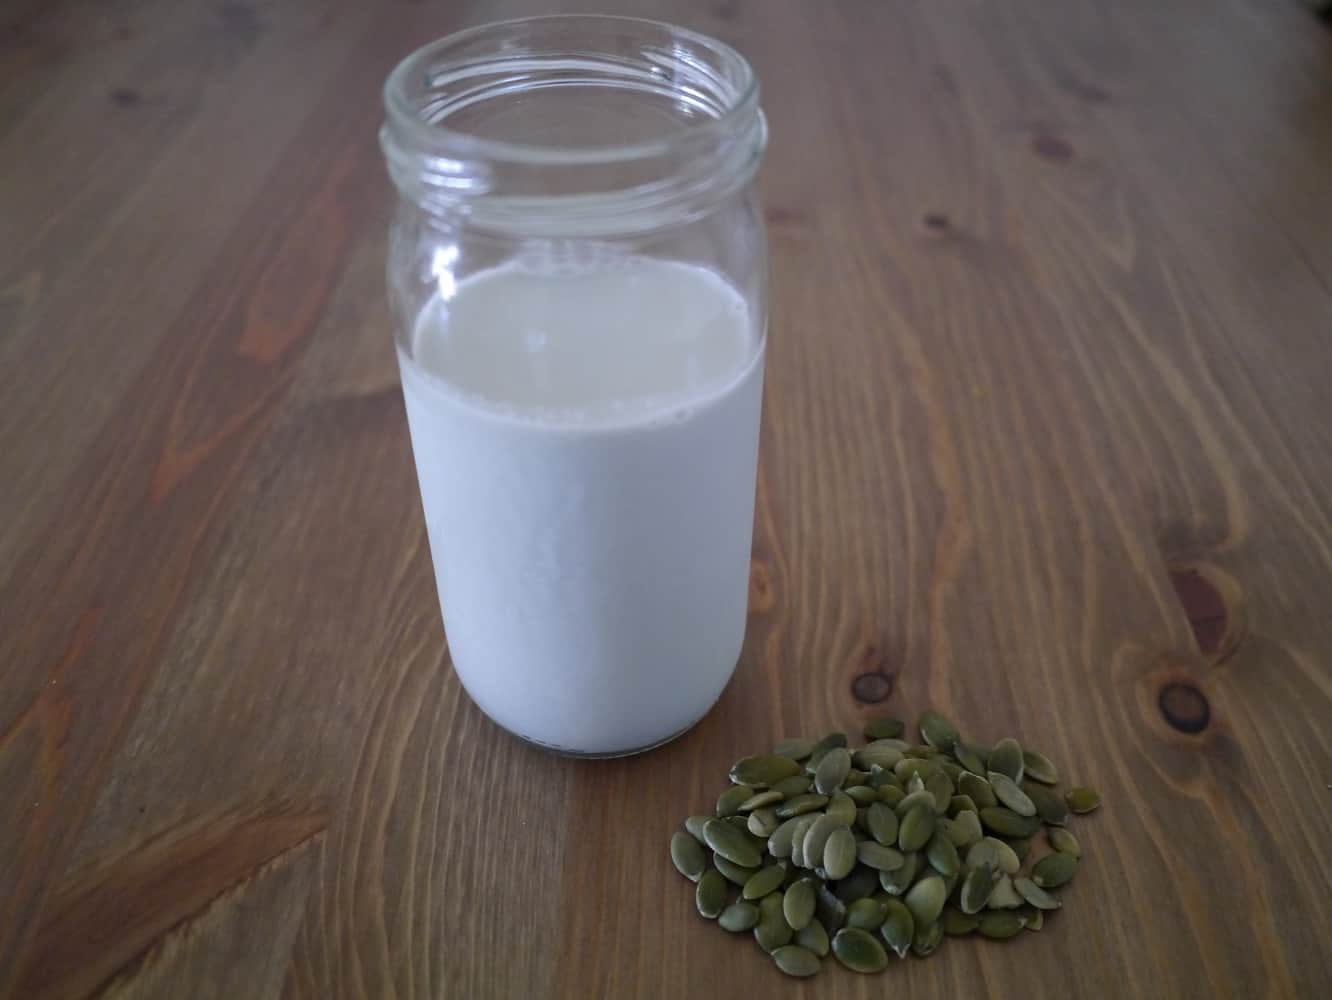
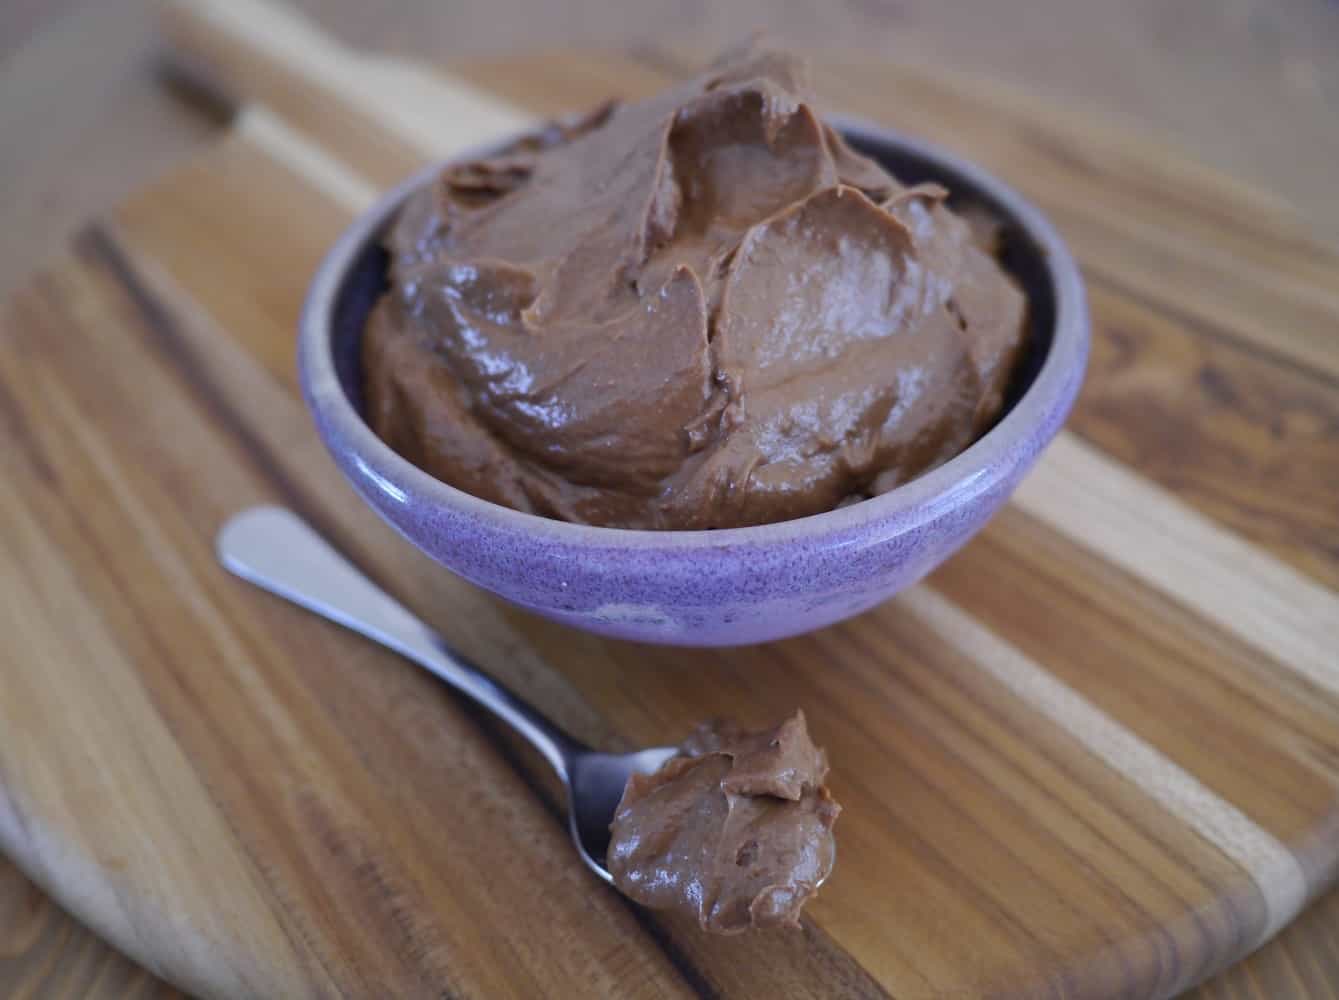
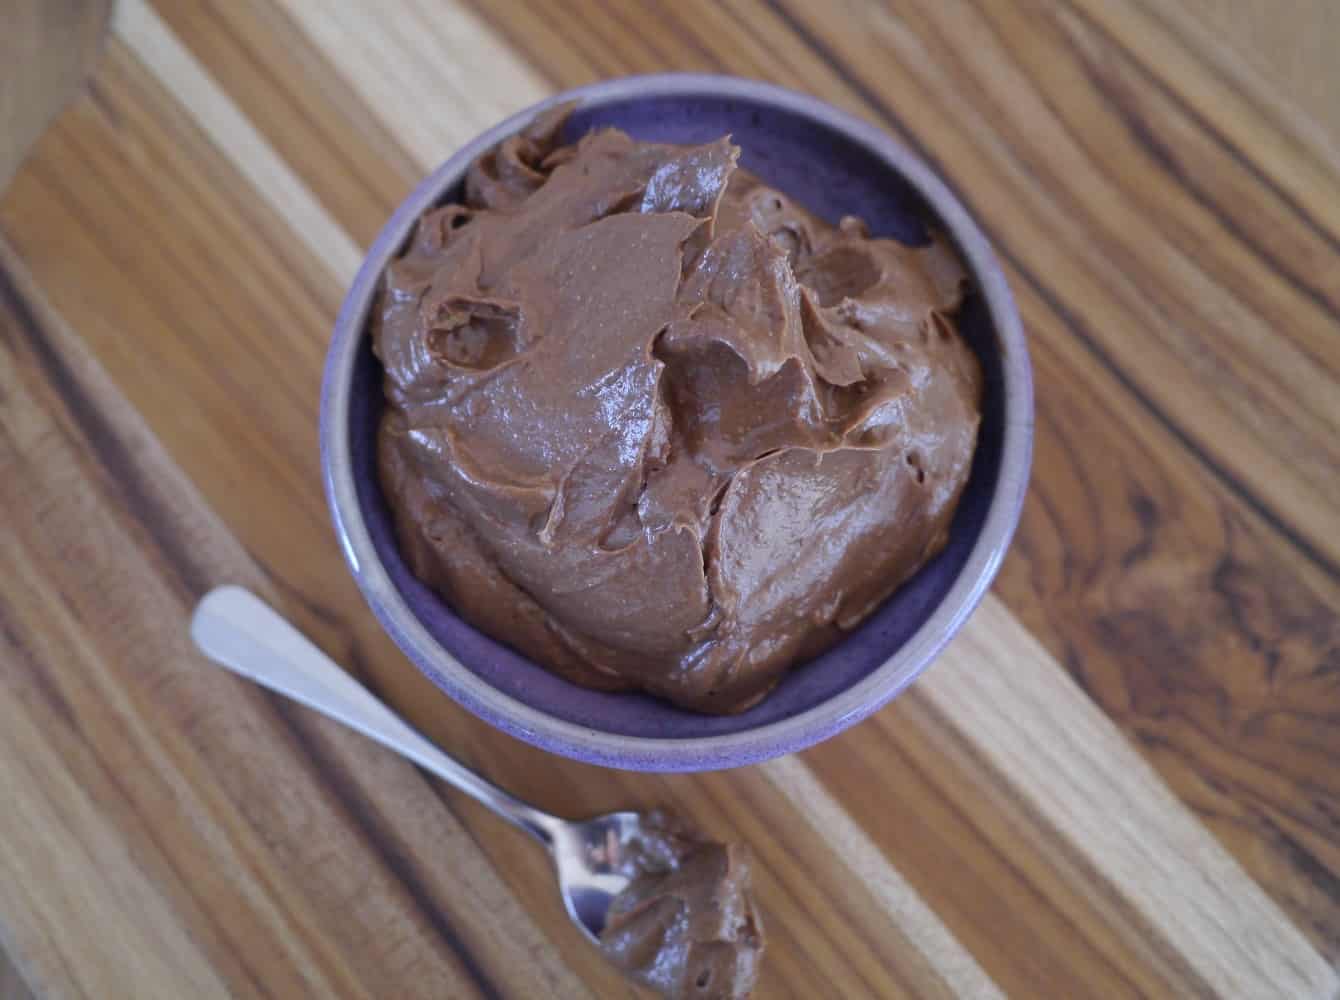
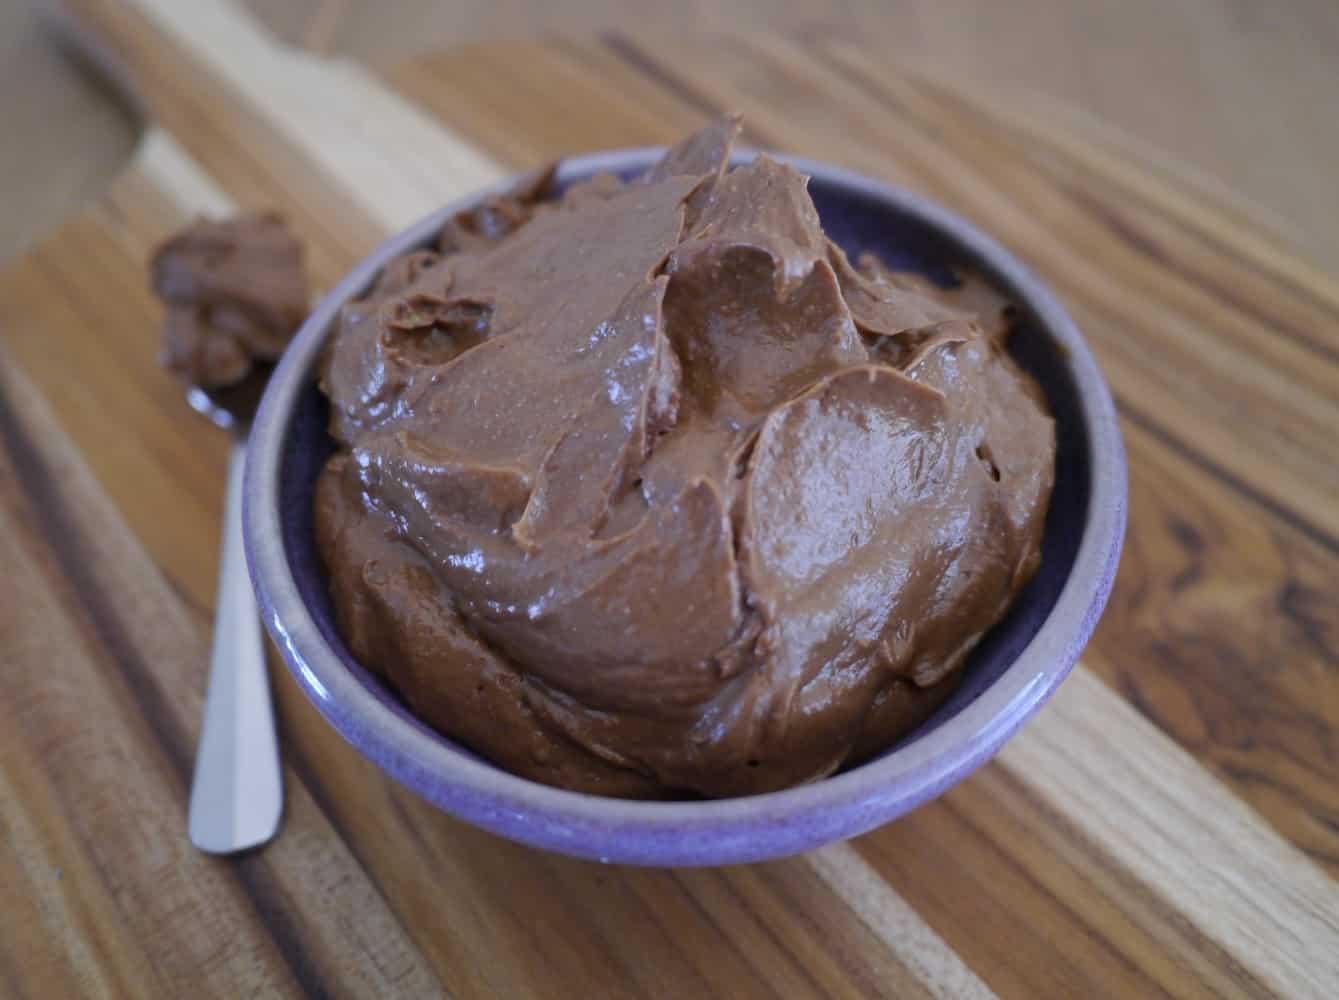
Nuts are super nutritious, and packed full of vitamins and minerals. Not only that, they are darn delicious. They’re surprisingly versatile ingredients too – they work equally well in sweet and savoury dishes, and you can even use them to make non-dairy milk, butter, and cheese. Plus they are used to make the most amazing raw desserts.

There’s a few different ways to buy nuts, but the two most common options are raw and roasted. As I’ve become more interested in learning about whole foods I’ve come across a lot of recipes that talked about soaking nuts, which seemed to add a lot of time to the recipes. When I started investigating raw food, and I found that the term “activated” also came up a lot, and recipes advised using activated nuts. How on earth do you activate a nut, I wondered? And more precisely, why would I bother when (most) nuts are perfectly tasty in their raw state?

The scientist in me wanted to know more. I like to understand things rather than following mindlessly just because I vaguely remember reading somewhere that something was better for me. I wanted to know what all these methods actually mean, what the point of them was, and whether there’s anything behind it.

Or is it just another fad?

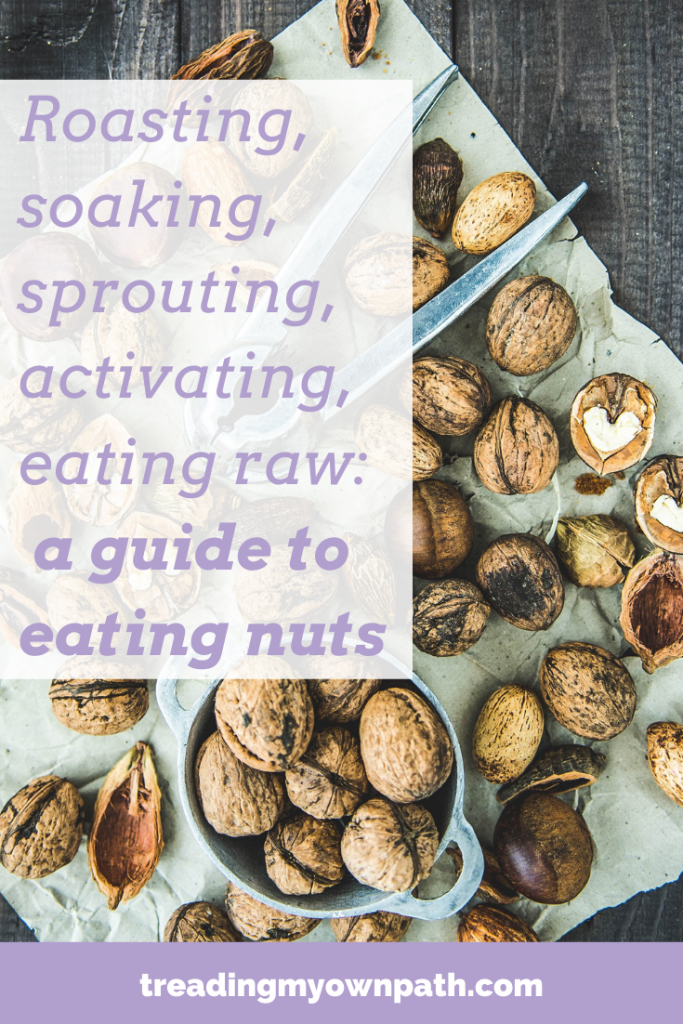
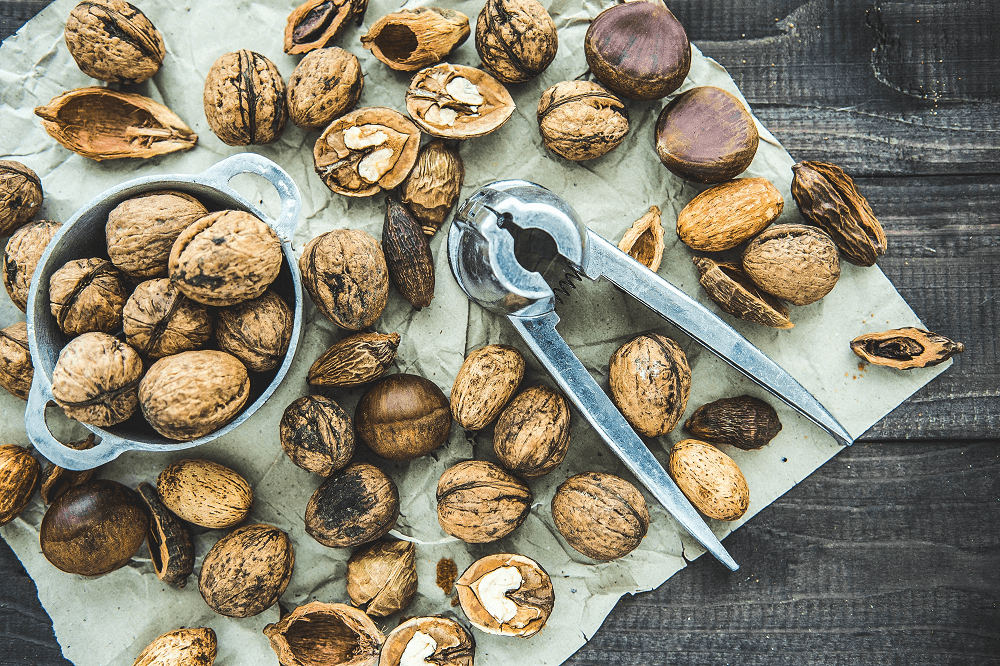
Nuts in their natural state

Nuts grow on trees, and have a hard shell that takes a good set of nut crackers plus some considerable hand strength to prise open. Commercial farmers can use machinery to crack them open. The resulting nut once the case is removed is the raw nut.

It’s worth clarifying that raw in this instance means uncooked. Raw in the raw food sense means not heated above 46ºC. This can be a little confusing, for example with cashew nuts, which are often steamed open. These nuts are still referred to as “raw”, since they are uncooked, but they are not strictly speaking raw in the raw food sense as the steaming would have involved heating them above 46ºC. (You can buy cashews that have been cracked open by hand and are truly raw, but they are considerably more expensive.)

Nuts and phytic acid

As well as all their nutritional goodness, raw nuts also contain phytic acid, or phytate. Phytate is the molecule that plants use to store phosphorus, and it is particularly high in bran, seeds and nuts.  Once digested, the phytate in raw nuts, which cannot be digested by humans as we do not have the phytase enzyme, binds to minerals, particularly calcium, iron, and zinc, but also magnesium and manganese, preventing us from absorbing them in the gastrointestinal tract. Phytate has been described as an anti-nutrient for this reason. (If you want to read more about phytate read here and here). Diets high in phytate are thought to cause iron deficiency (see here).

As well as binding to minerals, phytate is also thought to inhibit digestive enzymes such as pepsin (here), trypsin (here) and amylase (here). This is why large quantities of raw nuts can be hard to digest.

Whether you should worry about phytic acid depends on how much you intake. If you just eat a small handful of raw nuts a day, it’s probably no big deal. But if you’re vegan and eating huge quantities of almond butter, cashew cheese and raw (nut-based) cheesecake, you eat a vegetarian diet packed with lentils and wholegrains, or you’re anaemic or suffering from calcium or iron deficiency, then you may want to consider reducing your phytate intake. That doesn’t mean cutting back, it just means preparing your nuts (and also pulses and other wholegrains) a little differently.

All of the ways described below are ways of preparing nuts so as to reduce the phytate levels and make the nuts easier to digest, and allow us to absorb more nutrients.

Roasting Nuts

Roasted nuts are probably the most readily available nuts after raw nuts. Roasting reduces the phytate content of nuts, although there’s not much research available regarding specifics of how the nutritional content of nuts changes when you roast them. It is also thought to improve their digest-ability.

If you do want to eat roasted nuts, you’re far better off roasting your own. That way they’ll be fresher (and tastier), and you can control the oven temperature. Because nuts contain polyunsaturated fats it’s thought that roasting at lower temperatures are better. Also, nuts which contain asparagine, such as almonds, need to be kept below 130°C to avoid producing acrylamide, which is a neurotoxin and carcinogen. (For more information see here and here).

Roasted nuts that you buy from the supermarkets are often not roasted but deep fried. (If they don’t say dry roasted, then they’re not!) There ain’t nothing healthy about that!

Soaking nuts (or “activating” them)

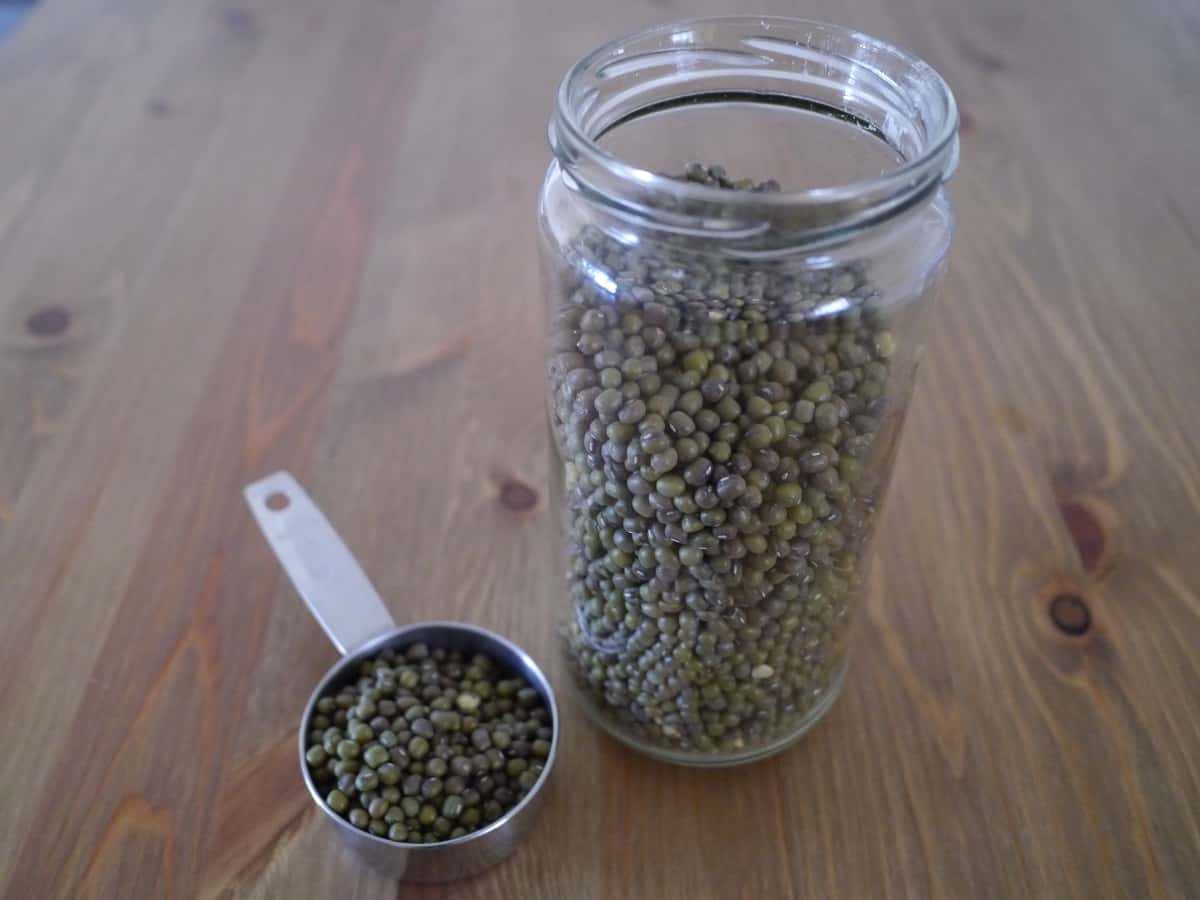
Another option for reducing the phytate content of raw nuts is to soak them. Soaking is a precursor for germination, and the seed uses enzymes to break down the phytate. Soaking time can vary depending on which nut you’re soaking, but overnight is a general guideline.

If you soak the nuts for long enough, they should begin to sprout (germinate). I have never tried this but expect it would take several days. The water should be changed every 12 hours or so (more if it is a very hot day) to help prevent them rotting.

You can eat nuts that have been soaked. They are still crunchy but have a more “crisp” bite than a crunch. They are great for adding to salads or snacking on, but will only keep for a couple of days. They won’t work in recipes that call for raw or roasted nuts though because they are too wet. To enable them to be suitable for baking, they need to be dried out.

Dehydrating nuts

Dehydrating is a method of drying soaked nuts out without cooking them, and uses low temperatures for long periods of time to achieve this. There is a specialist piece of equipment called a dehydrator that can be used, or a fan oven at a low temperature (lower than 50ºC) with the door ajar to allow the moisture to escape, or even leaving them in the sun. Dehydrating nuts takes upwards of 12 hours. Once dried out the nuts resemble raw nuts in flavour and appearance but have more crunch and are slightly drier.

If nuts aren’t dehydrated for long enough then they can go mouldy inside because of the moisture that remains.

Activated nuts

In some health food shops you can buy activated raw nuts. These are nuts that have been soaked (activated) then dehydrated and packaged for sale. They are considerably more expensive than ordinary raw nuts because of the extra time and effort that has gone into preparing them.

The Conclusion?

All this preparation is taking place to make nuts easier to digest, and that can’t be a bad thing. That said, it does require a bit of effort, and if you don’t notice any problems eating raw nuts you’ll probably think it’s not worth the trouble. However, consider this. Whilst you may think it sounds like a modern fad, most traditional cultures soak, sprout and ferment nuts and grains and have done for centuries. It’s not that it’s been invented, more re-discovered. Also, nuts don’t come ready shelled in convenient packs at the supermarket. Back in the old days, if we wanted 500g of nuts for a recipe, we’d have to find a nut tree and then sit and crack them all open by hand ourselves. No doubt this helped limit how many we actually consumed. Nowadays we can consume kilos of them without a second thought. This makes it more important to prepare them properly than if we were just having a small handful now and then.

I try to soak my nuts if I’m adding them to a salad and planned far enough in advance! Soaking is a requirement for making nut milk anyway. As for raw desserts, because of the huge quantities of nuts required, I’ve started using activated walnuts and almonds because I can buy these in bulk. If I just want a quick snack though, I’ll often eat raw nuts straight out of the jar. Perfection is just too hard!

[leadpages_leadbox leadbox_id=1429a0746639c5] [/leadpages_leadbox]

My take on supplementing your diet

For a long time I’ve thought that vitamins and supplements were a complete waste of money. When I was a student, I remember going for several days without consuming a single fruit or vegetable (I shudder at the very idea now). Once I remember deciding I should supplement my diet with a multivitamin. (I want to shout at myself WHY DIDN’T YOU JUST GO AND BUY SOME VEGETABLES?!!!, but fresh produce can seem expensive when you’re on a student budget, and in those days it wasn’t a priority.) So I went to the chemist and bought the multivitamin that had the most amount of things in it for the least amount of money. At the time, I felt no different, and concluded I should have saved my pennies. Read more

My weekend baking extravaganza

I set myself a challenge this weekend. I decided to try three new recipes of things that I’ve never made before. I love food and I love cooking (which if you read this blog you’ll probably have noticed) but I often feel like I’m making the same things over and over again. That’s partly true because I get a seasonal veg box delivered, and the contents don’t vary much week to week – especially in winter. I consider myself pretty good at knocking something nutritious and tasty up out of whatever is in the fridge and in the pantry, and I love making recipes up, but when I have the same ingredients I tend to make the same kinds of things.

I was feeling a bit stifled, creatively speaking. I don’t tend to use cookbooks and recipes much apart from special occasions, but I decided maybe this was what I needed to re-spark my culinary inspiration. I decided I’d find three recipes that looked great and that I’d never made before, go shopping for any new ingredients that weren’t already hanging about, and get baking.

I had such a fun time! It was great to make things with new ingredients, and follow other people’s recipes rather than tinkering for hours with my own. I used spelt flour for the first time, made raw vegan chocolate brownies and learned about wakame gomasio. It’s definitely re-sparked my creativity again; I’ve been thinking up new ideas and I’m already planning some variations and new recipes.

Here’s a mini showcase of my weekend (I’m so proud of my efforts I thought I’d take the opportunity to show off!):

rawpasty cookedpasty pasty rawbrowniejpg brownie2 brownie3 brownie4 bars2 slicej bars3 So I have a challenge for you. This weekend, make a recipe that you’ve never made before. Maybe something you’ve been meaning to make for a while. Maybe just flick through some cook books for inspiration. You’ve got a week to find a recipe and make sure you’ve got all the ingredients to hand. Good luck!

In addition to my renewed passion for cooking, the other great thing about the challenge was that I started my week with a fridge full of delicious things to eat. How awesome is that?!

Wakame gomasio: what it is and how to make it

I came across a recipe I wanted to try this weekend and one of the ingredients was wakame gomasio. I had no idea what this was. Even more mysteriously, the recipe had an alternative – sesame seeds. What kind of exotic fancypants ingredient with a name like that can be substituted simply with sesame seeds?

So I looked it up. It took me a while to find out what it was and how to make it, but now I know I thought I’d share it. Plus it’s super delicious so I think it’s worth knowing about!

Gomasio (which is also spelled gomashio) is basically a mix of toasted ground sesame seeds and salt. It’s a Japanese condiment that’s also popular in macrobiotic diets (something I don’t know a lot about). Sesame seeds are high in calcium, iron, magnesium and B vitamins (full nutritional information here).

Wakame is a sea vegetable that has been grown by Japanese and Korean sea farmers for centuries. It is an edible seaweed that is high in iodine, calcium and B vitamins (full nutritional information here). It’s also high in sodium so has a salty taste. My local health food store sells this in bulk (plastic-free!).

So wakame gomasio is wakame and gomasio. Fairly straightforward really!

How to make wakame gomasio

The hardest thing is probably finding the wakame, although I found it in several local health food stores. You could also try the Japanese section of your grocery store or online. It looks like this:

wakameIf you can’t find it (or don’t want to use it, simply omit and use the recipe to make gomasio).

Ingredients:

1 piece wakame (when ground should be roughly equal to 1 tbsp)
1/2 cup sesame seeds
1 tsp salt

Method:

Toast the wakame in an oven at 160°C for 10 minutes until dry and crisp.

Meanwhile, in a pan heat the sesame seeds on the lowest heat for 5-10 mins, stirring with a wooden spoon, until the seeds have changed colour from pale to golden. Try to remove them from the heat before they start to pop; if they do begin to pop remove from the heat immediately.

Add all the ingredients to a grinder or mortar and pestle, and grind until you have a coarse powder.

wakamegomasio wakamegomasio3And that’s it!

You can change the quantities of salt and wakame as you wish. If you aren’t using wakame, ratios of sesame seeds:salt can vary from 5:1 (found in commercially available varieties) to 18:1 for traditional Japanese gomasio. If you are using wakame, ratios for sesame seeds:wakame vary with 8:1 being an average. Start with this and adjust to find the combination that you like.

What to do with it

It’s a healthier alternative to salt, and it smells and tastes amazing. In Japan it’s used to season rice. The recipe I used it for was pastry. Feel free to try it whichever way you wish!

[leadpages_leadbox leadbox_id=1429a0746639c5] [/leadpages_leadbox]

The kitchen gadget with a cult following – the Thermomix

If you don’t live in Australia (or Germany, Poland or Spain) you’ve probably never heard of the Thermomix. It’s a kitchen gadget designed and made in Germany by a company called Vorwerk that isn’t sold in shops, or even online. Instead it’s sold directly to customers by “authorised consultants”. That kind of thing makes me highly skeptical, and more than a little bit scared. Read more

Experimenting with Seed Milks

Seed milk. If the name ‘nut milk’ sounds bad, seed milk sounds far worse. But don’t let the feeble name put you off… they are surprisingly tasty!

Nut milks are a great substitute for cow’s milk in smoothies (and whatever else your heart desires), and I often make cashew nut milk as a base for my smoothies (see recipe here). But nuts can be expensive, and seeds are often cheaper. Plus pumpkin seeds and sunflower seeds are delicious, which got me thinking…

I decided to experiment with making some different seed milks. So far I’ve made sesame, pumpkin and sunflower seed milk.

Recipe: How to Make Seed Milks

To make these, the procedure is the same. Soak one cup of seeds in water for a few hours, or preferably overnight. Drain and put in a blender with 3 cups of chilled water. Blend until smooth.

Next you need to strain. I used one of my produce bags made with a fine netting type material. You could also use muslin, or improvise with some other material. A fine sieve should work. I’m sure old tights would work too – but do make sure they’re clean first!

Drain the liquid into a bowl. Once the pulp is dry (squeeze any excess moisture out) pour the liquid into a glass bottle or jar and store in the fridge. It will keep for up to 5 days.

Sesame Seed Milk

This milk has quite a distinctive and strong flavour. If you love tahini and sesame then you’ll love it; if not you may find it a bit strong. I used it to make my cacao banana smoothie and even with all the rich chocolatey-ness I could still slightly detect the sesame flavour.

I also tried this with (plunger) coffee and was really impressed with the result. It didn’t curdle (hurrah!) and I thought the flavours really complemented each other.

Pumpkin Seed Milk

I love pumpkin seeds and I loved this. The flavour is quite subtle and nutty. It has a slight green tinge, which amuses me slightly too.

PumpkinseedmilkSunflower Seed Milk

Sunflower seeds are the hands-down cheapest option I’ve tried so far. The milk tasted great, but had the unfortunate side-effect of separating into a milky layer at the bottom and a strange red liquid layer on top. It is easy to shake and mix the two layers together again, but none of the other seed or nut milks I’ve made have done this before.

I tried this in coffee and it worked really well too; it didn’t separate or do anything strange.

Other seed milks

I tried these three because that’s what I had in my cupboard. Also, they are all fairly cheap seeds. There’s plenty of others out there though. I want to make hemp and flax seed milk at some point too; both of these seeds are really good for you and have a great nutty taste that I think will work really well. Plus I love experimenting in the kitchen!

[leadpages_leadbox leadbox_id=1429a0746639c5] [/leadpages_leadbox]

Recipe: Raw Chocolate Mousse (With a Secret Ingredient)

Chocolate mousse doesn’t have to be all about dairy products and refined sugar. You can actually make a much healthier alternative that tastes just as good – no, better! There’s a secret ingredient that gives it the creamy, smooth texture and is really good for you. Avocado!

I say secret, because it’s probably best that you don’t tell anyone eating it that you used avocado until afterwards, lest it put them off. People don’t always like to know that healthy green produce has sneaked into their dessert.

If you don’t like avocados, I promise you that you won’t even know it’s in there. The cacao completely masks the flavour, and by blending it the texture is altered too. (To my sister, who doesn’t like bananas or milk and whom I once many years ago persuaded to try a banana smoothie on the premise that it didn’t taste like bananas or milk…she was nearly sick…this time I ASSURE you that you’d never know.)

In fact, if you know someone who loves chocolate mousse but won’t eat avocados, don’t tell them what’s in it, make it for them and see if they notice. If they do, you’ll just have to eat it all yourself, which is hardly a hardship! (Obviously, if they’re allergic, it’s best you find another recipe!)

This is super simple to make, and tastes amazing. I made mine in my food processor but handheld blender should work, and if you’ve got the patience you could try mashing it all by hand with a fork, although I doubt it will be as smooth.

This makes enough for two people.

Avocado Chocolate Mousse

Ingredients:
1 large avocado
2 tbsp raw almond butter
1 tbsp maple syrup
2 tbsp raw cacao powder
2 tbsp melted coconut oil

Method:
Blend avocado, raw almond butter and maple syrup in a food processor until smooth. Add cacao powder and blend until incorporated. Add melted coconut oil and whizz briefly until combined.

Serve straightaway or store in a glass jar in the fridge for up to 3 days.

avochocmousse1jpg avochocmousse3jpg avochocmousse4jpg[leadpages_leadbox leadbox_id=1429a0746639c5] [/leadpages_leadbox]

How to Make Your Own Beansprouts

Although they look a little different, these guys are similar to those long white beansprouts that you can buy from the supermarket to put in stir-fries. Although they are both sprouts, the homegrown versions are totally superior, being packed with way more flavour and a good deal more crunch than their insipid white cousins.

Making your own sprouts is super easy, and you can make them from most dried pulses, small bean or seeds.

The smaller the better as they will be the quickest to germinate.

It’s a great way to use up any lifeless dried old lentils that you’ve had sitting in the pantry for months (or years) whilst you wait for an appetising recipe to turn up. All you need is a glass jar, and some water!

The sprouts I’ve been making recently have been using mung beans, as I had a packet in the cupboard (from before my plastic-free days!) that I had no idea what to do with. It’s hard to believe when you look at these hard, dry little balls that there’s any life in them at all!

sprouts1jpg

Yet with a little bit of watering they turn into something super fresh and tasty. They’re also nutritious, containing thiamin, niacin, Vitamin B6, pantothenic acid, iron, magnesium, phosphorus and potassium, and being a great source of dietary fibre, vitamin C, vitamin K, riboflavin, folate, copper and manganese (for nutritional information check here).

I’ve also made sprouts with various lentils, azuki beans, sunflower seeds and chickpeas, often as a mix.

All you need to do is put whichever dried pulses/beans/seeds you want to use in a jar, and cover with water, and leave for a few hours or overnight. They will swell considerably so be liberal with the water. (Don’t be afraid to add more if they appear to have absorbed it all.)

The next morning rinse and add fresh water. After the initial soaking add enough to keep them moist, but not too much so as to drown them! Aim to rinse and replace the water twice a day – more often if the weather is hot. Small sprouts like mung beans should be ready in 24 hours; seeds and larger pulses (like chickpeas) take a bit longer.

sprouts4jpg sprouts3jpg
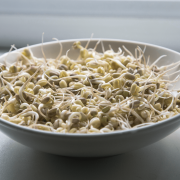
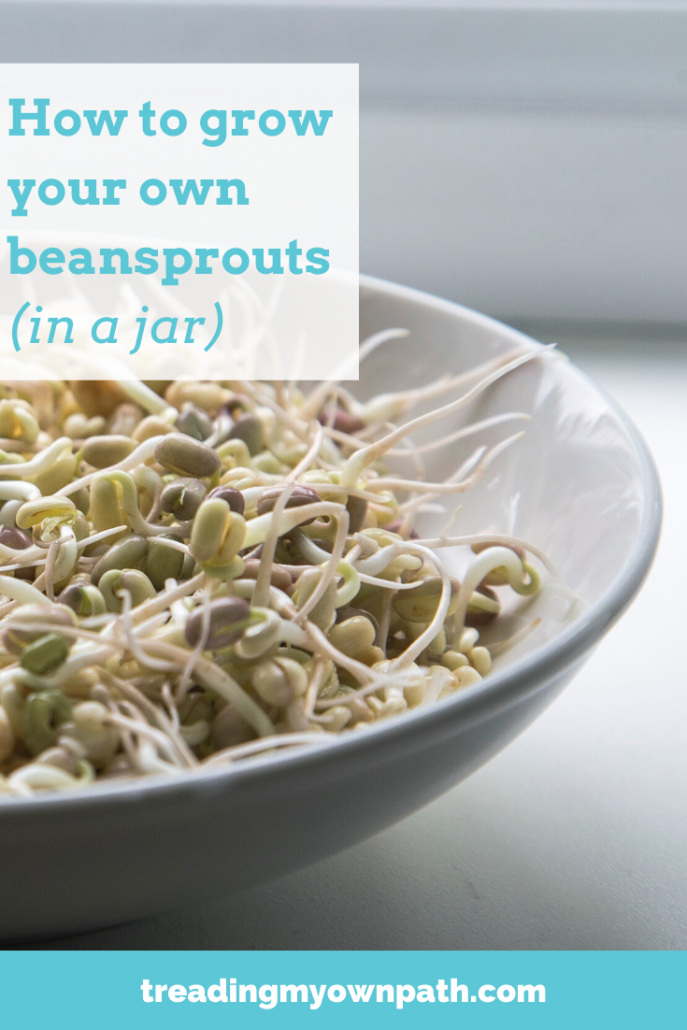
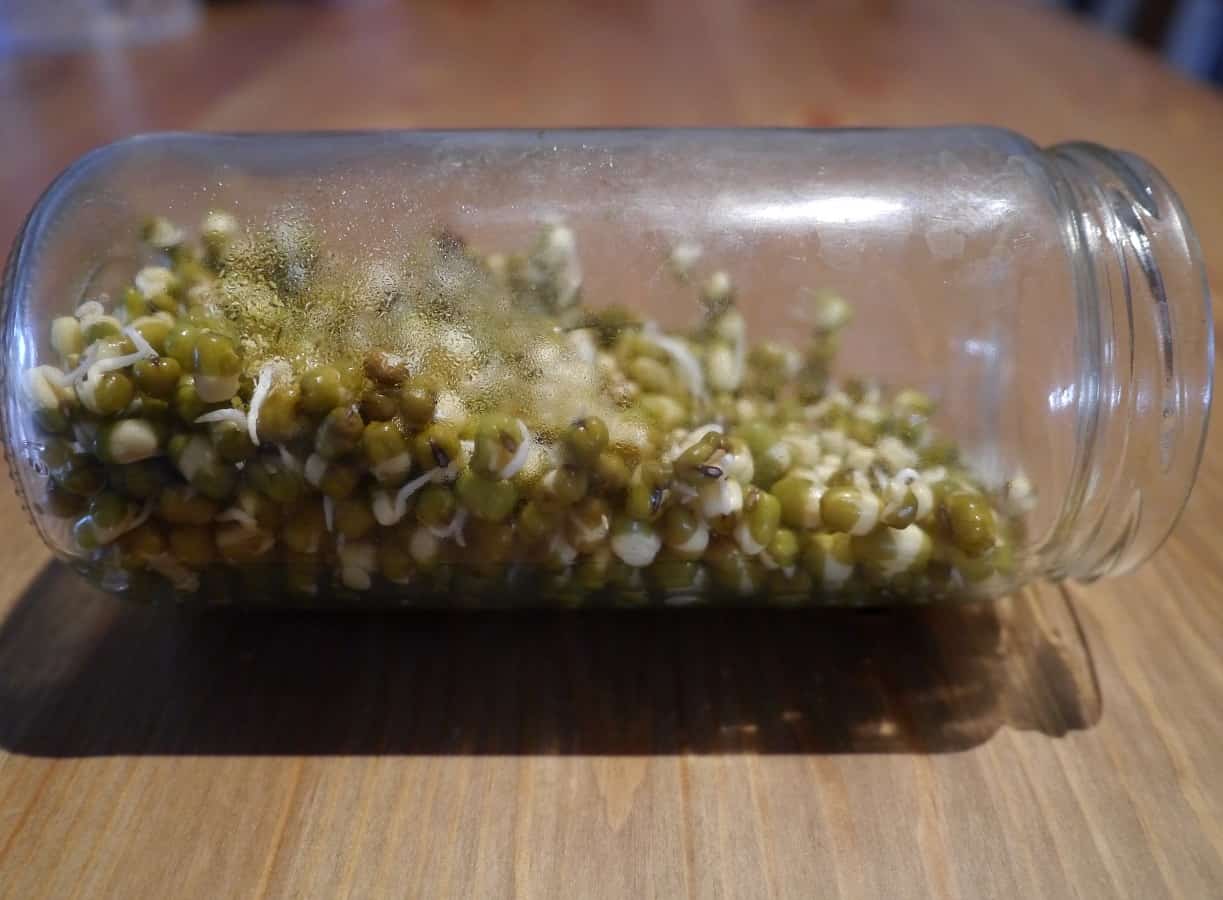
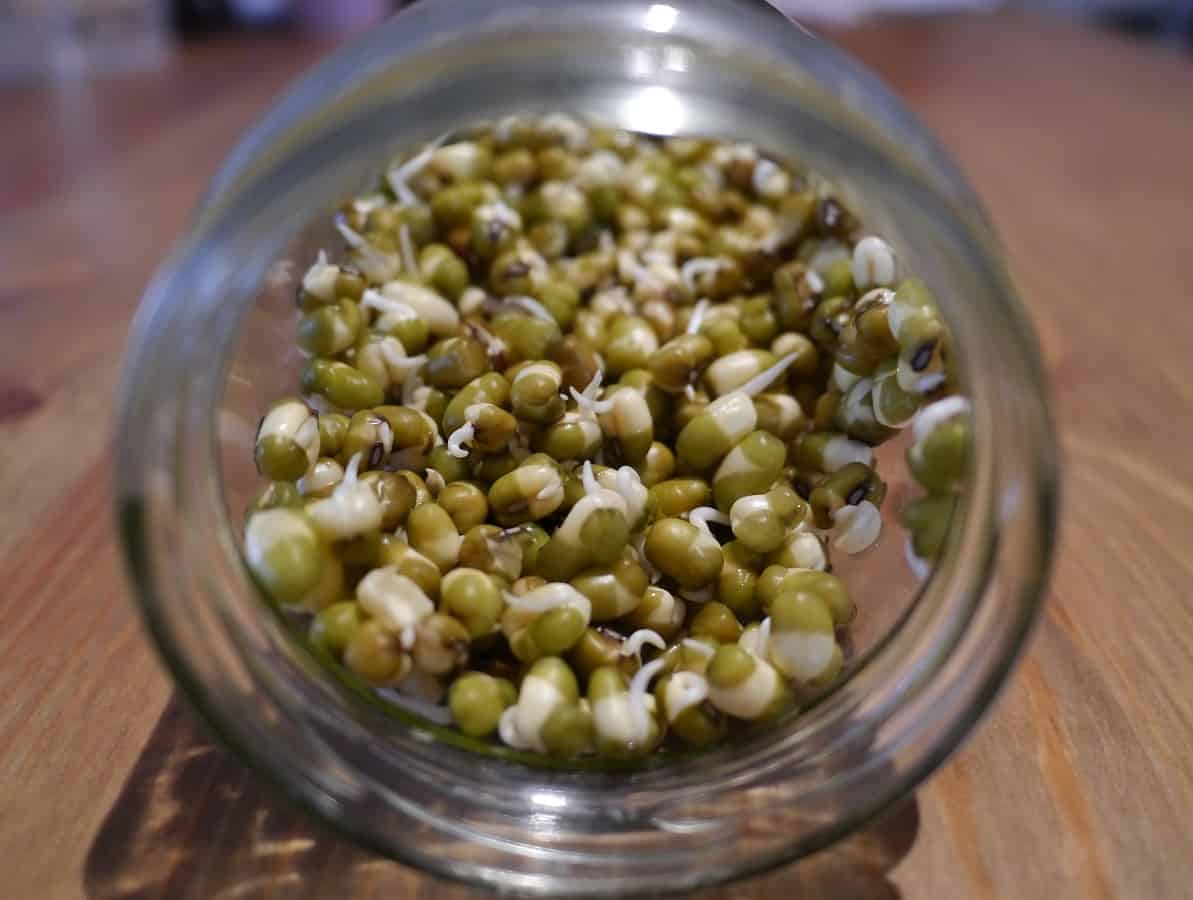
You can eat them straight after the overnight soak, but I prefer to wait until I can see the little root poking out. Once they’ve sprouted I usually keep the jar on it’s side so the ones at the bottom don’t get so waterlogged.

They will keep in the fridge for a few days but as they are so quick to prepare I make small batches often so I can eat them as fresh as possible.

Stir them into quinoa, use in stir-fries, add to salad or just eat straight out of the jar!

[leadpages_leadbox leadbox_id=1429a0746639c5] [/leadpages_leadbox]

What ‘raw food’ actually is (it’s not just about salad!)

Yesterday was July 11th, and also (you probably didn’t know) International Raw Food Day (I didn’t know either, until Google told me). When I first heard about raw food I have to admit I was seriously uninspired. I imagined cold unappetising plates of salad for meal after meal, and never bothered to look any further into it.

I’d probably never have changed my mind if I hadn’t stumbled across a cafe in Fremantle called the Raw Kitchen about 9 months ago. The food at this cafe is truly delicious, and the continuous queues outside and the difficulty in finding a table at the weekends is testament to how good everyone else thinks it is too. As soon as I ate there, I was hooked. It really opened my eyes to just how tasty raw food can be.

What does ‘Raw Food’ mean?

Put simply, raw food is food that has not been heated above 46°C (115°F). As heat destroys nutrients and enzymes, keeping food below this temperature is thought to keep the food at its optimal nutritional levels, and preserve its life-force. Raw food is sometimes referred to as living food. If you’ve ever seen a plate of over-boiled, grey, lifeless and limp vegetables, you should be able to understand this premise.

Often raw food is also free from dairy, eggs, wheat and gluten. Ingredients used are unrefined and as close to their natural state as possible. To get a variety of textures, forms and flavours, techniques such as dehydrating, blending, soaking and freezing are used.

There can be lot of effort required in preparing raw food. Cooking often makes food easier to digest, so if it’s going to be eaten raw then often it needs to be prepared in some other way to make it more digestible. Raw nuts, legumes and wholegrains contain high levels of phytic acid (phytate), which is the molecule plants use to store phosphorus. Humans cannot digest phytic acid, and it binds to minerals such as calcium, iron, zinc and magnesium, preventing us from absorbing them. To make them easier to digest, there’s a lot of soaking involved (sprouting reduces phytic acid without reducing the nutritional content), and this takes time (often upwards of a few hours). Then, to dry the food again, it needs to be dehydrated, which means using a dehydrator, which run at 46°C and have a fan for air movement, for 8 hours or longer in order to remove moisture. Dehydrators are also used to create the texture of oven-baked food.

My take on Raw Food

I would never eat an entirely raw diet because I love cooked food: I love the comfort of a bowl of piping hot soup on a chilly day, there is a huge space in my life for oven-roasted vegetables and eggs for breakfast on Sunday mornings has to be one of my all-time favourites. Plus, from a sustainability point-of-view, I believe we need to eat according to the seasons, and that means we need to freeze, pickle and preserve. I don’t think it’s possible to eat fresh food every day of the year without importing some of it, and it’s not sustainable to fly fresh produce around the globe.

An entirely or high raw food diet would also put a bit of a strain on the financial budgets of most people, me included. When you try to buy organic, local, free-range and fairtrade it already adds a lot to your weekly shopping basket. To me these are non-negotiable, because the cost of not doing them is far worse. So being able to supplement these with grains helps keep the overall cost of my weekly shop down. Pasta, bread and rice may not have much nutritional value but they’re cheap, filling, and help offset the price of expensive vegetables and other ingredients.

Whilst I understand the principles of dehydrating food, for me, cooking something in the oven at 200ºC for 2 hours makes far more sense. We don’t have solar panels and I don’t think I could justify running a dehydrator for lengthy periods on fossil fuels.

However, there’s definitely a space in my diet for raw food. Particularly raw dessert. There’s no doubt that refined foods have little (or no) nutrition. White flour and white sugar offer nothing but empty calories. So what could be better than a dessert that removes the nutritionally devoid parts and replaces them with ingredients that are super nutritious and tasty?! Yes, raw desserts cost considerably more to make, but our bodies weren’t designed to eat sugary, fatty, carbohydrate-loaded desserts every day (or multiple times a day).

What does raw food look like?

I want to share with you some of the photos I’ve taken from my many visits to the Raw Kitchen. It inspired me to investigate raw food, so maybe it will convince some of you doubter out there that it’s not all lettuce and carrot sticks!

rawmacaroonsjpg falafels cherrycheesecake rawsoupjpg rawcheesecakejpg rawpizzajpg caramelslicejpg

Even the doubters must have thought some of this looks pretty tasty!

[leadpages_leadbox leadbox_id=1429a0746639c5] [/leadpages_leadbox]