
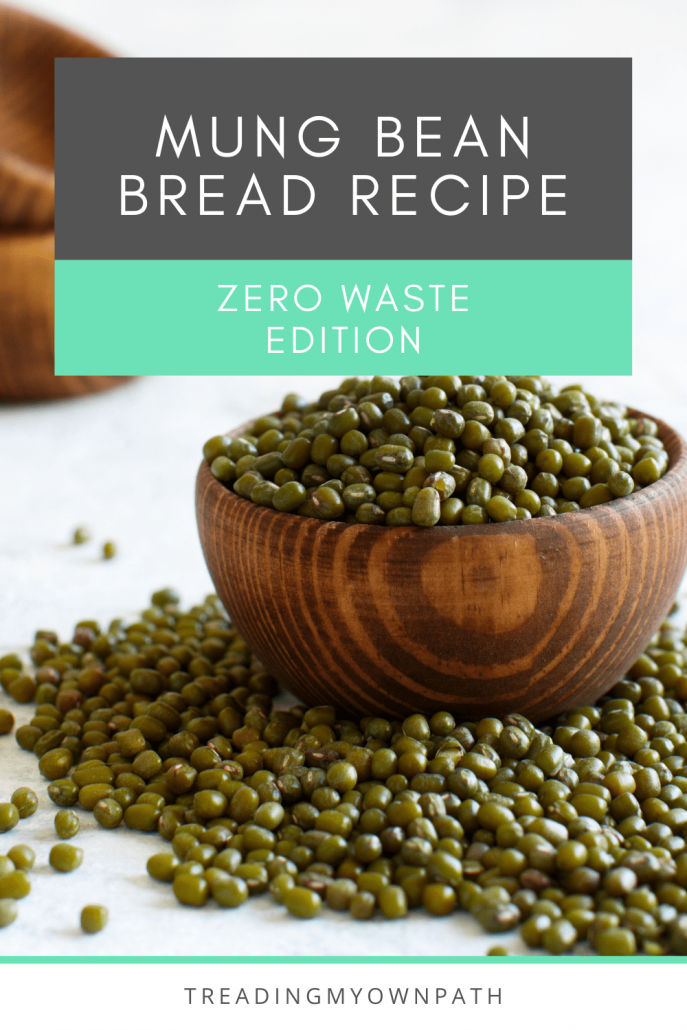
Zero Waste Kitchen: A Recipe for (Don’t Laugh) Mung Bean Bread
Have we got all of the sniggers out of the way? Great. Yes, mung bean bread sounds a little… well, silly. It was my sister who first raved about it to me, and what can I say? I laughed and dismissed it. Mung bean bread?
Then, several months later, as I was lamenting what to do with all the mung beans in the pantry, she said again – make mung bean bread.
And I did, and it was delicious. So delicious that it has now become a staple, in fact.
I wanted to share the recipe with you because not only is it delicious (and good for you, and very affordable – mung beans are one of the cheapest legumes), but because it is always fun to do interesting things with regular ingredients.
Food is always an education. There’s always something new to learn. And when we learn, it is always fun to share.
The bulk stores are packed full of curious ingredients, which we often don’t buy because we have no idea how to cook them. Or we buy, and make the one recipe we know.
I’ve actually never cooked with mung beans before this. I sprout them, to make beansprouts. So making bread from mung beans was a revelation to me.
I think it serves as a great reminder to never judge food by its appearance (or a recipe by its name), and to always be willing to try new things.
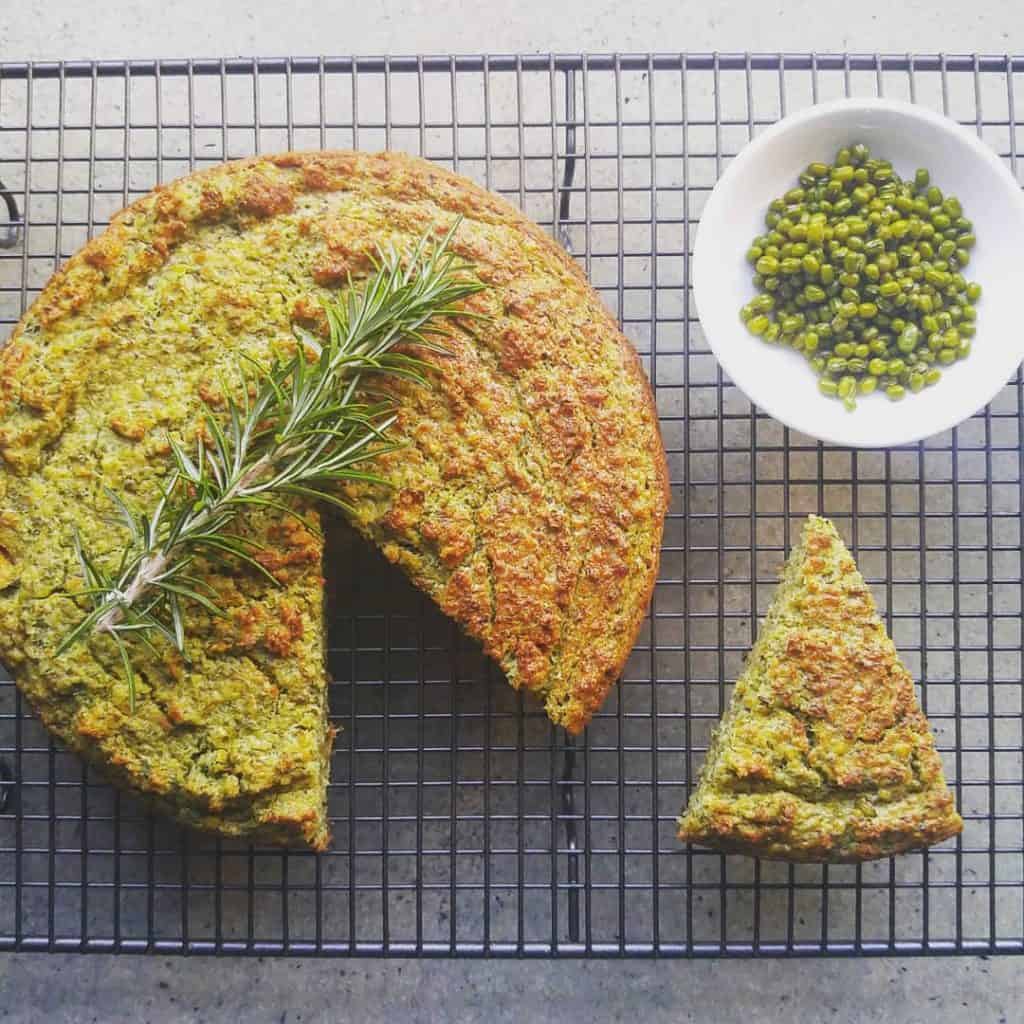
And with that… mung bean bread!
Mung Bean Bread: A Recipe
This recipe is adapted from one by Jasmine Hemsley from her cookbook (which my sister owns and loves). I’ve chosen fresh ingredients over dried, missed out a few things with unpronounceable names – I decided if I didn’t know what they were, they weren’t worth including! – and tweaked how I prep it.
You’ll need to soak the mung beans for a good while before you make the bread (I’ll cover this in a sec), but once the soaking is done it’s pretty quick from there.
Ingredients:
- 250g mung beans (sometimes called moong beans)
- 1 small clove garlic, finely chopped
- 1 tbsp chopped rosemary
- 2 tbsp olive oil
- 120ml warm water
- 1/2 tsp bicarb/sodium bicarbonate/baking soda
- 1/2 tsp salt
- Juice of 1 lemon
Method:
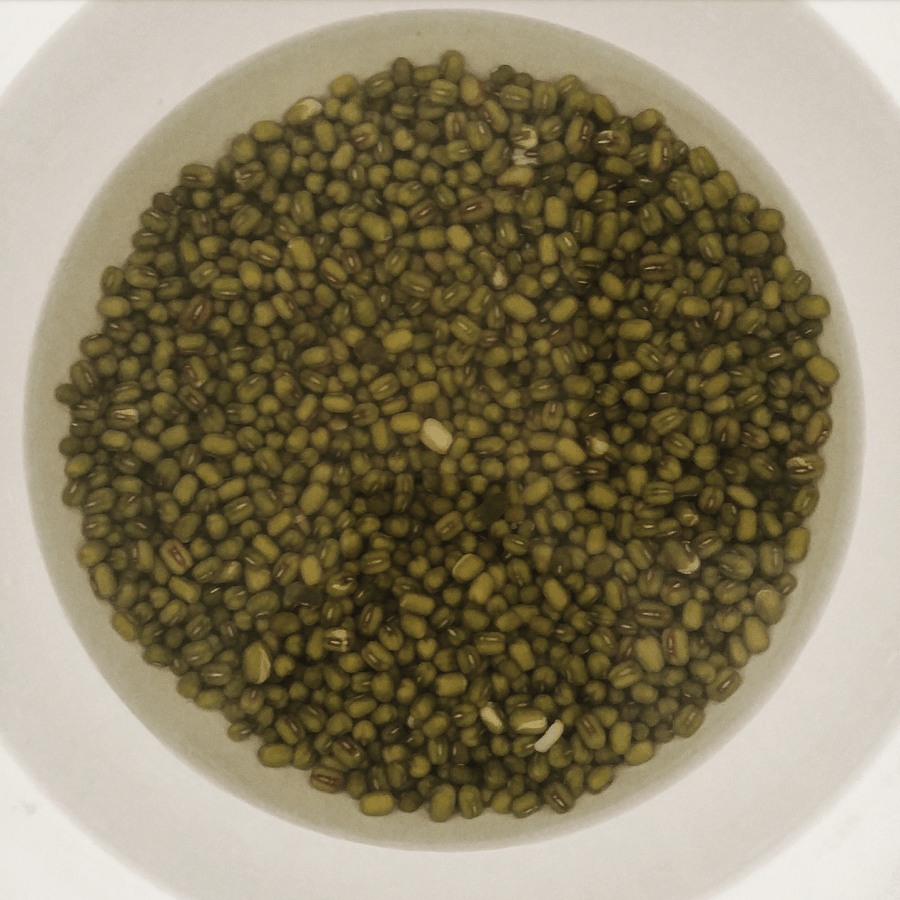
First, place the mung beans in a bowl and cover with plenty of water, and leave at room temperature. They will start to swell pretty quickly. Soak the mung beans like this for at least 24 hours – when you start to notice little bubbles of gas, change the water. I soak mine for closer to 48 hours.
Next, drain and rinse and then place is a blender. Bonus points for picking out the unsprouted still-hard beans – there will be a few. Add finely chopped garlic and rosemary, and blend until a paste.
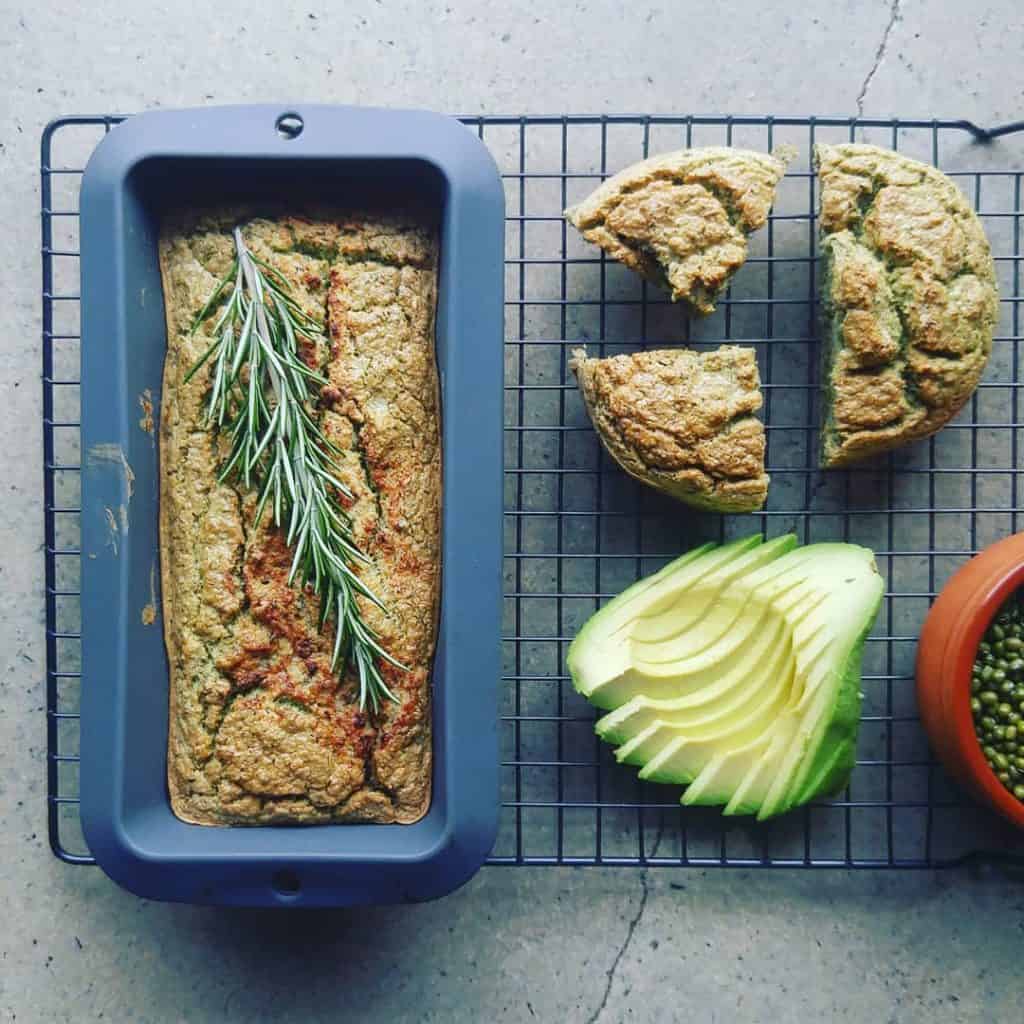
Now pre-heat the oven to 180°C. I use a silicone loaf tin and muffin cases which don’t need lining or greasing, but if you’re using regular bakeware (a round 20 cm tin or a loaf tin are ideal) line with paper or grease to the max.
In a separate bowl, mix together the warm water, olive oil, salt and bicarb. Finally, add the lemon juice – it will fizz as soon as it is added. Stir quickly, pour into the blender and mix with the mung bean paste. Pour the mix into the prepared baking tins and pop in the oven.
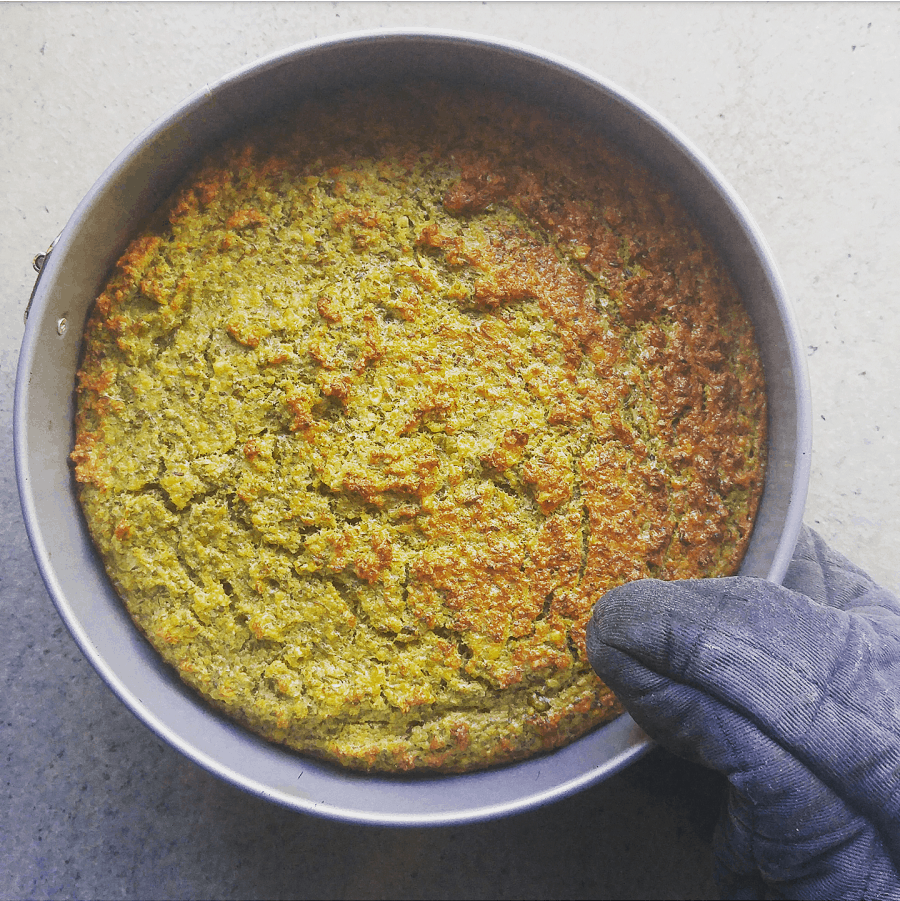
Bake for 30 minutes or until the top is golden.
This bread tastes best straight from the oven and within the first 24 hours, but will keep for 3-4 days. Serve warm, but store in fridge after the first day.
A Variation: Adzuki Bean Bread
I pretty much believe that recipes exist to be tweaked and experimented on. I was really keen to see if something similar to mung bean bread can be made with other types of beans.
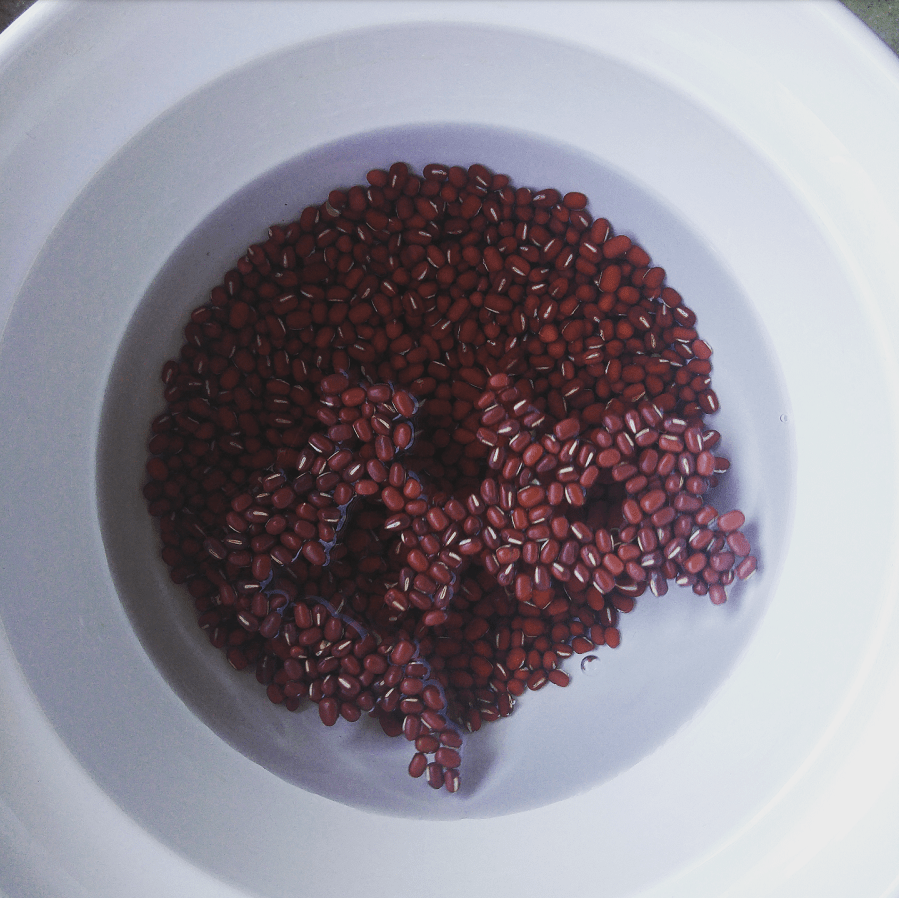
Adzuki beans are little red beans a bit larger than mung beans. It turns out, they take far, far longer to soak. Mine took 4 days to sprout. On the plus side, their sprout success rate is was 100%, so no picking the hard ones out.
Aside from increasing the soaking time, the other ingredients and timings were unchanged. The resulting bread had a glorious purple hue.
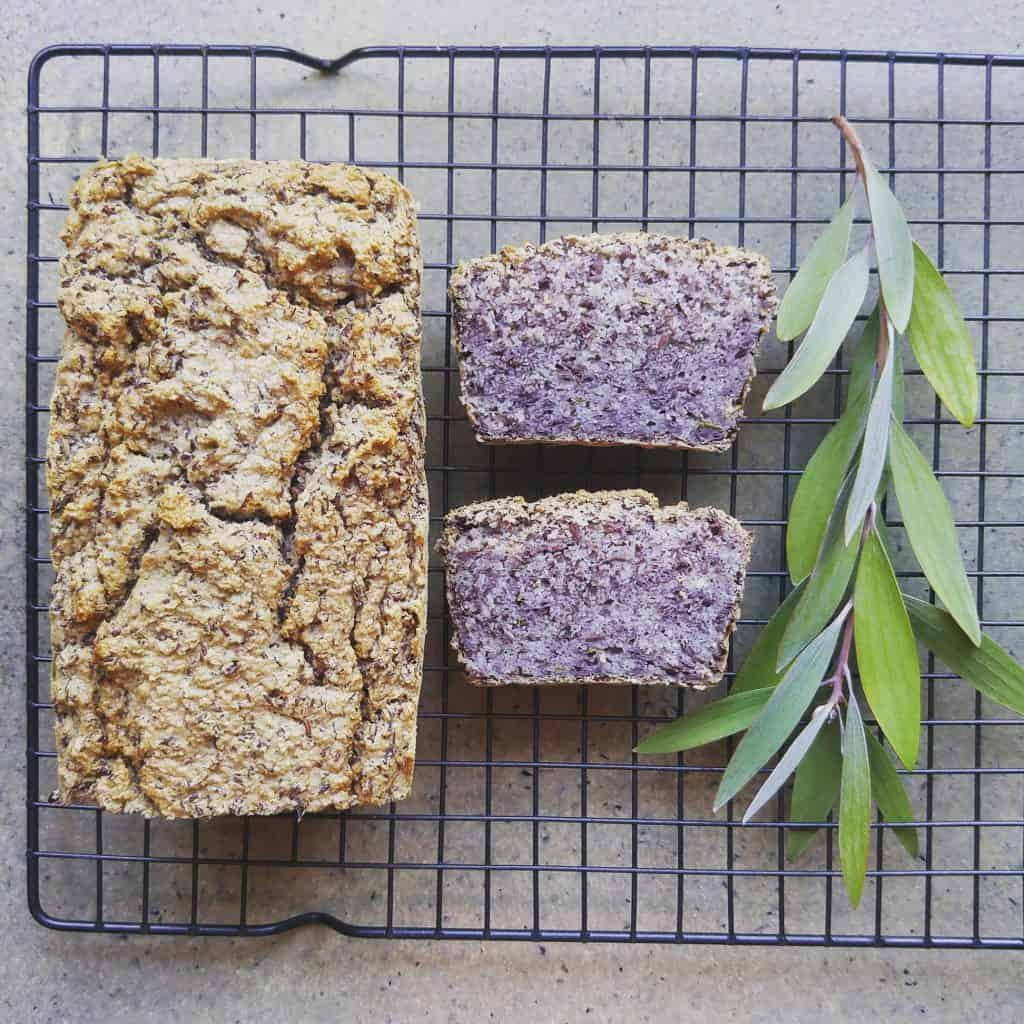
As with mung bean bread, tastes best on the first day, but will keep for up to four days.
Now I’d love to hear from you! Do you have any go-to mung bean recipes? If so, I’d love to hear them! What about any – it-doesn’t-sound-like-it-should-work-but-it-does recipes? Hit me with the weirdest (in a good way) things you’ve come across. Or, if your stuck with an ingredient, let’s see if we can come up with some ideas. Share your thoughts below!


Thanks for these recipes! I usually have one or both of these in my pantry and now I have one more thing to make with them. :)
My pleasure Amanda! Let me know what you think! :)
Brilliant Lindsay. thankyou. I have 2 jars of these beans languishing in my pantry bewildering me with what to with them next. And how special to serve up purple bread….that should start an interesting conversation with folks who think I am a bit of a nutter with my health and zero waste choices. thanks
I can relate to having jars of things bewildering me, Glenda! But everything gets used up eventually. Let me know how you get on!
I’ve barren making spirited bread (Essene bread) for years. So tasty.
Sorry for the typo.
I’ve been making sprouted bread etc.
you mean ‘bean making’… right? :-)
Why didn’t you tell me how great it was then, Emma?! I’ve been missing out over here! ;)
Thanks Lindsay will try it this weekend, and adzuki’s later!
Let me know how you get on!
You can also substitute beans for flour in cake. My fave is black kidney bean chocolate cake.
I’ve made brownies with adzuki beans Som, but not for ages! Maybe something to do at the weekend :)
So if we’re using beans instead of wheat flour, can we count mung bean bread towards our five a day?!
I reckon so, Stephanie! :)
This sounds perfect! I can’t tolerate wheat, but bought gluten free bread is highly processed and not that healthy either. We eat a lot of pulses and I think I will like this A LOT
Will let you know how I get on ( in a couple of days)
Any feedback yet, Louise? I love this stuff and want everyone else to too :)
I have lived in Bali for over 30yrs and the Balinese make a lovely mung bean breakfast porridge. I think it’s simply soaking then cooking the mung beans in water till tender with fresh pandan leaves if you can get your hands on them (or vanilla if you can’t) then adding some fresh coconut milk, palm sugar, and a pinch of salt.
I’ve been making mung bean porridge actually Caroline but with the mung dahl (so split and skins removed, they are also yellow in colour). Mine has ginger and turmeric in it. I keep seeing things about pandan leaves recently. I wonder if I can track down a plant!
Hi Lindsay,
Thanks for the recipe, I was thinking it would be more like a bread that you slice and use as a sandwich base or pop in the toaster but I see you cut it into wedges, how do you serve and eat it? Fi
Hi Fiona, it’s probably more like a loaf or a cake than a bread, except it is savoury so still works as a vessel for toppings like avocado or hummus. I slice if I make a loaf tin version, or wedges if in a cake tin. I toast the slices after the first day, it tastes best warmed up.
Do you think it would still work without oil?
I don’t see why not Karyn, 2 tbsp is not very much. I’ve been tempted to add more!
I’ve just tried your recipe, I’ve changed the rosemary for thyme and added some parmesan cheese. The taste is amazing and the top is nice and crispy. However the bottom part stays very soft. Have you had the same problem?
Hi Sascha, yes it does tend to be stodgier at the bottom. It is better when using a round wide metal tin (because the resulting “cake” is flatter to start with and also metal heats the base), and worst when using a silicone loaf tin. But I like the ease of using the silicone. I’ve also made in cupcake cases (silicone) and they work better – plus you get “extra” crispy topping to filling ratio! Hope that helps!
Bean making something like this for years (since the 60s!) with whatever legume I happened to have in the pantry. But I see it as more of a meat loaf substitute than a bread. If you whizz the lemon juice with the bean paste, rather than incorporating it i the liquids, you get a better lift because the acid hits the bicarb a little later in the process. Always have the oven hot and the tin lined before you mix the acid and bicarb. You can mix some nuts or seeds in too, play around with herbs and spices, or for a non vegan version add cheese and/or eggs – or even left over chopped cooked meat for the omnivores. And for Sascha – in all these years the bottom still tends to be a bit soft, or the top dries out a little. On the oil question it’s a bit dry if you don’t have a fat of some kind in there, and grinding nuts or seeds as part of the mix doesn’t quite seem to cut it. Think falafel rather than a moist loaf.
Thanks for sharing all your tips, Kathryn! I will give the lemon-in-with-the-beans thing a go. I’ve actually been really tempted to play with cardamon and ginger, although I’m not convinced that will go with avocado. But maybe! Do you have any good flavour combinations you recommend?
Hello dear, I am searching that kind of recipe.
I made this a couple of days ago. I used coconut oil instead of olive, and was quite heavy-handed with it; I baked it in two silicone loaf pans and when it was done, turned them out as soon as I could touch the pans, to help the loaves dry out. The loaves were quite thin, more like a slice, which was fine for my purposes. I wanted to know if the bread freezes, so I cut each loaf into three pieces and put them in the freezer in a Tupperware tub. They defrost fine in a small container in the fridge, and then I cut them down the middle like a burger bun and pantry them to warm them. Great with Nuttelex and Vegemite, and tomorrow I’m going to treat myself and have one with some homemade baked beans.
Update: I didn’t have lemons so I used a lime for my latest batch. It’s fantastic.
Thanks for the recipe. I just loved it both cold and warm. I had it with cashew cream/spread. Heaven.
~ Wow, sounds very interesting and nice :D Think I might do a smaller batch for breakfast muffins <3
I usually soak my mung beans until they are soft, then I fry them with oil and garlic, and other spices – the variation is infinitive :) And I sprout them and eat as a snack, or have in salads, or have them in my home made carrot stake <3
Love them, and I´m sure I´mma Love this bread also :)
Thank you so much for sharing :) ~
Thanks for sharing, I just made this with my toddler who has a very restricted allergy diet. He loved making and eating these… He also loved eating the fresh sprouted mung beans along the way. I’ll be adding this recipe to my staples. Keen to experiment with different herbs too, though hard to go past rosemary as a comfort food flavour.
I apologize that I’m not very knowledgeable with mung beans, but I have a bag of split yellow mung beans in my pantry and I was wondering if this bread would work with these? Also, that purple bread is to die for!
Tried and loved it! thank you for the recipe!
I put thyme after reading one of the reviews.. Mine also had a soggy bottom though.. I am doing the second trial with half the ingredients to have a very thin one to use as a quiche base.
It looks delicious, can I use mung bean flour instead mung bean?
I’m in despair :( I tried 3 times. Even after reading the tips in the comments, changing 3 times of tin I always end up of : first phase when put in the oven it’s big and fluffy. Then after the 30 min it’s still not cooked (even at times when I tried to bake with warmer temperature) it’s definitely raw inside and after a while it just becomes very thin.
I never end up with a big fluffy bread That is cooked inside :(
Can I possibly make this without baking soda?
Hi there, I definitely think that will work. In fact I think I once left it out by mistake with no noticeable difference. When the lemon and bicarb are added together it makes the mixture light and bubbly. Maybe give it a good beating if you don’t add it, to try to get some air through, and then cook. Let me know how it goes!
hi there! I love mung beans & have been meaning to try this recipes for ages!
questions however:
if I am using already sprouted mung beans, how would I go about this process? they would need to be moist in order to create the paste, so do I need to bring them to a boil primarily? also, I don’t have a silicon loaf pain, it’s tin I believe! should I line with parchment paper or grease with avocado / coconut oil?
thank you thank you :)
Hi Hannah! I’ve been making this recently with beans I’ve been soaking for a few days, so I just don’t add the water in as the sprouts are very moist already. (I found if I left the water in I was cooking for ages trying to dry it out!) There’s no need to cook. A metal tin is fine, I find it cooks better in metal, it’s just a challenge to clean afterwards. I use baking paper (I use the If You Care brand which is compostable) and I tend to reuse the paper about three times with this recipe. I find if I just grease with oil – not with this recipe as I haven’t tried, but with baked goods generally – I lose a lot more cake to the sides of the pan, or it goes black. So for me, the paper is less wasteful.
just adding another variation of cooking whole mung… just soak and blend to pancake consistency, add spices and/or grated vegetables and cook as pancakes… its called green mung dosa or moonglet, you can spead thin with the back of a spoon or keep them smaller and thicker, also possible to cook them with yello split mung. i just love mung dal as its so healthy.
I would love to make this in 48 hours. I don’t have a weighing scale. Could you tell me how much 250 g of mung beans would be in cups?
I made this and the bottom seemed gelatinous. Is that from over-cooking?
Good question Holly! I find this happens if I use silicone bakeware rather than metal. I think the metal helps heat up the base, whereas the silicone doesn’t. I still eat it, I find it tastes the same, but using metal baking tins will definitely help. If you already did that, hmmm I’m not so sure. Perhaps let me know and we can go from there!
This is so tasty! I used half split mung beans and half brown rice. Blended the beans/rice with the water, apple cider vinegar (instead of lemon juice), oil, and seasonings. Then added baking soda last. I was worried because the batter was very liquid, like crêpe batter/thick milkshake.. but it baked up fine in the oven! It’s a tad sticky, which I guess is due to the brown rice. But I love the springy and moist texture :)
Great bread and so easy to make. Thanks
Hi there, I’m curious if I can substitute a can of sparkling water for the lemon juice and get the same effect? Thanks!
Why snigger or laugh at a mung bean bread recipe, we searched it and it’s been around for ages