Raw Chocolate Nut Butter Cups: A Recipe
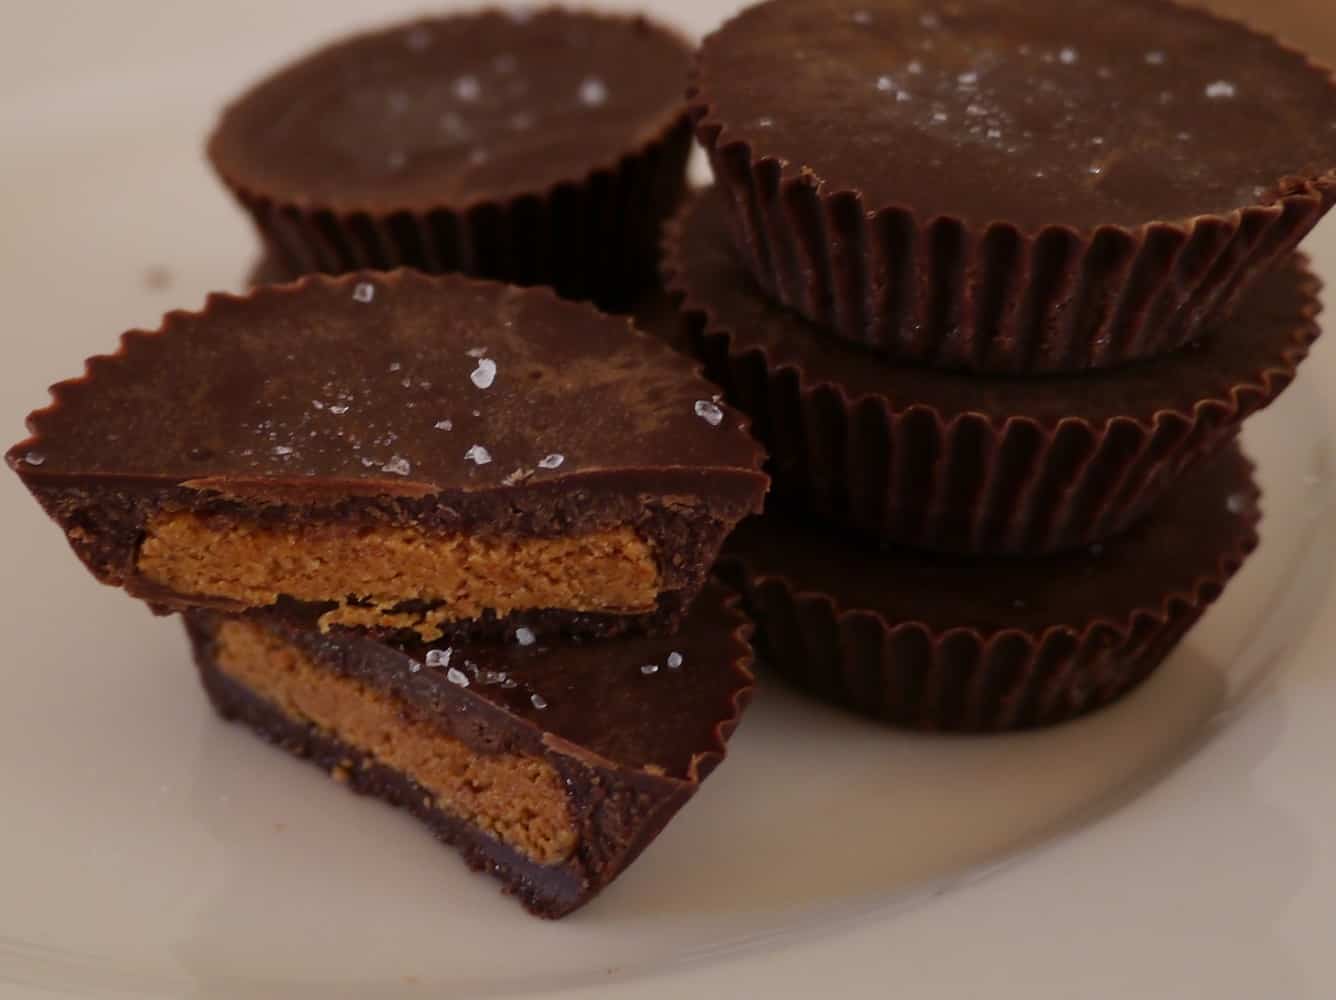
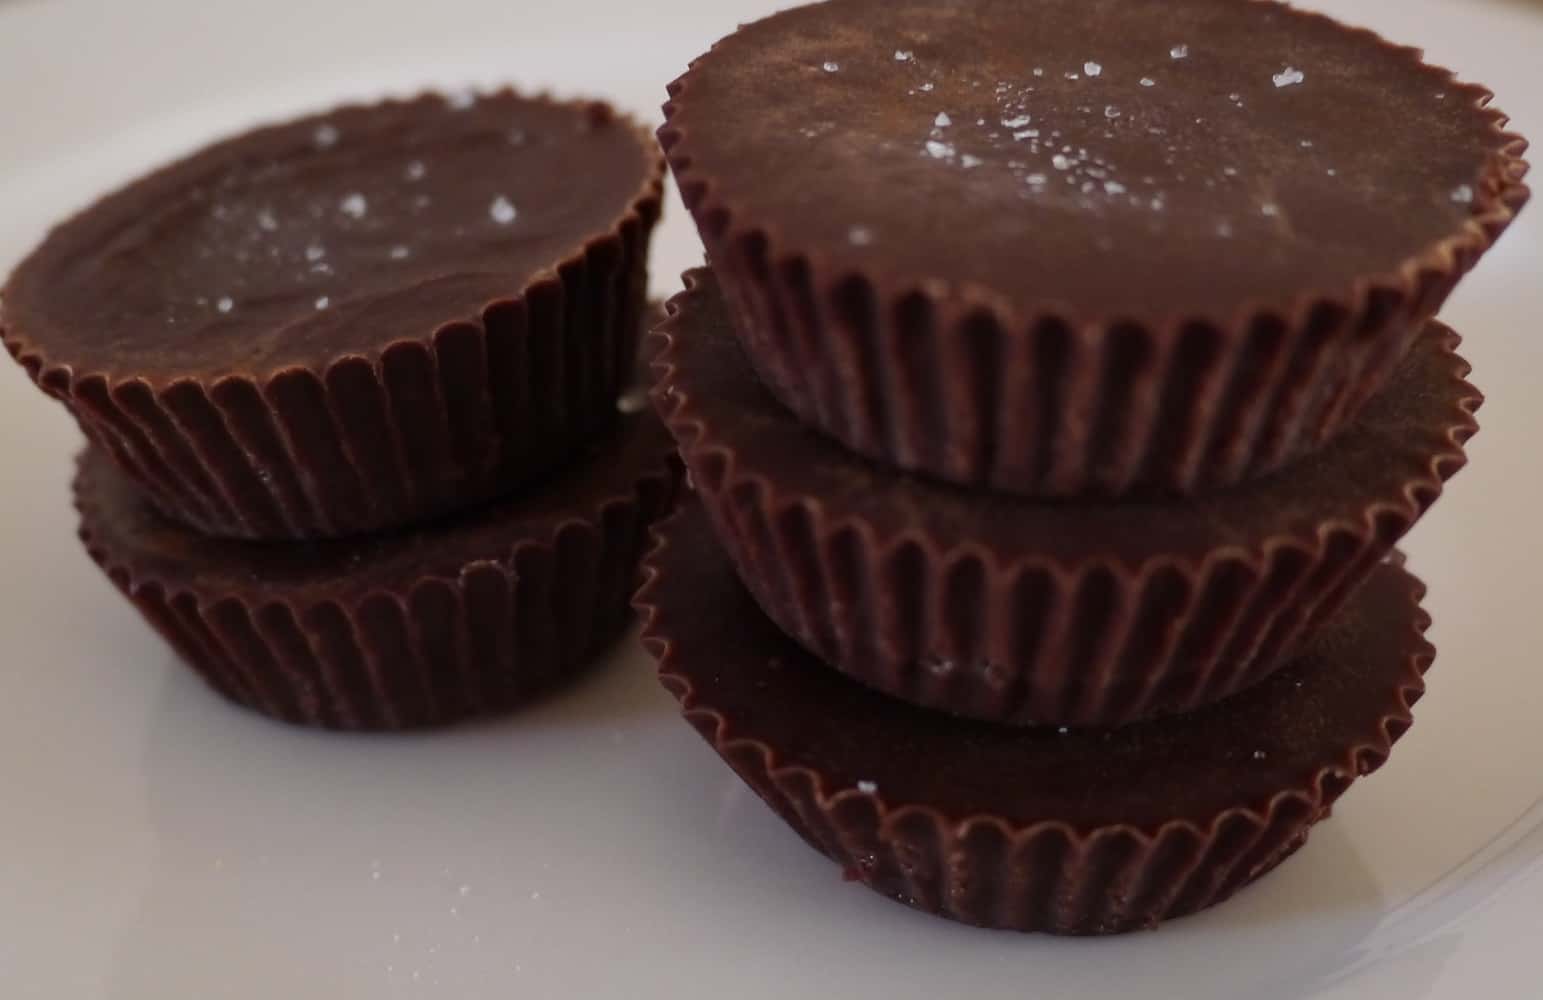
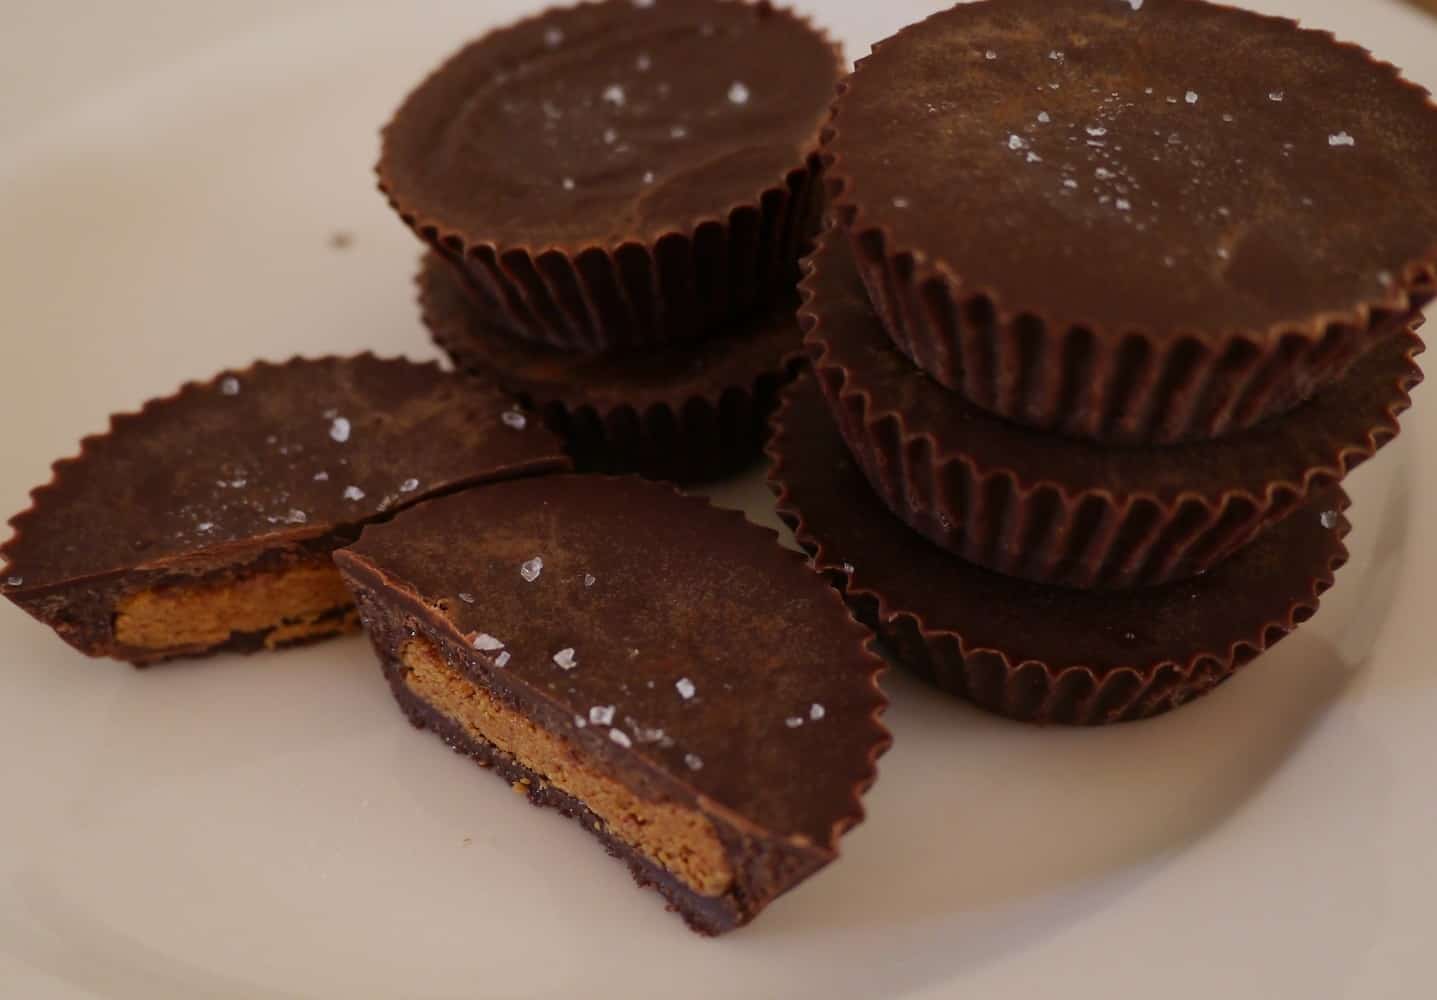
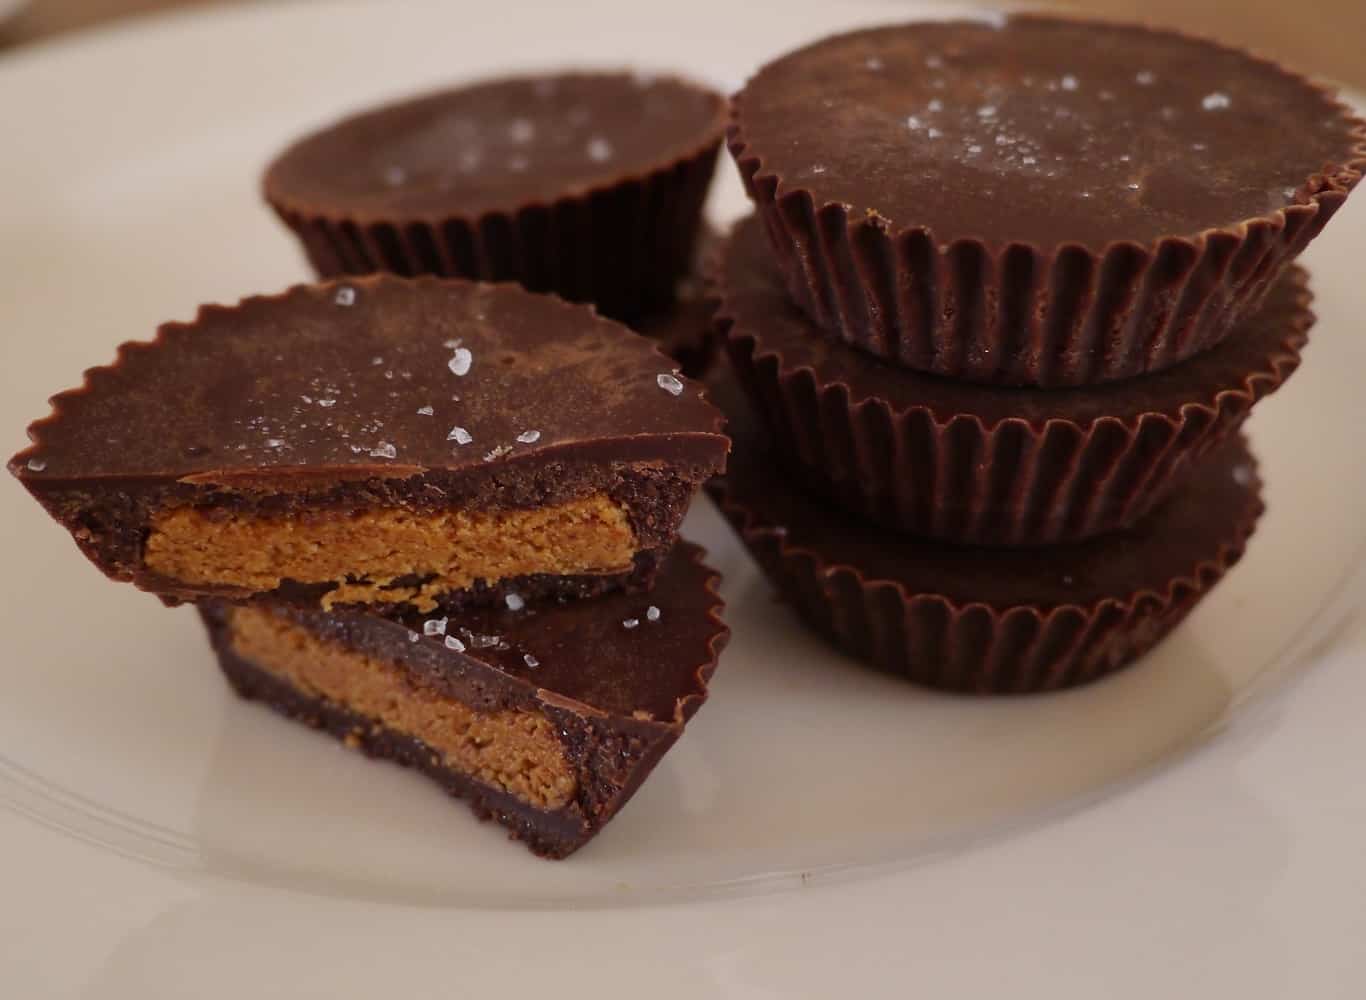
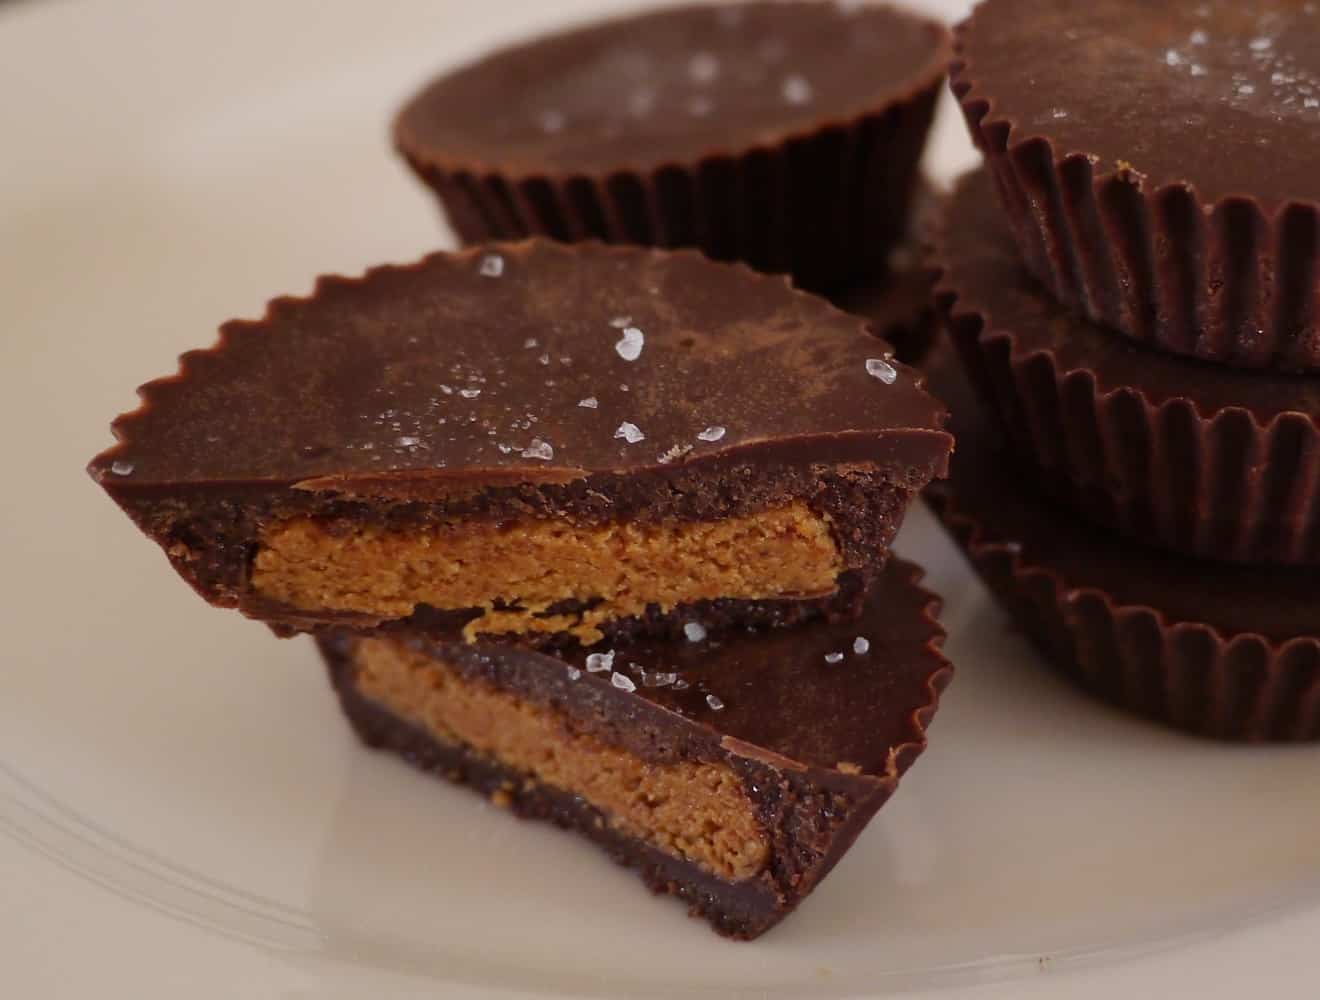
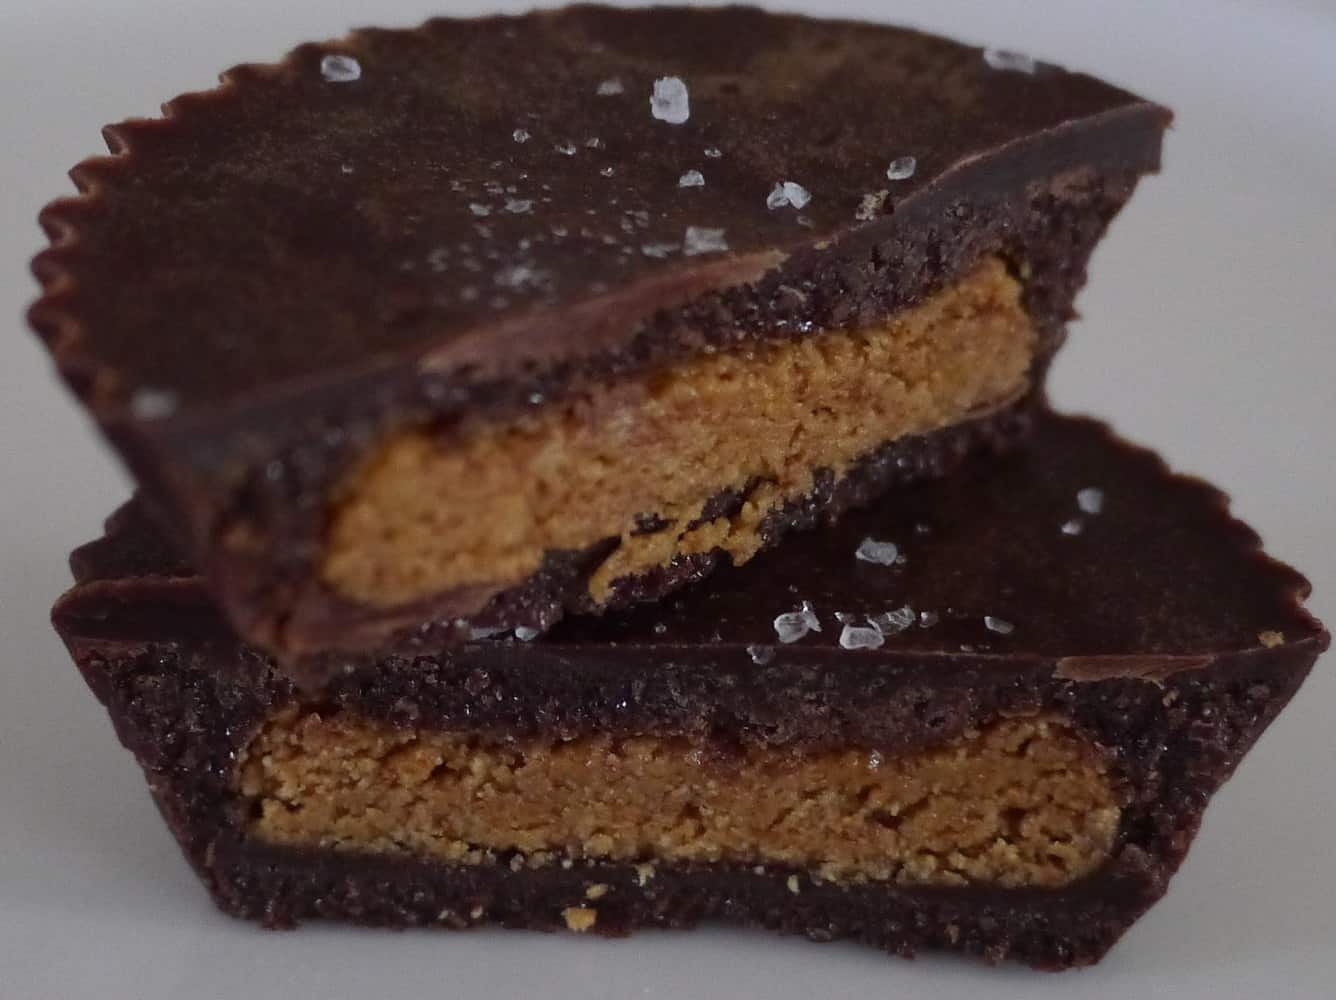
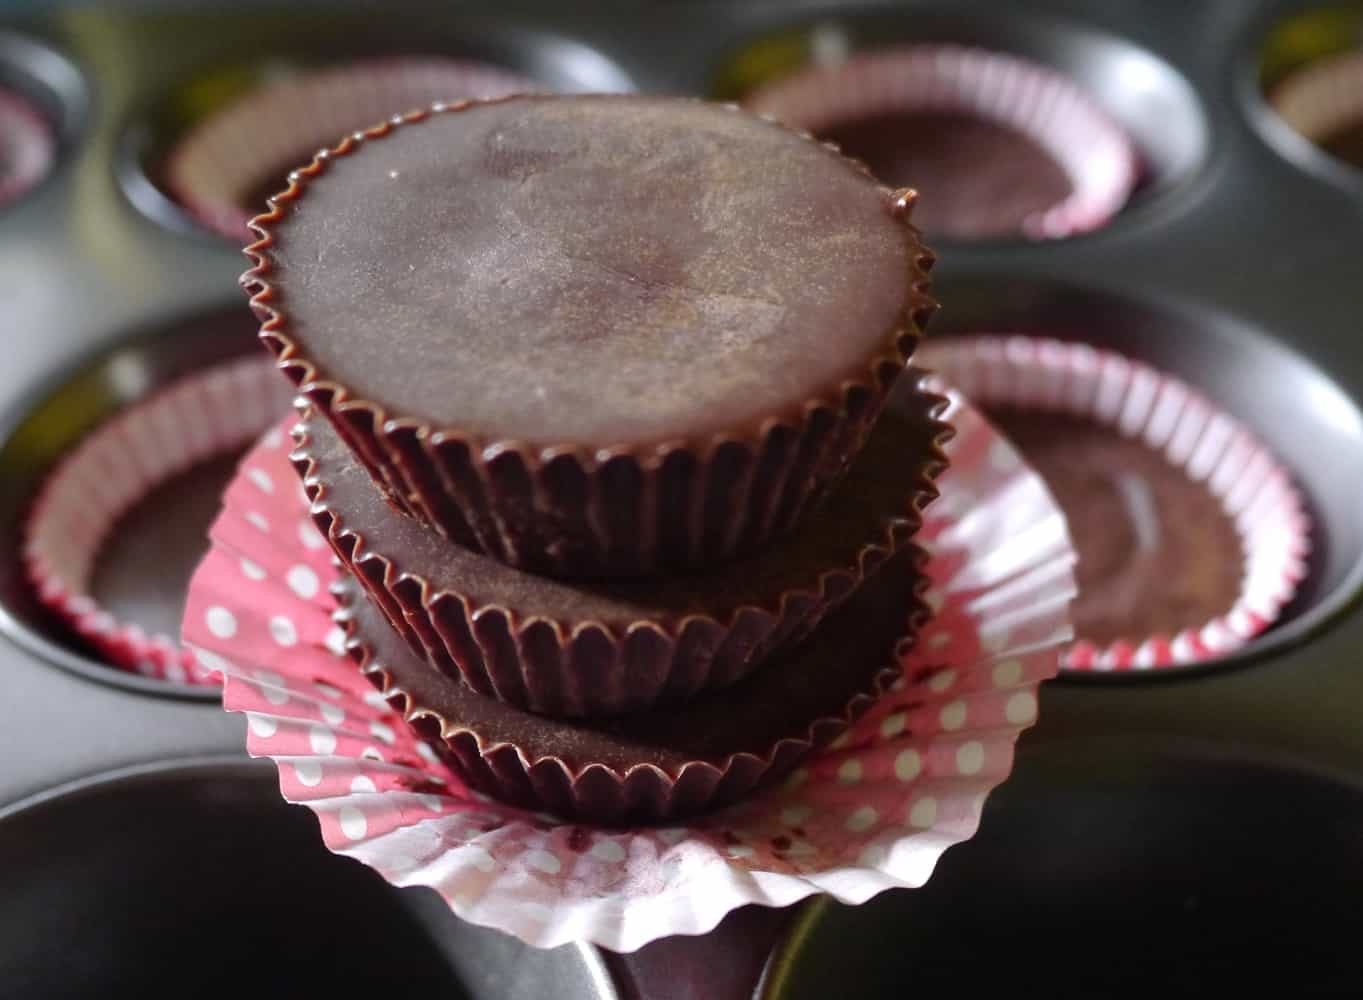
These are my new favourite thing to make! They’re inspired by Reece’s Peanut Butter Cups, except they’re made with real ingredients, not artificial ones, and of course they’re free from preservatives, additives and other nastiness.
I’ve been delaying writing this post whilst I try to perfect them, but I’ve decided I’m gonna share the recipe as it is. They’re pretty damn good as they are, but if I do make them even better I’ll be sure to let you know!
I’ve made my own chocolate from raw ingredients but if you don’t have these ingredients or aren’t fussed about making them raw or vegan you can use melted store-bought chocolate. I reckon you’d need about 1 1/2 cups, which I’d guess would be 250g. (If this number is waaaay out maybe someone could let me know in the comments and I’ll adjust the post!)
I’ve tried making these with brazil nut butter and almond butter, and I loved both, and next on my list is hazelnut butter. You can make your own nut butters for a fraction of the shop price if you have a food processor – find my instructions for making almond butter here.)
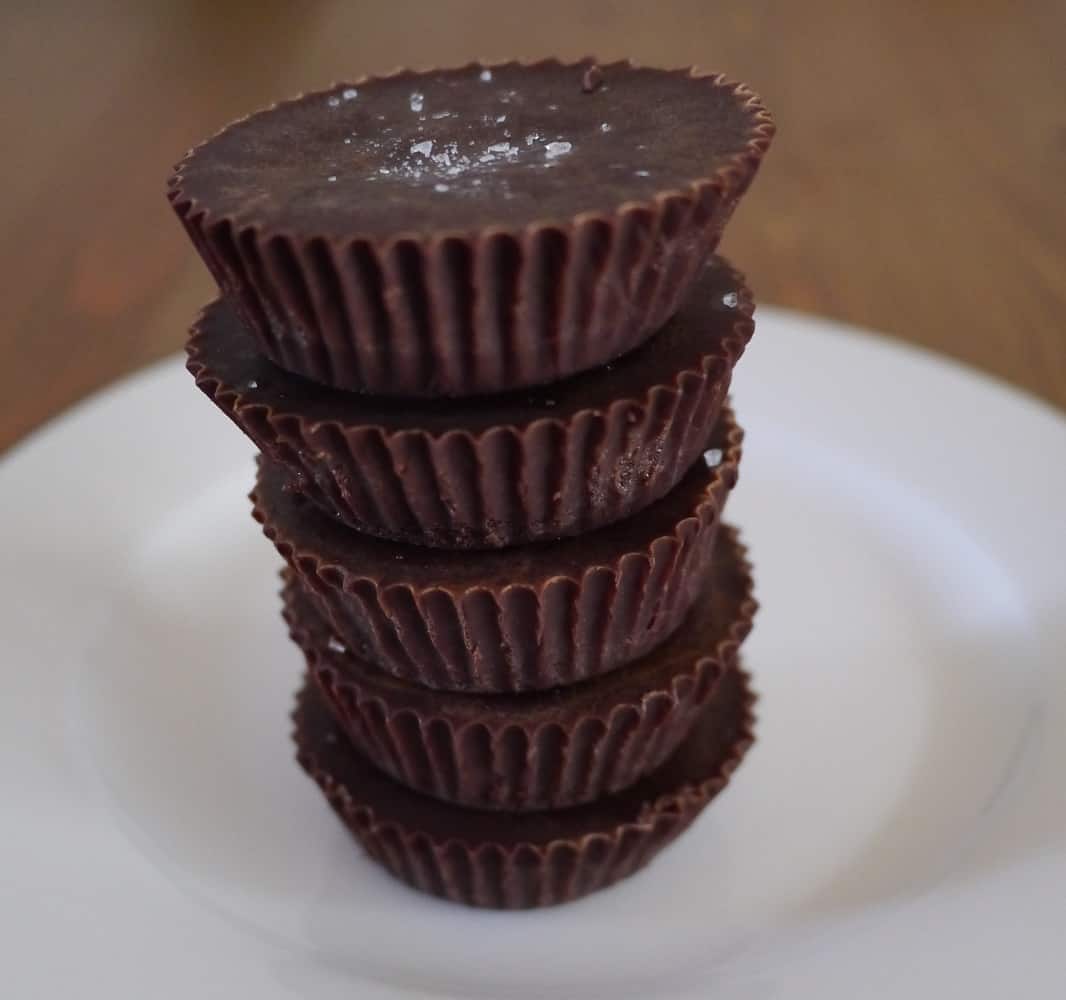
Raw Chocolate Nut Butter Cups
This will make 12 (if using cucpcake-sized paper or silicone cases)
Prep time 20 minutes, chilling time 30 minutes: that means they are ready to eat in under an hour!
Ingredients:
1/2 cup coconut oil (100g)
35g cacao butter (about 3 tbsp when melted)
55g raw cacao powder (3/4 cup)
80ml maple syrup or agave nectar (1/3 cup)
2 tbsp maca powder (if you don’t have this add 2 tbsp extra cacao instead)
For the filling:
1/2 cup nut butter
1 tsp maple syrup or agave nectar
1/2 teaspoon sea salt
Method:
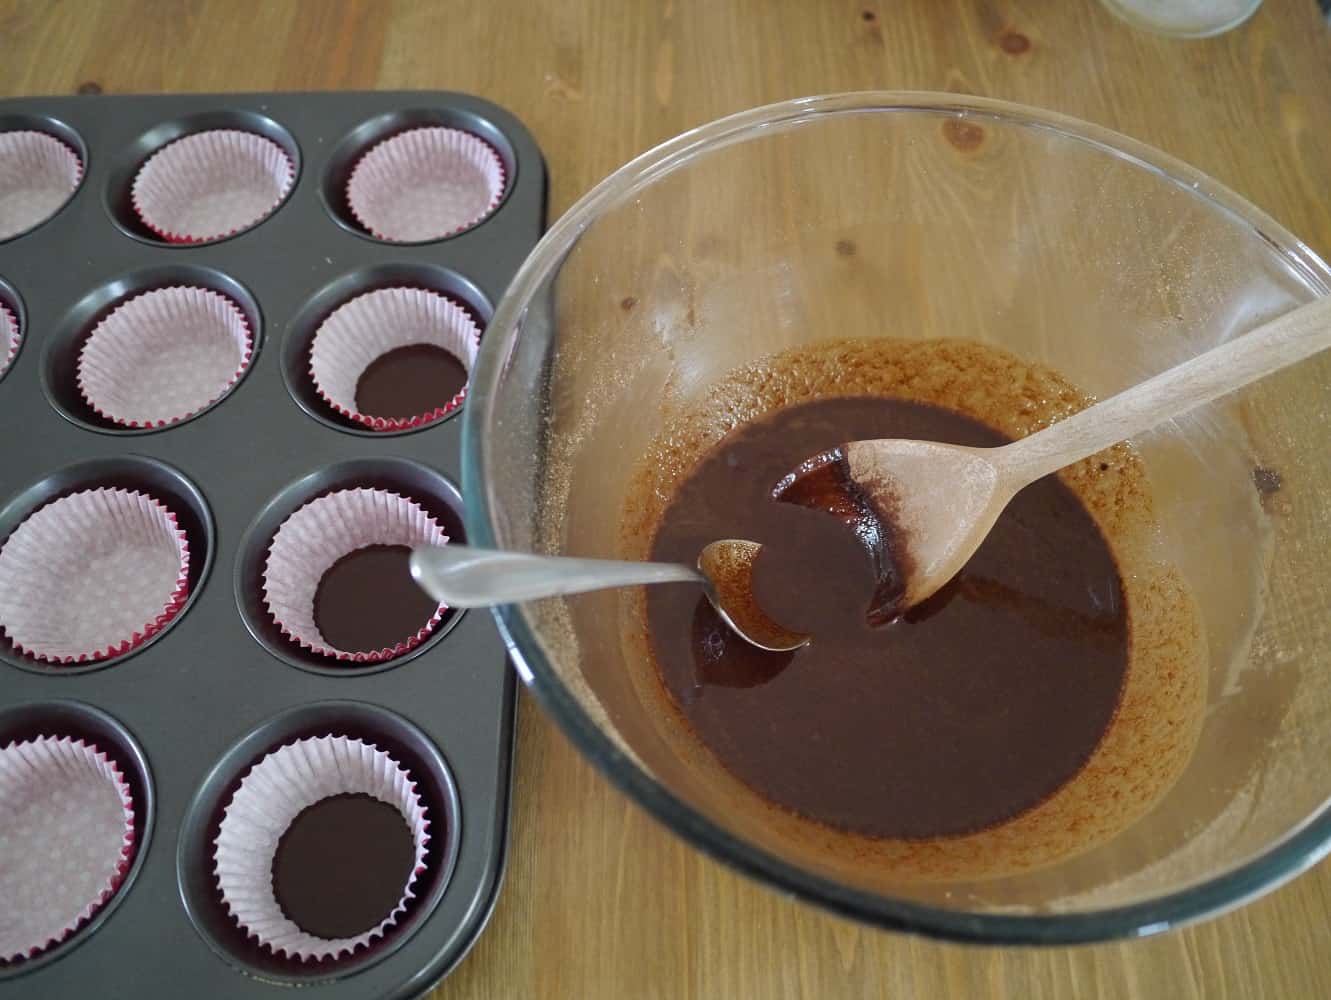
Melt the coconut oil and cacao butter in a bowl over a pan of steaming water.
Add maple syrup/agave and stir until combined.
Add cacao and maca and mix well.
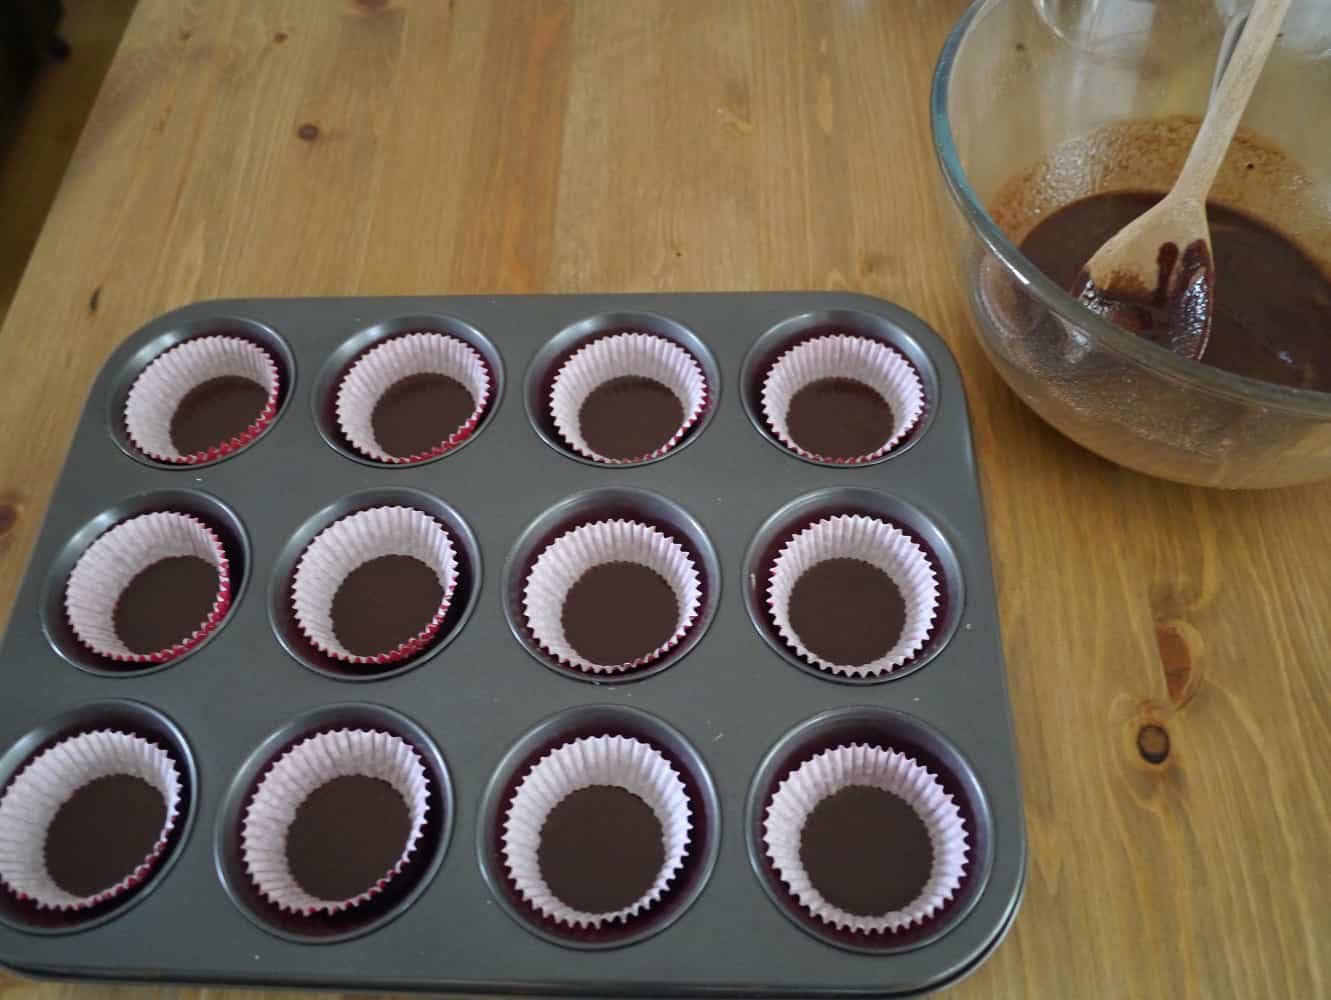
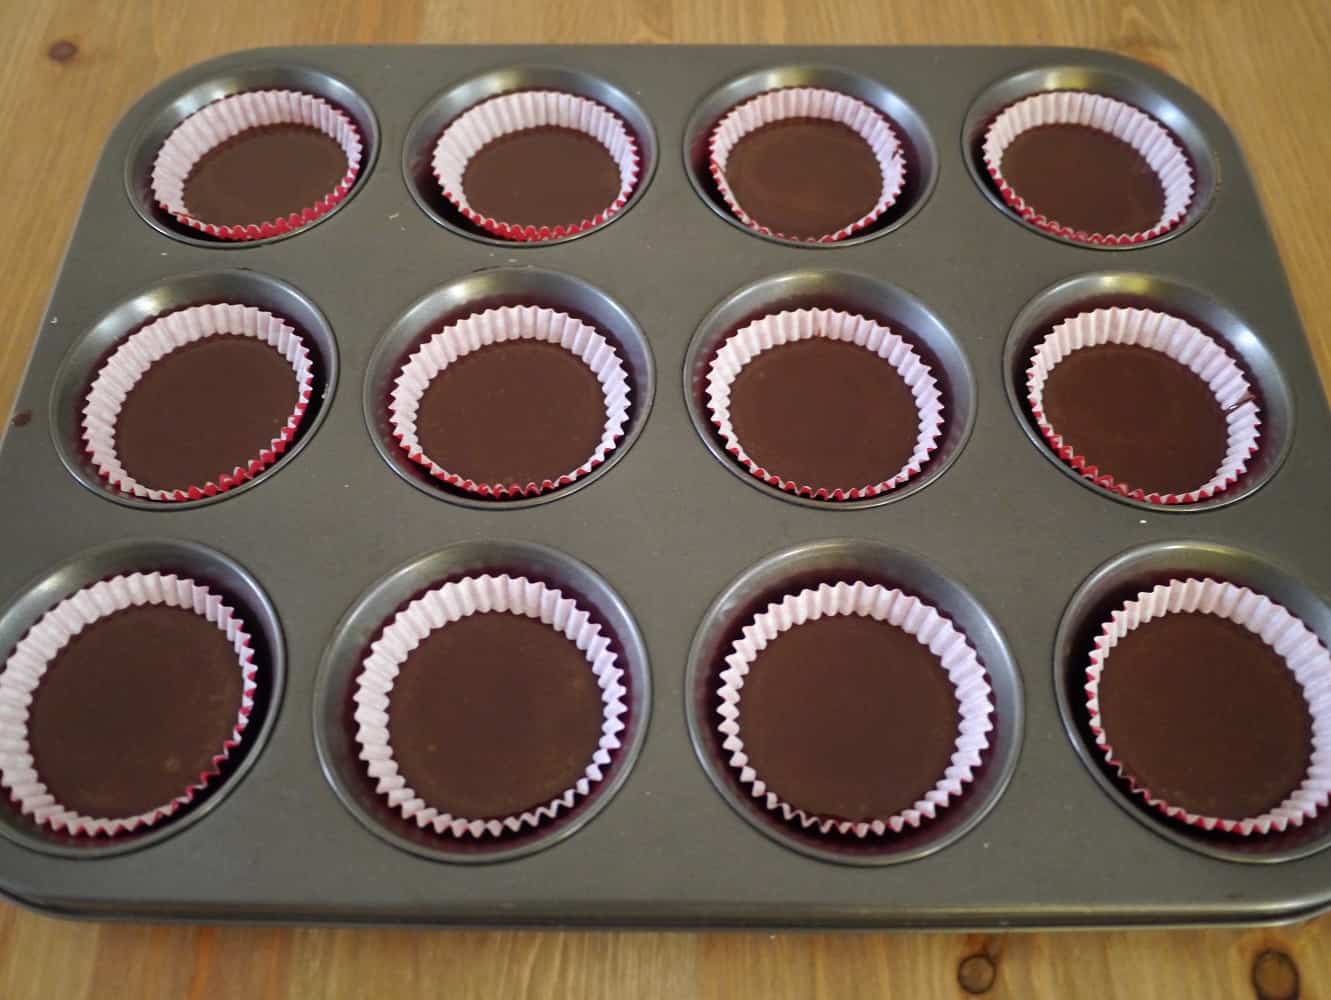
Line a muffin or cucpcake tin with 12 paper cases. Spoon 1 dessertspoon in each of the paper/silicone cases. (This should use 1/3 of the mixture – keep the rest).
Put the tray into the fridge to set (about 15 minutes).
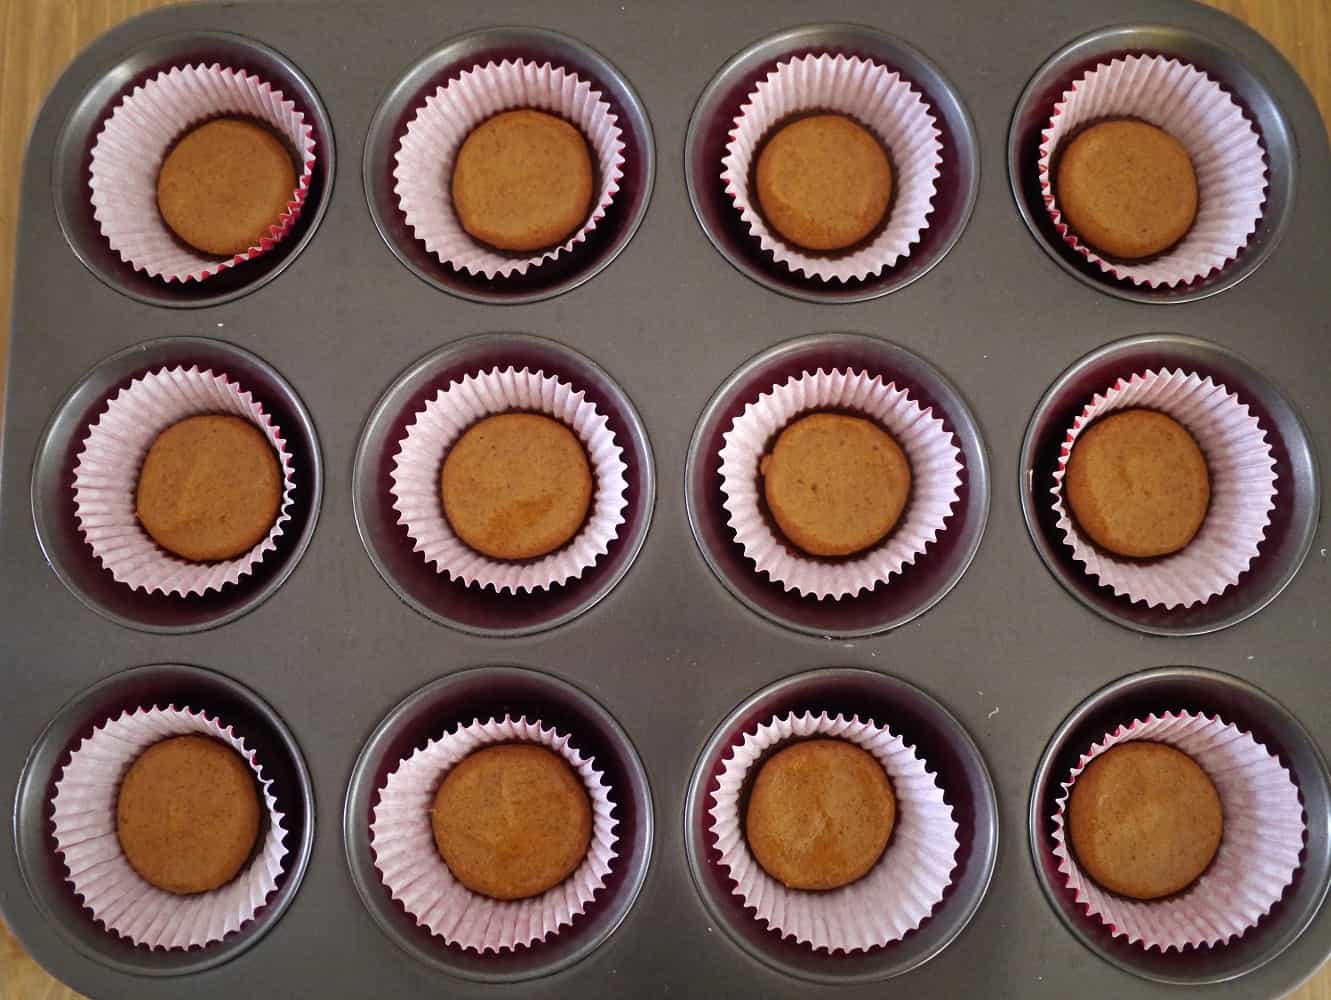
Whilst the chocolate sets, make the filling. Mix 1/2 cup nut butter with the sweetener to form a dough.
Divide the dough into 12 balls.
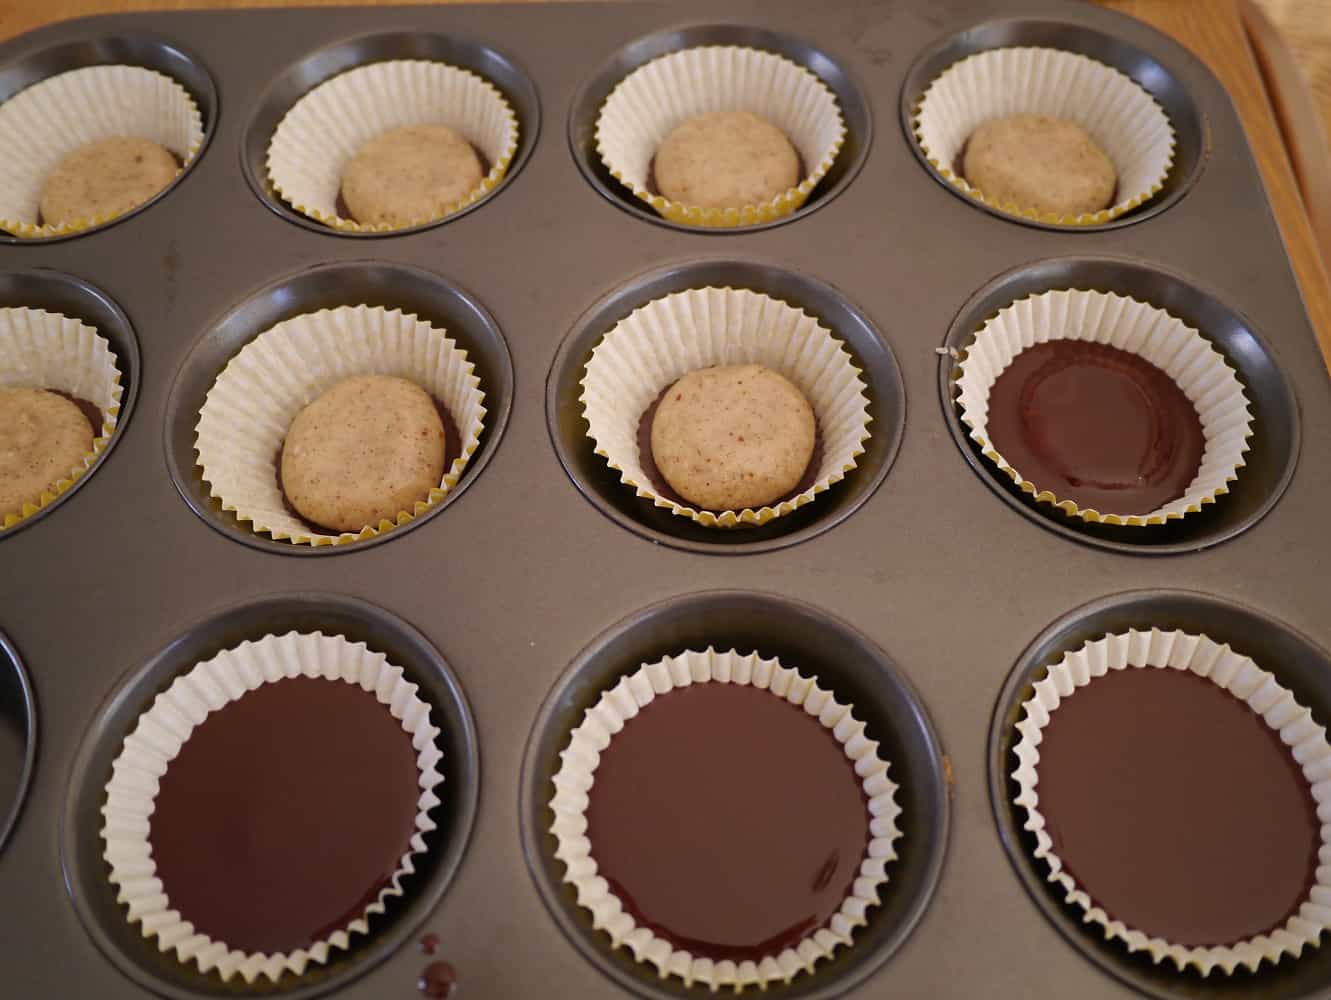
Take the tray out of the fridge. One at a time, roll a ball of dough and place on top of the chocolate in the cases, pressing down so the dough almost (but not quite) covers the chocolate. Repeat for all. (If you find the nut butter is sticky, put in the fridge for a few minutes to chill before pressing down).
Take the remaining chocolate mix (if it has cooled and hardened, simply warm again as before to soften) and spoon two dessertspoons into each case. This should completely cover the dough centres.
If there is any chocolate left over, share amongst the cases.
Pop back in the fridge to set. This will take another 15 minutes.
Before serving, top with ground sea salt or cacao nibs, or leave plain if you prefer.
Enjoy!
These need to be kept in the fridge, in an airtight container so they don’t absorb all the other fridge smells.
Enjoy!
[leadpages_leadbox leadbox_id=1429a0746639c5] [/leadpages_leadbox]





Great post, thanks!
Definitely going to try this Lindsay! It actually does look simple, to a ‘baking phobic’
I make a very similar one but use silicone tray instead to avoid the paper cases! x