Everything you need to know to get started with home composting
Composting can seem a little overwhelming. There seem to be so many things to worry about; things that might go wrong. It can seem a bit technical and science-y. But actually, the basics are quite simple, and it is easier to get a compost bin cranking than you think.
If you’re composting at home, especially if you’re a beginner, you don’t really need to get bogged down in the details. Understand the principles, and you’re on your way.
If you love the idea of composting, but simply don’t have the option to compost at home (or where you live), this post on composting without a compost bin might be useful.
If you’re keen to get you own compost system set up at home, read on.
Choosing your composting system
There are a few different composting systems (and I’m only talking about composting today – not other methods like worm farming/vermicomposting or bokashi systems).
For the beginner, there are two great home composting systems: the regular compost bins we are most used to seeing (I call them in-ground compost bins), that sit on the ground or are slightly dug in, and rotary compost bins, which are an enclosed system mounted on a frame.
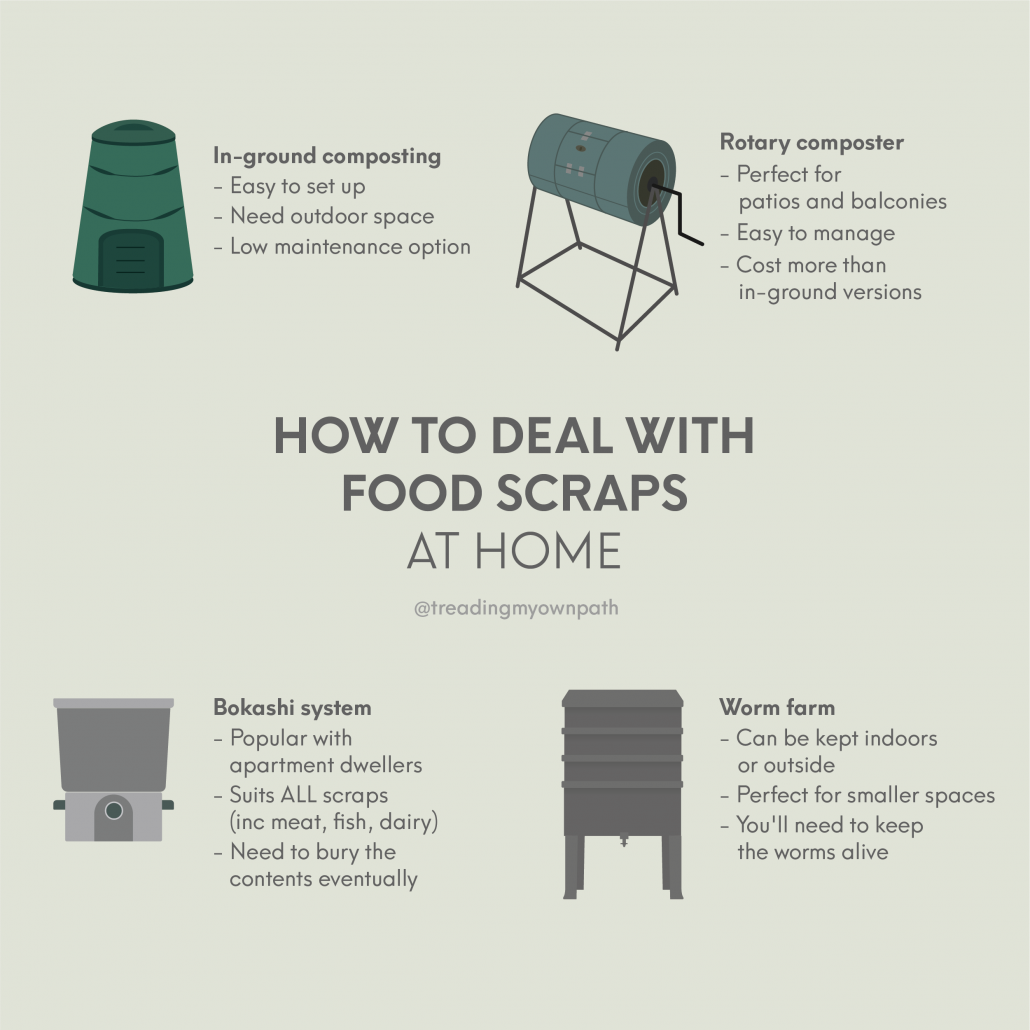
Compost heaps or compost bays aren’t great for beginners as they are more difficult to manage. Digging food scraps into the ground or in trenches (if you have space for that!) works too, but it’s not really a ‘system’.
In-ground compost bins
These are easy to set up and low maintenance, and usually cost less than the rotary versions. There are a lot of second-hand compost bins available, so it’s probably not necessary to buy a new one. It’s also possible to make them by upcycling plastic barrels, old bins or other old containers.
You’ll find different styles of bin, some with doors at the bottom and heaps of ventilation holes, others that clip together and some with no bells and whistles at all.
I’m a fan of the no bells and whistles type, pictured below (I call them Dalek bins). These work best for the climate I live in. These types of bin don’t have a base, and I dig into the soil (about 10cm deep).
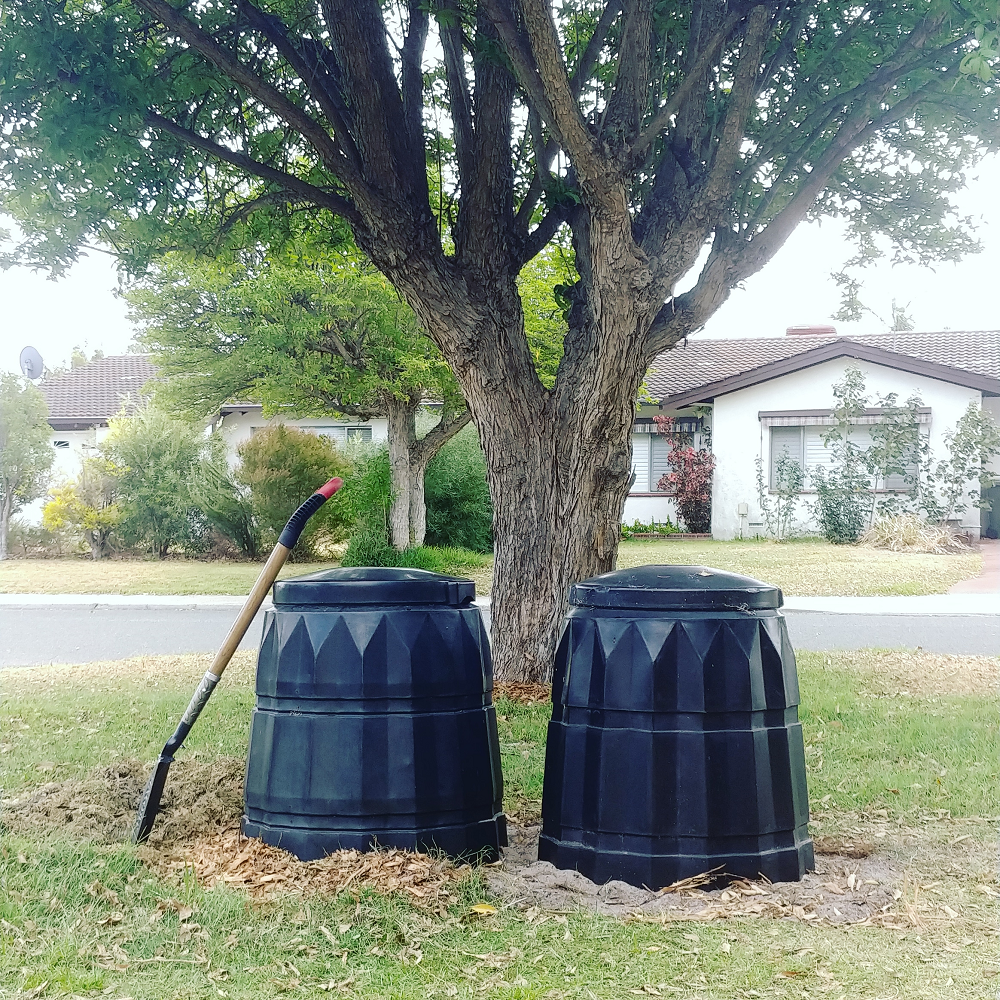
In my hot climate, any ventilation holes are just gaps for moisture to escape and pests to get in. Plus they provide points of weakness (because we all know plastic breaks down when exposed to sunlight).
Doors at the bottom might look cute, but the reality is it is easier to wait for the entire contents to become compost and dig the whole thing out at once.
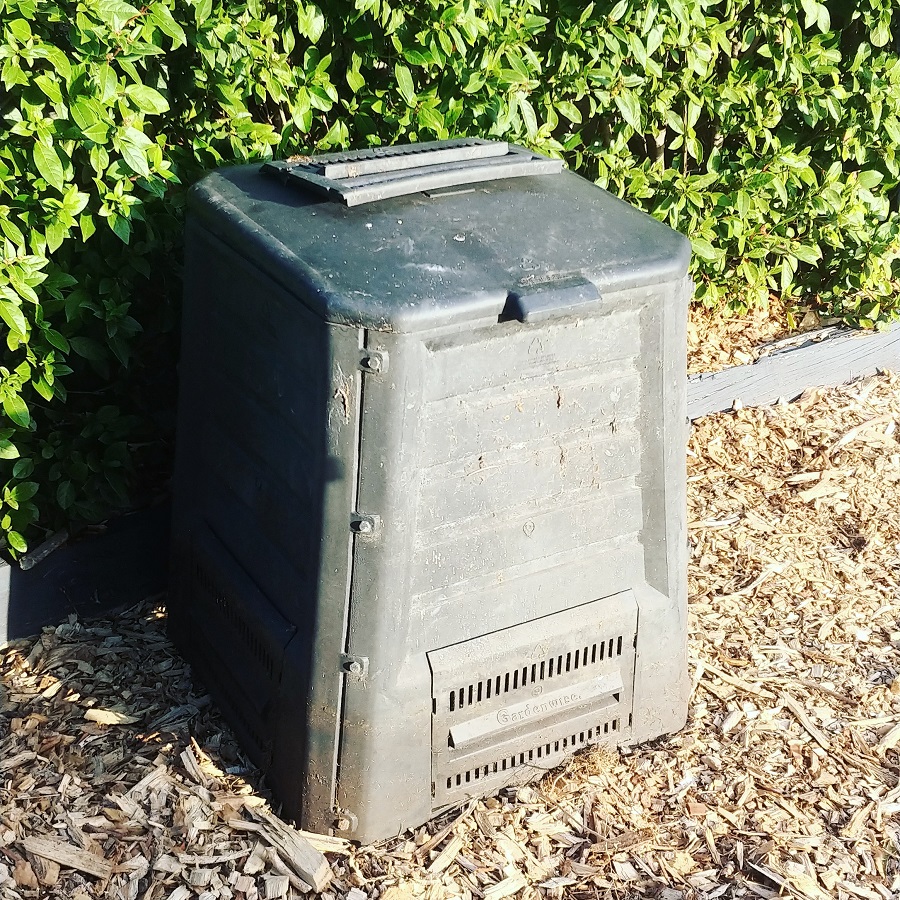
That said, it’s possible to make most compost bins work. My neighbour was recently clearing out her shed, and offered me this for free. My plan is to dig it into the ground so that the vents at the bottom are covered, and only use it for garden waste (no food waste) to deter any pests that might want to crawl in the sides.
Because of the gaps along the sides, it will probably need a bit more water added than the other type.
Rotary composters
These tend to be more expensive than the in-ground versions, but they are perfect for patios and balconies and spaces where it isn’t possible to dig one into the ground. I’ve seen DIY versions but you’re going to need to be a bit handy to make one, as the cylinder has to be able to rotate on a frame.
There are lots of different styles and sizes, too. Some are long and thin, others are short and squat – and the way they are mounted on the frame (and therefore how they turn) varies too.
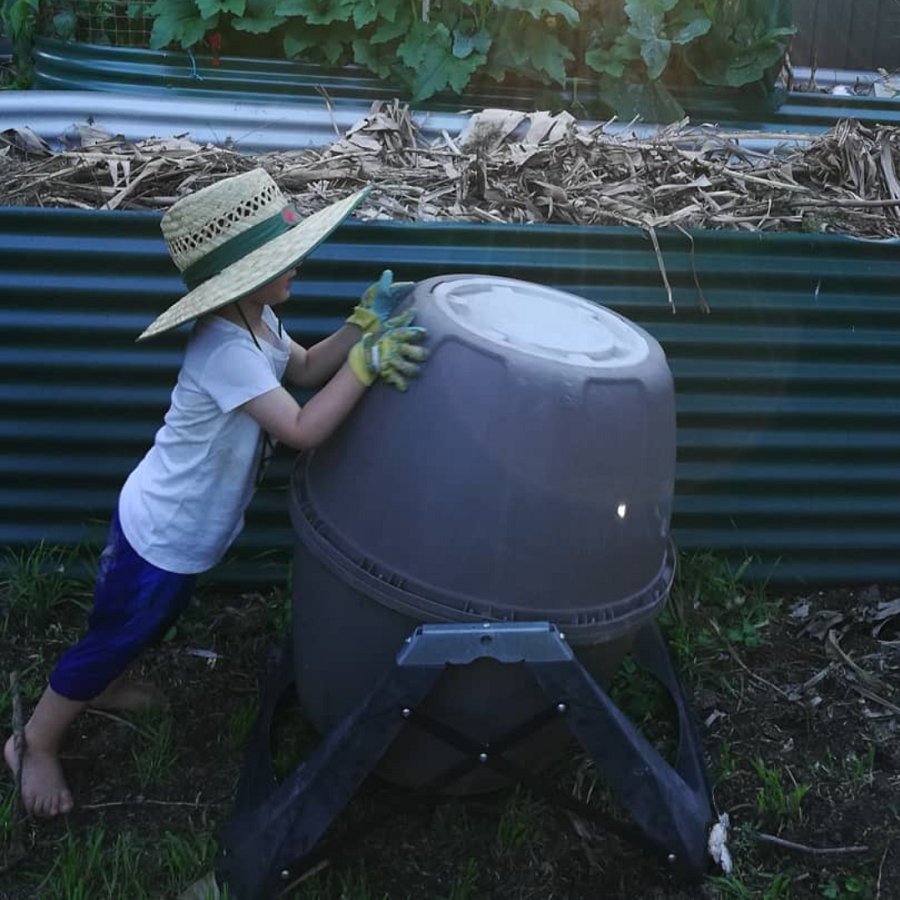
When choosing which one is right for you, it’s best to think not only about your space but also your physical capabilities. A huge bin might seem like a great idea, but if you can’t turn it because it’s too heavy, that isn’t going to work.
Another great advantage of these bins is they are less likely to attract pests and are pretty much rodent-proof.
Where to position your compost bin
You’ll often see it written that a compost bin should be placed in sunny spot, but that depends on where you live. If you live in a hot climate, placing a bin in full sun means it dries out. (Compost bins need moisture to work.)
I think it’s more important to think about a spot where you’ll actually use it. At the end of the garden behind the shed might seem like a great idea… until you need to put your scraps in it when it’s dark and raining.
A well managed compost bin shouldn’t smell, so being near a kitchen window shouldn’t matter, but if you don’t trust your skills (yet) perhaps make sure it’s not too near any doors or windows.
If you do have a garden, under a fruit tree is great, as the tree roots will benefit from the compost at the bottom of the bin.
I’d say, choose a warm and accessible spot (in a hot climate, dappled shade / afternoon shade is helpful if possible). Don’t forget, you can always move it later if your first spot doesn’t work out.
Setting up your compost bin
Once you’ve chosen a site for your compost bin (and dug it into the ground a little if it’s an in-ground compost bin – 10cm is ideal), you need to get it set up and ready to accept food scraps.
Compost bins need air (oxygen) to work properly, so when you’re setting up a new bin, it’s good to start with something chunky as the base, that allows air flow. Twigs and sticks and egg cartons are great.
The biggest mistake I see (and yep, this was also me when I started) is to add ALL the food scraps, nothing else, and watch in horror as your compost bin becomes a stinky, fly-infested mass of yuck.
Compost bins need balance. In particular, they need a balance of fresh stuff (called ‘greens’) and dead stuff (called ‘browns’). On a more technical level, we are talking about nitrogen and carbon.
Too much nitrogen (fresh stuff) will make for a stinky compost bin as it will break down too fast, using up the oxygen. Too much carbon (dead stuff) and your compost will take forever to break down.
For a beginner, a good rule of thumb is one handful of green stuff, and two handfuls of brown stuff. Or even three handfuls of brown stuff.
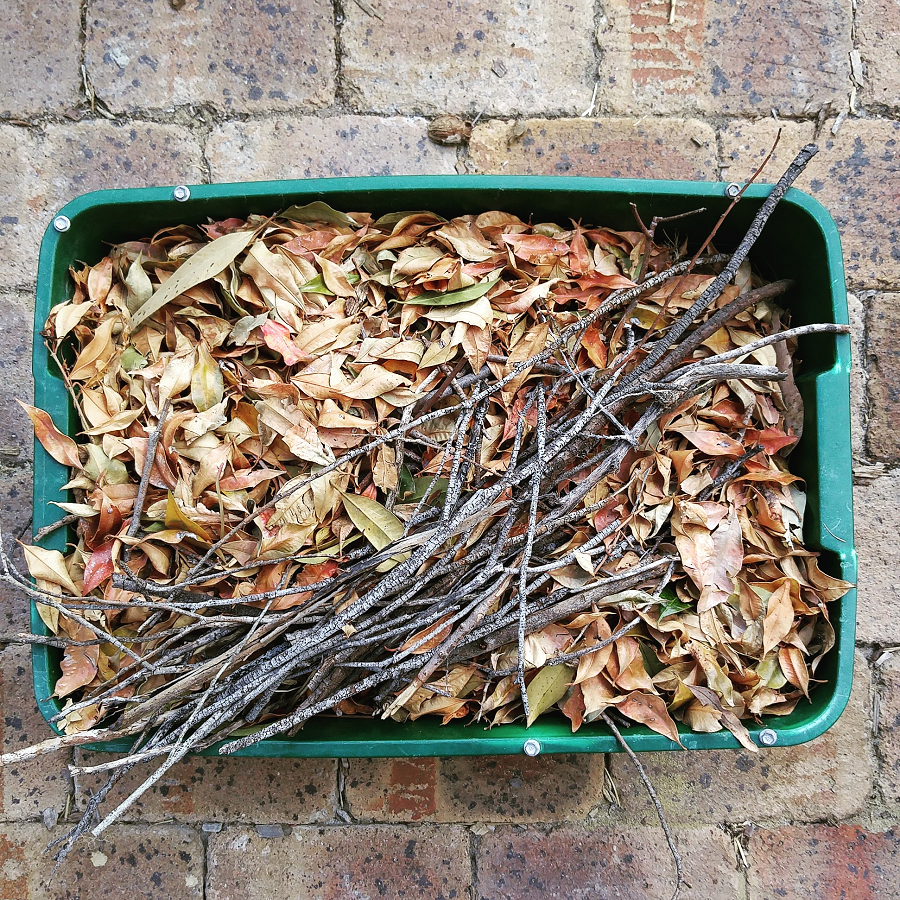
Placing a tub of shredded paper, old cardboard toilet tubes, egg cartons, dried leaves, wood chips, sawdust or straw (all carbon rich) next to your compost bin, so that every time you add some food scraps, you can add some carbon easily, works well.
As you add things to your bin, the stuff at the bottom will get compressed, and eventually run out of oxygen. This will make for stinky compost. Turn your compost with a pitchfork or turning fork (like a giant corkscrew) – or by rotation if that’s the type you have – to keep the air circulating. Turning once a week or once a fortnight is fine, or more often if you start to notice any bad smells.
What can and can’t go in my compost bin?
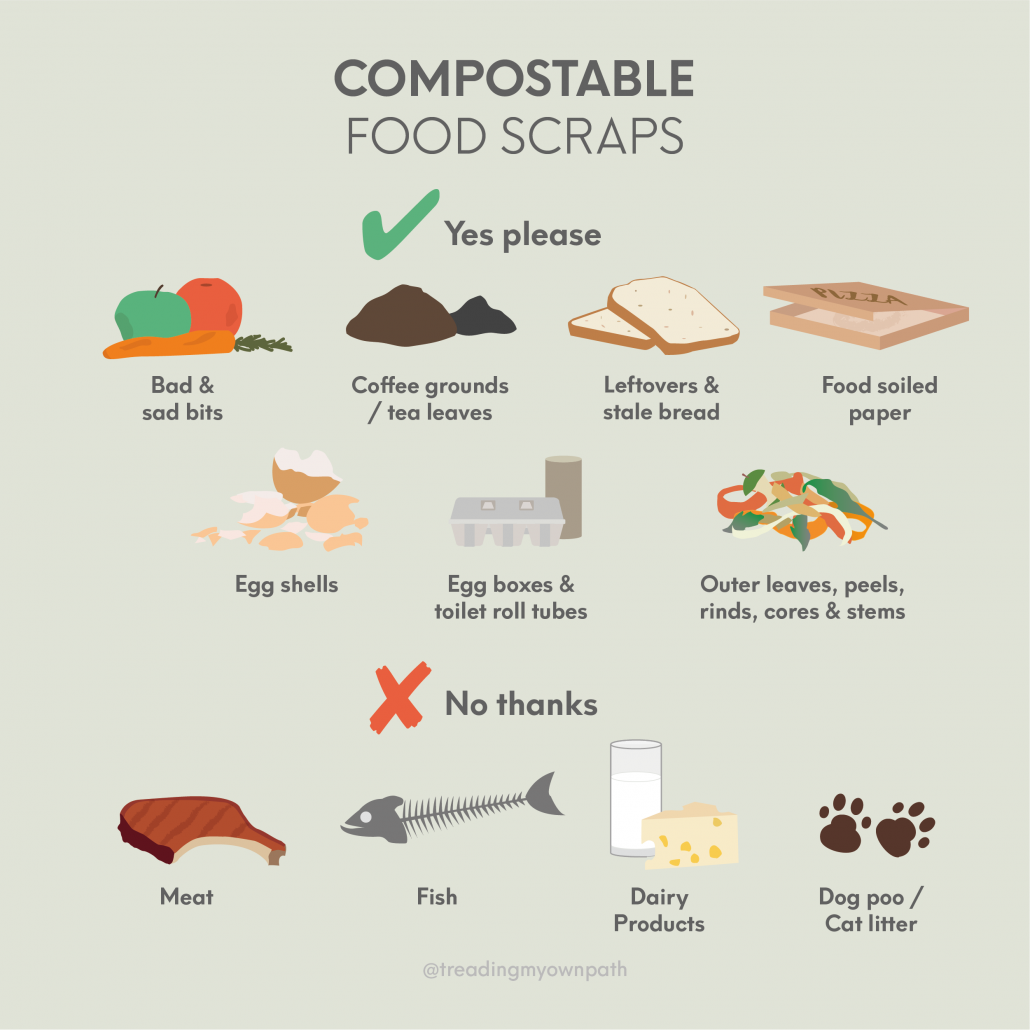
Anything that was once alive will eventually break down to become compost. There are a lot of myths circulating that you can’t compost things like onions or citrus – of course you can! When it comes to plant-based food scraps, everything goes.
As for other food scraps, it’s not that they can’t be composted, but they are more likely to attract vermin, other pests (like flies and maggots) or harbour dangerous bacteria.
As a beginner composter, avoid putting meat, fish, dairy products, bread and large amounts of cooked food in your compost bin if possible.
Thinking about garden scraps, the only things I don’t put in my compost bin are persistent or nasty weeds – things like couch or Kikuyu grass roots, or those weeds that have the spiky seeds that stab you if you stand on them barefoot.
Although home compost systems tend not to get hot enough to kill seeds, most seeds aren’t really a problem. It can be fun to get surprise tomatoes or pumpkin plants germinating from compost. Common weed seeds like dandelions still go in – even if I didn’t put them in my compost bin, the seeds are going to blow in from elsewhere, and they are easy enough to weed out again if they do appear.
Common composting problems
A good compost bin needs variety, oxygen (air), moisture and microbes/insects to keep it working. When one of these things is missing, you get problems or it slows right down.
Stinky compost bin? Add more carbon rich material, and turn your compost to increase air flow. Make sure food scraps are buried. A well managed compost bin doesn’t smell (or smells earthy, like soil).
Dry compost? Add water.
Soggy compost? If you can squeeze water out of your compost with your hands, it is too wet. Add dry material – shredded paper, sawdust, dry leaves.
Insects? Most insects are fine, so don’t panic. Lots of one type might indicate an issue. Ants usually mean it is too dry, so add water. If flies or maggots are a problem, cover the top with mulch or soil, and make sure food scraps are buried rather than sitting on top. The odd cockroach might make you wince but it isn’t going to harm you or your compost. An infestation probably means you haven’t turned your compost for a while. Mix it up, and keep turning it and they’ll find somewhere else to live. Insects have short lives, and will be gone soon enough.
Not doing anything? Adding a handful of compost or manure will add some microbes to your compost to give it a boost. Turning it will also (literally) help stir things up.
Can I set and forget?
If you want ready-to-go compost in 2 – 3 months (in a warm climate), you need to balance your greens and browns, and turn frequently. But if you just chuck it all in and forget about it, it will break down eventually. Much more slowly, but it will happen. Winter (and colder weather) also slows things down.
If you do want to use your compost bin in the garden, two (or more!) bins can be helpful. If you’re constantly adding fresh food scraps to your compost bin, you are always going to have non-composted bits in your compost. Ideally, you’ll fill one bin to the top, and then continue to turn it whilst starting to fill a second one. That way, you’ll have fresh compost ready to go by the time the second one is full.
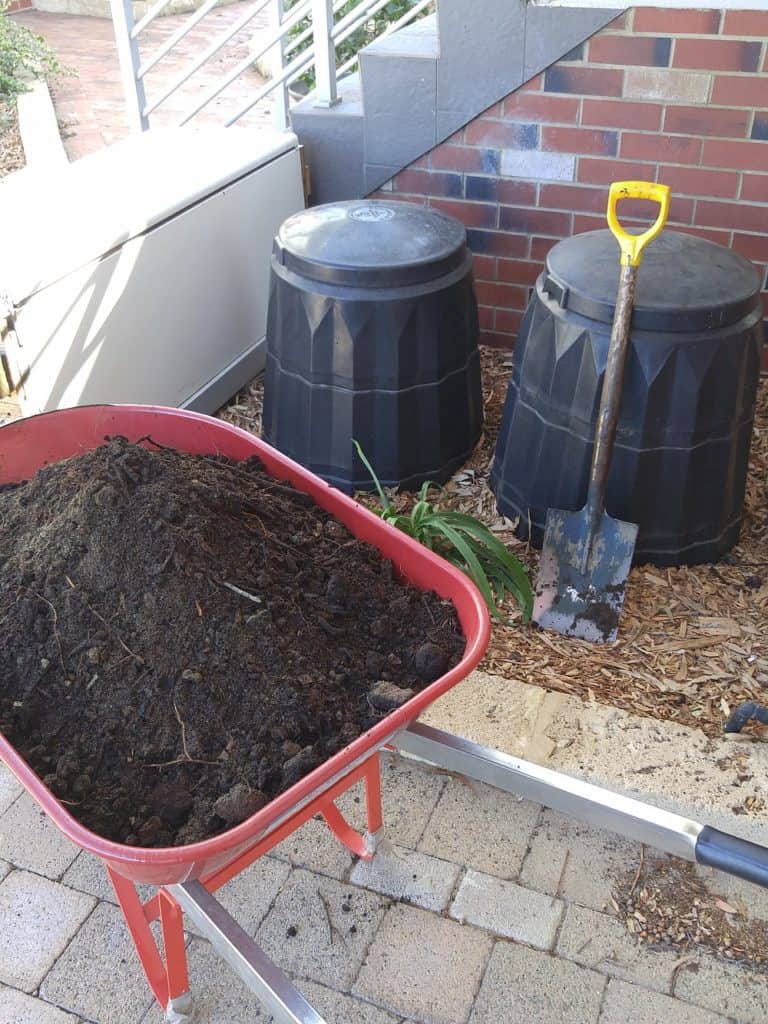
Once emptied, you can start refilling again and leave the other one to work its magic.
If you want to start composting at home, the best thing to do is to just start. Then, as issues pop up or you have questions, you can troubleshoot one by one. Most problems are easily fixed. Get a compost bin set up, and you’ll learn as you go.
Now I’d love to hear from you! Do you have any questions about composting? Any issues I didn’t cover? Any beginner tips you think others need to know? Any other thoughts at all? Please share in the comments below!
[leadpages_leadbox leadbox_id=123a865e9839c5] [/leadpages_leadbox]



What do you do with your nasty weeds if you don’t compost them? Do you have a garden bin, or do you put them in your general waste bin?
My general waste bin actually goes to a commercial composting facility (which is a bit odd, because these bins tend to be full of stuff you wouldn’t put through a composter – but that’s what happens). So I put them in that. You can also make weed tea, which involves submerging them in water in a bucket with a brick – be warned, it will stink. But it will kill any seeds/roots! This would be my second choice. Another option is to solarise them. I’ve seen people cook them in solar ovens, but there are lower tech ways to do it. I’m sure some people burn them…depends if you make fires or not. Hope that helps!
Hi Lindsay, thanks for all the precious advice. Any recommendations for composting in a courtyard? Can I still use an in-ground composting bin without digging in into the ground? Many thanks.
G’day Lucy.
You could use an in-ground bin on concrete or pavers but not ideal. The water contained within fresh (green) scraps will leach as they break down so if it’s got nowhere to go (like the ground/ earth) the compost juices could potentially leak out from under the bin and onto your courtyard surface. It’ll also likely stain the surface depending on how long the compost bin is left in place.
If its a wooden deck in your courtyard the definitely not an in-ground bin for a number of reasons .
Good luck!
hi Lindsay, can you throw in shop receipts?
Hi and thanks for the great post. Wondering what to do with cooked meal scraps like meat and pasta? Minimal left overs but means I still need to use a bin liner which I would like to avoid. I have the standard compost but haven’t added these types of scraps.
Hi CG, could you store scraps in a bag in the fridge/ freezer until bin collection day and then re-use that bag? Or put it straight into the outside bin? Hope you can find a solution that works for you.
Hi CG. Look into a Bokashi Bin which can deal with food scraps you wouldn’t normally add to a compost bin.
This is such a great and informational post! We’ve been going back and forth on composting since we live in an apartment and the space is limited. Are there specific ones you would recommend for apartments?
http://honeycombee.com/
This is an amazing post! I’ve read we can add biodegradable fabric (cotton, hemp, linen, cashmere, etc.) to the compost heap. Have you tried it yet?
Hi Lindsay We have a small backyard overshadowed by two enormous eucalypts that grow next door (and are much visited by lorikeets and fruit bats). So the main garden waste we have is gum leaves. I’ve been told that these are really not a good idea in compost because they take about ten years to break down. Is this true? It would be much easier to add the “brown stuff” if we can use these leaves, but I haven’t been, so we’re a bit short of the brown stuff – I’m using spare soil/potting mix from old pots instead. Advice?
Is it okay if I print your yes and no compost image as a sign for my community garden? Very nice and to the point