How to Make Your Own Beansprouts
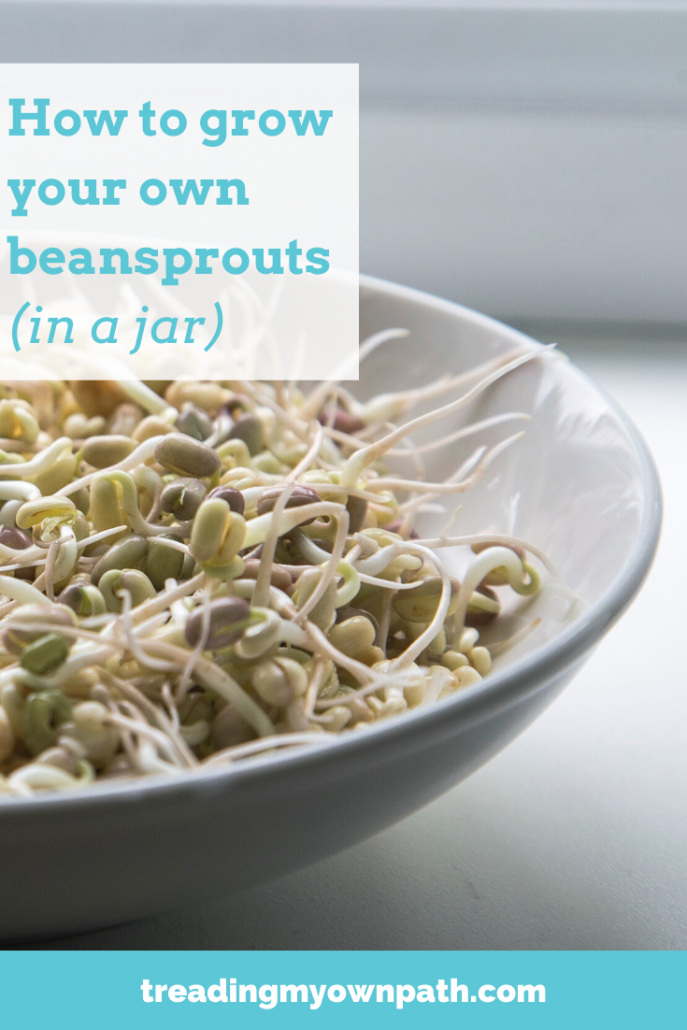
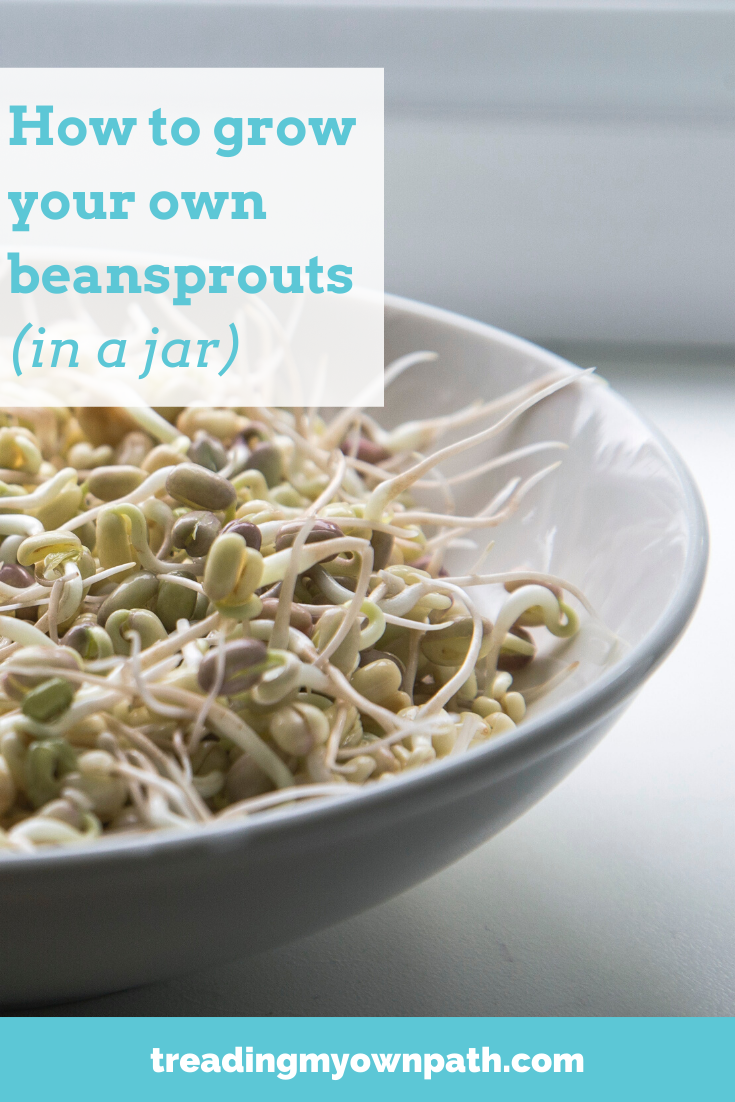
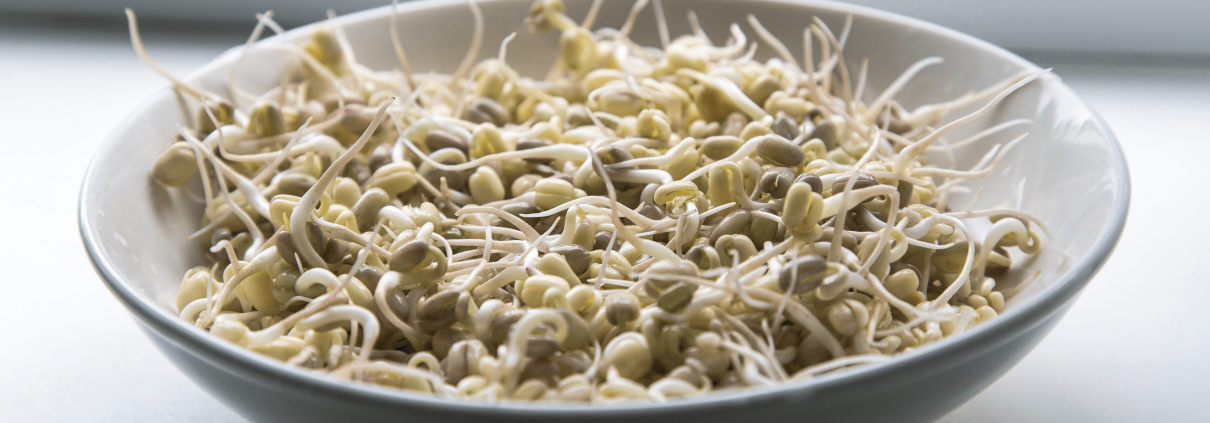
Although they look a little different, these guys are similar to those long white beansprouts that you can buy from the supermarket to put in stir-fries. Although they are both sprouts, the homegrown versions are totally superior, being packed with way more flavour and a good deal more crunch than their insipid white cousins.
Making your own sprouts is super easy, and you can make them from most dried pulses, small bean or seeds.
The smaller the better as they will be the quickest to germinate.
It’s a great way to use up any lifeless dried old lentils that you’ve had sitting in the pantry for months (or years) whilst you wait for an appetising recipe to turn up. All you need is a glass jar, and some water!
The sprouts I’ve been making recently have been using mung beans, as I had a packet in the cupboard (from before my plastic-free days!) that I had no idea what to do with. It’s hard to believe when you look at these hard, dry little balls that there’s any life in them at all!
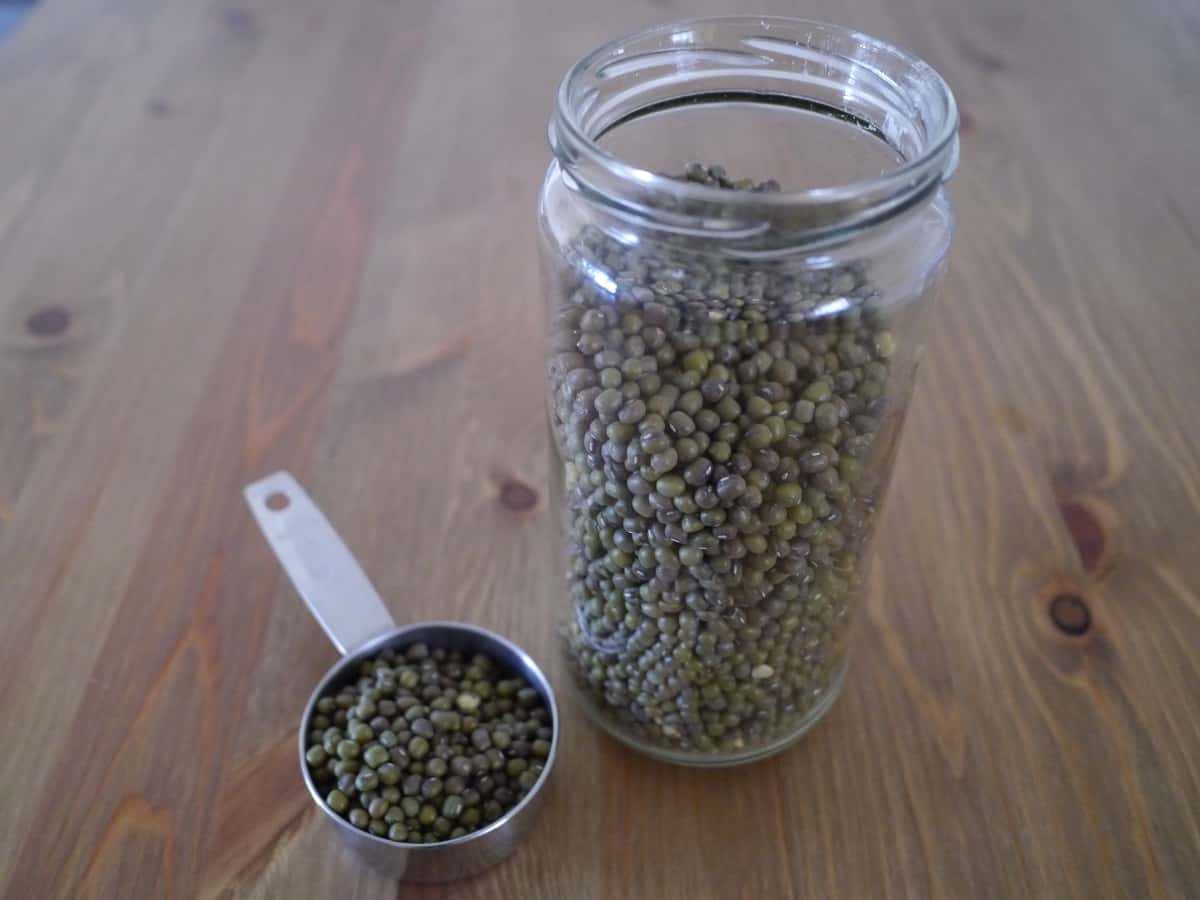
Yet with a little bit of watering they turn into something super fresh and tasty. They’re also nutritious, containing thiamin, niacin, Vitamin B6, pantothenic acid, iron, magnesium, phosphorus and potassium, and being a great source of dietary fibre, vitamin C, vitamin K, riboflavin, folate, copper and manganese (for nutritional information check here).
I’ve also made sprouts with various lentils, azuki beans, sunflower seeds and chickpeas, often as a mix.
All you need to do is put whichever dried pulses/beans/seeds you want to use in a jar, and cover with water, and leave for a few hours or overnight. They will swell considerably so be liberal with the water. (Don’t be afraid to add more if they appear to have absorbed it all.)
The next morning rinse and add fresh water. After the initial soaking add enough to keep them moist, but not too much so as to drown them! Aim to rinse and replace the water twice a day – more often if the weather is hot. Small sprouts like mung beans should be ready in 24 hours; seeds and larger pulses (like chickpeas) take a bit longer.
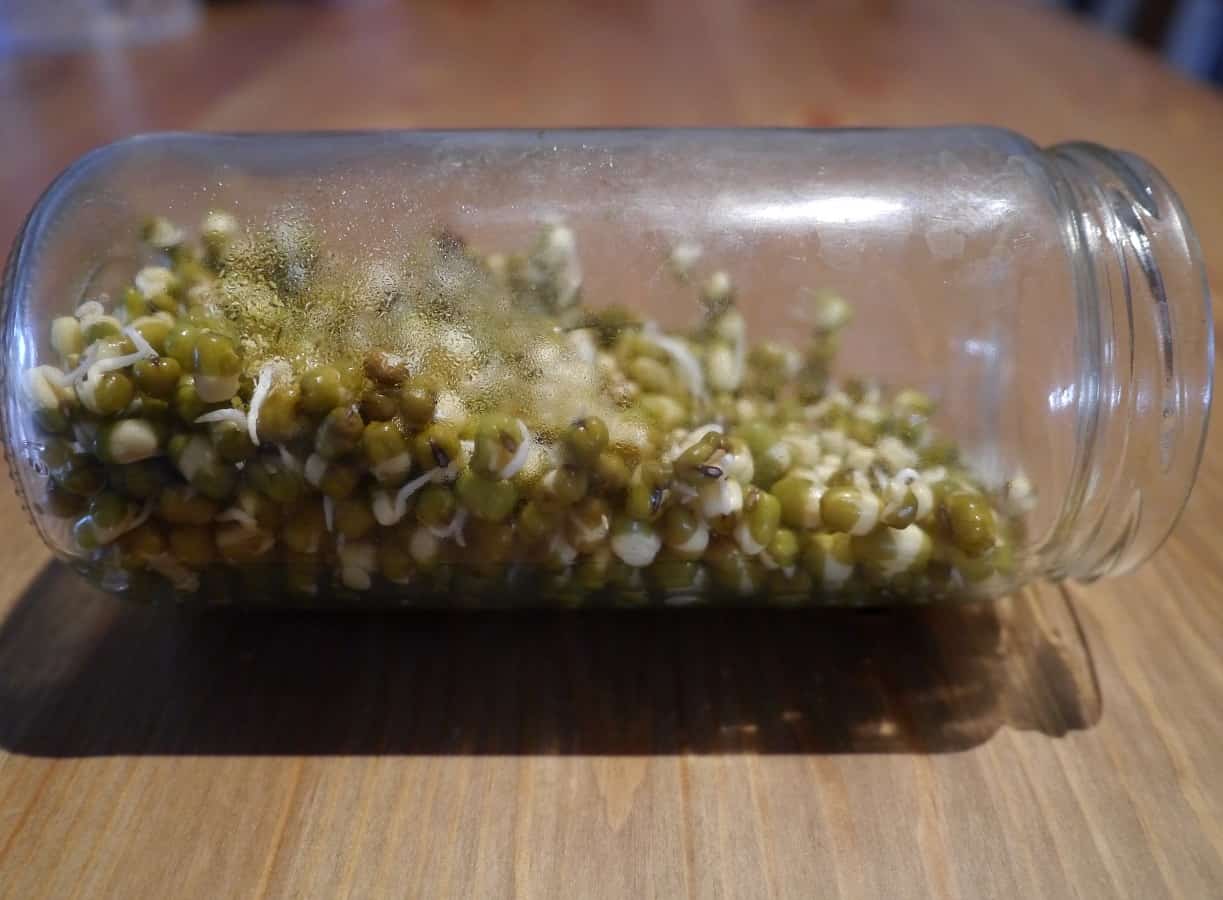
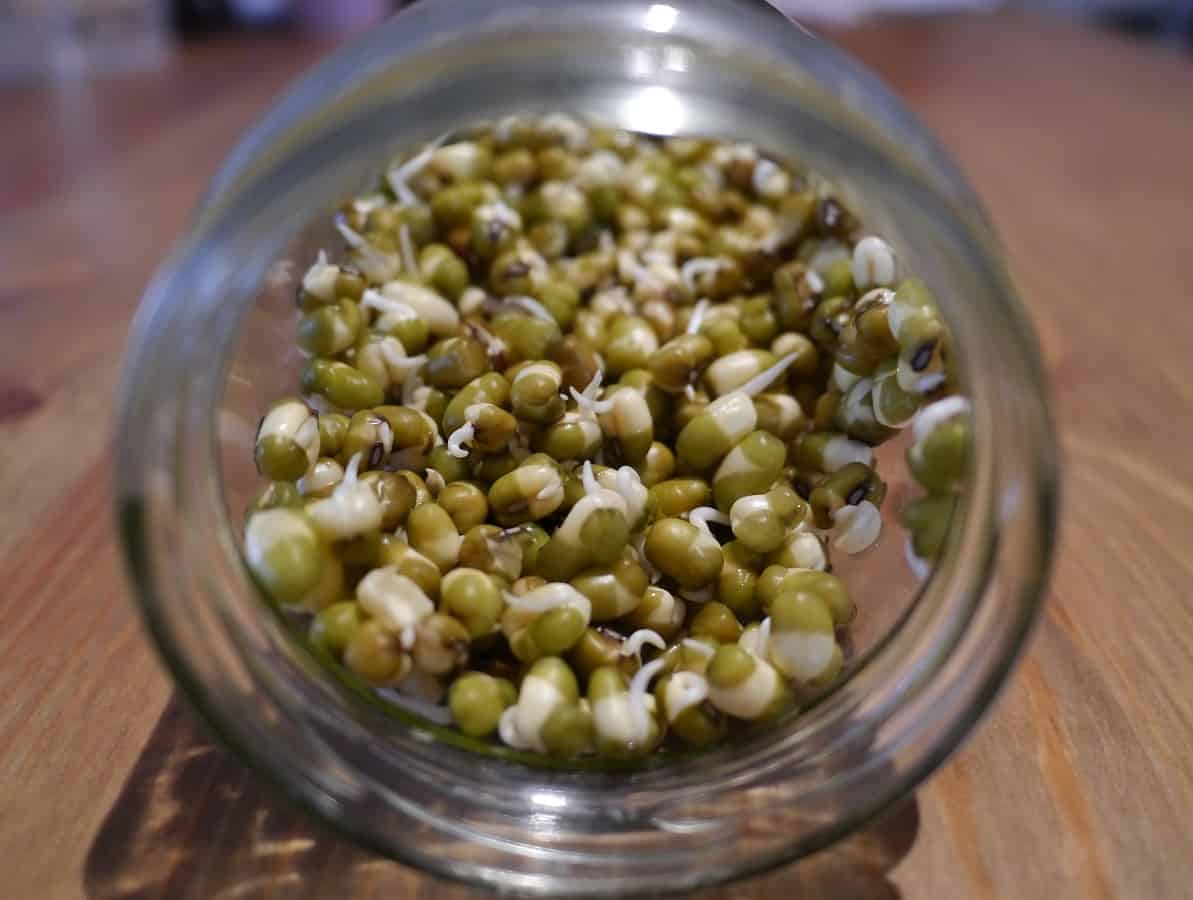 You can eat them straight after the overnight soak, but I prefer to wait until I can see the little root poking out. Once they’ve sprouted I usually keep the jar on it’s side so the ones at the bottom don’t get so waterlogged.
They will keep in the fridge for a few days but as they are so quick to prepare I make small batches often so I can eat them as fresh as possible.
Stir them into quinoa, use in stir-fries, add to salad or just eat straight out of the jar!
[leadpages_leadbox leadbox_id=1429a0746639c5] [/leadpages_leadbox]



I’ve tried and failed with sprouts in the past, I’m going to give this method a go! :)
I remember trying years ago, and thought I’d failed because they didn’t look like the ones in the shop. Once I realised they weren’t meant to look like that, it was much easier! Good luck!
So easy! I’ve wanted to make sprouts but the different methods I looked up involved kits and buying more kitchen materials . . . will be trying this as soon as I get home! Thanks for sharing!
I like this – no need for special equipment!
No need for fancypants kits here! Let me know how you get on : )
I like to cover the jar with a square of muslin and a rubber band. Sprouts will even sprout in the fridge and although slower this suits those not in a hurry. Keeping them away from light for a few days encourages long juicy tails.
That’s a good idea. Will try sprouting in the dark and see what a difference it makes…