Tag Archive for: zero waste

Tahini, pursuing a waste-free home…and when things don’t go to plan

I am currently addicted to tahini. What started as distrust for its strong and distinctive flavour has gradually grown into full-on love, and now I can’t get enough of the stuff. I use it in hummous, in baking, as a salad dressing, to make potato salad, as a replacement for mayonnaise and butter. Mmm, it is delicious.

But it comes in a glass jar. In my quest for a zero-waste home I’m trying to cut out all unnecessary packaging, and the quicker I go through tahini, the more jars I end up with. (I re-use my glass jars rather than recycle them as they end up being used as road base here in Perth, which seems a waste to me. But there’s only so many jars that I need.)

The label on the jar proudly states “just natural hulled sesame seeds”. No added oil, salt or sugar. So, I figured, I can just blend some sesame seeds in a food processor and make my own.

Turns out, it isn’t that easy. The resulting mass was nothing like the glossy, runny, beautiful tahini I can buy in a glass jar. It was a grey, lifeless lump. Looks aren’t everything, I know. Sadly, the taste was pretty terrible too. Really bitter and quite unpleasant.

tahini

This is what I wanted…

tahinifail

…and this is what I got.

I’m wondering whether I should have roasted the sesame seeds. The jar doesn’t tell me that the seeds are roasted, but experience has taught me that roasted nut butters are infinitely better than raw ones. I think I’ll give it another go sometime, and toast the sesame seeds first.

In the meantime, I’ve been to the shop and bought myself a new jar of tahini. I’m going to try using the lump of ‘tahini fail’ in a tahini biscuit recipe that I make sometimes. I hope that the baking removes the bitter nasty taste. If not, the sugar and other ingredients should mask it.

Anyways, I thought I’d share with you, in case you’re feeling tempted to try to make your own tahini without consulting a recipe first. Which you’re probably not.

Ah well, we all have bad days!

Recipe: Raw Chocolate Mousse (With a Secret Ingredient)

Chocolate mousse doesn’t have to be all about dairy products and refined sugar. You can actually make a much healthier alternative that tastes just as good – no, better! There’s a secret ingredient that gives it the creamy, smooth texture and is really good for you. Avocado!

I say secret, because it’s probably best that you don’t tell anyone eating it that you used avocado until afterwards, lest it put them off. People don’t always like to know that healthy green produce has sneaked into their dessert.

If you don’t like avocados, I promise you that you won’t even know it’s in there. The cacao completely masks the flavour, and by blending it the texture is altered too. (To my sister, who doesn’t like bananas or milk and whom I once many years ago persuaded to try a banana smoothie on the premise that it didn’t taste like bananas or milk…she was nearly sick…this time I ASSURE you that you’d never know.)

In fact, if you know someone who loves chocolate mousse but won’t eat avocados, don’t tell them what’s in it, make it for them and see if they notice. If they do, you’ll just have to eat it all yourself, which is hardly a hardship! (Obviously, if they’re allergic, it’s best you find another recipe!)

This is super simple to make, and tastes amazing. I made mine in my food processor but handheld blender should work, and if you’ve got the patience you could try mashing it all by hand with a fork, although I doubt it will be as smooth.

This makes enough for two people.

Avocado Chocolate Mousse

Ingredients:
1 large avocado
2 tbsp raw almond butter
1 tbsp maple syrup
2 tbsp raw cacao powder
2 tbsp melted coconut oil

Method:
Blend avocado, raw almond butter and maple syrup in a food processor until smooth. Add cacao powder and blend until incorporated. Add melted coconut oil and whizz briefly until combined.

Serve straightaway or store in a glass jar in the fridge for up to 3 days.

avochocmousse1jpg avochocmousse3jpg avochocmousse4jpg[leadpages_leadbox leadbox_id=1429a0746639c5] [/leadpages_leadbox]

Plastic-Free Sweetcorn (How To Remove The Kernels + Freeze)

Some things seem so glaringly obvious with the benefit of hindsight. I would never have thought of processing my own sweetcorn cobs if it hadn’t been for giving up plastic last year. Until then, I had always purchased bags of sweetcorn from the freezer aisle in the supermarket. I didn’t use it often, but it was one of those staples I liked to have on hand, for when my fridge was empty and the shops were shut.

The freezer equivalent of the tins of tomatoes that I liked to have on hand in the pantry.

So Plastic Free July came along last year, and out went plastic food packaging, and so did frozen sweetcorn. I wasn’t about to buy the tinned stuff, because it’s filled with added sugar and salt, and the tins are lined with BPA plastic. Plus I always think it has a grey tinge that fresh and frozen corn just doesn’t have, which rather puts me off.

I resigned myself to only eating sweetcorn for the month of the year when it comes into season and I could buy fresh corn cobs. Along came the season, and with it more corn than I knew what to do with. And it occurred to me that I could process my own cobs and freeze the sweetcorn, plastic free! Why this epiphany took so long to come to me I have no idea. But at least it did, as I now have a supply of frozen sweetcorn in my freezer that should last me until next season.

It still makes me smile when I think about how obvious it was.

So if you’re like I was, and have no idea how to process corn, read on. If you were on that page years ago, I hope you feel a sense of satisfaction that I have finally caught up!

How to Freeze Sweetcorn

An average cob makes approximately 150g frozen sweetcorn.

corn1jpgRemove the green husks and as much of the silky stuff as you can.

Place the corn in a pan of unsalted boiling water (wait until it is boiling before adding the corn) and allow to boil for 5 minutes. This is called blanching.

Remove the corn with tongs and place immediately into a bowl of icy water. This will stop them from cooking. Let them sit for at least 5 minutes, until cool to touch.

To cut the kernels off, hold the cob upright and using a sharp knife, cut downwards in strips. The corn will fall off in chunks but is easily broken up with your fingers.

corn5jpg

corn10jpgcorn9jpg Break up any clumps with your fingers. Place in a suitable container. Try to pack the containers as tightly as possible to minimise freezer burn.

corn12jpgFreeze until you want to eat!

[leadpages_leadbox leadbox_id=1429a0746639c5] [/leadpages_leadbox]

How to…Line your Rubbish Bin without a Plastic Bag

Australians use nearly 4 billion plastic bags per year, using each for only a few minutes. When you think that plastic is made from non-renewable fossil fuels, it seems pretty crazy to be using such a valuable resource to make something that’s only going to be used for such a short amount of time, and then thrown away.

A common argument – or even justification – for using these plastic bags is, oh but I do recycle my bags, I use them to line my rubbish bin. Thing is, that’s not recycling. It’s barely even re-using.

It’s still sending to landfill, just with other rubbish inside.

I have to confess, before I signed up to Plastic Free July I used to take the odd plastic bag from the shops when I needed to line my rubbish bin. I certainly wasn’t going to pay for virgin plastic to line my bin in the form of fancy bin liners. And what is the point in buying compostable corn starch liners when you’re sending them (and their contents) to landfill, where they won’t break down? Landfill sites essentially bury the waste and prevent exposure to air, moisture and light – and also the microbes that can break them down.

And then someone said to me, why don’t you line your rubbish bin with old newspaper? Such a simple and obvious solution! I really don’t know why I didn’t think of it before.

How to Line a Rubbish Bin Without a Plastic Bag

All you need is a few sheets of old newspaper. I use three sets of two sheets, and sometimes I’ll fold some additional ones to put in the base. It takes about a minute.

bin1final bin2final bin3final bin4final bin5final bin6final

When the bin is nearly full you simply roll over the tops to make a parcel and dump in your outdoor rubbish bin. The great thing is that newspaper is usually made from recycled paper so has already had a previous life (or several lives) before you send it off to landfill.

What are you waiting for?!

A word (or two) on recycling

Recycling. Almost everybody has heard of recycling. (Just in case you’re one of the minority that hasn’t, it’s the process of taking old materials and turning them into new products.) The number of households that recycle is on the increase and local councils are becoming more supportive of the idea, with collection points and kerbside collections in urban areas. In 2009, 99% of Australian households recycled and/or reused, according to the Australian Bureau of Statistics (ABS).

(Reusing. That’s something different to recycling, although people often mix the terms up. If I finish a bottle of cordial, wash it up and then refill with water to keep in the fridge, then that is reusing. If instead I put the bottle in my kerbside recycling, and it gets collected by truck, driven to a recovery facility, sorted, cleaned, melted down and reshaped into a new bottle, then it has been recycled. The two are very different. Recycling uses energy to create a new product, whereas reusing does not.)

Recycling2

A big heap of recycling waiting to be sorted. Yep, this is recycling!

So… back to recycling. If 99% of Australian households recycle, then that’s great… isn’t it? Well, yes, but that’s not the whole story. Whilst 99% of these households recycle, the ABS estimated recycling rates for Australia to be around 50%. In WA, the state where I live, recycling rates are only 33%. The other 22 million tonnes of waste are sent to landfill. So 99% of households may be recycling, but they’re not recycling 100% of their waste.

The other thing about recycling, it’s not the big green magical solution we’ve all been led to believe. Don’t get me wrong, recycling is great and we should all recycle what we can. But the idea that it’s ‘enough’ is a myth. Here are just some of the shortfalls of recycling:

Recycling still uses energy – in transport, recovery and processing of the materials.

Just because something is recyclable, it doesn’t mean it will get recycled. Different councils have different rules to what they accept and if you put something in your recycling box that isn’t on their list, it’ll get sent straight to landfill.

Products are often downgraded. In theory a product can be melted down and made into the same product, but this is often difficult and can be expensive, and it is more likely that the product is made into an inferior product, a process called downcycling. This is especially true of plastic which can only be downcycled.

Contamination can be an issue. You may have sorted your recycling out diligently, but if your neighbours have thrown pottery, lightbulbs and old pillows in with theirs, chances are the whole load will end up going to landfill.

Overseas processing– labour costs are often cheaper overseas (and labour laws are often more lax) so containers of materials can be often shipped abroad for processing, which adds an environmental (and financial) cost to the process.

Recycling is ultimately a business; the products need a market and it needs to be profitable. For example, plastic is bulky (so expensive to transport) and there are many different types meaning it requires sorting (another expense), and the end product has a fairly low value, which partly explains why plastic recycling is far less common than paper, aluminium or glass.

Recycling

This is just a fraction of the waste delivered to this site every day to be recycled. The vehicle at the back is completely dwarfed by the heap.

The shortfalls of recycling really hit home for me when I had the chance to visit a recycling facility last year. It looked (and smelled) like a rubbish tip. Less than 20% of all glass they received was recycled, the rest was sent to landfill due to lack of ‘business opportunities’. The glass they did recycle was used for road base. Any recycling that arrived in plastic bags was automatically sent to landfill – no time to open them, plus there may be potential hazards. Anything mixed with shredded paper went to landfill – it contaminated the other items and was difficult to remove.

It felt like recycling anything was far too much hassle for these guys, and that was their job! Bales of old newspapers sat in sea containers waiting to be shipped to Asia. Nothing about the experience felt particularly sustainable. Before I used to feel good about recycling. Not so much now!

The good news is recycling isn’t the only option. The traditional waste hierarchy has three principles: Reduce, Re-use, Recycle. Recycling comes last. Before we even get to this we need to consider the others. First reduce, and then re-use. I’ve made changes to the way I shop, the products I buy. I’ve taught myself how to make things from scratch to avoid packaging altogether. And of course I still recycle…but there’s so much less than there used to be.

[leadpages_leadbox leadbox_id=1429a0746639c5] [/leadpages_leadbox]

Worm Farms…Tips and Tricks

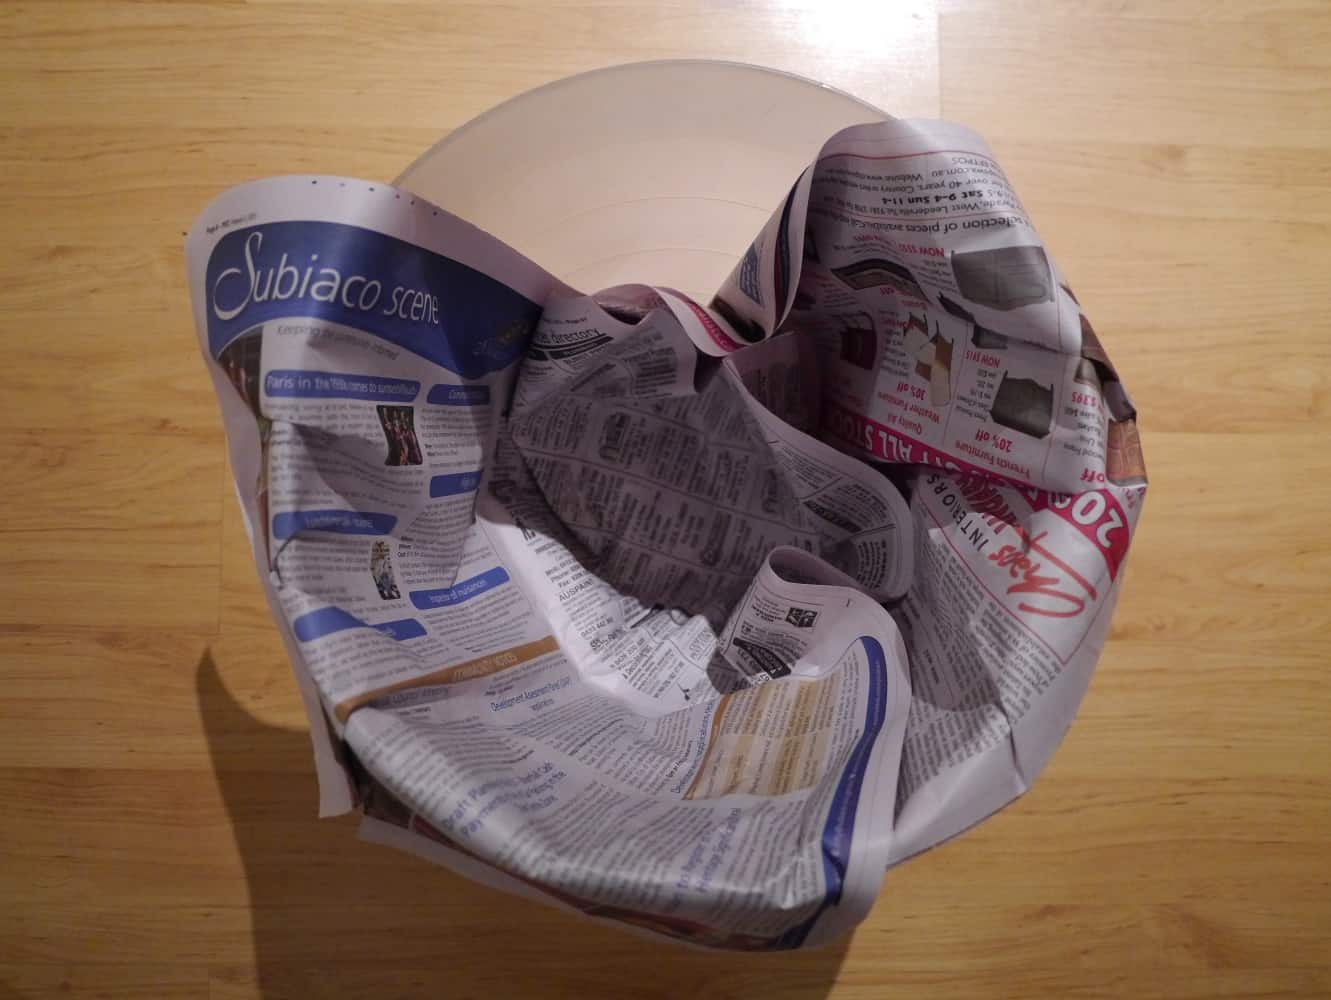
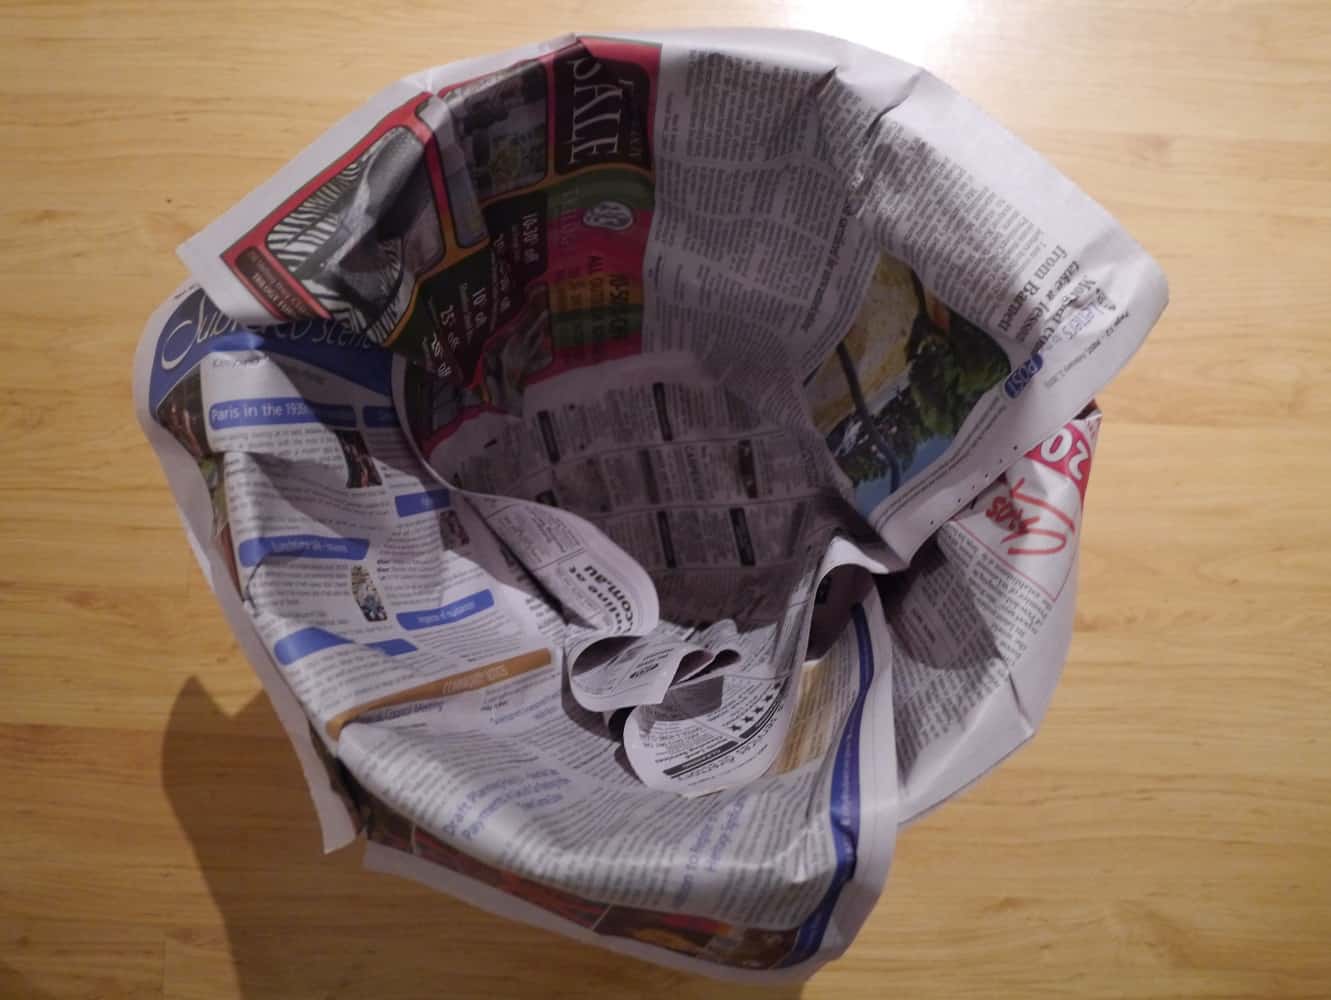
After writing my post yesterday on how to build a DIY worm farm, I thought it might be useful to write another post explaining how to look after your worms, and also provide some reasons why you might consider worm farming in the first place.

In their National Waste Policy fact sheet, the Australian Government estimate that two-thirds of waste sent to landfill is organic. If you’re not sure what I mean by organic, it’s the waste that originally came from plants and animals which can be broken down. As well as the obvious grass clippings, food scraps and bones, this includes cardboard, paper and wood. In 2006-2007, Australians landfilled almost 14 million TONNES of organic waste. A full garbage truck holds 10 tonnes. Sending all that organic waste to landfill meant an extra 1.4 million garbage trucks on our roads. Even if you think Australia’s got the space, that’s a lot of unnecessary heavy road traffic, not to mention fossil fuel burning and airborne pollutants via vehicle emissions.

Next up, soil quality. Australia has some of the oldest land masses on Earth, and consequently they are nutrient-poor and with little organic matter. Perth has some of the worst agricultural soils in the world. (Someone once told me that it was officially the poorest soil in the world, but I can’t find anything that confirms it. However, ask anyone who ever tried to grow anything in the soil in Perth, and they’ll confirm it for you!) The sandy soil repels water and also nutrients. If you want to grow plants in Australia, you need to improve your soil by adding organic matter. And this is where the worms come in!

Image

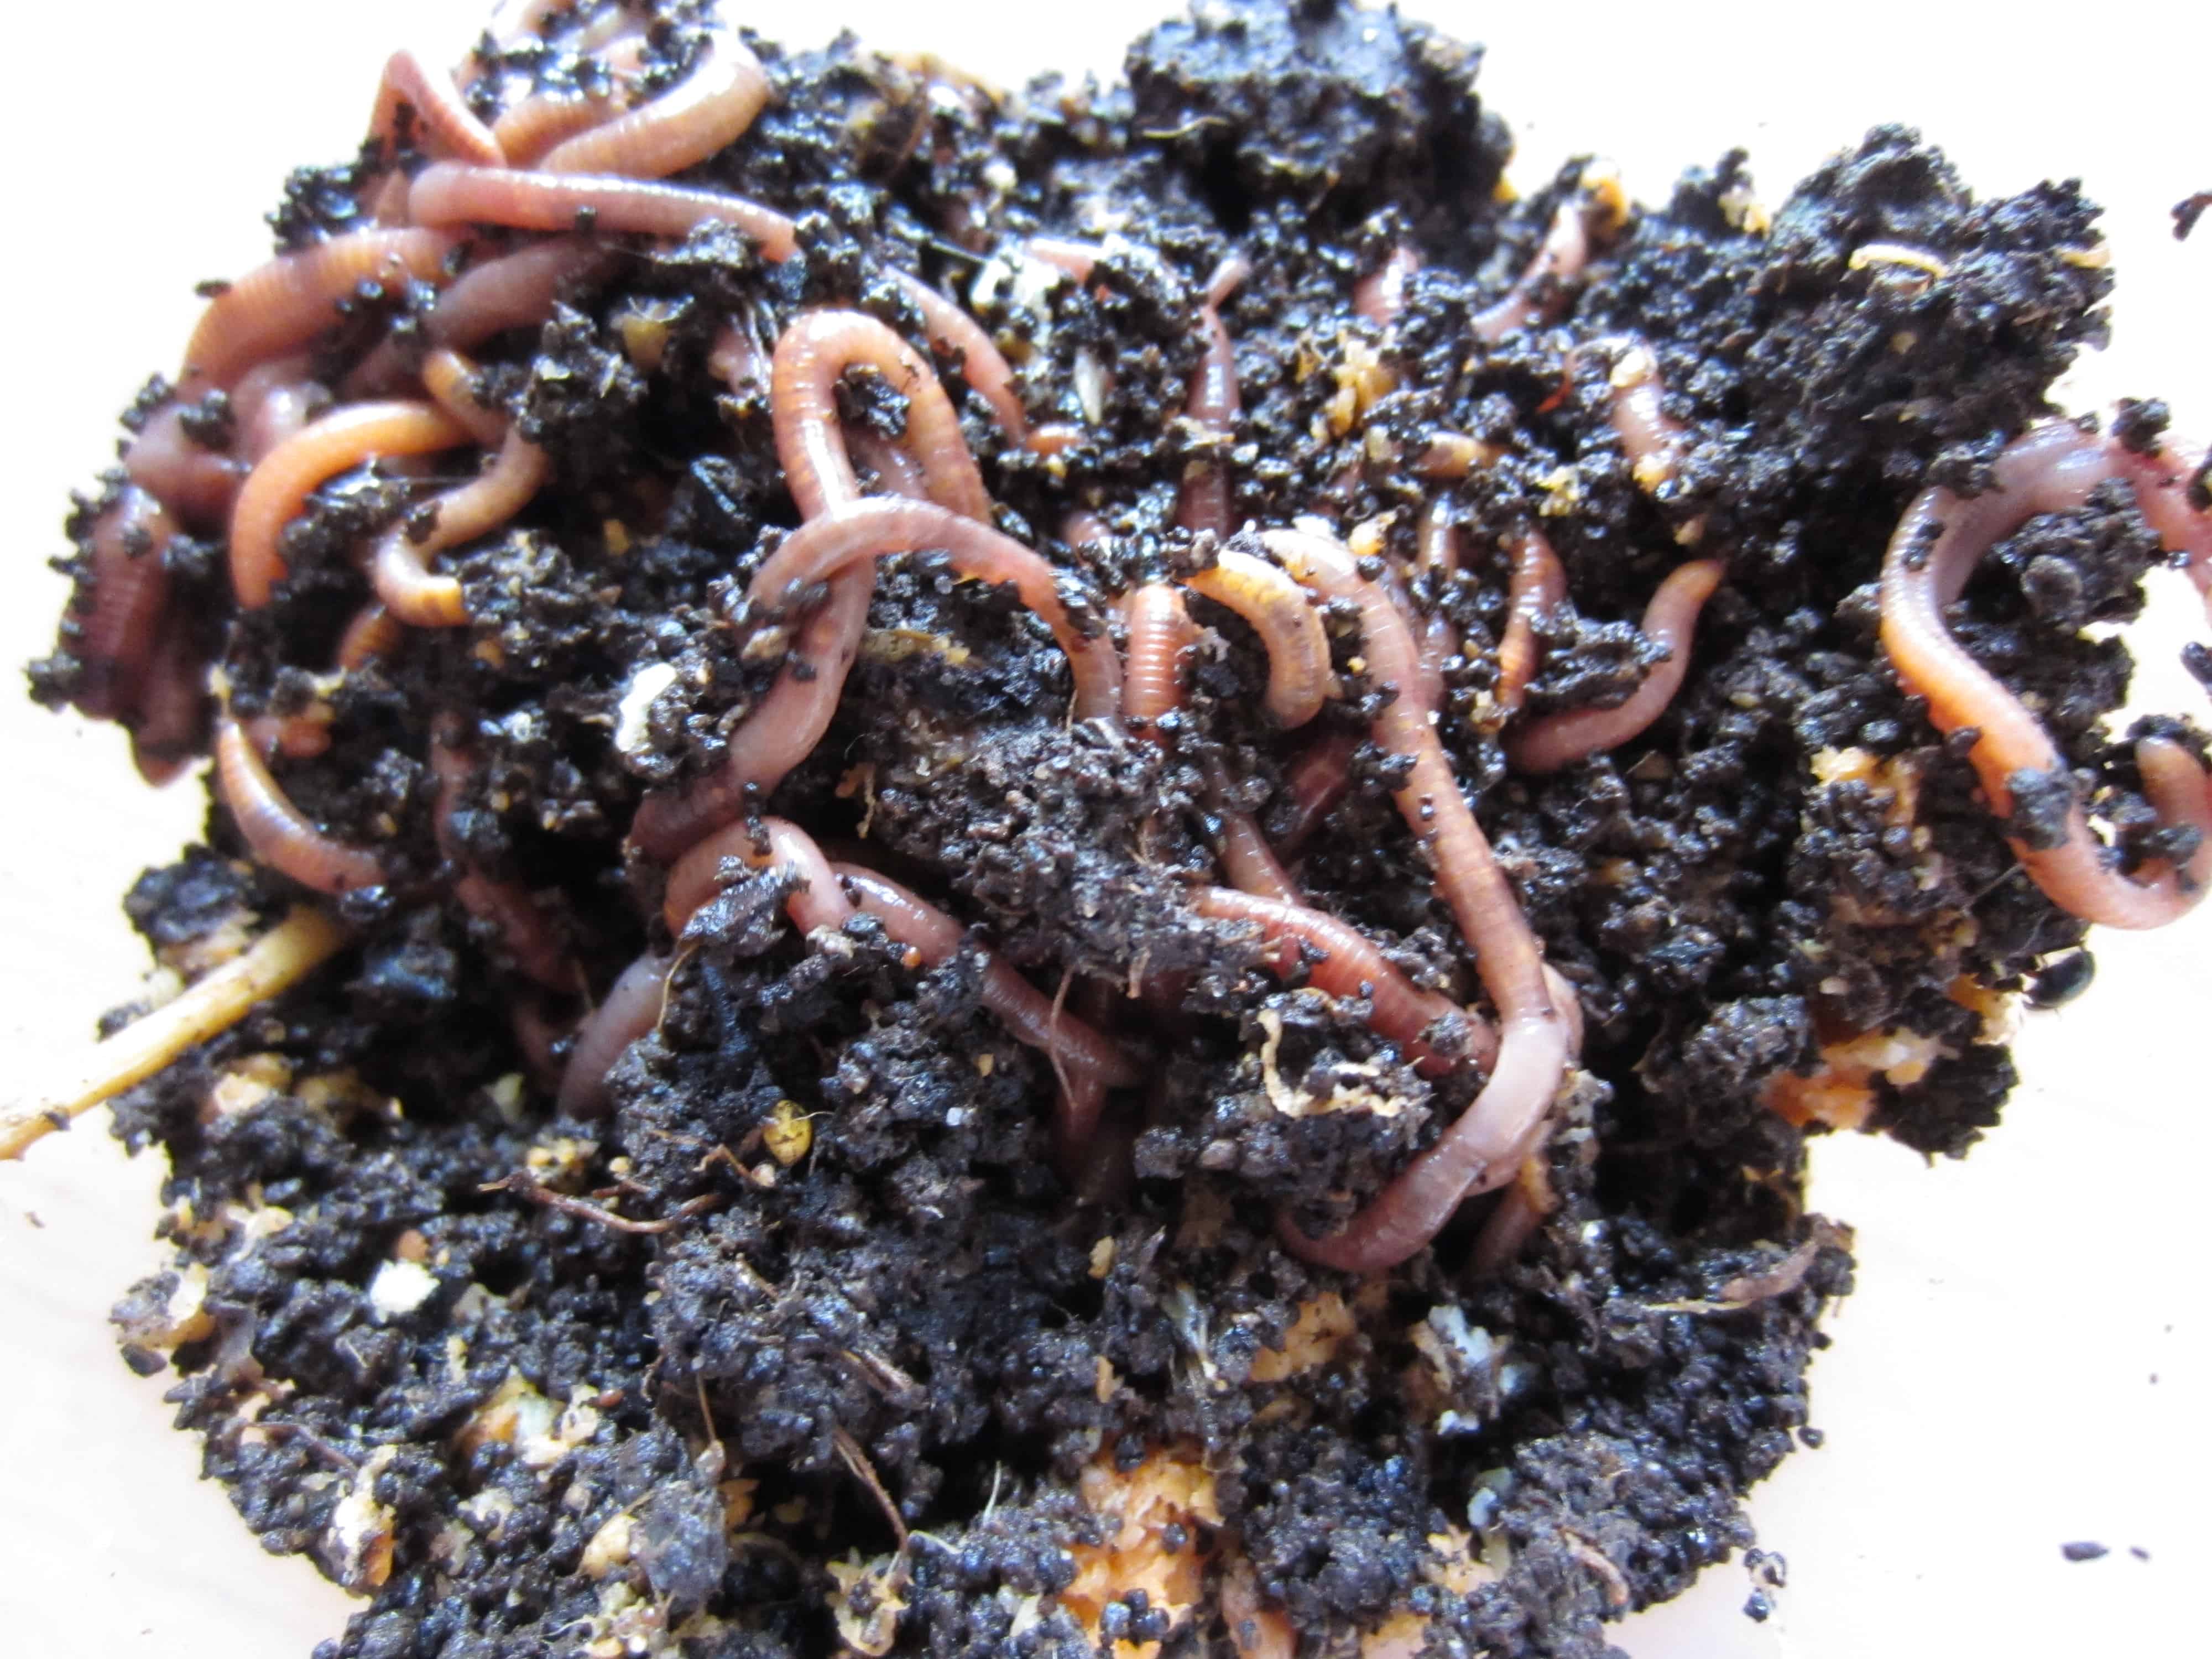
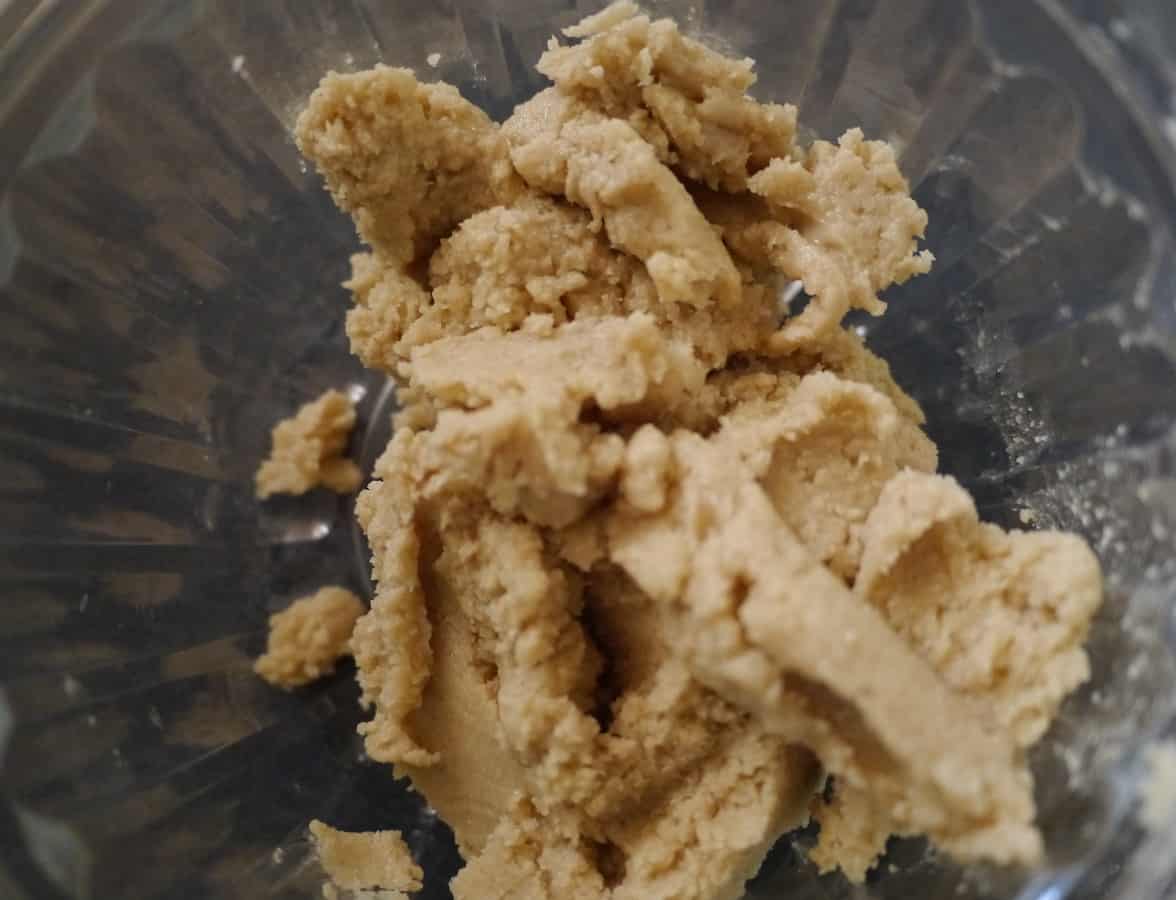
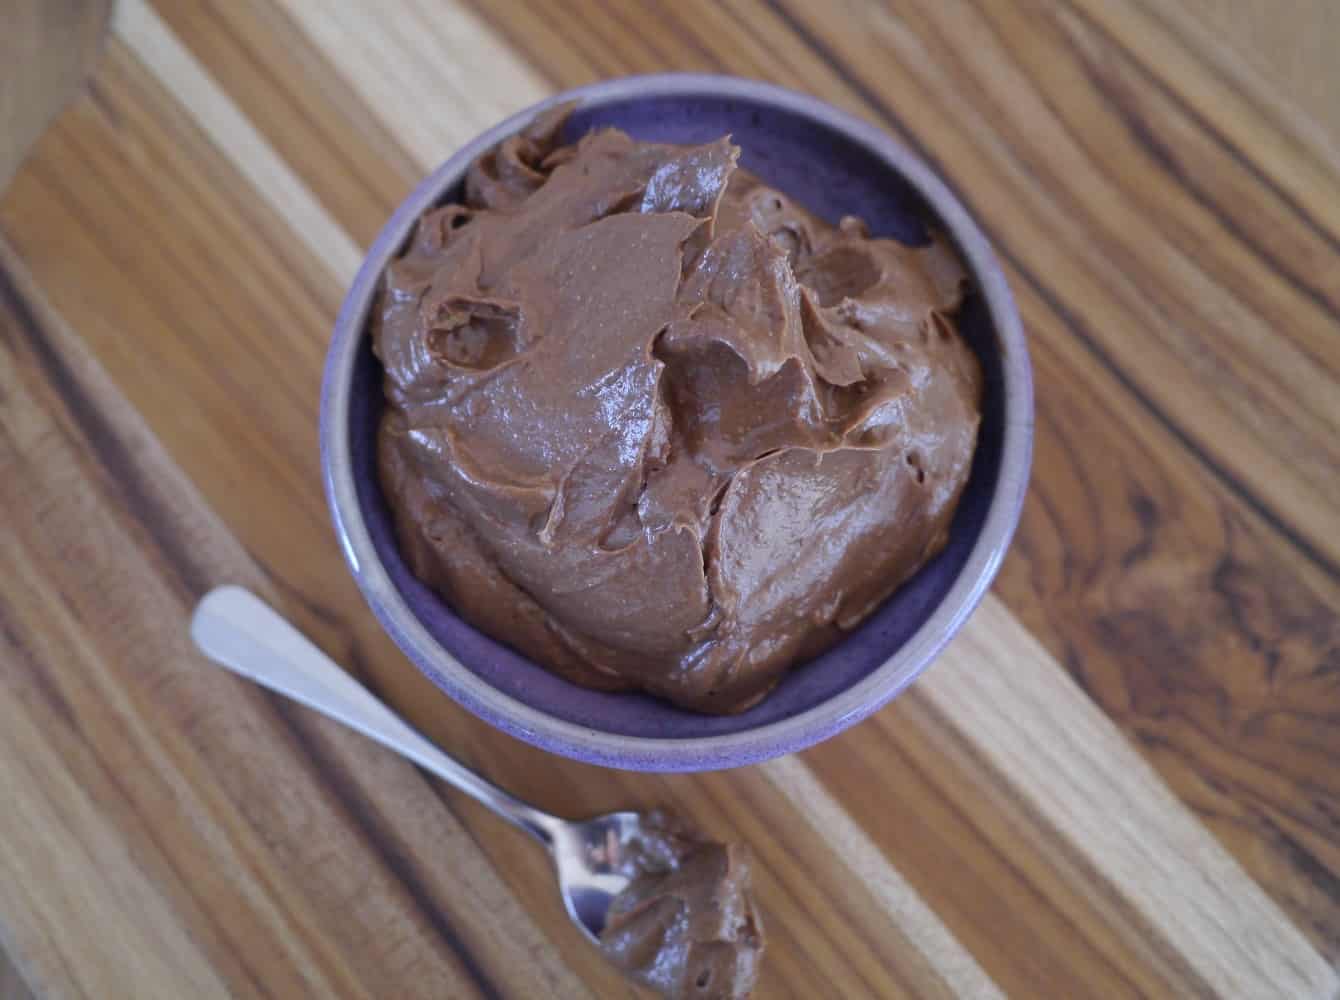
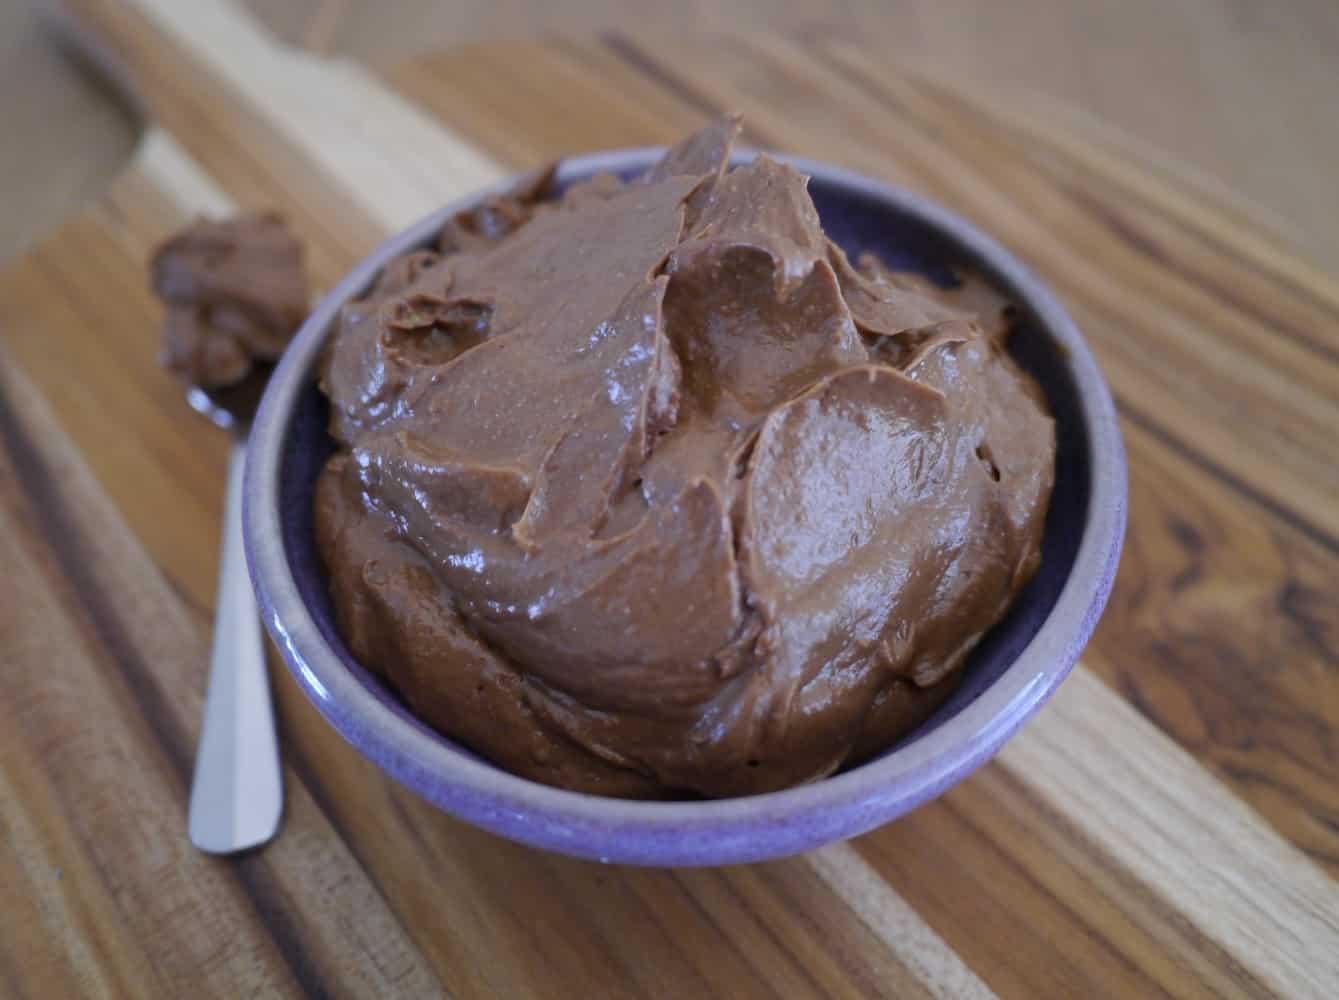
Worms and their castings. Castings are the product created when worms break down organic matter, and contain nutrients that plants can uptake easily.

Worms eat organic waste and break into down into a product called castings. These castings contain beneficial nutrients that can easily be absorbed by plants. Their texture also enables them to retain water and so they are great for improving soil structure. And they won’t burn plants, as some chemical fertilizers do. Castings are also suitable for seedlings. Worms also produce a liquid that needs to be drained – worm wee! (Or more technically, leachate.) Some tips on using worm wee are provided below.

And keeping worms is fun! It’s free, they require very little maintenance, meaning you can go on holiday for weeks and they will still be alive on your return – how many pets can you say that about?

Tips & Tricks

So I’ve made the case for reducing fossil fuels, reducing landfill, improving your garden and having fun…so what’s keeping you from getting your own worm farm? Is it any of these?

1. Worm Farms smell.

Actually, they don’t smell if you look after them properly. Castings have an organic smell similar to the earthly smell of soil. The main cause of smelliness is too much food. It can be tempting once you set up your worm farm to add every single scrap of food to it immediately, but worms only eat their body weight in food every day, so you need to start small and increase the food once the worm numbers build up.

2. I don’t have a garden.

Neither do I! The worm farm takes up only a very small amount of space, and it will take several months to fill up the worm farm with castings. You can use them with house plants or pot plants and even if you don’t garden, you are bound to know someone who does so just give them the box of castings once it is full.

3. I don’t have time.

Seriously, how much time do you think you need?! Once the worm farm is set up, all you do is empty your food scraps that you would have thrown in the bin into the worm farm. It helps to have the worm farm nearby – if it’s located at the bottom of the garden you are far less likely to make the trip.

Problem-Solving

This is by no means an exhaustive list, but hopefully covers some of the more common problems that you might encounter.

My worm farm smells

Likely cause: too much food

Solution: STOP ADDING FOOD! Give the worms a chance to eat what they already have. Anaerobic conditions (no oxygen) can also cause this so give the top layer a stir to aerate.

My worms are escaping

Likely cause: If it is only a couple of worms, there is probably not an issue. If there is a mass exodus, then there may be too much moisture or too much food.

Solution: Add newspaper to reduce the moisture levels, and stop feeding if there are large amounts of uneaten food.

I have other pesties in my worm farm

Likely cause: Not all insects in your worm farm are problems, and you should expect to find other creatures making their home here. But some pests indicate problems.

Solution: Burying food should keep unwanted pests at bay. Flies indicate there is too much food, so reduce the feeding. Ants indicate that the conditions are too dry, so add water.

Other Things to Know

  • You need to use composting worms for your worm farm – varieties such as red worms or tiger worms, as these are adapted to the conditions of a worm farm, whereas ordinary earthworms are not.
  • Worms prefer cooler conditions so on a very hot day, add an ice pack above the worm blanket to keep the inside of the worm farm cool. However, freezing will kill them! (This is not a problem we have here in Perth but may be an issue in cooler climates.) If you are expecting a frost, bring the worm farm indoors.
  • Worms do not have teeth, but suck in food. The smaller the food particles are, the more they can eat. Blending or chopping helps, but if you can’t be bothered, freezing the food then allowing to thaw will help break down the cell walls and make it easier for your worms. And if you can’t manage that, just try to bury your food so it doesn’t attract pests.
  • Worms don’t like acidic conditions and don’t like acidic food such an onions and citrus. Avoid giving these to your worms.

Worm Wee vs Worm Tea

You may come across references on the internet to both worm wee (leachate), and worm tea. The two names are often mistakenly used interchangeably, but they refer to different products. Leachate is what drains from the worm farm. Worm tea is a product made using castings, water and molasses, which are “brewed” for 24-48 hours. The main difference is that worm tea is aerobic, and so great for plants, whereas leachate can be anaerobic.

Leachate is fine to add to compost, but if your leachate is anaerobic it may harm your plants. I learnt this the hard way, diluting my leachate to a 1:10 ratio (1 part leachate for 10 parts water) and pouring on my seedlings, which caused them all to go yellow and die.

The way my worm farm is designed, my leachate does not have much contact with air and so will always be anaerobic. If your leachate drains freely into an open container it will probably be aerobic. You can try to aerate your leachate by diluting and exposing to air for a couple of days before using. However, always exercise caution when using on plants. Make sure you dilute 1:10 with water, and avoid using on seedlings, house plants or other temperamental plants.

[leadpages_leadbox leadbox_id=1429a0746639c5] [/leadpages_leadbox]