Zero Waste (+ Plastic-Free) Gardening
I may have got to grips with plastic-free living and the zero waste lifestyle when it comes to inside the home, but when it comes to the garden, I’m a plastic-free newbie. Having lived in an upstairs apartment with little more than a balcony for the last four years, I haven’t really needed to think about it.
Now we’ve moved and I finally have the garden space I’ve been dreaming about all that time, I’m really keen to keep up with the plastic-free lifestyle and avoid using plastic in the garden where I can. (Spoiler alert – there have been compromises!)
Of course, paving or wood chip mulch would solve the waste problem straightaway, but I’m keen to grow as much food as I can, so no easy options for me!
Starting from scratch with anything can be daunting, and the hardware stores seem to have more plastic packaging in them than the supermarkets! I do not have all the answers – we have only been living here for three months, after all – but I’m beginning to find zero waste solutions and plastic-free alternatives that work for me.
No doubt in another three months I’ll have far more answers (and if you have any tips of your own, please share them!) but I thought I’d share my plastic-free and zero waste gardening solutions so far.
Starting with the Soil
We were lucky enough that when we moved, the four garden beds were pre-filled with soil (and pre-planted with seedings). However, there is still plenty of space for planting additional things, and empty pots need soil to fill them. Perth doesn’t have soil: it is a city build on grey sand, with no nutrient content or water-holding capacity whatsoever. I
t’s not possible to scoop up some soil from the ground and put it in a pot. You have to source it from somewhere.
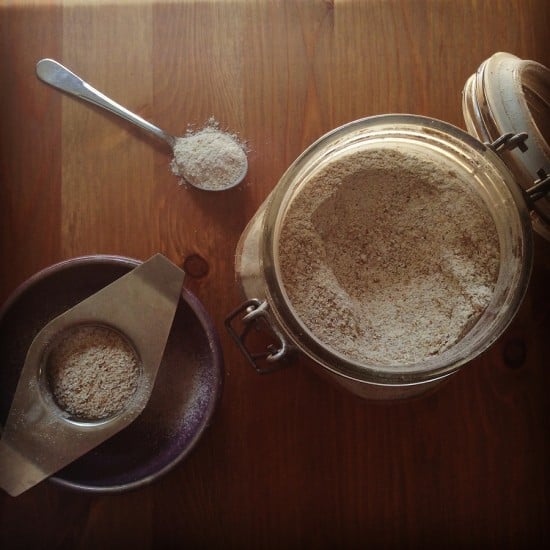
We’d been given some potting mix in 25 litre plastic bags (the only size available where I live) but the bags seemed so wasteful that I didn’t want to buy any myself. Instead I found a compromise: coconut coir.
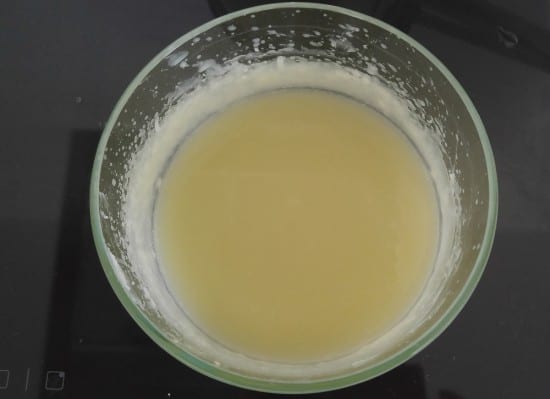
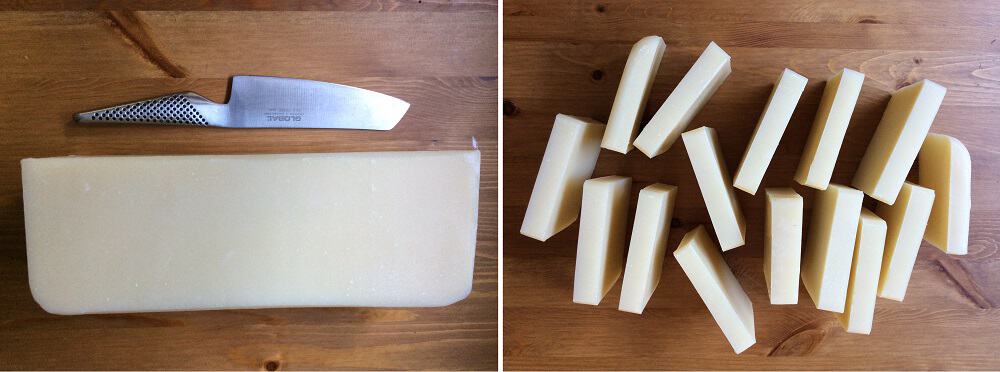
It’s a waste product from coconut growing areas. It comes as a dry, lightweight block wrapped in a very thin plastic layer. Once added to water it expands: this block will make enough to fill a wheelbarrow (90 litres).
To buy this much potting mix would require four bags, and heaps more plastic.
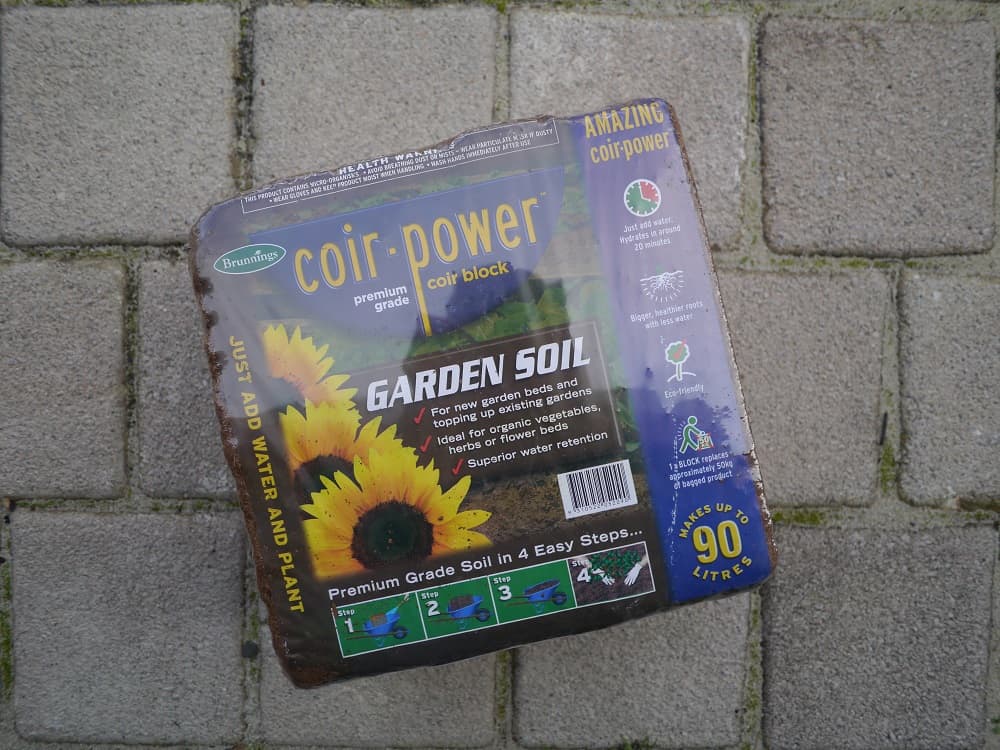
Peat-free potting mix made from a waste product: coconut coir.
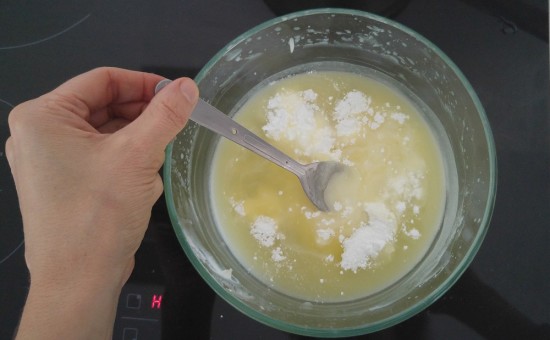
Coconut coir itself does not have any nutritional value, but can be mixed with worm castings, compost or other fertilisers to add nutrients.
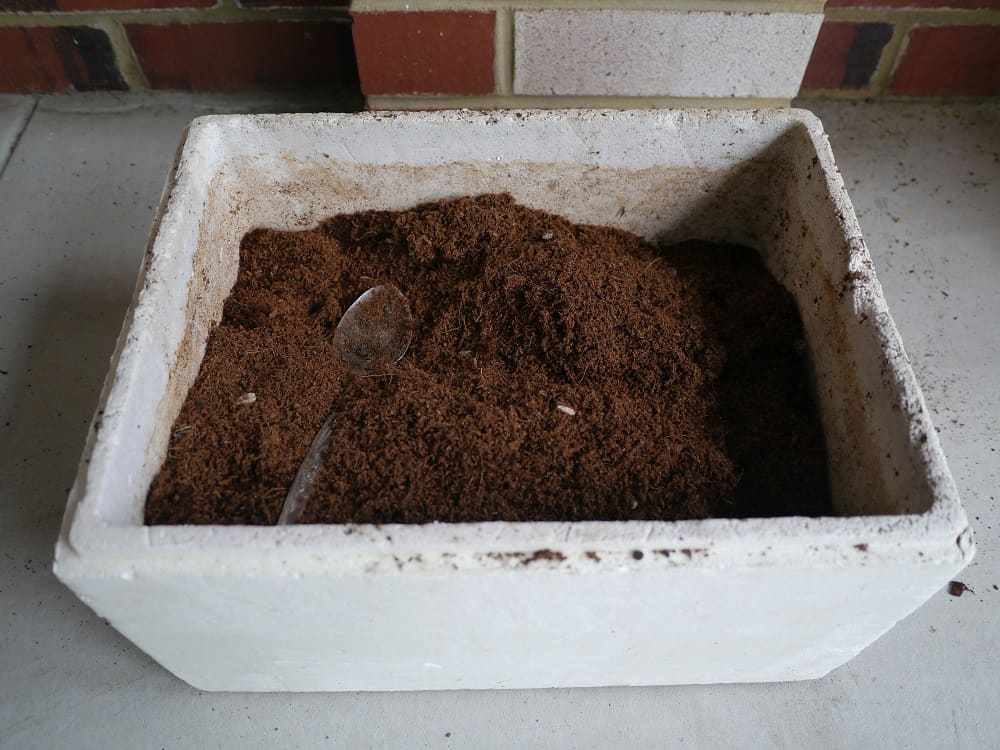
Coconut coir once water has been added. This old polystyrene box is our old worm farm. Despite hating plastic and especially polystyrene, I couldn’t throw it out knowing it still had (some) use. It’s good for mixing up potting mix and saves me from buying a new container.
Coconut coir is great for raising seedlings, but to top up the garden beds (and create new garden beds) we needed soil. After a couple of phone calls, I found a local soil company that could deliver a trailer load of soil to us. This tiny looking pile is half a cubic litre (500l), which is the equivalent of 40 bags.
Whilst we didn’t need it all, we have been able to store what we didn’t use in our wheelie bin (we don’t use it for rubbish, after all) until we can use it.
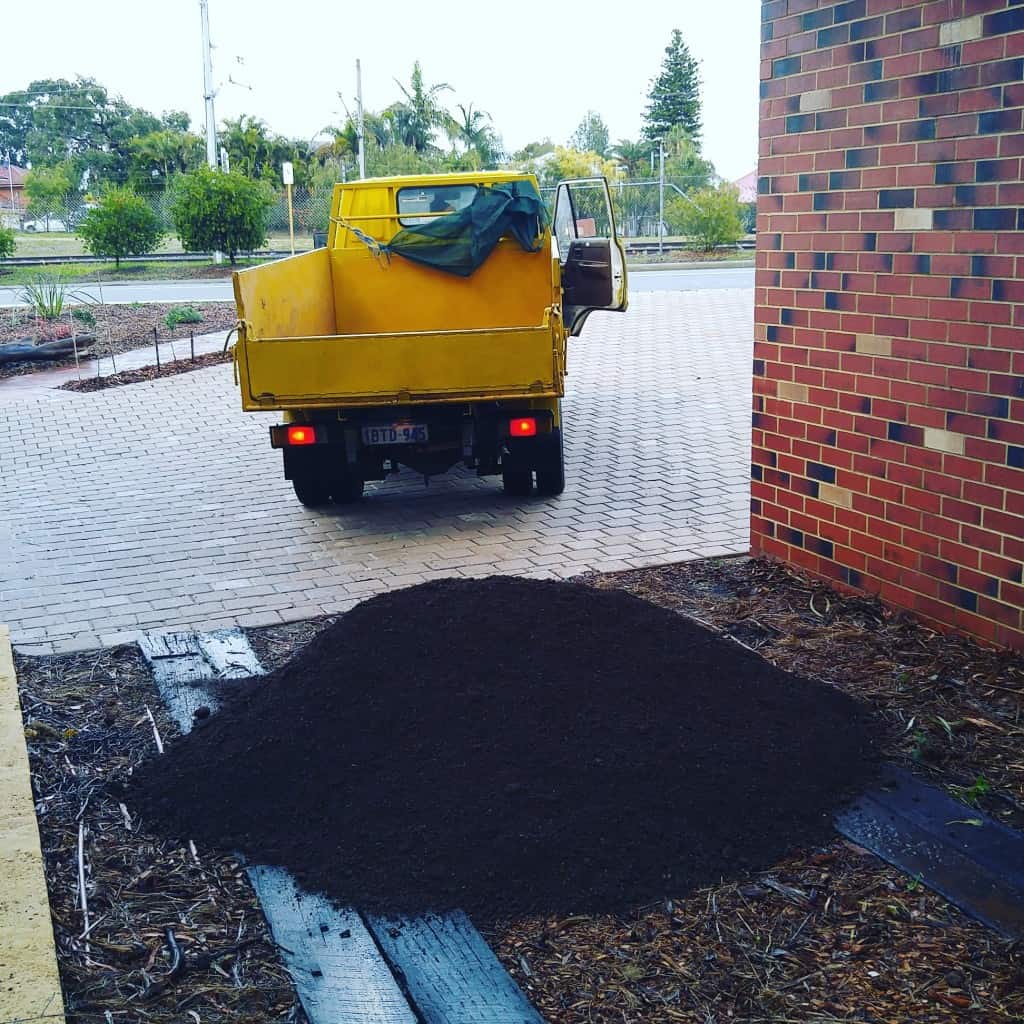
Plastic-free zero waste soil delivery.
Compost, Worm Castings and Manure
In the beginning, we decided to buy a few bags (in plastic – shudder) of mushroom compost and animal manure, to get things started. We have two compost bins, but they are yet to crank out any compost. In future I hope to make all of our compost at home. (We also plan to get more bins.)

Our two compost bins. We hope to get more so that we can produce all of our own compost at home.
Clearly, if we plan to produce all of our own compost at home we will need more plant matter and food waste to compost! We’ve probably got enough weeds on the verge to provide all the nitrogen we could ever want, but compost needs both carbon and nitrogen. Our solution is to collect excess coffee grounds from the local cafe. We’ll also go leaf collecting to gather some extra carbon for the pot.
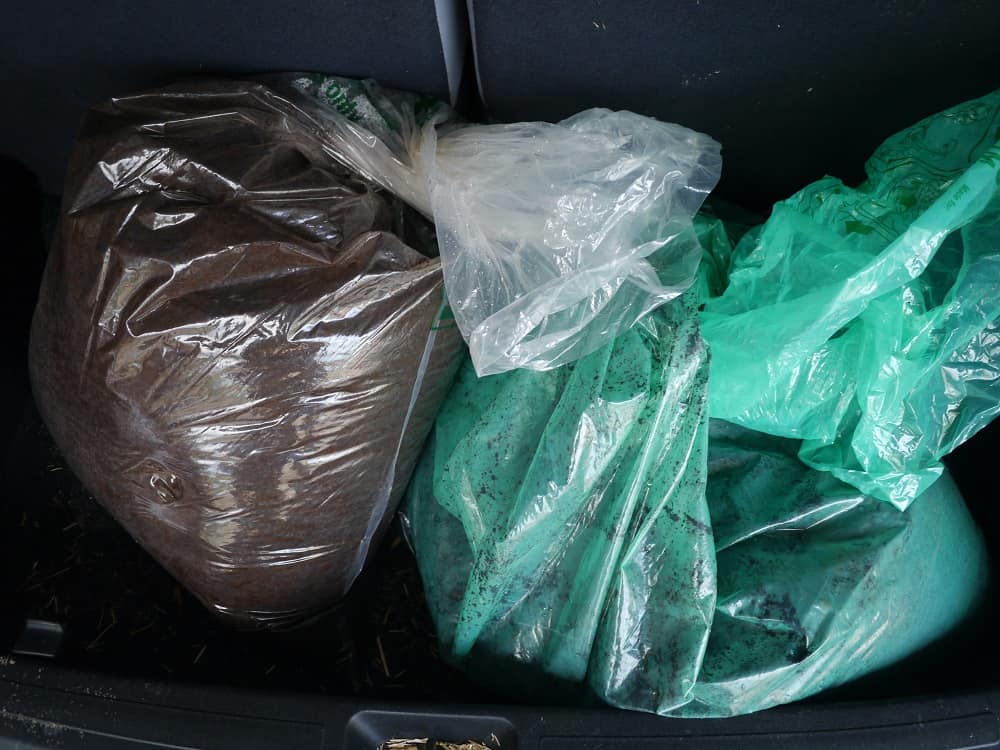
Coffee grounds from a local cafe (they were pre-packaged in plastic). We may have been a little over-eager… I could not lift these bags, they were so heavy! Coffee grounds are a great compost additive though, and we could never drink this much coffee!
Our solution for animal manure was simple. Our friends own a cow, and offered us their “spare” manure! We can provide our own containers and fill them up. Sounds stinky, but it’s plastic-free at least!
On top of this, we still have our worm farm, and can use the castings to enrich the soil.
Adding Nutrients to the Soil
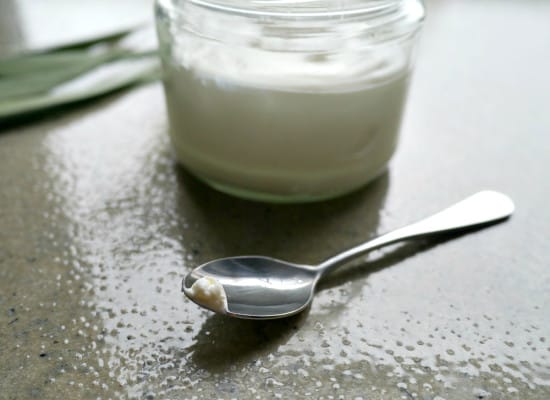
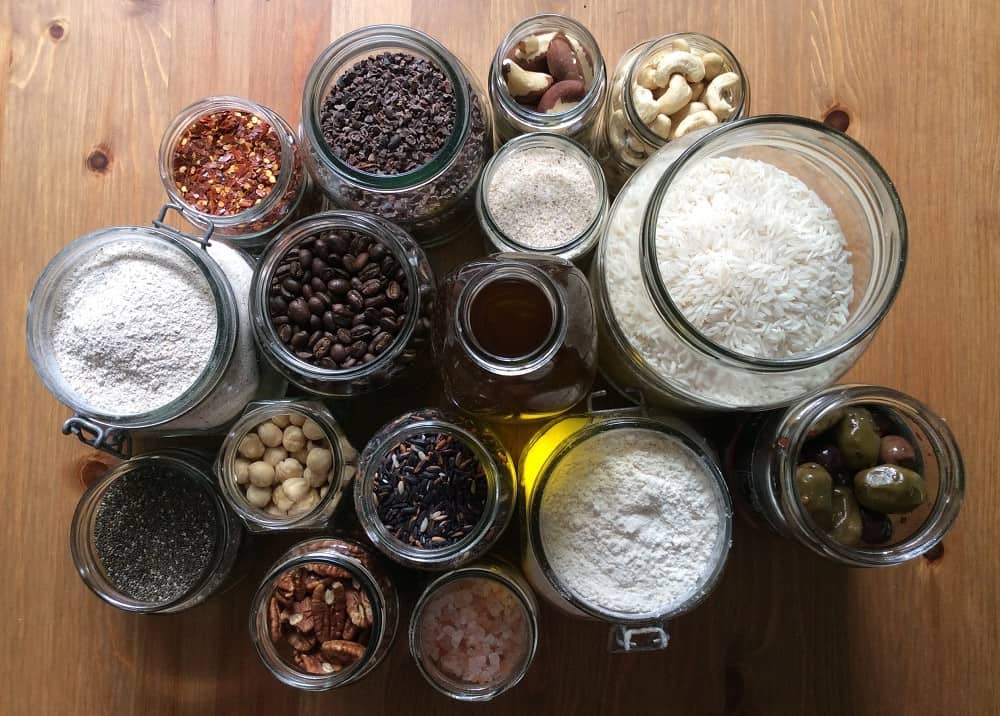
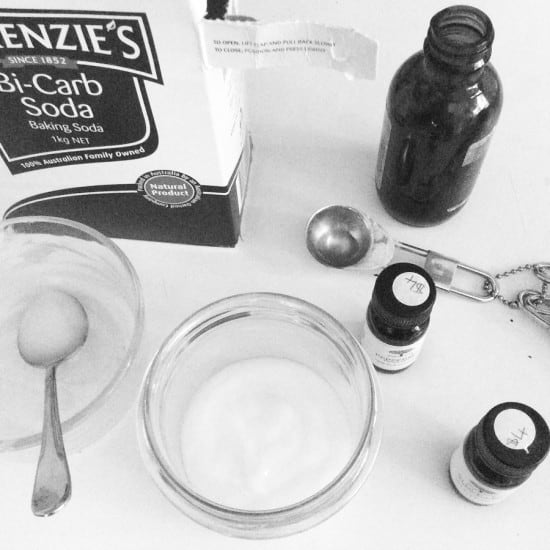
We’d rather not buy plastic bottles of plant food because aside from the waste, we prefer to feed our plants natural ingredients and these pre-packaged feeds are high in salts and urea. The most natural options recommended seem to be kelp, soy bean meal (an alternative to blood and bone), blood and bone, rock dust, fish hydrolysate and pelletized chicken manure.
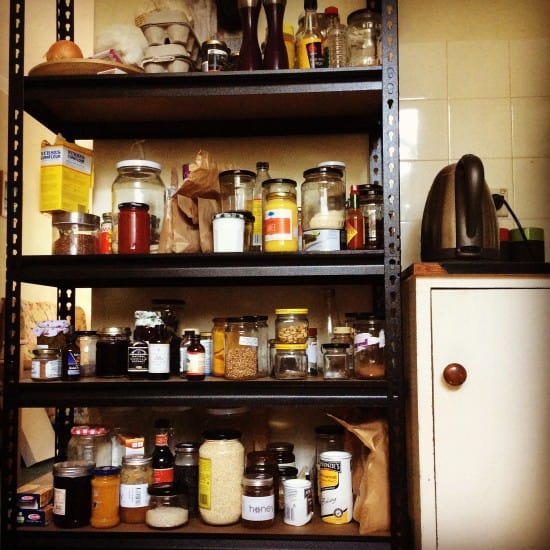
The soil company who delivered our soil also sell these in bulk, so we can refill our own containers when we need to.
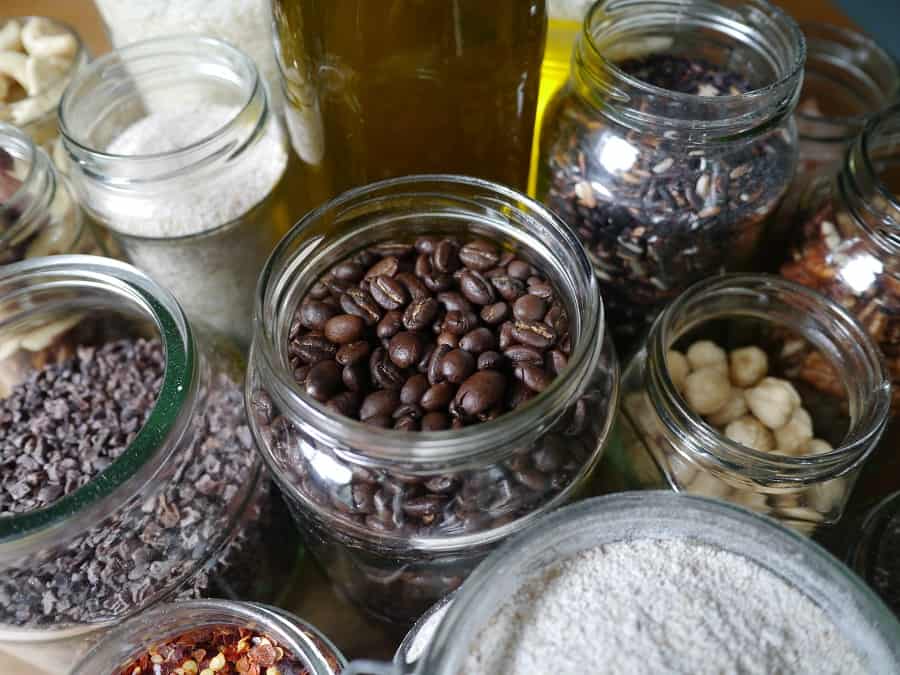
Another, more cost-effective place to source these products is a stock feed place. We didn’t need the huge quantities, but a local lady purchased some and split the bags into smaller amounts for us. If that hadn’t been an option, these ingredients all have a long shelf life.
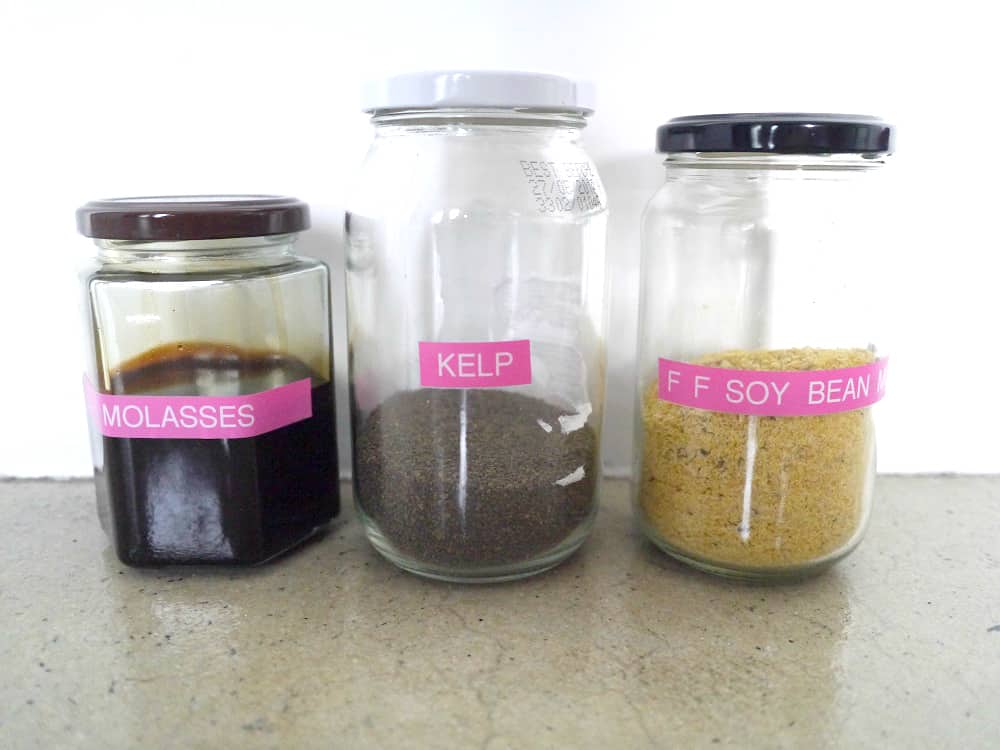
A local lady purchased these in bulk, and split into containers for a group of us. (She added the plastic jar labels – it’s not something I would have done!)
Seedlings and Seeds
To start with, we purchased a few seedling punnets. I’ve begun to plant seeds in the repurposed punnets and hope that I will be able to grow everything from seed in the future. Even seed packets sometimes contain tiny little ziplock bags.
Much further down the track I hope to be able to save my own seeds. Right now we are at the beginning of our journey. I need to learn what grows well and what we like to eat before I even think about saving seeds! I’m not worrying about the tiny little ziplock bags – for now ; )
We have swapped seeds with our neighbours which has worked well, as most seed packs seem to expire before all the seeds have been planted. This way we double our selection (and they do too) and the seeds are fresher – hopefully meaning that more germinate!
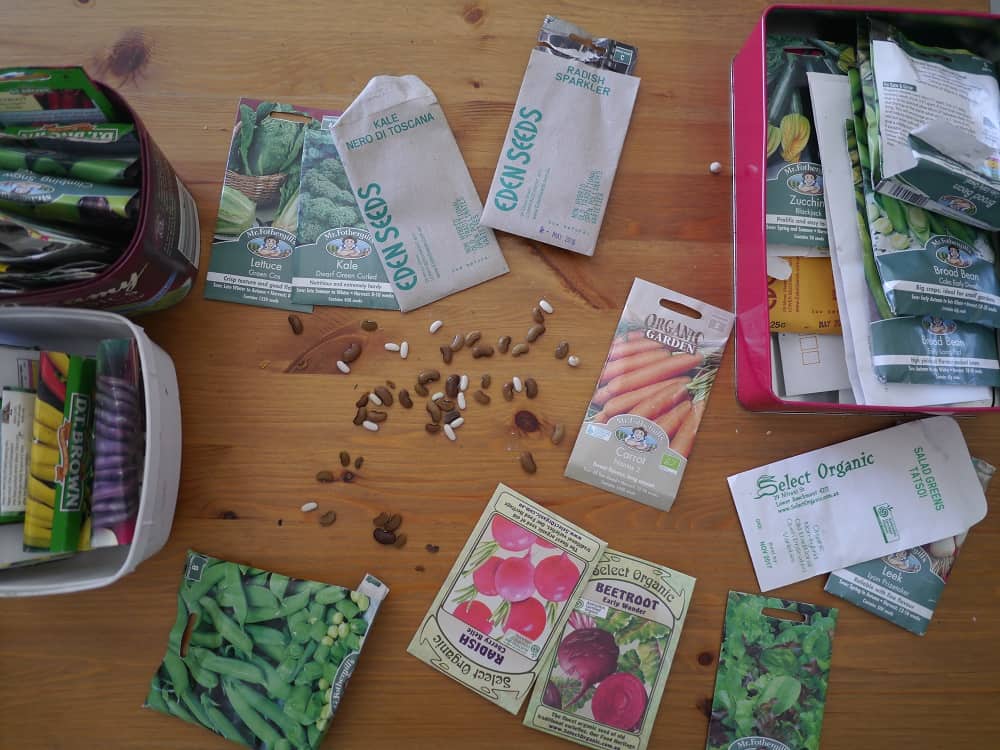
Seeds on the left are our neighbours’; seeds on the right are ours. Seeds in the middle are saved from the beans that were growing in the garden. No idea what the different types are, though!
Repurposing
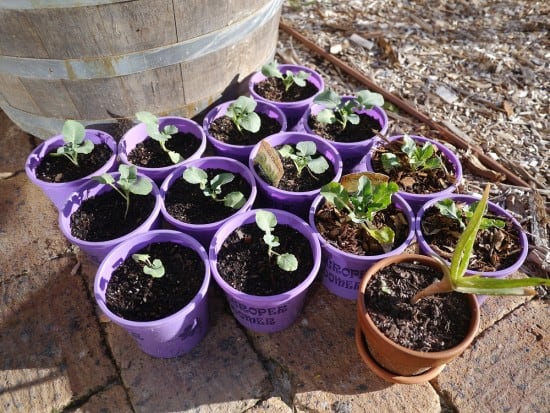
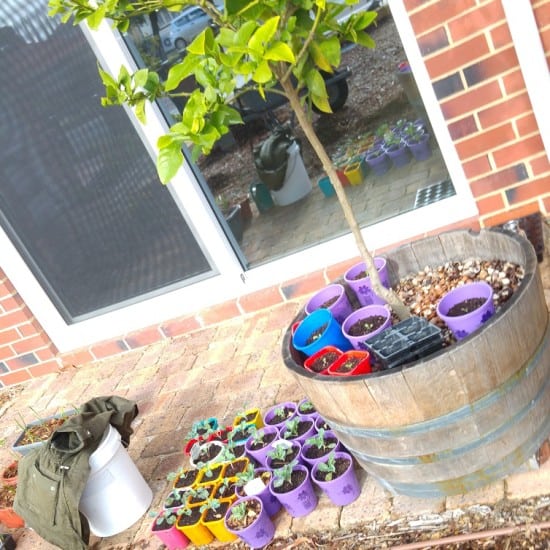
We’ve been able to find heaps of plant pots for free on the verge, which has been great for growing seedlings. Alongside the few seedling punnets we’ve bought, we now have enough to pot on our seedlings to beef them up before they go in the beds.
What about the plastic so far?
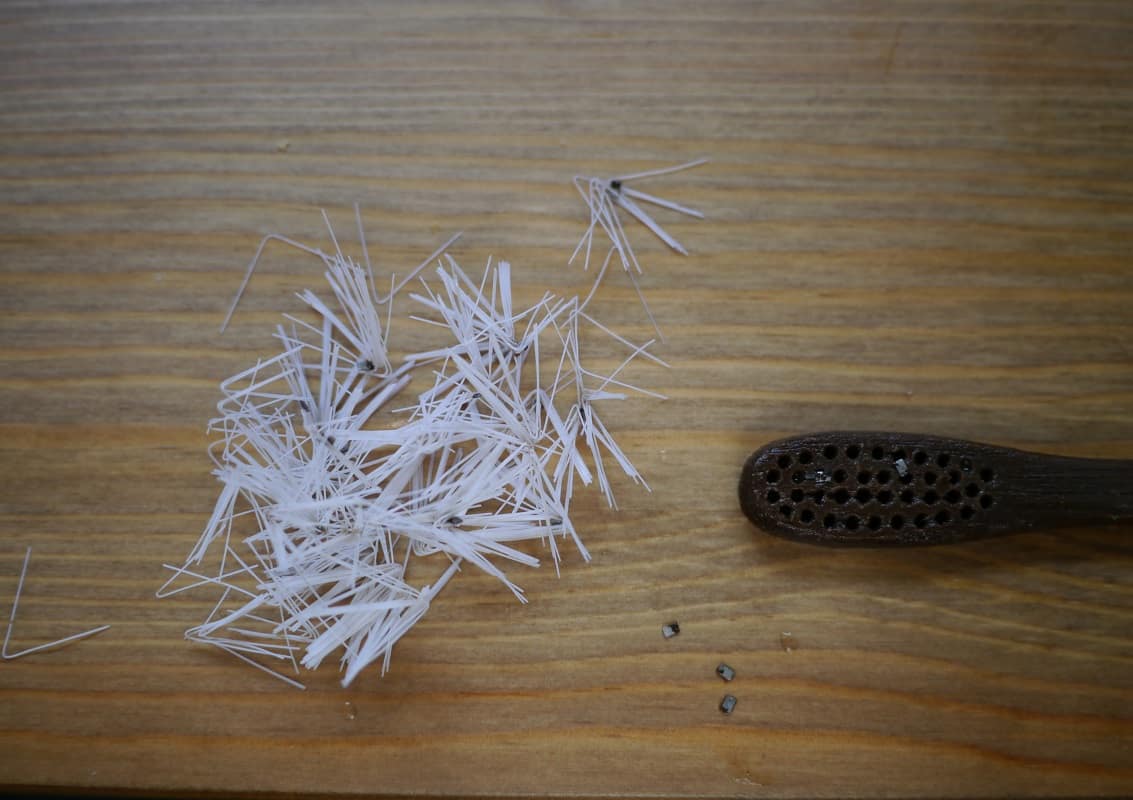
There is no way I’m throwing any of the plastic we’ve used so far in the bin. Not a chance! But clearly, plastic bags that contained sheep manure and compost are not suitable for recycling as they are. They need to be clean. Such is my dedication that I cleaned them!
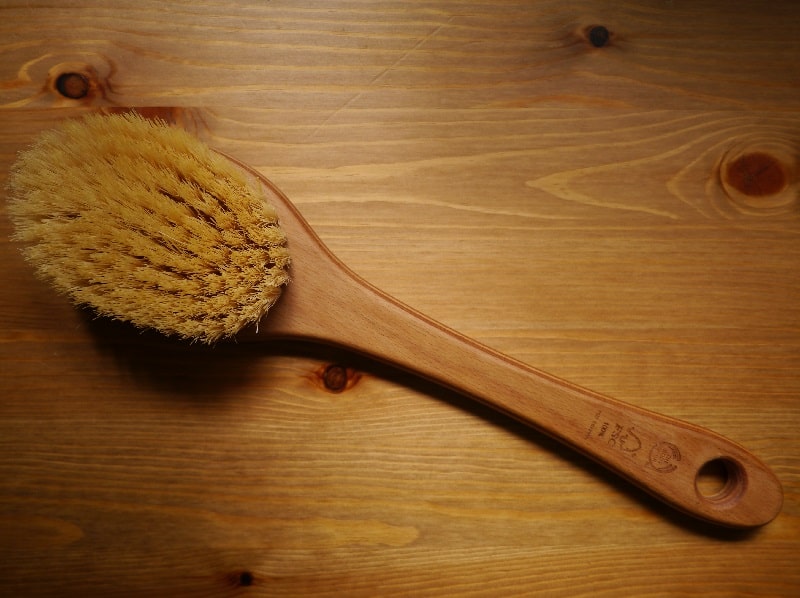
I would have just put them all in the washing machine out of laziness but my husband would have killed me (and I didn’t really want to wreck the washing machine). So I washed them all off as best I could outside (in a tub of water which I used in the garden), and then brought them in and scrubbed them in the shower with an old brush.
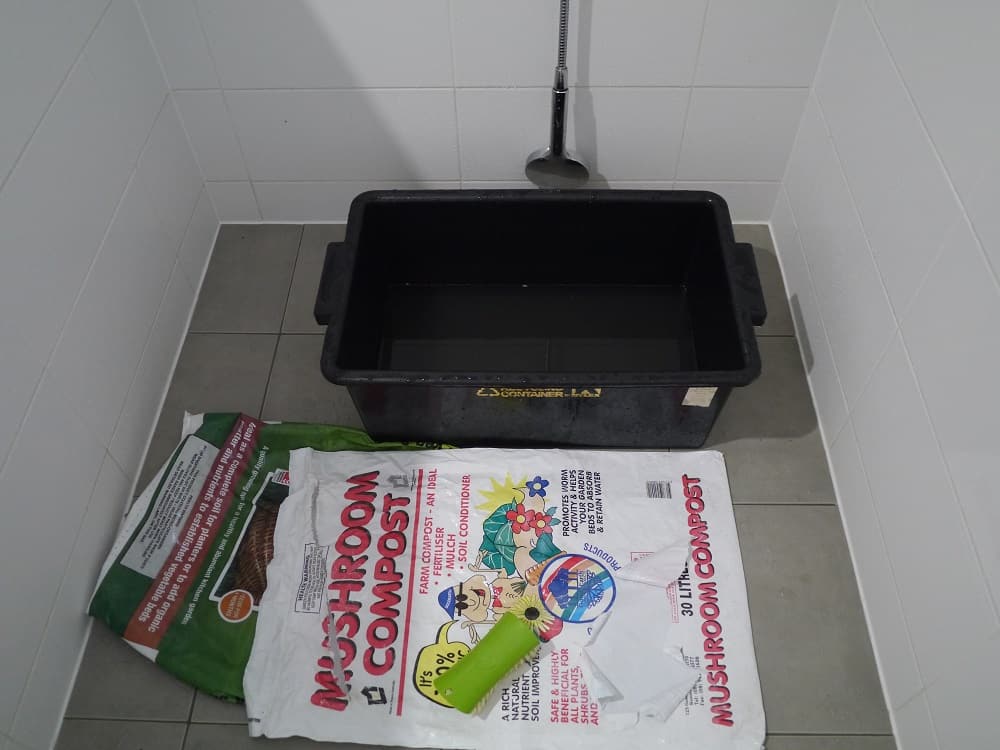
True story. I washed out my soil bags so I could recycle them properly.
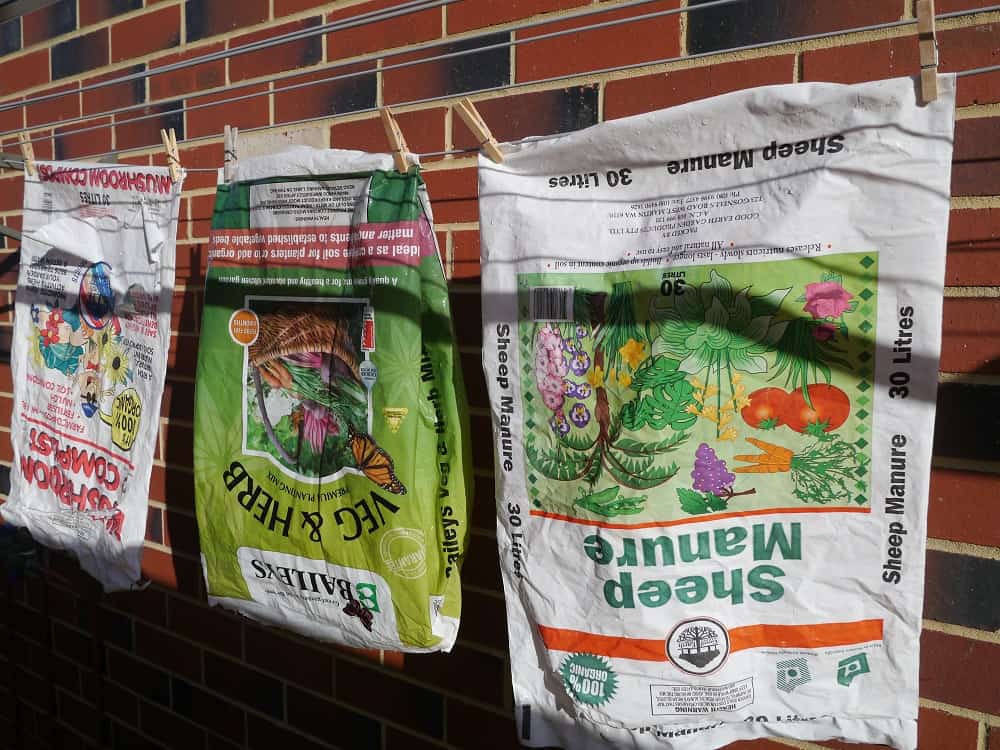
Hanging on the washing line to dry.
The only real waste item we’ve generated so far is the plastic labels that come attached to the seedling punnets. Most of them are currently in the garden reminding us what is planted where, but when the season is finished we may not have another use for them. Still, if we can reduce our garden waste to just a few seedling labels then I will be very happy!

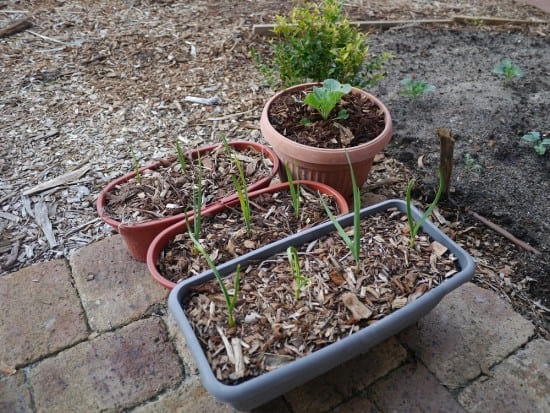
Plastic-free zero waste gardening in action : )
Now I’d love to hear from you! Do you have a garden? Do you have any tips for reducing waste and cutting down on plastic? Do you have any suggestions for how I might improve things further, or notice anything I’ll need to think about in the future? Is there anything you’ve struggled with? Do these struggles remain or have you managed to overcome them? Are there any compromises you make that you think are worthwhile? Are you put off gardening because of all the plastic packaging and chemicals? I’d really like to hear your thoughts so please leave me a comment below!
[leadpages_leadbox leadbox_id=1429a0746639c5] [/leadpages_leadbox]