10+ Practical Ideas for Eco-Friendly Plant Pots
I started my plastic-free life back in 2012 and my gardening life long before that. When it comes to plastic-free gardening, though, I’m still a relative newbie. I lived in an upstairs apartment for my first few zero waste years, so there was no garden to practice with.
I’ve been living in our new place, complete with garden, for over a year now, and there’s been plenty of opportunity to learn. I’ve come to realise that whilst plastic-free might be the goal, there is so much “waste” plastic that can be reused in the garden, that I’m more focused on zero waste (and reusing) than plastic-free.
I’d rather use what exists than purchase new “zero waste” items.
I thought I’d share some of my plastic-free and zero waste gardening tips, beginning with eco-friendly plant pots.
Choosing Eco-Friendly Plant Pots when Growing from Seed
The best way to avoid waste is to grow from seed. Saving your own seeds, and swapping seeds with others, is the best way to source seeds. However, it isn’t always practical. If you’re establishing a new garden, like I was, you’ll probably need to buy seeds.
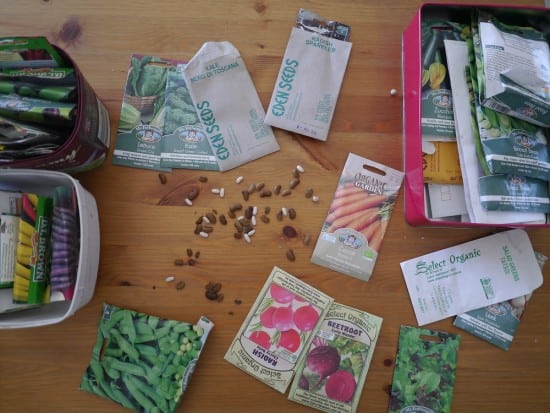
However, before you go shopping, I’d recommend looking for local gardening groups and seed swaps, just in case. A few of our local libraries even offer seeds to “borrow” – the idea is that once you’ve planted them and have your own seeds, you return these to the library.
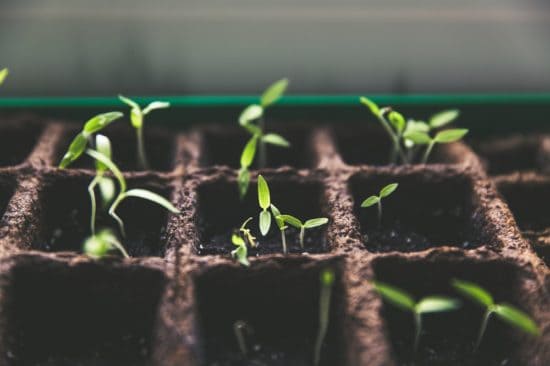
Some seeds can be sown directly in the ground, but most need planting into trays or pots before planting out.
Toilet rolls
Toilet rolls are the perfect size for seedlings, and you can fold one end over to make a base. However, if you have a productive garden, getting enough can be a challenge!
If you need more, Buy Nothing groups and Gumtree are a great way to find them. Similarly, if you don’t need your own, they are a great way to offload them to someone who does. Save them up until you have enough to entice someone to make the trip, and give them away.
It sounds bizarre, but if you look you’ll see that old toilet roll tube trading is a real thing! ;)
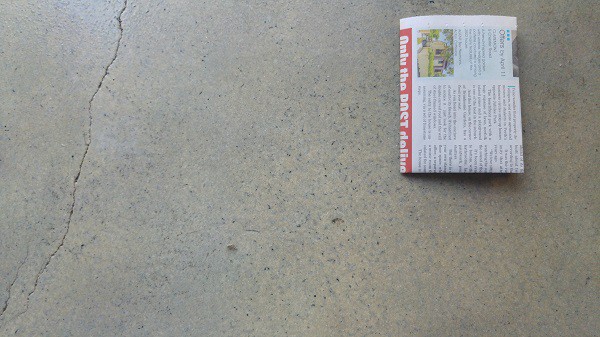
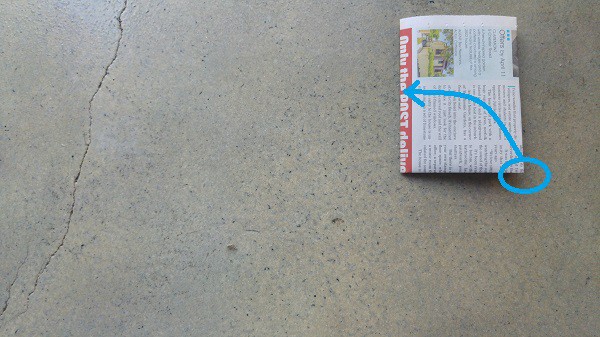
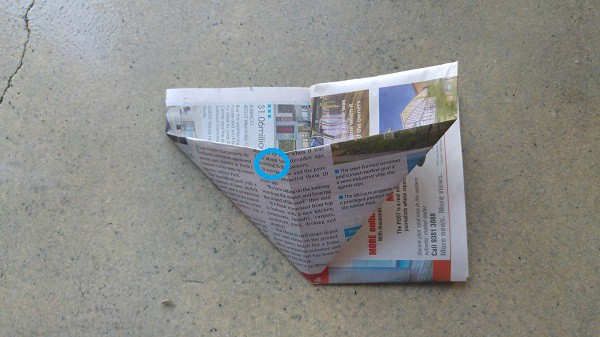
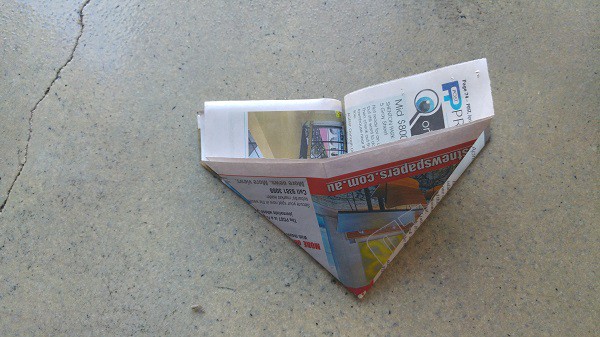
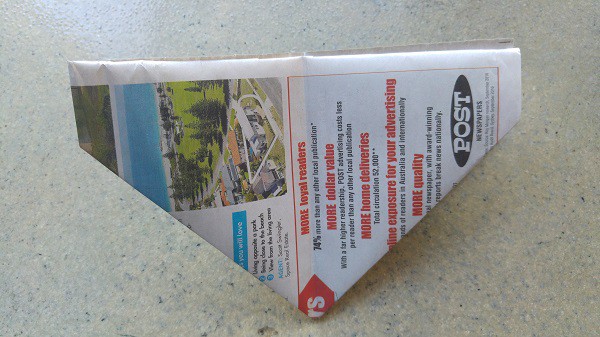
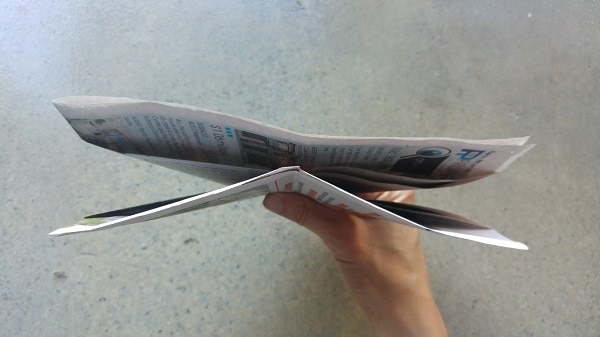
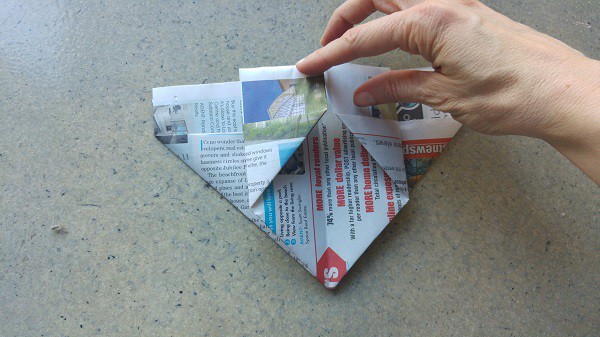
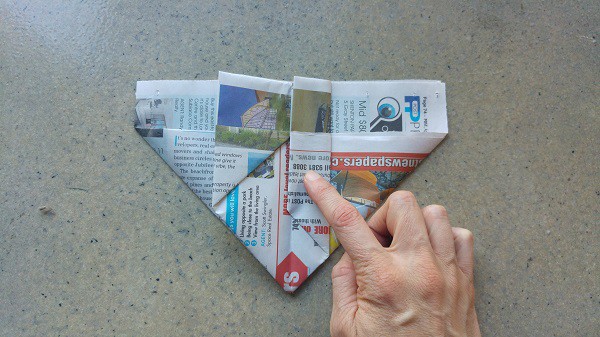
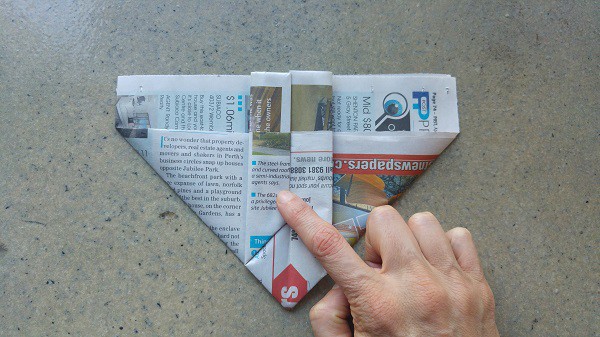
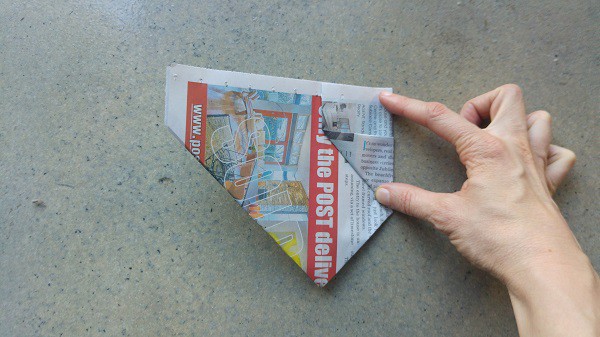
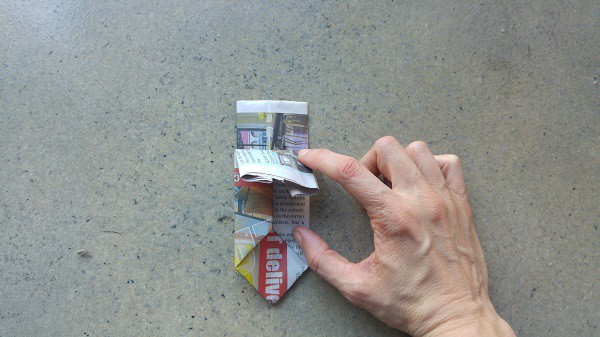
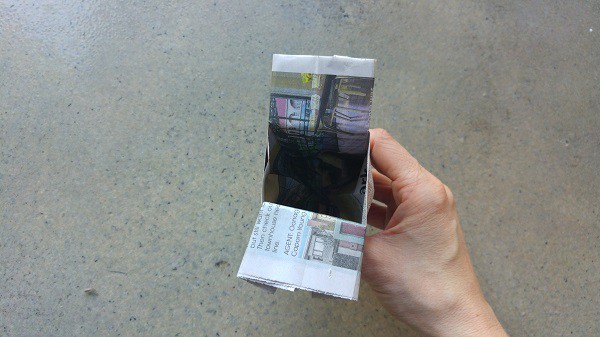
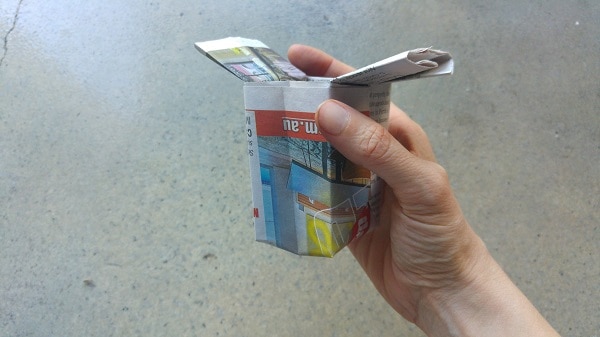
Newspaper Pots
My favourite way to make seedling pots is folding them, origami-style, using old newspaper (you can find DIY instructions for making seedling newspaper pots here). There’s no tape and no glue, no tools required and it takes less than a minute to make one.
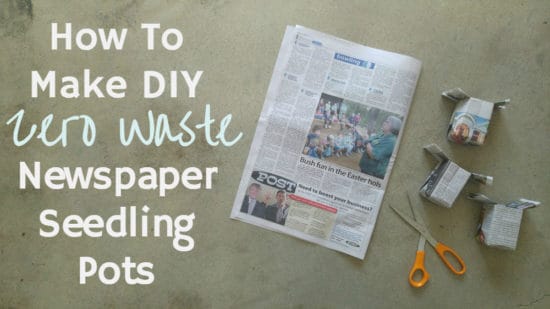
I love these as, unlike toilet rolls, there’s no need to store them. Grab a couple of old newspapers and make everything you need in half an hour.
You can buy tools to make newspaper pots. They are usually made of wood, and to make the pot the newspaper is wrapped around a cylinder and pressing into an indented base (here’s an example of a wooden paper potter). Personally I think they are unnecessary, and as a minimalist I like to keep my tools to essentials only.
Wooden Seedling Flats
These are wooden boxes that are not compartmentalised, used for seed-raising. They are filled with soil and seeds sown, which can be transplanted once they’ve germinated.
Seedling flats can be made from softwood (like pine) or hardwood. If looked after properly and maintained, they can last several years. The most eco-friendly option are those made from reclaimed timber and offcuts.
Soil Blockers
Soil blockers are metal presses that allow you to press soil together to make cells to plant seeds without any other material. I first heard of soil blockers via Milkwood, and whilst I love the idea, I’m yet to give them a go. A friend has recently purchased one so I’m keen to test it out and will keep you posted.
Purpose-Bought Compostable Pots
It’s worth noting that ‘compostable’ is not the same as ‘biodegradable’. Compostable means it will break down in a compost bin or soil into humus (natural material) with no toxic residue. Biodegradable means it will be broken down by bacteria under certain conditions (often tested in a lab).
A ‘biodegradable’ label does not guarantee it will be broken down into constituent parts, only that it will break down small enough that it cannot be seen. It does not guarantee there will be no toxic residue.
There are a lot of pots that fall under the “compostable” category. The most eco-friendly ones are natural and made of waste materials like coconut coir or aged cow manure. Less environmentally sound ones are made with brand new wood fibre, and/or peat moss (removal of peat moss has been linked to global warming).
Whatever they are made from, they are designed to be single-use. They require energy to manufacture, package and transport. If we can use what we already have, that is a more eco-friendly option.
They are more durable than newspaper or toilet rolls, so are a good option for growing seedlings to sell or where they need to look more professional.
Purpose-bought Biodegradable Pots
Biodegradable (but not compostable) pots are often made with PLA plastic, also called corn starch or plant-based plastic. This is a polyester made from plant material rather than fossil fuels like traditional polyester.
Some PLA pots will state that they are compostable, but this will usually refer to composting under controlled conditions. They should state the test standard used and be “certified compostable.” Without the certification, the claim is meaningless.
These pots are a more eco-friendly alternative to traditional fossil-fuel based plastic pots. It should be possible to reuse them a few times before they begin to break down.
Personally, if a pot says biodegradable but does not say compostable, or is made of PLA plastic, I would avoid it unless absolutely necessary.
Things I don’t recommend:
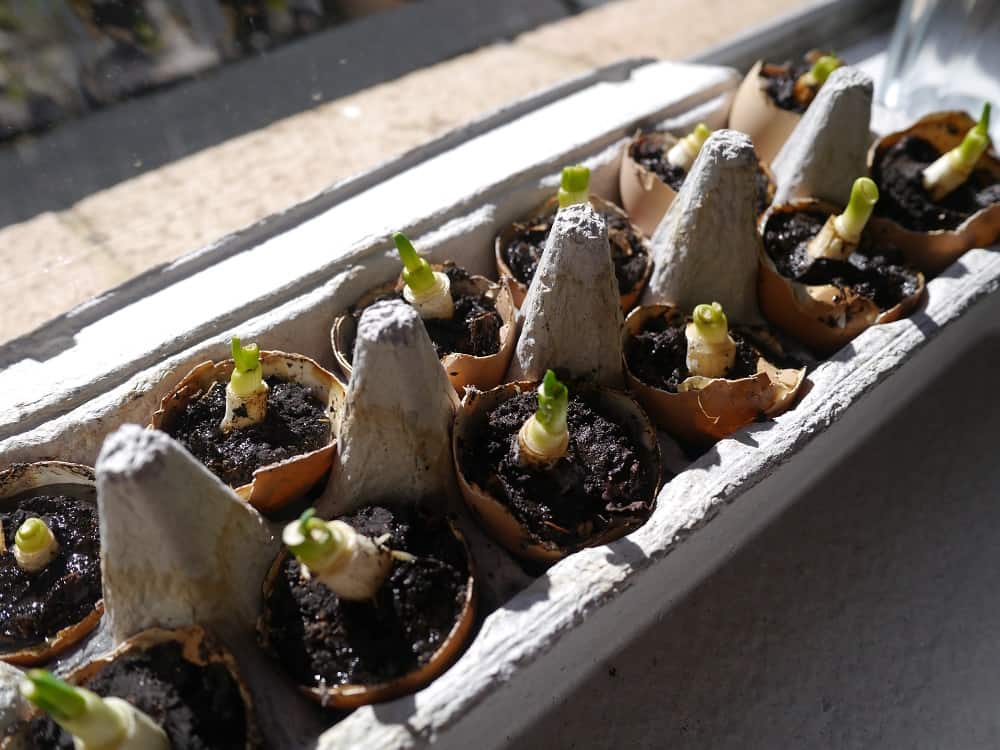
Eggshells might look cute, but they are ridiculously impractical to fill. I found the same with egg boxes, and they are so absorbent they dry out the soil, but if you don’t live in a hot climate, they might work. On the downside, too cold and damp and they will encourage mold growth.
Terracotta pots aren’t great for seedlings as the roots can attach to the clay and get damaged in transplanting. Brand new compostable seedling punnets might sound green, but they seem a waste of resources when there are so many other options to use.
Transplanting Seedlings to Bigger Pots
Sometimes seedlings need to be transplanted into bigger pots before heading out to the veggie patch.
Reusing Seedling Trays/Plastic Pots
I’m a big fan of re-using what we have. We don’t use plastic at home, but I often find plastic plant pots thrown out on verge collection day, and I collect them to re-use. Plastic yoghurt pots, milk bottles and other plastic containers that can all be re-used to make plant pots.
Plastic that has been used with soil is difficult to clean and won’t be recycled. That’s fine if you intend to reuse the plastic as plant pots again and again. If there’s a choice, it is better to choose plastic that isn’t recyclable over plastic that is, and aim for as many re-uses as possible.
Plastic that is left in the sun will also begin to photo-degrade (break down into smaller pieces). They will last better in cooler, shadier conditions.
Potting On (Transferring Plants from Small Plant Pots to Bigger Plant Pots)
Seedlings eventually grow up, and either go into the garden or need bigger, more permanent homes. Whilst it’s easy to find small pots in various sizes, as the size goes up the opportunities become more limited. Here I’ve focussed on some of the biggest options, which are big enough to plant a small tree.
Terracotta Pots
I’ve found that terracotta pots aren’t great for small plants that I intend to repot as the roots get damaged, but they are a great plastic-free option for bigger plants, bulbs or annuals. We got these pots from the verge when our neighbours moved to Queensland.
One thing to note about terracotta – it is porous, which means in hot summers it can wick moisture out of the soil. One solution is to paint or glaze on the outside or the inside, to maintain the moisture of the soil, or choose pots that are already glazed.
Wine Barrels
I love wine barrels. They look beautiful and rustic, and are a waste product of the wine industry, but they are also very expensive to buy. These two wine barrels were purchased several years ago, but now they’d cost more than $100 each. Great for a feature, but not practical if you are on a budget or need more than one.
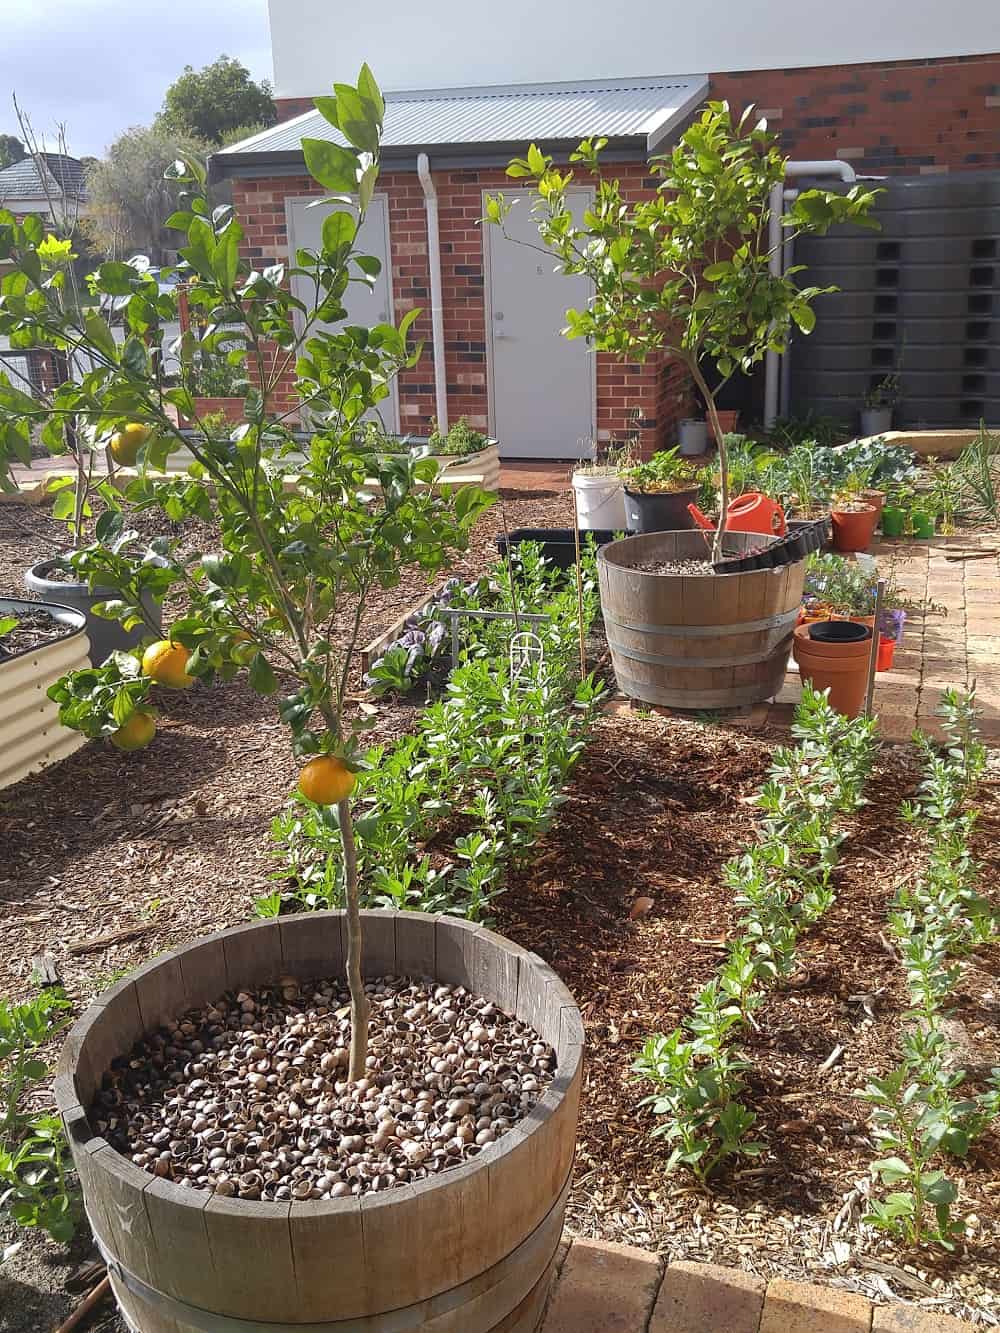
Wine barrels can be stained or varnished to help protect them from the weather, but ultimately the wood will break down. In Perth with its long dry summers, a wine barrel receiving haphazard (or no) care should last several years. In wetter climates I’d expect they’d need more management.
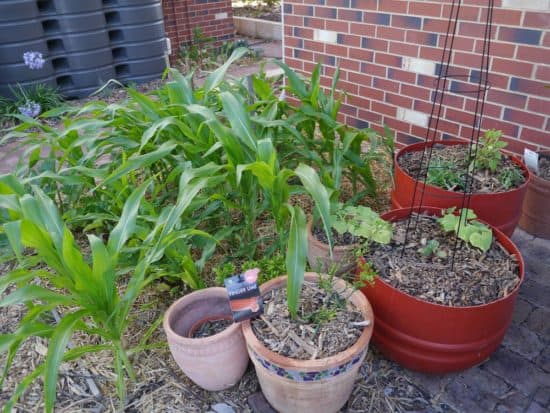
Olive Barrels
Olive barrels are big 190 litre food-grade plastic barrels that olives are imported in. They cannot be re-used by the import/export industry, so they are a waste product. Yes they are plastic, but they are second-hand. Much as I hate plastic, I love re-use,. Most terracotta pots for sale in WA are imported from Italy, whereas these barrels are already here. They are also extremely low cost – one barrel costs around $25 and can be cut in half to make two pots.
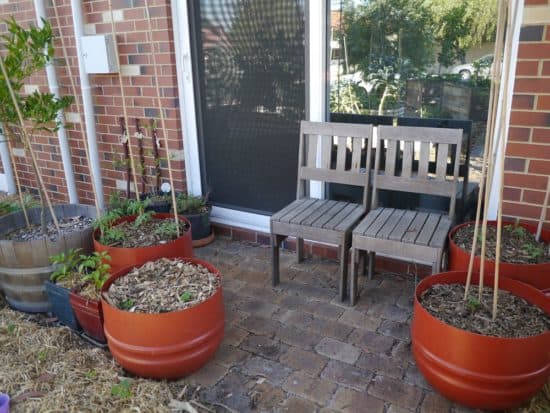
I would always choose the orange barrels, which are food grade. The blue ones are chemical barrels and most originally contained pesticides and fungicides, or other chemicals. They also tend to buckle in full sun, whereas the orange ones do not.
I’ve made all my olive barrels into wicking beds, meaning they have a hole at the side rather than the bottom, and a reservoir below the soil to hold water. This means the soil can wick water from the reservoir in summer, so the plants need less watering. Because a container needs to be fully waterproof to do this, it is difficult to do without plastic.
Upcycled Things
Honestly, it is only your imagination that will restrict you when it comes to finding eco-friendly plant pots. I’ve seen garden beds and plant pots made of old toilets, sinks, bathtubs, metal tins, plastic clam-shells and much more.
Just because it isn’t round and sold in a garden centre, it doesn’t mean that you can’t grow something in it!
Now I’d love to hear from you! Do you have any other suggestions to add to this list? Do you have any “not-to-do”s or things to avoid? What’s the craziest thing you’ve ever seen used as a plant pot? And more importantly – did it work or was it a fail?! Please share your thoughts in the comments below!
[leadpages_leadbox leadbox_id=1429a0746639c5] [/leadpages_leadbox]