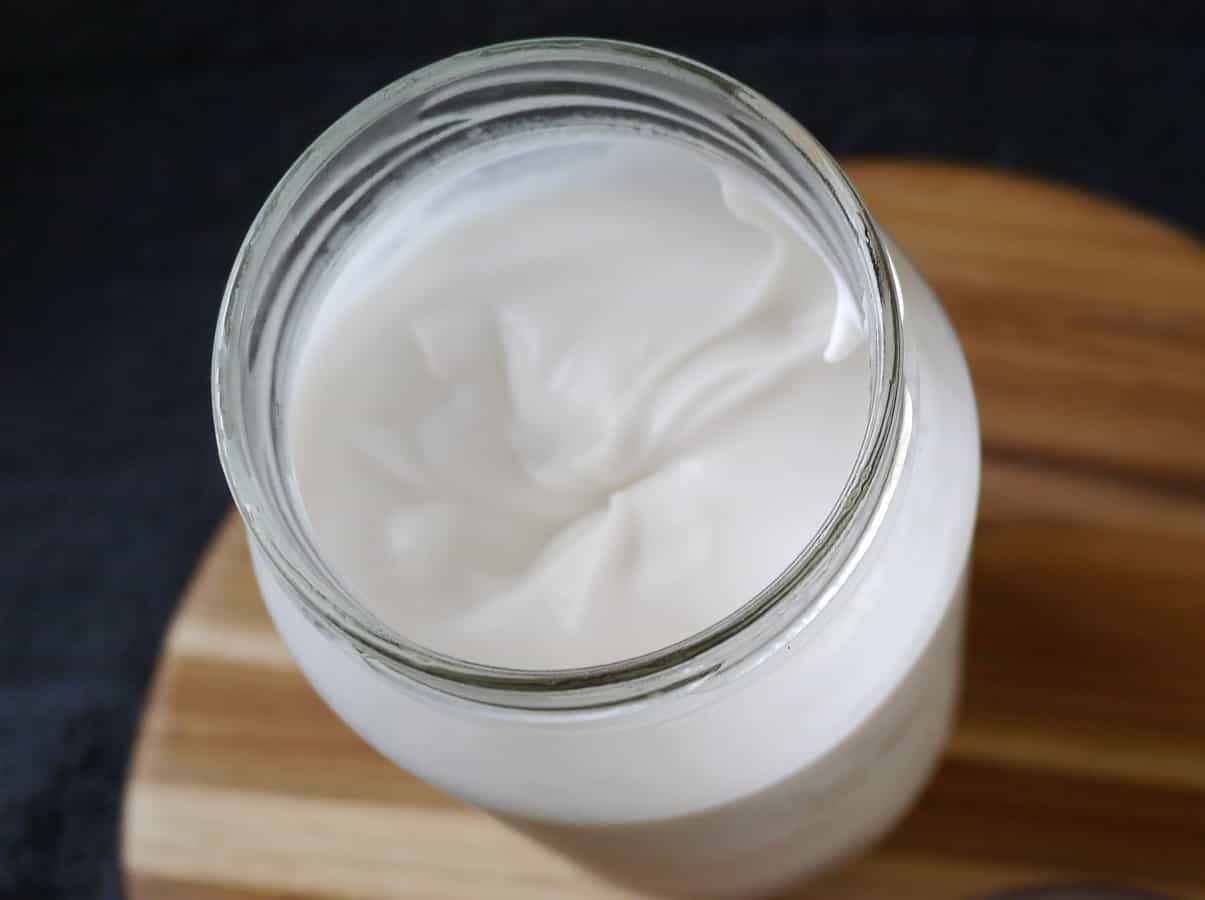
Coconut oil is a relatively new addition to my grocery cupboard. When I was growing up coconut oil (and coconut products in general) were considered unhealthy because of their high fat content, in particular their saturated fat content. (Avocados and coconuts are unique among fruit and vegetables for containing saturated fat.) Saturated fat has been linked to heat disease. However coconut oil is now becoming popular again as its properties and their benefits are more widely understood.
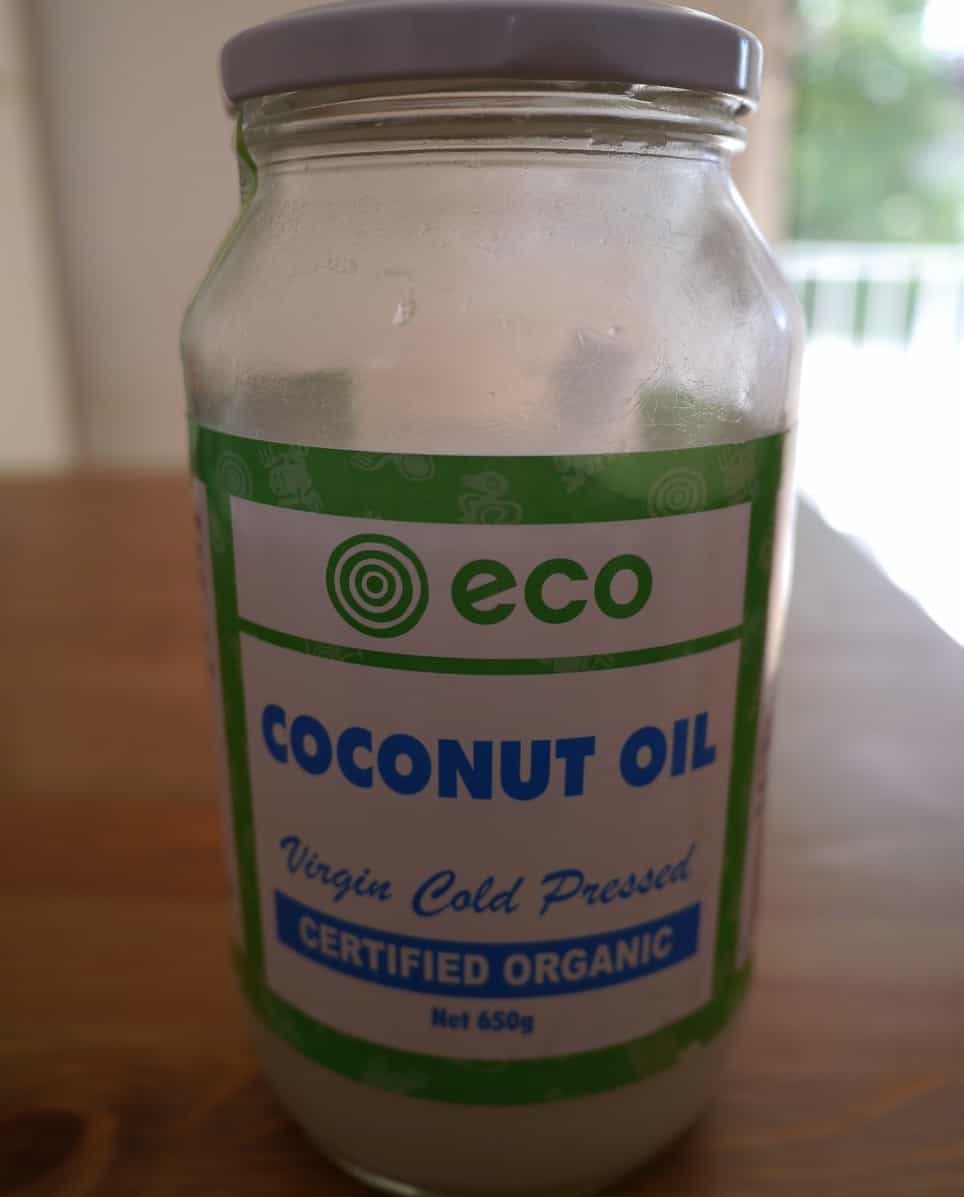
It’s worth noting that the coconut oil I’m talking about here is virgin cold-pressed. Virgin cold-pressed coconut oil is produced from fresh coconut meat, which is dried and then pressed to extract the oil, usually within hours of harvesting.
Oh, and one more thing before I begin my list. All things in moderation. Coconut oil might have some amazing properties and health benefits, but eating an entire jar in one sitting isn’t going to do you any favours! Limiting consumption to only a few tablespoons a day is recommended.
Six reasons why I love coconut oil
- It’s tasty…and better for you!
Let’s face it, things full of fat always taste much better, and coconut oil is composed of 92% saturated fat. But don’t panic! Not all saturated fats are equal. There are 34 different saturated fatty acids, and of the four found in coconut oil, lauric acid accounts for almost 50%. Lauric acid is a medium-chain fatty acid, and medium-chain fatty acids are metabolised differently to other saturated fats.
Medium chain fatty acids tend to be used by the body to provide energy soon after they are consumed, rather than being stored as fat. If fatty acids are used this way they cannot contribute to weight gain. Lauric acid has a particularly high rate of oxidation compared to other fats, meaning it is burned off, making it a valuable source of energy.
- It has anti-microbial properties
Lauric acid has antibacterial properties, but can also be converted in the body into monolaurin (glycerol monolaurate), which has even greater anti-microbial properties. In lab tests both lauric acid and monolaurin have been demonstrated to be effective against viruses and pathogenic (disease-causing) bacteria including Staphylococcus aureus, E. coli and Salmonella (research here, here, here and here).
- It’s good for the heart
There are two types of cholesterol, LDL (‘bad’ cholesterol) and HDL (‘good’ cholesterol). High levels of HDL are thought to protect against heart attacks and strokes (see reports here, here, here and here). The lauric acid in coconut oil greatly increases HDL cholesterol in the blood (analysis here) and decreases the total cholesterol to HDL ratio.
- It has a long shelf life
Because it is high in saturated fat, coconut oil is resistant to oxidation. (Oxidation is what makes oils rancid, breaking fatty acids down into aldehydes, ketones and alcohol.) Oils high in unsaturated fat are much less stable and prone to going rancid. Some particularly susceptible oils (such as flaxseed oil) will go rancid within weeks; coconut oil can last years. This is great if you’ve bought a jar because you needed 2 teaspoons for a recipe, as it will sit happily in the cupboard until you’re ready to use it again.
- It’s not just for eating
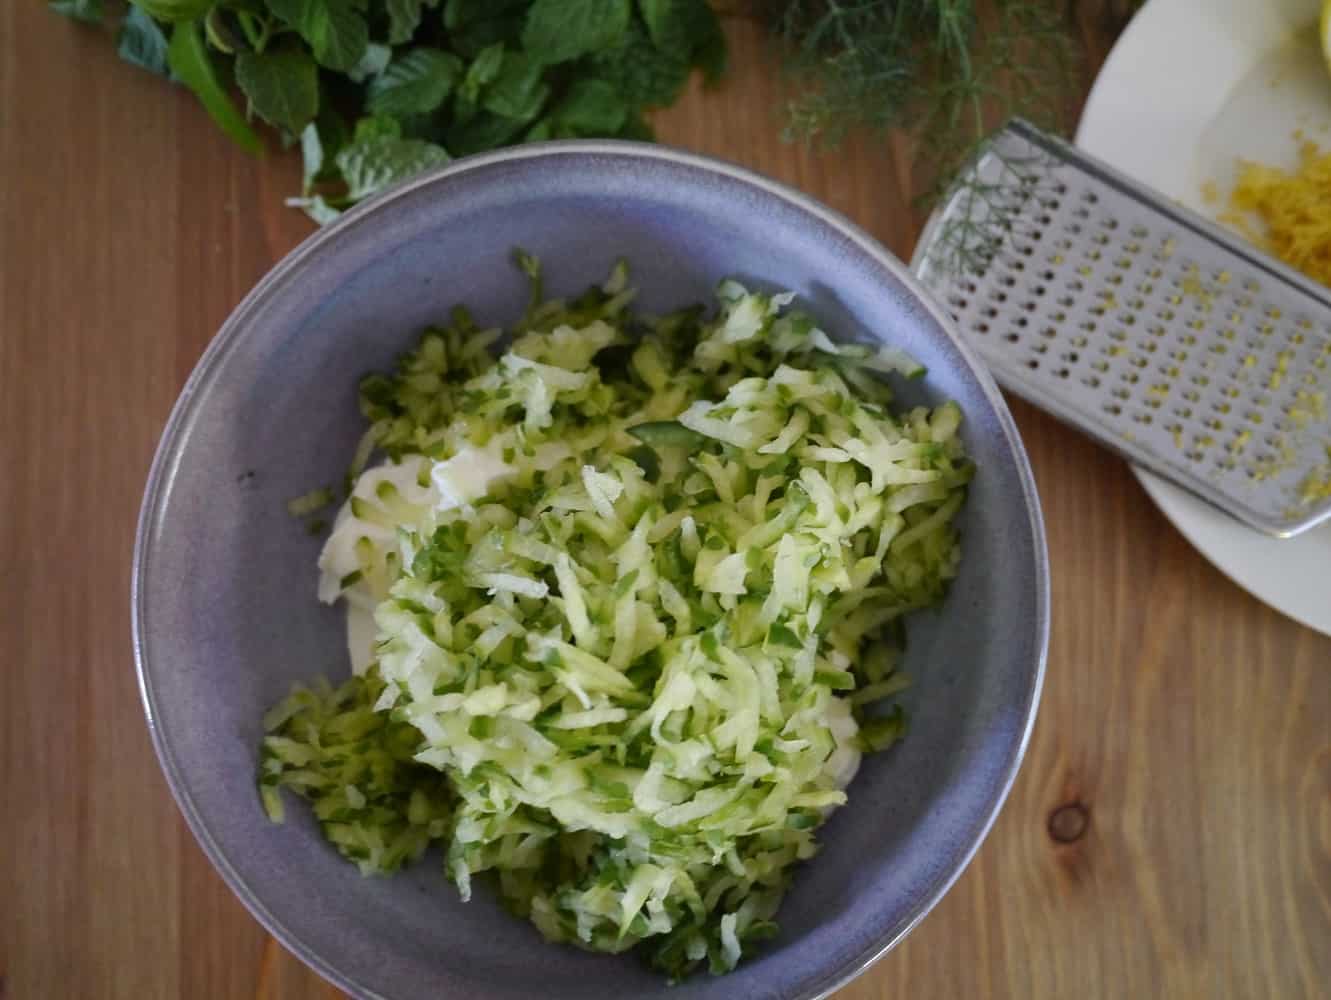
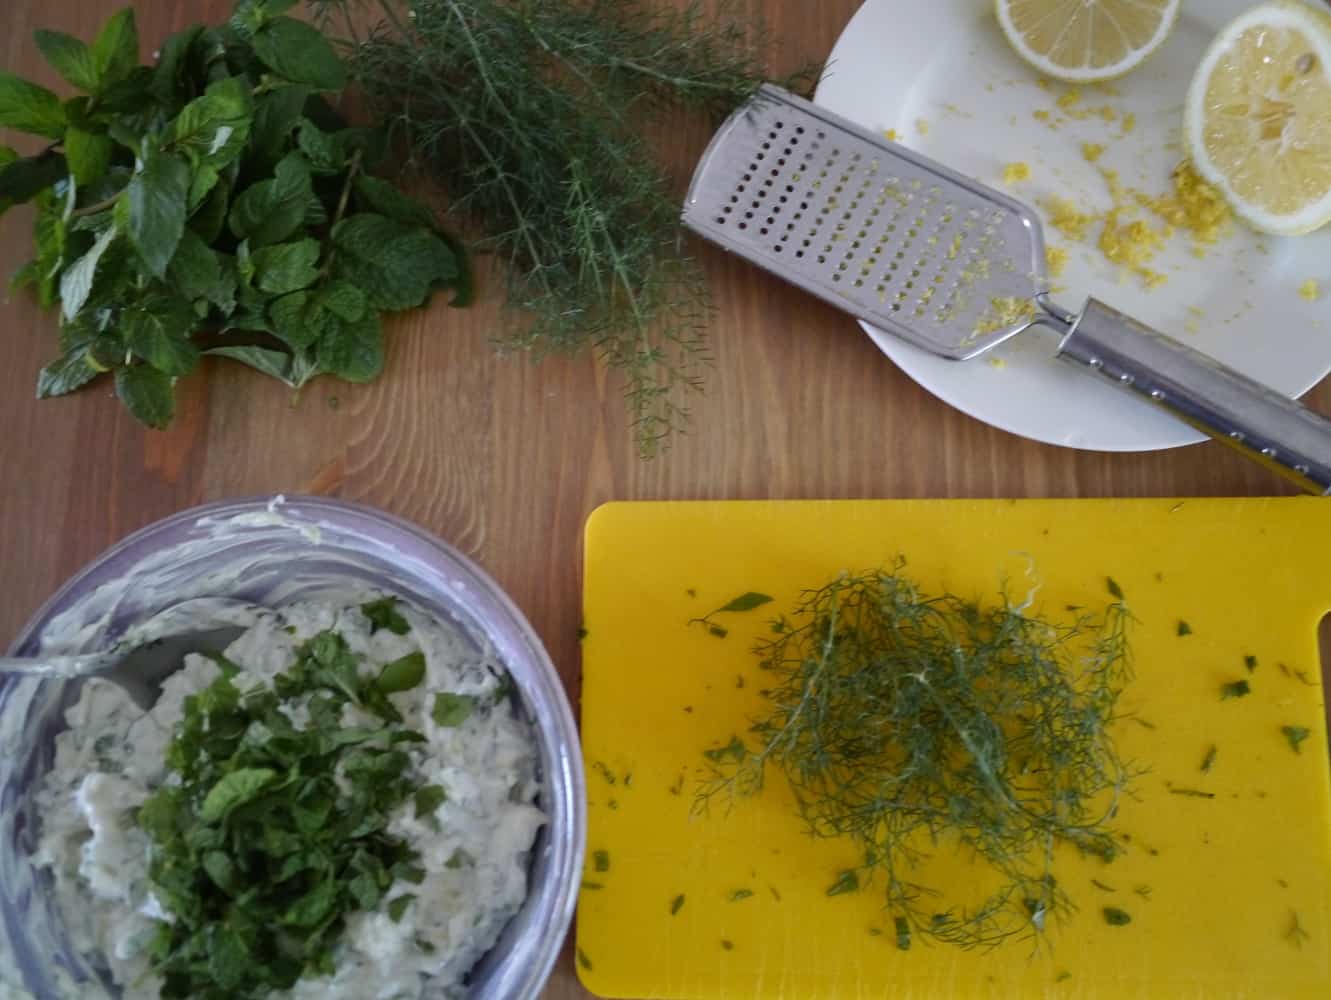
Coconut oil is also a great base for beauty products because it is solid at room temperature, has a long shelf life and is easily absorbed by the skin. If you want to make your own beauty products then coconut oil is an essential; I use coconut oil for making my own deodorant and toothpaste. It’s a key oil for making soap and also has great moisturising properties. The anti-bacterial properties of lauric acid have been shown to be effective in treating acne.
- It’s a great natural alternative to butter
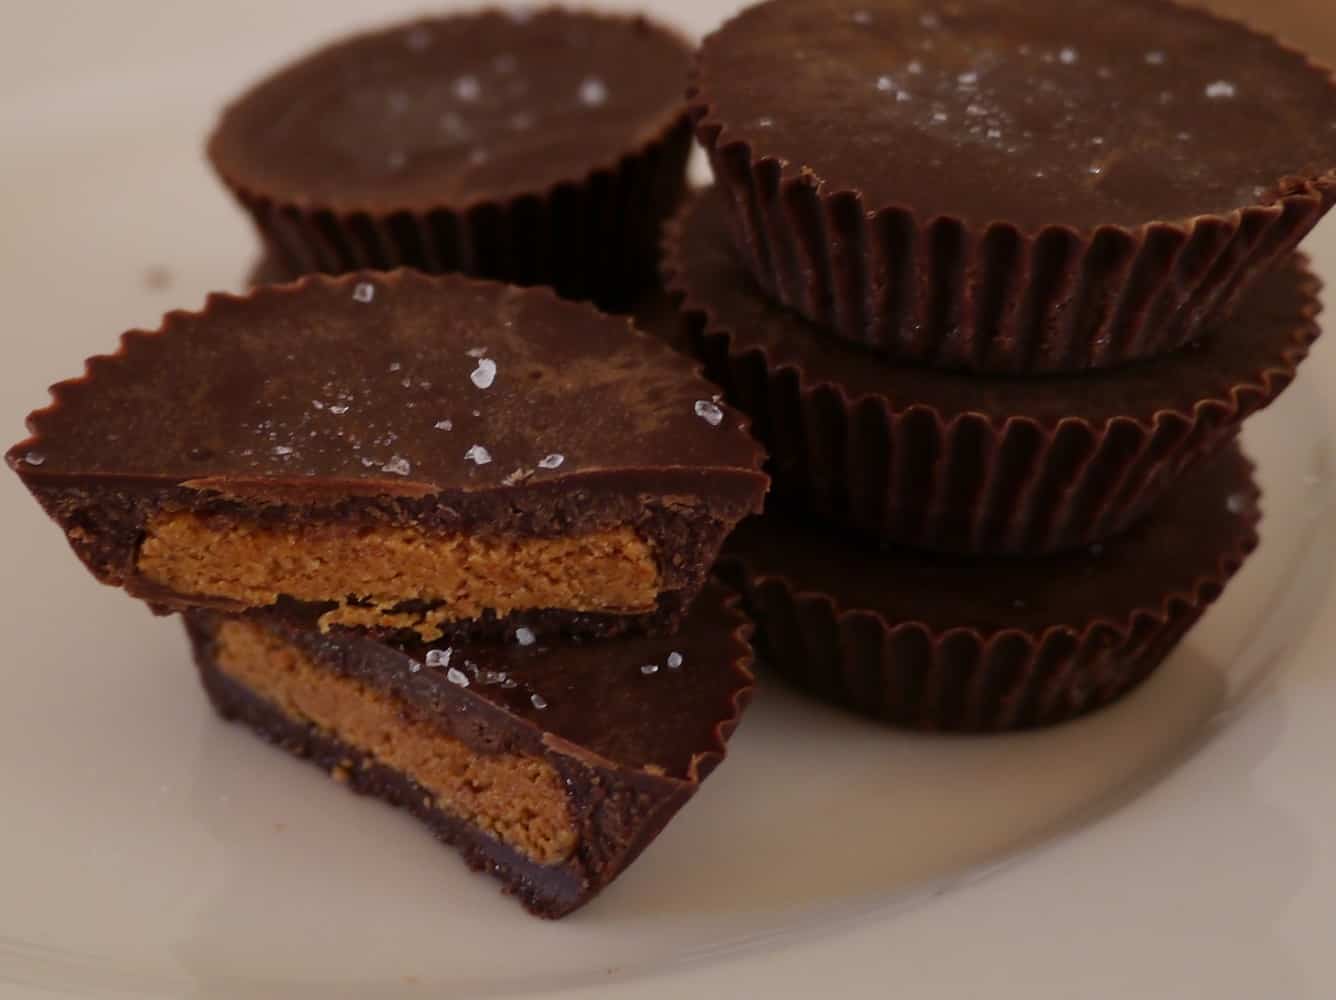
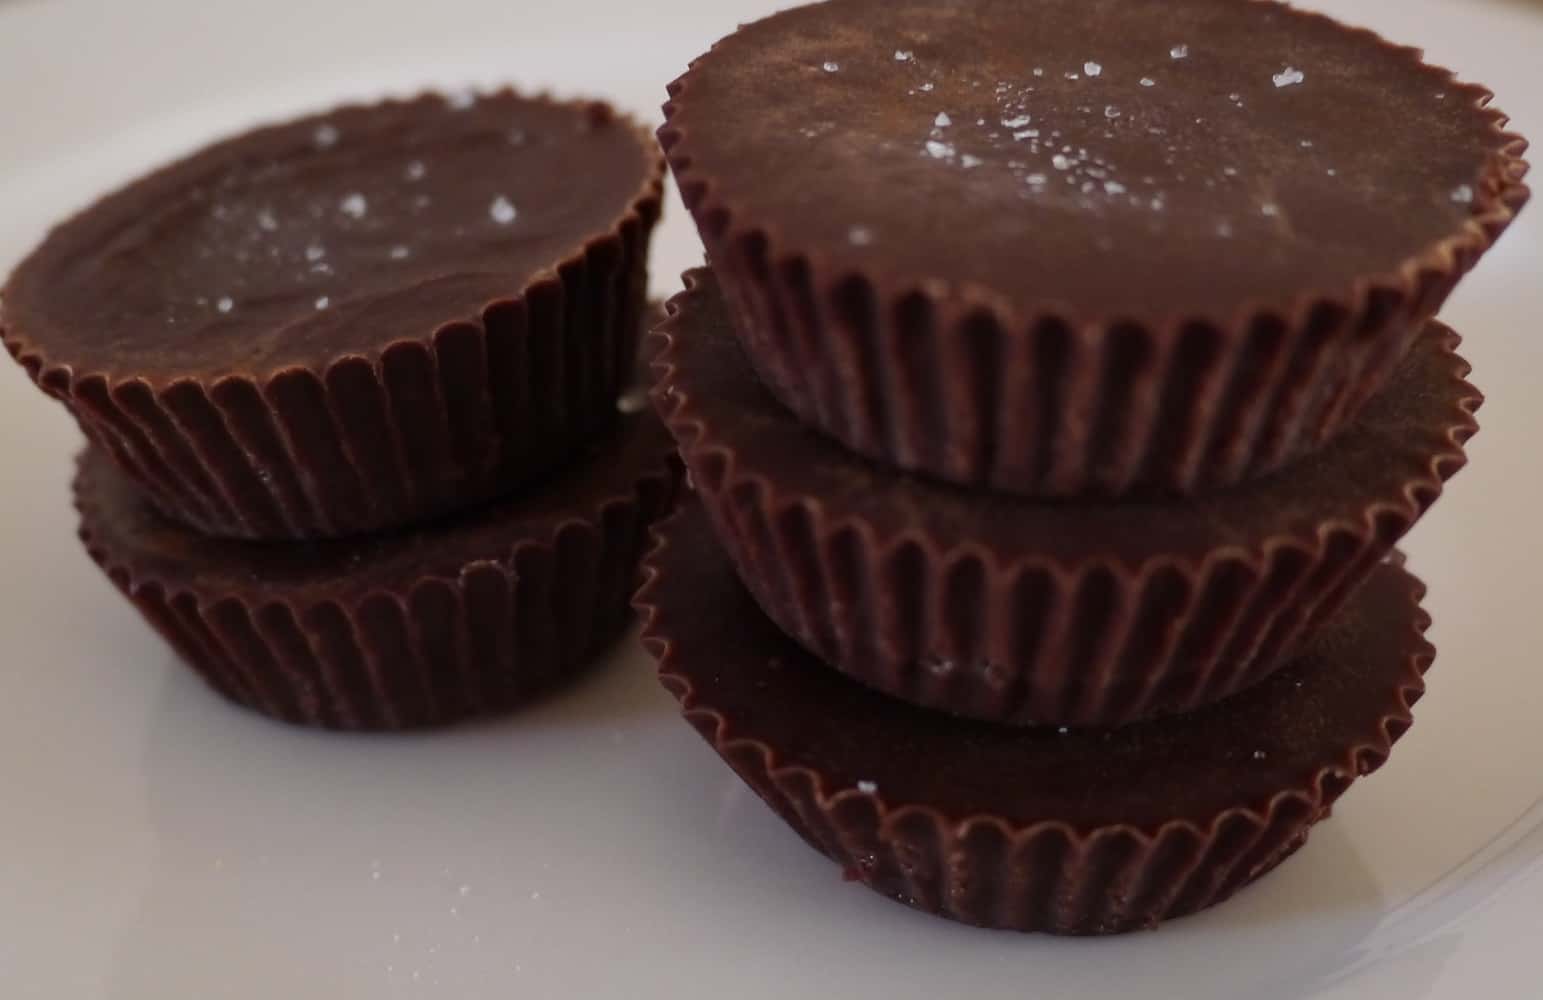
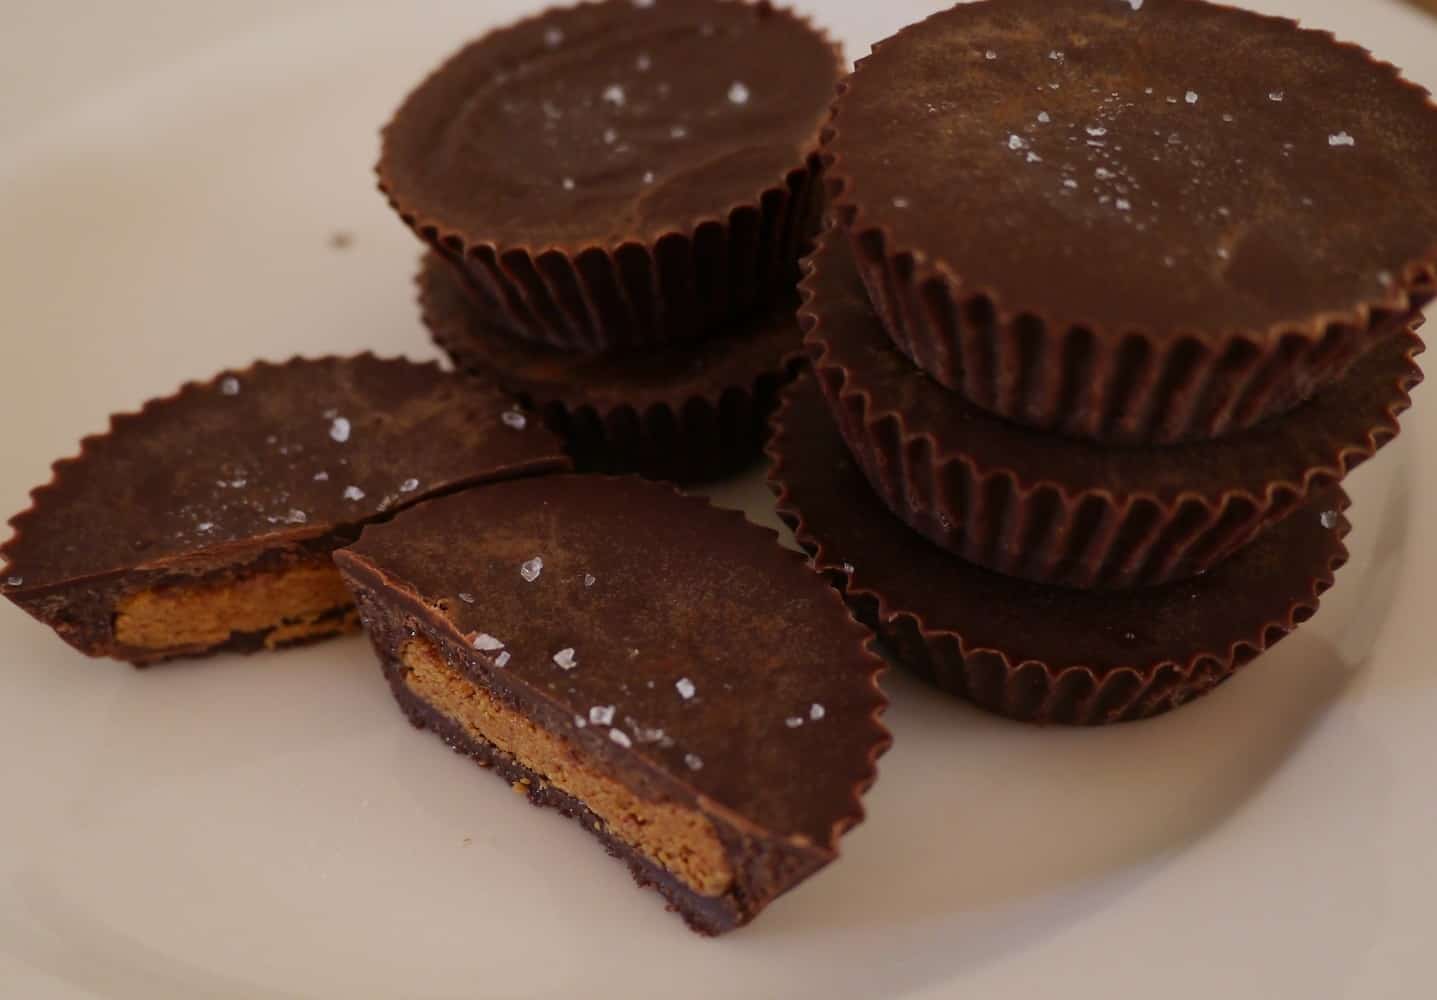
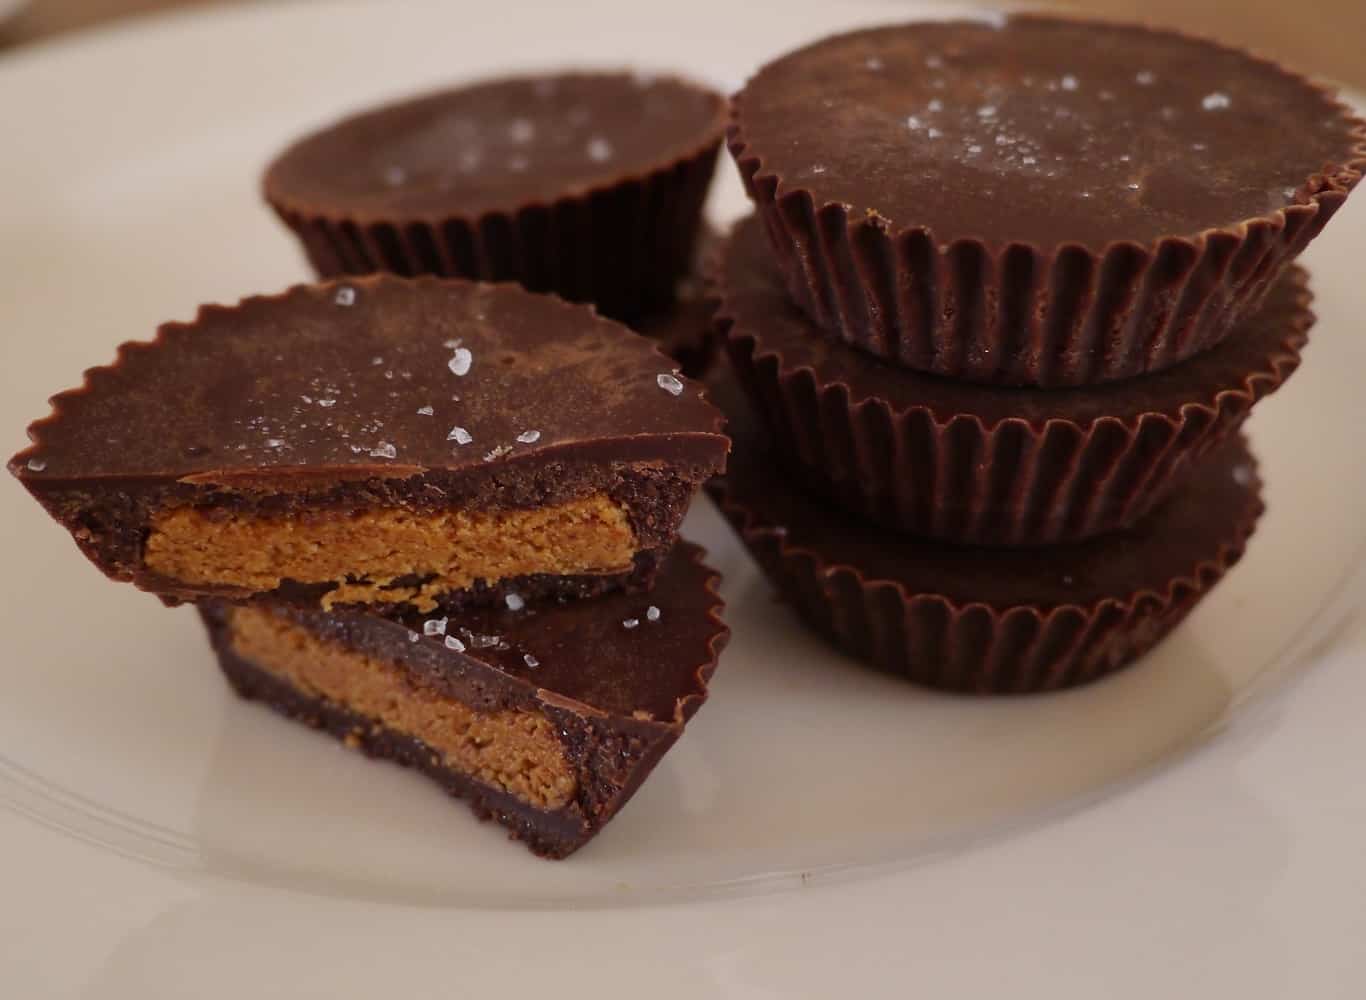
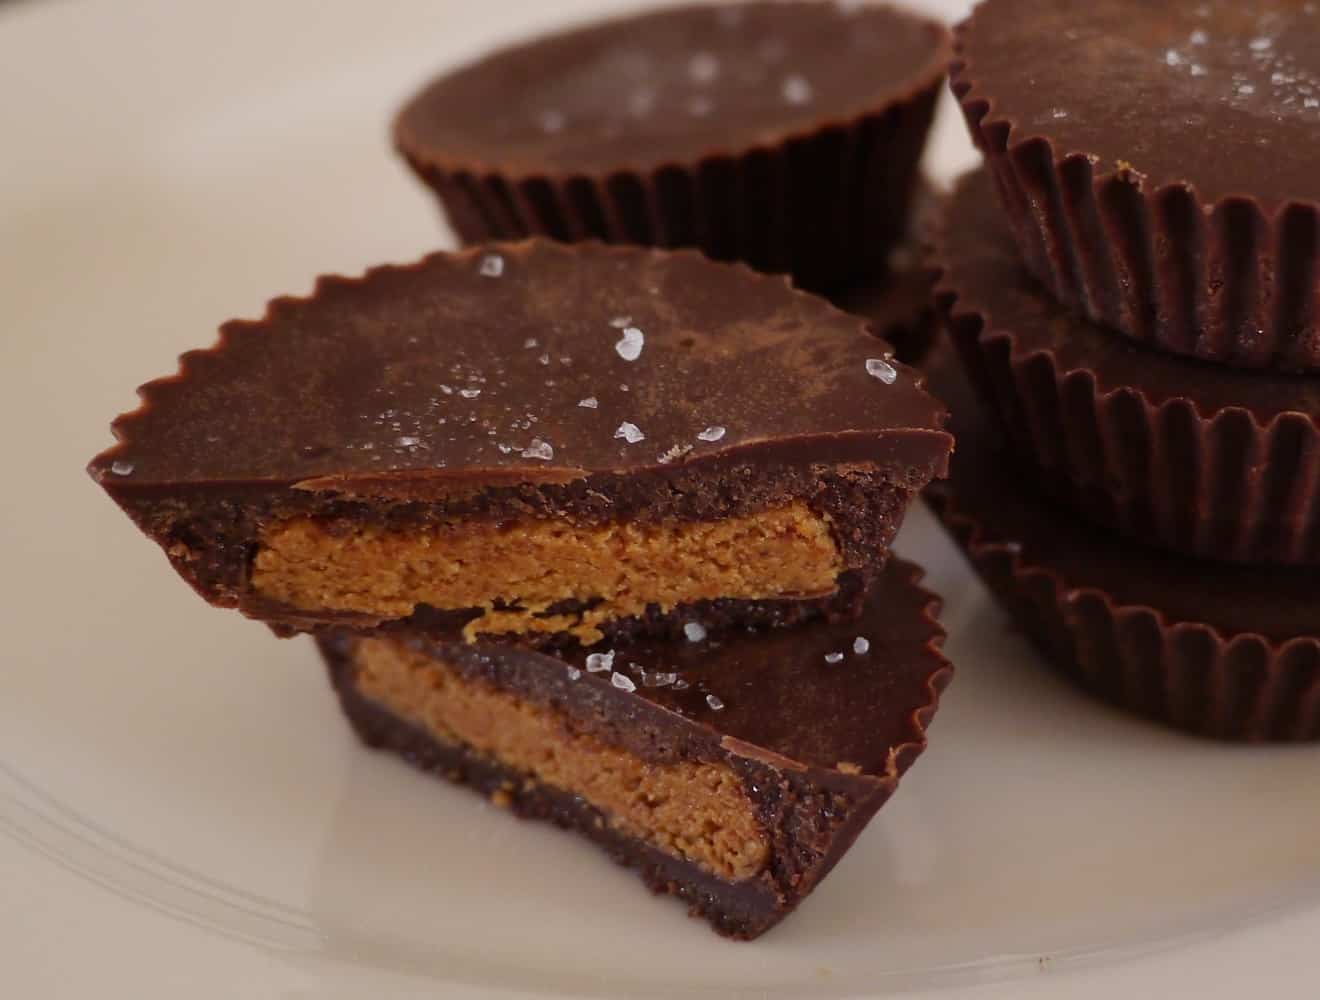
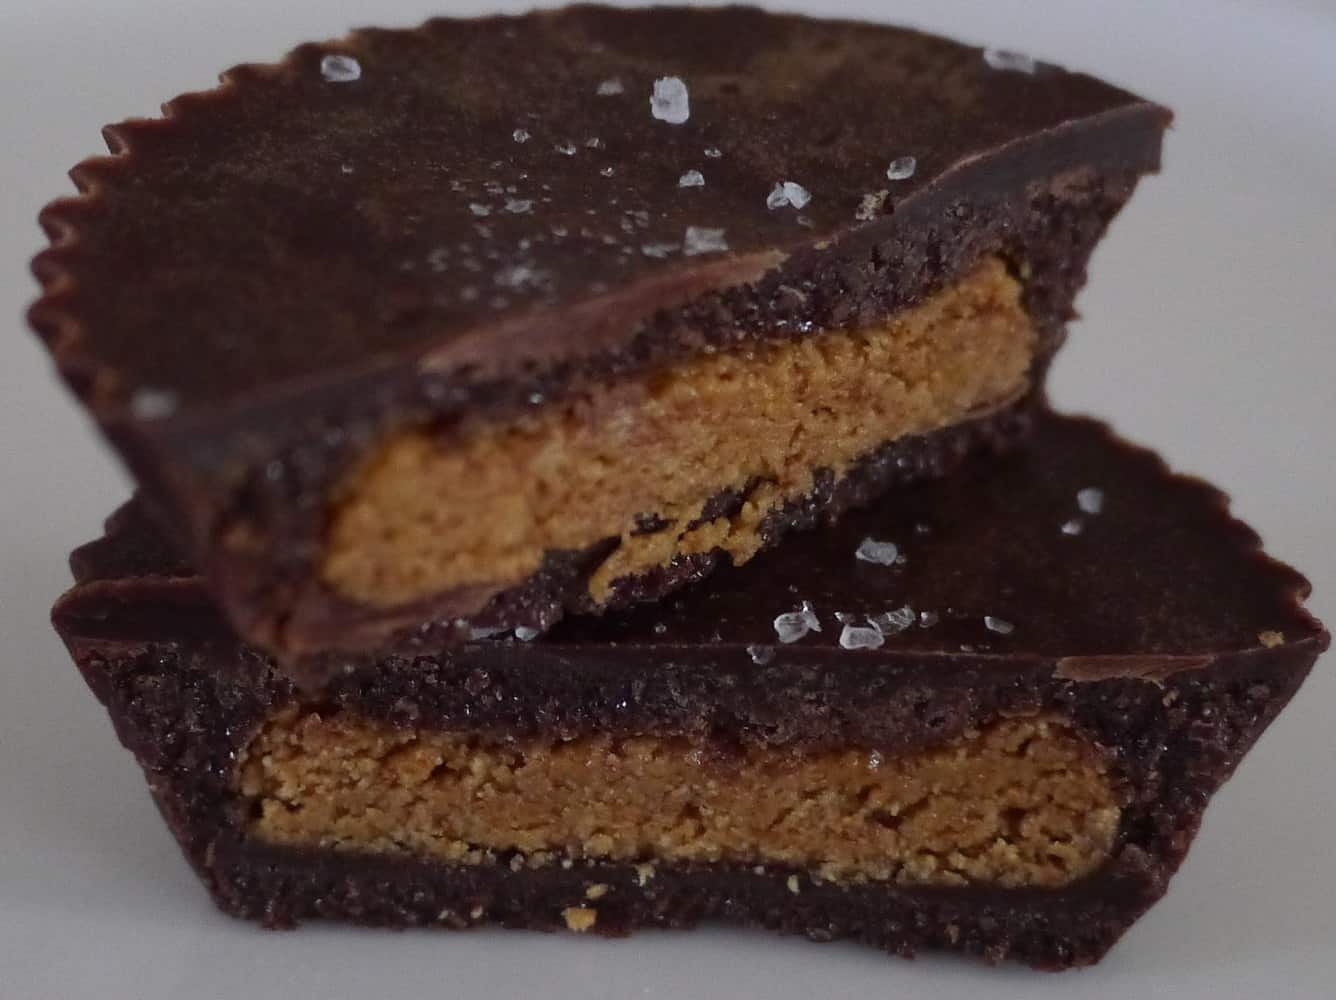
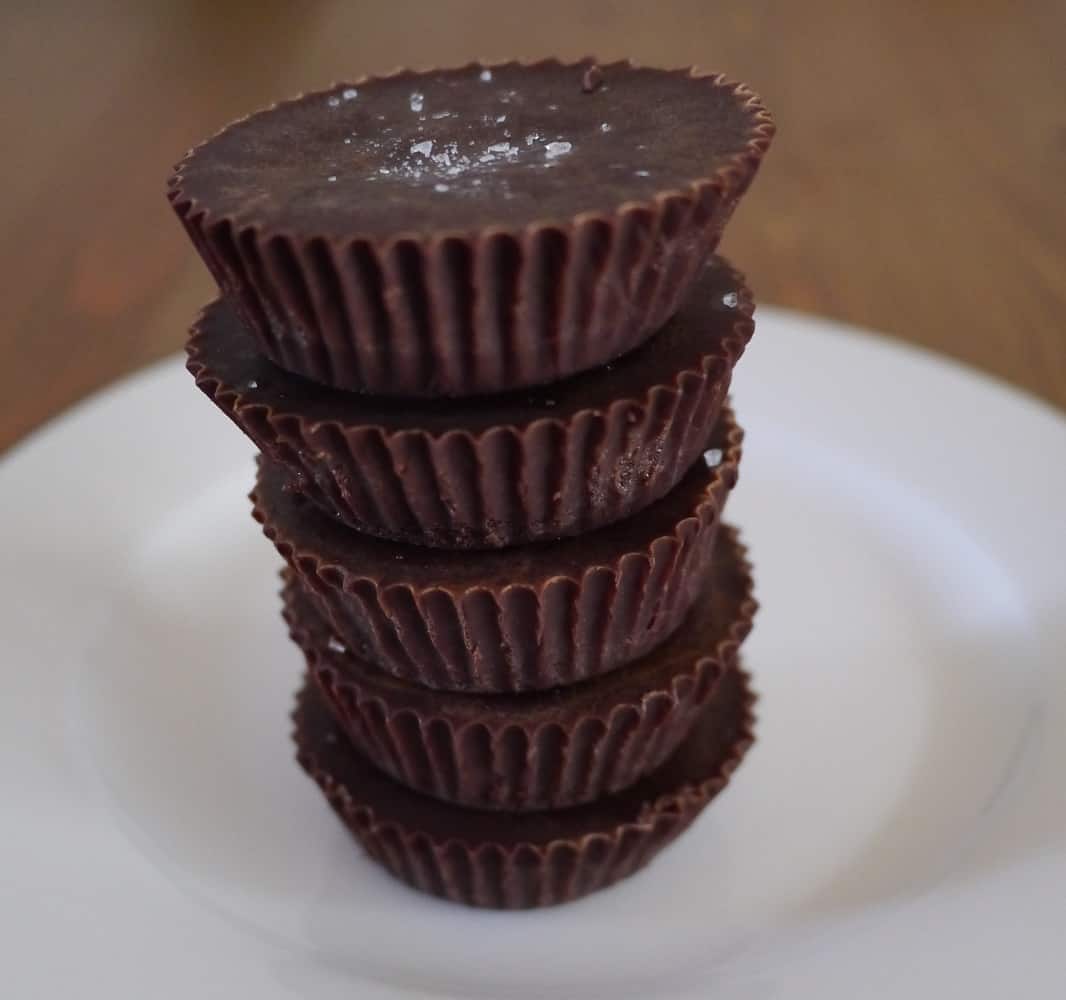
Because it’s solid at room temperature (it melts at 25ºC) it’s great as a butter replacement in recipes for people who can’t/won’t eat dairy products, or want to cut down. Now I’m not a vegan but I am a fan of the raw vegan treat. Coconut oil is often found in such delights as a substitute for dairy products. What could be better than snacking on food that tastes delicious and is packed full of goodness? What, you don’t believe me that raw vegan treats taste delicious?! Try this recipe and see for yourself!
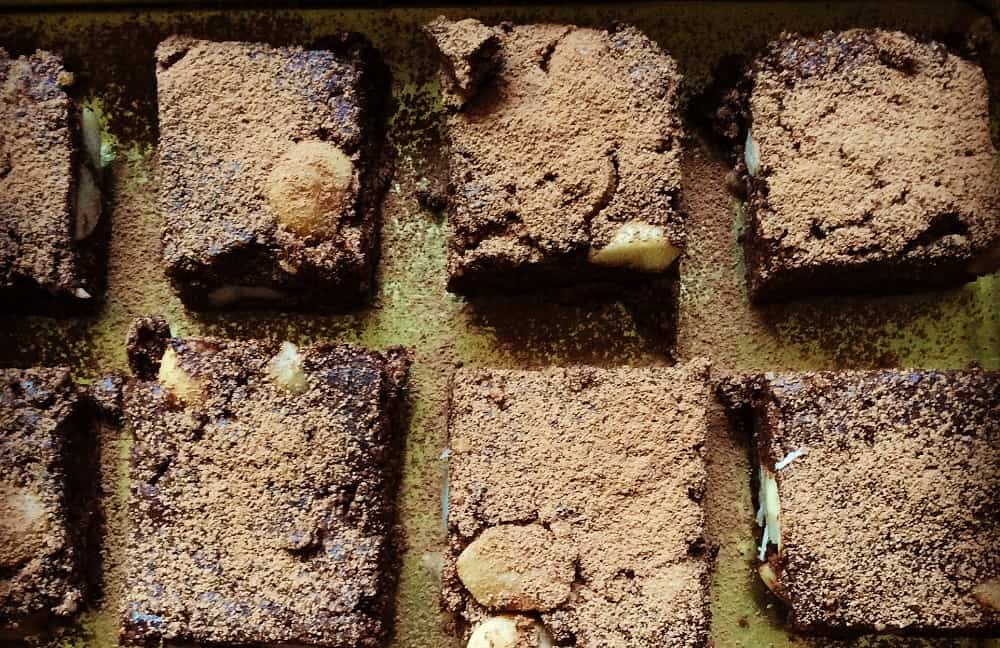
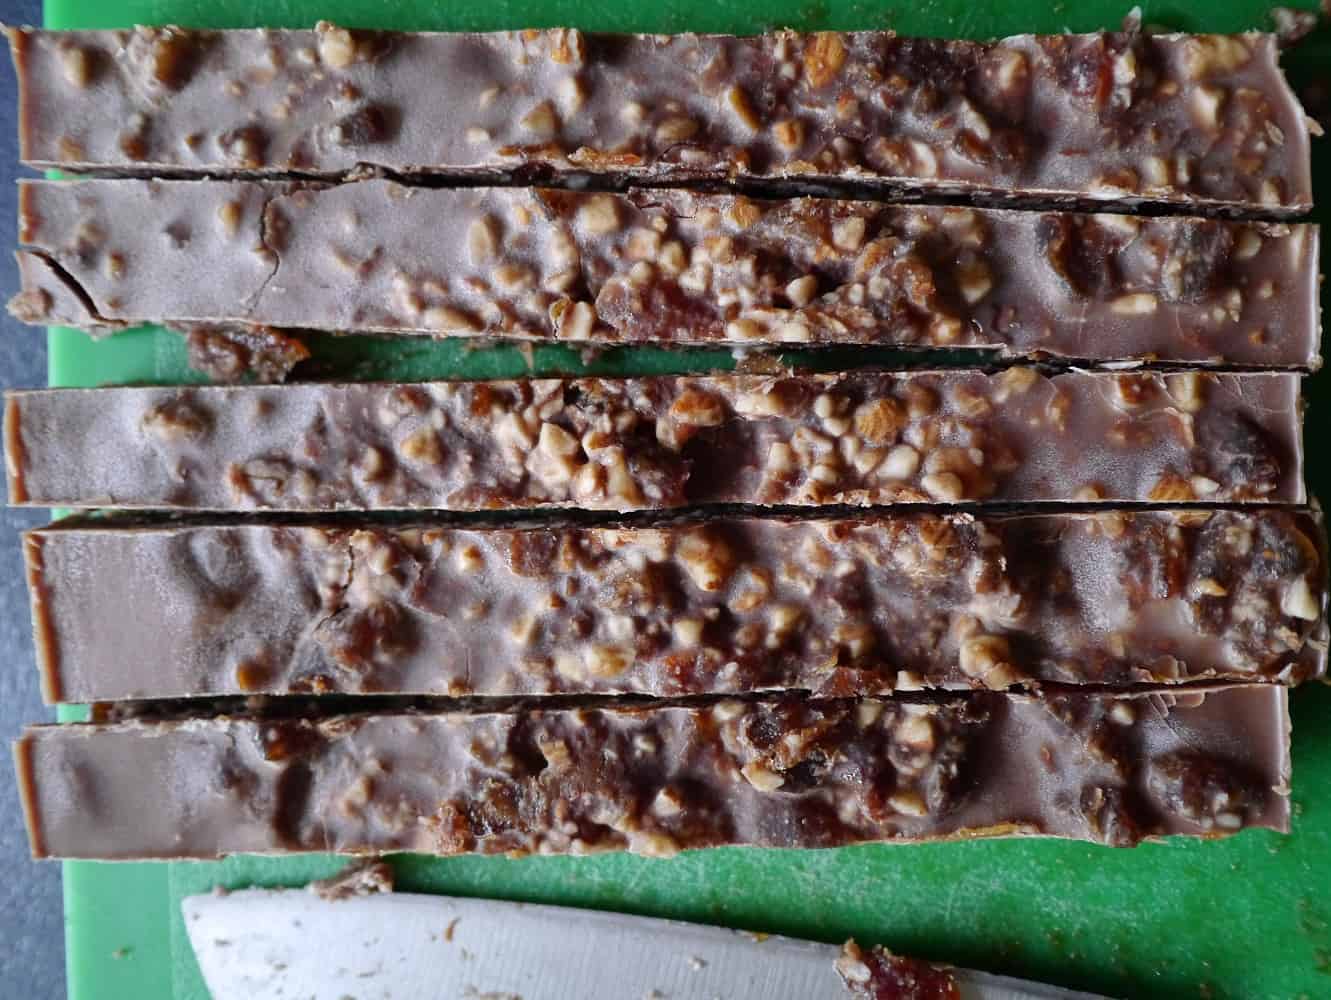
Raw chocolate
(This recipe is adapted from another recipe I found online – I used to link back to it bu as the link no longer works so it’s been removed.)
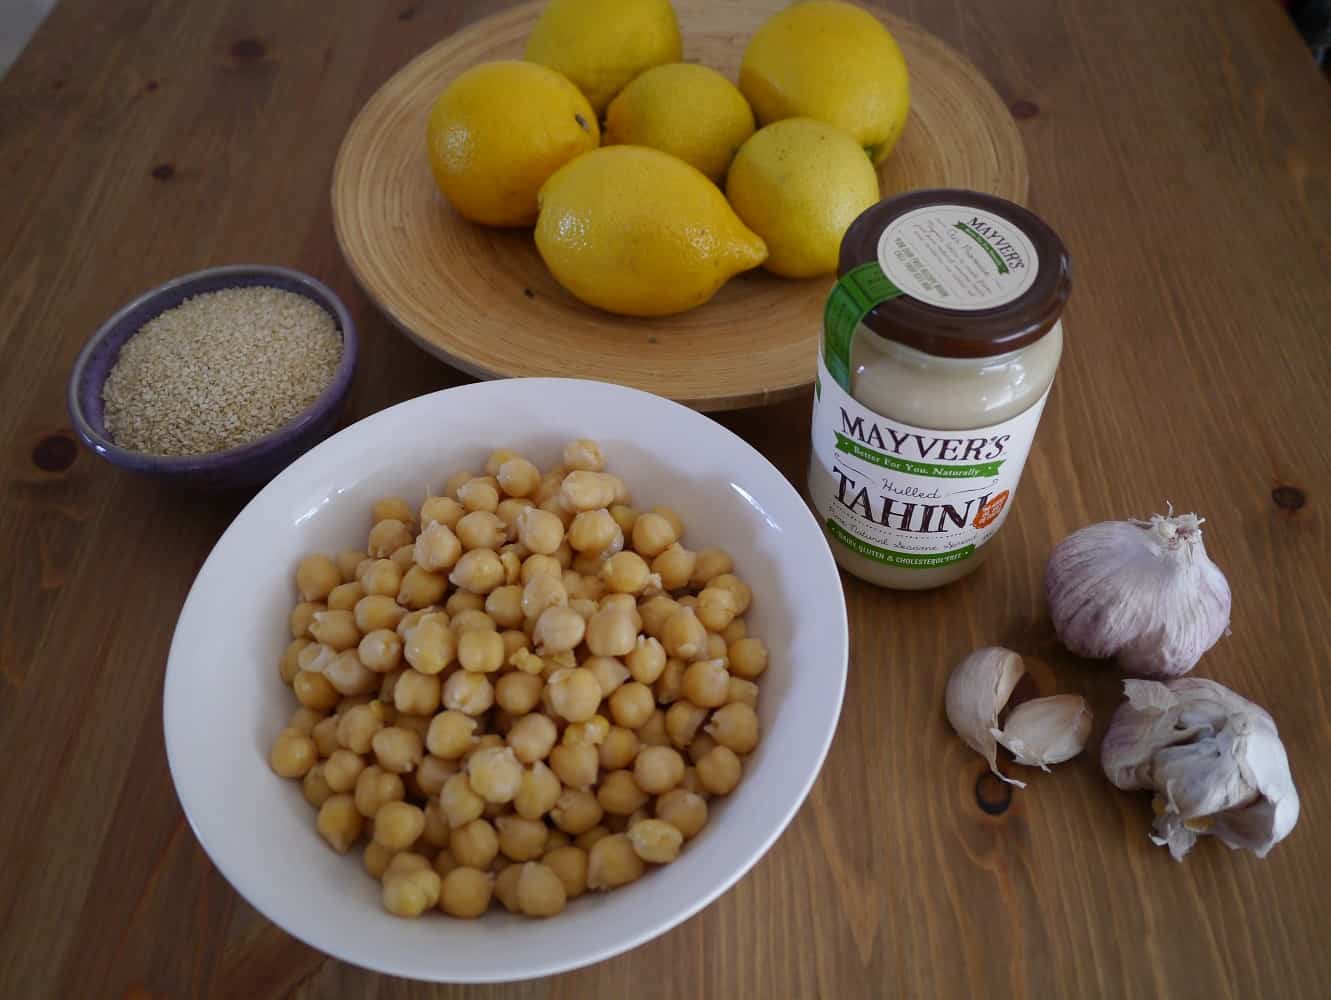
Ingredients:
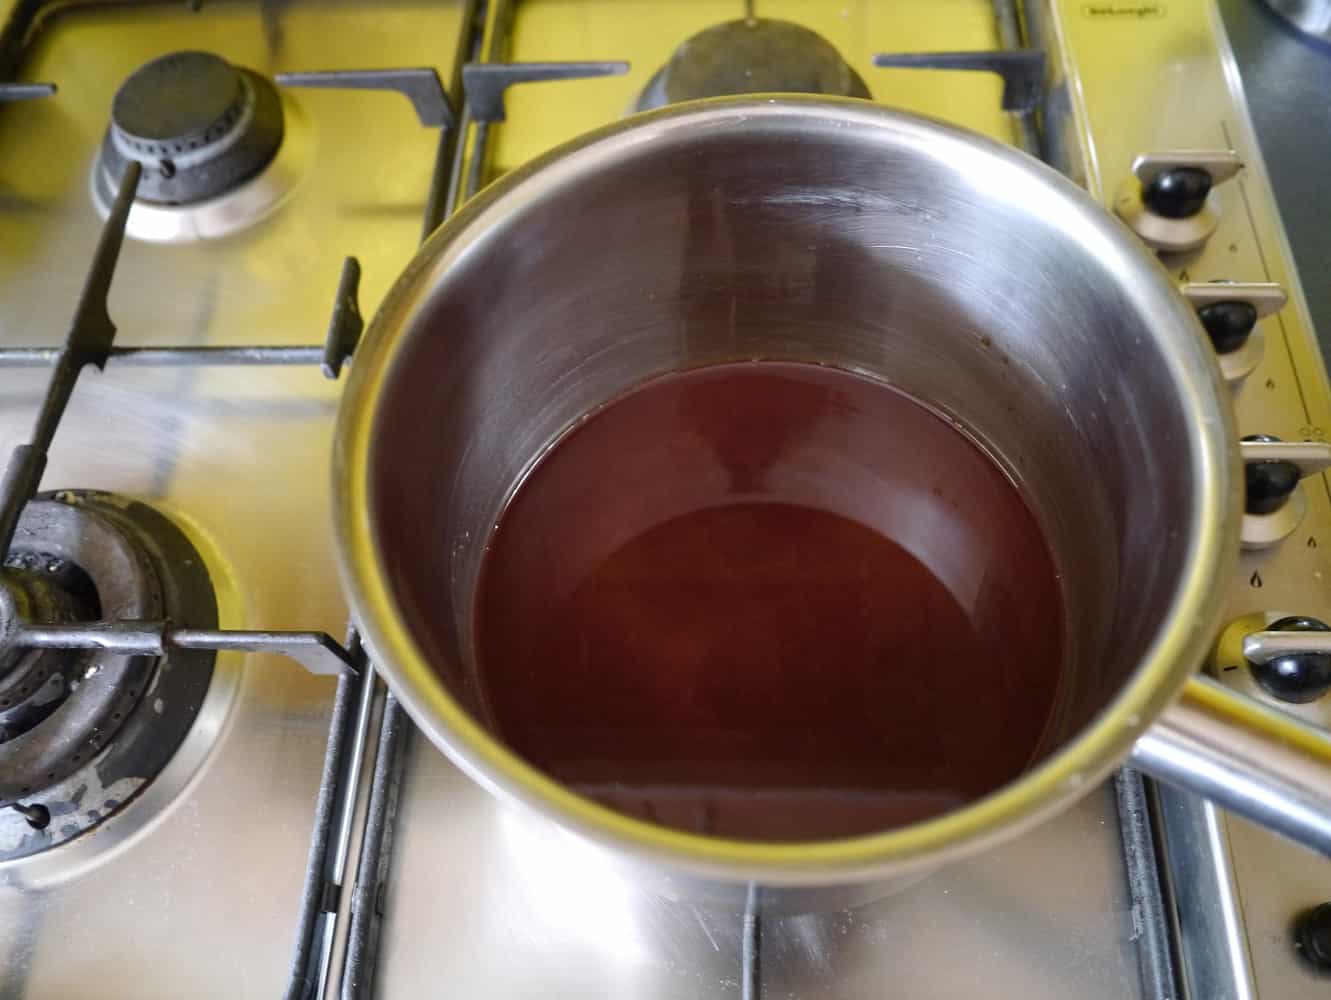
170g coconut oil
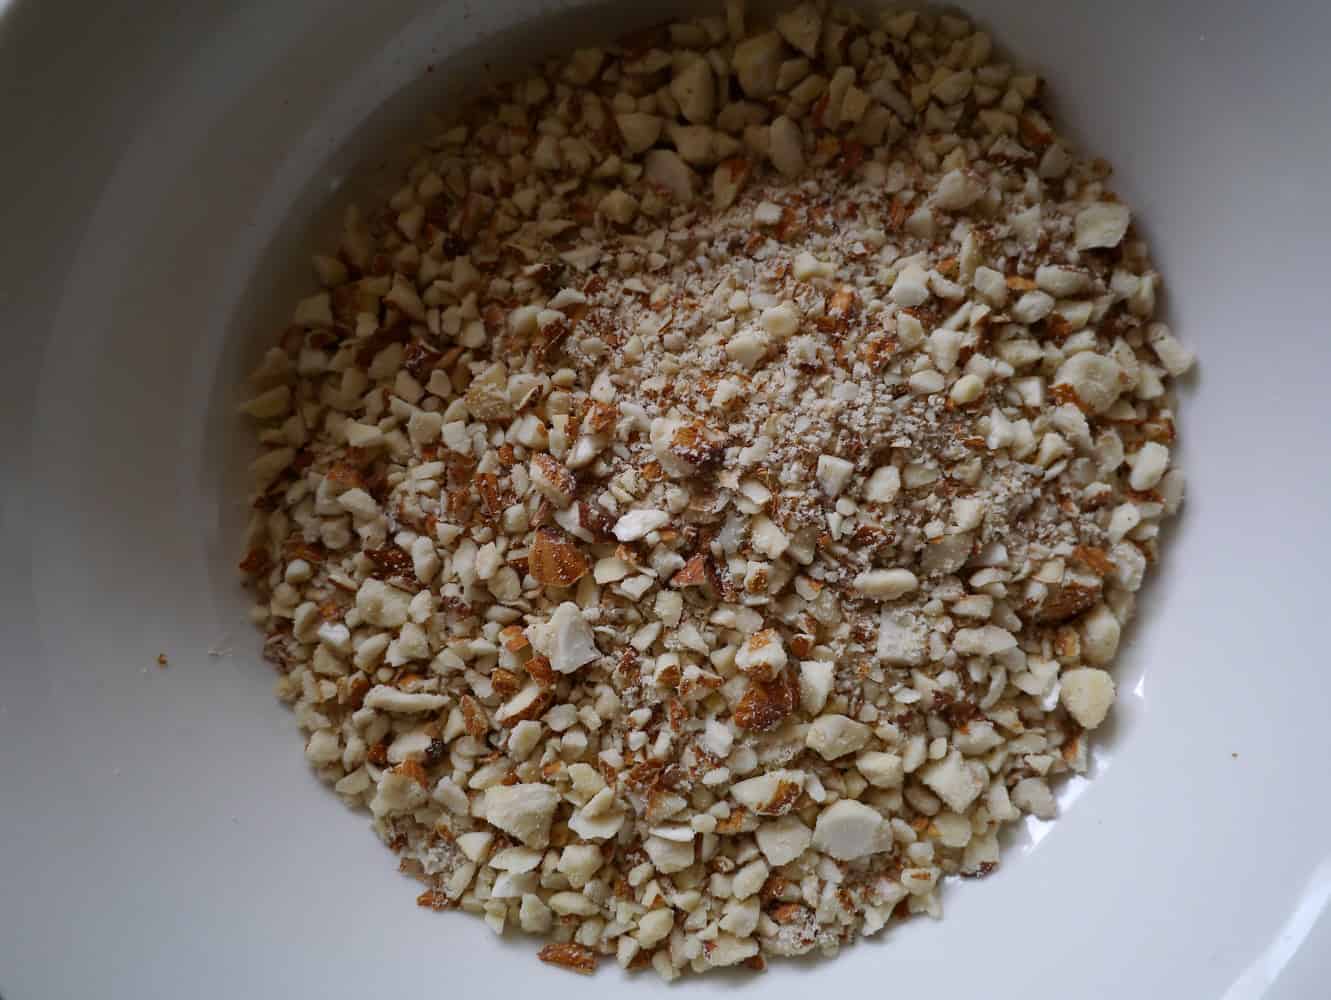
110g raw almonds
60ml maple syrup (1/4 cup)
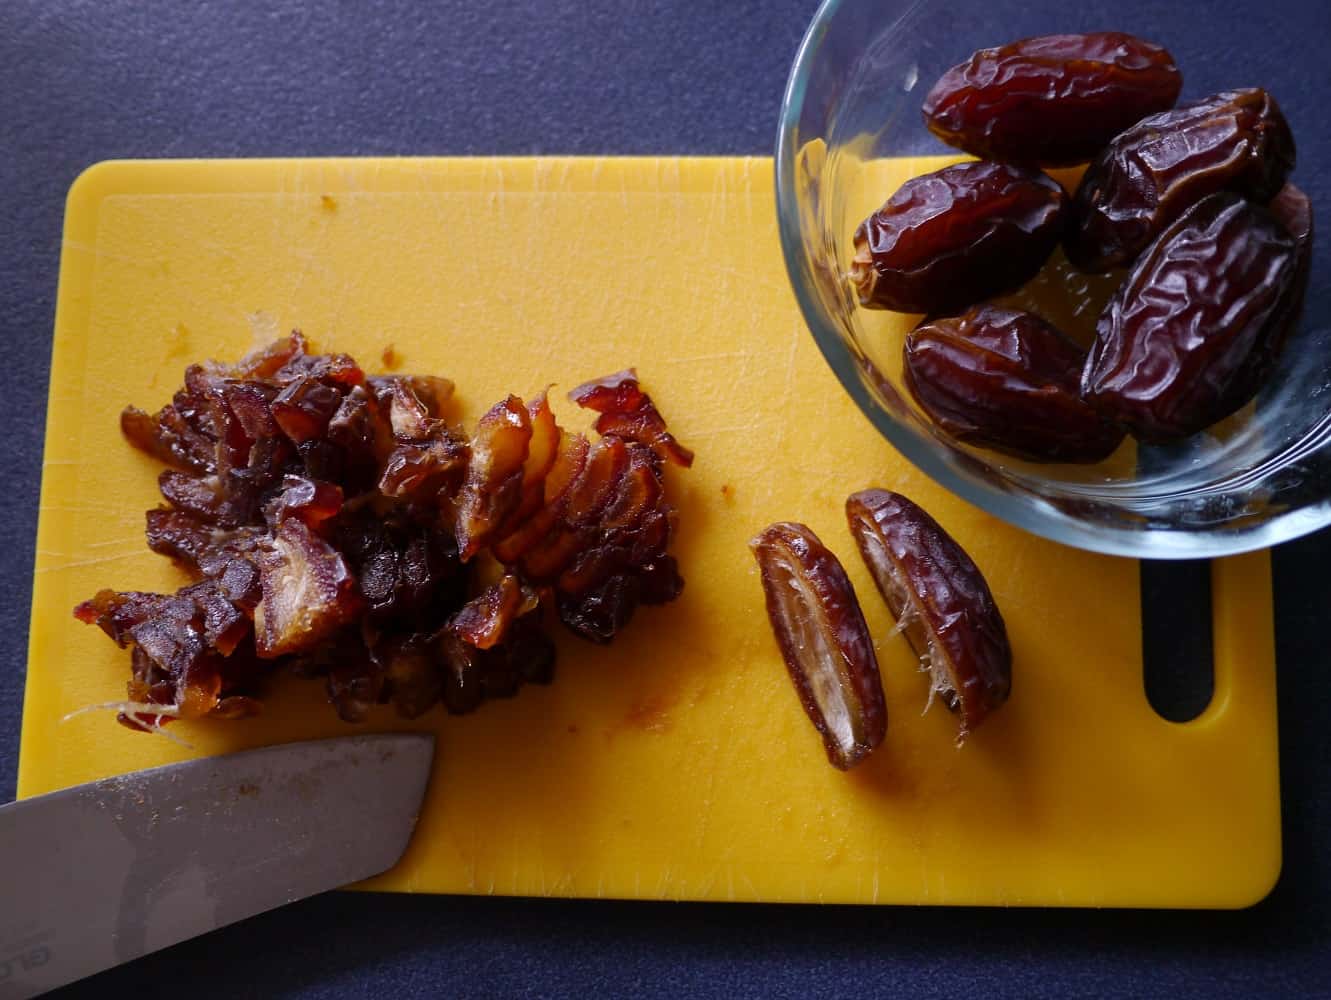
10 – 12 medjool dates
4 tbsp cacao powder

Method:
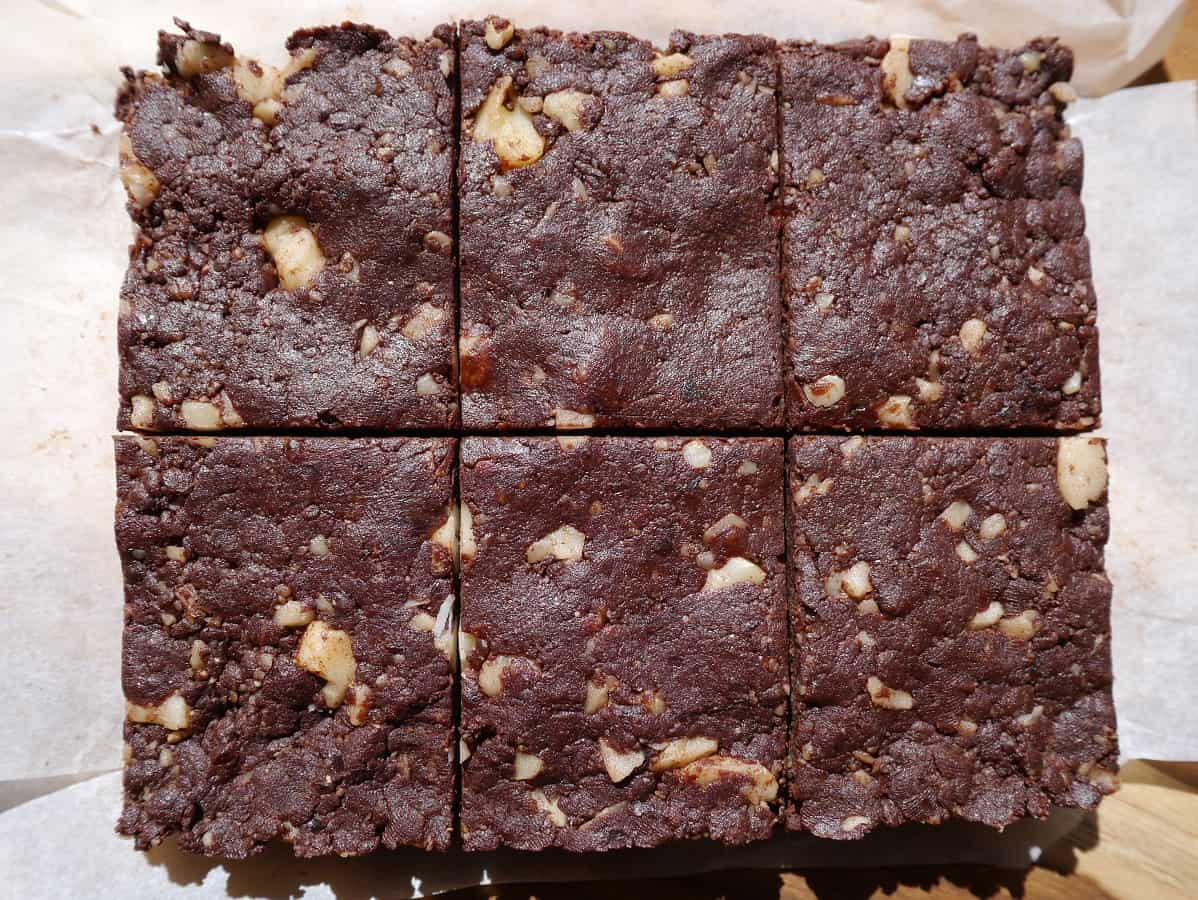
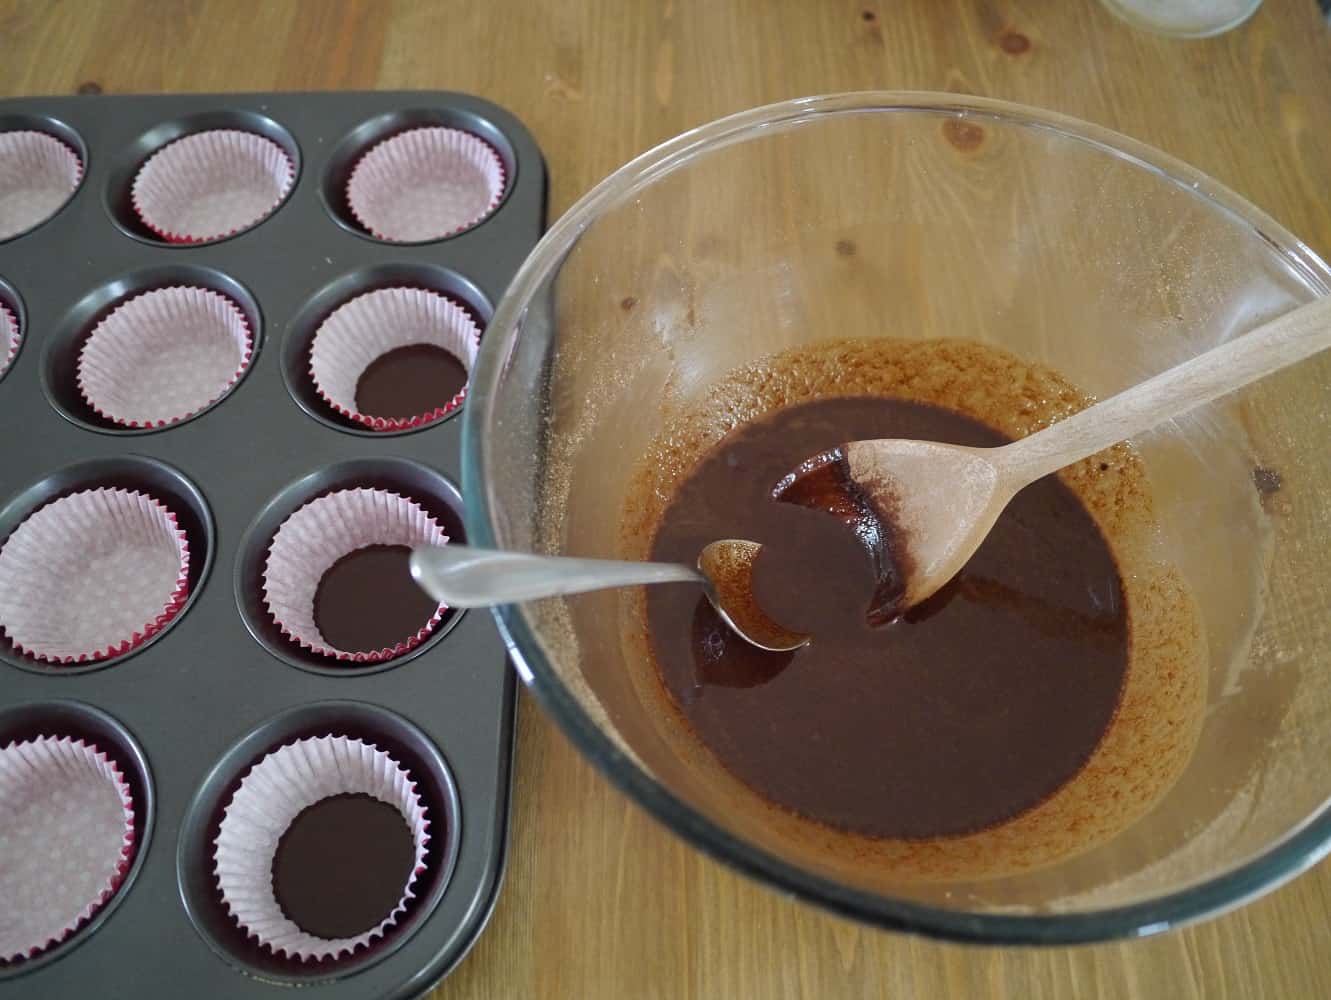
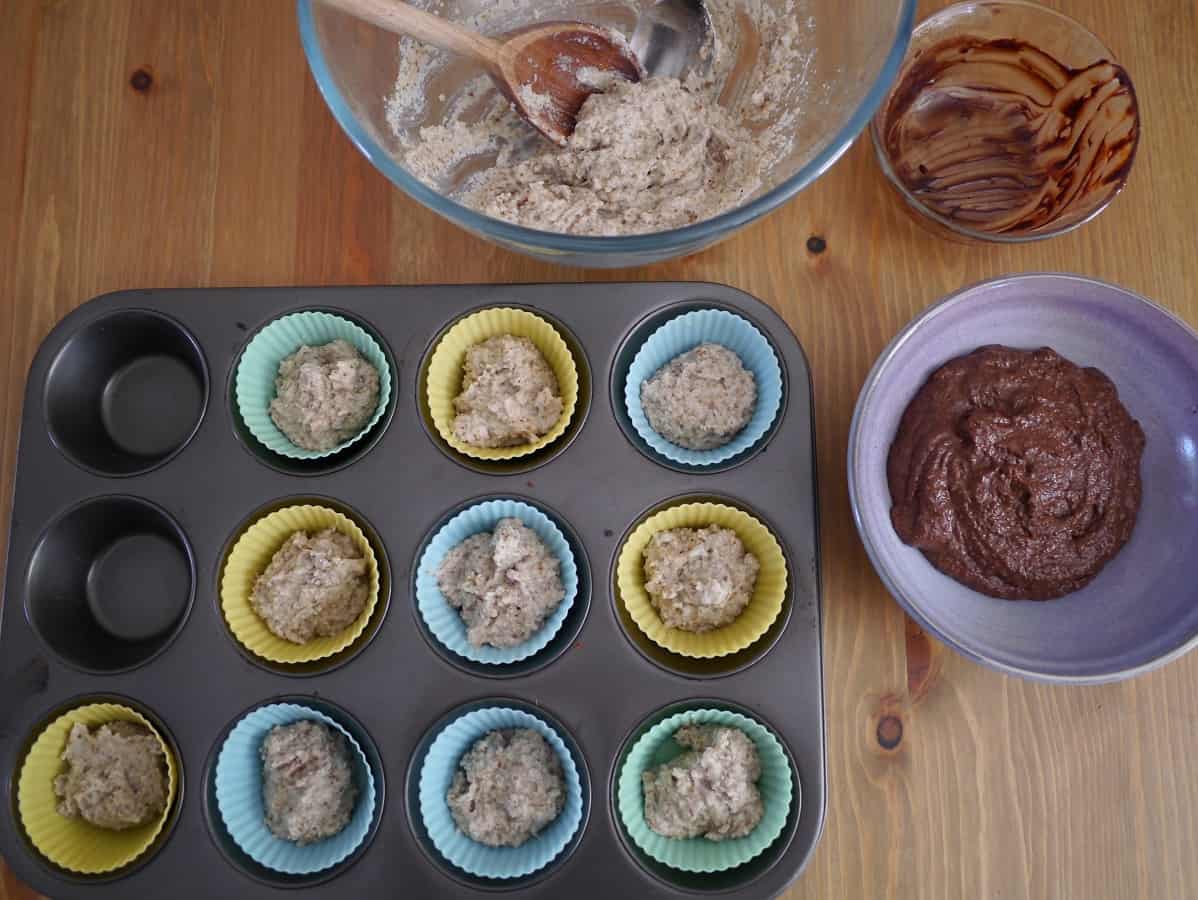
Line a 20cm by 25cm tray with greaseproof paper.
Chop the dates finely using a knife. (Don’t attempt to do this in a food processor or you will end up with a big sticky lump attached to the blades)
Chop the almonds in a food processor until they resemble small nibs, but not so fine that you get a powder. (If you don’t have a food processor then you could use a coffee grinder of chop by hand using a sharp knife)
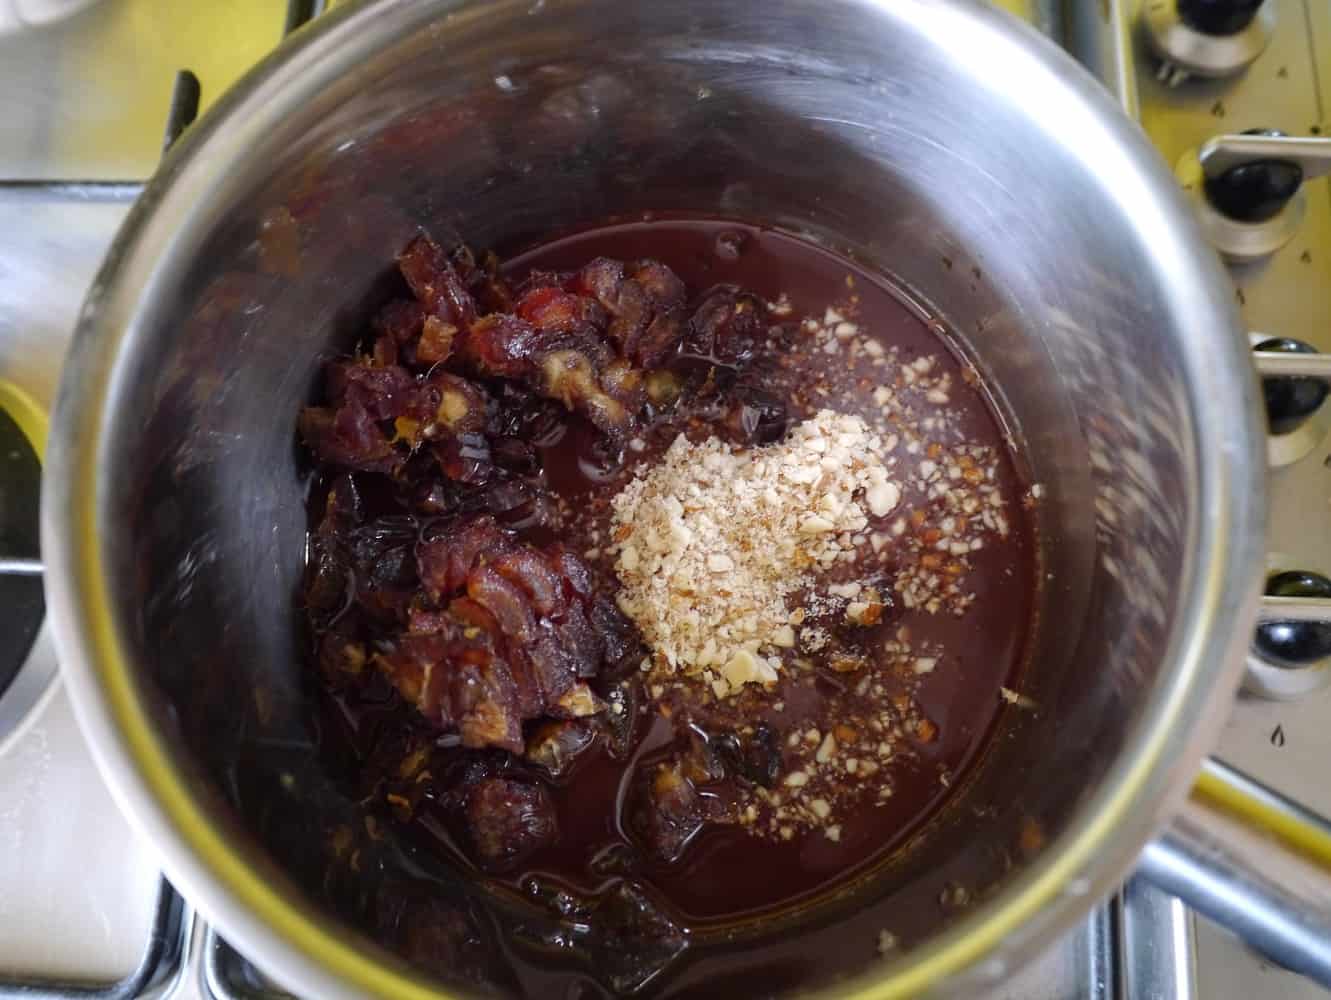
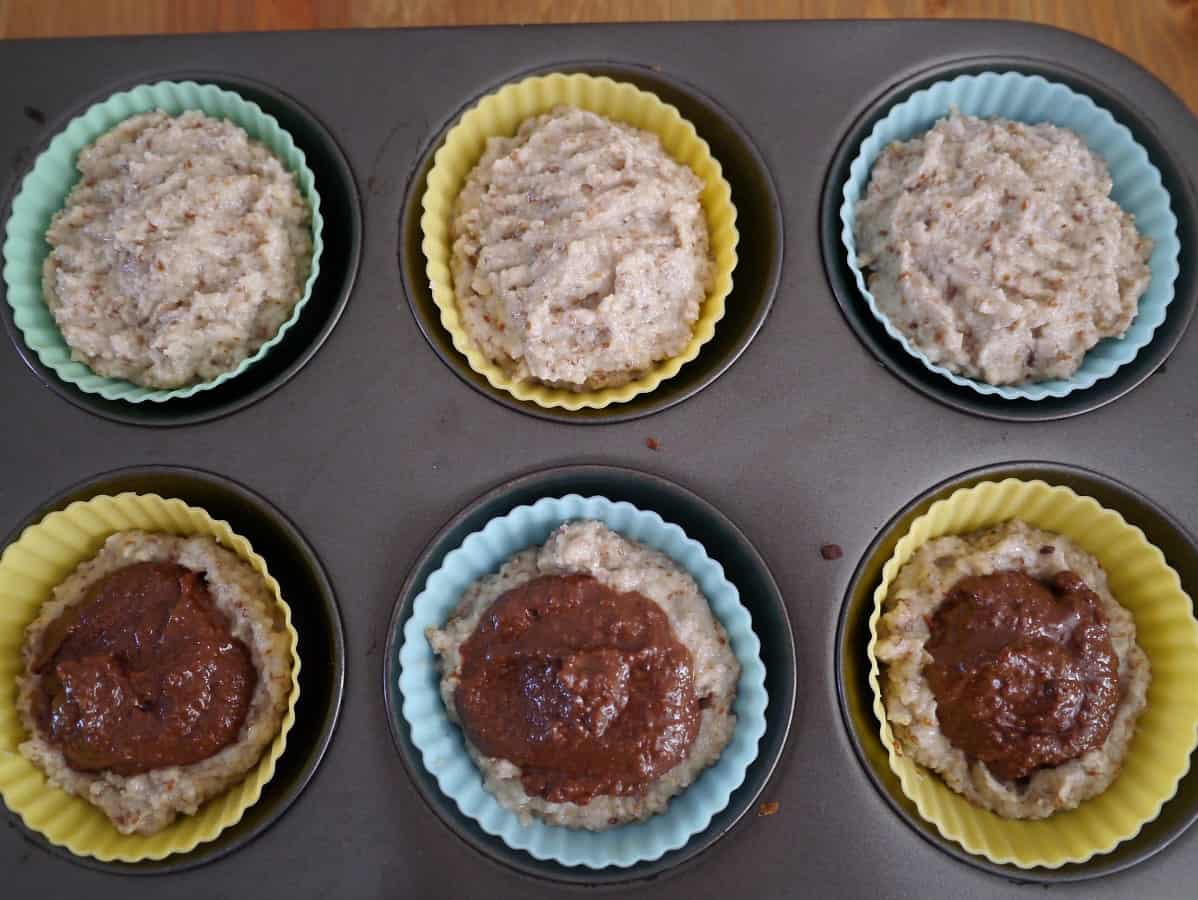
Heat the coconut oil in a saucepan on an extremely low heat until it is liquid (it will melt at 25ºC). Add the maple syrup and cacao to the pan and stir.
Add the chopped dates and nuts and mix well.

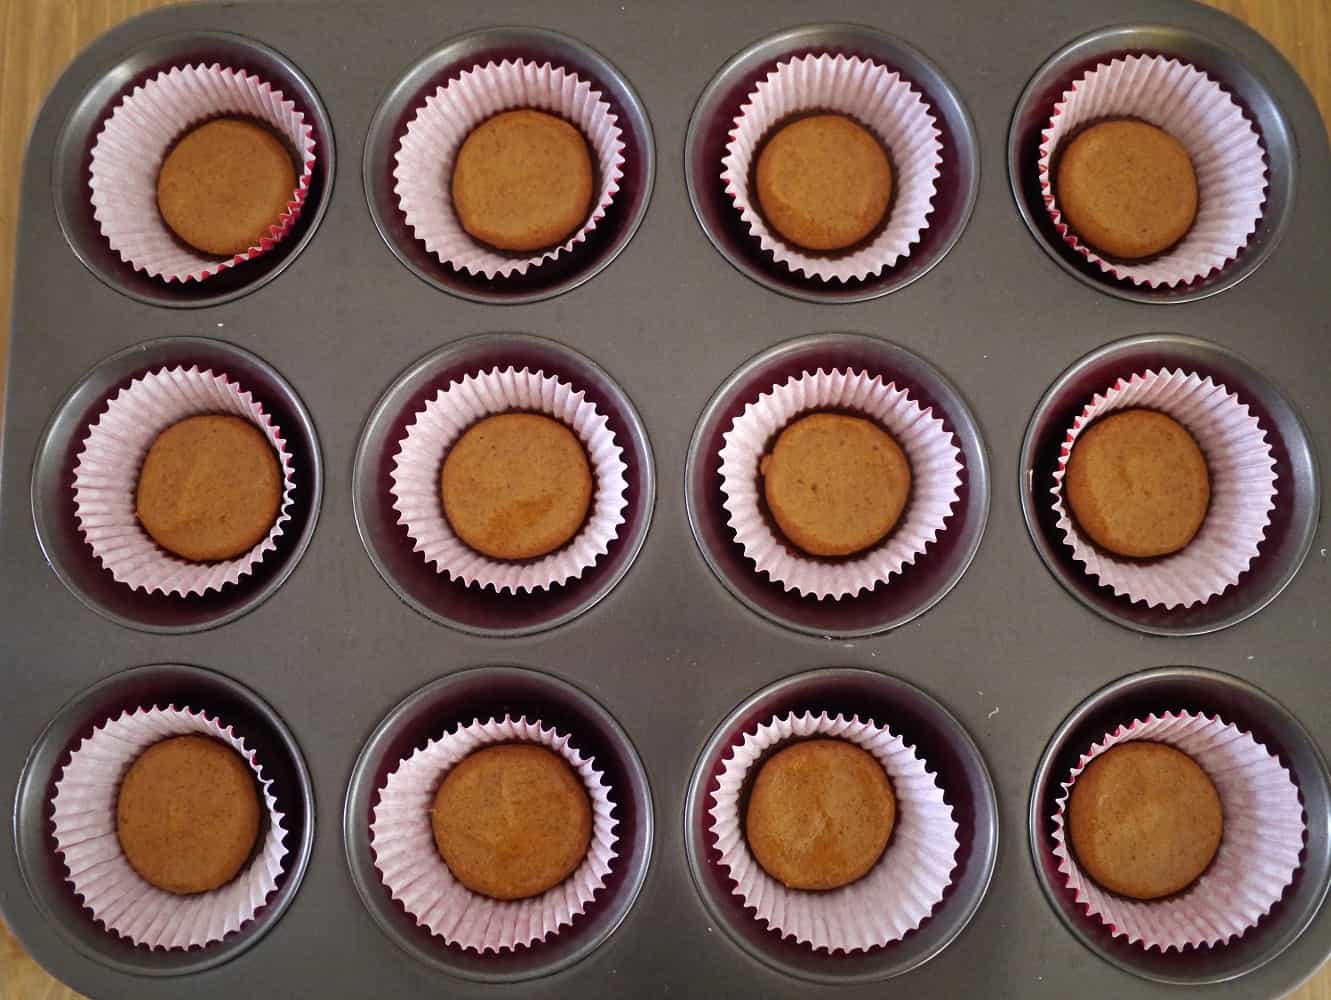
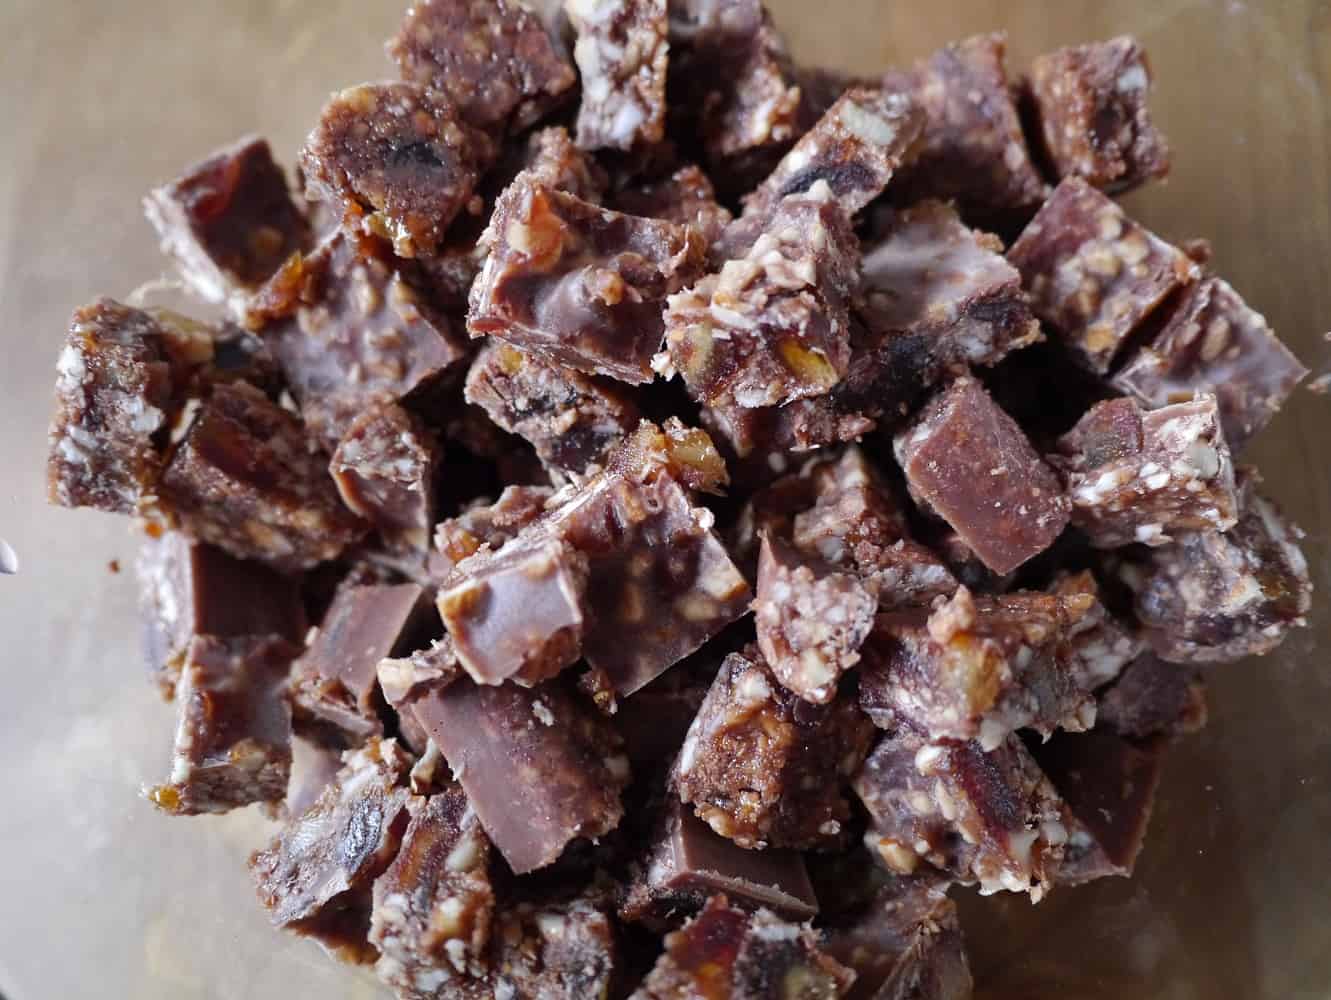
Pour into the lined tin, using a fork to make sure the fruit and nuts are distributed evenly.
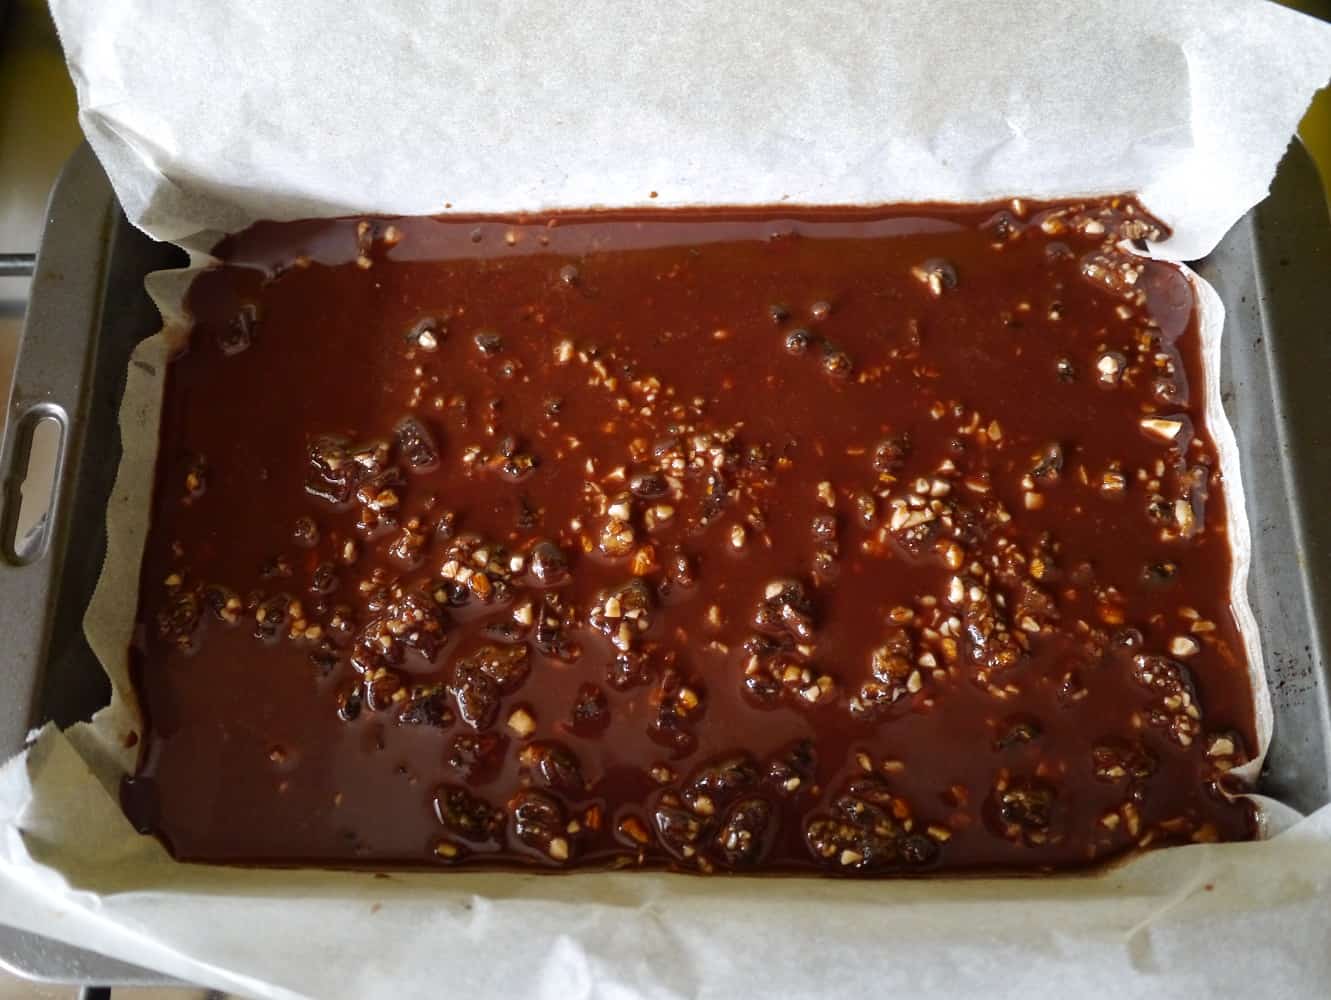
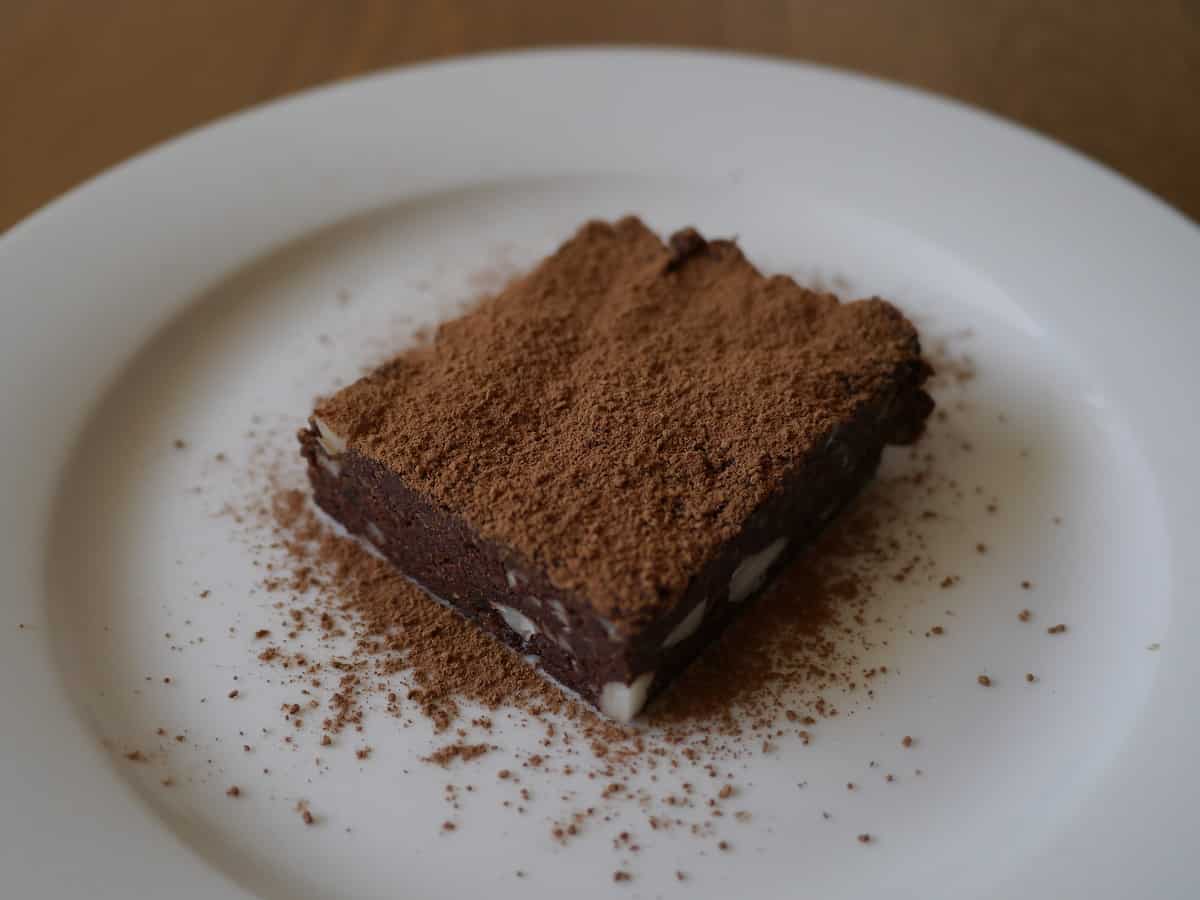
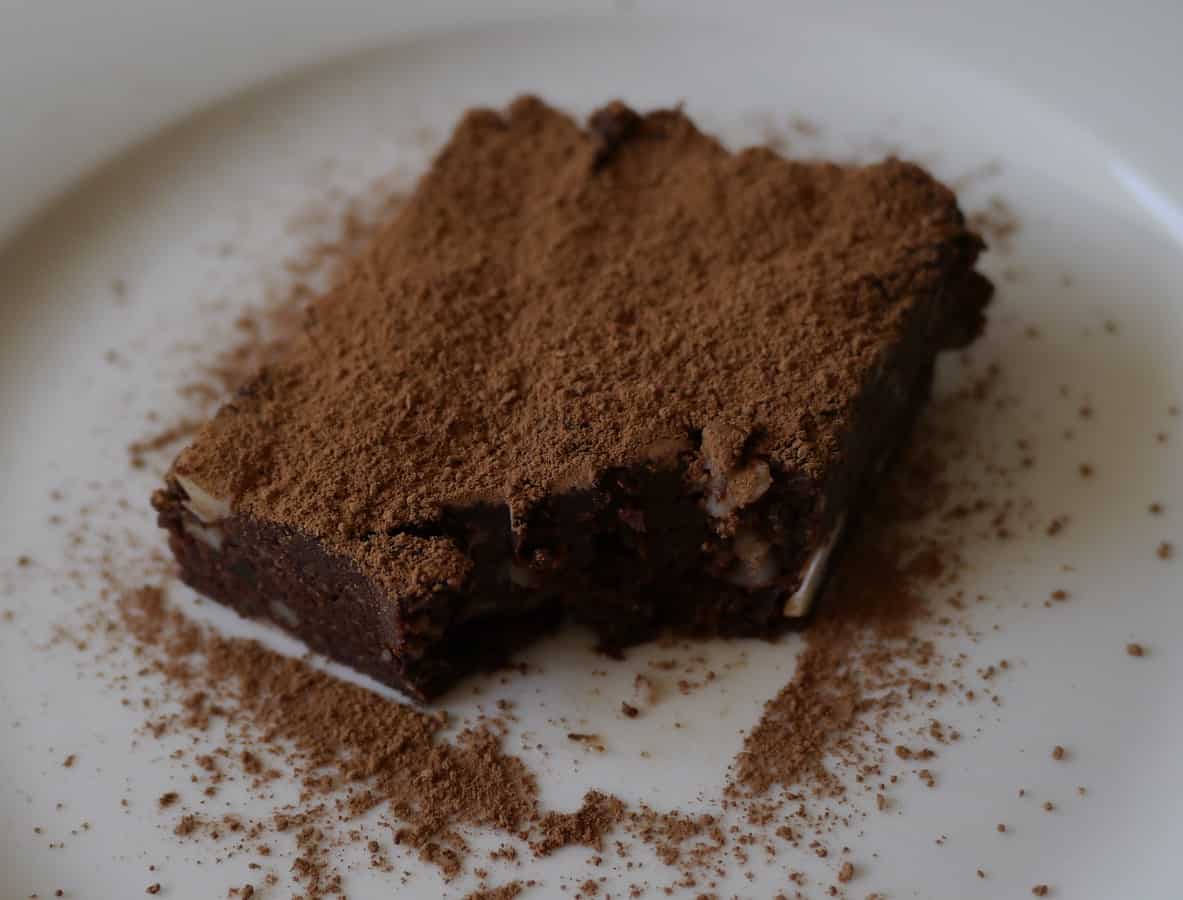
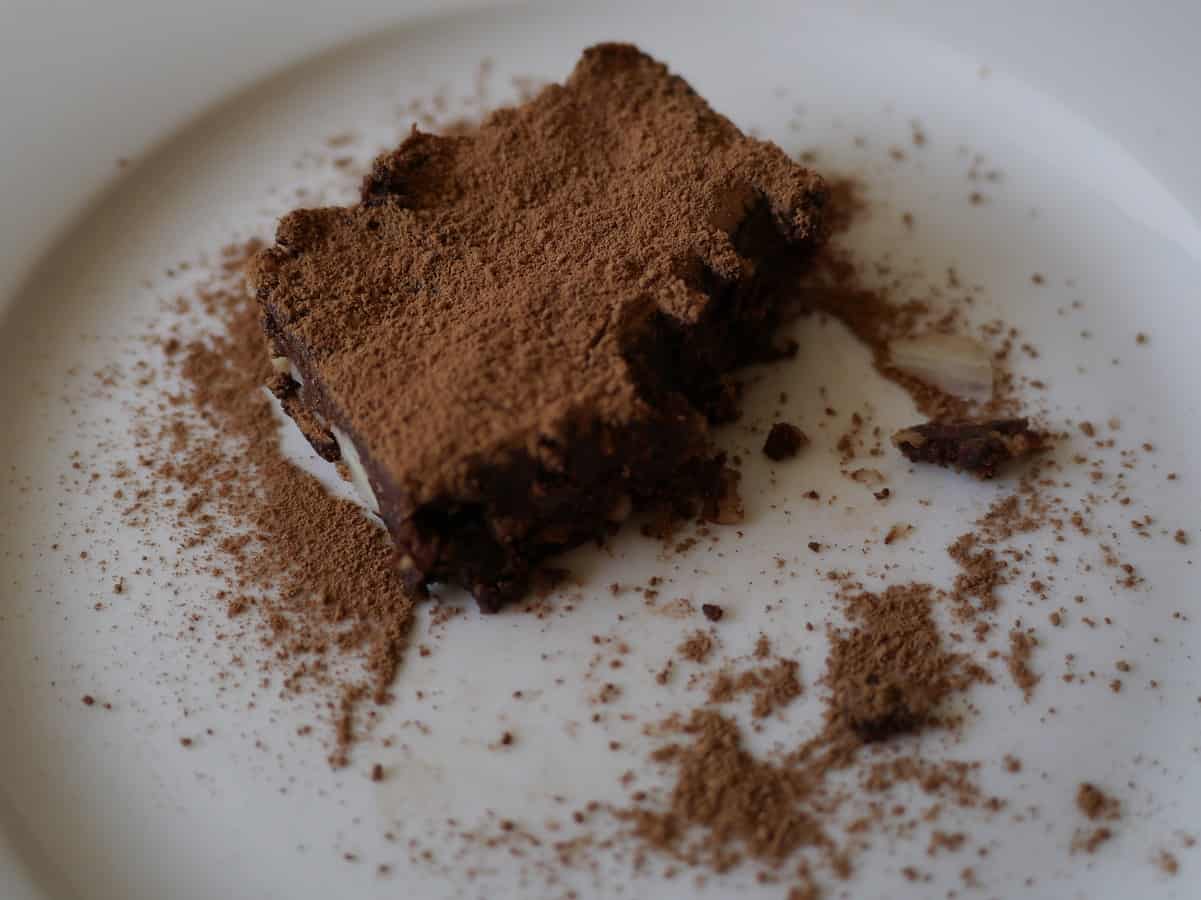
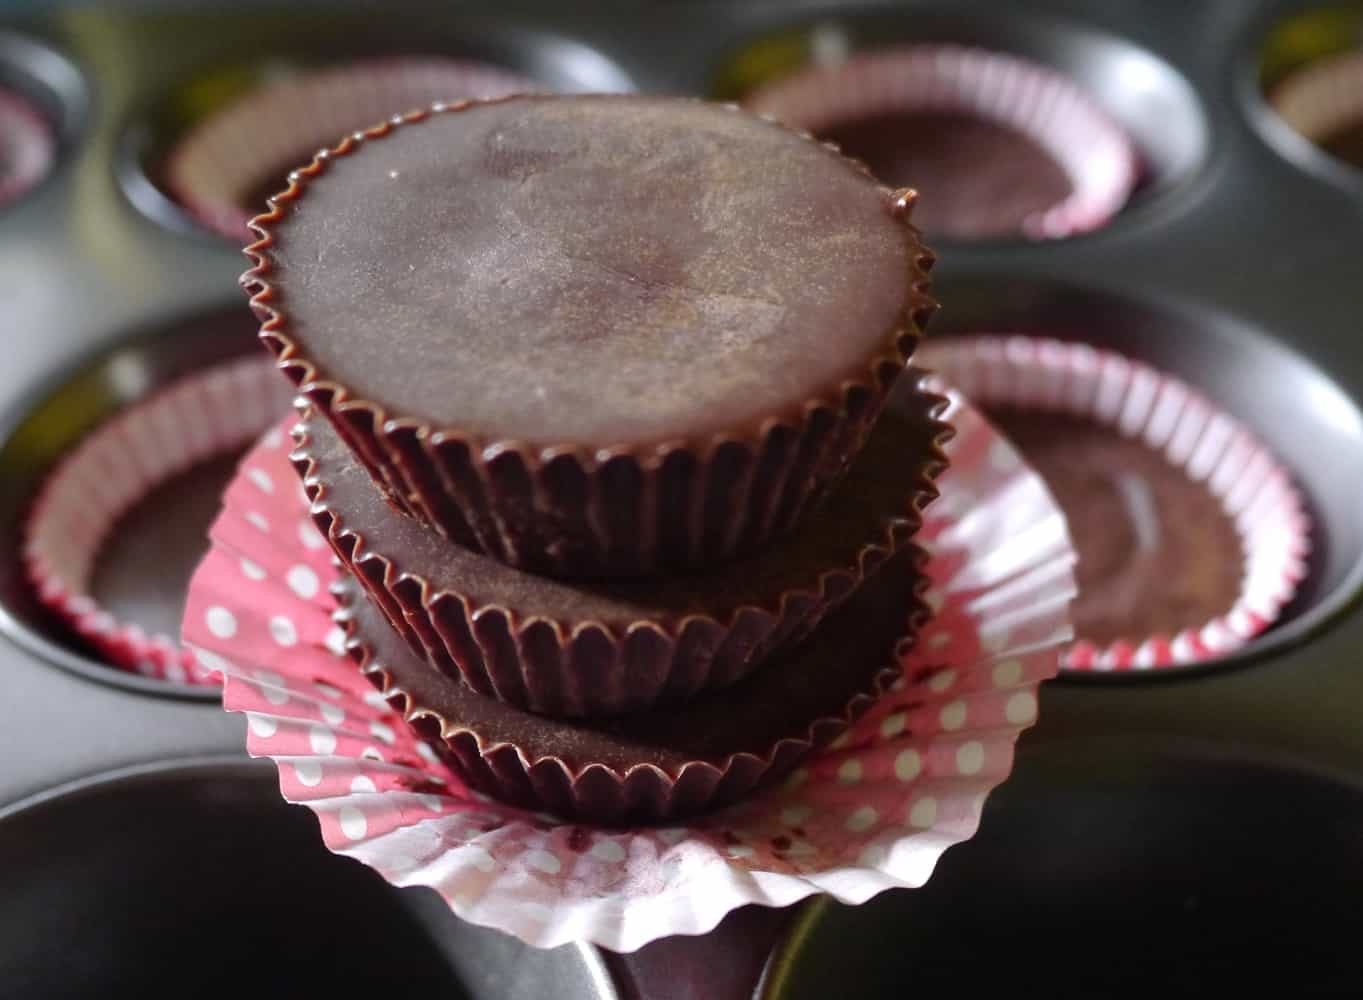
Place in the freezer (make sure the tray is flat) and leave for at least 30 mins until solid. Chop into squares and store in a container in the freezer. (You eat it straight from frozen.) If it doesn’t get eaten immediately, it will last for a month.

Notes:
Maple syrup is not raw, as it is made from the heated and reduced sap of the maple tree. If you want a raw sweetener then replace the maple syrup with raw honey (which is not suitable for vegans) or raw agave nectar.
Raw cacao is preferable as it is higher in nutrients. If you cannot find it, then I recommend an organic product such as Green & Blacks cocoa powder. Don’t use Cadbury’s as it contains extra ‘flavours’!
[leadpages_leadbox leadbox_id=1429a0746639c5] [/leadpages_leadbox]


 Place in a pre-heated oven and bake for 25 minutes until golden.