Tag Archive for: home composting

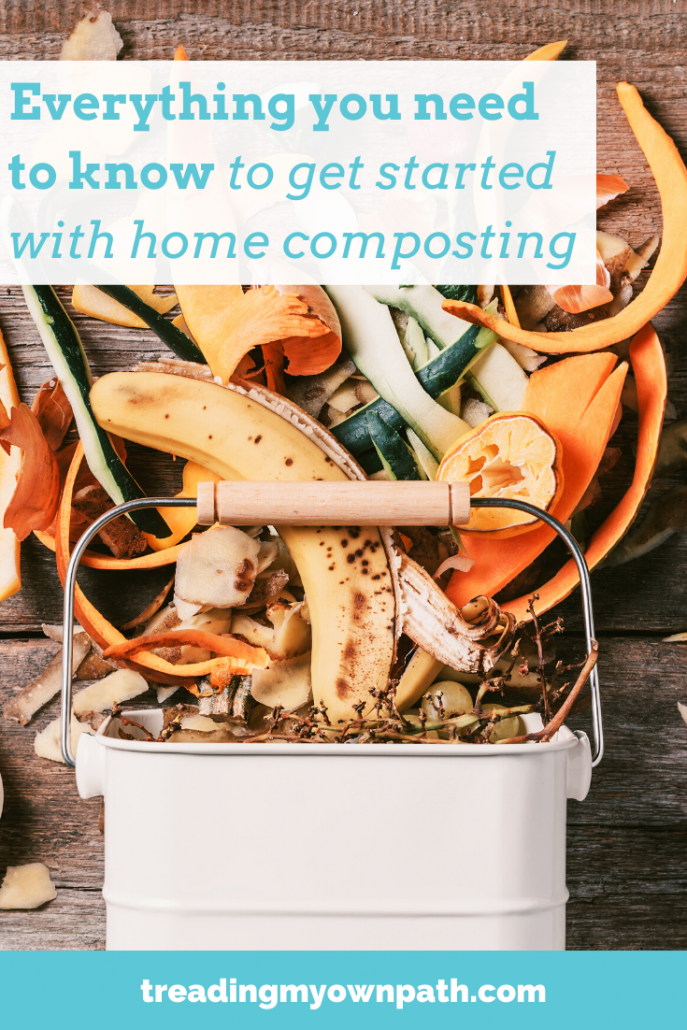
Everything you need to know to get started with home composting

Composting can seem a little overwhelming. There seem to be so many things to worry about; things that might go wrong. It can seem a bit technical and science-y. But actually, the basics are quite simple, and it is easier to get a compost bin cranking than you think.

If you’re composting at home, especially if you’re a beginner, you don’t really need to get bogged down in the details. Understand the principles, and you’re on your way.

If you love the idea of composting, but simply don’t have the option to compost at home (or where you live), this post on composting without a compost bin might be useful.

If you’re keen to get you own compost system set up at home, read on.

Choosing your composting system

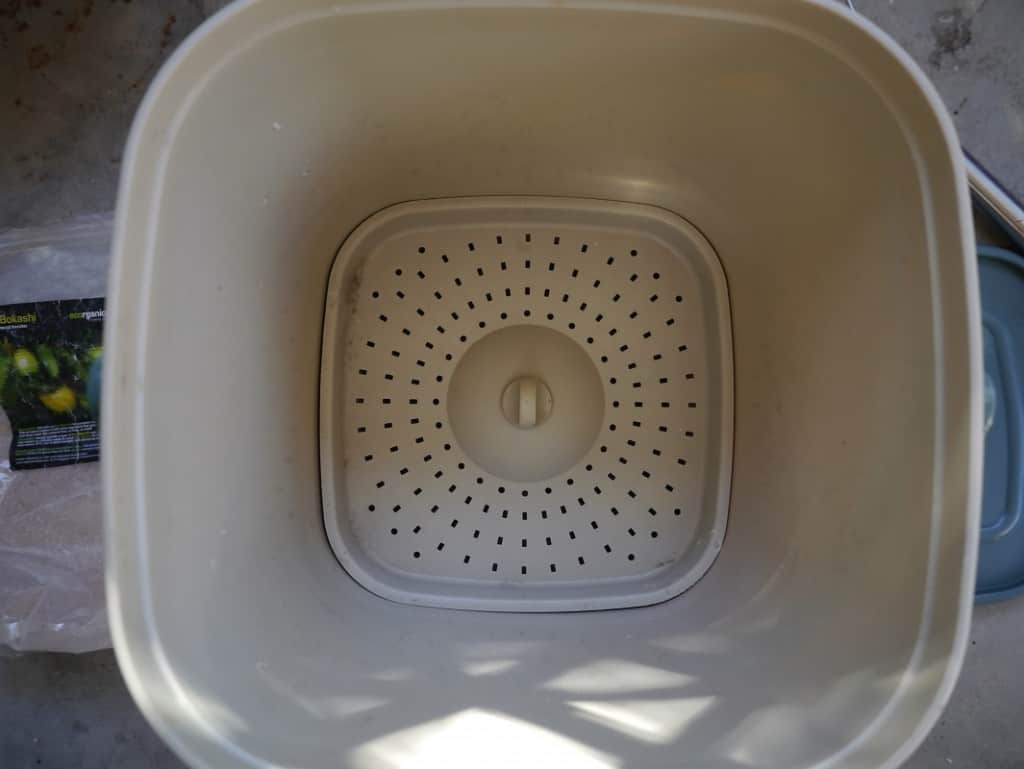
There are a few different composting systems (and I’m only talking about composting today – not other methods like worm farming/vermicomposting or bokashi systems).

For the beginner, there are two great home composting systems: the regular compost bins we are most used to seeing (I call them in-ground compost bins), that sit on the ground or are slightly dug in, and rotary compost bins, which are an enclosed system mounted on a frame.

Compost heaps or compost bays aren’t great for beginners as they are more difficult to manage. Digging food scraps into the ground or in trenches (if you have space for that!) works too, but it’s not really a ‘system’.

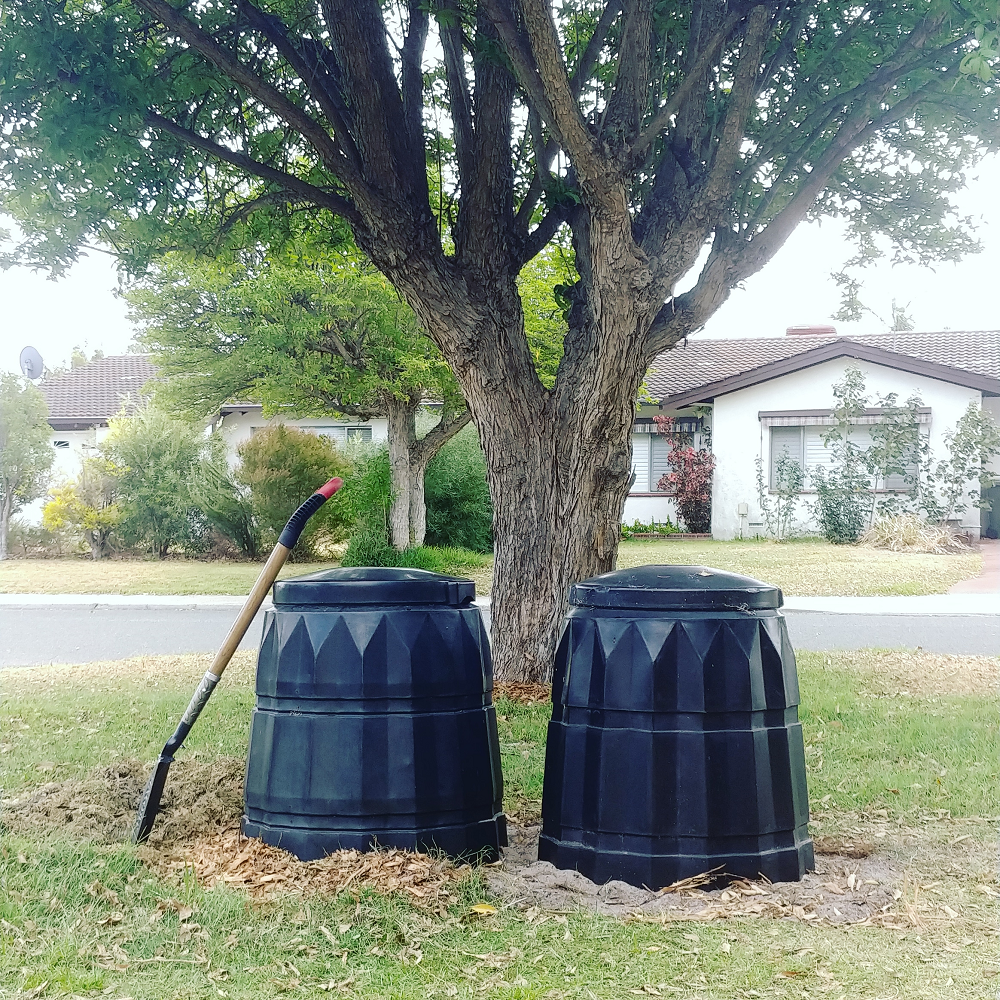
In-ground compost bins

These are easy to set up and low maintenance, and usually cost less than the rotary versions. There are a lot of second-hand compost bins available, so it’s probably not necessary to buy a new one. It’s also possible to make them by upcycling plastic barrels, old bins or other old containers.

You’ll find different styles of bin, some with doors at the bottom and heaps of ventilation holes, others that clip together and some with no bells and whistles at all.

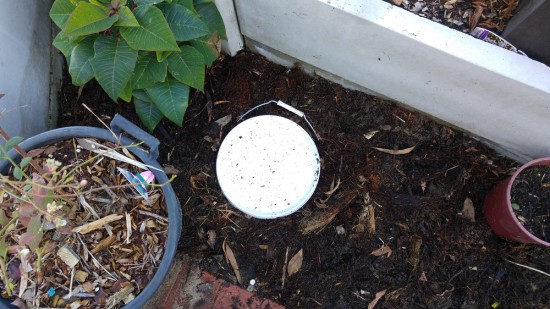
I’m a fan of the no bells and whistles type, pictured below (I call them Dalek bins). These work best for the climate I live in. These types of bin don’t have a base, and I dig into the soil (about 10cm deep).

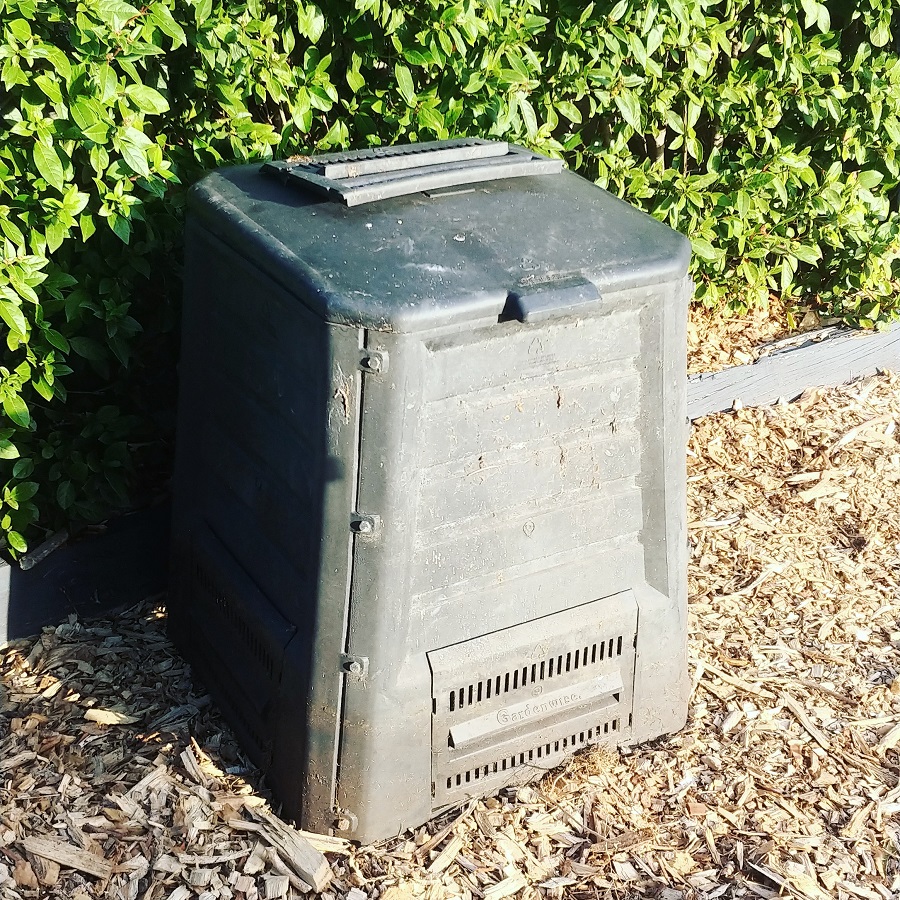
In my hot climate, any ventilation holes are just gaps for moisture to escape and pests to get in. Plus they provide points of weakness (because we all know plastic breaks down when exposed to sunlight).

Doors at the bottom might look cute, but the reality is it is easier to wait for the entire contents to become compost and dig the whole thing out at once.

That said, it’s possible to make most compost bins work. My neighbour was recently clearing out her shed, and offered me this for free. My plan is to dig it into the ground so that the vents at the bottom are covered, and only use it for garden waste (no food waste) to deter any pests that might want to crawl in the sides.

Because of the gaps along the sides, it will probably need a bit more water added than the other type.

Rotary composters

These tend to be more expensive than the in-ground versions, but they are perfect for patios and balconies and spaces where it isn’t possible to dig one into the ground. I’ve seen DIY versions but you’re going to need to be a bit handy to make one, as the cylinder has to be able to rotate on a frame.

There are lots of different styles and sizes, too. Some are long and thin, others are short and squat – and the way they are mounted on the frame (and therefore how they turn) varies too.

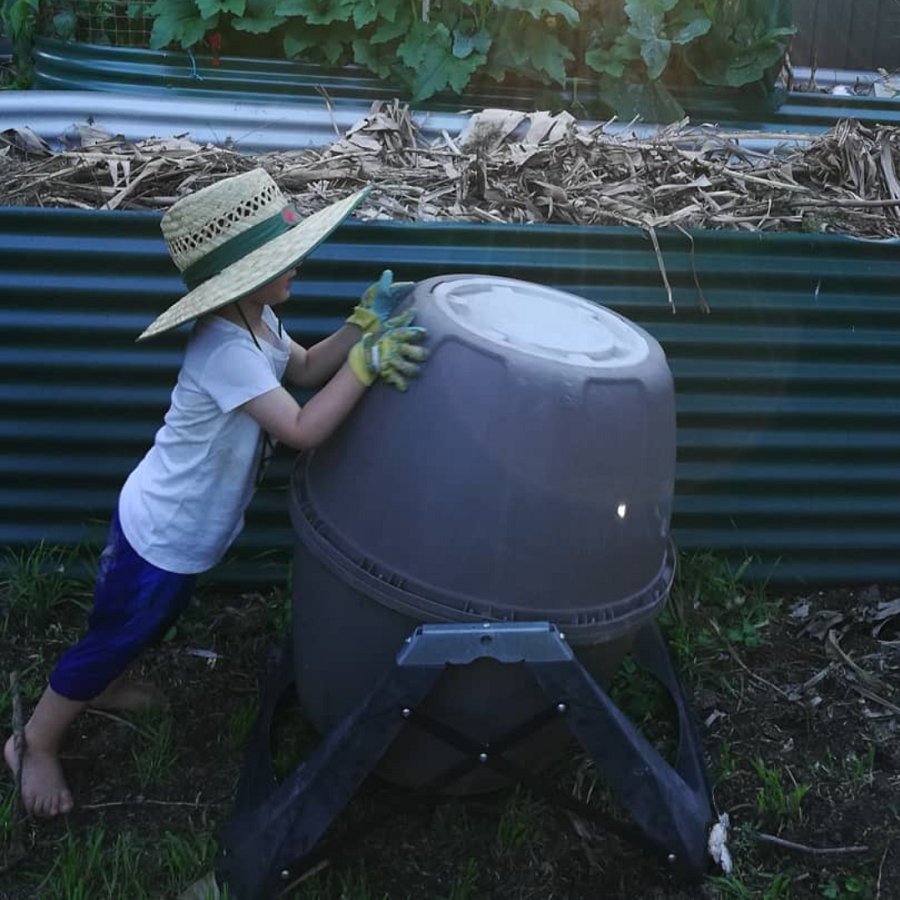
When choosing which one is right for you, it’s best to think not only about your space but also your physical capabilities. A huge bin might seem like a great idea, but if you can’t turn it because it’s too heavy, that isn’t going to work.

Another great advantage of these bins is they are less likely to attract pests and are pretty much rodent-proof.

Where to position your compost bin

You’ll often see it written that a compost bin should be placed in sunny spot, but that depends on where you live. If you live in a hot climate, placing a bin in full sun means it dries out. (Compost bins need moisture to work.)

I think it’s more important to think about a spot where you’ll actually use it. At the end of the garden behind the shed might seem like a great idea… until you need to put your scraps in it when it’s dark and raining.

A well managed compost bin shouldn’t smell, so being near a kitchen window shouldn’t matter, but if you don’t trust your skills (yet) perhaps make sure it’s not too near any doors or windows.

If you do have a garden, under a fruit tree is great, as the tree roots will benefit from the compost at the bottom of the bin.

I’d say, choose a warm and accessible spot (in a hot climate, dappled shade / afternoon shade is helpful if possible). Don’t forget, you can always move it later if your first spot doesn’t work out.

Setting up your compost bin

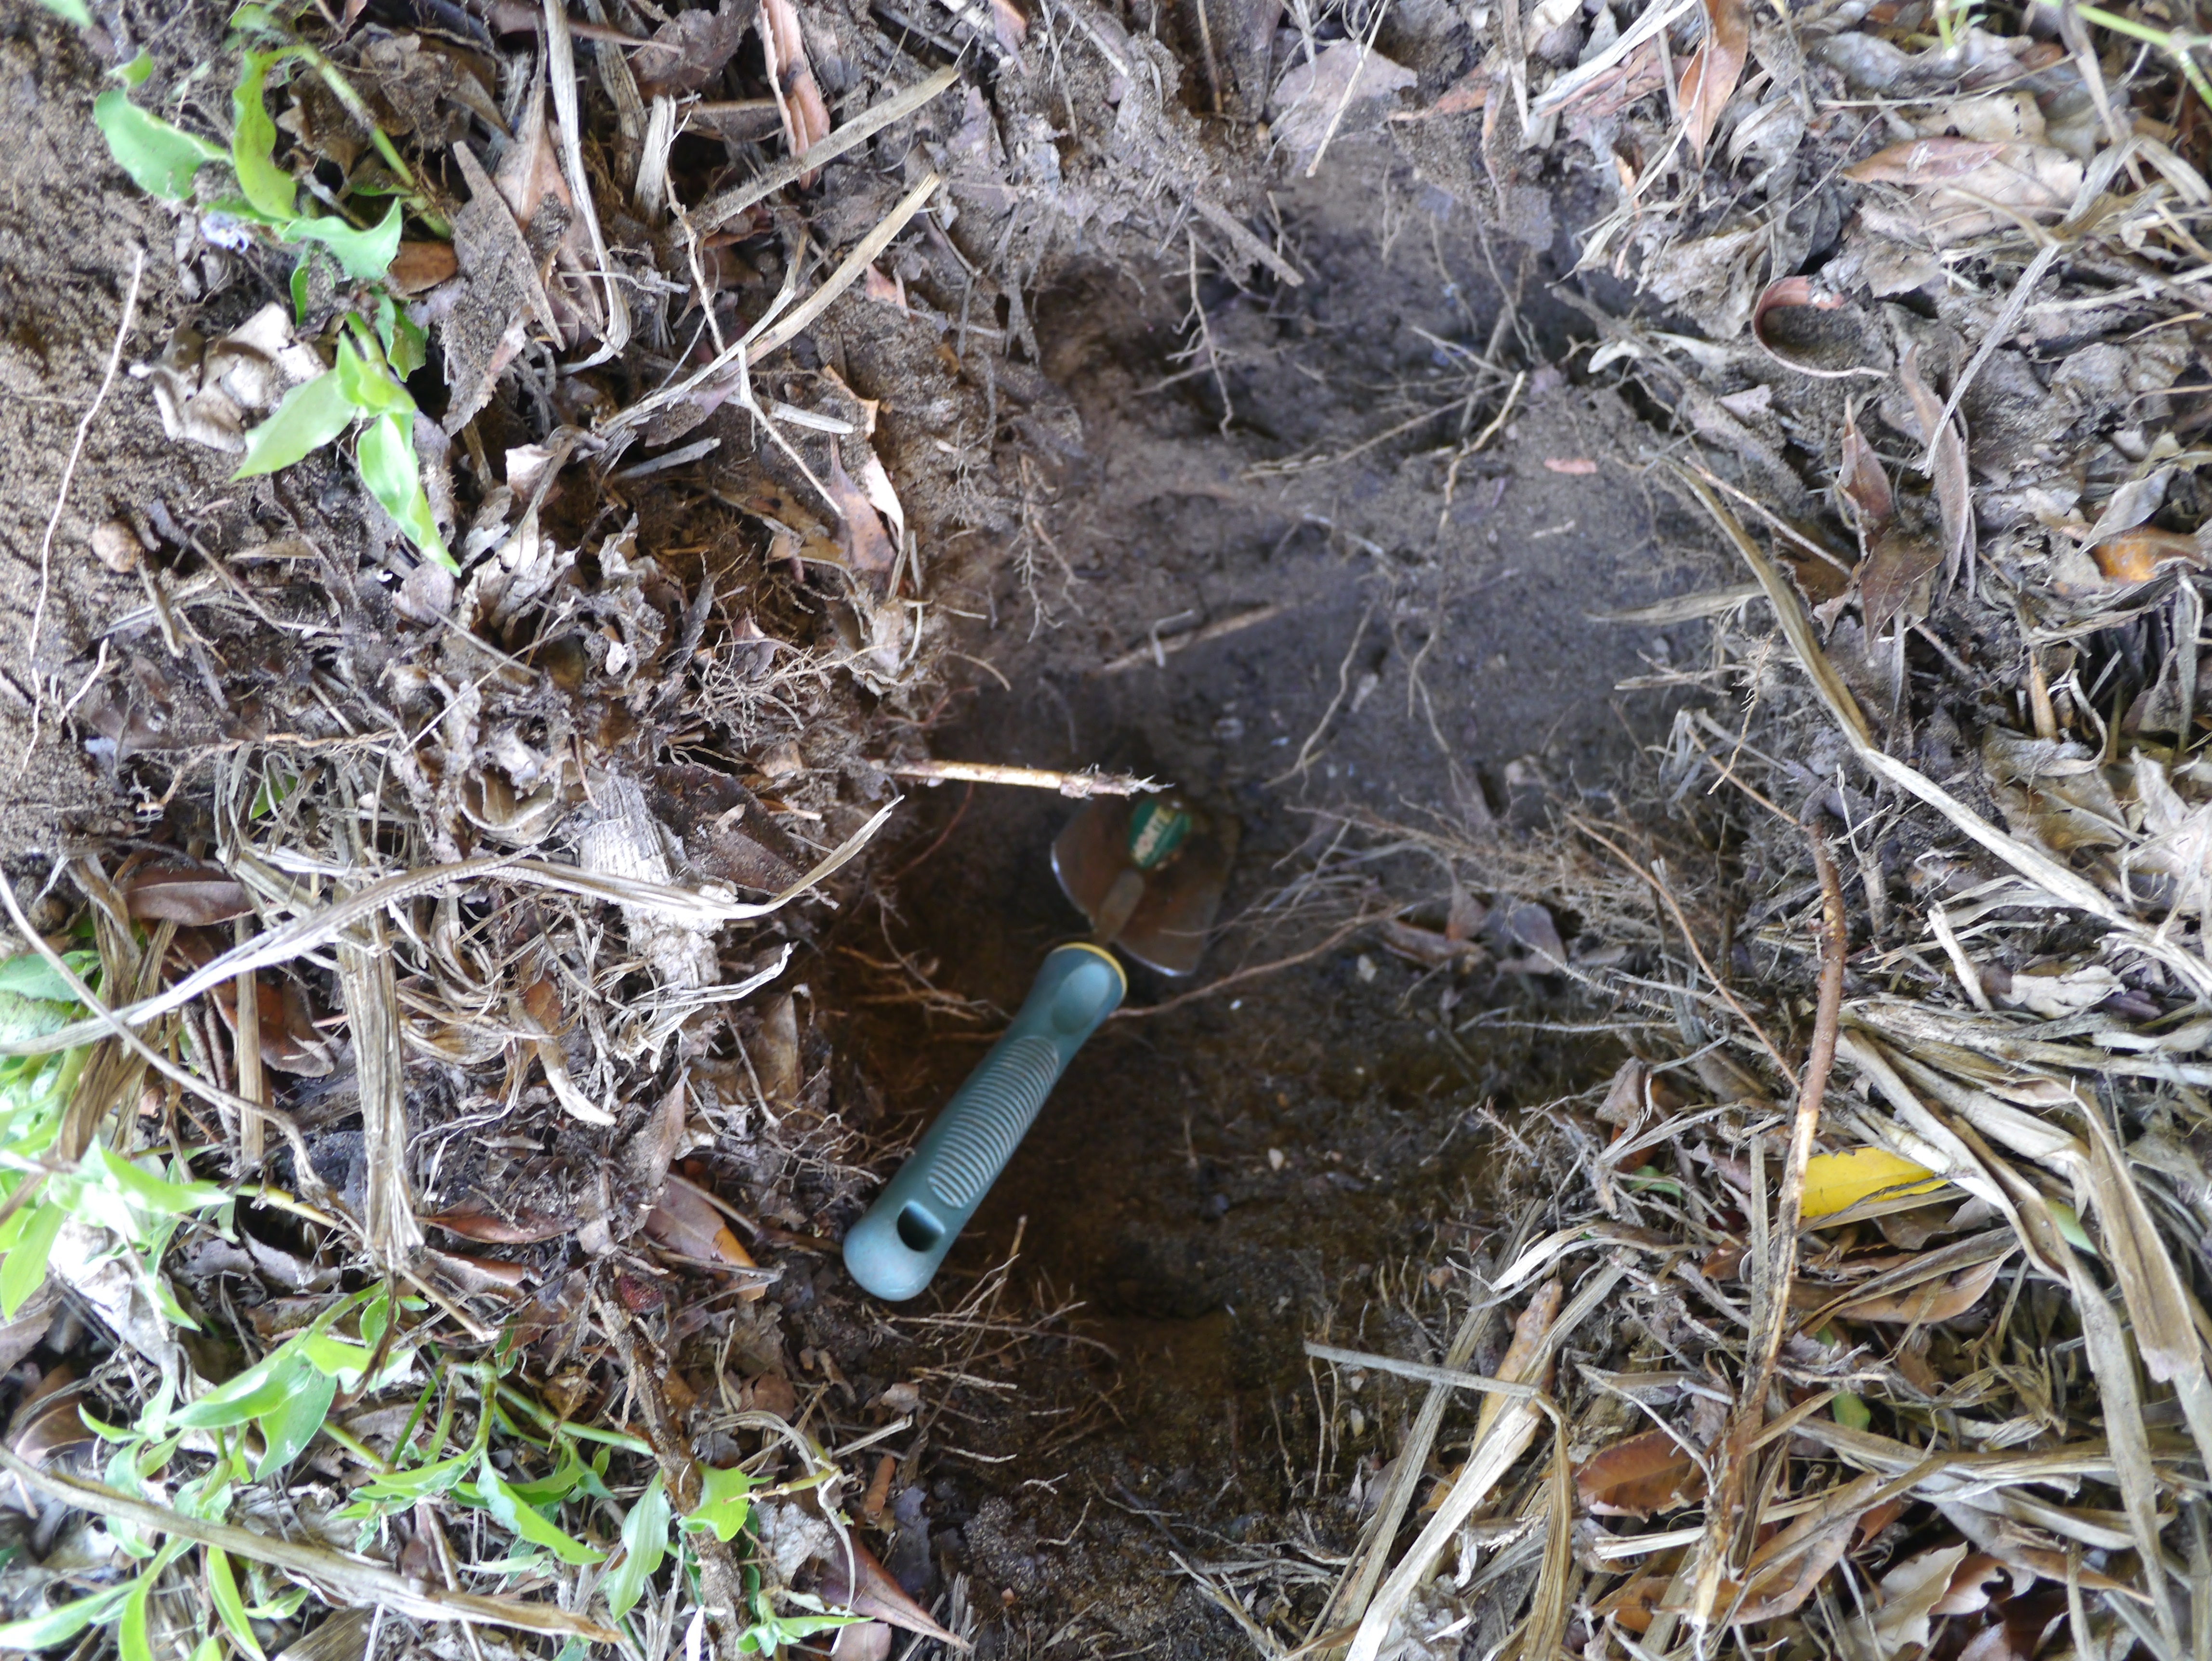
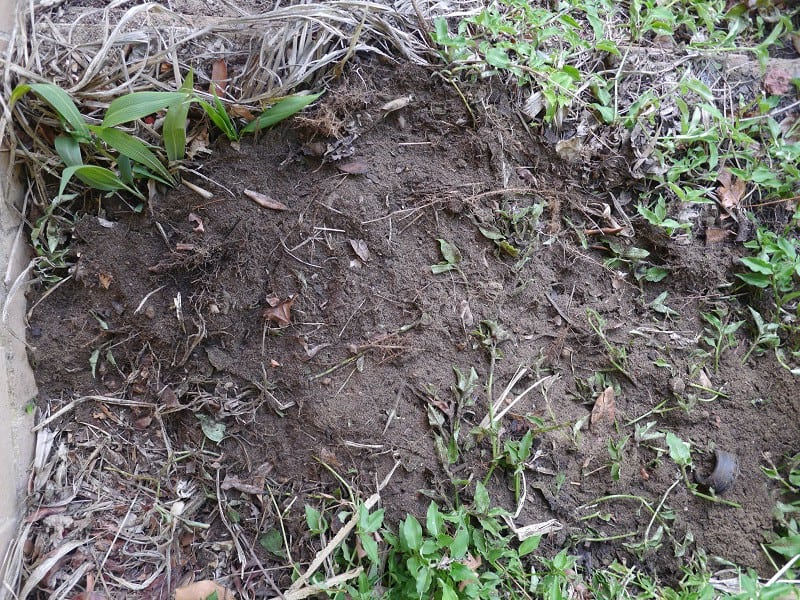
Once you’ve chosen a site for your compost bin (and dug it into the ground a little if it’s an in-ground compost bin – 10cm is ideal), you need to get it set up and ready to accept food scraps.

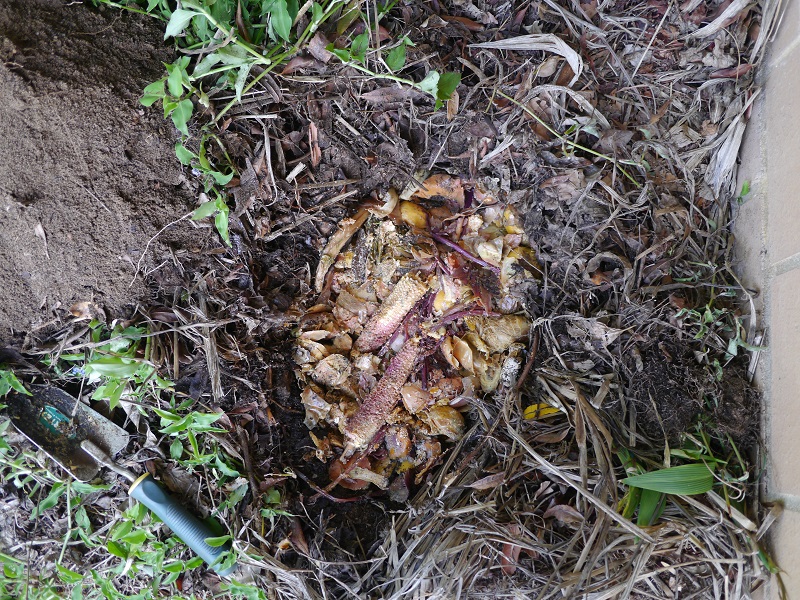
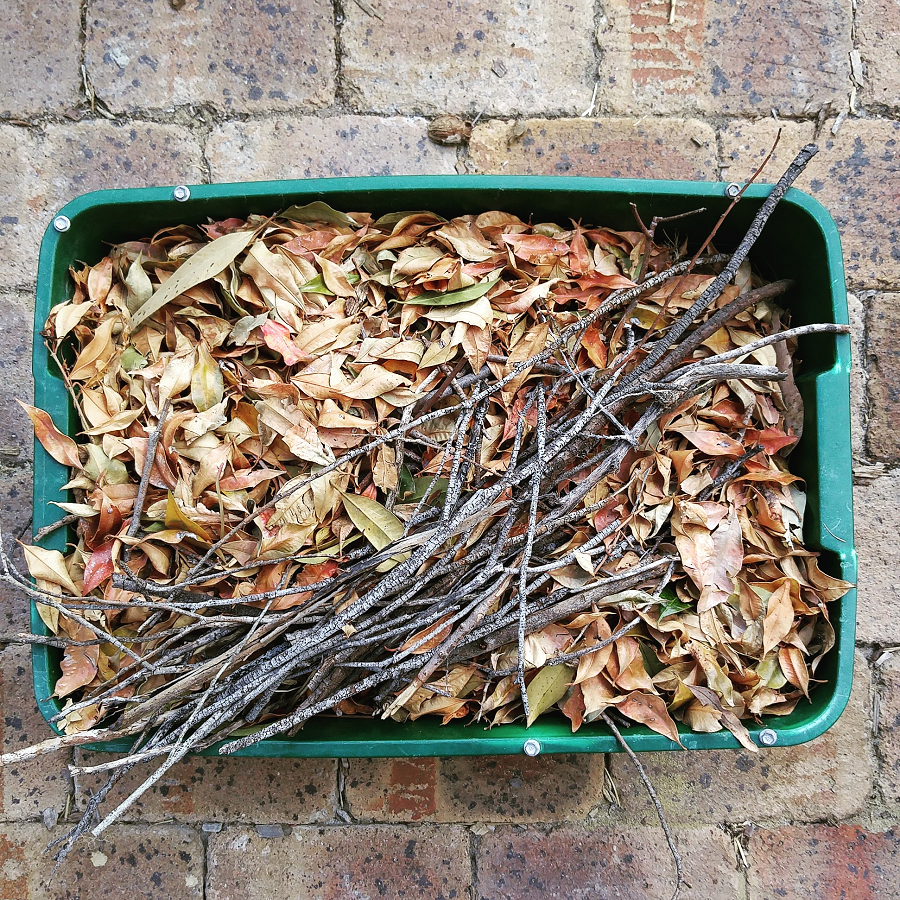
Compost bins need air (oxygen) to work properly, so when you’re setting up a new bin, it’s good to start with something chunky as the base, that allows air flow. Twigs and sticks and egg cartons are great.

The biggest mistake I see (and yep, this was also me when I started) is to add ALL the food scraps, nothing else, and watch in horror as your compost bin becomes a stinky, fly-infested mass of yuck.

Compost bins need balance. In particular, they need a balance of fresh stuff (called ‘greens’) and dead stuff (called ‘browns’). On a more technical level, we are talking about nitrogen and carbon.

Too much nitrogen (fresh stuff) will make for a stinky compost bin as it will break down too fast, using up the oxygen. Too much carbon (dead stuff) and your compost will take forever to break down.

For a beginner, a good rule of thumb is one handful of green stuff, and two handfuls of brown stuff. Or even three handfuls of brown stuff.

Placing a tub of shredded paper, old cardboard toilet tubes, egg cartons, dried leaves, wood chips, sawdust or straw (all carbon rich) next to your compost bin, so that every time you add some food scraps, you can add some carbon easily, works well.

As you add things to your bin, the stuff at the bottom will get compressed, and eventually run out of oxygen. This will make for stinky compost. Turn your compost with a pitchfork or turning fork (like a giant corkscrew) – or by rotation if that’s the type you have – to keep the air circulating. Turning once a week or once a fortnight is fine, or more often if you start to notice any bad smells.

What can and can’t go in my compost bin?

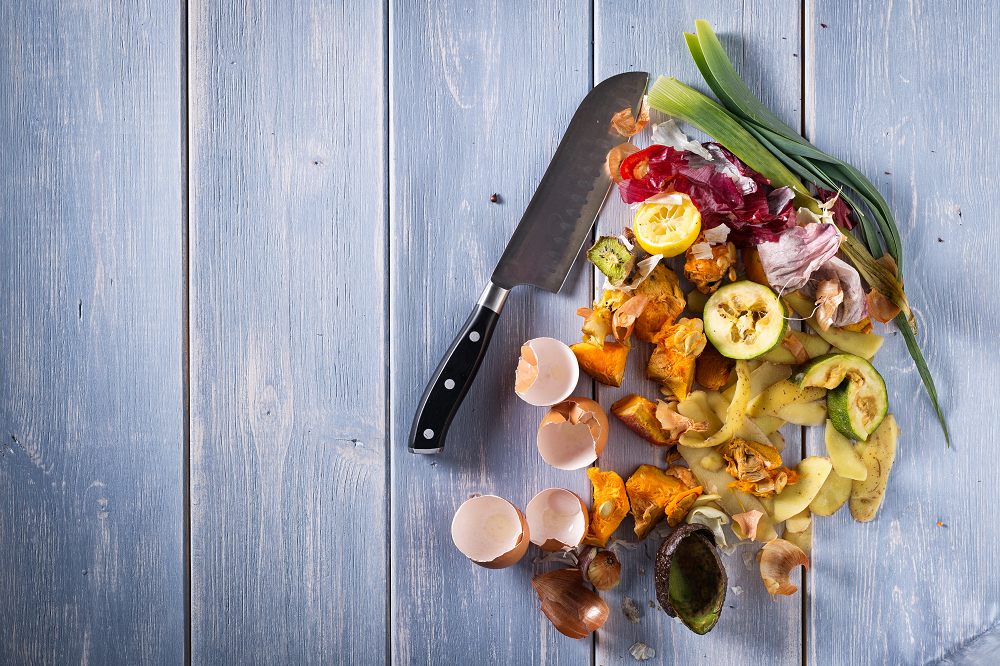
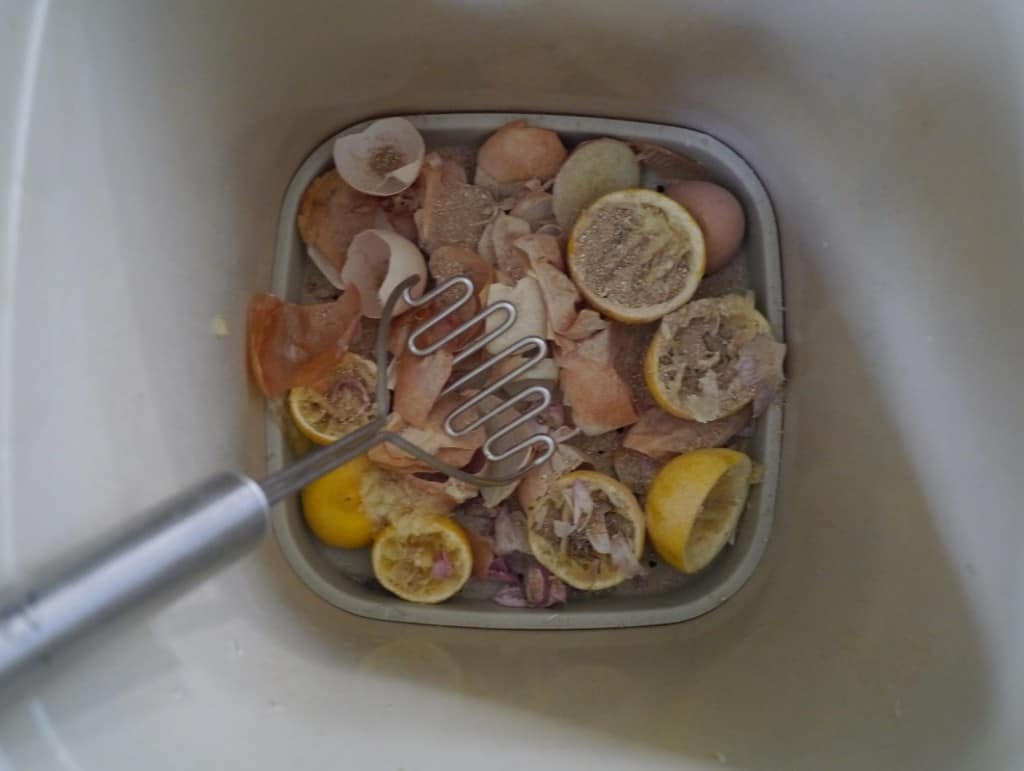
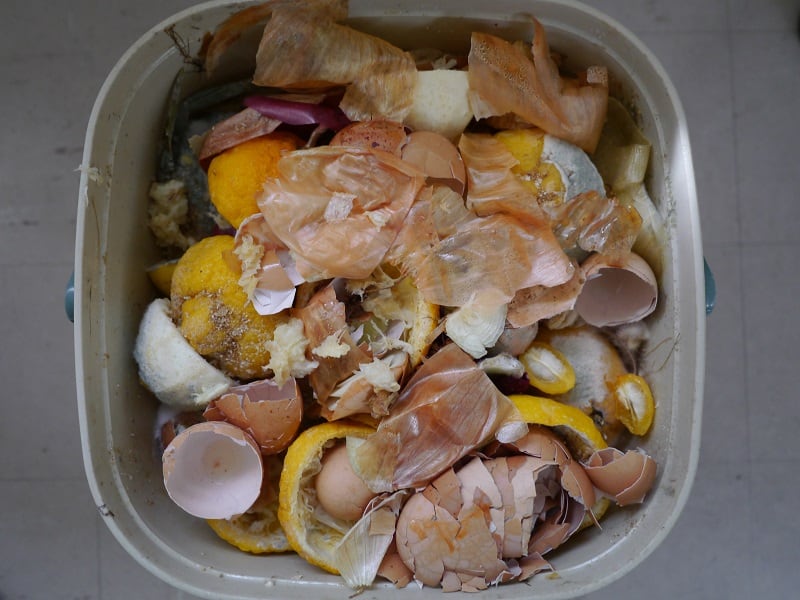
Anything that was once alive will eventually break down to become compost. There are a lot of myths circulating that you can’t compost things like onions or citrus – of course you can! When it comes to plant-based food scraps, everything goes.

As for other food scraps, it’s not that they can’t be composted, but they are more likely to attract vermin, other pests (like flies and maggots) or harbour dangerous bacteria.

As a beginner composter, avoid putting meat, fish, dairy products, bread and large amounts of cooked food in your compost bin if possible.

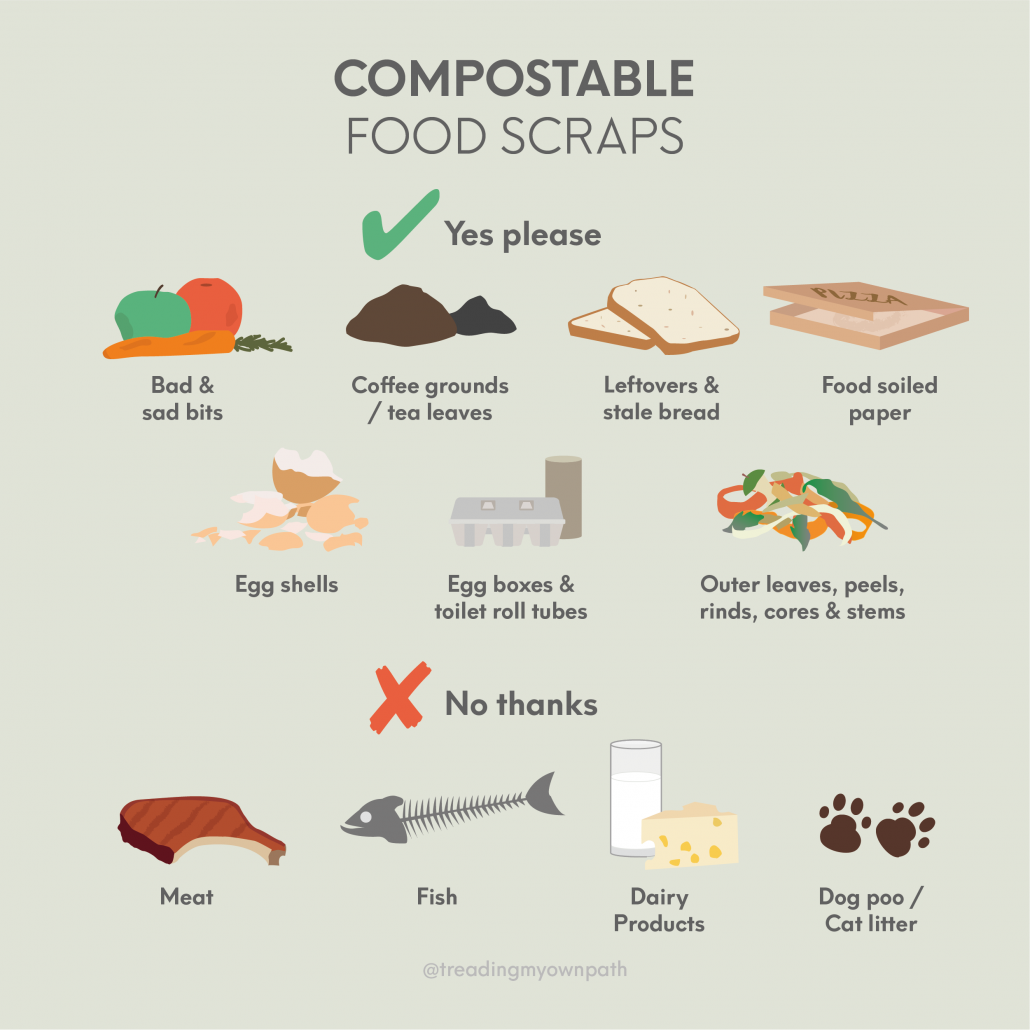
Thinking about garden scraps, the only things I don’t put in my compost bin are persistent or nasty weeds – things like couch or Kikuyu grass roots, or those weeds that have the spiky seeds that stab you if you stand on them barefoot.

Although home compost systems tend not to get hot enough to kill seeds, most seeds aren’t really a problem. It can be fun to get surprise tomatoes or pumpkin plants germinating from compost. Common weed seeds like dandelions still go in – even if I didn’t put them in my compost bin, the seeds are going to blow in from elsewhere, and they are easy enough to weed out again if they do appear.

Common composting problems

A good compost bin needs variety, oxygen (air), moisture and microbes/insects to keep it working. When one of these things is missing, you get problems or it slows right down.

Stinky compost bin? Add more carbon rich material, and turn your compost to increase air flow. Make sure food scraps are buried. A well managed compost bin doesn’t smell (or smells earthy, like soil).

Dry compost? Add water.

Soggy compost? If you can squeeze water out of your compost with your hands, it is too wet. Add dry material – shredded paper, sawdust, dry leaves.

Insects? Most insects are fine, so don’t panic. Lots of one type might indicate an issue. Ants usually mean it is too dry, so add water. If flies or maggots are a problem, cover the top with mulch or soil, and make sure food scraps are buried rather than sitting on top. The odd cockroach might make you wince but it isn’t going to harm you or your compost. An infestation probably means you haven’t turned your compost for a while. Mix it up, and keep turning it and they’ll find somewhere else to live. Insects have short lives, and will be gone soon enough.

Not doing anything? Adding a handful of compost or manure will add some microbes to your compost to give it a boost. Turning it will also (literally) help stir things up.

Can I set and forget?

If you want ready-to-go compost in 2 – 3 months (in a warm climate), you need to balance your greens and browns, and turn frequently. But if you just chuck it all in and forget about it, it will break down eventually. Much more slowly, but it will happen. Winter (and colder weather) also slows things down.

If you do want to use your compost bin in the garden, two (or more!) bins can be helpful. If you’re constantly adding fresh food scraps to your compost bin, you are always going to have non-composted bits in your compost. Ideally, you’ll fill one bin to the top, and then continue to turn it whilst starting to fill a second one. That way, you’ll have fresh compost ready to go by the time the second one is full.

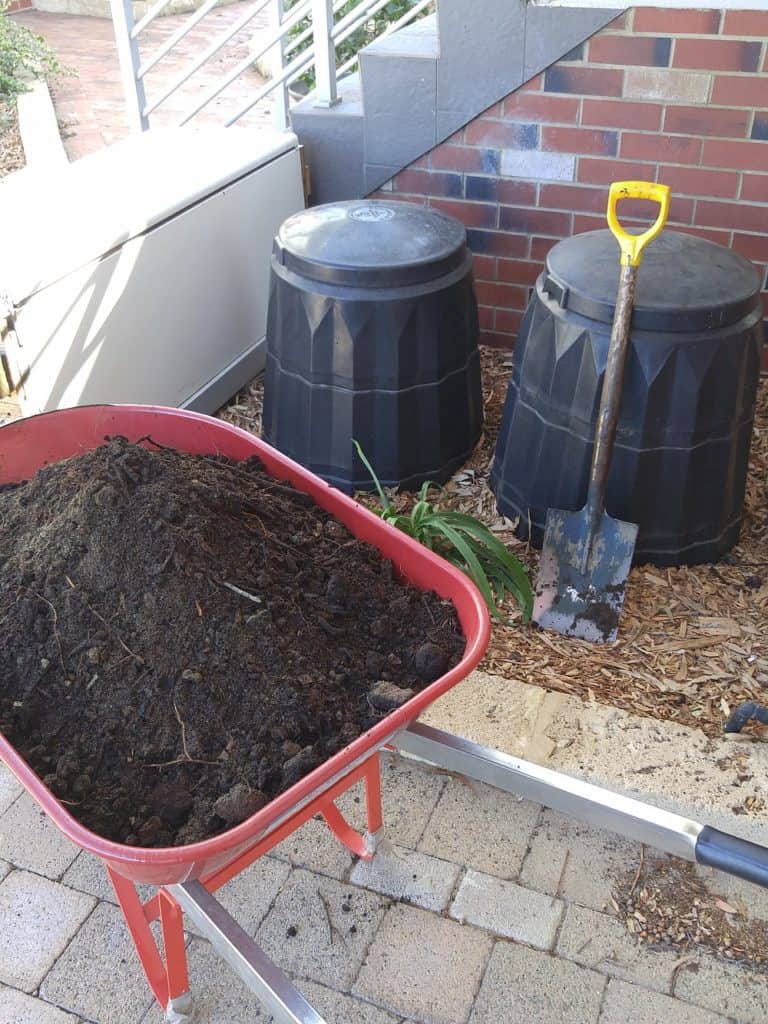
Once emptied, you can start refilling again and leave the other one to work its magic.

If you want to start composting at home, the best thing to do is to just start. Then, as issues pop up or you have questions, you can troubleshoot one by one. Most problems are easily fixed. Get a compost bin set up, and you’ll learn as you go.

Now I’d love to hear from you! Do you have any questions about composting? Any issues I didn’t cover? Any beginner tips you think others need to know? Any other thoughts at all? Please share in the comments below!

[leadpages_leadbox leadbox_id=123a865e9839c5] [/leadpages_leadbox]

How To Set Up A Dog Poo Worm Farm

When my greyhound Hans moved into the house (in July 2016), it was important to me that I didn’t suddenly start using heaps of plastic, or begin sending stuff to landfill. There’s bedding, toys and food to consider – and also what to do with dog poo.

If a dog goes to the toilet twice a day, that’s potentially two plastic bags going to landfill every day also – not to mention the contents.

One of the first things I did was set up a dog poo worm farm. I’ve mentioned it before, but it is something that I get asked about often, so I wanted to take some time to explain the specifics.

I promise you, it isn’t hard. There’s actually very little to it!

Dog Poo Worm Farm Basics

Dog poo doesn’t go into the regular worm farm; it needs to go in a separate one. There are a couple of reasons for this.

One, if worms have the choice between dog poo and banana peels and avocado, they are not going to be choosing eating dog poo.

Two, whereas regular worm farm castings (the nutrient-rich compost left by the worms once they process the food) can be used to grow seedlings and added to the veggie patch, worm farm castings stay in the ground.

This is because faeces may contain parasites and bad bacteria, so spreading it over the lettuce seedlings isn’t a good idea from a health perspective.

Of course, it’s possible to position a dog poo worm farm underneath a fruit tree so that the tree gets the benefits of all the nutrients.

I like the dog poo worm farm set-up (as opposed to digging holes in the ground every time there is something to dispose of) because there is one spot where everything goes. It’s contained and easy to manage.

As someone with a small yard, it is the perfect solution for me.

Setting Up A Dog Poo Worm Farm

I’m a fan of the repurposed materials-and-no-cost approach. I’ve used a 20 litre plastic bucket that was donated to me by the bulk food store once the contents had been sold. It has a lid, which is very important.

I cut the bottom out of the bucket, and dug a hole in the garden big enough to bury the bucket so just an inch was exposed above the ground (enough to ensure the lid is secured).

I don’t bury the handle as it might be useful if I need to move the bin later.

Next, the worm farm needs a big old handful of composting worms. (These are different to earthworms in that composting worms are surface feeders.) The main types are Eisenia fetida, Eisenia Andrei and Lumbricus rubellus but what is actually available depends on where you live.

I just grabbed a handful from my regular worm farm. If you don’t have any to start with, check out community gardens, Buy Nothing groups, Gumtree or good garden centres.

The worms aren’t trapped in the worm farm as the bottom is cut out, so they are free to come and go, as are any other critters looking for some lunch.

The other thing that worm farms need is carbon. I add this by picking up dog poo using old toilet paper wrappers (conveniently ready-cut the the exact size I need) or newspaper. If you use some kind of scoop to pick up, just throwing in a few handfuls of leaves, or some paper or cardboard would be fine.

This bucket holds 20 litres, so eventually fills up. I’ve also seen these worm farms made with old flip-lid wheelie bins which are much larger (often it is possible to purchase broken or damaged ones – contact your local council to find out if they offer this service.)

When the bin reaches capacity, cover the top with soil, then pull out the bucket and replace elsewhere.

As the freshest and least composted poo will be at the top, consider setting up a second whilst leaving the first to continue decomposing. It will make for a more pleasant experience when removing and replacing the bucket.

Dog Poo Worm Farm – Do’s and Don’ts

Something really important to remember is that a worm farm contains worms, and worming tablets kill worms. If your dog has taken worming tablets, do not put dog poo in the worm farm for a couple of weeks.

I don’t regularly give my dog worming tablets (on the advice of my vet), and he gets a yearly heartworm injection (rather than tablets) which lasts for 12 months.

Personally, I’d avoid putting dog poo in the worm farm in compostable plastic bags. Even the ones that are certified home compostable take 6 months to compost, and that is in a regular compost bin, not a worm farm.

If you’d still like to give it a try, I’d suggest ripping the bags open before adding them to the worm farm, and be prepared to leave it “brewing” for several months once it is full.

Something else to bear in mind: composting worms will die in freezing temperatures (they are surface dwellers, unlike their cousins the earthworms, who will burrow for warmth). The eggs should survive. If you live in a country where it freezes in winter, bear in mind that your worm farm might need to be seasonal.

Thoughts About Cat Poo Worm Farms

I don’t have a cat, but I have several friends that do, and whom compost their cat litter. The main thing to be aware of is that cat poo commonly carries a parasite called Toxoplasma gondii, which cause toxoplasmosis in humans.

This means cat faeces needs to be handled even more carefully than dog poo.

Cat litter can be found made of newspaper pellets, wood shavings, which would both work great in a worm farm.

The volumes will be bigger so a 20 litre bucket might fill up fairly fast.

Can I Flush Dog and Cat Poo Down the Loo?

From what I’ve read the consensus seems to be that it is okay to flush dog poo down the toilet, but not cat poo (because of the Toxoplasma gondii parasite). However, the best thing would be to phone your local water treatment facility and ask them whether they are happy for you to do so, or not.

That way, you’ll know for sure – and if not, they should be able to tell you why not.

Whilst I know that dog poo worm farms might not be for everyone, they have been a great success for me. The smell is minimal (as opposed to the bins at dog parks, which reek), I have it placed in a convenient spot, and it is no extra hassle at all – except, perhaps, when it needs moving.

Now I’d love to hear from you! Do you have a pet – and what do you do with their waste? Have you set up a pet poo worm farm, are you game to try – or is it definitely a no-go for you?! What have your experiences been? Are there any other ways you try to reduce their waste footprint? Please share your thoughts in the comments below!

[leadpages_leadbox leadbox_id=1429a0746639c5] [/leadpages_leadbox]

Bokashi Bins: the Whats, Hows and Whys

Inspired by watching Dive! last week, and thinking about reducing the food waste I send to landfill, I’ve decided to revisit the bokashi bin. We give most of our food scraps to our worm farm, but there are some things that worms just don’t like (onion skins and lemon peels, for example) and these end up in the rubbish bin.

When I attempted my first Zero Waste Week in June I used a Bokashi bin to process my food waste to avoid sending it to landfill. Having completed a full cycle with this system, I thought I’d explain what they are, how they work and how I found using one.

The Bokashi Bin: What Is It?

Bokashi bins are home composting systems that are designed to be used indoors.  (Technically, they aren’t composting, but fermenting.)The bokashi system comprises two parts: a bucket with a sealable lid and a tap, and also bokashi mix, which are fermented grains (such as wheat bran and rice husks) that contain microorganisms. There is a tray inside the bucket to separate the liquid leachate that drains off with the sold waste.

Removable tray inside the bokashi bin.

Removable tray inside the bokashi bin.

Bokashi Bins: How Do They Work?

Bokashi bins work by fermenting food, and need anaerobic conditions (no oxygen). The bokashi bin has a tightly fitting lid to seal the waste. (This differs from composting which requires oxygen). Food waste is placed in the bucket, the fermented grains are sprinkled on top, everything is compacted down and the lid is sealed. Because the food isn’t decomposing, there’s no terrible rotting food smell (although it’s not odourless), and it doesn’t attract pests. When the lid is on, there is no smell at all.

Bokashi bins have a tap on the bottom that allows the excess liquid to be drained off. A surprising volume of liquid is produced (how much exactly depends on the types of food you add to the bucket). Being very acidic, it’s not suitable to put on plants unless it’s heavily diluted, and even then it’s recommended that young roots are avoided as it will burn them. It does, however, make a great toilet and drain cleaner! No dilution is needed, you just pour it straight down.

Once the bin is full and the contents are fermented – usually after 4-6 weeks – the waste needs to be buried, or composted.

Bokashi Bins: Who Are They For?

Bokashi bins are touted as a great alternative for people who don’t have a garden and can’t compost their food waste. They are a fairly small and contained system suitable for indoors. They can deal with all types of food waste, including cooked food, meat bones, citrus peels/onion skins, egg shells and dairy – all things that you can’t put in compost or worm farms – so if you’re committed to zero waste, they are part of the solution.

The Bokashi Bin Review

I did not buy my bokashi bin – it was a gift from a friend who rescued it from a verge collection where it was destined for landfill. Conveniently, there was also a pack of bokashi grains with it. Bokashi bins are fairly easy to find second-hand, if you look in the right places!

I used my bokashi bin for citrus peel, onion skins, egg shells, corn on the cob waste, fruit stones and vegetable stems – things I can’t put in the worm farm. Because of the low water content of these things my bin filled up quite quickly: probably 4 weeks in total. Despite the low water content, I was surprised at how much leachate came off.

Bokashi bin first layer

The start of my bokashi bin filling…

Bokashi bin mashing

Each layer is covered with a sprinkling of grains, and then pressed down tightly.

Full bokashi bin

Filling the final layer of the bokashi 4 weeks later.

The smell of the bokashi didn’t bother me. When I opened the lid, it has a sour, fermented kinda smell (as you’d expect) that wasn’t unpleasant. I was quite impressed that with the lid on, there was no smell at all. The leachate smell, however, I could not bear by the end! It didn’t smell bad, just sour, but very strong, and I really didn’t like it.

Bokashi bin drained liquid

Bokashi bin leachate. It might look a bit like honey, but it most definitely does not smell like honey!

The frustration came when the bucket was full, and I had to empty it. The waste needs to be buried, so I found a corner of our communal garden to be the bokashi grave. The bucket was surprisingly heavy, and having to carry it down flights of stairs and across a car park was a pain, as was digging a big hole using only a trowel. (I’m sure a spade would have been easier, but bokashi bins are touted as solutions for people who live in apartments, and I’m sure most apartment dwellers with no garden don’t own a spade – I don’t). Fortunately the hole was big enough, so I emptied the fermented mass of waste into it and covered it over.

Digging a hole to bury the bokashi waste

Digging a hole to bury the bokashi waste…

Burying the bokashi waste in the garden

Filling the hole with bokashi waste.

Bokashi bin waste all gone (buried)

The bokashi waste final resting place.

I now understood why a lot of bokashi bins end up on the verge.

 Should You Give Bokashi Bin Composting a Go?

I didn’t find the bokashi bin the most practical thing in the world, but I love that they provide a solution to disposing of food waste that can’t be composted or given to the worm farm.

However, you need to buy the fermented grain bokashi mix, which comes in a plastic bag and isn’t cheap. Having to buy the grains would be a deal-breaker for me. (If you’re dedicated, there are instructables out there for making your own.) Needing somewhere to put the waste when the bin is full – either a compost bin or digging it into the ground and burying it – makes it impractical for many people. Bokashi bins are often touted as alternatives for flat-dwellers who can’t compost, but that often means they don’t have land to bury the bokashi waste either.

Should you give it a go? Yes! I’m a great believer that you should try everything once! How else are you going to know if it’s for you? See if you can find a bin second-hand, or borrow one from a friend. Before you begin, just be clear on what you’re going to do with the fermented waste – you really don’t want it hanging around your kitchen for eternity.

Good luck!

I really want to hear you! Have you ever used a bokashi bin? How did you find it? Do you have any tips or ideas to share? If you haven;t used one, what’s putting you off? Please tell me your thought and ideas an leave a comment below!

[leadpages_leadbox leadbox_id=1429a0746639c5] [/leadpages_leadbox]