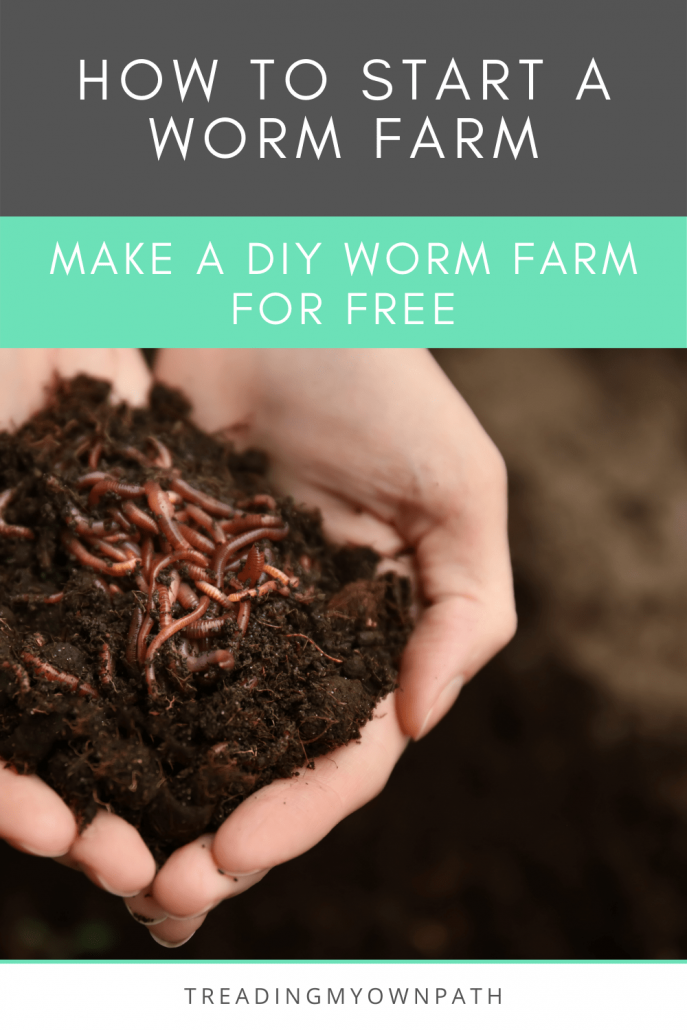
How to Build a DIY Worm Farm
One of the first things I noticed once I stopped buying plastic packaging was that my rubbish bin was now filled almost exclusively with organic waste – vegetable peelings, fruit skins and cores, leaves and the like. In the UK my local council had provided a brown bin for organic waste, which was industrially composted, but here in Perth Australia it was heading straight to landfill.
This meant someone was driving a truck to my flat, picking up my organic waste, driving it to a landfill site, dumping it into a hole in the ground and covering it with rocks. With fuel and machinery costs, wages, increased pollution from vehicle emissions, and the resulting contaminated land, it seemed like a lot of energy (and effort) was being wasted dealing with something I could potentially deal with at home.
And so I built a worm farm! I use the term ‘built’ loosely, as there was no actual building involved. In fact, it is dead simple. Additionally, I spent ZERO! Nothing! Zilch!
How to Build a Worm Farm
What you will need: two polystyrene boxes, a skewer, scissors, junk mail or shredded paper, some worms, an old towel
I salvaged two polystyrene boxes with lids from my local supermarket. (I just went to the Fruit & Veg section and asked a member of staff.) In Australia, vegetables such as broccoli and Brussels sprouts are delivered in these, and once emptied of stock, they are simply thrown away.
The boxes need to be the same width and length, but the same depth is not necessary.

Two insulated boxes, courtesy of the supermarket. The bottom box doesn’t need a lid as the other box sits directly on top.
The boxes will be stacked on top of one another, so if they are different depths, choose the shallowest to sit on the bottom.
The top box is for the worms, and so needs drainage holes. The bottom box will be used to collect liquid that drains from the other box, so no holes in this one! To pierce holes in the bottom of the box simply use a skewer, making the holes approximately an inch apart.
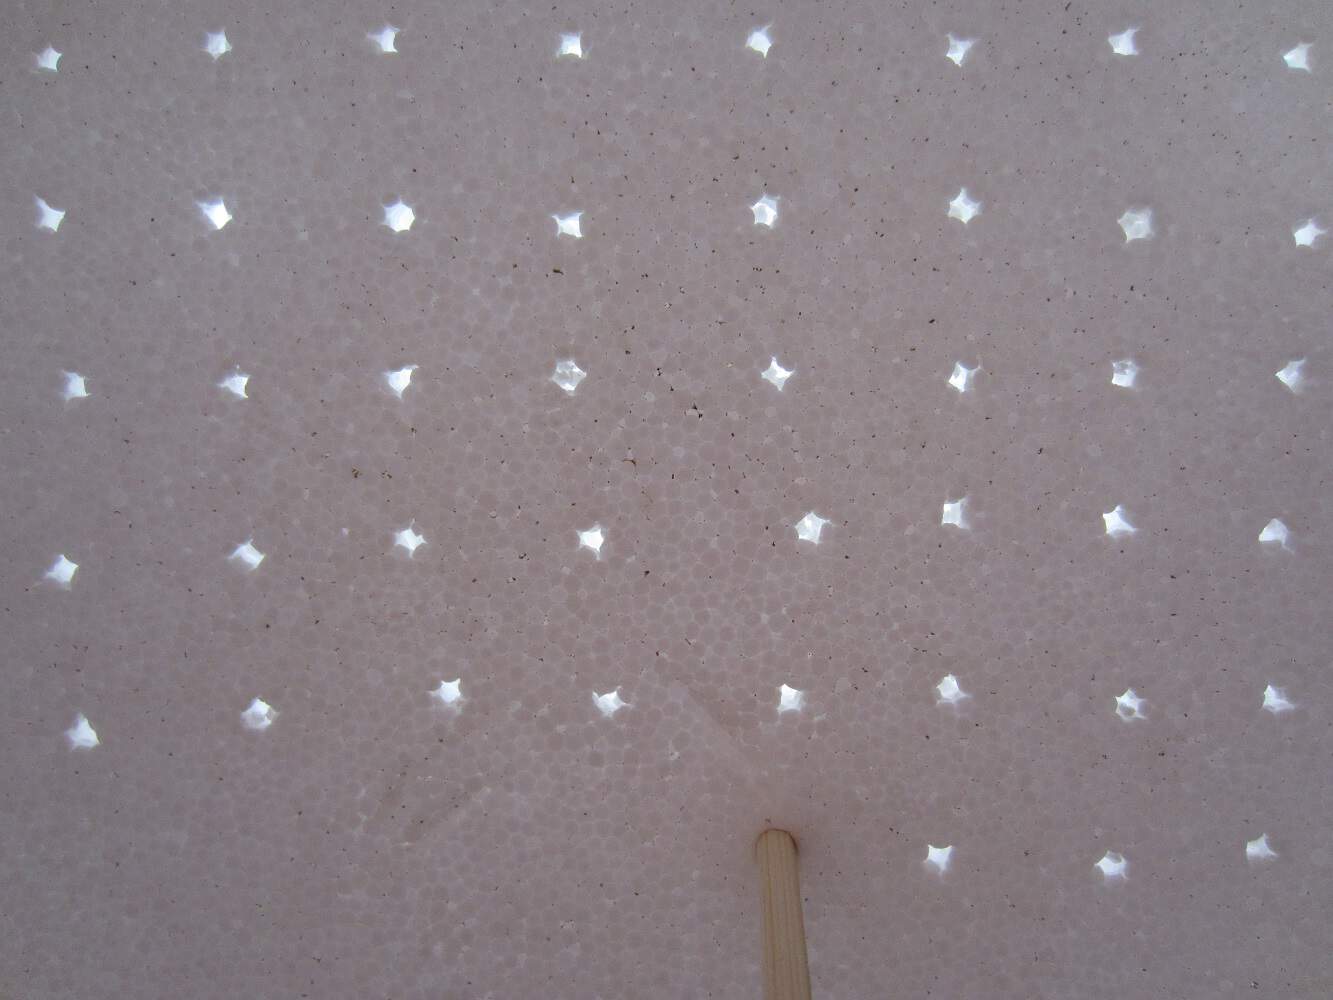
Drainage holes allow liquid to drain away, and stop your worms from drowning. The liquid collects in the bottom box.
Place a layer of cardboard at the base of the top box so that the worms do not fall through the holes. Next, add some shredded paper to make bedding for the worms. This is a great way to get rid of those annoying supplements and catalogues that come in the newspapers, or in the mail.
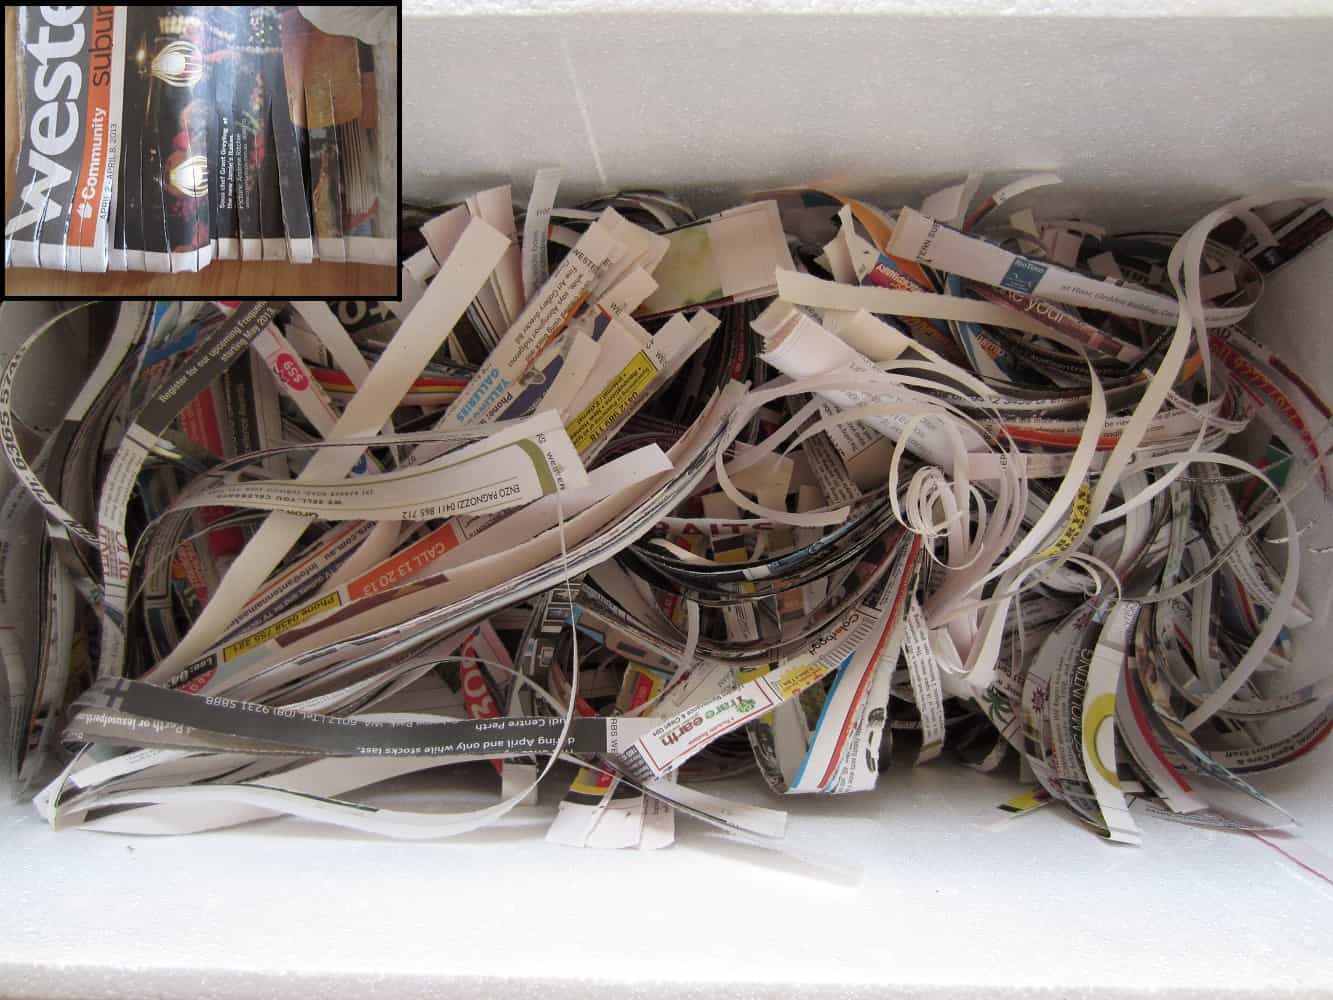
If you don’t have a shredder (I don’t) then you can make strips of paper for bedding by cutting slits in a newspaper at 1cm intervals along the spine, and then tearing.
Using a litre of water (ideally rain water of filtered water, if you have) pour carefully over the bedding to ensure it is wet. Any excess water will drain through to the bottom box.
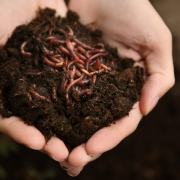
And then…worms! I got mine from a friend but many community gardens offer them either free or for a small fee. You can also find them on gumtree or freecycle. If all else fails they can be purchased at the big DIY stores but be aware that these will have potentially been sitting on the shelf for a long period of time and may not be in very good health, so will take longer to get going.
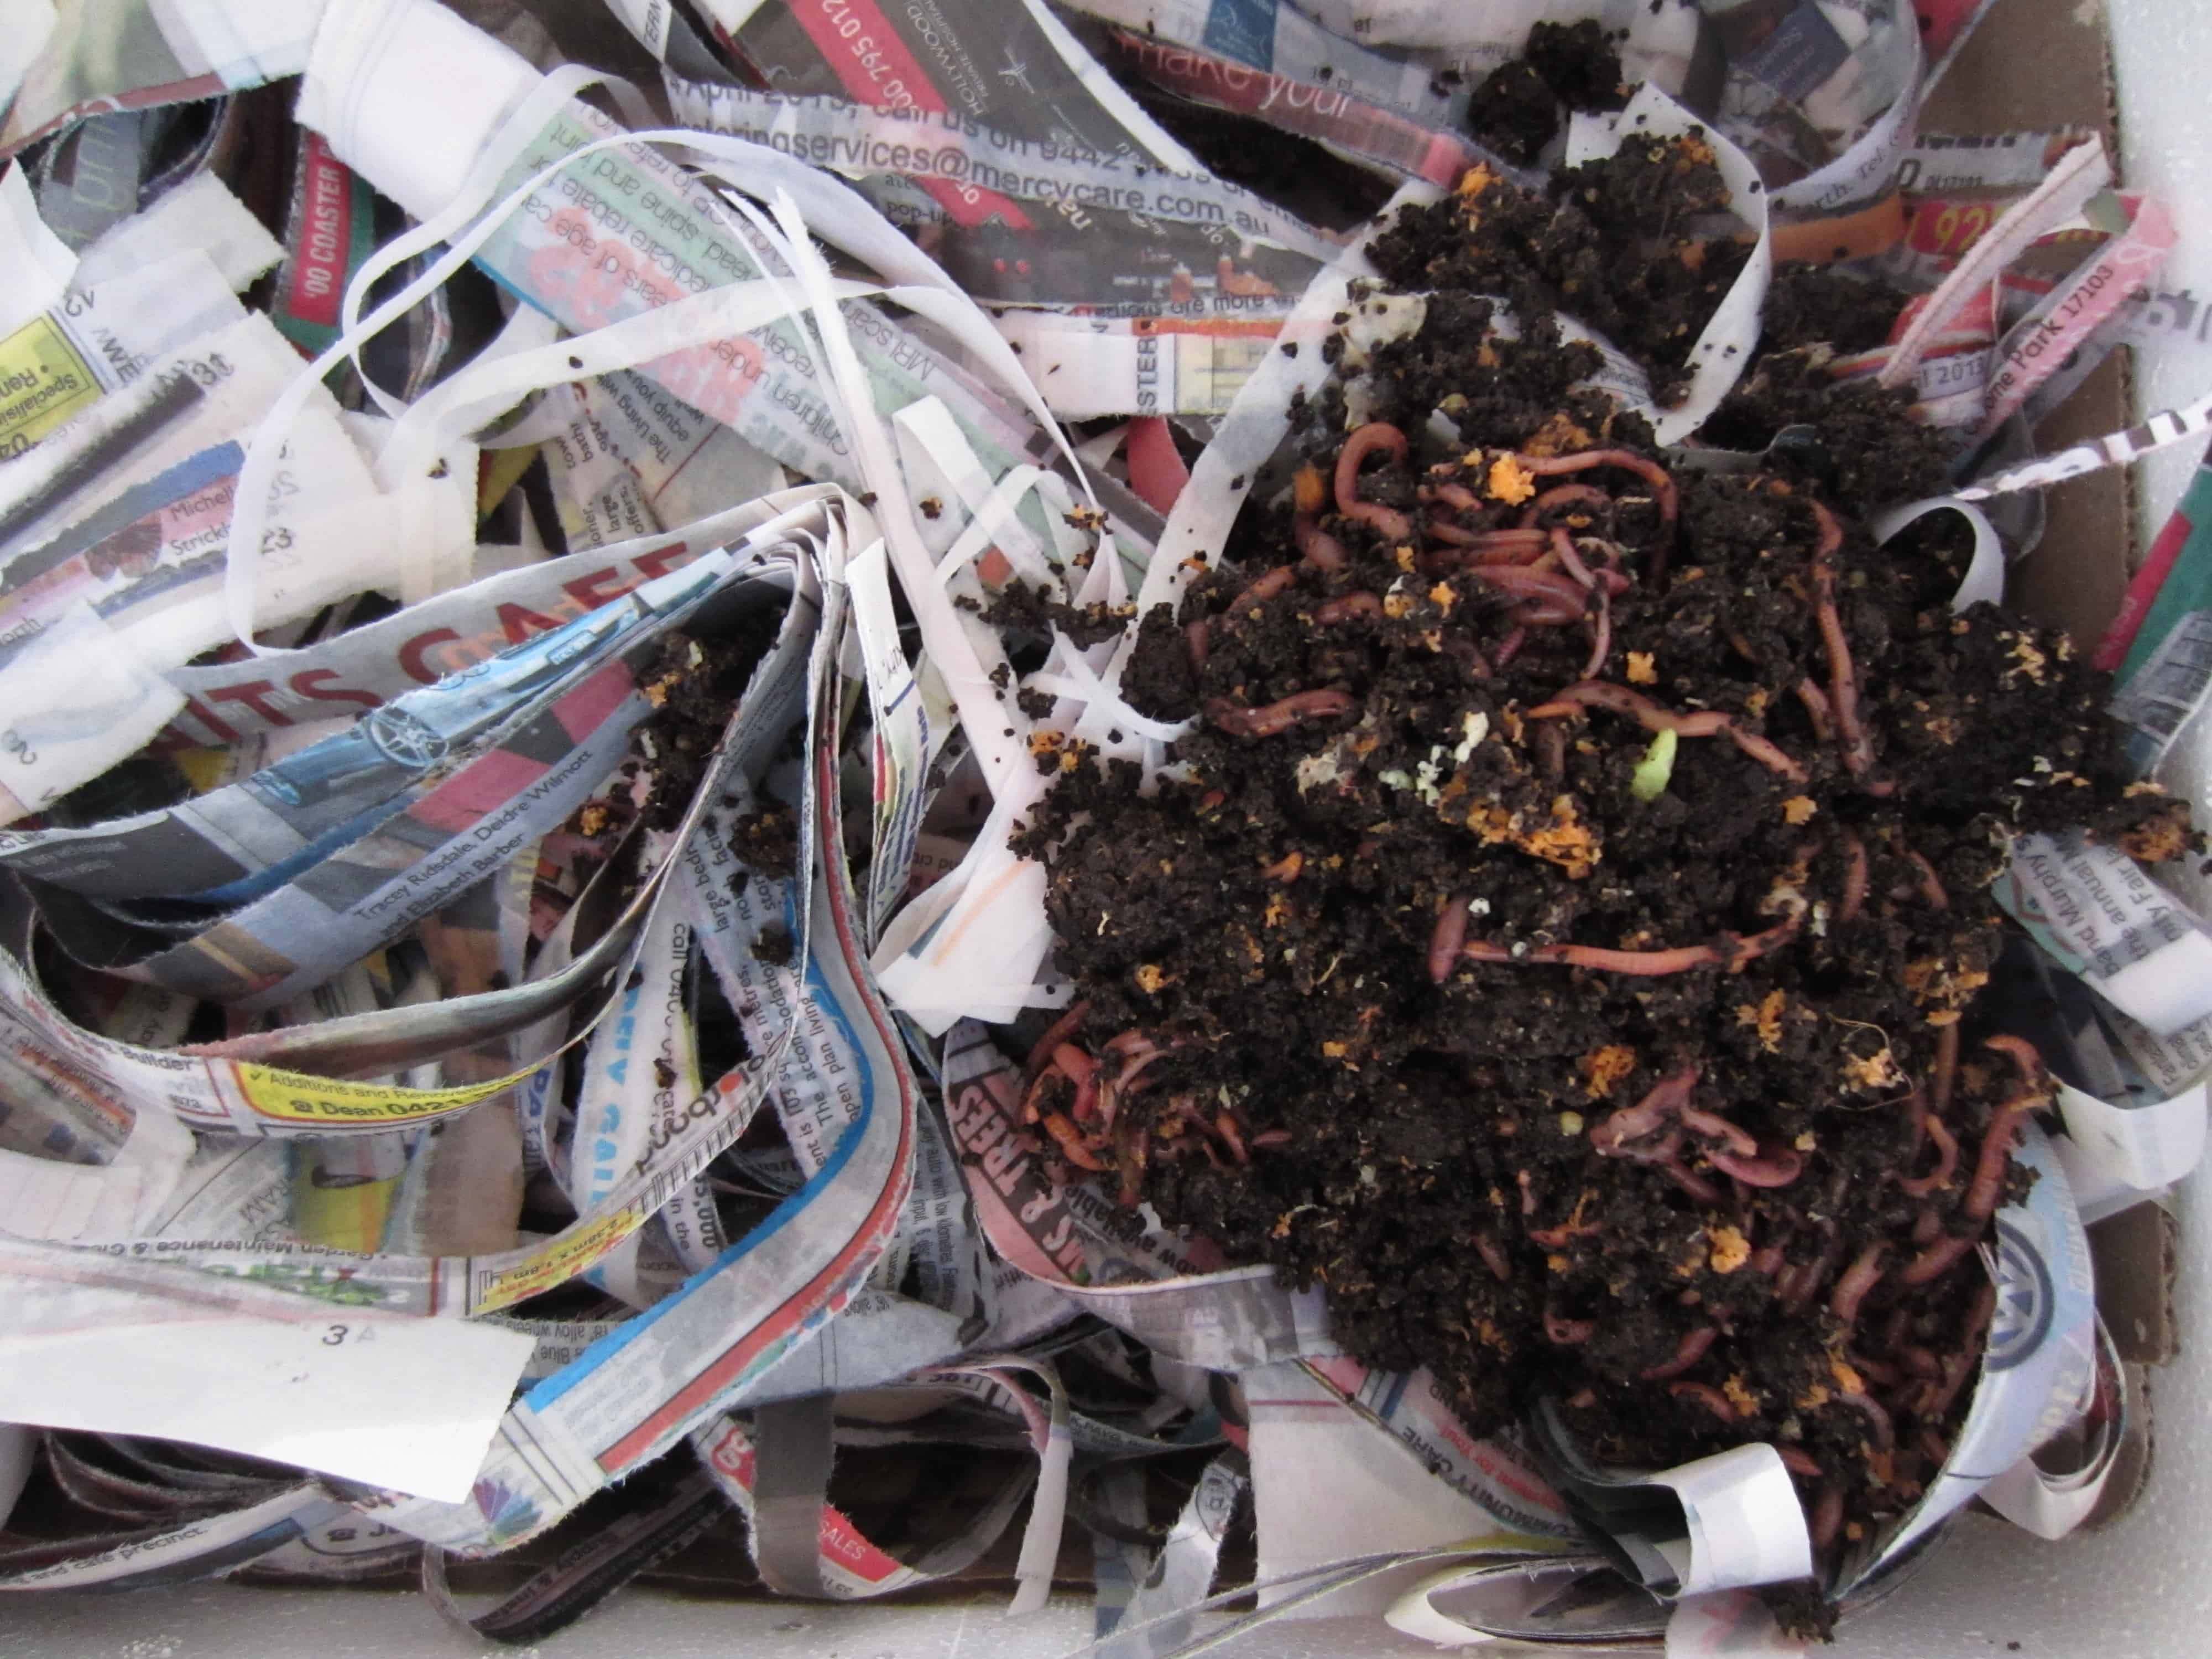
The worms in their new home : ) One fistful of worms needs one fistful of food per week. It’s important not to overfeed them as this means a stinky worm farm and can also attract other unwanted pesties who want in on the action.
Finally, cover the worms with an old towel, sack or carpet, or if you don’t have these to hand then use cardboard. This cover keeps the worms dark and damp, and keeps flies out. If you’ve used cardboard or something biodegradable you will eventually have to replace this as it will disintegrate over time.

An old flour sack acting as a worm blanket, as I don’t have any old towels.
Lastly, replace the polystyrene box lid, after piercing a couple of holes for air, and place in a shaded spot. My worm farm lives on my balcony but it would be fine to keep indoors in a laundry or kitchen…if you wanted to!
Do not feed the worms for a few days to give them a chance to settle into their new home.
And there you have it – a DIY worm farm that didn’t cost you a penny!
[leadpages_leadbox leadbox_id=1429a0746639c5] [/leadpages_leadbox]


