Tag Archive for: glass jars

How to freeze food in glass jars (+ defrost it safely)

I freeze food in glass jars, and I have done for years (we’re talking at least 15 years). As a student I resented buying things like zip-lock bags to freeze food – they seemed expensive and unnecessary. Glass jars were something I always had to hand – and they come in all shapes and sizes, which meant there was always one suitable for what I needed to freeze.

So that’s what I used.

It’s a topic that gets a lot of questions. Some people are surprised that it’s possible at all, others have tried and failed and want to know why. And there are a few rules you need to follow if you don’t want broken glass in the freezer.

In all my time freezing in glass I’ve only ever had a couple of breakages, and both times were when I didn’t follow my own advice. Stick to the rules, and you’ll be able to freeze in glass jars without breaking anything.

Understanding the science of freezing in glass

First, a science lesson! It’s helpful to understand what’s going on. Glass breaks because of stress. It’s rigid and solid, so when pressure is applied it tends to crack. (Like, for example, when you drop glass on a hard surface. It can’t absorb the impact, so it breaks.)

Although it’s rigid, glass actually shrinks a little when it’s cooled and expands a little when heated. Nothing that you can see, but it happens. When the outside and the inside of the glass have different temperatures (such as putting a glass jar of frozen food into a bowl of hot water, or putting hot liquid into a cold glass) the glass is shrinking on one side and expanding on the other, which creates stress.

The glass cracks to relieve the stress.

Water expands when it freezes. Food contains varying amounts of water and so different foods expand to different amounts when frozen. Pure water will expand the most. (You might have noticed when you make ice cubes that the level of the cubes rises as they freeze.)

Stock, soup and sauces are all liquid, and so will expand more when frozen than foods like bread or wraps, that have a low water content.

As liquids freeze and expand, they need a place to go. The sides of a glass jar are rigid and so the only way to expand is up. If a jar is narrow, or has sides that taper inwards, the extra pressure placed on the glass sides as the contents freeze will make it crack (which relieves the stress).

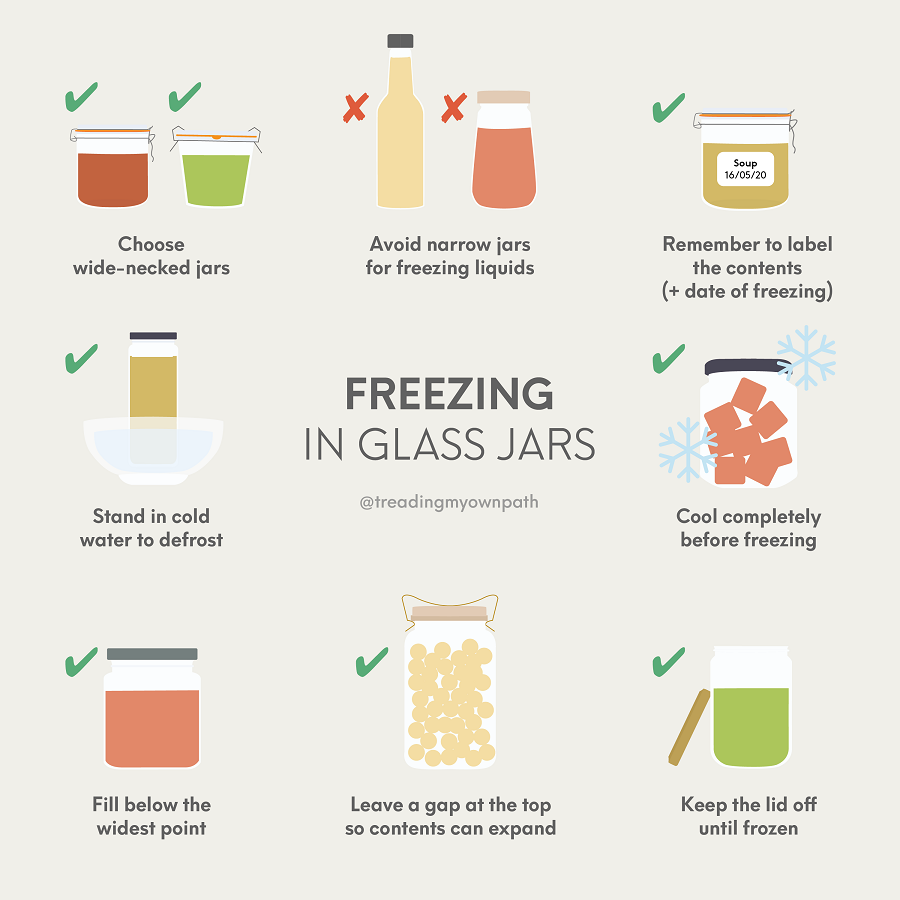
This is why wide-necked glass jars, or those with sides that taper outwards, are better for freezing, especially when freezing liquids.

Filling a wide-necked jar to the brim and then screwing a lid on tightly may also cause a jar to crack, because now there is no space at the top for the food to expand. Leaving a lid ajar until the contents are frozen will prevent this.

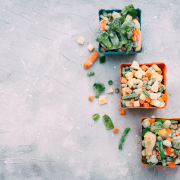
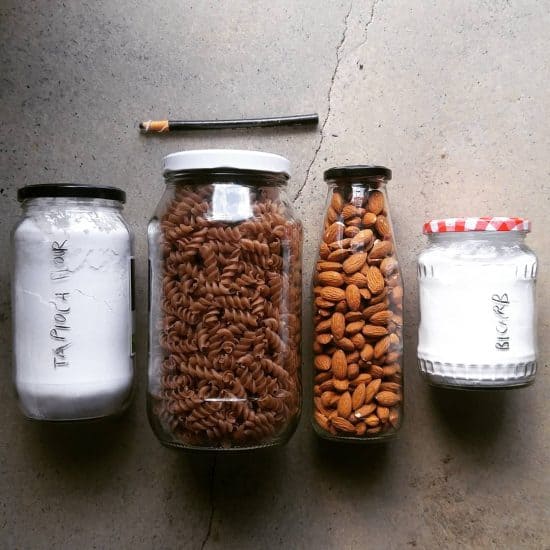
Foods like chickpeas or frozen sweetcorn have spaces between them, so there is less pressure applied to the sides of the glass (the air gaps can be filled) meaning narrower jars can be used for these types of food.

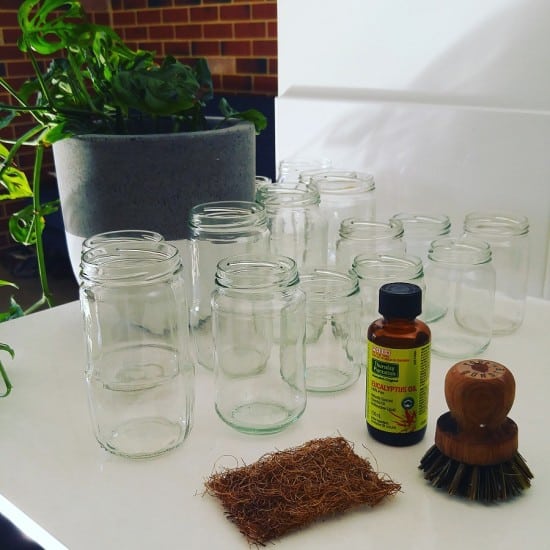
How to freeze food in glass jars: choosing suitable jars

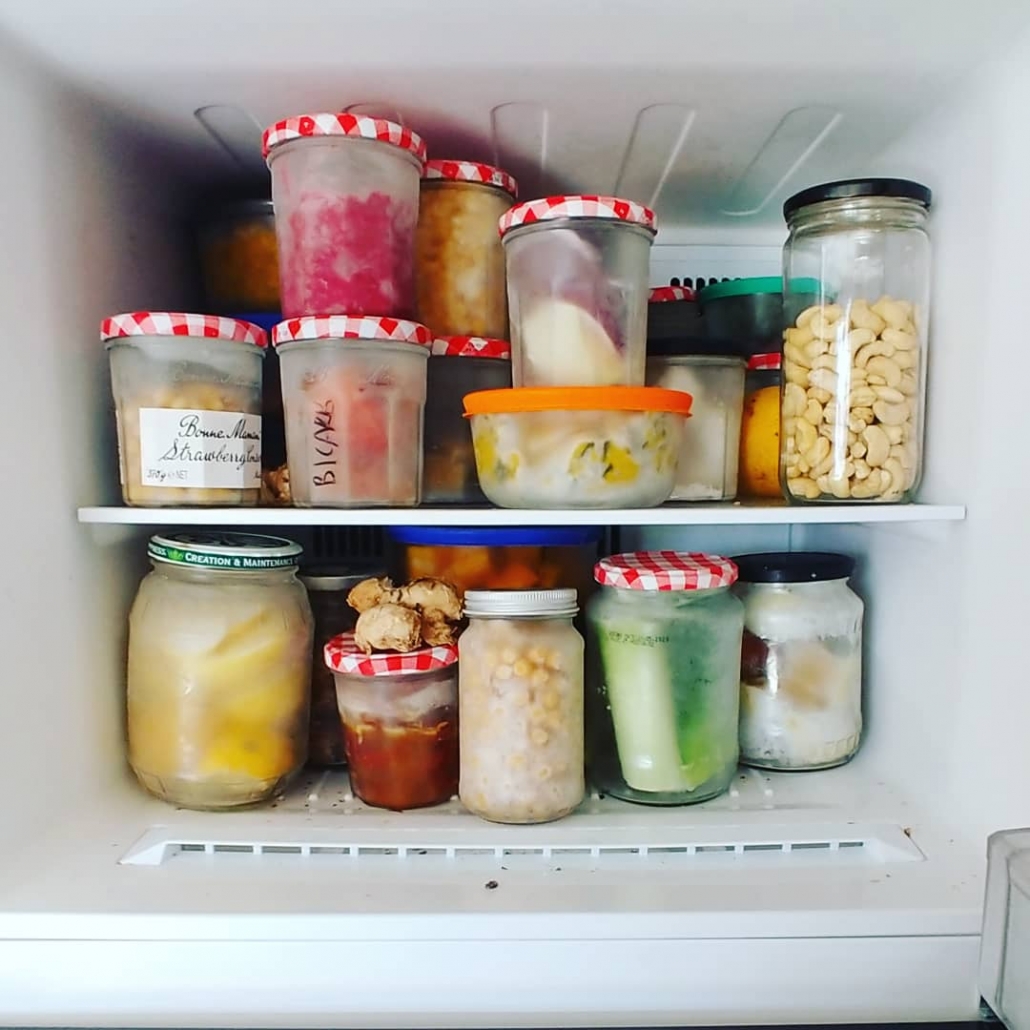
I prefer wide-necked jars for freezing, and ideally those that taper outwards. My absolute favourite is the Bonne Maman jam jar. Each jar fits a one-portion serve, and the tapered sides mean the frozen contents almost slip straight out when I’m ready to heat them up.

They are also free (I rescue from a local cafe, and neighbours who eat jam.)

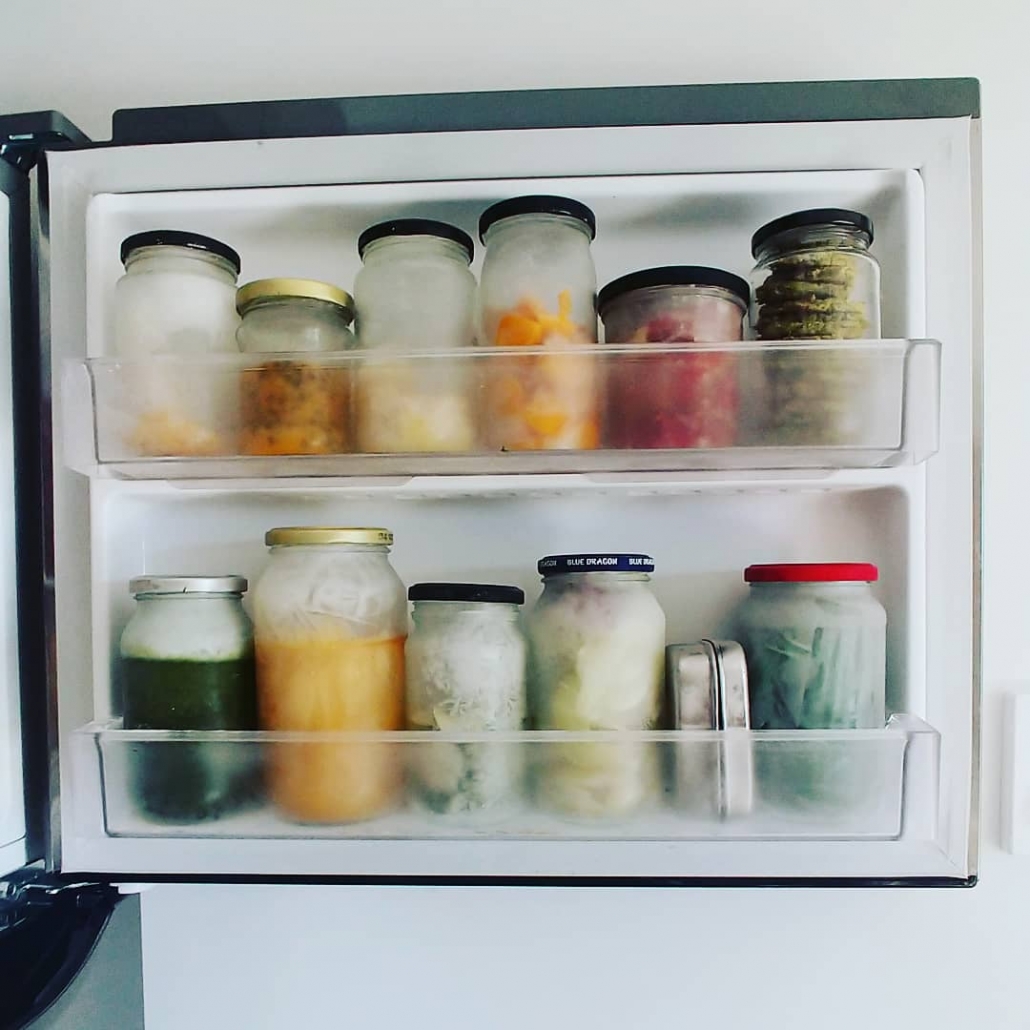
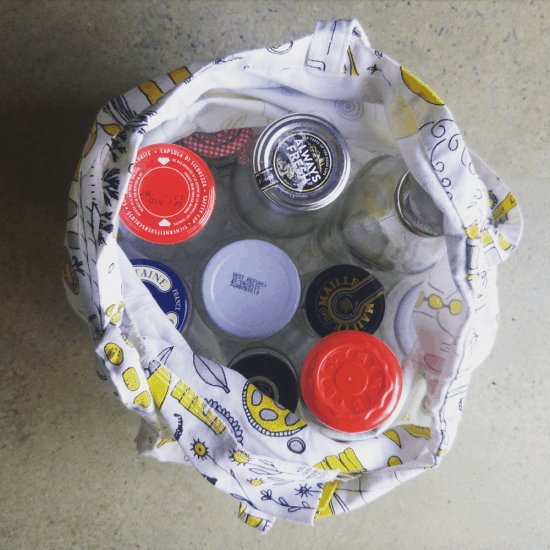
I can also stack them in my freezer, which maximises the space.

For liquids, a wide neck is very important. For beans, lentils or chopped vegetables, it’s less important, but still preferable.

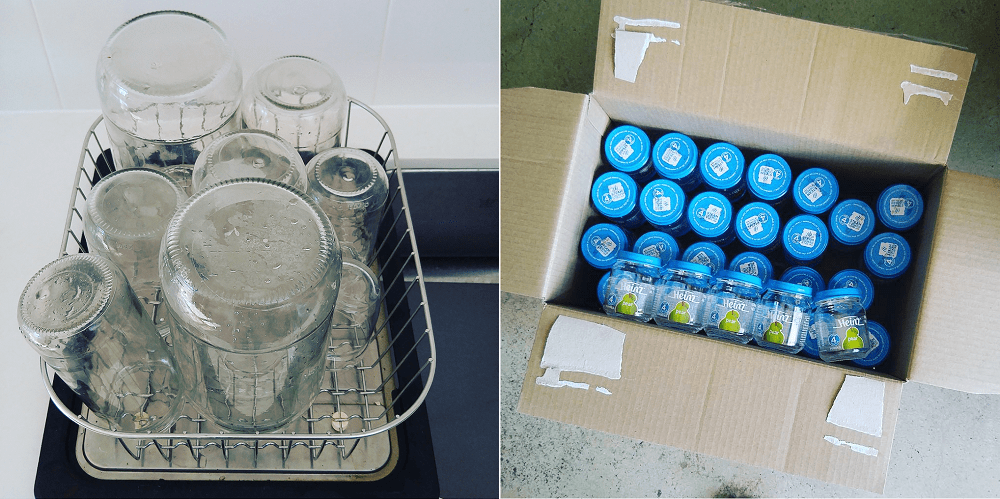
I always choose jars that would have been through some kind of heating process in a factory. Jars that previously contained jam, pickles or sauce will have been heat-treated, and are my preference. Jars from the reject shop won’t, and are often thinner glass.

Sometimes you’ll see jars that have a distinctive round circle at the bottom, which is a separate piece of glass fused to the jar. This join is another point of stress weakness, and it’s better to avoid these jars if you can. If you can’t, choose to use only with low water content foods. (Breadcrumbs yes, frozen chickpeas yes, sauces or stock, no.)

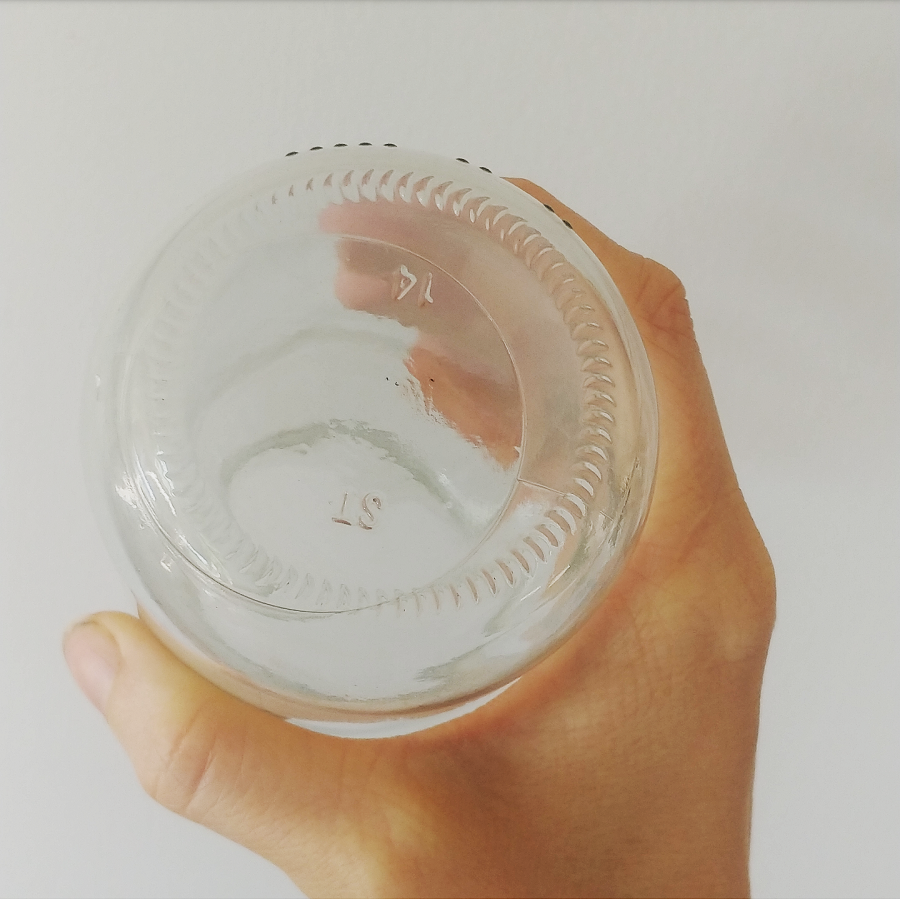
I found this out when the base of a jar I’d just used to freeze something fell out as I was washing it up. I didn’t know it was a ‘thing’ until then! Luckily the food was fine, but the process of freezing and defrosting must have weakened the seal, and the jar broke. Now I check for this before using.

If you prefer, you can stick with glass jars that are designated freezer-safe. These tend to be the brands also suitable for canning – they are designed to withstand extremes of temperature. Ball Mason, Fowlers Vacola, Weck, Le Parfait jars are all examples.

How to freeze in glass jars, step by step

Once you’ve chosen a suitable jar, fill it with whatever you want to freeze, following these rules:

  • Fill to the widest point of the jar, and leave a space at the top to allow the contents to expand;
  • Cool the food completely before putting the jar in the freezer;
  • If possible, chill the contents first. Recommended for liquids like stock;
  • Place the jar in the freezer, with the lid off or ajar;
  • Once the contents have completely frozen, screw the lid on tightly.

Don’t forget to label your jars unless it is very obvious what is inside! Your memory will not be as good as you think it is. A date is useful as well as labelling the contents.

The reasons most jars break in the freezer are putting hot contents straight into the freezer, overfilling the jar, using a narrow jar – or all of the above.

My biggest mistake was trying to freeze stock in a passata bottle. Luckily it didn’t crack until it was almost frozen solid, so there wasn’t a big mess to clean up. But it had to be discarded. Lesson learned – these things need room to move!

How to defrost frozen food in glass jars

Heating frozen glass (such as plunging into a bowl of hot water) will make it crack. Don’t do that.

If you’re super organised, you can take the jar out of the freezer and leave on the side for a few hours. Or, you can put in the fridge to defrost overnight.

(If you’re defrosting meat or fish I’d put in the fridge to thaw because they are higher risk in terms of food poisoning.)

A large and well-packed frozen Pyrex container can take a couple of days to thaw in the fridge.

Jars, less watery things, and pieces with more surface area, will defrost more quickly in the fridge.

If you’re less organised, and want to defrost something more quickly, take it out of the freezer and put in a bowl of cold water. It’s important that it’s cold, because warm water will crack your jar. Cold water is still warmer than ice.

Depending what it is, you can add cold water to the frozen item (pour cold water into the jar) – this is how I thaw my frozen chickpeas. It separates them, which means I can get them out of the jar.

It would work for frozen veg, like sweetcorn. You wouldn’t do it to a piece of cake. 

If you’re less organised and also impatient, your best bet is to freeze food in containers or jars that taper outward. Pyrex tapers out slightly, as do Weck jars, as do my all-time favourite, Bonne Maman jam jars. What this means is, as soon as the food starts to defrost, which will happen from the edges inward (the centre will be the bit that thaws last), the frozen food will slide out of the jar.

Take out of the freezer, sit in a bowl of cold water, wait 10 mins or so and then empty the frozen lump into a pan or bowl, or whatever you are going to use to heat up your food. I don’t have a microwave, so I use a saucepan.

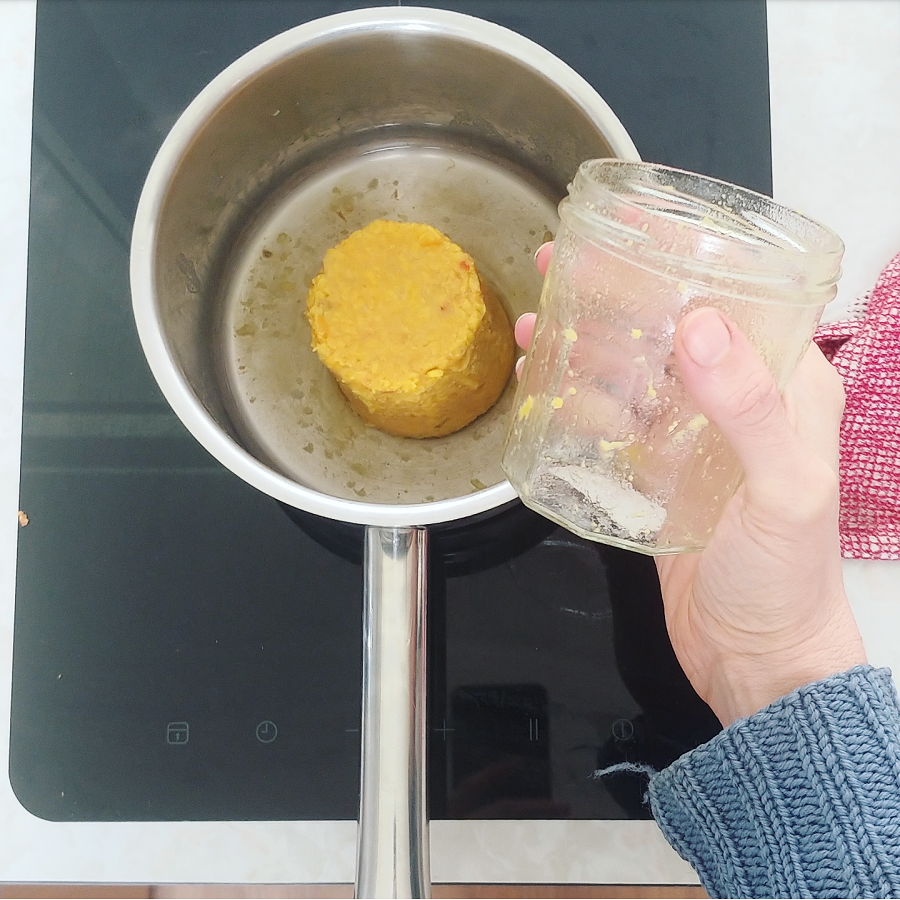
I use a low heat and a lid on the pan, and stir to separate the thawed bits from the frozen core. Gradually it reduces down, and eventually its piping hot, and you’re good to go. 

Readers have told me that they put frozen glass jars in a microwave to defrost. I’d be extremely careful doing this, as microwaves don’t heat evenly – if part of the glass is touching hot food and another part is still frozen, the glass will be under stress and may crack. But (apparently) it can be done.

I hope this answers all of your freezing-in-glass-jar related questions! As always, any thoughts, suggestions or ideas that you have, please share with us in the comments. Ask away, I’d love to hear from you!

[leadpages_leadbox leadbox_id=123a865e9839c5] [/leadpages_leadbox]

A Zero Waste, Plastic-Free Living Guide to All Things Jars

Glass jars are almost the symbol of the zero waste movement, and for good reason. Glass jars are super useful, readily available and extremely versatile. If you’ve been slinging your empty jam jars in the recycling, think again!

There are plenty of ways that you can use glass jars, and plenty of places you can pass them on to others who will use them.

No glass jar deserves to be single-use. This is the zero waste life, after all!

Some Uses for Glass Jars

If you have access to a bulk store (where you can put food directly in your own containers to avoid packaging), glass jars are perfect. Ensure the weight of the jar is recorded (you may be able to do it yourself, or you may need to ask a staff member to do it for you) so you don’t end up paying for it!

Shopping this way makes it very easy to unpack straight into the pantry.

Jars can be used for storing food – taking lunch to work, keeping your pantry organized, holding snacks, storing leftovers in the fridge, and storing food in the freezer. Wide-neck jars are more suitable for freezing – ensure the contents are chilled before freezing, don’t overfill the jar (frozen food will expand) and loosen the lid until fully frozen, to allow for expansion.

Jars can be used on the go for takeaway smoothies or coffee. If you want to protect fingers from scalding, make a heat band using elastic bands or charity silicone wristbands, or use fabric.

Jars can be used when making jam and chutney, for preserving and canning. They can be used to make fermented foods like sauerkraut. (In time, the lids will need replacing, but most lids should last a few rounds. For canning you’ll need jars that are suitable for this purpose.)

Jars can be used to store non-food items, like toothbrushes or pens, keep small recyclables like batteries or bread tags, or for freshly cut flowers/foliage.

Jars can be used for keeping cleaning products such as laundry powder and personal care products like moisturiser. Some can be purchased in bulk, or you can make your own. They can be used for candle making.

Jars can be adapted with grater insert lids, pump and dispenser arm lids and sprinkler attachment lids to make them multi-purpose and increase functionality.

Jars can be used as gift packaging (store-bought or homemade treats, soap). A bit of fabric over the jar lid and they look fantastic!

If you’re so inclined, you can even use a glass jar instead of a rubbish bin.

Glass jars replace so many things we have around the house. They are versatile, multi-functional and available everywhere.

Where to Find Glass Jars

The zero waste lifestyle is the second-hand lifestyle, so the ideal would be not to buy any brand new jars.

First, stop recycling your glass jars and save them for re-use. Rescue glass jars out of your friend’s (and family’s) recycling bin. Rescue jars from the office kitchen (the enormous coffee jars that are often found in workplaces are great for food storage). Rescue glass jars from restaurant and cafe recycling bins (you’ll probably need to ask first – this is where I sourced my 2 litre glass jars).

Ask on your local Buy Nothing group, or zero waste/sustainable living Facebook Group. Look at online classifieds such as Gumtree or Craigslist to see if anyone is donating or selling boxes of old glass jars.

Charity shops are a great place to find vintage glass jars, and some of the more fancy/specialist jars such as those required for canning.

If you really need to buy new, consider visiting a local specialist cookware or homewares shop rather than ordering online. Glass is breakable and needs to be heavily packaged to protect it – this will probably mean using plastic.  Then there’s the carbon footprint associated with shipping (glass is heavy).

It is lower waste to buy the jars that have already been shipped to within a few kilometres/miles from your home.

If you can’t bear the thought of second-hand mismatched jars and really need a set that is more pleasing on the eye, plus don’t have time to trawl through online classifieds slowly slowly building up a matching collection, no judgement. Everyone has a mess threshold and if this is what tips you over the edge, do what you need to do. You’ll be using whichever jars you end up with forever – that’s how zero waste works, right?!

Different Types of Jar Lids

The most common jar lids are those from repurposed jars: made of steel with a plastic lining inside to slow down the metal rusting/corroding.  The threads wear over time, so older lids will not give airtight storage. Whilst not plastic-free, the plastic typically isn’t touching the food, and I’m happy to use these as they are readily available at fit the jars I have.

Occasionally you might see aluminium lids, and these have a plastic wax disc inserted to separate metal and contents. The wax disc can be easily removed to create a plastic-free jar and lid.

Some jars have plastic lids. If the jar is a shape I know I’ll use, I’ll keep it, otherwise I’ll pass it on (more details on where at the end of the post).

If you really want to avoid plastic, its possible to find jars with glass lids, that seal with a silicone band. The lid stays attached to the jar with a metal hinge system or with metal clips. These jars are also suitable for canning as the silicone band creates an airtight seal.

Le Parfait is the classic French brand for the hinge lid jars, although many similar versions exist without the visible branding. Weck jars are German, and use the clip system. It is possible to buy wooden lids for Weck jars which seal without the clips – not suitable for canning but more suitable for pantry storage.

Metal jar lids can be recycled via a metal recycler at the end of their life, and new lids can be purchased from specialist kitchenware shops or online without needing to buy a whole new glass jar to go with it. Alternatively, you can find second-hand jar lids.

How to Remove Labels from Glass Jars

If you’re lucky, the label on the jar will peel straight off. If not, try soaking in water for a few minutes. For some labels this loosens the glue and then label comes straight off.

If you attempt to pull off the label and it comes off, leaving a sticky, gloopy mess on the glass in its wake, my tip is to use eucalyptus essential oil. (I’ve been told lemon essential oil also works well.) Dab some onto a rag, and wipe – the glue comes off instantly.

If that’s not an option because even after soaking all you’ve managed to do is fray the outer edges of the label, coconut oil will get that label off. Smother the label in coconut oil, and wait. I usually do this overnight – but this time I have label rage and need a break before resuming the activity! After a few hours, the label will just slide off. Magical!

Of course, you don’t have to remove the labels. But it is a lot easier to see what is in the jars, looks neater, and saves the confusion of eating “mustard” only to find out it is jam, or constantly moving the dried oats to the fridge because the label says “keep refrigerated”.

Finally, on the topic of labels: if your lids are slathered with brand logos or are a rather unappealing shade of green or lurid yellow, you can paint them with blackboard or other paint. You could by replacement lids. Alternatively, you can put up with the marketing in your cupboard.

Labelling your Glass Jars

Now you’ve got the old labels off, time to label with what’s actually in the jar. The contents of the jars I keep in my pantry swap and change all the time so I don’t want permanent lettering and labels. If you do, you could use a label maker, if you have one (it is plastic).

Alternatively you could paint blackboard paint rectangles on the jars, and write on what’s inside as it changes.

If you have sharpies and marker pens at home (I don’t) you can use these.

I use a china pencil – a wax pencil wrapped in paper. I have a black one and a white one. Art supply stores will sell these. I label my jars infrequently – only when I know I can’t tell what it is without the label! I wouldn’t label pasta, for example – but bicarb? That’s a yes.

Alternatively an option is to label on scrap paper or card, and tie the label to the jar with elastic bands or string.

What to Do with Glass Jars When Your Jar Habit Gets Out of Hand

Eventually – dare I say it – we can end up with too many jars. When the pantry is full of glass jars, the bathroom cupboard is also full of glass jars, the cupboard under the sink is overflowing with glass jars, and there are two surplus boxes of glass jars in the garage/shed, it is probably time to let some glass jars go.

There’s really no need to hoard jars. If you suddenly realise that you need more glass jars in the future, you’ll be able to find some, for free, in a matter of hours. Probably less.

Rather than let your excess gather dust, pass them on to someone who can use them straightaway.

Glass jars can be gifted (and even sold) via social neighbourhood network sites, Buy Nothing groups, zero waste or sustainable living Facebook groups and online classifieds – the same places I suggested for looking for jars at the start.

Some bulk stores will accept old glass jars for reuse. They pass onto customers who forget their own containers when they come to shop at the store. Charity shops might accept glass jars, but they will only want the good ones (branded is better), not the ones you fished out of recycling.

Glass jars are like the currency of zero waste. Use them where we can, pass them on when we cannot. Do not throw them away! They are a great reusable vessel, and single-use jars are surely a crime. Why would we go to the trouble of putting a glass jar in the recycling bin, only for it to be transported, ground down, melted and remolded right back into… a glass jar?

The zero waste lifestyle is the second-hand lifestyle, after all.

Now I’d love to hear from you! What do you use glass jars for? What’s the most unusual use of a glass jar you’ve come across? Any tips for finding quality glass jars, or any tips for where to pass unneeded jars onto? Are you a fan of second-hand, or do you buy new? Any other thoughts? Please share your ideas in the comments below!

How to Get Candle Wax out of Glass Jars

You’ve probably seen pictures on Pinterest or elsewhere of jam jars holding candles and tealights and looking oh so magical. Magical, yes, but are they practical? By that I mean, how on earth do you clean the glass jars afterwards?!

I’m not really into candles. I’m definitely not into conventional tealights, those mass-produced paraffin (petroleum-based) white wax versions. Nor am I keen on soy-based candles, because unless it is clear where and how the soy is grown (and it usually isn’t clear) it could be contributing to rainforest destruction and population displacement. Plus, those soy tealights are often housed in polycarbonate casings – and that means single-use plastic! Beeswax would be my preferred choice, but beeswax is expensive. Besides the expense, I think they make surfaces look cluttered and just gather dust. I think candles are a luxury that I just don’t need.

Last weekend, though, I splashed out and bought some candles. We had some friends around at the weekend for a belated housewarming – it is pretty exciting to be able to get more than four people in the flat at once (that’s all the old place could handle). However, the light in our flat isn’t ideal in the evening, so my boyfriend decided it would be good to get some candles. Yes, it was his idea! We borrowed two lamps from his parents, and I bought some beeswax candles to put in glass jars.

I was determined to reclaim my glass jars once the candles had burned out. I used wide-neck jars (so I could get my hand in there afterwards), and put each candle in an upturned jam jar lid, which I thought would neatly capture all the wax

Turns out I know nothing about candles. Once they had burned out, the wax had spilled over the jam jar lid and glued it to the bottom of the jar, along with so much melted wax it was ridiculous.

Melted beeswax candle
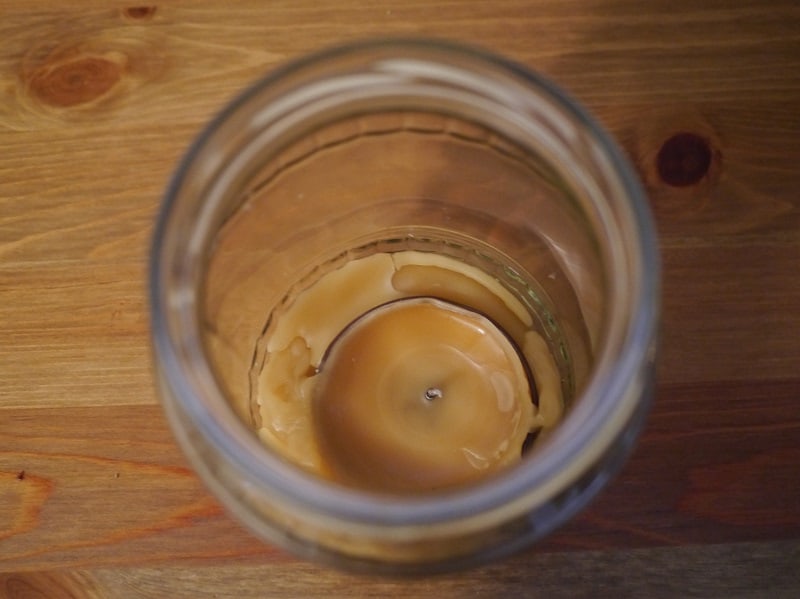
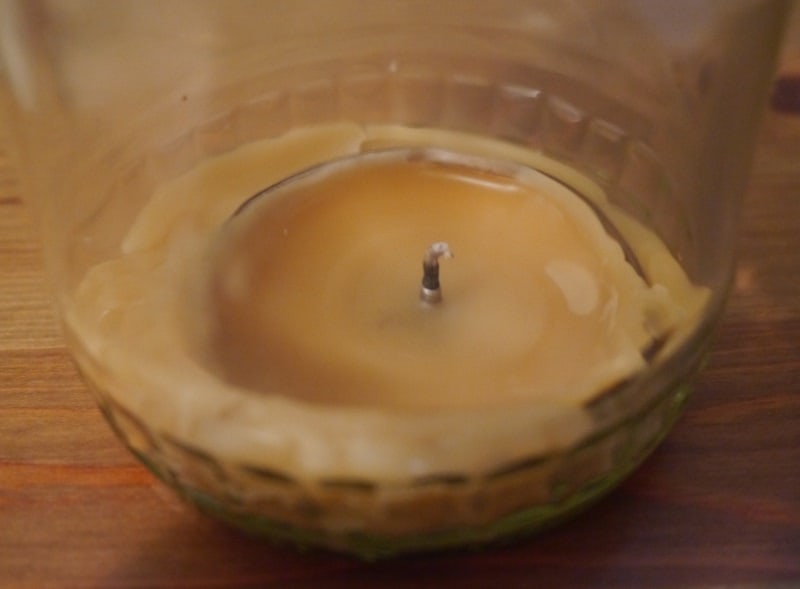
This is what my poor glass jar looked like. The wax looked well and truly molded in there. But I wasn’t chucking it away without a fight. Oh no!

I had visions of boiling the jar in a pan to release the oil and other complicated and hazardous methods for removing the wax, but I thought I should check with the internet first, and I came across a far simpler alternative. So simple, in fact, that I wasn’t entirely convinced it would work.

Put the jar in the freezer.

Yep, that’s it. Apparently the wax shrinks slightly when frozen, just enough to loosen it from the glass.

So I stuck the jar in the freezer for an hour. This is what happened:

melted beeswax candle in a glass jar Freezing melted beeswax to remove from a glass jar Removing melted beeswax from a glass jar frozen melted beeswax leftover melted beeswax

I did use a knife to dislodge the wax, but it came out very easily. The wax is very brittle, and shatters. I’m keeping the leftover wax (HOARDER ALERT!) for the time being, as it is expensive to buy. Who knows, maybe I can make my own candles? Erm…or maybe not.

If I buy candles again, I don’t think I’ll bother placing it on a jam jar lid. It’s probably an unnecessary step.

I am so excited about this trick that I thought I’d share it with you. You know me, I love zero waste, and I also like it when you try something for the first time and it actually works! Apologies if you’re not into candles…then again, neither was I four days ago. But now, maybe I’m going to become a candle person after all.

[leadpages_leadbox leadbox_id=1429a0746639c5] [/leadpages_leadbox]