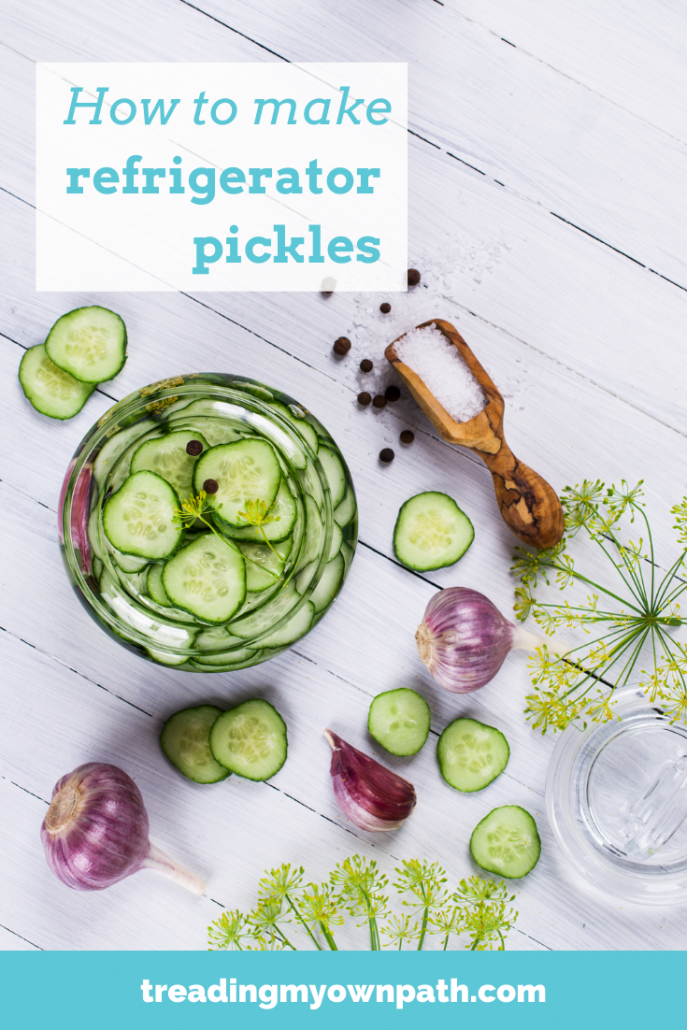
Fight Food Waste: How to Make Refrigerator Pickles
I’m heading overseas in less than a week, and in a moment of memory loss I forgot to cancel this week’s veg box. Needless to say I now have a fridge packed full of fresh organic vegetables, when really I need to be using stuff up, not buying more.
Whilst I don’t really have the time to be food prepping, I do have the time to make refrigerator pickles. It’s a simple way to preserve things like cucumbers, chillies and cabbage in just a few minutes and store them in the fridge until they are ready to be eaten.
Pickling (and preserving in general) is not just for homesteaders, or people with gardens full of fresh produce. It’s for anyone who appreciates the value of good food and doesn’t want to chuck stuff in the bin.
If you’ve ever been faced with more food in your fridge than you can actually eat fresh, you might find this useful.
Refrigerator Pickles versus Canning
Refrigerator pickles is a quick and easy way to preserve vegetables, but it is not the same as canning. Canning involves more processing, much more care, boiling the jars to ensure sterilization – and it means that the resulting cans can be stored at room temperature.
Refrigerator pickles need to be kept in the fridge. It’s a way of prolonging the life of fresh veggies using salt, sugar and vinegar to deter bacterial growth and spoilage, but also relying on the cool temperature of the refrigerator to slow it down rather than using heat and sterile techniques (which is canning).
Refrigerator pickles are easier, quicker and more forgiving. People choose to can when they don’t have the fridge space, and are storing big quantities. Most of us have the fridge space for a few jars of pickled cucumbers.
Refrigerator Pickles – Preparation
Unlike canning, it’s not necessary to sterilize your equipment, but it is good practice. Refrigeration slows down spoilage but doesn’t kill bacteria, so doing all we can to keep things clean will increase the shelf life.
Wash glass jars with hot, soapy water, then place on a baking tray and heat in the oven at 160°C for 10-15 minutes. Place the lids (and any spoons) in a pan of boiling water for 5 minutes.
Salt, sugar and vinegar are all preservatives so avoid reducing these. There’s no hard and fast rules about spices used, or quantities, so feel free to adjust according to what you have and taste preferences.
Fresh dill is great with cucumbers, if you have it.
If you run out of brine after filling the jars, simple heat a little extra vinegar and pour on top.
I usually decide what size jars I need by packing the sliced produce into jars before making the brine. Then I clean and sterilize the jars before refilling.
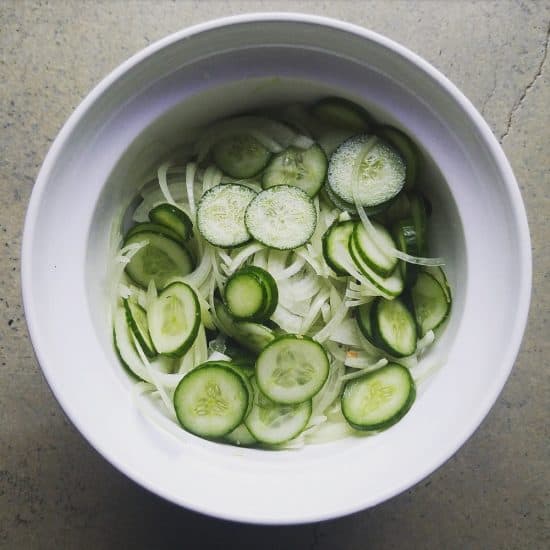
Cucumber Pickles (Bread and Butter Pickles)
Ingredients:
600g cucumber (3 Lebanese cucumbers), sliced into thin rounds
1 white onion, thinly sliced
250ml (1 cup) white vinegar / apple cider vinegar
250ml (1 cup) water
60g (1/4 cup) sugar
1 tbsp salt
1 tsp mustard seeds
1 tsp black peppercorns
1 tsp fennel seeds
Pinch of turmeric
Method:
Place the sliced cucumber and sliced onion in a bowl and sprinkle with salt. Leave for a couple of hours to draw out the water, then drain well in a colander.
Pour the water and vinegar into a saucepan, and add the sugar and spices. Bring to the boil, ensuring the sugar has dissolved. Simmer for 5 minutes, then add the cucumber and onion, and turn off the heat.
Place the cucumber and onion into the glass jars using tongs, then pour the liquid over the top until completely submersed and with a 1cm gap at the top of the jar. Ensure there are no air bubbles (banging the jar gently on the counter, or stirring with a spoon handles will remove them).
Secure the lids, then pop in the fridge and store for up to 6 months. Can be eaten straightaway.
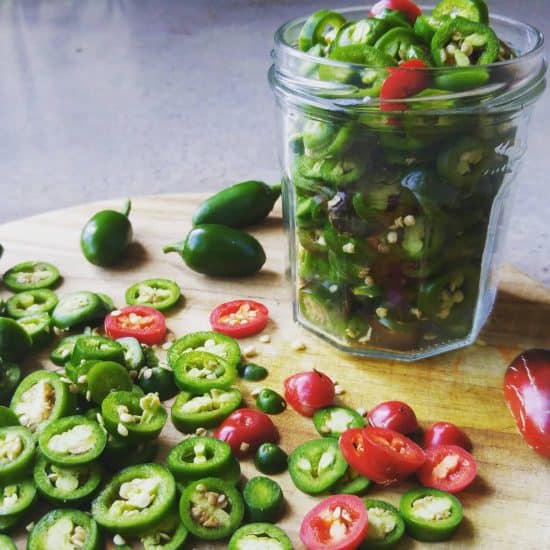
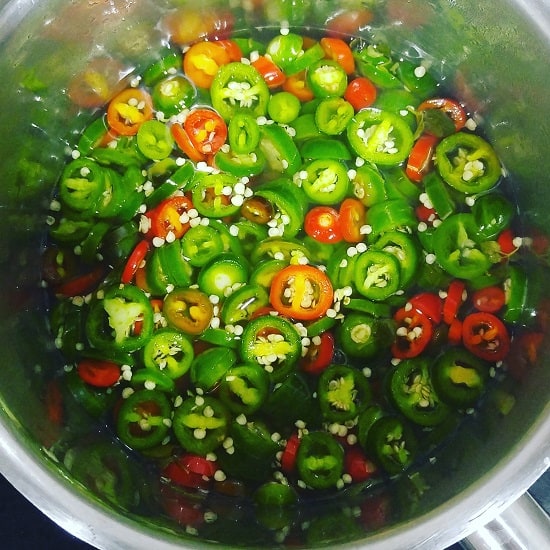
Jalapeno Pickles
Ingredients:
20 – 30 jalapeno (or other) chillies, sliced into rounds
185ml (3/4 cup) white vinegar
185ml (3/4 cup) water
1 tbsp sugar
1 tbsp salt
1 clove garlic, crushed
Optional: 1 tbsp fresh or 1 pinch dried oregano
Method:
Slice the chillies into rounds.
Pour the water and vinegar into a saucepan, and add the sugar, salt, garlic and oregano. Bring to the boil, ensuring the sugar has dissolved. Simmer for 5 minutes, then add the chilli, and turn off the heat. Leave to sit for 10 minutes.
Place the chillies into glass jars using tongs, then pour the liquid over the top until completely submersed and with a 1cm gap at the top of the jar. Ensure there are no air bubbles (banging the jar gently on the counter, or stirring with a spoon handles will remove them).
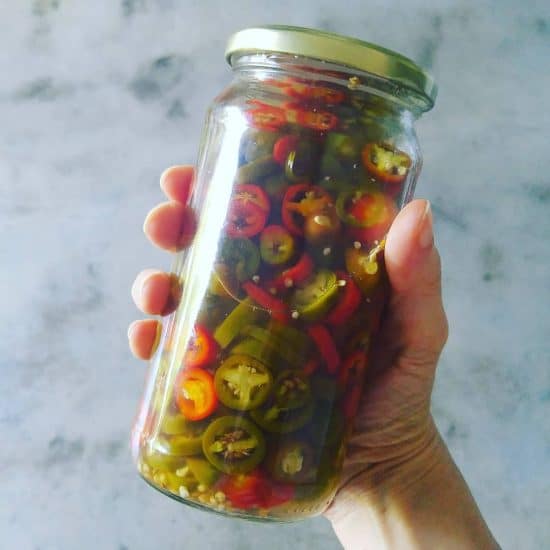
Secure the lids, then pop in the fridge and store for up to 6 months. Can be eaten straightaway.
TIP: Once in the fridge, the garlic may turn blue. This may seem like cause for concern but actually it’s completely safe. There’s a number of reasons why the garlic might turn blue: soil conditions, garlic type, metal traces in the water and enzyme content. It might look odd but it’s fine to eat.
Pickles are a great way to preserve food when it’s abundant (such as cucumbers and chillies in the summer) and store them for when they are out of season. Sure, they don’t taste exactly the same as the fresh versions, but it’s a great way of bringing a little sunshine into winter meals.
Now I’d love to hear from you! Do you make your own pickles? What flavour combinations do you like? What’s the most unusual thing you’ve ever pickled? If you’ve never pickled anything before, are you game to give it a try? Share your thoughts in the comments below!
[leadpages_leadbox leadbox_id=1429a0746639c5] [/leadpages_leadbox]