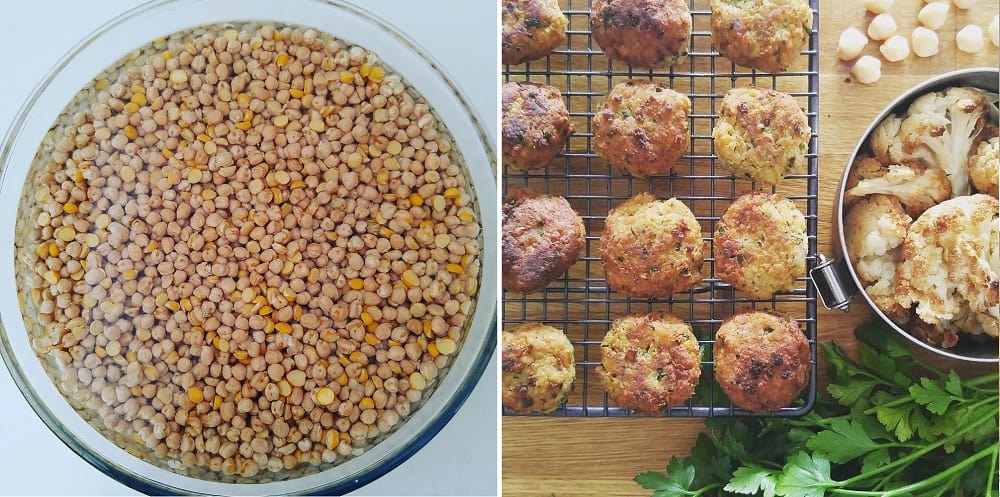
Zero Waste Kitchen: DIY Chickpea Falafels Recipe
I buy dry chickpeas in bulk, a couple of kilos at a time. I soak them, then cook them, and then proceed to make every chickpea recipe I can think of. (I do freeze the spare for later, so it’s not about needing to use them up. More a celebration of this delicious and super versatile legume.)
One of my staples is chickpea falafels.
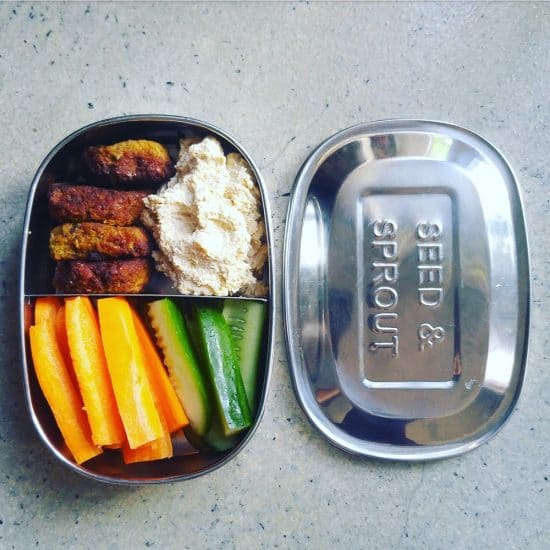
Falafels are actually only a recent staple. Well, the DIY version are. Back in 2011, before I left the UK, I’d buy little plastic tubs of falafels all the time. Plastic tub with plastic lid, and cardboard packaging outer – with 8 falafels inside. I could polish those off in one sitting! Oh, the single-use packaging waste! {Cringe.}
Then I went plastic-free, and falafels were no more.
I’ve tried making falafels many times over the years, but every attempt was a dismal failure. Dismal and messy, I should add. (Which is why I purchased the little tubs.)
I figured they were just too hard, until I went to a party where we had to bring a dish, and my friend brought homemade falafels. And they were ah-mazing! I demanded the recipe, and vowed that I would make them too.
Confession: the first time I made them, they were a disaster. But I knew that my friend had mastered it, so I knew it was possible. I stole all her secrets (we spent rather too much time discussing the finer details of falafel making), I tweaked the recipe a billion times to adjust to my taste and what was in my pantry, and now I have a recipe that works every time. Hurrah!
So if you’ve tried to make falafels before, and you’ve found that they’ve been a disaster, I want to encourage you to try again. Not all recipes are equal, and a homemade falafel is worth striving for, in my view!
But first, let me quickly talk about chickpeas.
How to Cook Chickpeas from Scratch
Tinned chickpeas tend to have added salt and sugar, not to mention come in a steel tin can that ends up in the recycling. Bulk dried chickpeas are a fraction of the price, and there’s no (or next-to-no) packaging or additives.
Plus fresh always tastes better.
I buy chickpeas a couple of kilos at a time, and cook a big batch. First, I soak.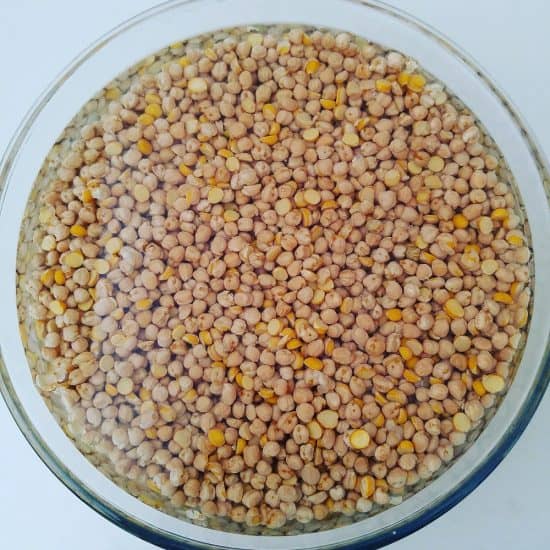
I take my soaking very seriously. Soaking makes chickpeas and other pulses more digestable because they release anti-nutrients. It’s not just about reducing the cooking time.
I soak my chickpeas for 2 – 3 days, changing the water every 8 – 12 hours.
After the first couple of days, bubbles start to appear. Then I know that biology is happening and they are becoming more digestible. (They are actually gearing themselves up to sprout, which is what will happen if they get soaked for about 5 days.)
I usually change the water a couple of times after the bubbles start appearing, over the space of a day or so.
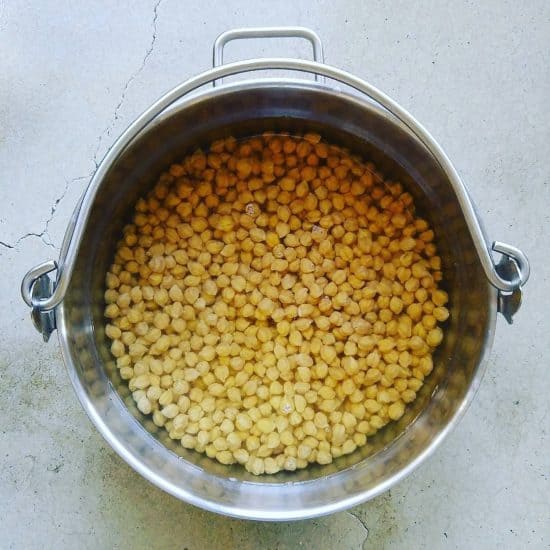
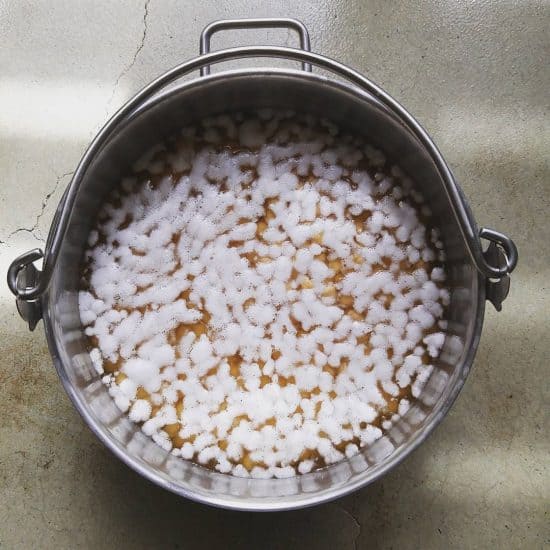
After the final rinse/water change, I cook on the stove for 1.5 hours.
Then they are drained (don’t forget to save the water! This rather murky looking liquid is actually the stuff of magic – aquababa!) and left to cool. After that, I pack the chickpeas into jars and containers. They will keep in the fridge for at least a week, and can be frozen.
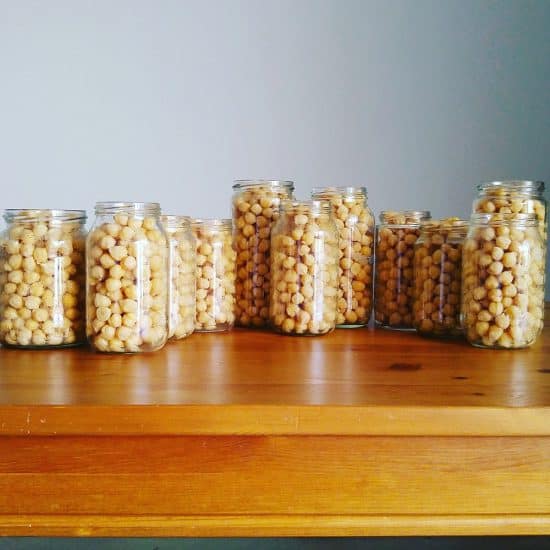
Or, I make falafels! Here’s how.
Recipe: DIY Chickpea Falafels
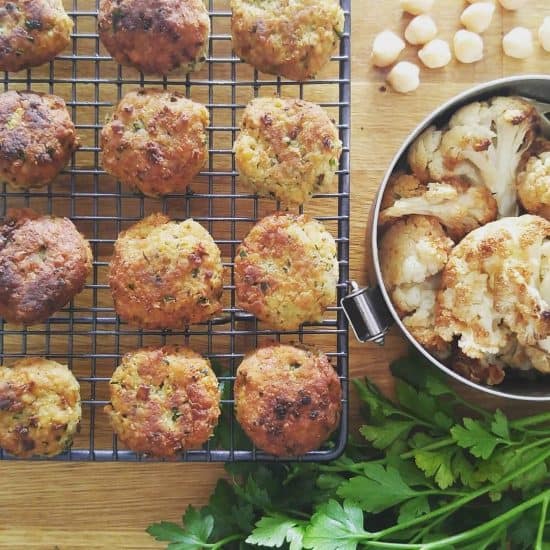
You’ll need a food processor or stick blender with a chopper for this.
Ingredients:
4 cups chickpeas
1/2 cup coarsely ground oats
4 tbsp potato flour or tapioca flour
2 onions, chopped
3-4 garlic cloves, chopped
4 tsp ground cumin
4 tsp ground coriander
1/2 tsp cayenne pepper
1 tsp salt
2 big handfuls fresh coriander, finely chopped
2 big handfuls fresh parsley, finely chopped
Oil, for frying.
Method:
If you don’t already have coarsely ground oats, take regular oats (you’ll need slightly more than 1/2 cup oats, as you get more ground oats in a cup than you do whole oats!) and whizz them in a food processor until they resemble coarse breadcrumbs. Set aside.
Next, whizz the coriander, garlic and parsley together to make a green paste and set aside.
Add the chickpeas to the food processor and grind until coarse. Add the onion and blend again until combined. It’s fine to be a little chunky. You’ll continue to blend as you add other ingredients so it doesn’t need to be super smooth.
Add the flour, oats and spices, and mix again until combined.
Finally, add the green herb/garlic paste and stir to combine. I do this last as it’s easy to see when it has all combined evenly.
If the mixture feels hot and sticky, pop in the fridge for at least 30 minutes to chill.
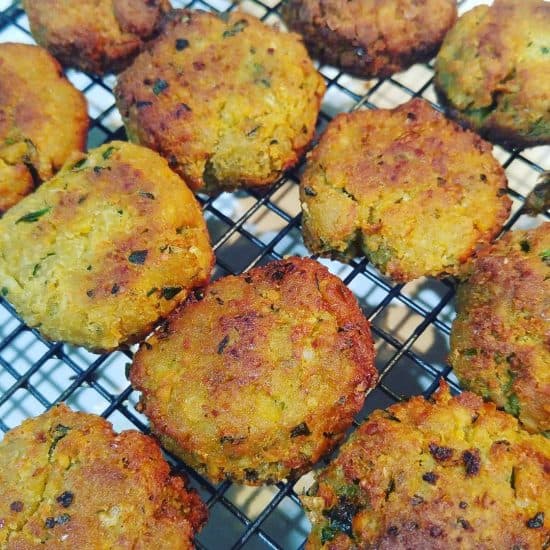
Next, heat up the oil (enough to fill the base about 1/2 inch deep) in a shallow pan. Take the chickpea mix, and roll into balls, then press down to flatten slightly. Mine tend to be an inch or so across, and a cm or two thick.
The oil needs to be hot or the falafels will disintegrate when they are added to the oil (learned from experience). My hot plate has a range from 1 – 9, and I use setting 7. Put one in the oil to test, it should bubble immediately. If not, wait until it does before adding any more to the oil.
Add the falafels a few at a time, and after a minute or two turn over to cook the other side.I use a fork to flip rather than tongs.
I tend to roll a few, then add them to the oil, roll another few, then turn the first ones over to cook the other side, add the newly rolled ones to the oil, roll a few more then remove the first ones from the oil, turn the second, add the third to keep things moving. If it’s your first time, you might find it easier to have them all rolled in advance – this will take longer.
Once they are done, place on a cooling rack to drain the excess oil.
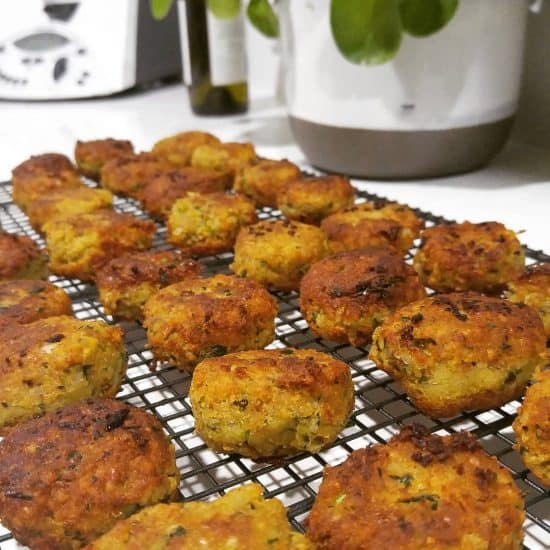
Store in the fridge, or can be frozen.
Troubleshooting:
If they start to disintegrate, stop. Drain the oil into a bowl using a tea strainer to remove all the bits, then put back in the pan and try again. It might have been that the oil wasn’t hot enough first time.
If disintegrating is still a problem, consider baking in the oven. You’ll need to brush with olive oil. They won’t taste exactly the same but they will still taste good.
If they don’t taste completely cooked all the way through, finish them off in the oven for a few minutes on a medium setting.
Note about the Ingredients:
I’m a big believer that recipes are there to be broken. Meaning, try things out but then make them your own! Add extra spices, substitute ingredients you don’t have for those you do and try things out.
This recipe was originally given to me by a friend (a photograph out of a cookery cook she had) but I’ve changed pretty much every ingredient. The original recipe used breadcrumbs and I changed to oats as I always have oats and don’t always have breadcrumbs. The few times I’ve tried breadcrumbs, they tended to disintegrate. Now I stick to oats.
I used potato flour by mistake thinking it was regular flour (I really should label my jars) and it worked so well I stuck to it. Both potato flour and tapioca flour are great at binding, which is why I use them and it keeps them gluten-free.
Fresh herbs are great and I use parsley and coriander as I have both, but I’ve also made with just parsley. If you like other herbs, try those. I’ve heard that dill is also great.
After chatting on Instagram with an Egyptian lady who makes falafels every day, I tried using raw chickpeas (bear in mind I soak them for three days, so they are pre-sprouted). The mixture is much wetter, but actually they seem to cook even better and the resulting falafels are firmer. The taste is a little different but equally good. I make these if I’m a bit behind schedule and don’t have time to cook the chickpeas first.
Next spring I intend to try with fresh broad beans!
Now I’d love to hear from you! Have you made falafels? Are you game to try these? Any tips or “how-not-to-do-it”s that you’d like to share? Any other chickpea recipes that you love? Leave a comment below!
[leadpages_leadbox leadbox_id=1429a0746639c5] [/leadpages_leadbox]

