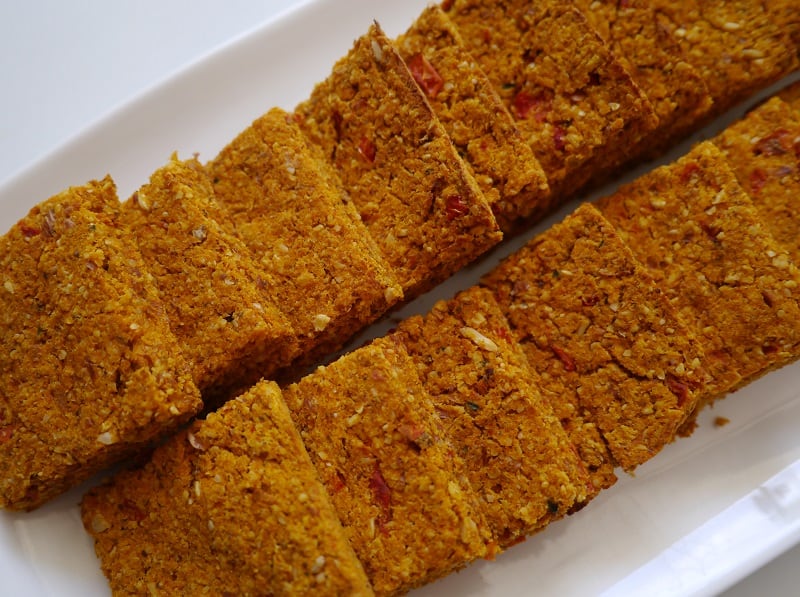
Recipe: Carrot Pulp Cracker Flatbreads
This super-simple recipe tackles two dilemmas I face when trying to live plastic-free and with zero waste – how to make your own plastic-free crackers, and what to do with leftover carrot pulp (from juicing carrots). I came up with this recipe after realising that if I wanted plastic-free snacks, I was going to have to make my own. I am yet to find crackers in plastic-free packaging.
I went through a phase of drinking carrot juice a couple of times a week, and decided to experiment with using the pulp to make my own crackers. After countless experiments, I am happy with this recipe, but I must point out that they are not crunchy. Making them crunchy just meant I had to drink a gallon of water every time I ate one, because they were so dry. This was my happy spot. They are still soft on the inside, which makes them more of a bread than a cracker – except they are nothing like bread either. I’ve called them cracker flatbreads because I have no idea what else to call them. Crackerbreads? Anyway, if you make them and think of a better name, please let me know!
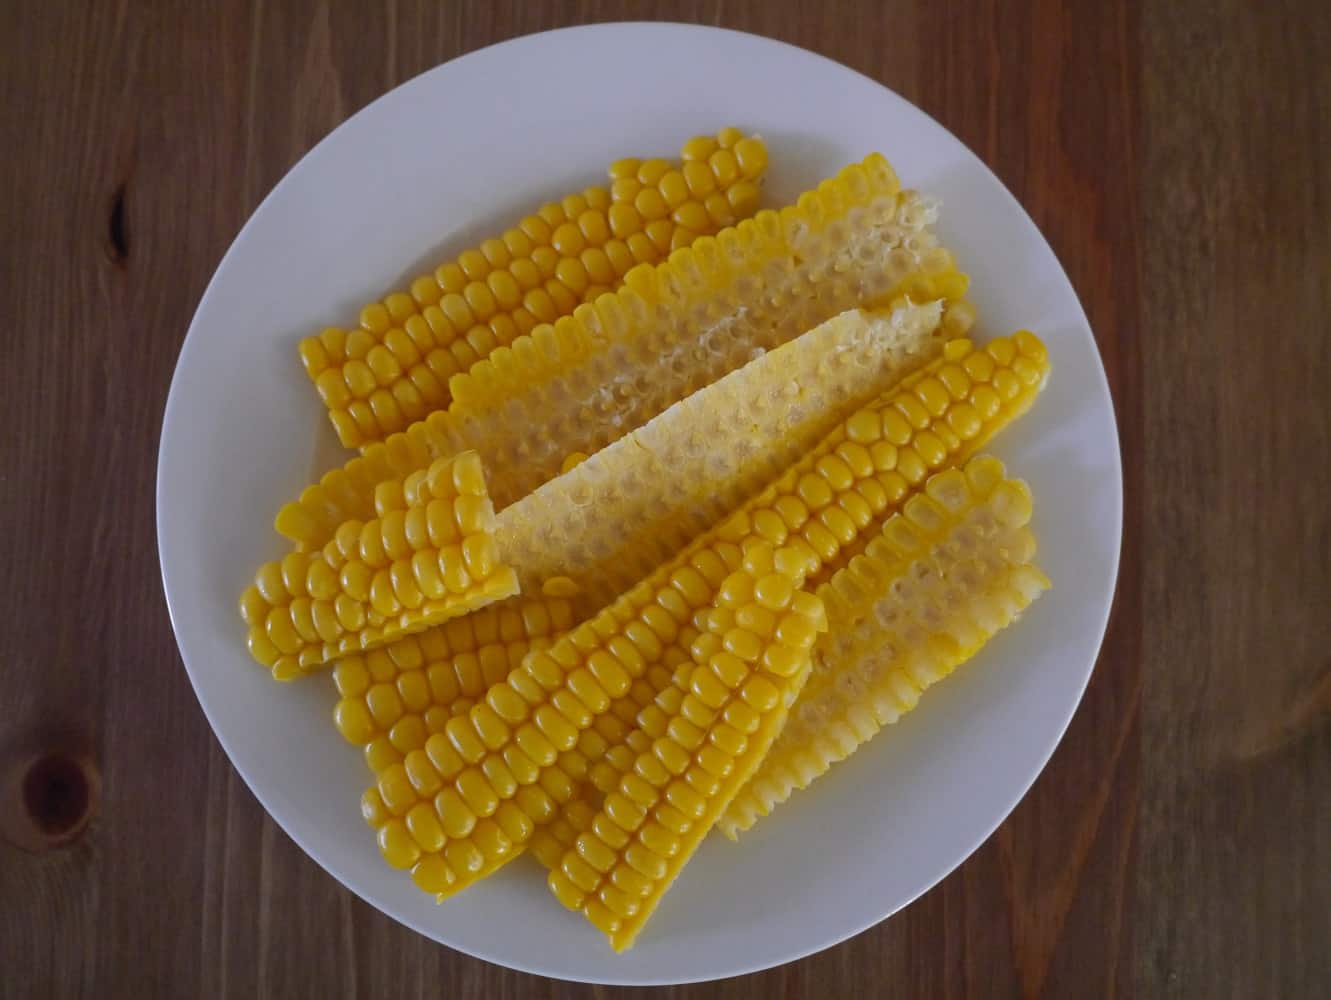
If you don’t have carrot pulp, you can use grated carrot instead. The mixture will be a lot more watery, so will need longer to cook (still at the same temperatures), but will still work. You could try squeezing the juice out of the grated carrot, but then you’d be wasting delicious carrot juice!
Recipe: Carrot Pulp Cracker Flatbreads
This recipe is for a 33cm x 23cm tin.
Ingredients:
Approx 200g-250g carrot pulp
1/2 cup almonds, soaked overnight, rinsed and drained
1/2 cup oats (for gluten-free, use gluten-free oats; or replace with 1/2 cup almonds for completely grain-free)
2tbsp flaxseeds, ground
2 small tomatoes, chopped
1 tbsp olive oil
Salt and pepper
Optional: 1/2 tbsp fresh rosemary, finely chopped, or other herbs or spices depending on your taste
Method:
Preheat the oven to 170ºC.
Line a baking tin with greaseproof paper.
In a blender, grind the soaked and rinsed almonds until small pieces. Add the oats and grind to a coarse mixture. Add the carrot pulp and blitz to combine. Add the tomatoes, oil and flax seed and blend until combined. Add the salt, pepper and nay herbs or spices that you want to add and blitz again to ensure everything is mixed together.
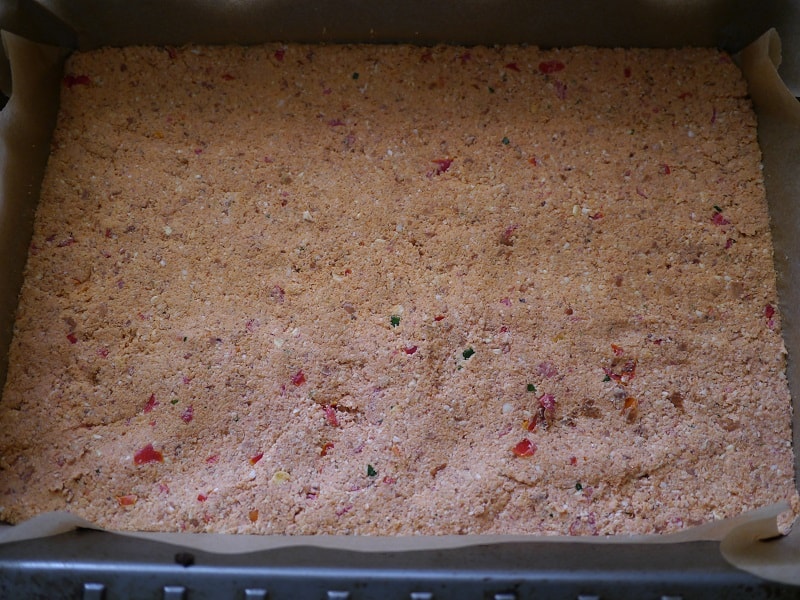
Tip the mix into the lined baking tray. It will look sticky. Press into the tin with a spoon.
It may seem like there isn’t enough mixture for the tin, but you want a fairly thin layer. Push right up into the edges and corners, and press the edges down firmly. You can use your hand to firmly pack the mix into the tin once it’s all spread evenly.
Mark out the cracker shapes using a knife.
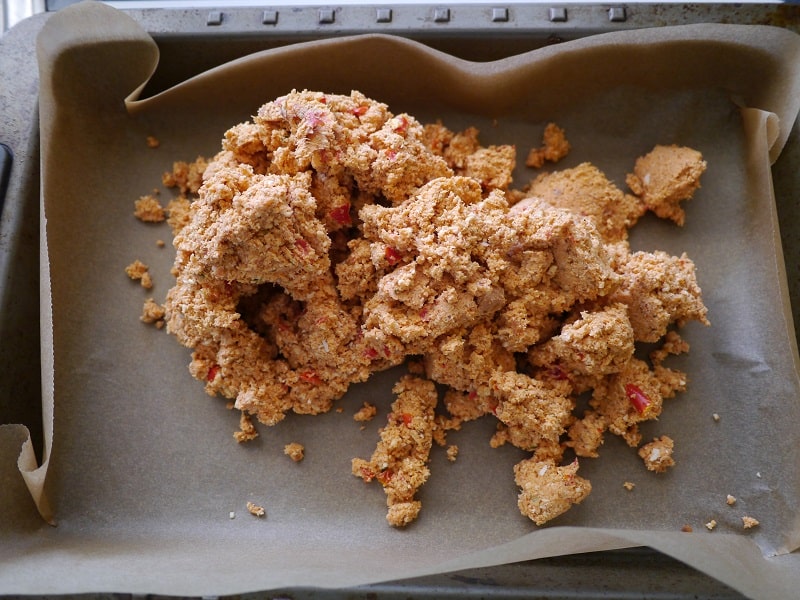
Empty the carrot pulp cracker mix from the blender into a tin lined with baking parchment…
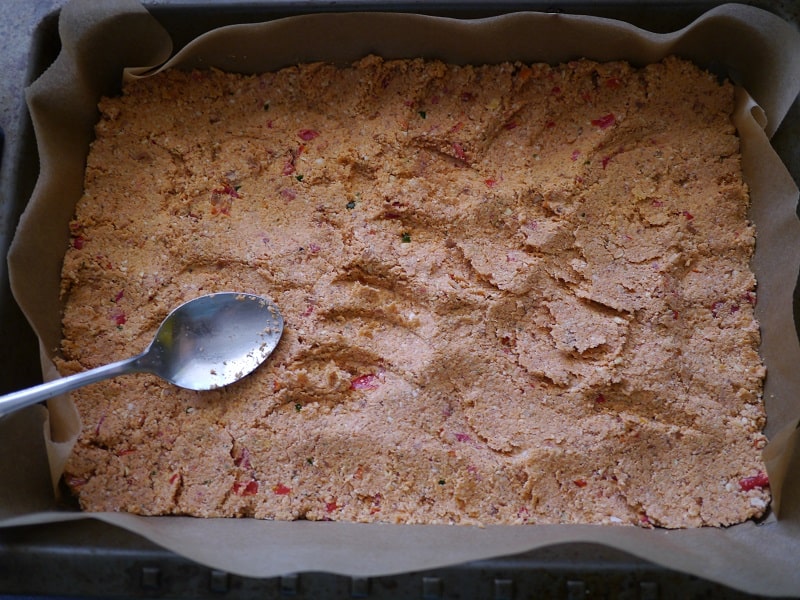
Use a spoon to press the raw carrot pulp cracker mix into the edges of the tin…
Compact the carrot pulp cracker mix down using your hand, and use a spoon to make sure the edges are neat…
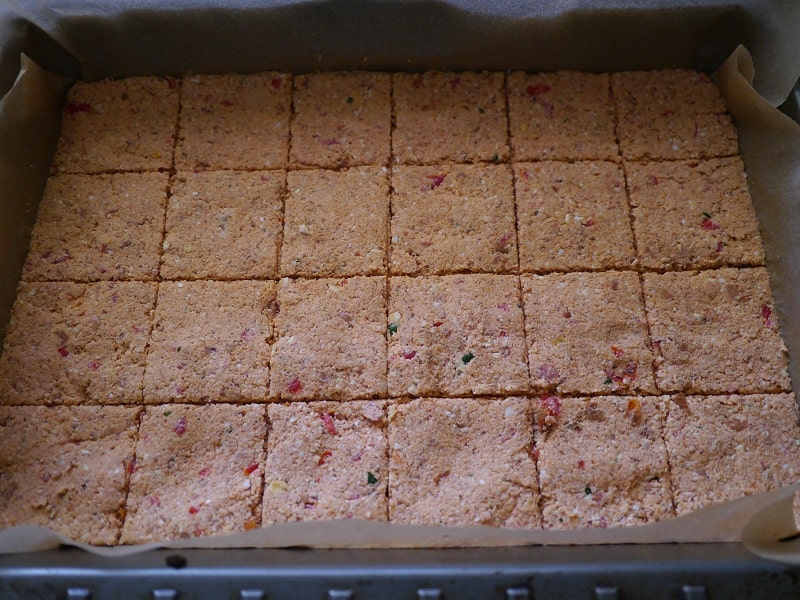
Use a knife to mark out the carrot pulp cracker squares before they go into the oven.
Place in the oven, and leave for 30 minutes.
After 30 minutes, see if you can lift the baking paper lining out of the tin without breaking the crackers. If they are still too soft, pop them back into the oven for another 5 minutes or so, and keep trying until they are firm enough to handle. Lift firmly and quickly.
Lower the oven to 100ºC and put the crackers (still on the baking paper) on a grill tray in for another 15 minutes (do not wait for the oven to drop to temperature; they will be fine).
Remove from the oven, and carefully separate the crackers. You may need to use a knife to cut them. Put each one upside down on a grill tray (to aid air circulation), and return to the oven for 15 minutes to cook the other side.
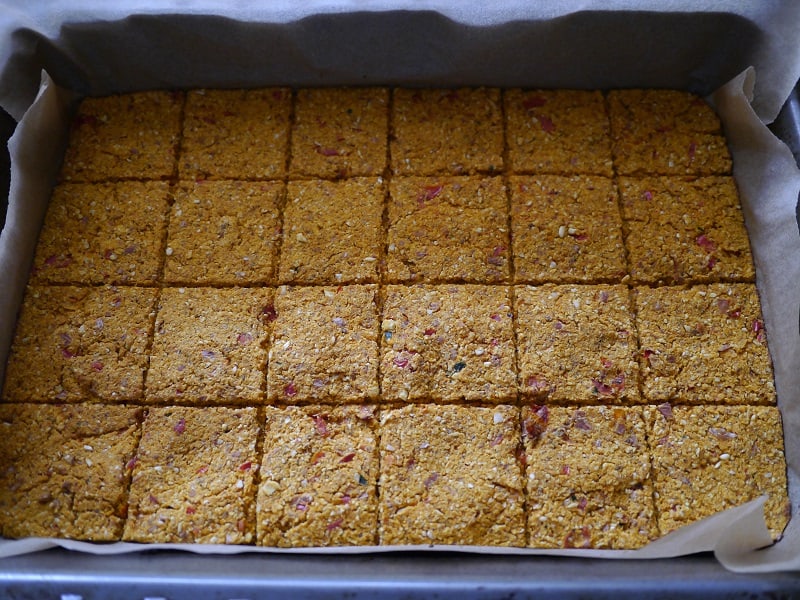
Golden carrot pulp crackers out of the oven…
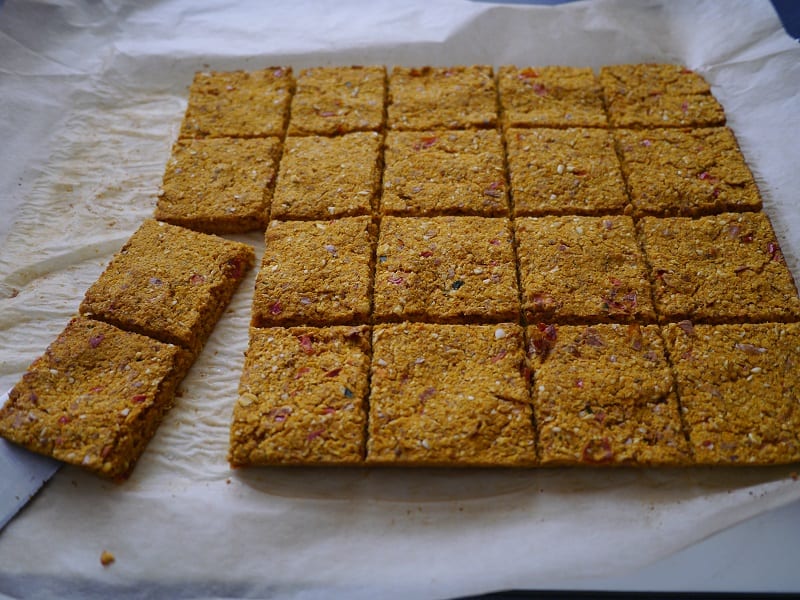
The underside will still be moist, so separate the crackers carefully to avoid breaking them…

Pop back into the oven with the damp underside facing up. Use a grill pan or rack to enure the air can get between them and they don’t burn!
Once they are ready they will be a golden colour and be dry to touch.
Remove and enjoy!
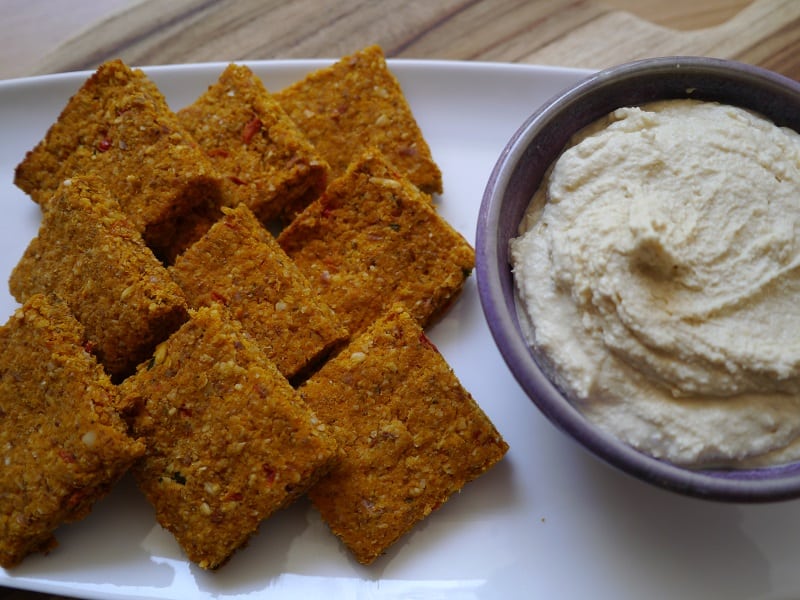
These carrot pulp cracker flatbreads are perfect with hummus!
Tips:
- This recipe is extremely forgiving, so feel free to change quantities, cook for longer to make them crunchier or modify however you think best. Just let me know in the comments!
- Feel free to miss out the middle step. Cook in the oven for 30+ minutes, then take out, separate straightaway and put back in the oven for the last 15 minutes. The crackers will be more moist and harder to separate, but if you’re patient enough it will work fine!
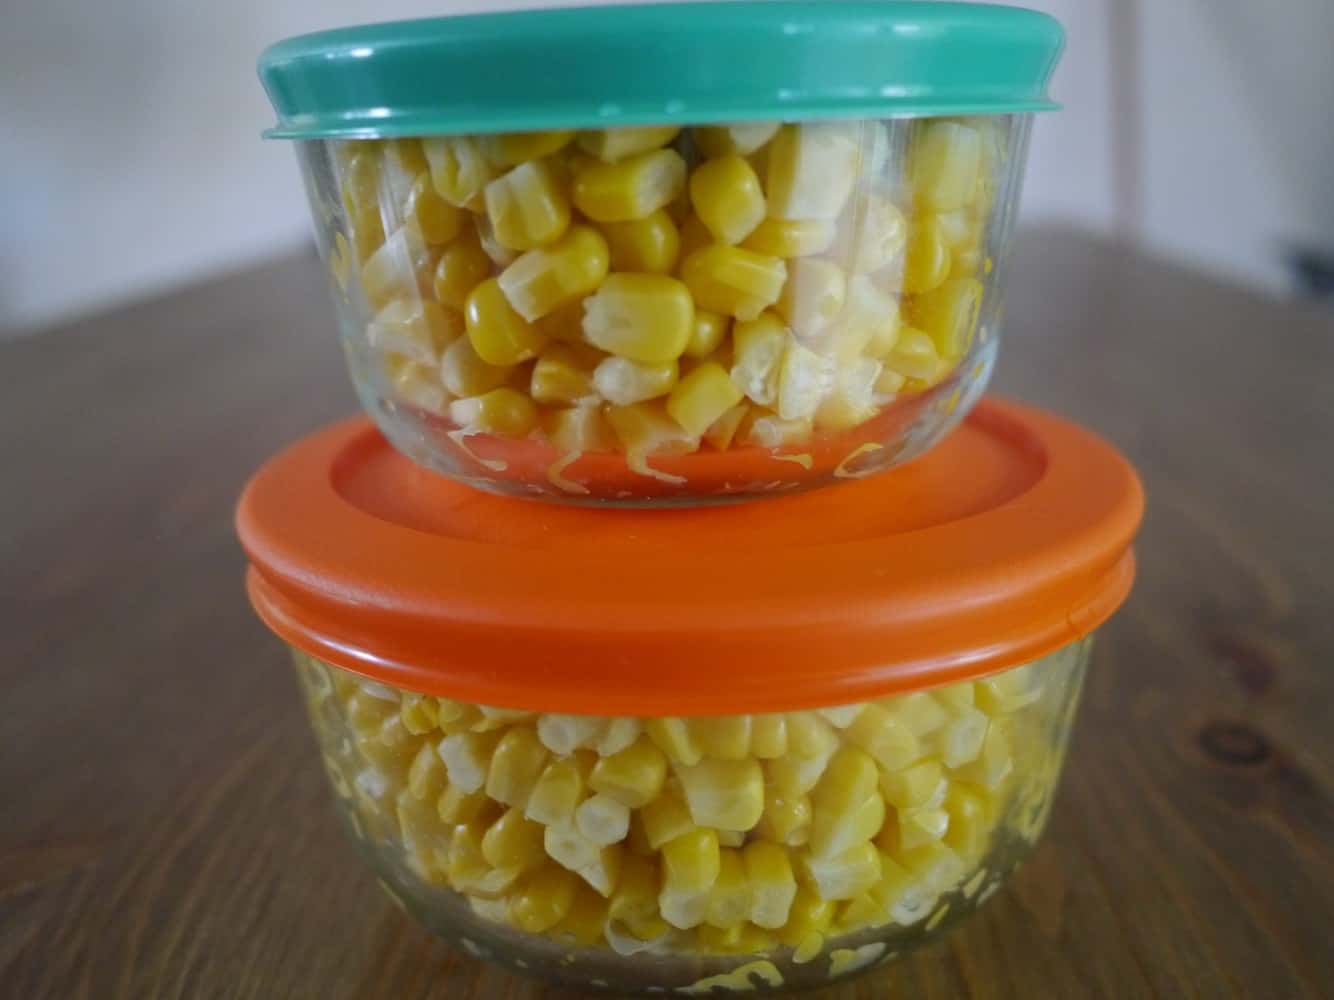
- If you don’t want to make crackers immediately after juicing carrots, store the pulp in a sealed container in the fridge. It will last for a couple of days.
- The tomatoes provide the moisture. If you don’t like tomatoes, you could swap with a small courgette.
- Brazil nuts make a great alternative to almonds. They make a much crunchier cracker. Cashew nuts don’t work as well – the crackers tend to discolour and not look as appealing.
These crackers are delicious with hummus! Follow the link to find my super-simple plastic-free hummus recipe.
[leadpages_leadbox leadbox_id=1429a0746639c5] [/leadpages_leadbox]


")
")

")