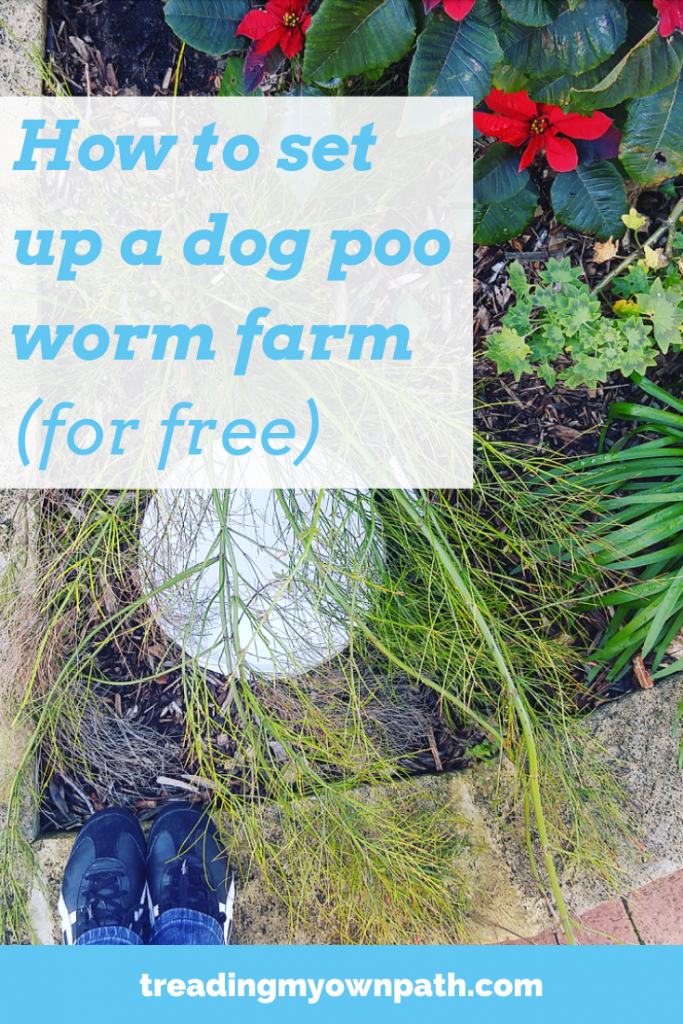
How To Set Up A Dog Poo Worm Farm
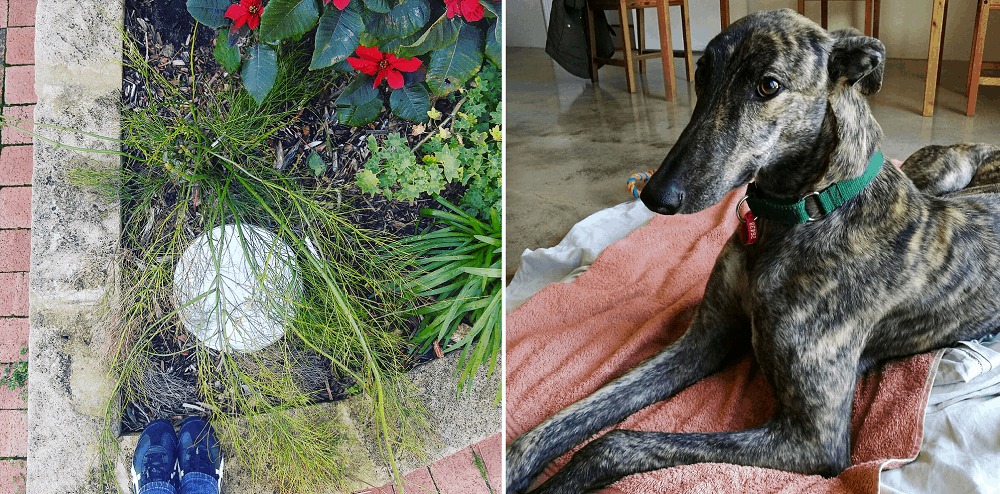
When my greyhound Hans moved into the house (in July 2016), it was important to me that I didn’t suddenly start using heaps of plastic, or begin sending stuff to landfill. There’s bedding, toys and food to consider – and also what to do with dog poo.
If a dog goes to the toilet twice a day, that’s potentially two plastic bags going to landfill every day also – not to mention the contents.
One of the first things I did was set up a dog poo worm farm. I’ve mentioned it before, but it is something that I get asked about often, so I wanted to take some time to explain the specifics.
I promise you, it isn’t hard. There’s actually very little to it!
Dog Poo Worm Farm Basics
Dog poo doesn’t go into the regular worm farm; it needs to go in a separate one. There are a couple of reasons for this.
One, if worms have the choice between dog poo and banana peels and avocado, they are not going to be choosing eating dog poo.
Two, whereas regular worm farm castings (the nutrient-rich compost left by the worms once they process the food) can be used to grow seedlings and added to the veggie patch, worm farm castings stay in the ground.
This is because faeces may contain parasites and bad bacteria, so spreading it over the lettuce seedlings isn’t a good idea from a health perspective.
Of course, it’s possible to position a dog poo worm farm underneath a fruit tree so that the tree gets the benefits of all the nutrients.
I like the dog poo worm farm set-up (as opposed to digging holes in the ground every time there is something to dispose of) because there is one spot where everything goes. It’s contained and easy to manage.
As someone with a small yard, it is the perfect solution for me.
Setting Up A Dog Poo Worm Farm
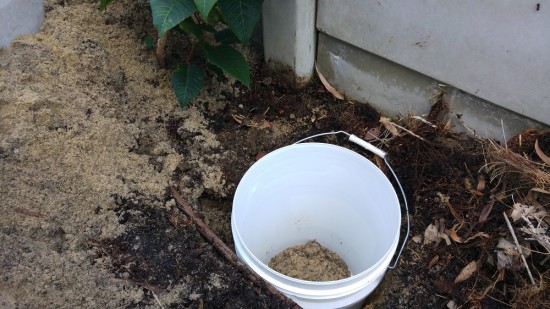
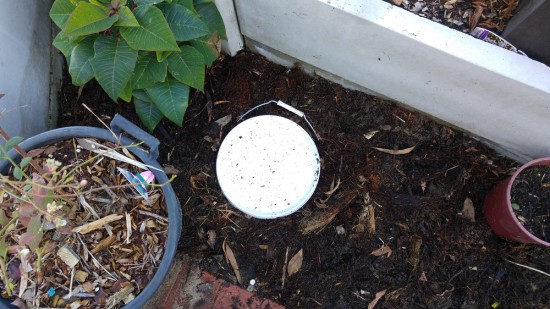
I’m a fan of the repurposed materials-and-no-cost approach. I’ve used a 20 litre plastic bucket that was donated to me by the bulk food store once the contents had been sold. It has a lid, which is very important.
I cut the bottom out of the bucket, and dug a hole in the garden big enough to bury the bucket so just an inch was exposed above the ground (enough to ensure the lid is secured).
I don’t bury the handle as it might be useful if I need to move the bin later.
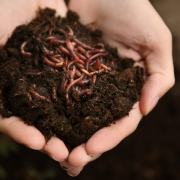
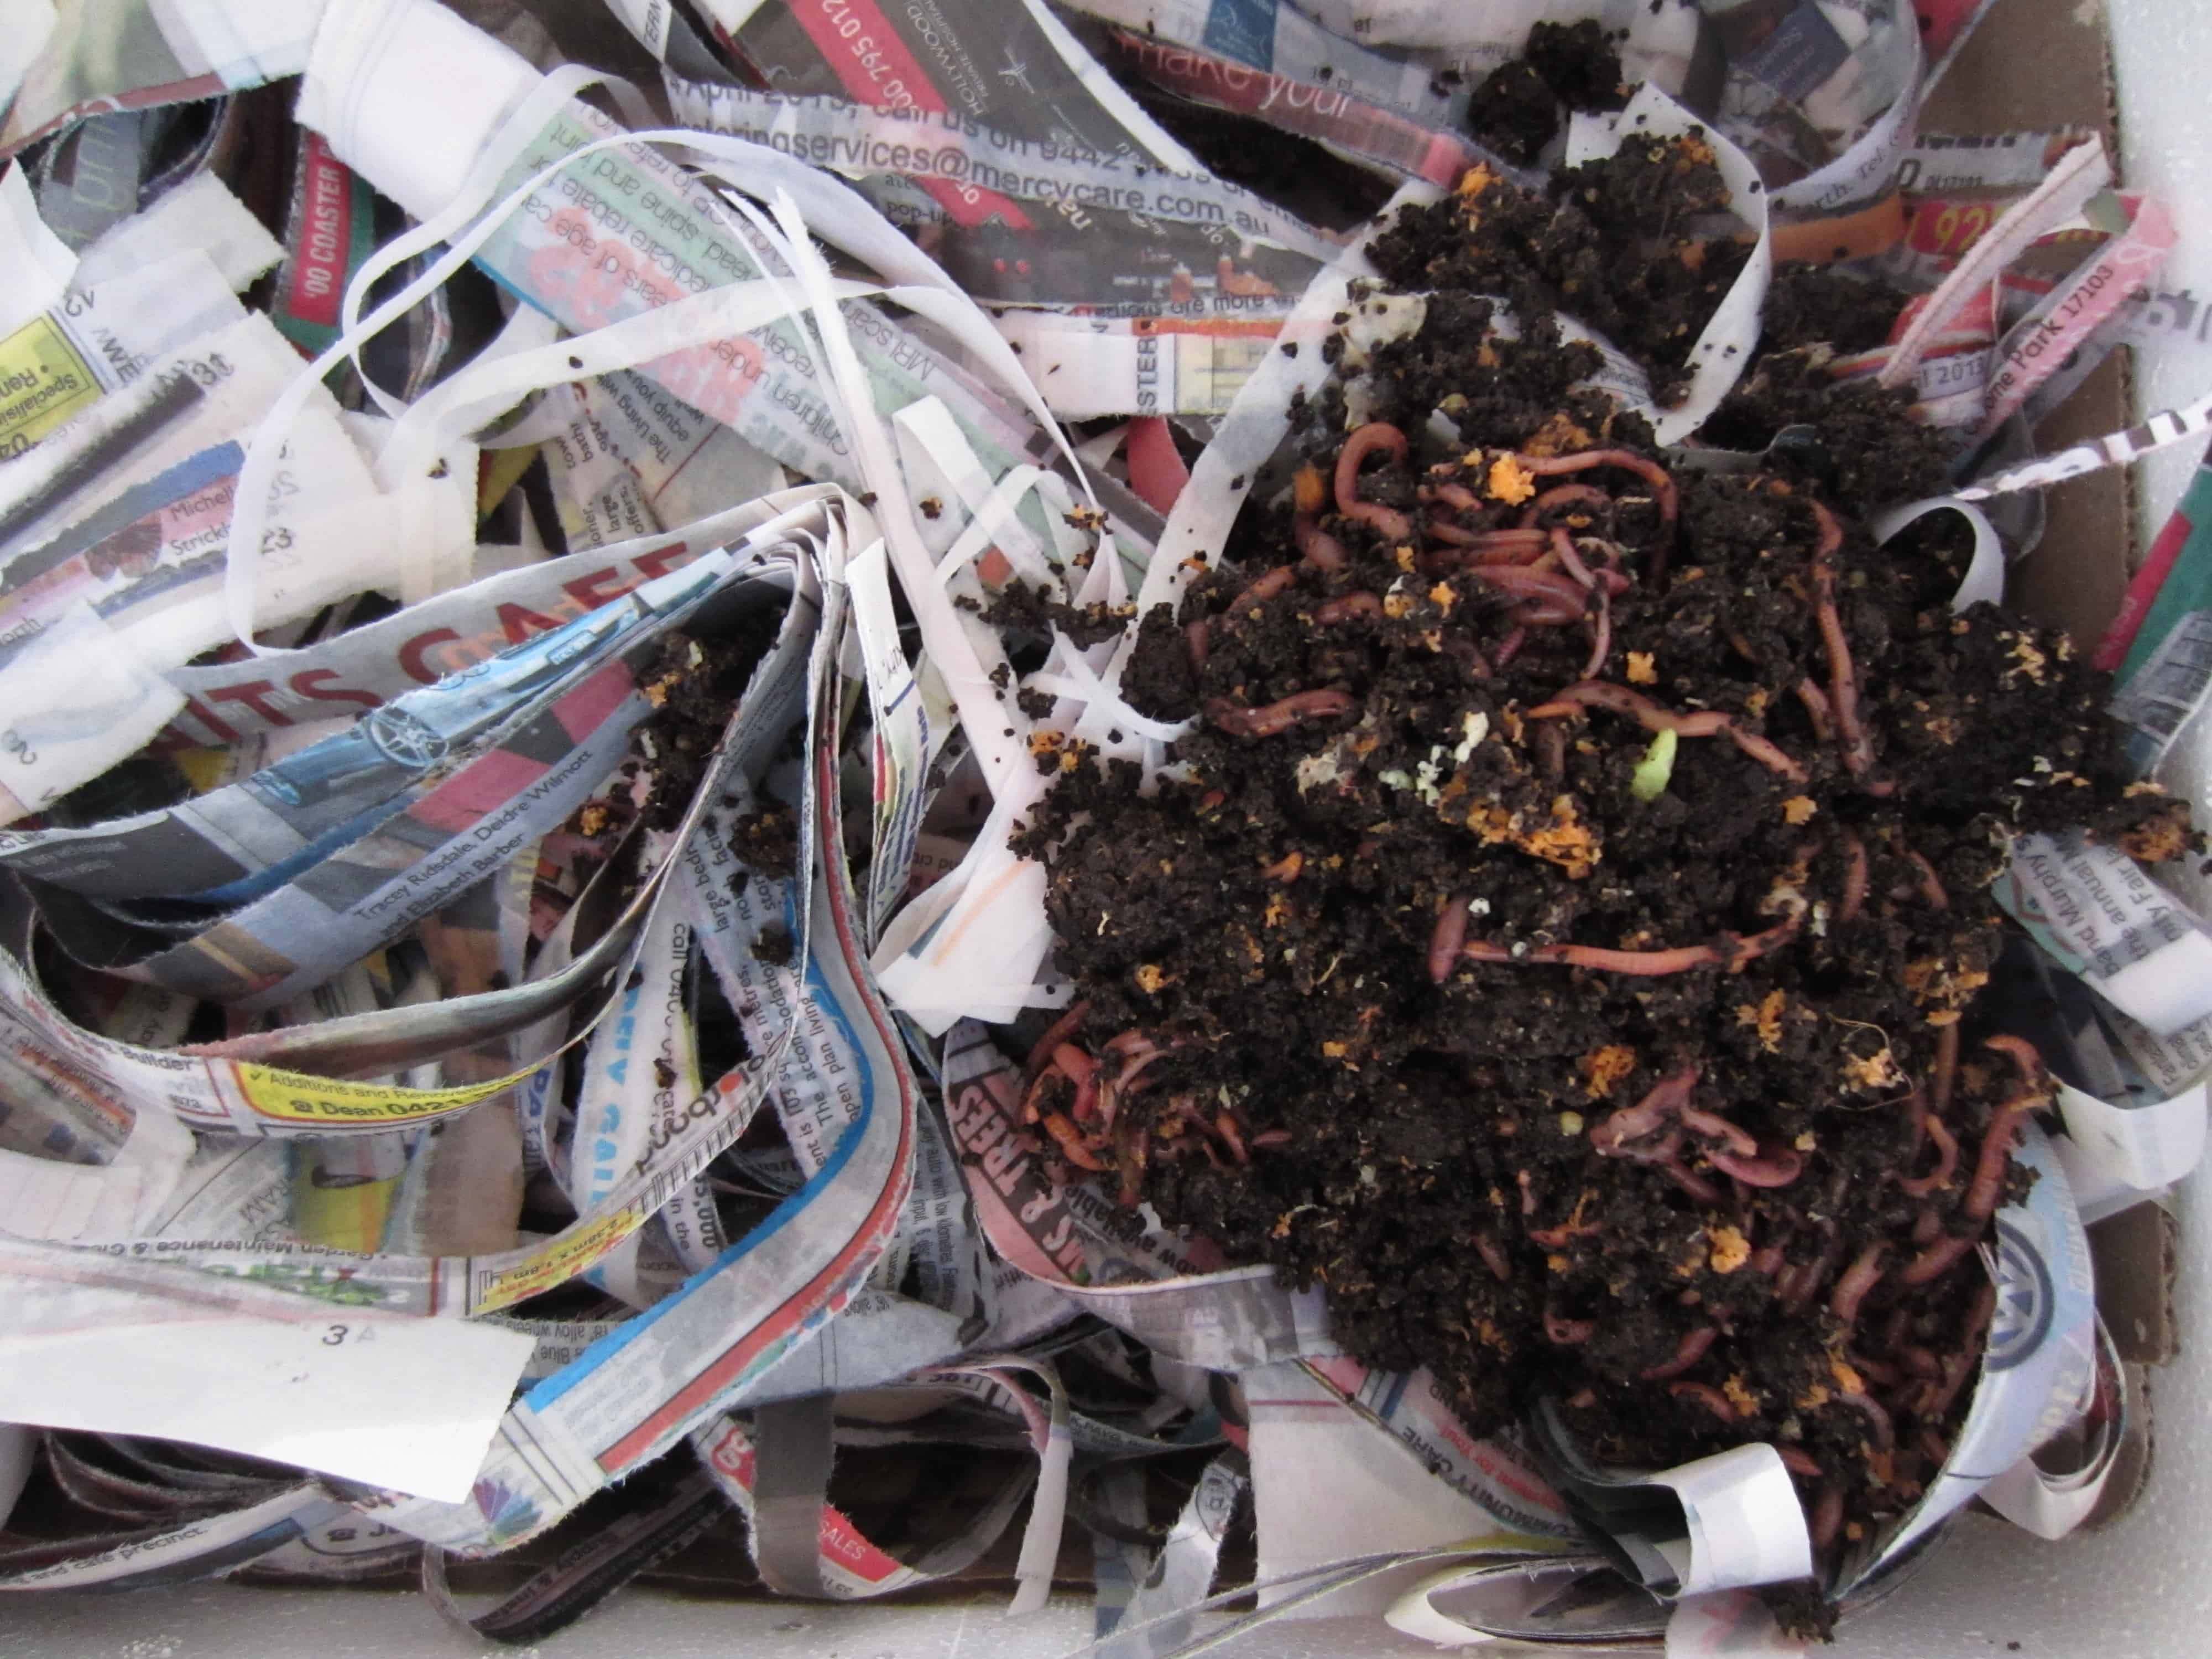
Next, the worm farm needs a big old handful of composting worms. (These are different to earthworms in that composting worms are surface feeders.) The main types are Eisenia fetida, Eisenia Andrei and Lumbricus rubellus but what is actually available depends on where you live.
I just grabbed a handful from my regular worm farm. If you don’t have any to start with, check out community gardens, Buy Nothing groups, Gumtree or good garden centres.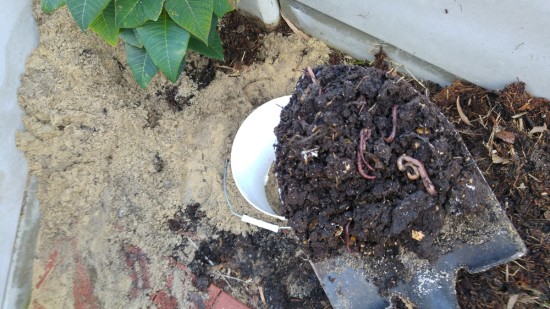
The worms aren’t trapped in the worm farm as the bottom is cut out, so they are free to come and go, as are any other critters looking for some lunch.
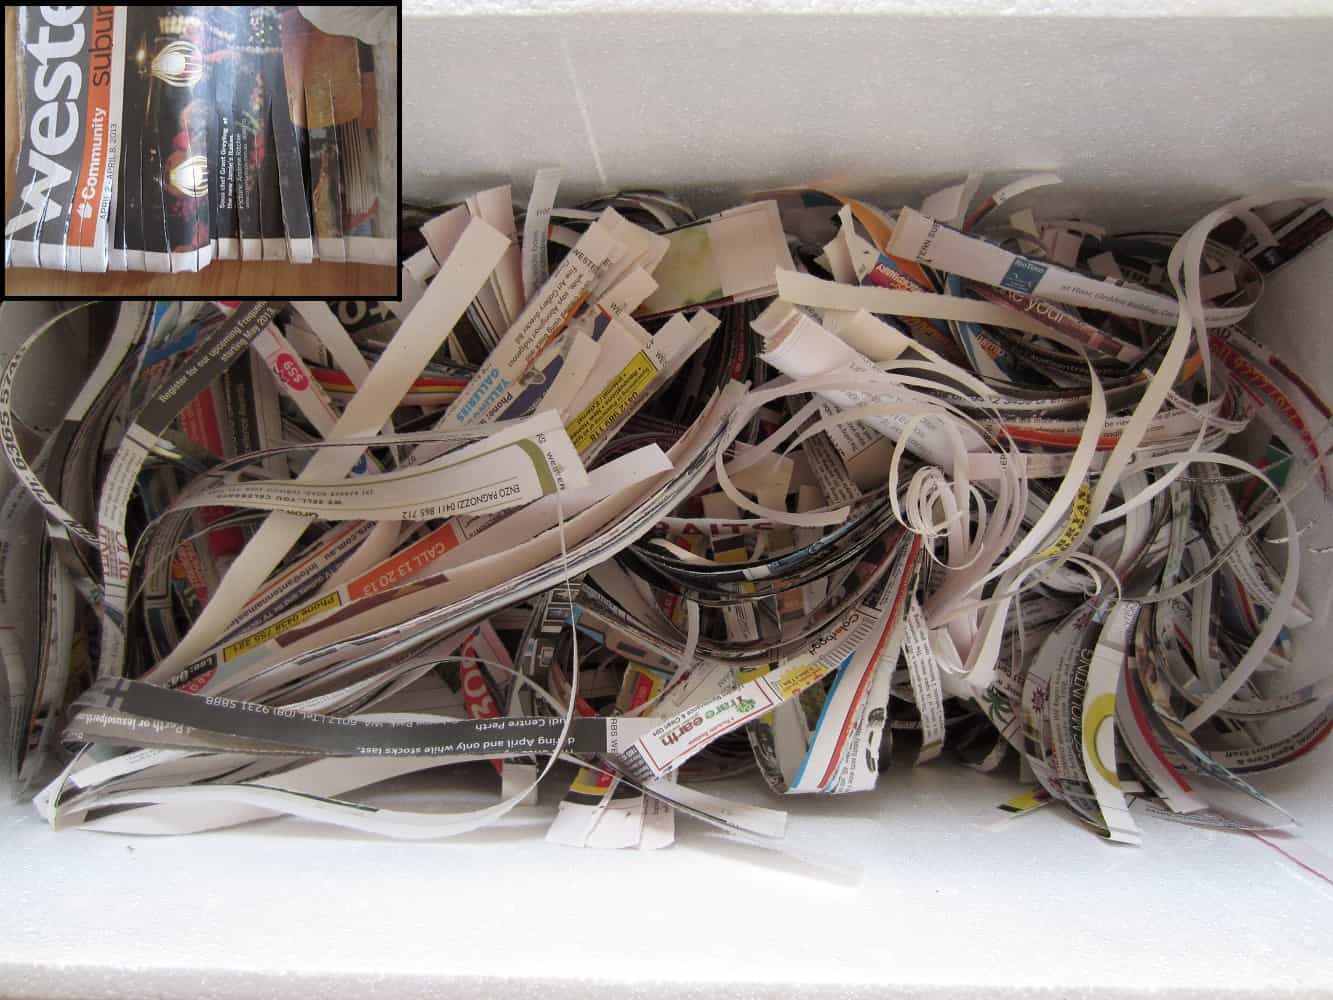
The other thing that worm farms need is carbon. I add this by picking up dog poo using old toilet paper wrappers (conveniently ready-cut the the exact size I need) or newspaper. If you use some kind of scoop to pick up, just throwing in a few handfuls of leaves, or some paper or cardboard would be fine.
This bucket holds 20 litres, so eventually fills up. I’ve also seen these worm farms made with old flip-lid wheelie bins which are much larger (often it is possible to purchase broken or damaged ones – contact your local council to find out if they offer this service.)
When the bin reaches capacity, cover the top with soil, then pull out the bucket and replace elsewhere.
As the freshest and least composted poo will be at the top, consider setting up a second whilst leaving the first to continue decomposing. It will make for a more pleasant experience when removing and replacing the bucket.
Dog Poo Worm Farm – Do’s and Don’ts
Something really important to remember is that a worm farm contains worms, and worming tablets kill worms. If your dog has taken worming tablets, do not put dog poo in the worm farm for a couple of weeks.
I don’t regularly give my dog worming tablets (on the advice of my vet), and he gets a yearly heartworm injection (rather than tablets) which lasts for 12 months.
Personally, I’d avoid putting dog poo in the worm farm in compostable plastic bags. Even the ones that are certified home compostable take 6 months to compost, and that is in a regular compost bin, not a worm farm.
If you’d still like to give it a try, I’d suggest ripping the bags open before adding them to the worm farm, and be prepared to leave it “brewing” for several months once it is full.
Something else to bear in mind: composting worms will die in freezing temperatures (they are surface dwellers, unlike their cousins the earthworms, who will burrow for warmth). The eggs should survive. If you live in a country where it freezes in winter, bear in mind that your worm farm might need to be seasonal.
Thoughts About Cat Poo Worm Farms
I don’t have a cat, but I have several friends that do, and whom compost their cat litter. The main thing to be aware of is that cat poo commonly carries a parasite called Toxoplasma gondii, which cause toxoplasmosis in humans.
This means cat faeces needs to be handled even more carefully than dog poo.
Cat litter can be found made of newspaper pellets, wood shavings, which would both work great in a worm farm.
The volumes will be bigger so a 20 litre bucket might fill up fairly fast.
Can I Flush Dog and Cat Poo Down the Loo?
From what I’ve read the consensus seems to be that it is okay to flush dog poo down the toilet, but not cat poo (because of the Toxoplasma gondii parasite). However, the best thing would be to phone your local water treatment facility and ask them whether they are happy for you to do so, or not.
That way, you’ll know for sure – and if not, they should be able to tell you why not.
Whilst I know that dog poo worm farms might not be for everyone, they have been a great success for me. The smell is minimal (as opposed to the bins at dog parks, which reek), I have it placed in a convenient spot, and it is no extra hassle at all – except, perhaps, when it needs moving.
Now I’d love to hear from you! Do you have a pet – and what do you do with their waste? Have you set up a pet poo worm farm, are you game to try – or is it definitely a no-go for you?! What have your experiences been? Are there any other ways you try to reduce their waste footprint? Please share your thoughts in the comments below!
[leadpages_leadbox leadbox_id=1429a0746639c5] [/leadpages_leadbox]