
How to Make Zero Waste DIY Newspaper Pots
I’m all for small and low cost (or free!) solutions, particularly when they mean zero waste. We’re in the midst of sowing our autumn and winter seeds for our vegetable garden right now, which means we need lots of seedling pots. (Sowing seeds directly into the ground tends to mean the little seedlings get munched by pests before they have the chance to grow big.)
I don’t want to buy new. I’ve learned (the hard way) that reusing the tiny plastic cells from the garden centre (the ones they sell punnets of seedlings in) doesn’t work too well. They are too small and they dry out too fast. We don’t have enough of the bigger plastic pots to use those…plus they take up a lot more space.
Instead, I’m making my own zero waste seedling pots out of newspaper.
You don’t need any fancy gadgets for this. Even the pair of scissors is optional. You just need two hands, and a bit of patience.
Even though I can make these without thinking now, I’ll admit that when my friend (who is a very good teacher) first showed me how to make these, I had a full-on tantrum! (How embarrassing.) If you get frustrated the first few times, just remember it’s only newspaper, and no-one has died. You’ll grasp it soon enough!
If you don’t read the newspaper, I guarantee that your neighbour does, or someone at work, or a family member. Maybe a local cafe will have a mangled, well-read one.
The other great thing with these is that newspaper breaks down easily, so they can be planted directly into garden beds. No need to disturb the plant roots by removing from the paper. You can always tear the base before planting if you’re worried it will restrict growth.
How to Make DIY Zero Waste Seedling Pots (With Pictures)
Start with a single sheet of newspaper. For seedling pots, I cut a double sheet like this in half.
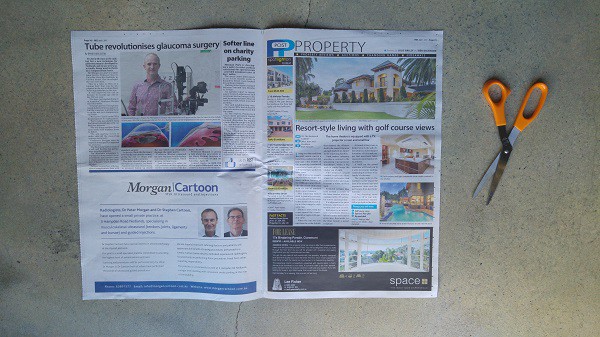
All you need to start with: a sheet of newspaper, and some scissors. Although you could do without the scissors, if you can tear neatly ;)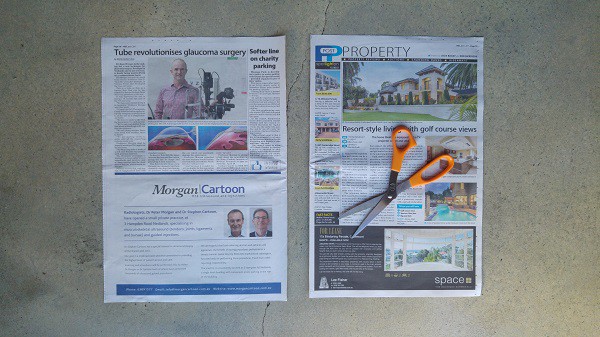
Cut the newspaper sheet in half along the fold. Put the sheet to the left to one side. We will only be working with one sheet at a time. 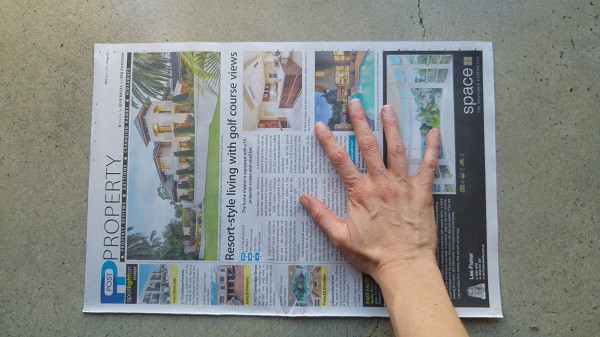
Turn the sheet of paper so that the longest side is horizontal.
Fold the newspaper in half from left to right (the fold is on the left hand side).
Fold the sheet again from bottom to top (the new fold is on the bottom).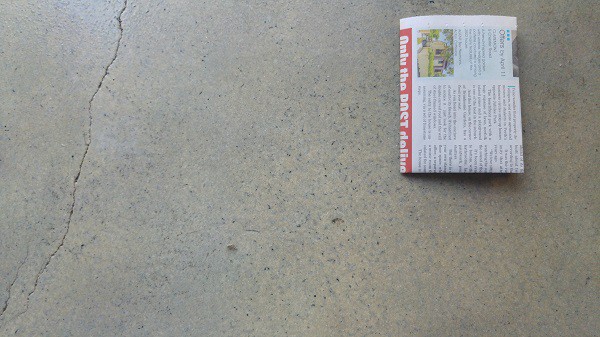
Fold the newspaper one more time from left to right.
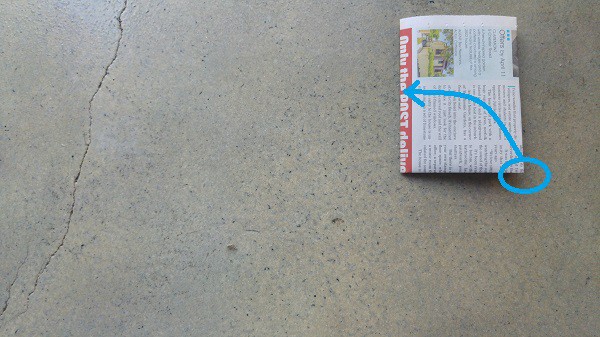
The paper in front of you will be folded a bit like a book, and each flap has a front and a back. You want to take the right-hand corner of the front flap, and fold it towards you, pulling it open as you do so to make a triangle shape along the “spine” of the “book”.
You can see (marked by the blue spot) that the bottom right hand corner has moved to where the spine was, and is opened to form a triangle.
Now that you’ve folded this side, turn the newspaper over (180°) and do the same on the other side. It will be mirrored, so the corner will be on the left hand side.
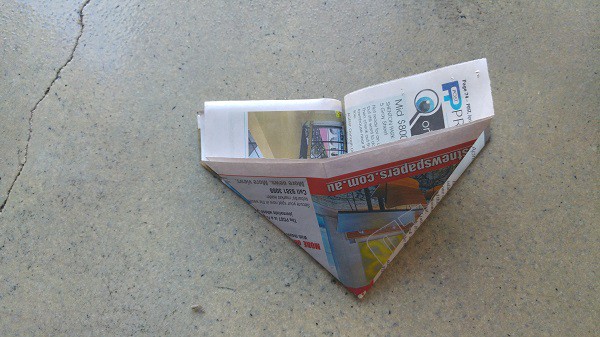
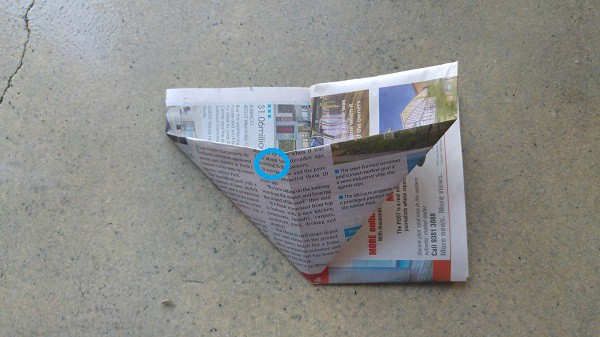
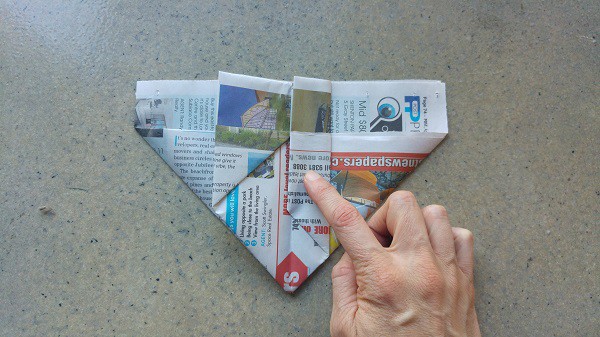
Once both sides have been folded, your newspaper will look like this. There will be a triangle-shaped pocket on the front and the back, and a gap in the centre seam above the two triangles. Now turn the right hand side of the paper, like the page of a book, to the left (180°) so that you can see one continuous triangle.
Flip the newspaper over and repeat with the other side so that both sides now look like this.
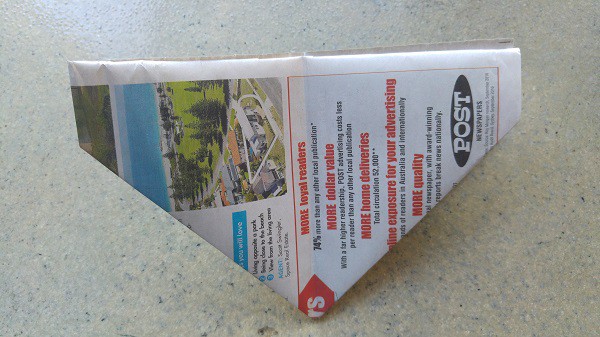
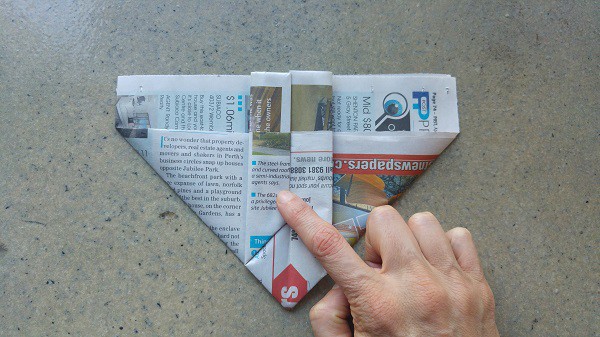
If it is correct, the paper will look like this from above.
Lay the paper down flat, and fold each of the front flaps into the centre fold.
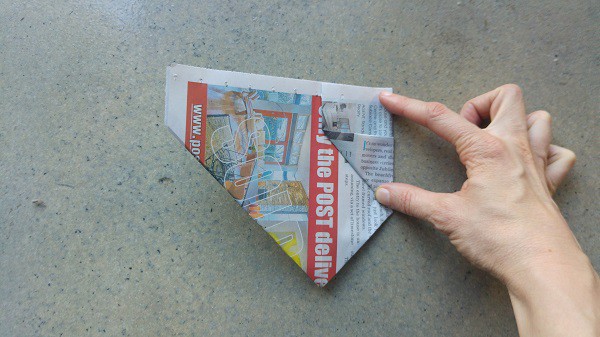
Fold these two flaps in half again, into the centre fold. (Don’t worry if it’s very flappy when you remove your fingers, that is absolutely fine.)
Now flip the newspaper over, and do repeat on the other side.
Fold the flaps into the centre…

And then fold these flaps inwards again…

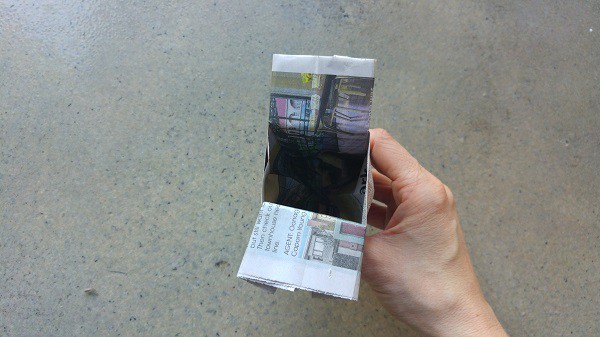
Your newspaper now looks like this. Fold the top flap down towards you along the newspaper line.
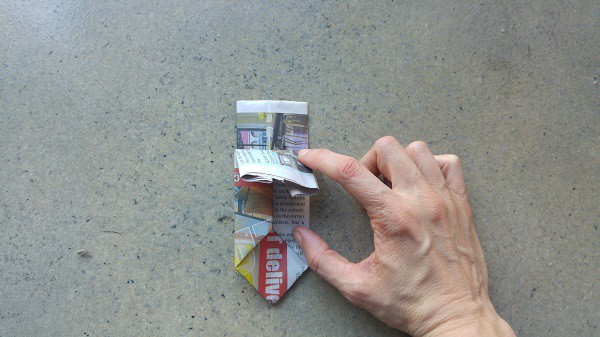
Repeat on the other side.

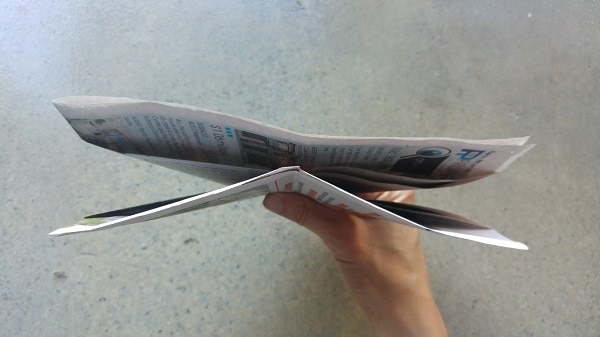
Now you can gently pull the two flaps outwards and open your pot!
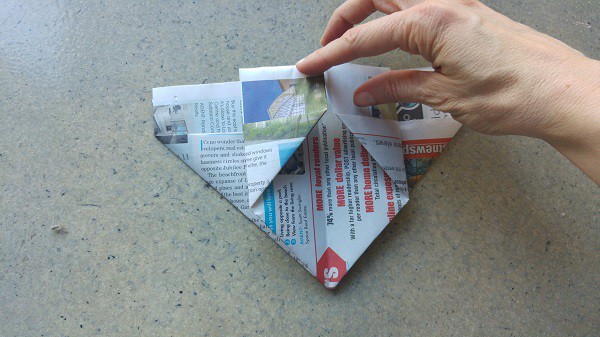
Push your fingers inside to straighten out (and flatten out the bottom).
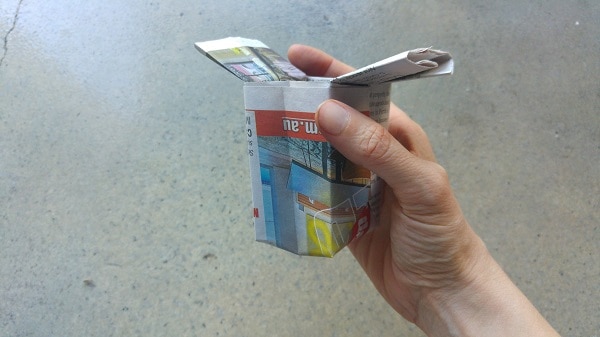
Ta-da! A zero waste newspaper seedling pot.
The flaps can be useful for lifting the pots, or labelling what you’ve planted inside the pot. If you don’t like them you can fold them inside. Once the pot of filled with soil they won’t flap about. I wouldn’t recommend cutting them off as the folding is what keeps it all in place.
Next step… to go forth and plant things!
Now I’ love to hear from you! Have you ever made these before? Do you have a different method? Are you feeling inspired to grow stuff? Do you want to make some and then share a photo with me so I can admire your handiwork? (Answer – yes you do!) Anything else you’d like to add? Please share your thoughts in the comments below!
[leadpages_leadbox leadbox_id=1429a0746639c5] [/leadpages_leadbox]

