How to Make (Scrappy) Apple Cider Vinegar from Scratch
I love knowing how stuff works. Even though I can buy apple cider vinegar from bulk stores locally, I want to know how to make my own. Not because I’m a glutton for punishment who wants to make everything from scratch ‘just because’. I think its important to understand where our food comes from and how its made. Making actual food out of “waste” food appeals to my love of avoiding waste. Plus of course, my inner chemist likes to play with her food.
Once I know how to make something, then I decide whether it’s worth the effort involved to keep on doing it, and how easy/affordable it is to buy. I don’t have time to make everything. I buy my pasta, and laundry powder. I make pesto and crackers and peanut butter.
Apple scraps/cider vinegar is such an easy and low effort thing to make that there’s just no reason not to.
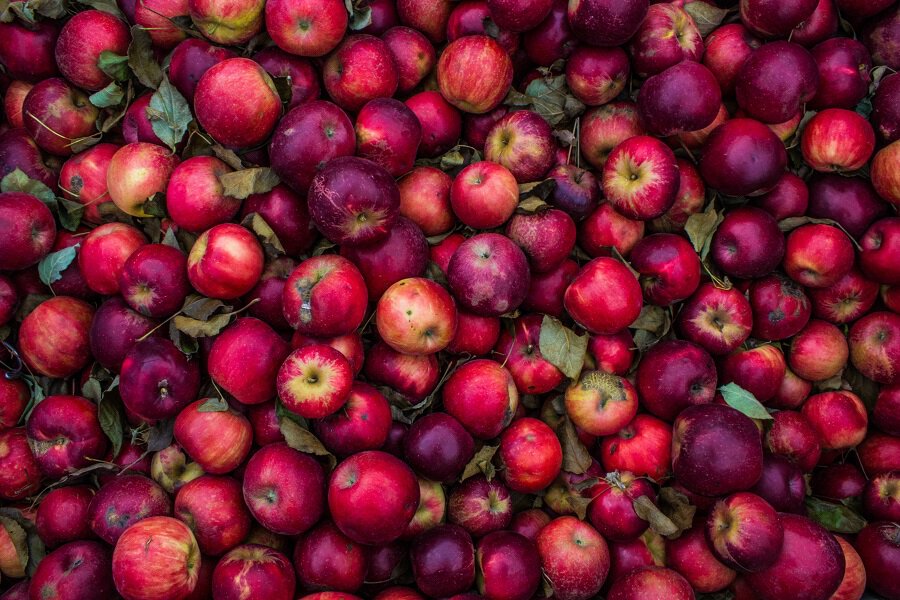
Apple cider vinegar is made from the apple pulp left from making cider, which uses whole apples. Apple scraps vinegar is pretty much the same thing, but only uses the cores and skin of apples rather than the whole thing. The end product is pretty much the same.
Unless you’re making cider, I wouldn’t recommend using whole apples to make apple cider/scraps vinegar. It works just as well with the cores and peels, and you can use those apples for something else delicious. Making apple cider/scraps vinegar from the waste bits is much more satisfying!
I’ve made apple scraps vinegar a couple of ways, and I’ve included both methods below. One uses the cores and peels only, and the second uses the leftover pulp from juicing apples.
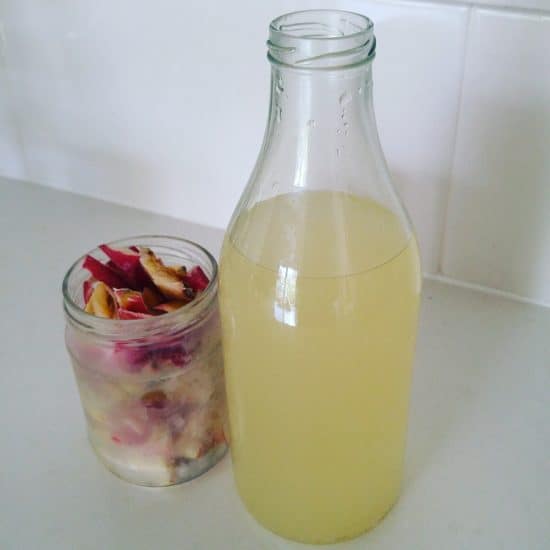
Frozen apple cores ready to go, and a previous batch of finished apple scraps vinegar.
Apple Scrap Vinegar from Apple Scraps
Although I’ve given you quantities, they don’t really matter all that much. More apples will work more quickly, and make a darker vinegar than less, but don’t sweat it if you have different amounts. Try and see!
A couple of pointers before we start:
- If you don’t eat a lot of apples, pop the cores (and peels, if you like to peel your apples) in a jar in the freezer, and wait until you fill the jar.
- The sugar is to kick-start the fermenting process so don’t leave it out! 1 tbsp is adequate but I find it works faster with 2 tbsp. Honey should also work if you’d like a more natural alternative to sugar but I haven’t tried it.
Ingredients:
Apple peels and/or cores from 6-8 large apples (around 300g)
1.5 litres water (rainwater or filtered water if possible)
2 tbsp sugar
Method:
Part 1:
Pop the apple cores and peels in a clean glass jar with a wide neck, add the water and sugar and stir. Cover with a clean tea towel. The secret now is to keep stirring, whenever you remember. Any time you walk into the kitchen, give your jar a stir. First thing in the morning, last thing at night – stir!
You want to stir to keep it aerated, and to stop any mold growing on the surface. Fermentation works because the good bacteria/yeast/microorganisms win against the bad ones, so we need to keep conditions favourable for the good guys! With most ferments the aim is to exclude oxygen, but not this time. To make cider, the oxygen is excluded, but to make vinegar it is not.
Keep stirring your jar over a few days and start to notice how it changes. It may start to smell like cider, or like vinegar, or both. Bubbles will appear on the surface and maybe froth or scum. All of this is good! Once any trace of alcohol smell has gone, there are less bubbles, and the apple pieces begin to settle and the vinegar will be ready for the next step.
Part 2:
Strain the contents of your jar into another clean jar (or a bottle) using a fine sieve or cheesecloth. Squeeze out the liquid from the pulp. (If you taste the pulp, you will find that it is completely flavourless.)
Now there are two options.
Option 1: Put a lid on your jar, and leave on the kitchen counter for a few days, opening the lid every day to release any pressure. If there’s any fermentation still happening, the pressure could build up and the jar might explode in your kitchen cupboard, so this is a safe option.
Option 2: If you can’t keep an eye on your vinegar, or you want a break, pop the bottle in the fridge to slow down the fermentation. I’d recommend loosening the lid so any gas can escape. It will ferment very, very slowly. When you’re ready, bring it back to room temperature to continue the fermentation.

Straining the spent apples from the vinegar. Cheesecloth is the best option but muslin or a fine sieve will also work – you’ll just end up with slightly more sediment in the vinegar.
After a week, taste your vinegar. If you find it sweet, leave on the counter to continue fermenting. Once you’re happy with the way it tastes, secure the lid and store in a dark cupboard.
Apple Cider Vinegar from Apple Juice Pulp
This is a great way to use up pulp from juicers. Unlike the first recipe, this contains all the fibre and flesh of the apples, but with the water (juice) squeezed out. This means it looks totally different – but it produces the same result.
Ingredients:
Leftover juice pulp of 6 apples (around 300g)
1.5 litres water (rainwater or filtered water if possible)
2 tbsp sugar
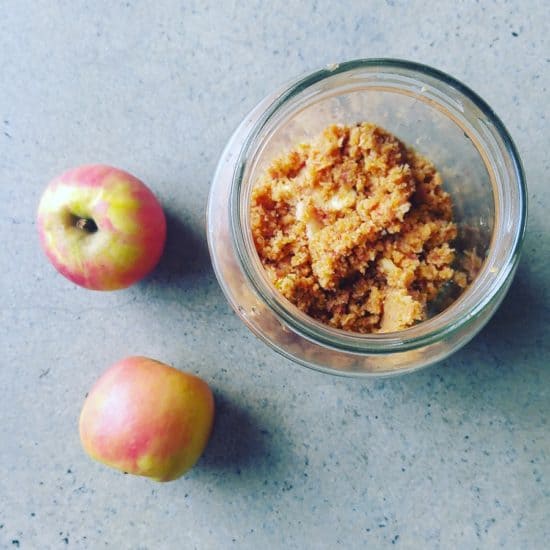
The apple pulp from juicing 6 small apples. Don’t worry about the brown colour, it is simply the apples oxidising.
Method:
Pop the apple pulp in a large 2 litre jar, and add the water and sugar. The pulp will expand and absorb all of the water, and will look totally crazy and you’ll be sure you’ve done it wrong. In fact, I currently don’t have photos of this because when I tried it, I was sure it was going to fail! If it looks wrong, it’s right!
Stir. As above, stir, stir, stir. When not stirring, keep covered with a tea towel. Because the pulp is so fine, it is hard to see bubbles developing, but you will notice the smell changing to cider and then vinegar. Keep stirring. After 4-5 days (longer if the room is cold) you will notice the pulp start to rise and clear liquid will be visable at the bottom of the jar. Keep stirring to push the pulp down. Because the pulp floats, it may get pushed up out of the jar if you don’t stir.
Once the pulp is consistently floating, strain the contents of the jar into another clean jar using cheesecloth (or an old tea towel).
Leave the jar on the counter with the lid loosely fastened until content with the taste, secure the lid and store in a dark cupboard.
A note about colour:
The colour will vary with each batch made, dependent on how many apples you use and how brown they are. I tend to find that using apple pulp makes a darker vinegar than using apple scraps; and that fresh apple scraps make a lighter colour vinegar than frozen apple scraps. Rather than use the colour as a guide, go by taste. You’ll be eating it, after all!
Now I’d love to hear from you! Have you ever made apple scraps vinegar? Have you ever made cider? Do you have any tips to add? Did you struggle, and what went wrong? Are there any other pantry staples that you currently buy that you’d like to make? Are there any that you make already that you’d like to share? Have you ever tried any other fermentation? Leave your thoughts in the comments below!