Ingredients I love…Coconut Oil

Coconut oil is a relatively new addition to my grocery cupboard. When I was growing up coconut oil (and coconut products in general) were considered unhealthy because of their high fat content, in particular their saturated fat content. (Avocados and coconuts are unique among fruit and vegetables for containing saturated fat.) Saturated fat has been linked to heat disease. However coconut oil is now becoming popular again as its properties and their benefits are more widely understood.

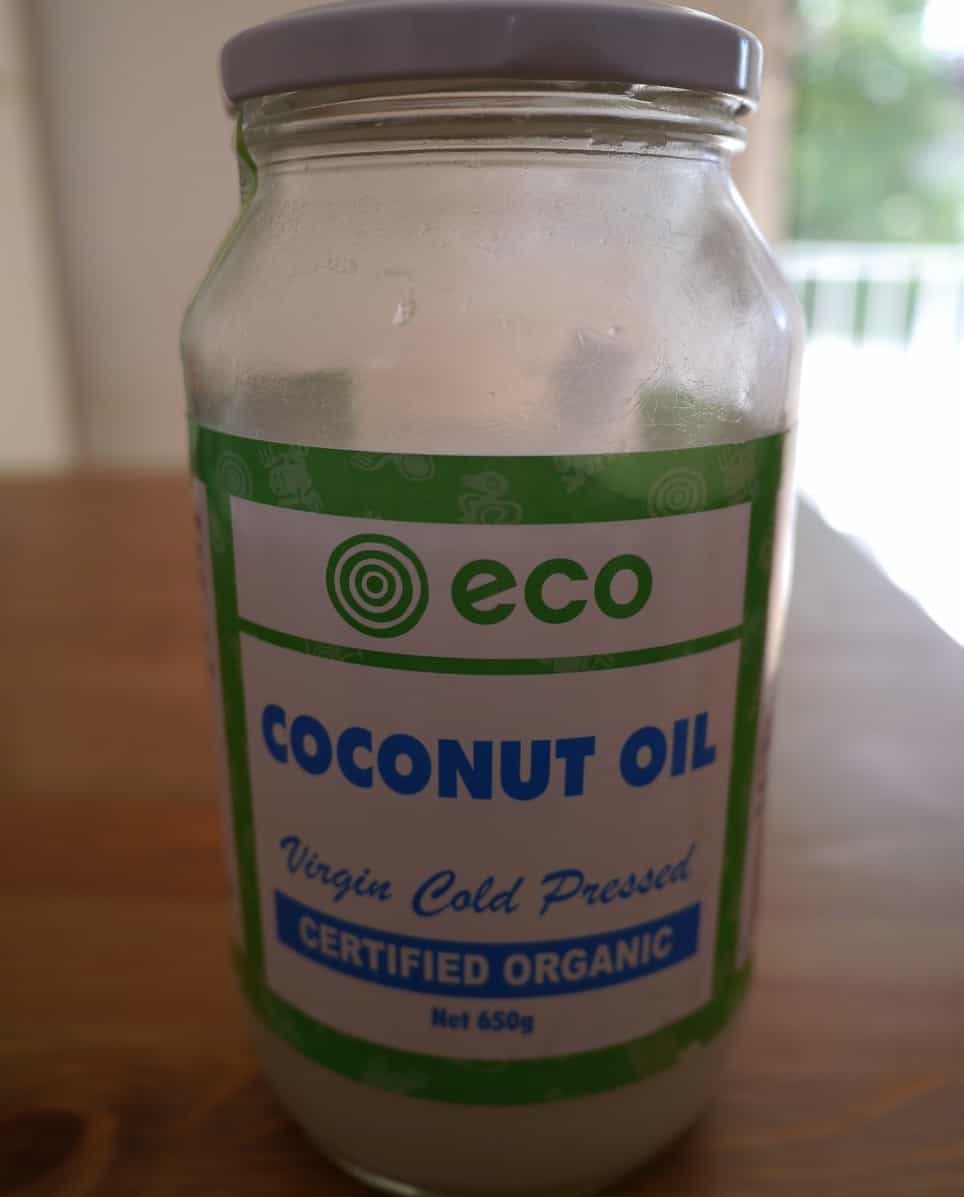
It’s worth noting that the coconut oil I’m talking about here is virgin cold-pressed. Virgin cold-pressed coconut oil is produced from fresh coconut meat, which is dried and then pressed to extract the oil, usually within hours of harvesting.

Oh, and one more thing before I begin my list. All things in moderation. Coconut oil might have some amazing properties and health benefits, but eating an entire jar in one sitting isn’t going to do you any favours! Limiting consumption to only a few tablespoons a day is recommended.

Six reasons why I love coconut oil

  1. It’s tasty…and better for you!

Let’s face it, things full of fat always taste much better, and coconut oil is composed of 92% saturated fat. But don’t panic! Not all saturated fats are equal. There are 34 different saturated fatty acids, and of the four found in coconut oil, lauric acid accounts for almost 50%. Lauric acid is a medium-chain fatty acid, and medium-chain fatty acids are metabolised differently to other saturated fats.

Medium chain fatty acids tend to be used by the body to provide energy soon after they are consumed, rather than being stored as fat. If fatty acids are used this way they cannot contribute to weight gain. Lauric acid has a particularly high rate of oxidation compared to other fats, meaning it is burned off, making it a valuable source of energy.

  1. It has anti-microbial properties

Lauric acid has antibacterial properties, but can also be converted in the body into monolaurin (glycerol monolaurate), which has even greater anti-microbial properties. In lab tests both lauric acid and monolaurin have been demonstrated to be effective against viruses and pathogenic (disease-causing) bacteria including Staphylococcus aureus, E. coli and Salmonella (research here, here, here and here).

  1. It’s good for the heart

There are two types of cholesterol, LDL (‘bad’ cholesterol) and HDL (‘good’ cholesterol). High levels of HDL are thought to protect against heart attacks and strokes (see reports here, here, here and here). The lauric acid in coconut oil greatly increases HDL cholesterol in the blood (analysis here) and decreases the total cholesterol to HDL ratio.

  1. It has a long shelf life

Because it is high in saturated fat, coconut oil is resistant to oxidation. (Oxidation is what makes oils rancid, breaking fatty acids down into aldehydes, ketones and alcohol.) Oils high in unsaturated fat are much less stable and prone to going rancid. Some particularly susceptible oils (such as flaxseed oil) will go rancid within weeks; coconut oil can last years. This is great if you’ve bought a jar because you needed 2 teaspoons for a recipe, as it will sit happily in the cupboard until you’re ready to use it again.

  1. It’s not just for eating

Coconut oil is also a great base for beauty products because it is solid at room temperature, has a long shelf life and is easily absorbed by the skin. If you want to make your own beauty products then coconut oil is an essential; I use coconut oil for making my own deodorant and toothpaste. It’s a key oil for making soap and also has great moisturising properties. The anti-bacterial properties of lauric acid have been shown to be effective in treating acne.

  1. It’s a great natural alternative to butter

Because it’s solid at room temperature (it melts at 25ºC) it’s great as a butter replacement in recipes for people who can’t/won’t eat dairy products, or want to cut down. Now I’m not a vegan but I am a fan of the raw vegan treat. Coconut oil is often found in such delights as a substitute for dairy products. What could be better than snacking on food that tastes delicious and is packed full of goodness? What, you don’t believe me that raw vegan treats taste delicious?! Try this recipe and see for yourself!

Raw chocolate

(This recipe is adapted from another recipe I found online – I used to link back to it bu as the link no longer works so it’s been removed.)

Ingredients:
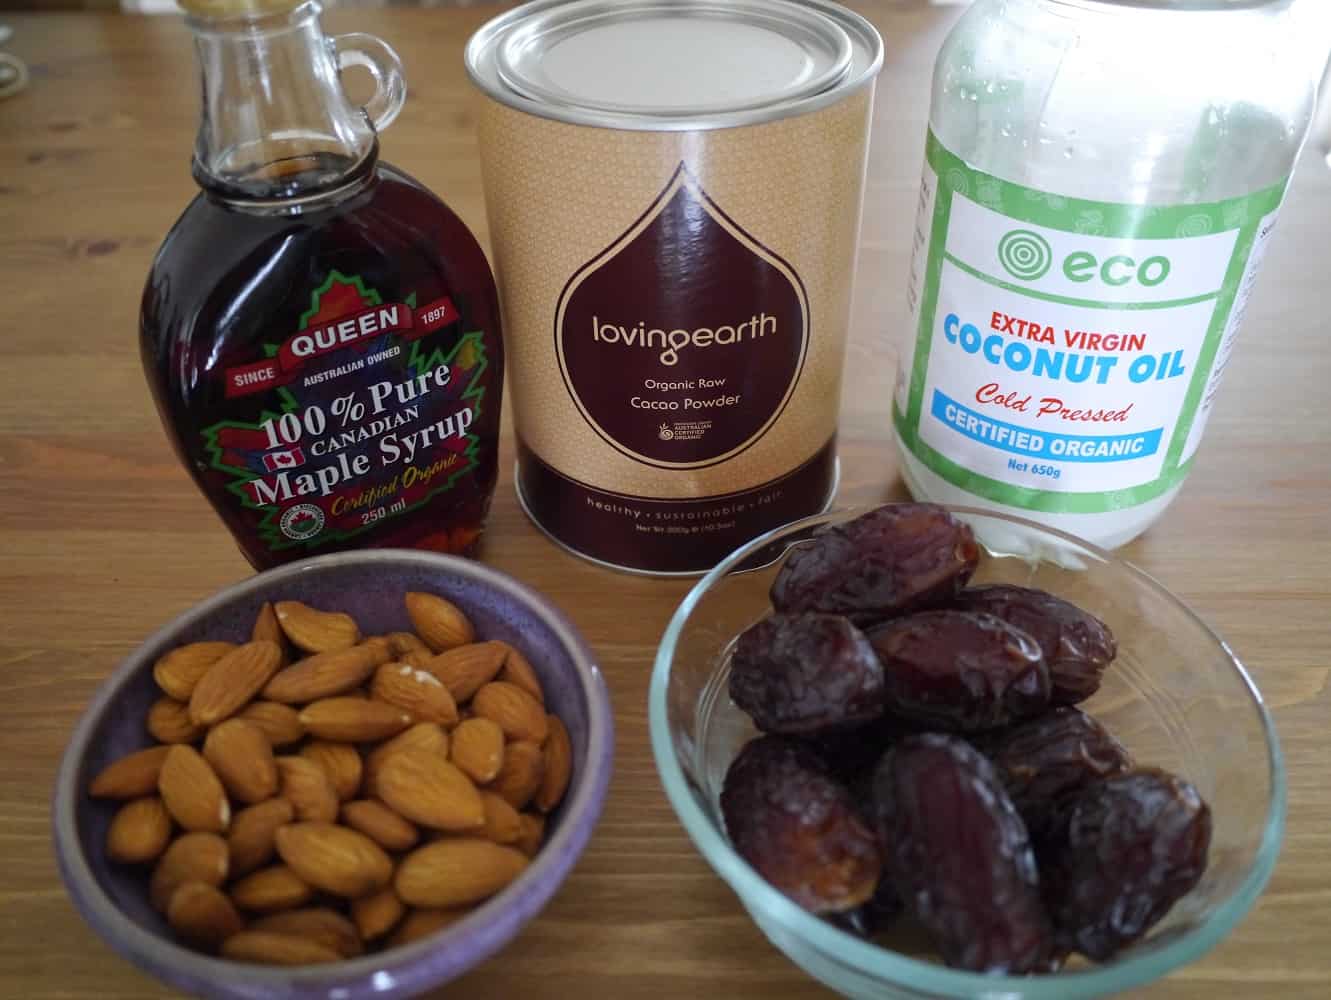
170g coconut oil
110g raw almonds
60ml maple syrup (1/4 cup)
10 – 12 medjool dates
4 tbsp cacao powder

rawchoc1jpg

Method:

Line a 20cm by 25cm tray with greaseproof paper.

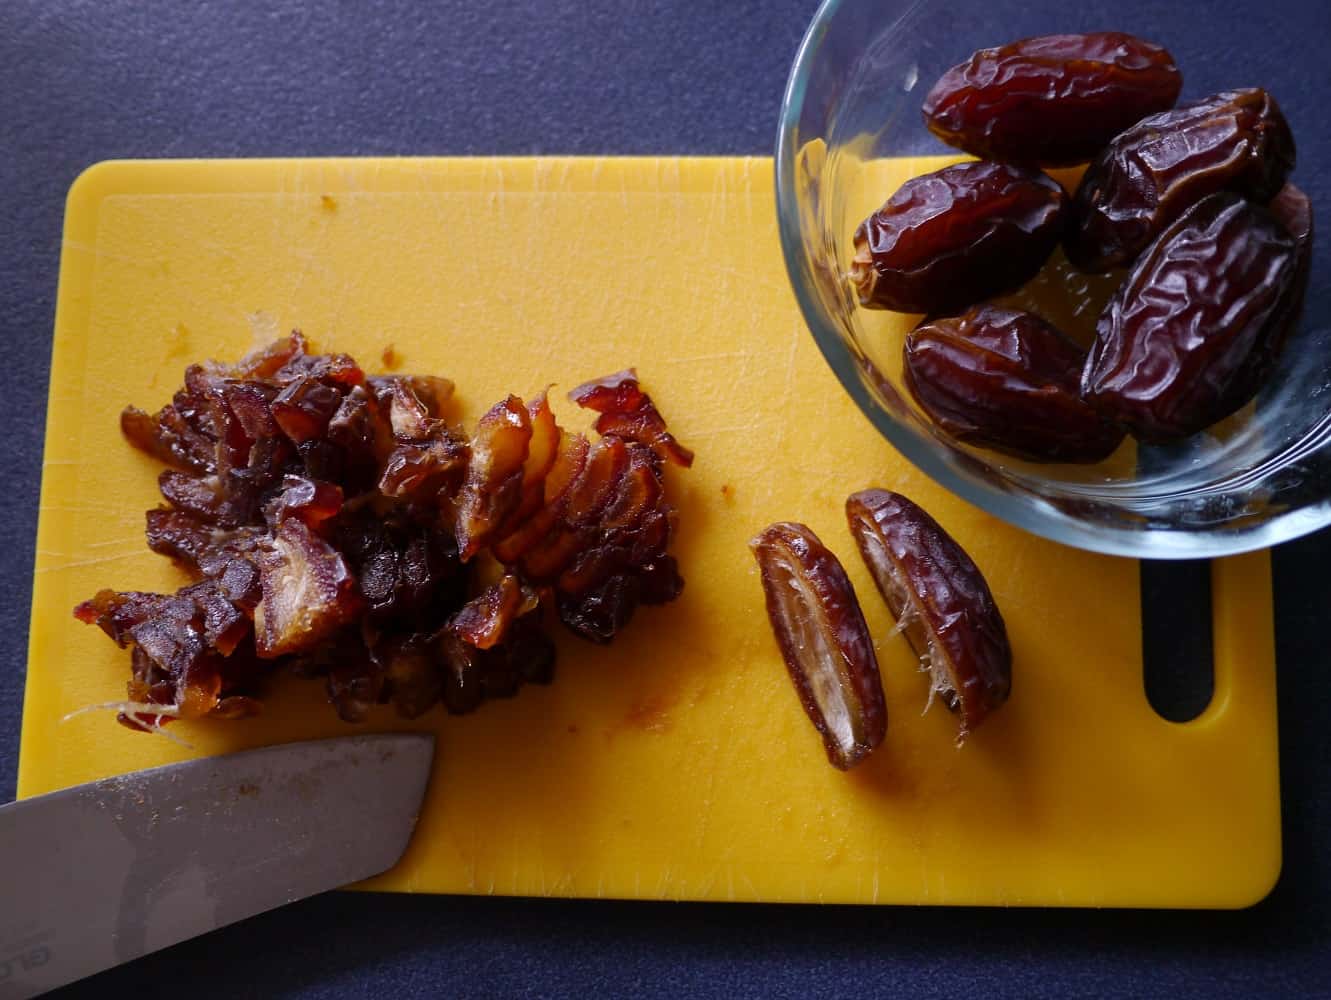
Chop the dates finely using a knife. (Don’t attempt to do this in a food processor or you will end up with a big sticky lump attached to the blades)

rawchoc2jpg

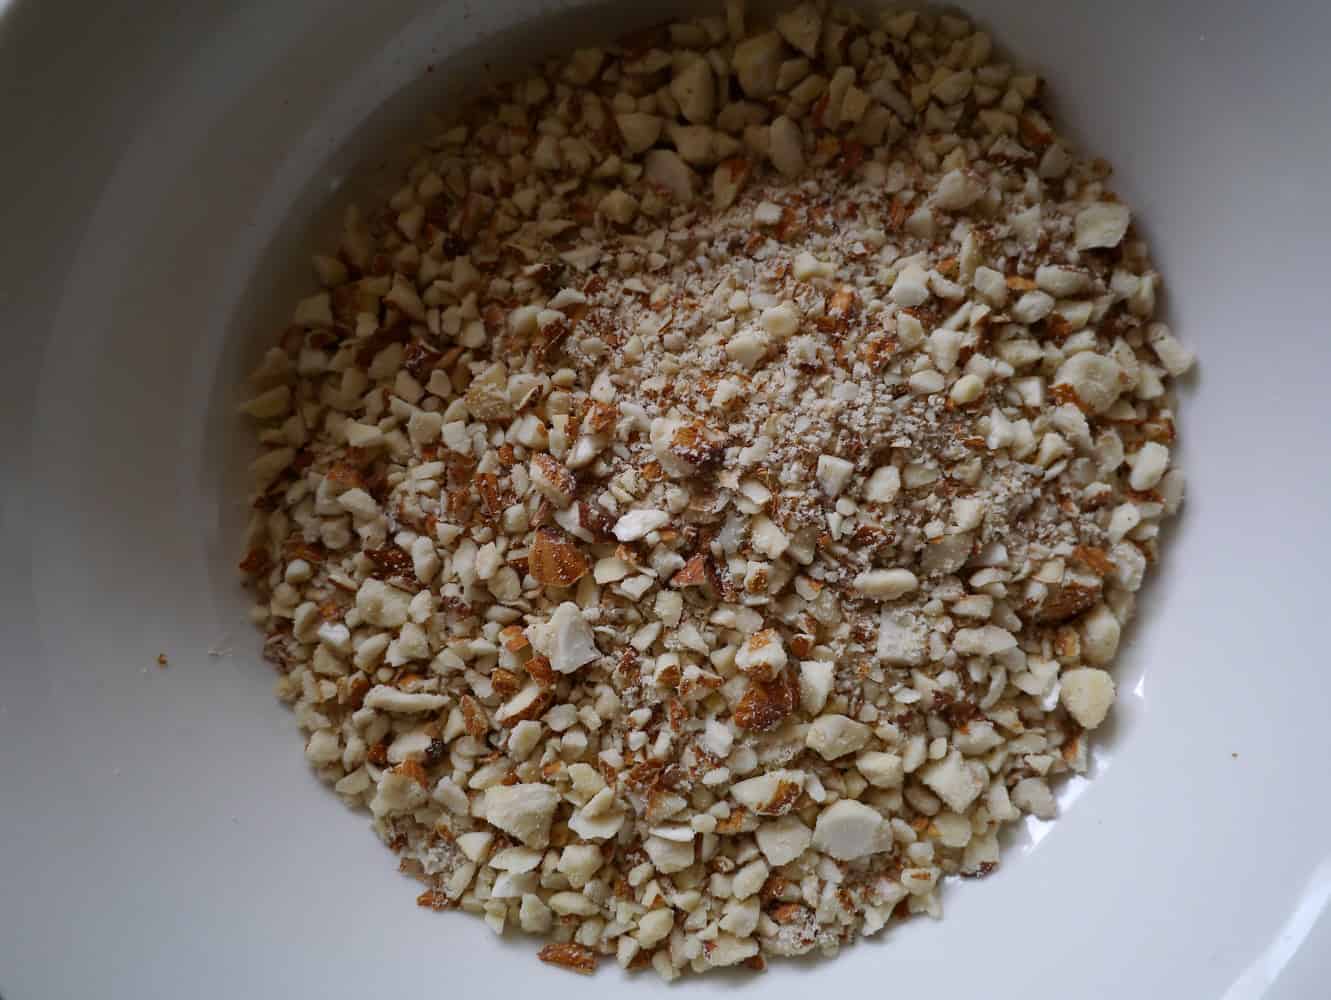
Chop the almonds in a food processor until they resemble small nibs, but not so fine that you get a powder. (If you don’t have a food processor then you could use a coffee grinder of chop by hand using a sharp knife)

rawchoc3jpg

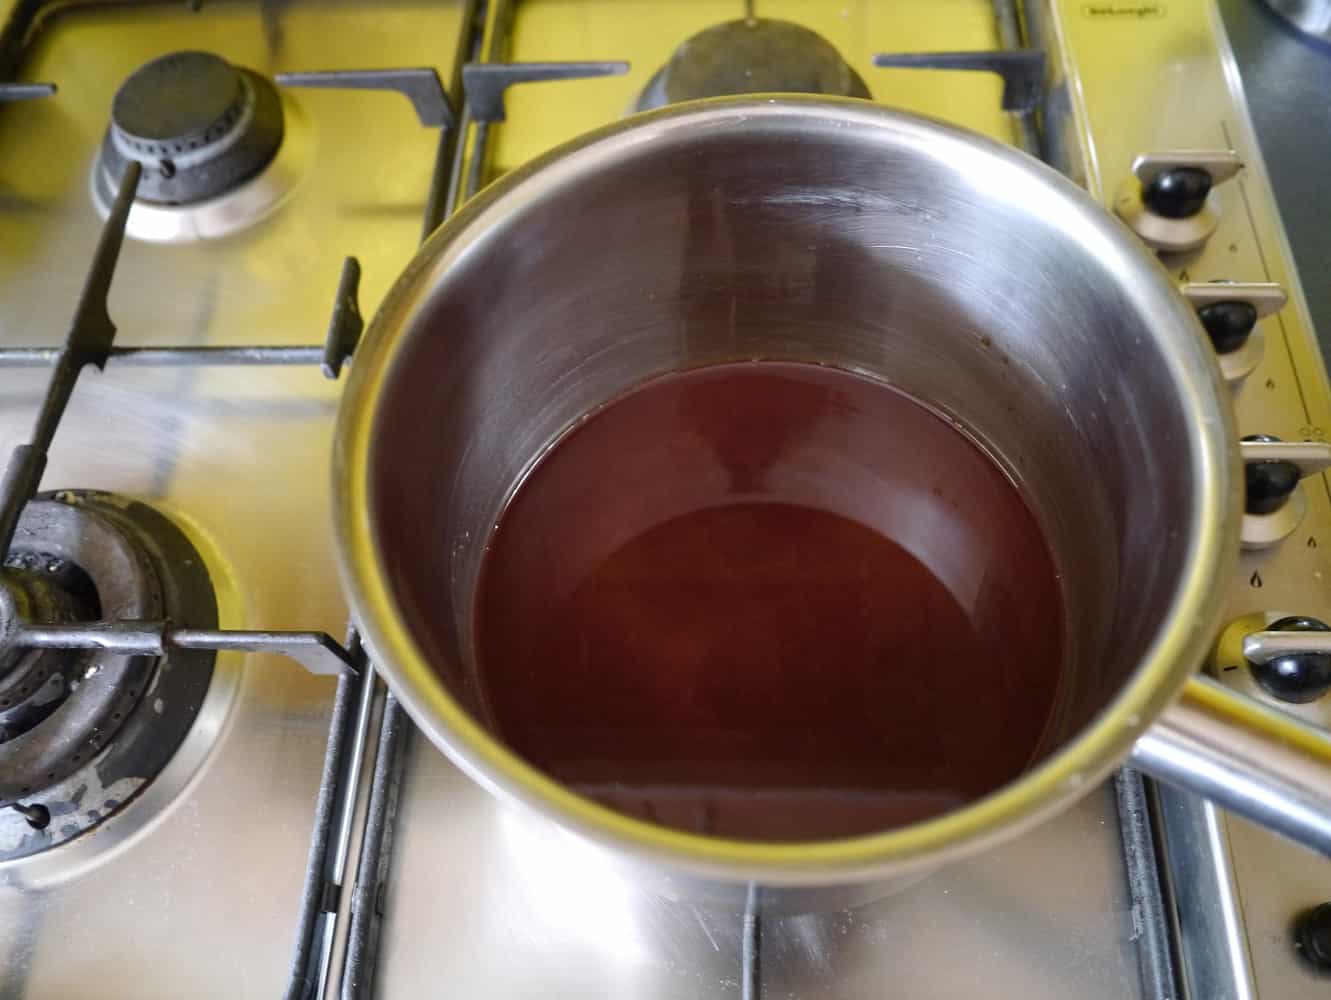
Heat the coconut oil in a saucepan on an extremely low heat until it is liquid (it will melt at 25ºC). Add the maple syrup and cacao to the pan and stir.

rawchoc6jpg

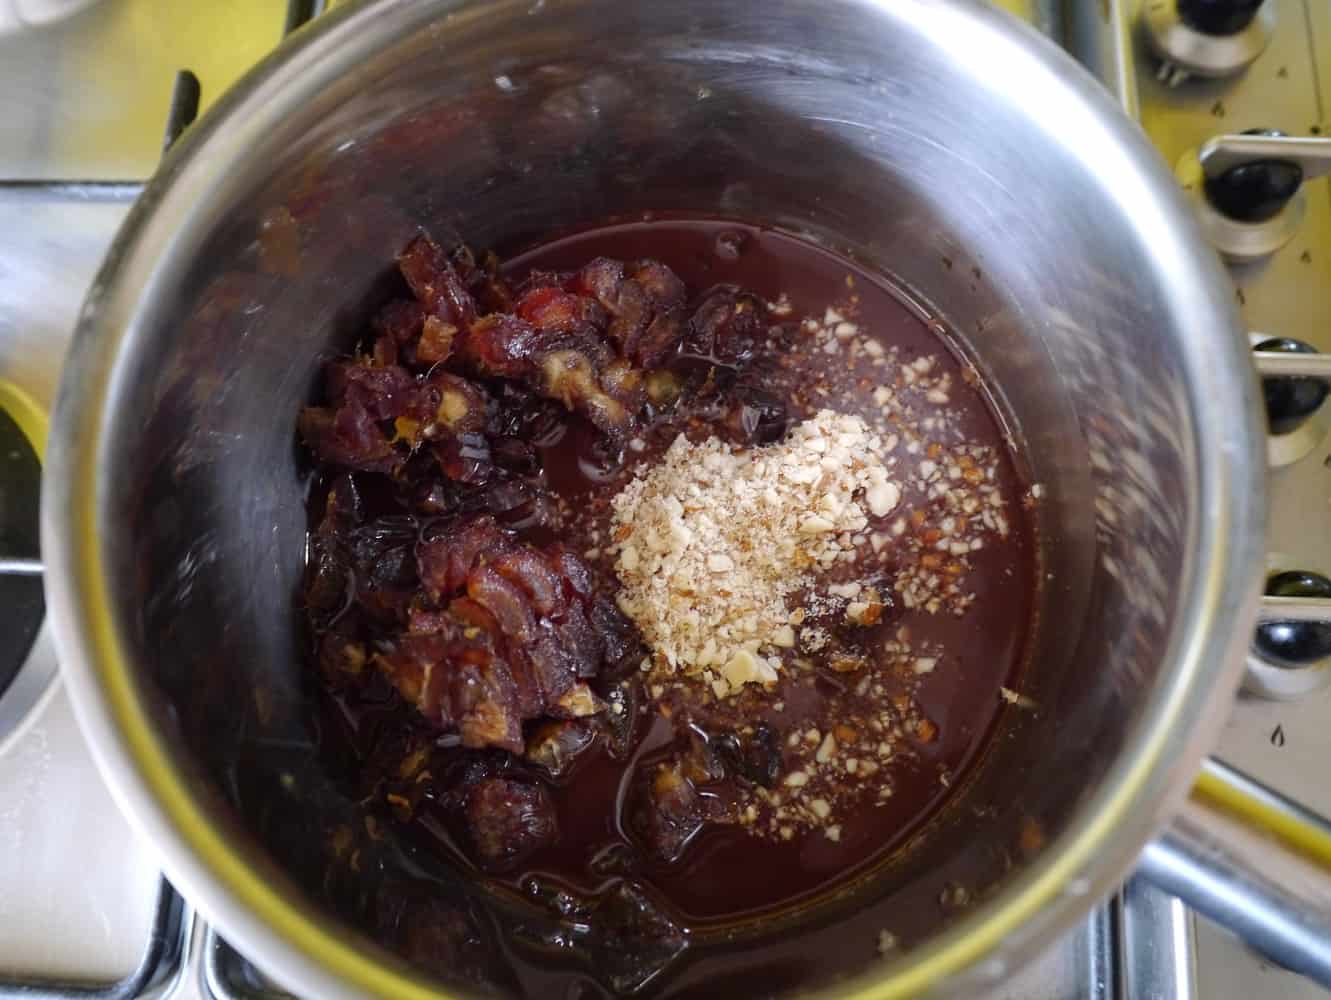
Add the chopped dates and nuts and mix well.

rawchoc7jpg

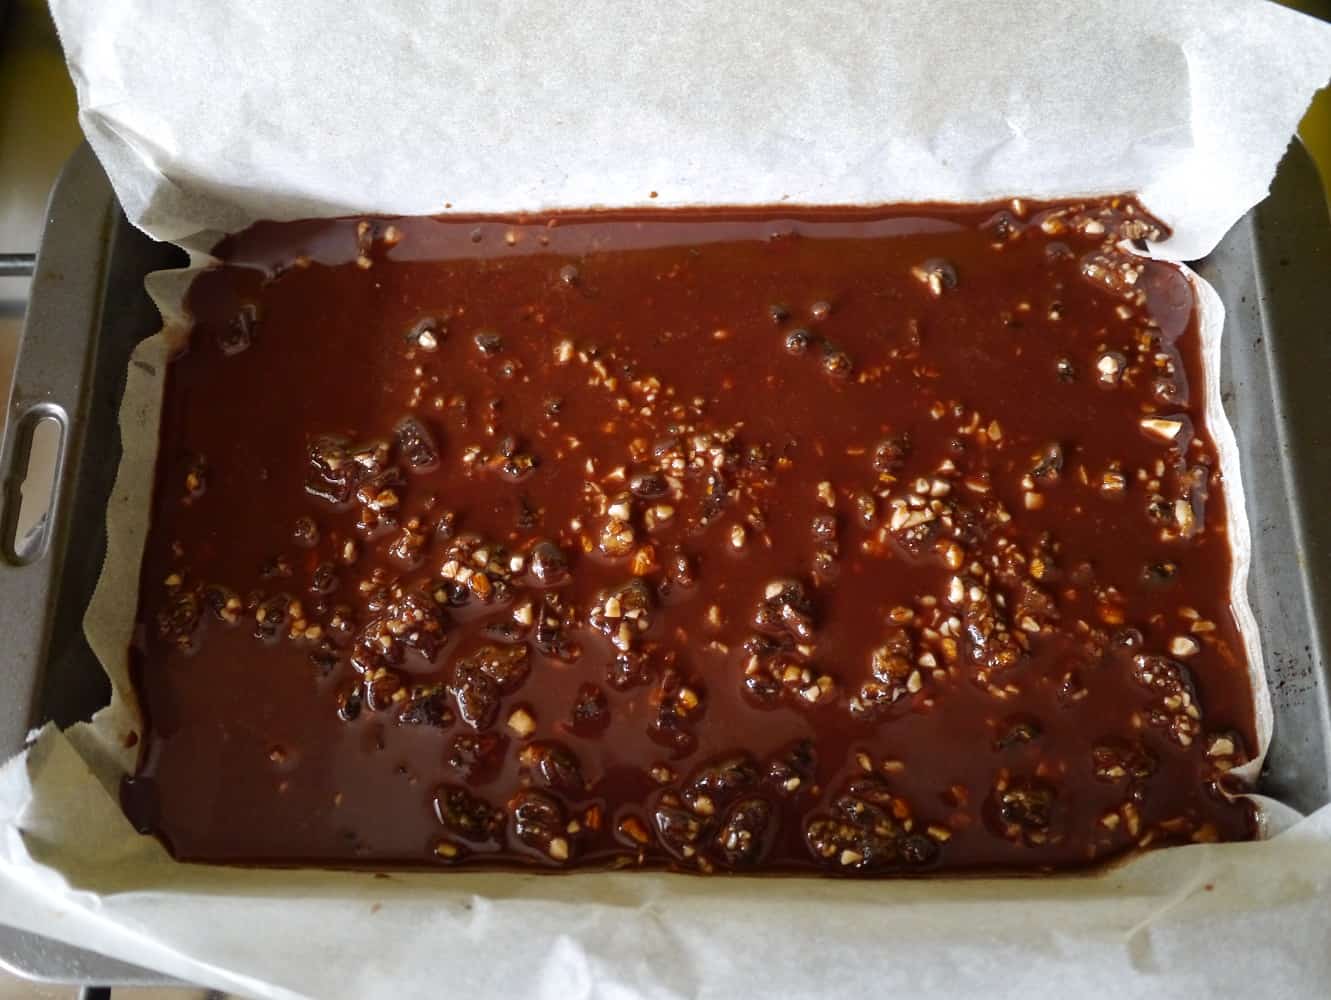
Pour into the lined tin, using a fork to make sure the fruit and nuts are distributed evenly.

rawchoc8jpg

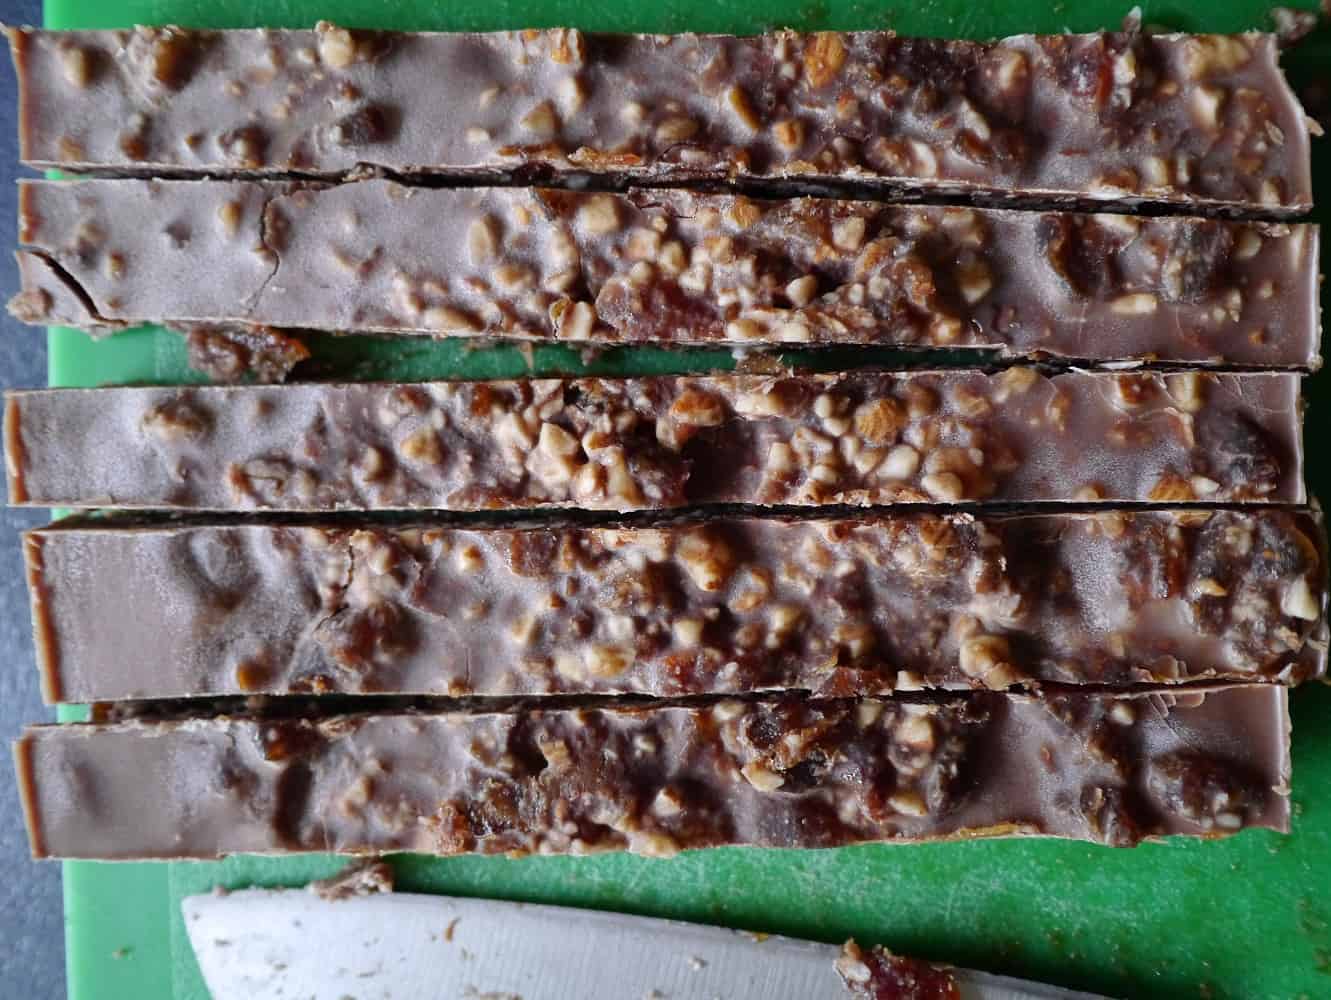
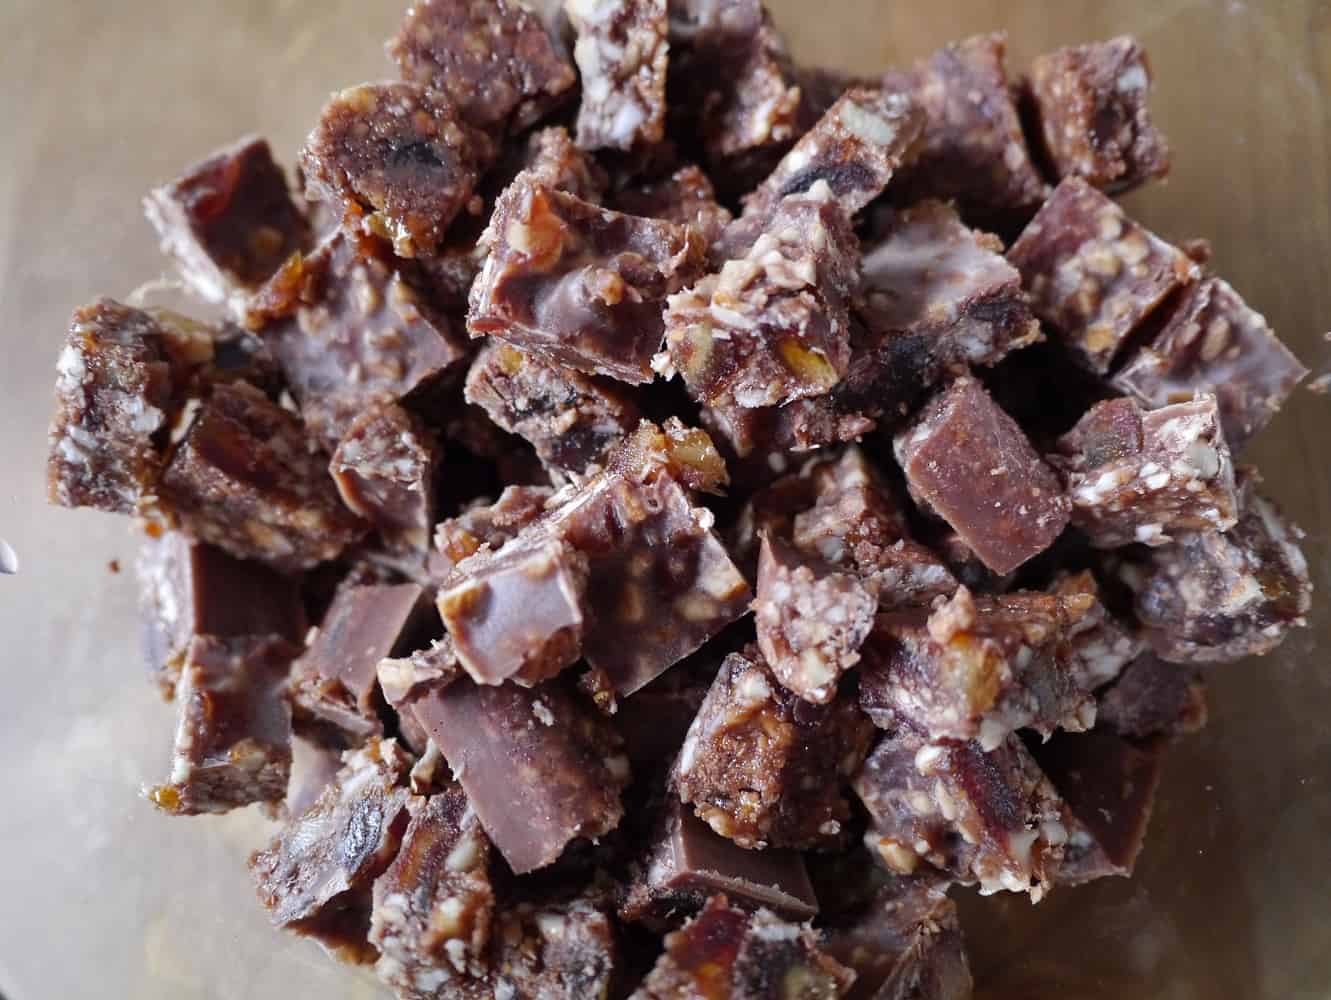
Place in the freezer (make sure the tray is flat) and leave for at least 30 mins until solid. Chop into squares and store in a container in the freezer. (You eat it straight from frozen.) If it doesn’t get eaten immediately, it will last for a month.

rawchoc10jpg

rawchoc11jpg

Notes:

Maple syrup is not raw, as it is made from the heated and reduced sap of the maple tree. If you want a raw sweetener then replace the maple syrup with raw honey (which is not suitable for vegans) or raw agave nectar.

Raw cacao is preferable as it is higher in nutrients. If you cannot find it, then I recommend an organic product such as Green & Blacks cocoa powder. Don’t use Cadbury’s as it contains extra ‘flavours’!

[leadpages_leadbox leadbox_id=1429a0746639c5] [/leadpages_leadbox]

Two simple recipes for do-it-yourself toothpaste

This weekend we finally finished off the toothpaste we have been using since last year, purchased before our plastic-free adventure began. We had a bit of a stockpile of the old stuff to use up, but now the last little bit is gone, and from now on I’m gonna make my own.

I’ve been suspicious of conventional toothpastes for a while and stopped buying them 18 months ago. Conventional toothpastes are full of cleaning agents, detergents, preservatives, anti-microbial agents, and thickeners, and many of these ingredients are questionable in terms of their effects on the body.

Three Nasties in Conventional Toothpaste

Sodium lauryl sulphate
This is added as a foaming agent and detergent. It is a known irritant.

Sodium fluoride
This is added to toothpaste to help prevent cavities. However it is toxic by ingestion and can be fatal. It can affect the heart and circulatory system. In younger children too much fluoride can cause fluorosis, which is when the enamel of the teeth is discoloured and the teeth have brown markings.

Triclosan
This an anti-microbial and anti-bacterial agent used in toothpaste to help prevent gum disease. However, it has a number of other impacts on humans and the environment. For example, triclosan is fairly stable and fat soluble, meaning it can accumulate in the body. It has been found in blood, urine and breast milk. It is a demonstrated endocrine disruptor and has potential links to breast cancer.

Despite its stability, it can react with chlorine in tap water and sunlight to form toxic intermediate and breakdown products such as dioxins, which are highly toxic, and chloroform, which is a carcinogen. Triclosan is also toxic to aquatic bacteria, phytoplankton, algae and fish. (This fully referenced fact sheet is great if you want more information.)

There are also concerns that its widespread use may cause resistance in bacteria similar to the way antibiotic-resistant bacteria developed.

So what are the alternatives?

You can buy natural toothpastes but they are expensive (and some still contain questionable ingredients), and they almost all come in plastic packaging. Making your own safe, inexpensive, packaging-free toothpaste seems to be the best solution.

How to Make your Own Toothpaste

You can make your own toothpaste simply in just a couple of minutes using only a handful of ingredients.

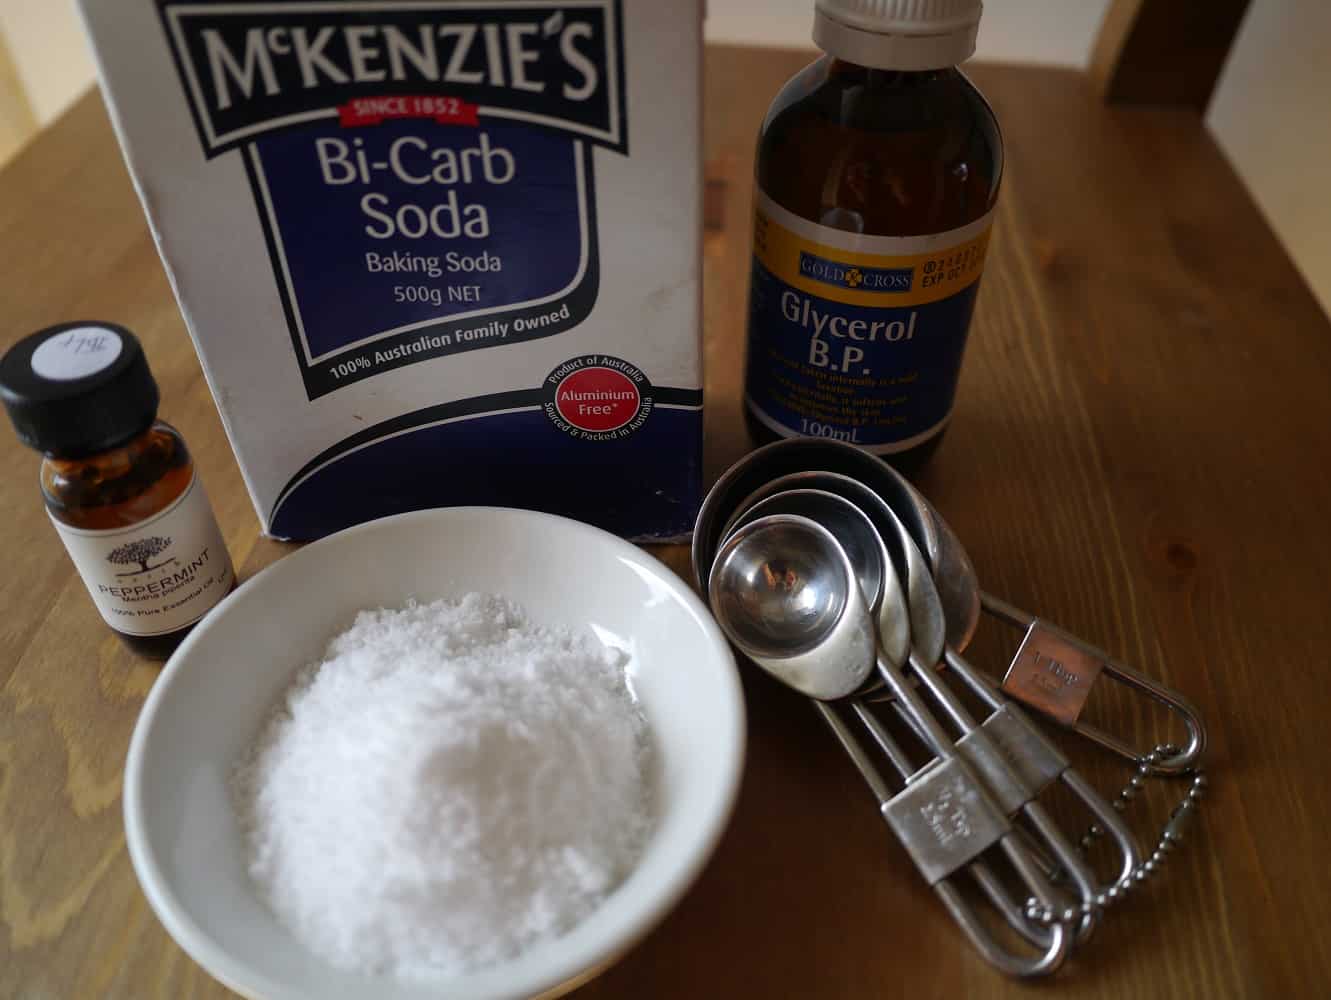
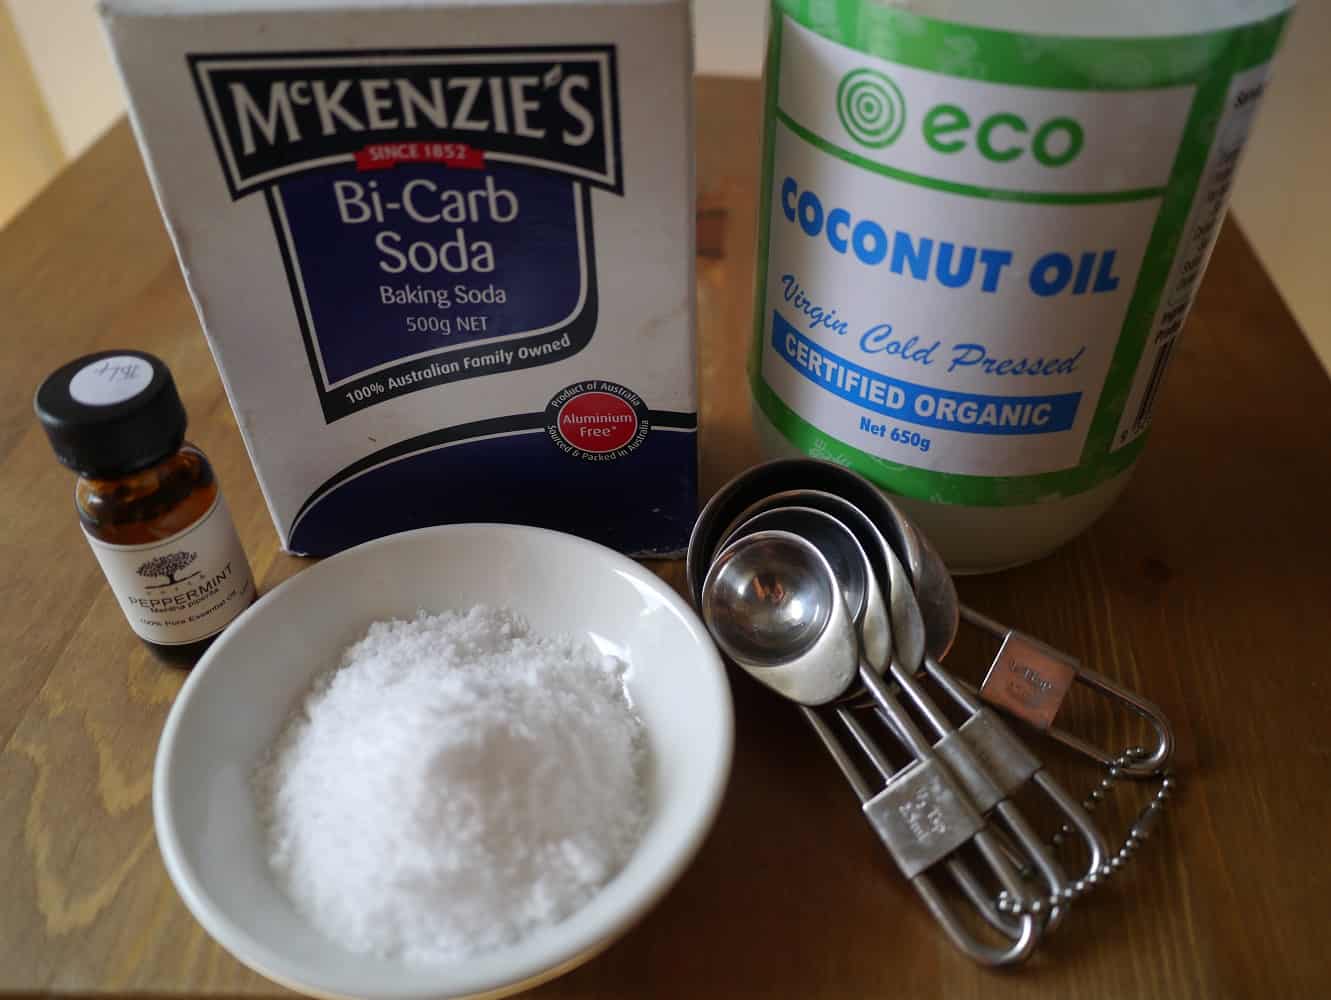
Bicarb soda – is an abrasive agent that removes dental plaque and food from teeth. It also neutralises stains and odours.

Sodium chloride (salt) – is a mild abrasive and also has anti-bacterial properties.

Glycerine/glycerol – is a sweet-tasting colourless odourless liquid that makes the paste smooth, provides lubrication and acts as a humectant, helping the toothpaste retain water. You can buy glycerine at a pharmacy.

Peppermint oil – this gives the toothpaste its minty taste. You can also use other essential oils but ensure they are food grade.

toothpaste2jpg

Ingredients:

4 tsp bicarb soda
1 tsp sodium chloride (salt)
3 tsp glycerine
8 – 10 drops peppermint oil

Method:

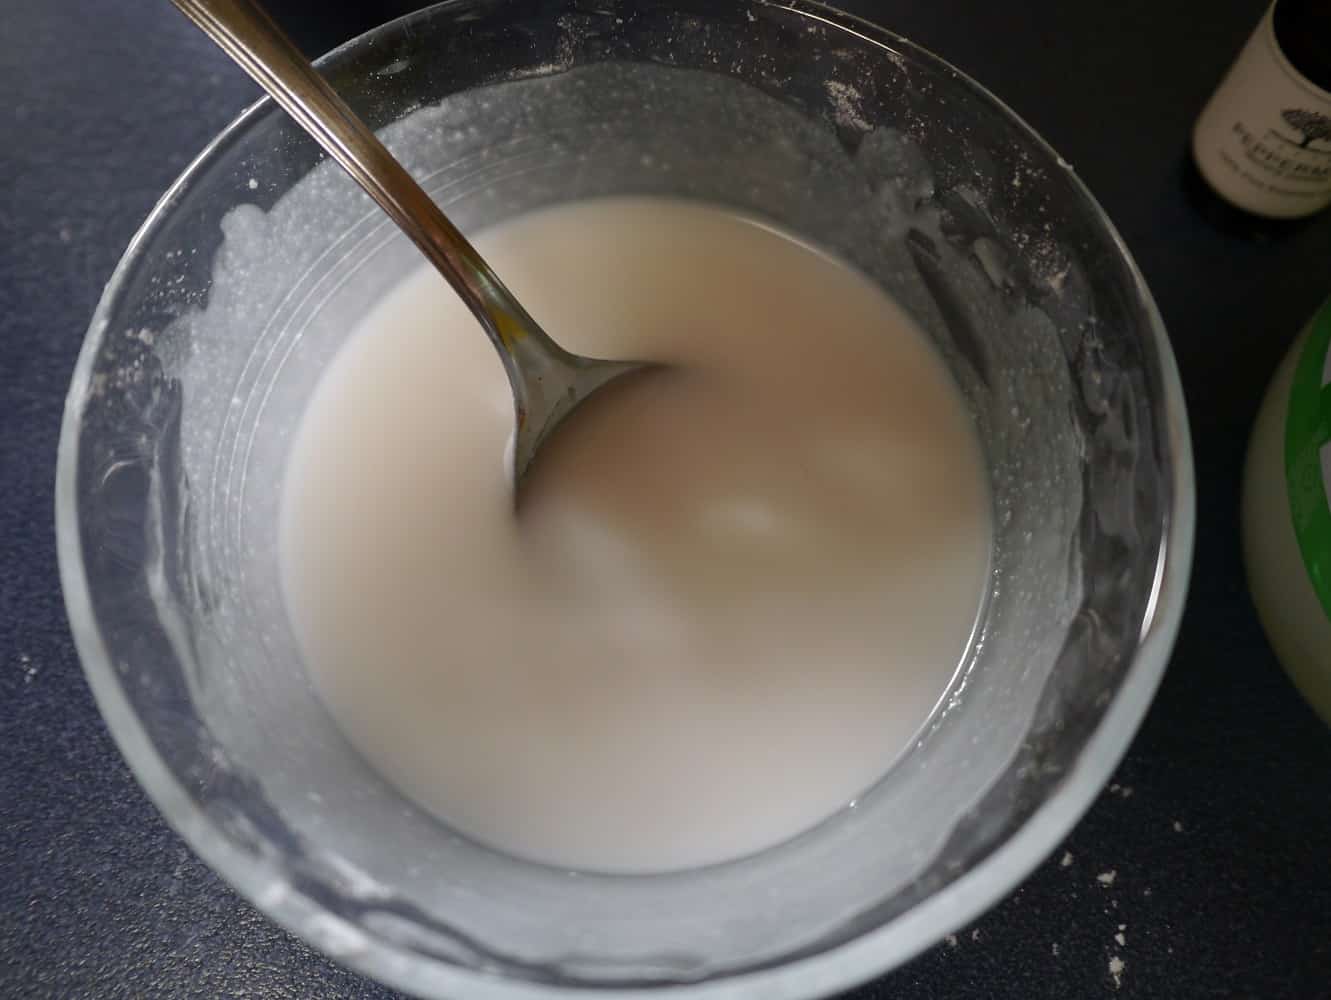
Measure dry ingredients into a bowl. Add glycerine and stir to form a paste. Add essential oil.

bicarbandsaltjpg glycerin2jpg

Alternative Recipe – Glycerine-Free Toothpaste

There is a lot of information on the internet regarding  glycerine in toothpaste. It all seems to come from one source, Dr Gerard F. Judd, who wrote a book called ‘Good Teeth, Birth to Death‘ published in 1996 in which he claimed glycerine coats the teeth and prevents remineralisation. I have not read the book but if using glycerine in toothpaste is something that concerns you, you can replace the glycerine with coconut oil.

Coconut oil has anti-microbial properties and because it is solid below 25ºC it works well as a glycerine substitute.

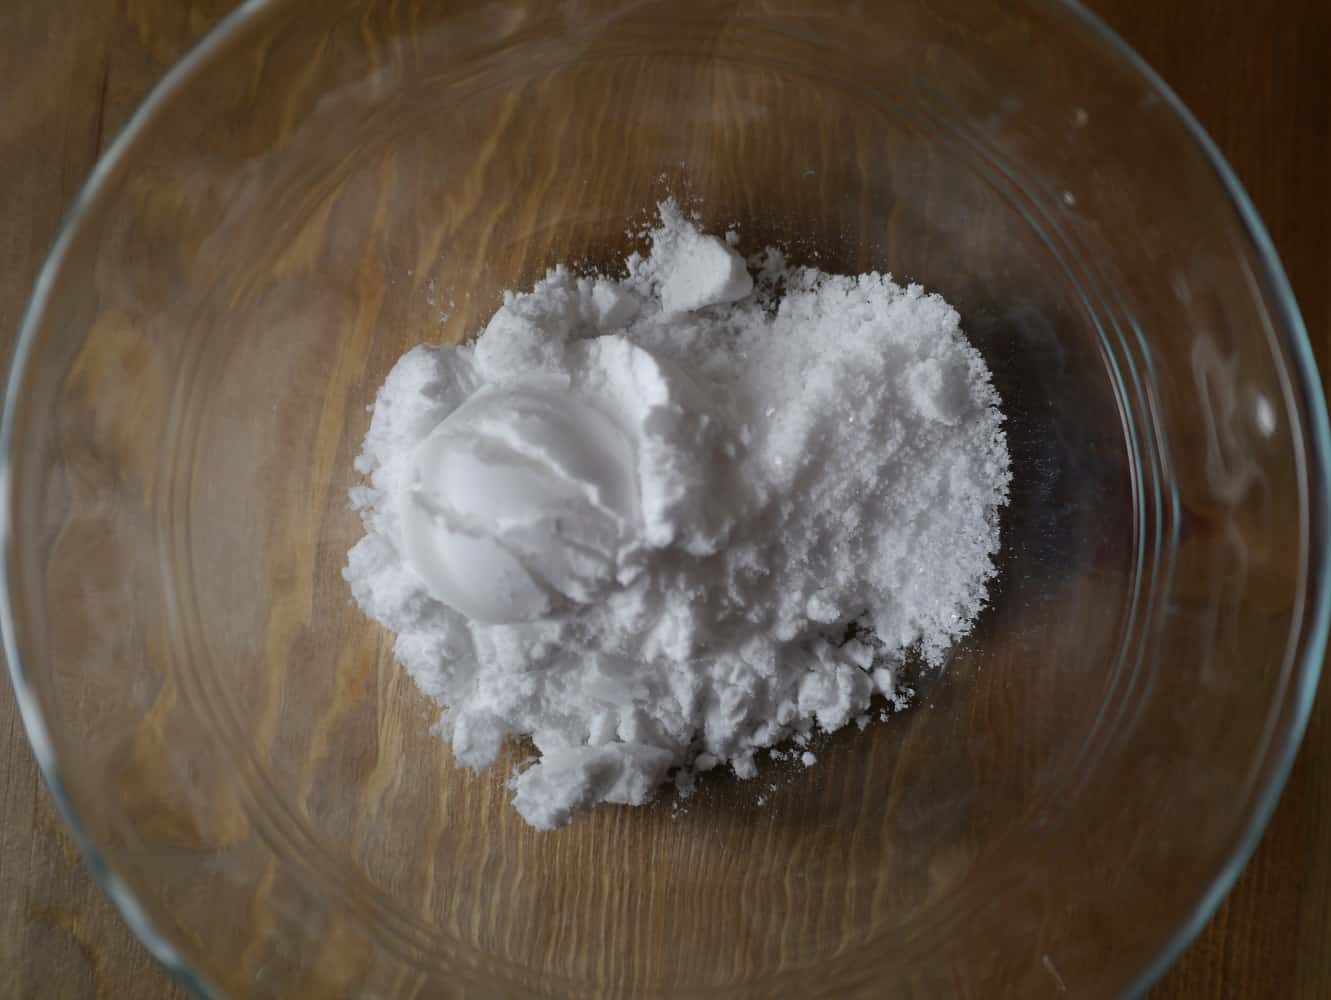
To make this version use the recipe above but substitute 3 tsp glycerine for 2 tsp coconut oil.

toothpaste1jpg bicarbandsaltjpg coconutoiljpg

The Taste Test

Neither toothpaste willtaste like conventional toothpaste, so don’t be surprised! Bicarb soda and the salt make the taste very salty. The glycerine version is slightly sweeter and has more of the texture of conventional toothpaste. It has a higher melting point, whereas the coconut oil will melt in your mouth – literally – and has a mild coconut taste and the texture of oil. If you’re not worried about glycerine (and if you’ve been using conventional toothpaste you’ve probably been using glycerine in that) I would recommend starting with that, and once you get used to the taste you could consider making the switch to coconut oil.

[leadpages_leadbox leadbox_id=1429a0746639c5] [/leadpages_leadbox]
Deodorant: why natural is better and how to make your own!

Before you roll your nose up at the idea of making your own deodorant, let me tell you that is exactly how I was about a year ago. So what changed? Why would I want to make my own deodorant anyway?

Well… the first thing was that I became increasingly interested in what ingredients go into beauty products. I learned that some of the ingredients used in regular products are not good. And when I say ‘not good’, we’re talking carcinogens, neurotoxins, irritants, even pesticides.

Conventional anti-perspirant deodorants (the kind you buy in chemists, supermarkets and beauty stores) contain, among other things, aluminium salts. These have been linked to breast cancer. There is a LOT of info about this on the web; studies have been carried out that ‘prove’ they do with just as many that ‘prove’ they don’t. Whilst the verdict is still out, why take the risk?

The second thing that made me want to stop using conventional deodorant was learning about the way aluminium salts work. Aluminium salts are what makes a deodorant ‘anti-perspirant’, and they work by blocking the pores, or more specifically the sweat ducts. Sweat is still produced by the sweat ducts, but it cannot escape. Sweating is a natural process that has two useful functions – it regulates our body temperature by cooling us down, and also allows us to excrete toxins. (The skin is an excretory organ.) If we’re blocking our sweat ducts, then the toxins cannot be released, so where are they going? My view is, that if the body was designed to allow us to sweat, it’s probably best to let it do it’s thing.

These two reasons were enough to convince me to stop using conventional deodorant. However, I had mixed results with store-bought natural deodorants. They are often expensive, almost always come in plastic packaging, and I would say half of the ones I’ve tried don’t actually work. Let’s face it, the reason we use deodorant is to prevent ourselves from smelling bad. I’m willing to give up aluminium salts, but only if I’m exchanging it with something that will actually work. Natural and useless has no appeal.

So not being completely satisfied with the natural products on the market, I contemplated the concept of making my own. But what actually convinced me to make my own deodorant was meeting other people who made their own deodorant…and didn’t smell! For me that was the final reassurance I needed to jump in and give it a go…

Super Simple DIY Deodorant

This is a really simple recipe that only requires 3 ingredients and will take you about 5 minutes. What’s even better is that the ingredients are cheap, being things that you’d find in your grocery cupboard and are all safe enough to eat!

Makes enough to fill a small jar. Effective enough to last all day without reapplying!

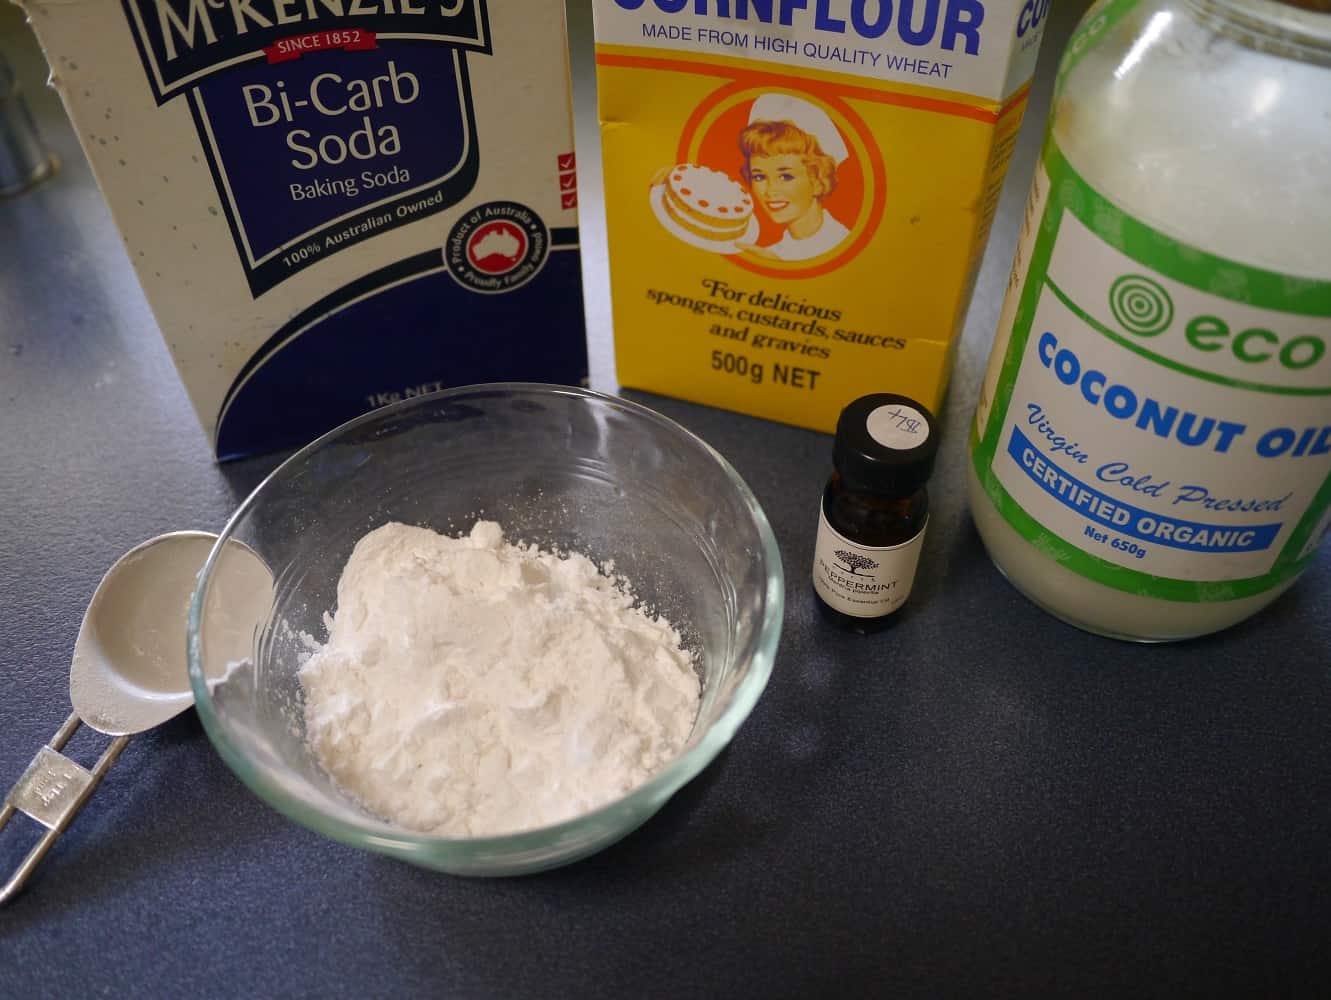
Ingredients:

1 tbsp bicarb soda
4 tbsp cornflour / arrowroot powder (sometimes called tapioca flour)
2-3 tbsp coconut oil
optional: essential oils (therapeutic or food grade)

Mix bicarb soda and cornflour together in a bowl.

deo2jpg

Add 2-3 tbsp coconut oil. (Coconut oil has a melting point of around 25°C, so it will depend on the temperature of your kitchen whether it is solid or liquid. If it is solid, immerse the jar in a bowl of warm water for a few minutes and the oil will melt.)

Stir to form a paste.

deo6jpg

This looks runny because I had to warm my coconut oil slightly to melt it. As it cools it will stiffen to form a paste.

Add a few drops of essential oil if using (if not the deodorant will have a mild and pleasant coconut smell.)

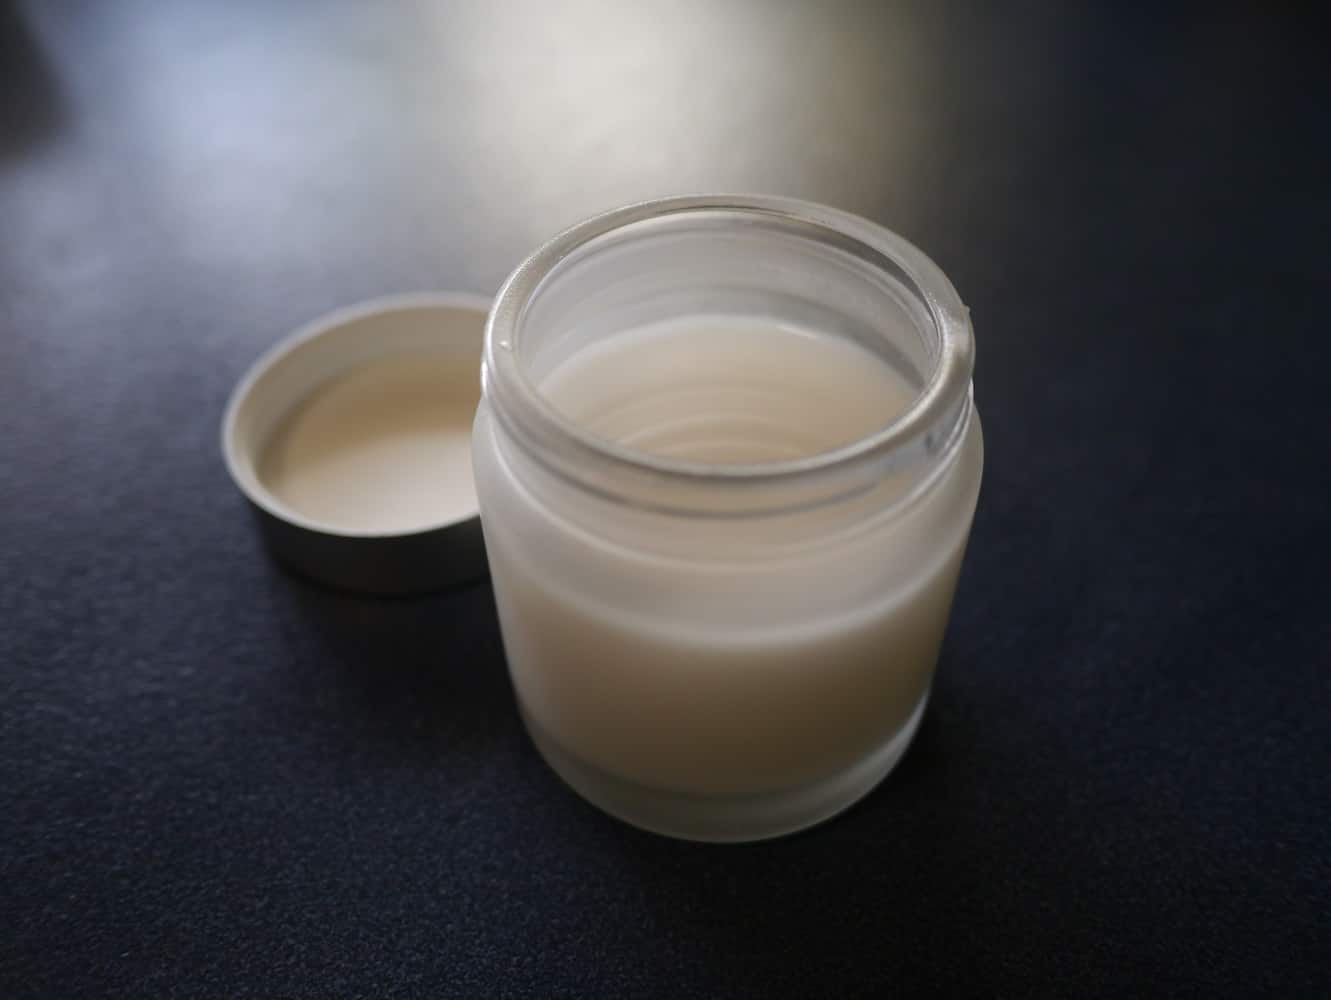
Pour into a clean jar.

deo9jpg

How to Apply

Apply a small amount with fingertips  to underarms and rub in well.

How to store

I keep mine in the bathroom, where usually it maintains a good consistency. If the day is particularly hot and the deodorant completely liquifies, stir with a clean teaspoon and put in the fridge to harden. If it is too stiff, put the container in a bowl of warm water to soften.

Tips

  • Some people are sensitive to bicarb soda. My boyfriend has particularly sensitive skin and so I use the ratio 1:6 bicarb to cornflour. I tried the ratio 1:8 but found it was only effective for 6 or so hours after applying. I have also made it for myself using 1:4 with no problems, and I know people who use 1:1.
  • Everyone is different, so if you find my recipe doesn’t work for you, try tweaking it by adding more bicarb.
  • The amount of coconut oil you need will depend on the temperature of your house. I use less in summer and more in winter because our bathroom temperature fluctuates to maintain the same consistency.

[leadpages_leadbox leadbox_id=1429a0746639c5] [/leadpages_leadbox]
Fruit and vegetable shopping…the sustainable way

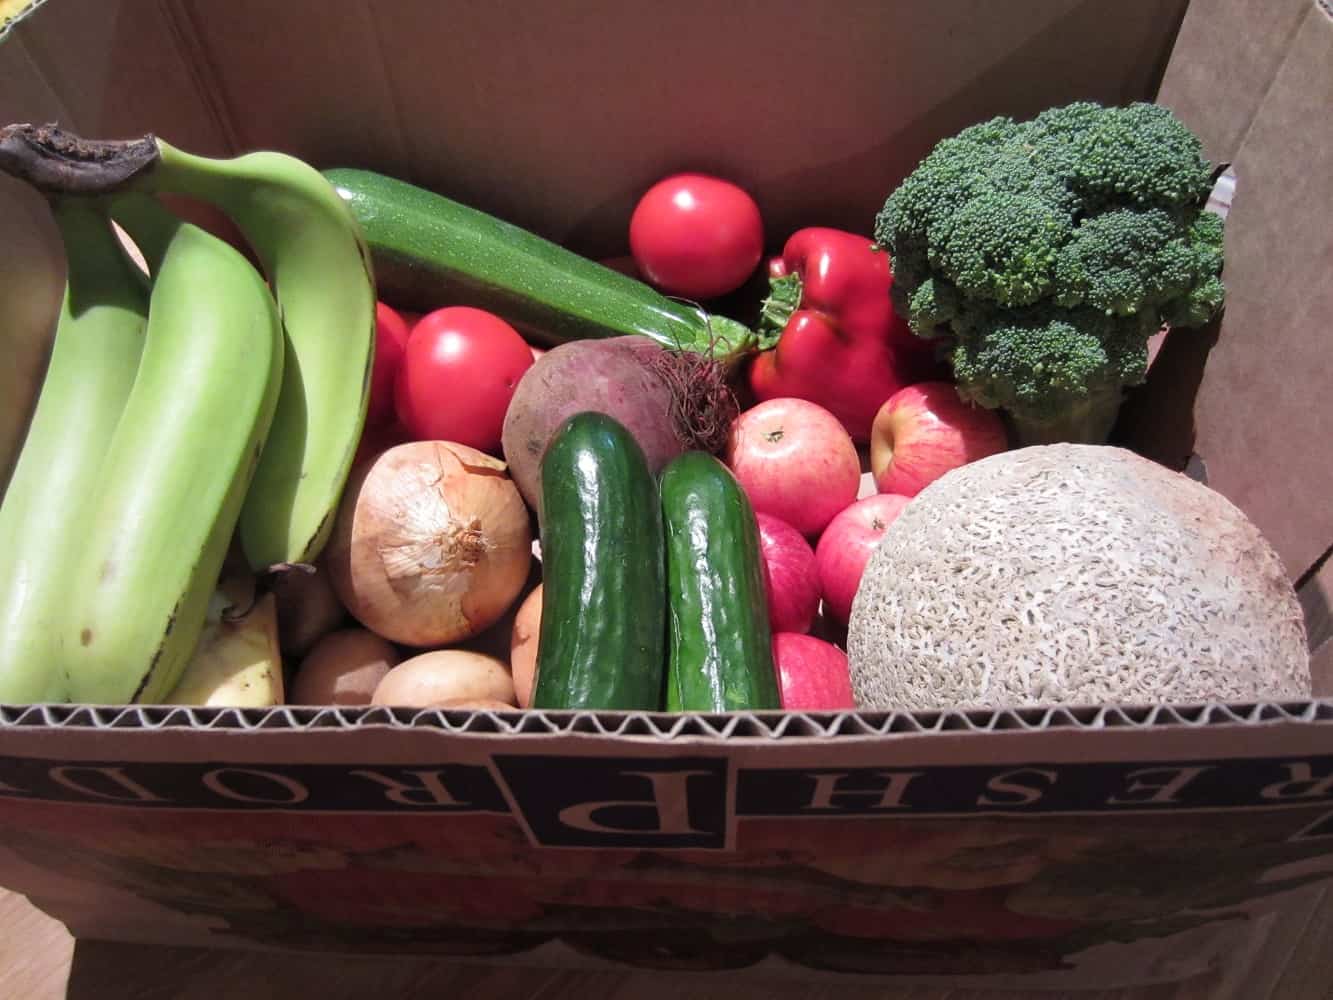
Wednesday night is vegetable box delivery night. This is a fairly new thing for us in Australia, although we had used vegetable box delivery schemes in the UK. Last night was our third delivery, and we’ve decided to make it a regular weekly thing.

vegbox1final

Our first veg box delivery. Completely plastic- and actually all unnecessary packaging- free!

Read more

Green smoothies

Until about two weeks ago, I had no idea what a green smoothie was. I had on occasion seen other people drinking murky green drinks and turned my nose up, but nothing more. And I was sure it was going to stay that way, but somehow it didn’t. You know how you hear about something for the first time, and then all of a sudden it’s everywhere you go, everyone seems to be talking about it, it’s in the newspapers, on the internet… Well that’s how it was for me. Everyone seemed to be drinking green smoothies, or writing about it, or talking about it, or maybe even all three. And I’m a curious kinda girl, and I was intrigued.

This intrigue coincided with a few other things. Firstly, my boyfriend owns both a juicer and a blender from a previous life, and in the 15 months we’ve lived in our little flat they have been stored out of sight in the cupboard. We neither have the space nor inclination to keep things that could be put to much better use by someone else, and we’d already decided that we should dig them out, dust them off, give ’em a go and figure if they were worth keeping or whether they were going on Gumtree. So we were already set up for the green smoothie experiment.

Secondly, my boyfriend has been ill with a cold/flu virus for what has now been three weeks. He took the first few days off work as he couldn’t get out of bed, but as he started getting better he went back to work, and two weeks later he still can’t shake it off. Increasing our fruit and vegetable intake seemed sensible.

Thirdly, I make my own sourdough, which is absolutely delicious. The downside of this is that I have a tendency to have toast for both breakfast and lunch. Tasty, but not very nutritious.

So I decided that this week was going to be a week of green smoothies for breakfast. My boyfriend, as you can probably imagine, was underwhelmed, but duly trudged along with me to the Farmers Market on Saturday to stock up on kale and bananas. The challenge was on.

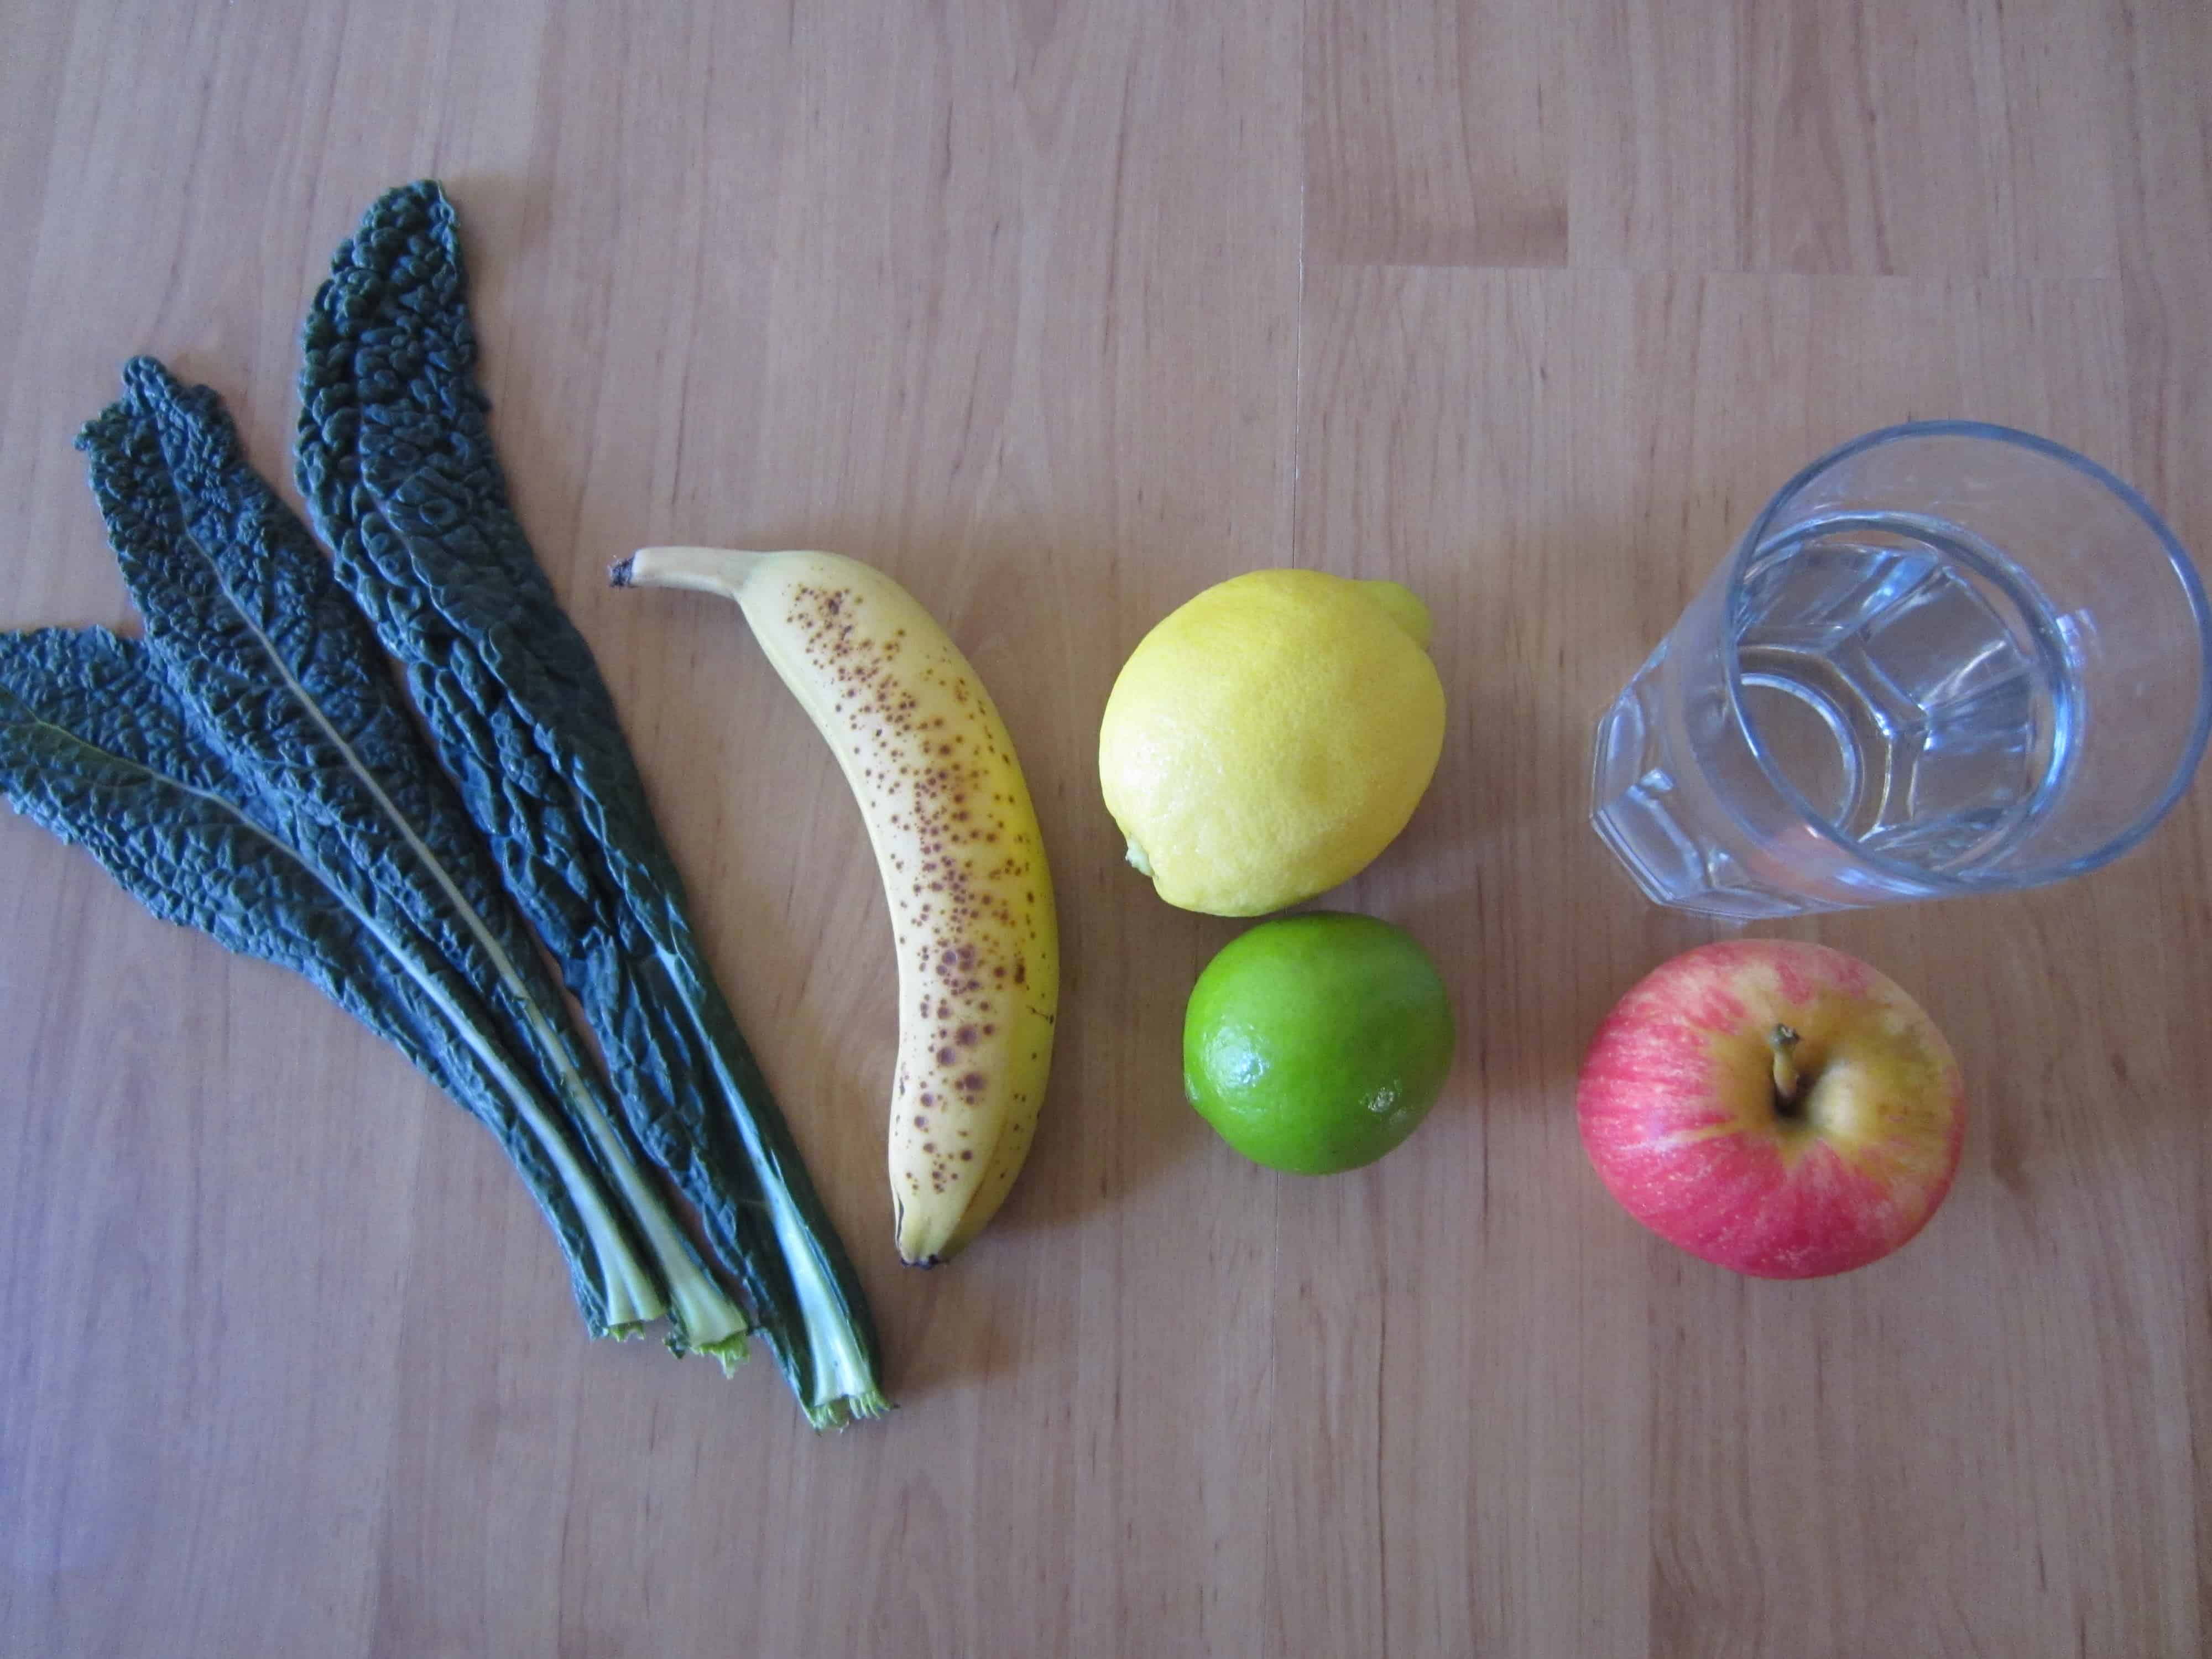
We tried our first one on Saturday afternoon. 3 kale leaves, 1 banana, 1 cup of water and juice of 1/2 lemon per person. Surprisingly, it was quite pleasant (drinkable at least!), although the green colour takes a bit of getting used to. (My brain kept trying to persuade me it was full so it didn’t have to drink any more, but my tastebuds were fine with it.) On Monday morning I used lime instead of lemon. Couldn’t really notice the difference. This morning I juiced an apple to replace some of the water, and the extra sweetness was much appreciated. The extra washing up was not. (I had to use the juicer as well as the blender.) Not only that, but I didn’t secure the lid properly so coated myself and the kitchen in finely ground apple.

So…do I feel any different? Well it’s only been three days. But there’s a definite smugness to knowing that you’ve drank four portions of fruit and vegetables before you’ve even gone out of the door in the morning!

Image

Ingredients for one green smoothie: three kale leaves, one banana, juice of half a lemon or lime, and 1 cup of water (or apple juice)

[leadpages_leadbox leadbox_id=1429a0746639c5] [/leadpages_leadbox]